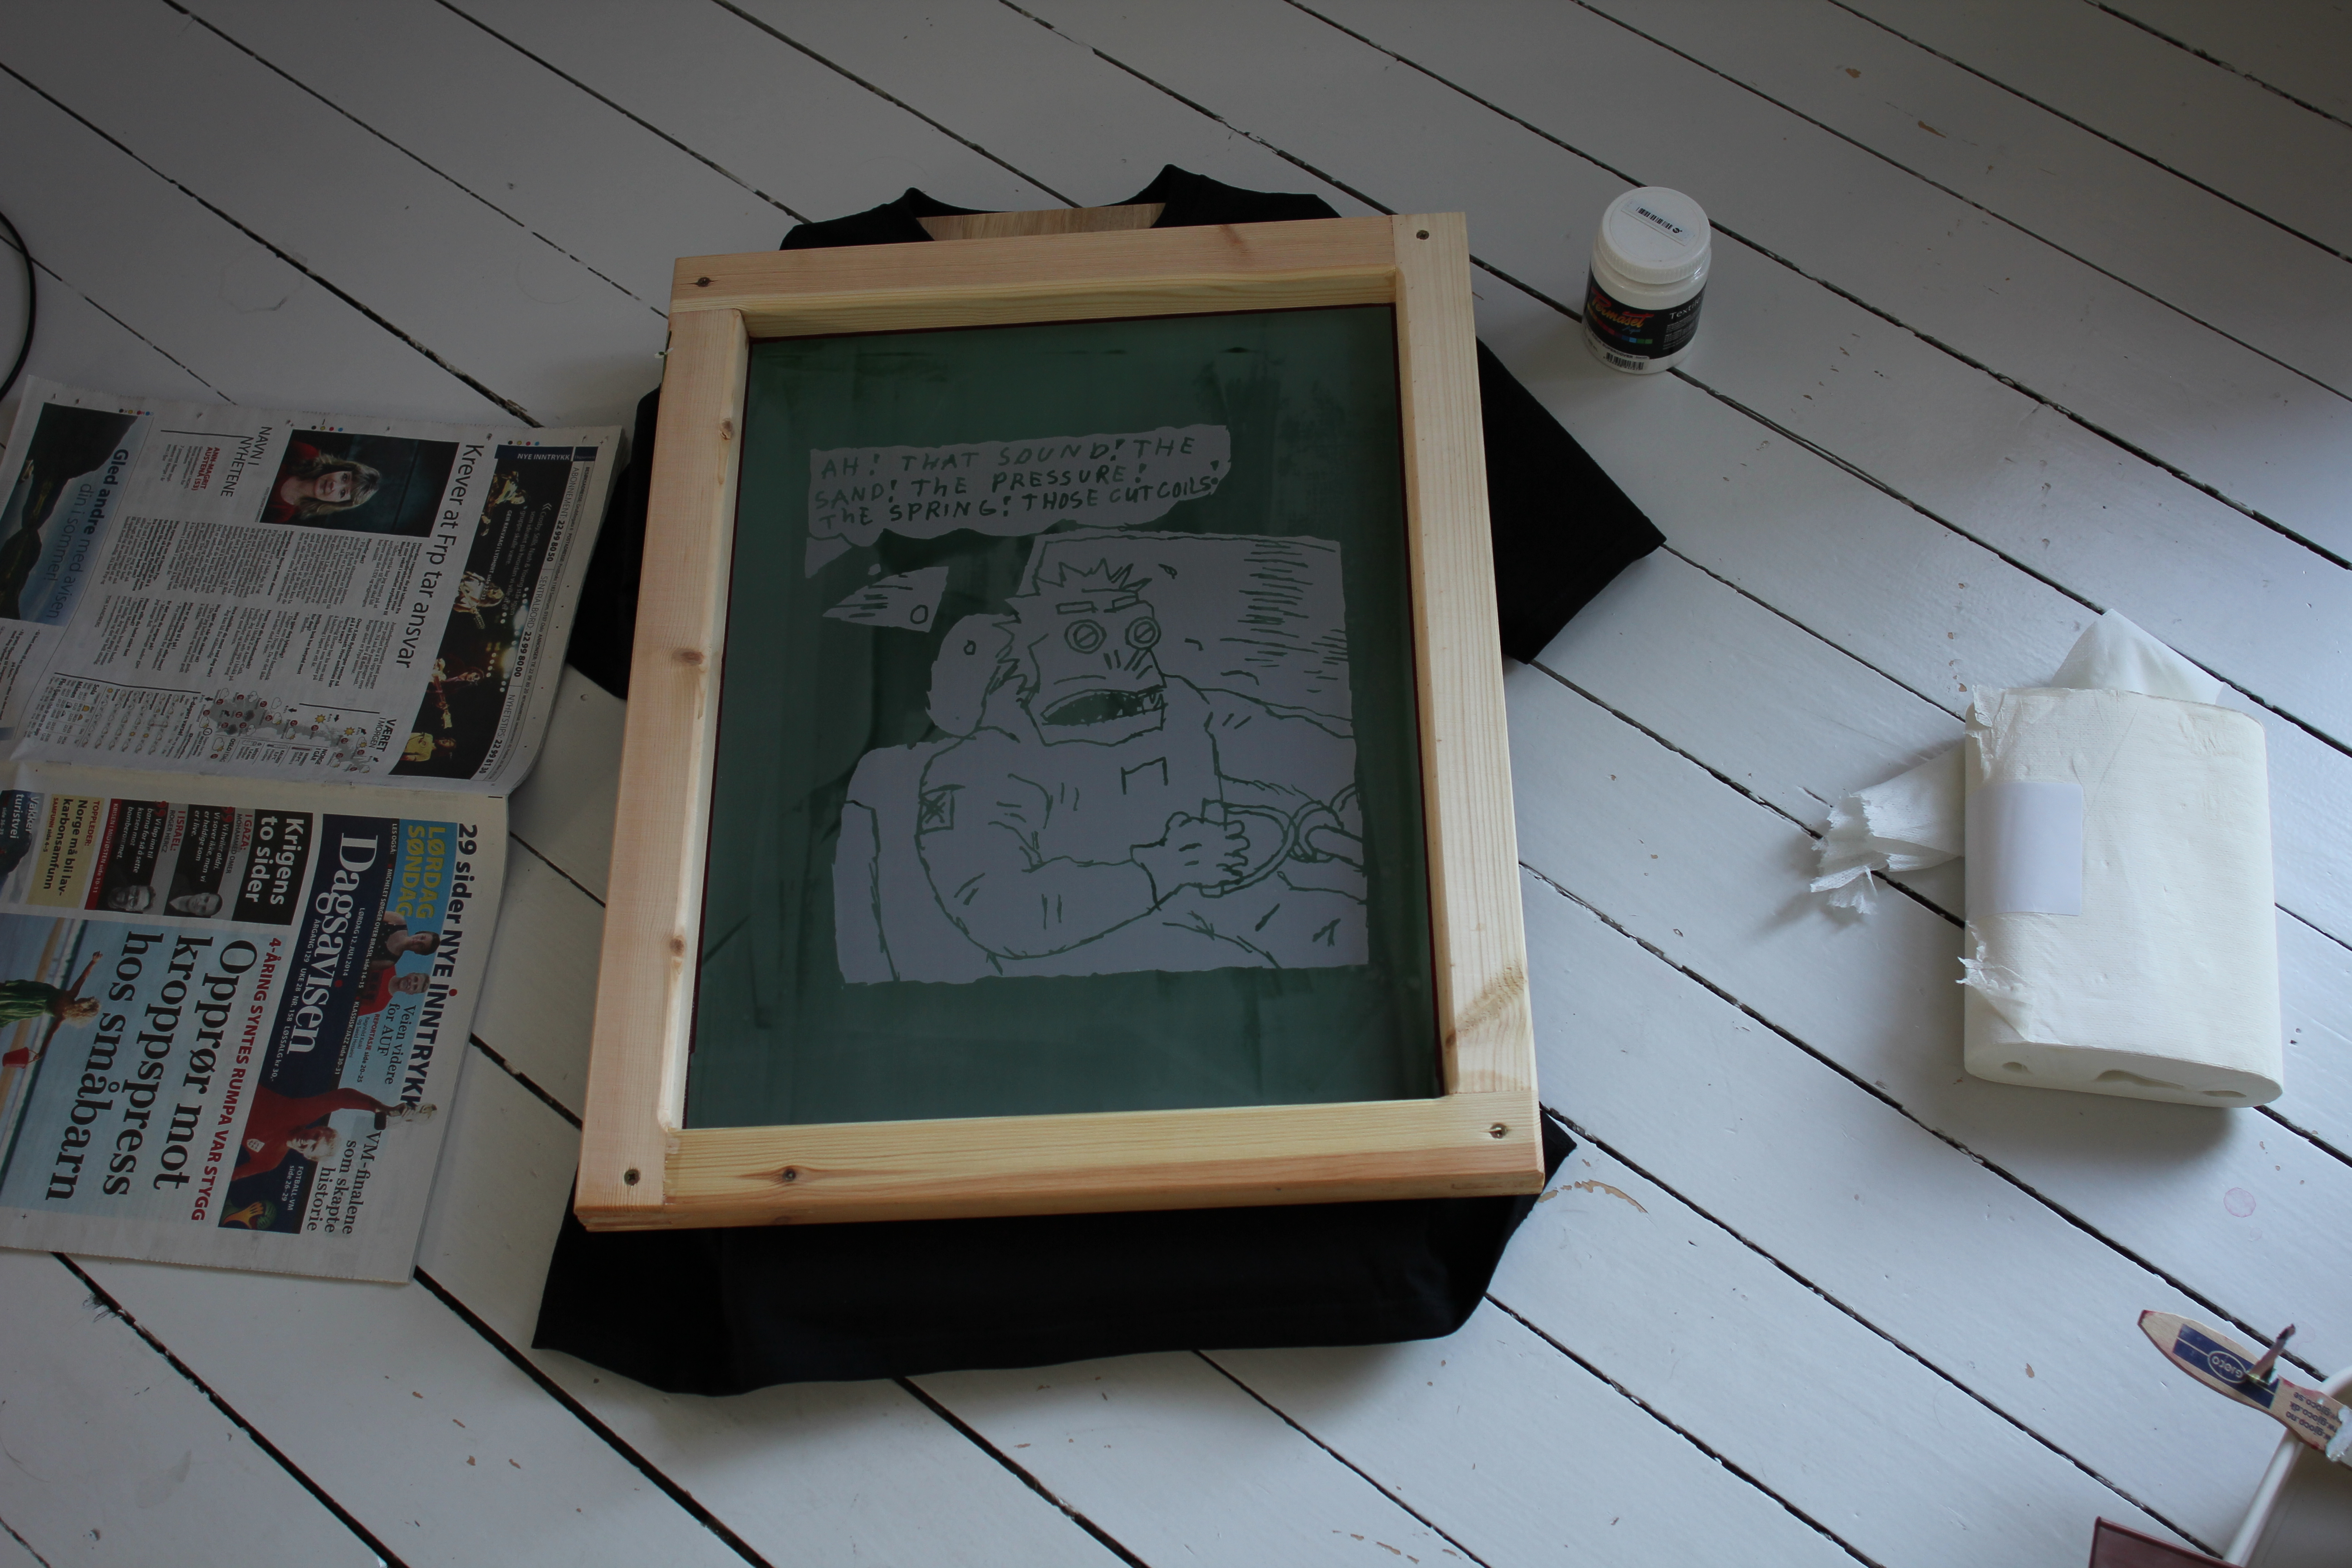
Today I’m going to attempt a real screen printing. I’ve selected an image from Daltokyo by Gary Panter — the first drawring from the first strip.
I’m printing on a black shirt, and the drawing is with black lines on a white background. So I can’t really print the lines themselves, but I have to print the white background instead, so I have to create an inverted print on the transparency. (It’s very confusing.)
Side note to summarise a bit what I’ve done wrong so far. And hopefully learned a bit from:
1) There’s a huge difference in transparency quality. I’ve bought three different “normal” transparencies (often called “overhead transparencies” or “OHP”), and they’re all too “pebbly” to be used for much of anything. That is, they’re very coarse, so you get a very uneven distribution of ink. In other words, you get a lot of white spots where you want total blackness.
2) All inkjet printers aren’t created equal. The first one I had, an HP Officejet, printed out quite badly onto transparencies and other plastics. Most people who do stuff like this seem to prefer Epson printers, so I got one of those, and it works perfectly.
3) There are different types of squeegees, and if you use a squeegee that’s not meant for printing onto clothes, it’ll be a lot more difficult to get a good result.
4) You need lighting to expose the emulsion. Look at my professional-looking new rig:
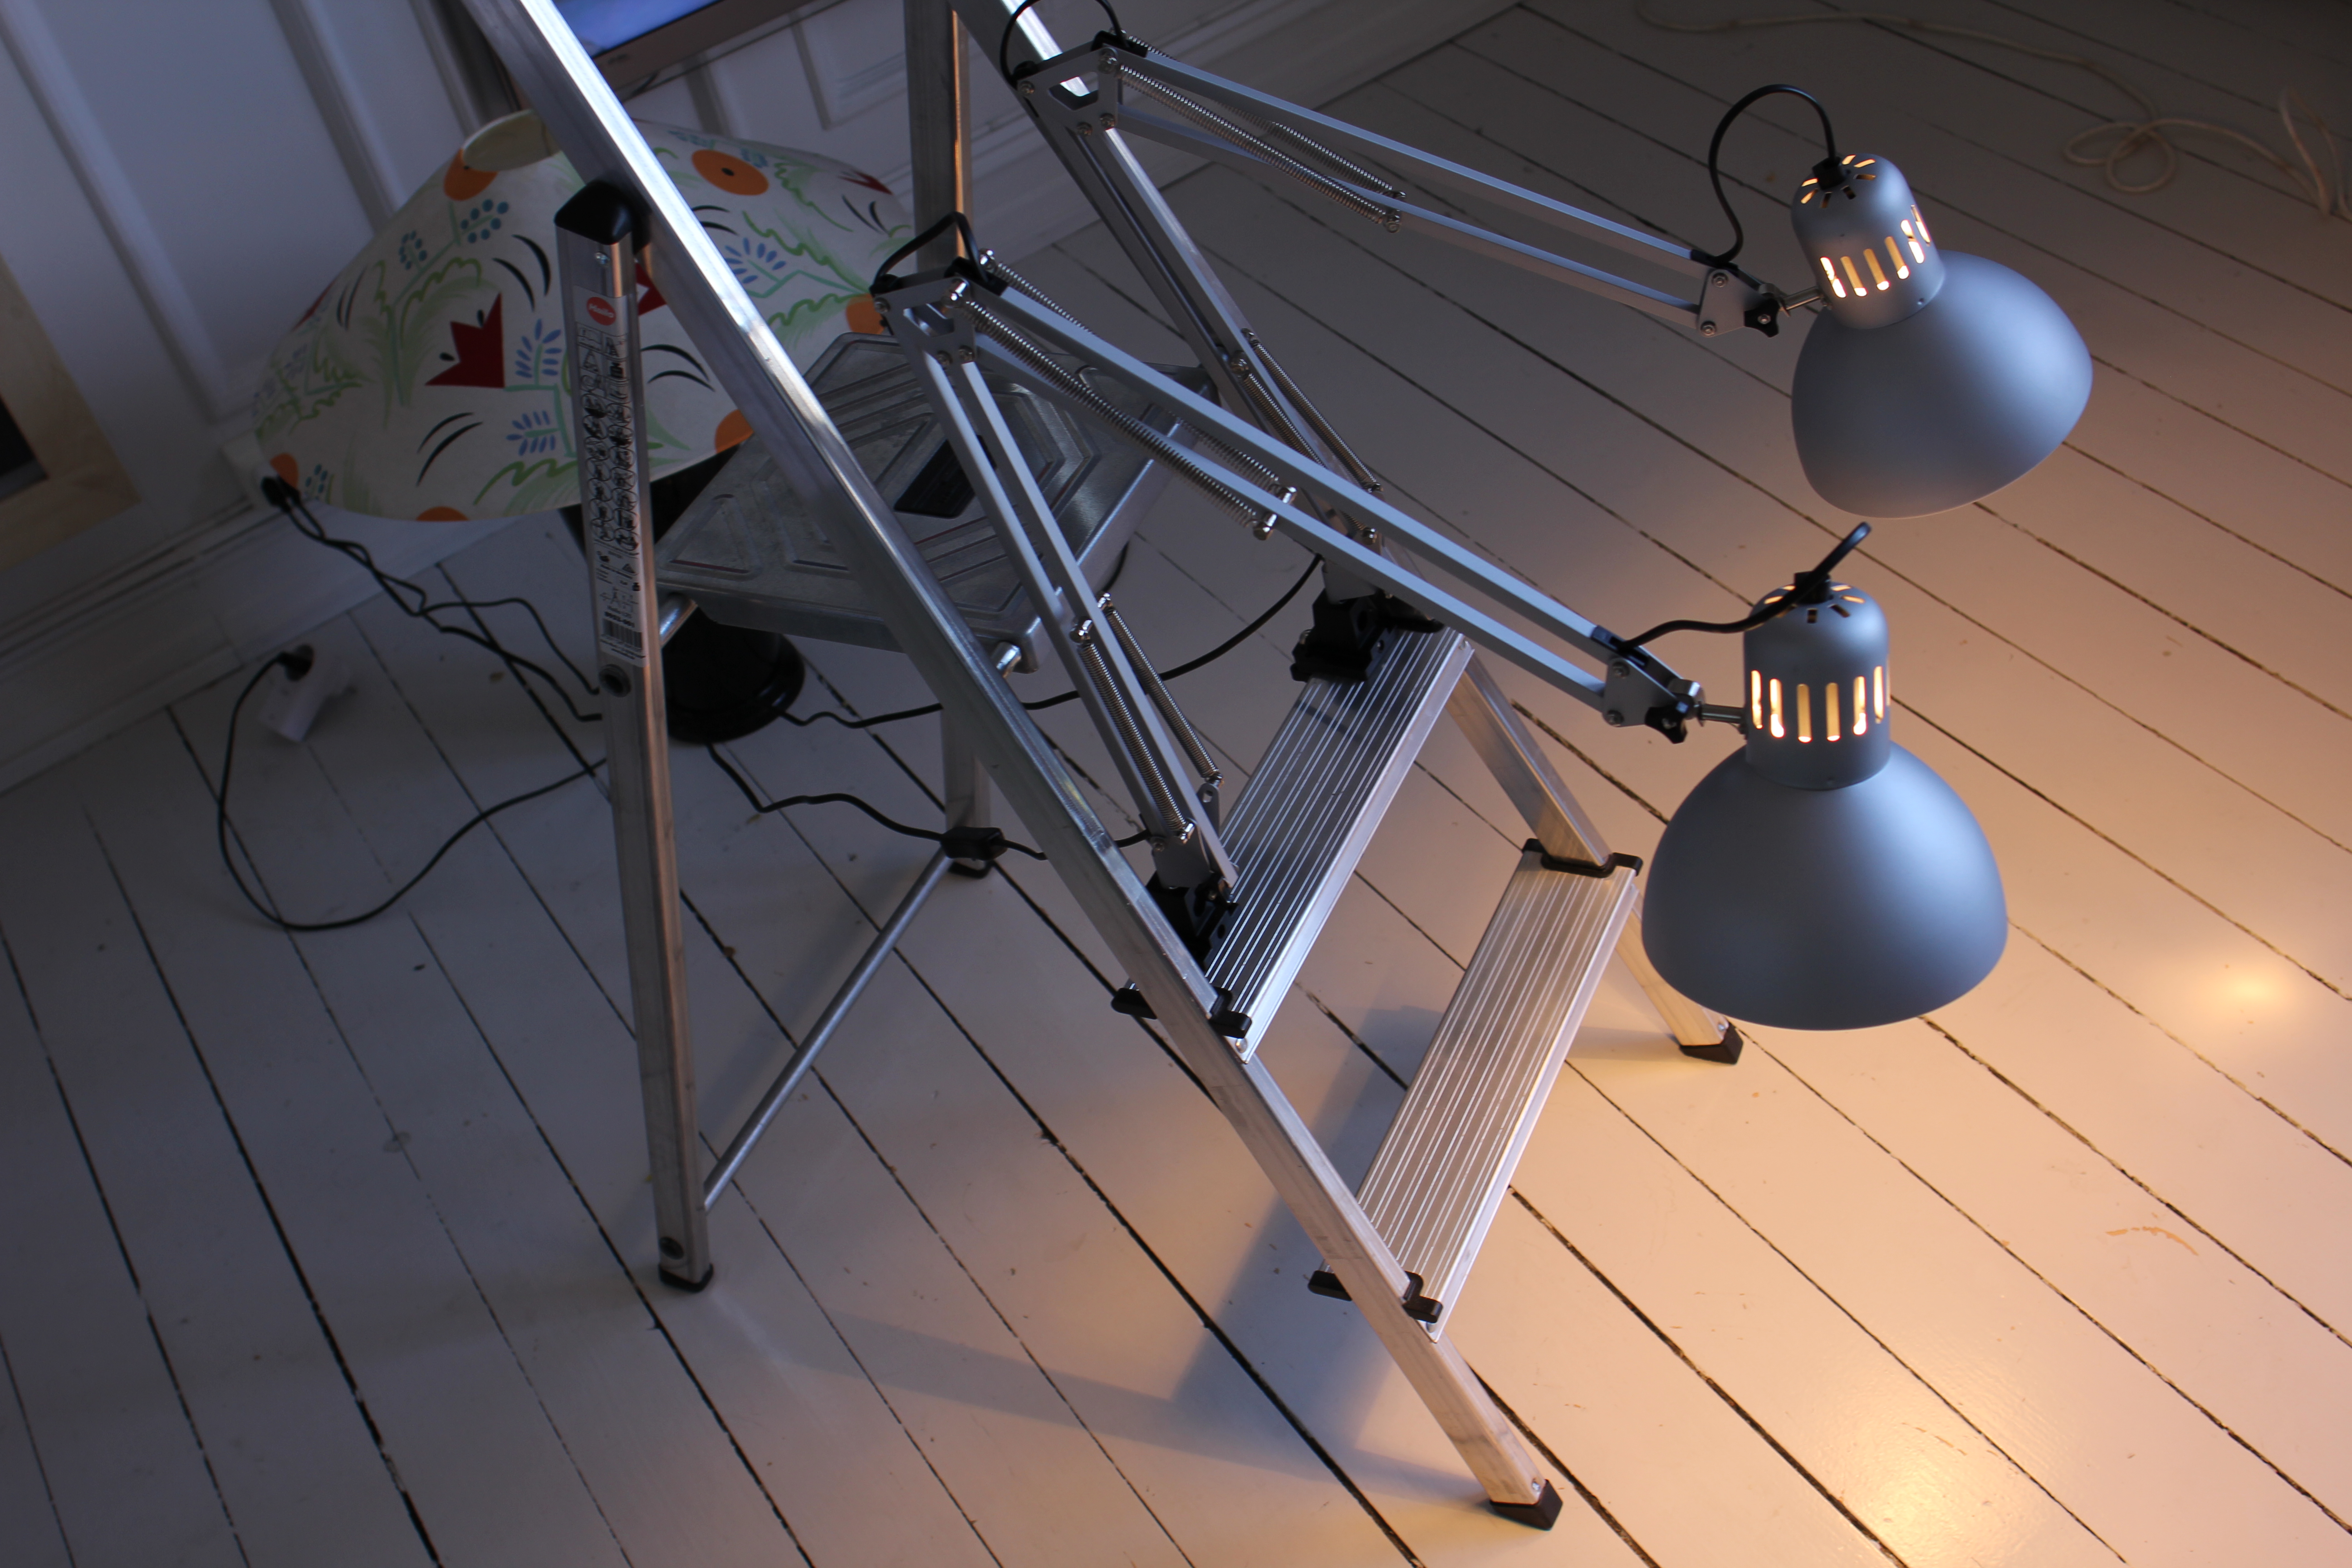 The recipes say “use either a 250W for this exposure or a 150W for that exposure”. Well, guess what. It’s virtually impossible to get any incandescent light bulbs in Europe these days, because of the world ending in a heat death or some other kind of trivial thing. But I’ve managed to score two 105W halogen bulbs that approximate 150W incandescents, allegedly. And I’ve bought two really cheap Ikea desk lamps.
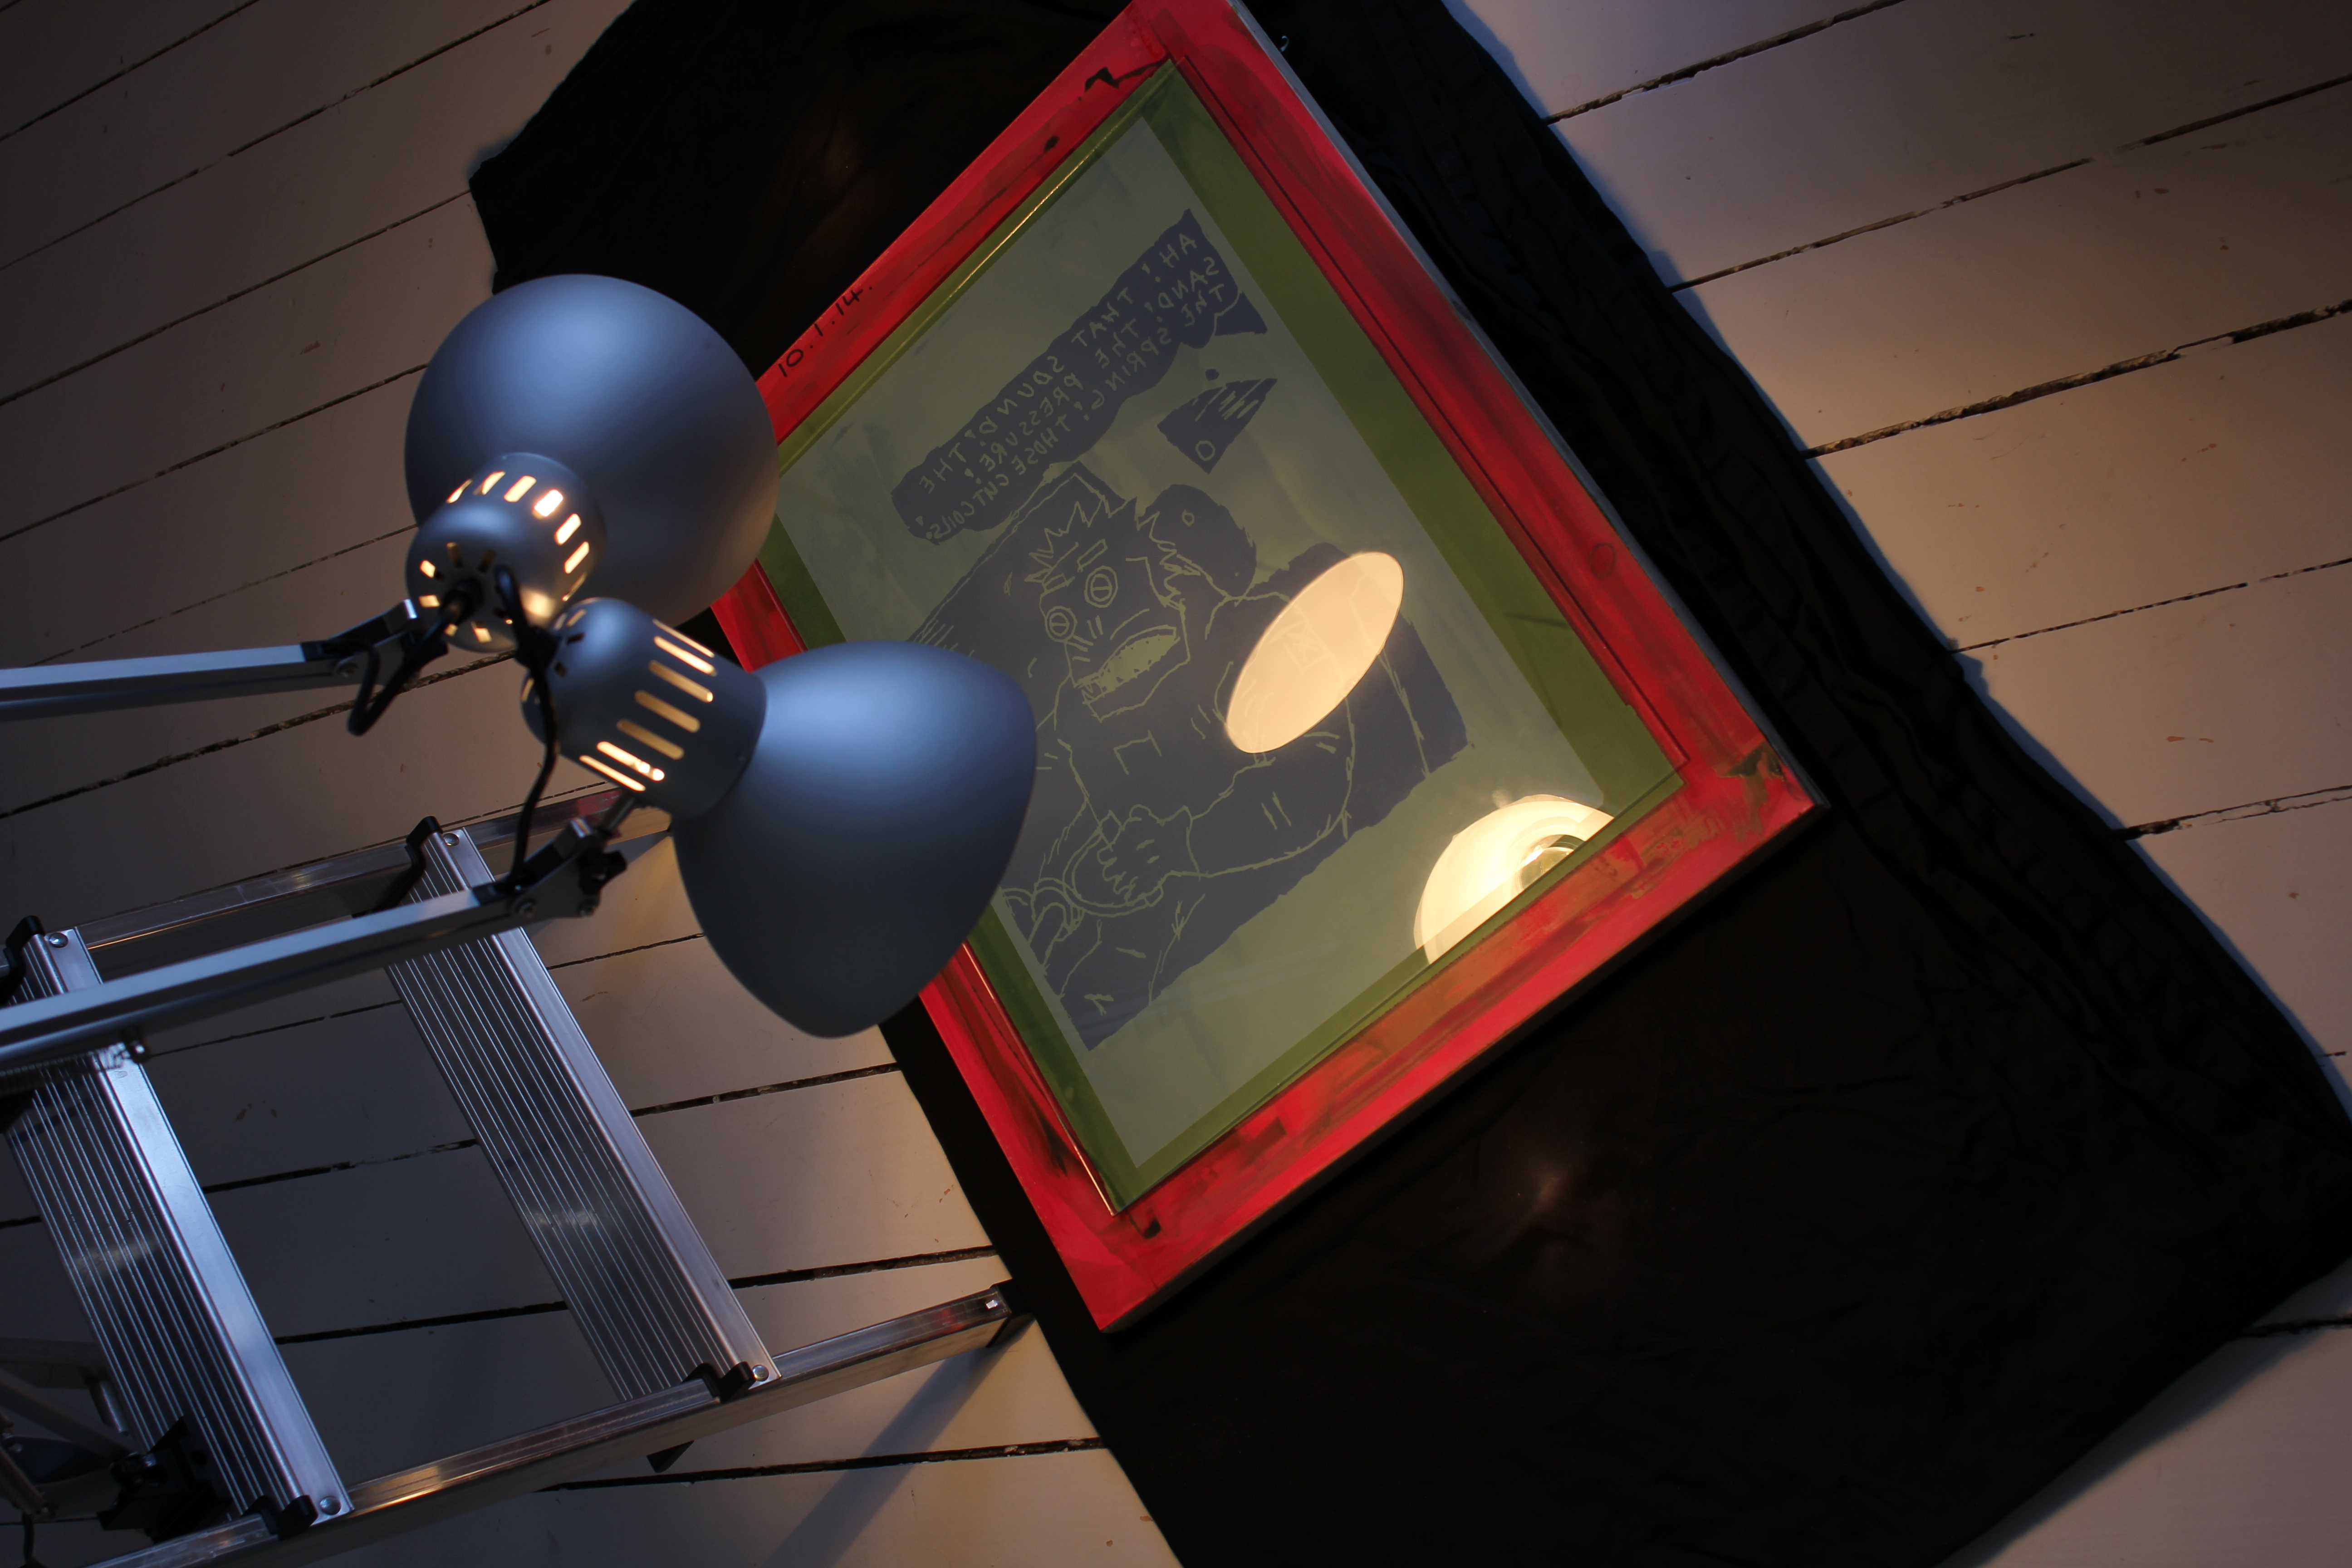
So here we go. Exposure. The chart says 16 minutes for 250W and 74 minutes for 105W, so 2x “150W-ish” should be… 35 minutes?… At 40 centimeters.
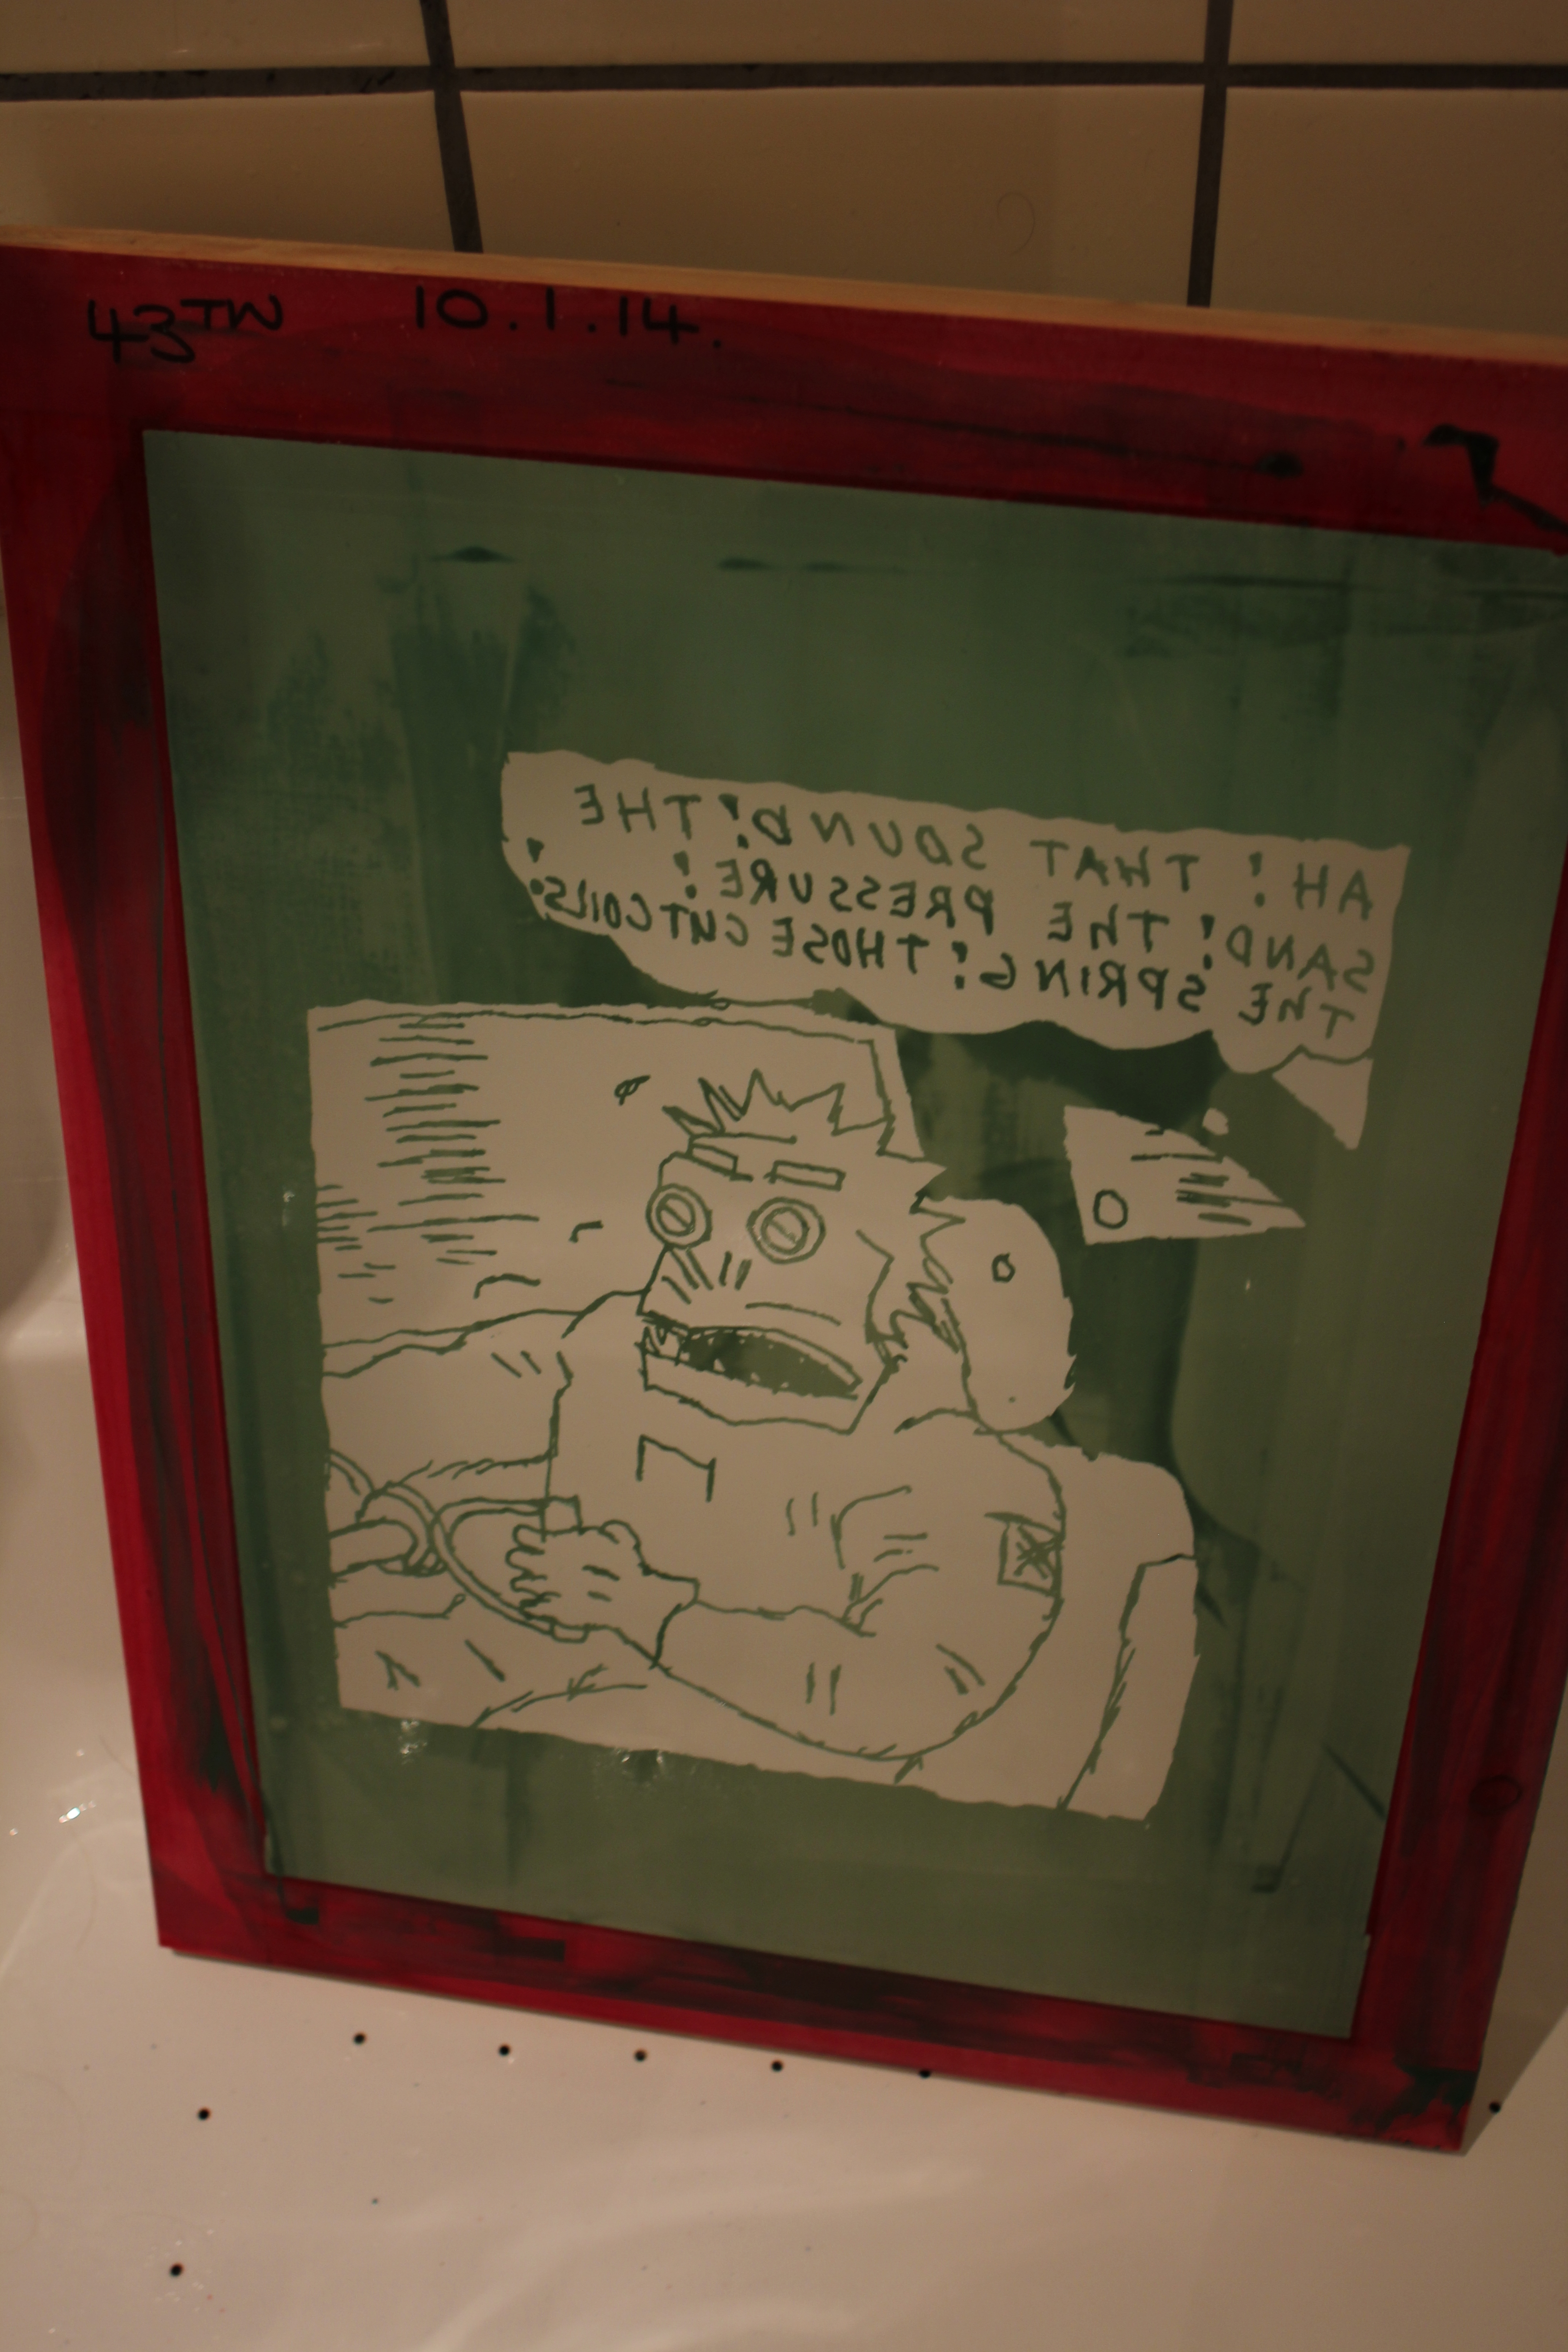
 Washing the silk. I take the head off of the shower thingie and blast it. All the non-exposed bits rise off! Looking good, but I could perhaps have exposed for five more minutes…
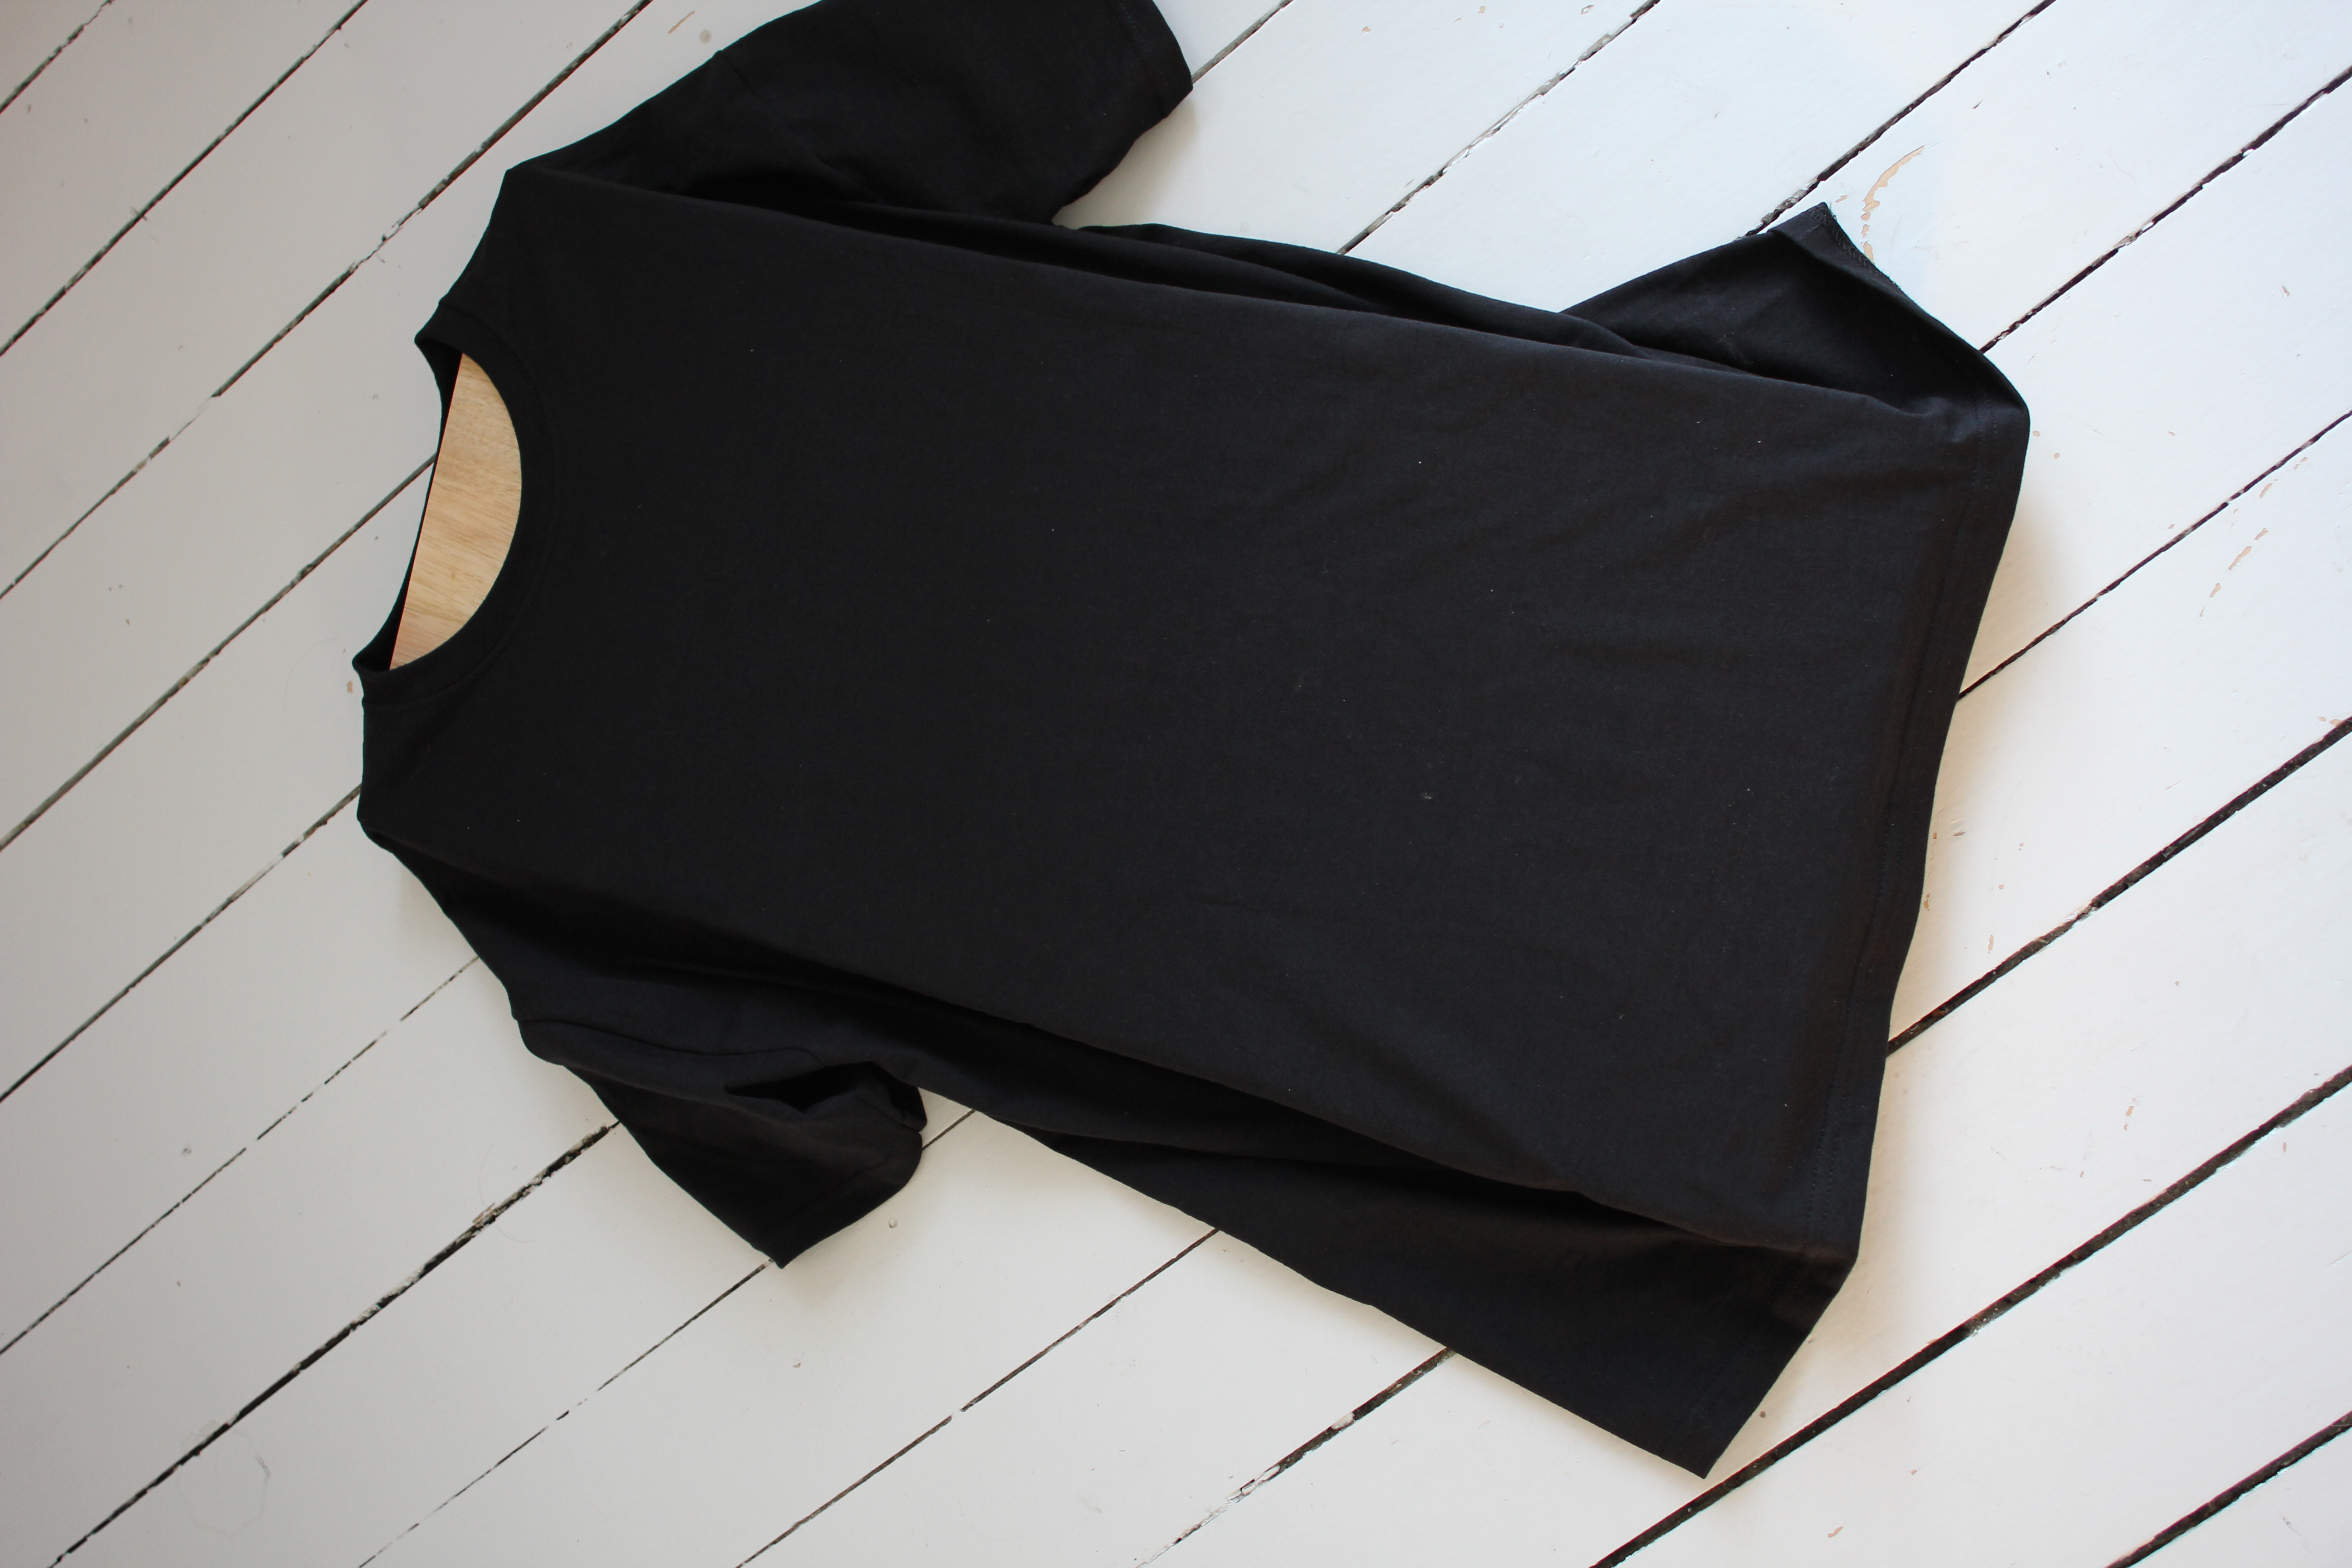
 I bought a huge whopping cutting board to have something to strap the shirt onto, so that I have an even surface to print onto.
 And then we just squeegee away.
 Result! Sort of.
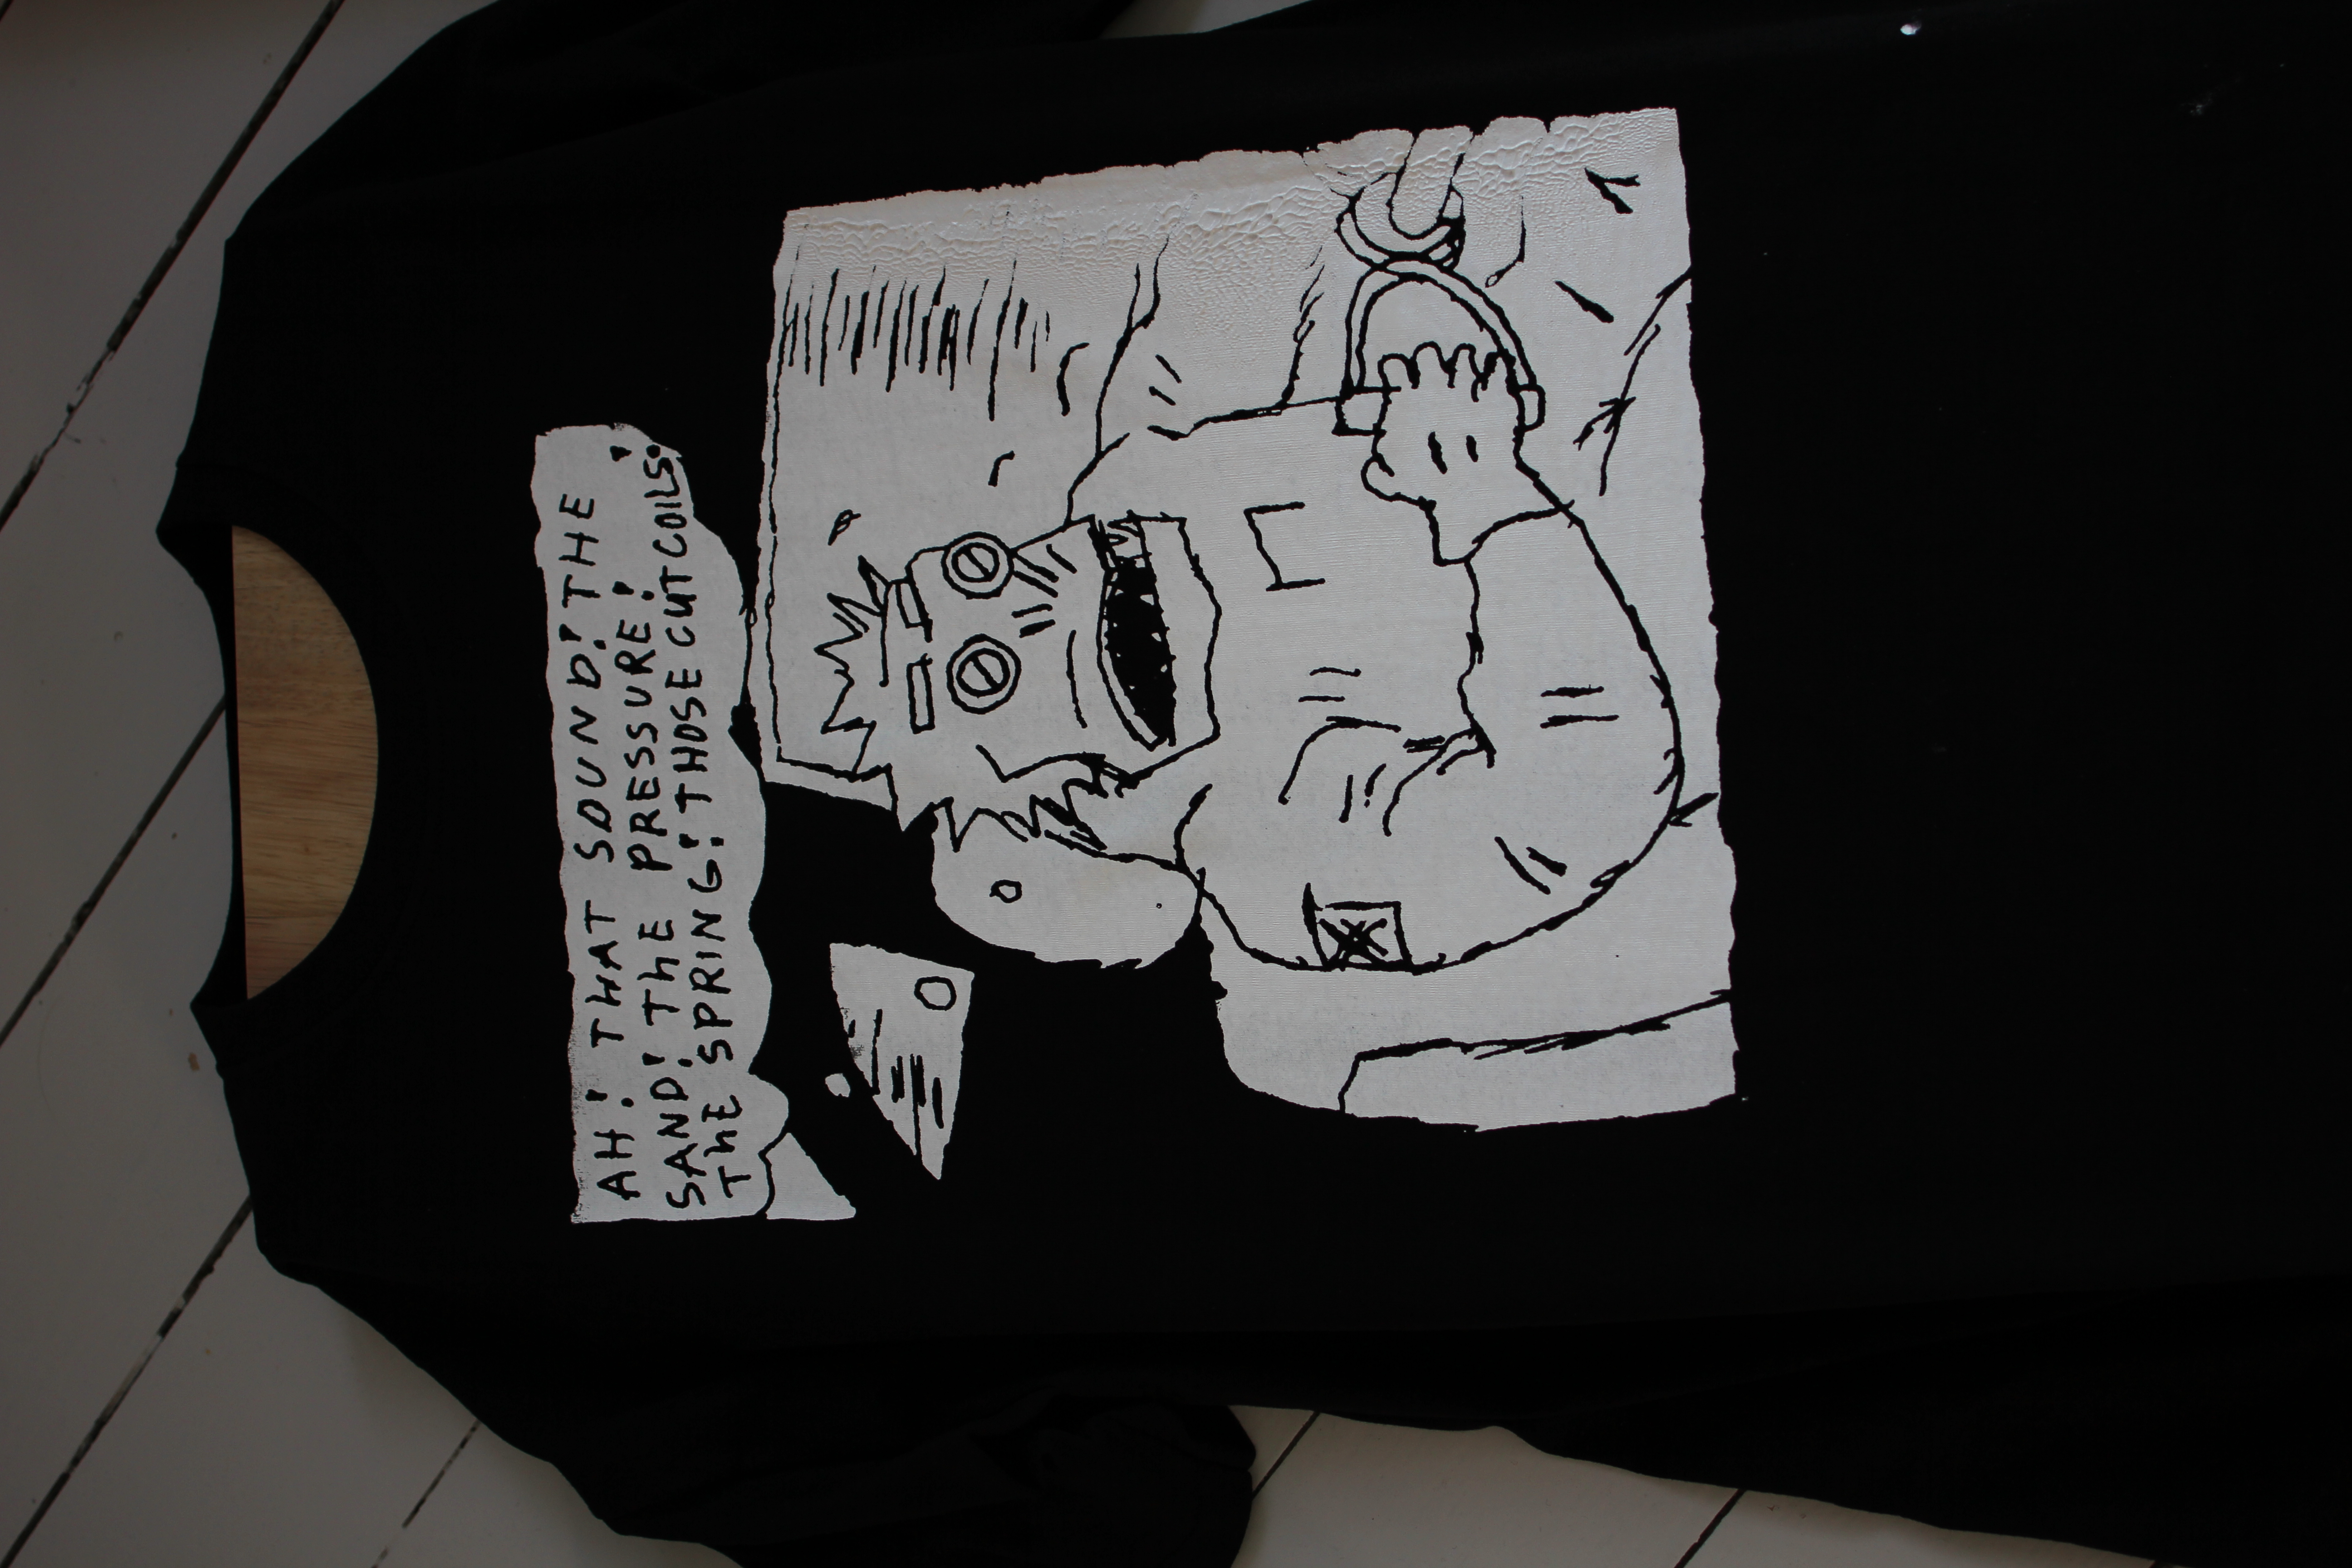
My squeegee action isn’t perfect yet. I pushed too much ink through on the right there. Probably because I’m right-handed…
Anyway, if you know what you’re doing (and I’m vaguely starting to), and you have all the right equipment, the turnaround on screen printing is just a few hours. It’s kinda fun and it looks nice once you get the hang of it.
IT”S WORTH IT!!! PLEASE LET IT BE WORHT IT!!!!!1!ONE!!
Regarding lighting: you should check out shops for electronics or photography. For electronics, I used “Osram Nitraphot”, which have 250W and a high UV ratio (but don’t even think of putting one of those in your Ikea desk lamp; those bulbs get hot like hell).
Yeah, I went to a photography shop and said “Hi, I want a 250W lamp for doing silk screen exposures and stuff.” And the guys said “Uhm… I don’t think we have anything for that…” “I Just need a 250W lamp.” “No, for silk screening you need something with the right colour temperature .” I was young and naive (this was three weeks ago), so I just gave up and went to Ikea.
The moral here is: Don’t listen to people who work in photo supply stores. They know naaathing.
Yeah well, they might be right. When creating printed circuit boards, you need a lamp with a high UV ratio for exposure. From I could Google in the last 2 seconds, it seems that UV exposure units are used for silk screening as well, but that might be wrong.