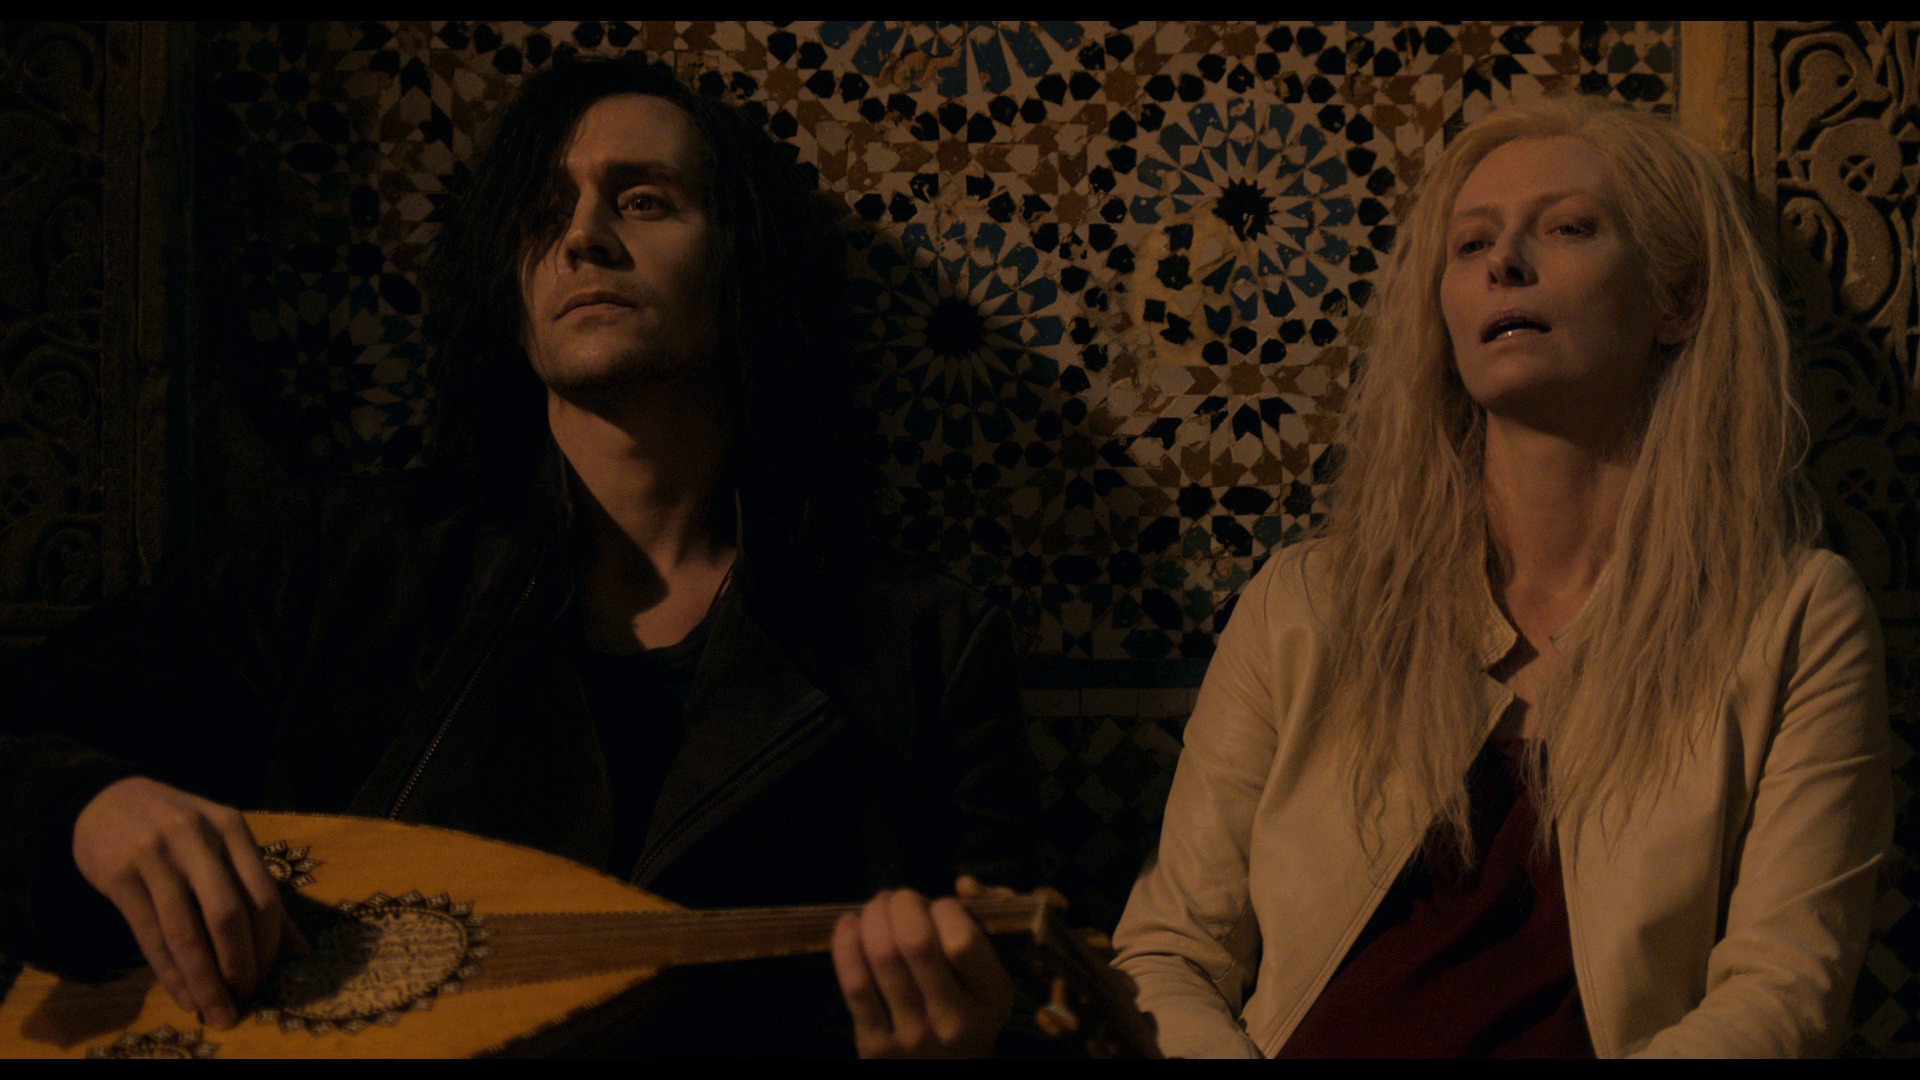


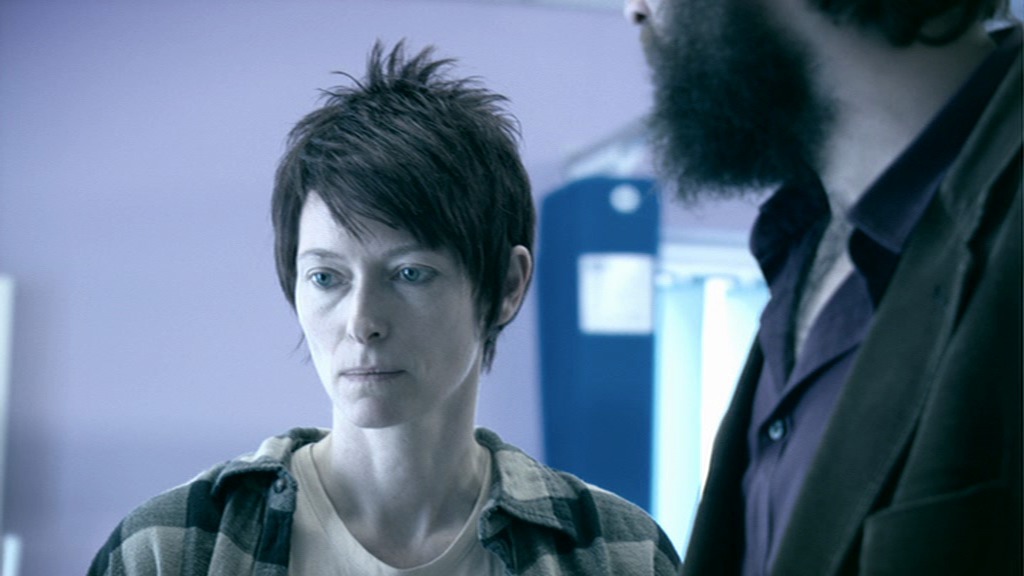
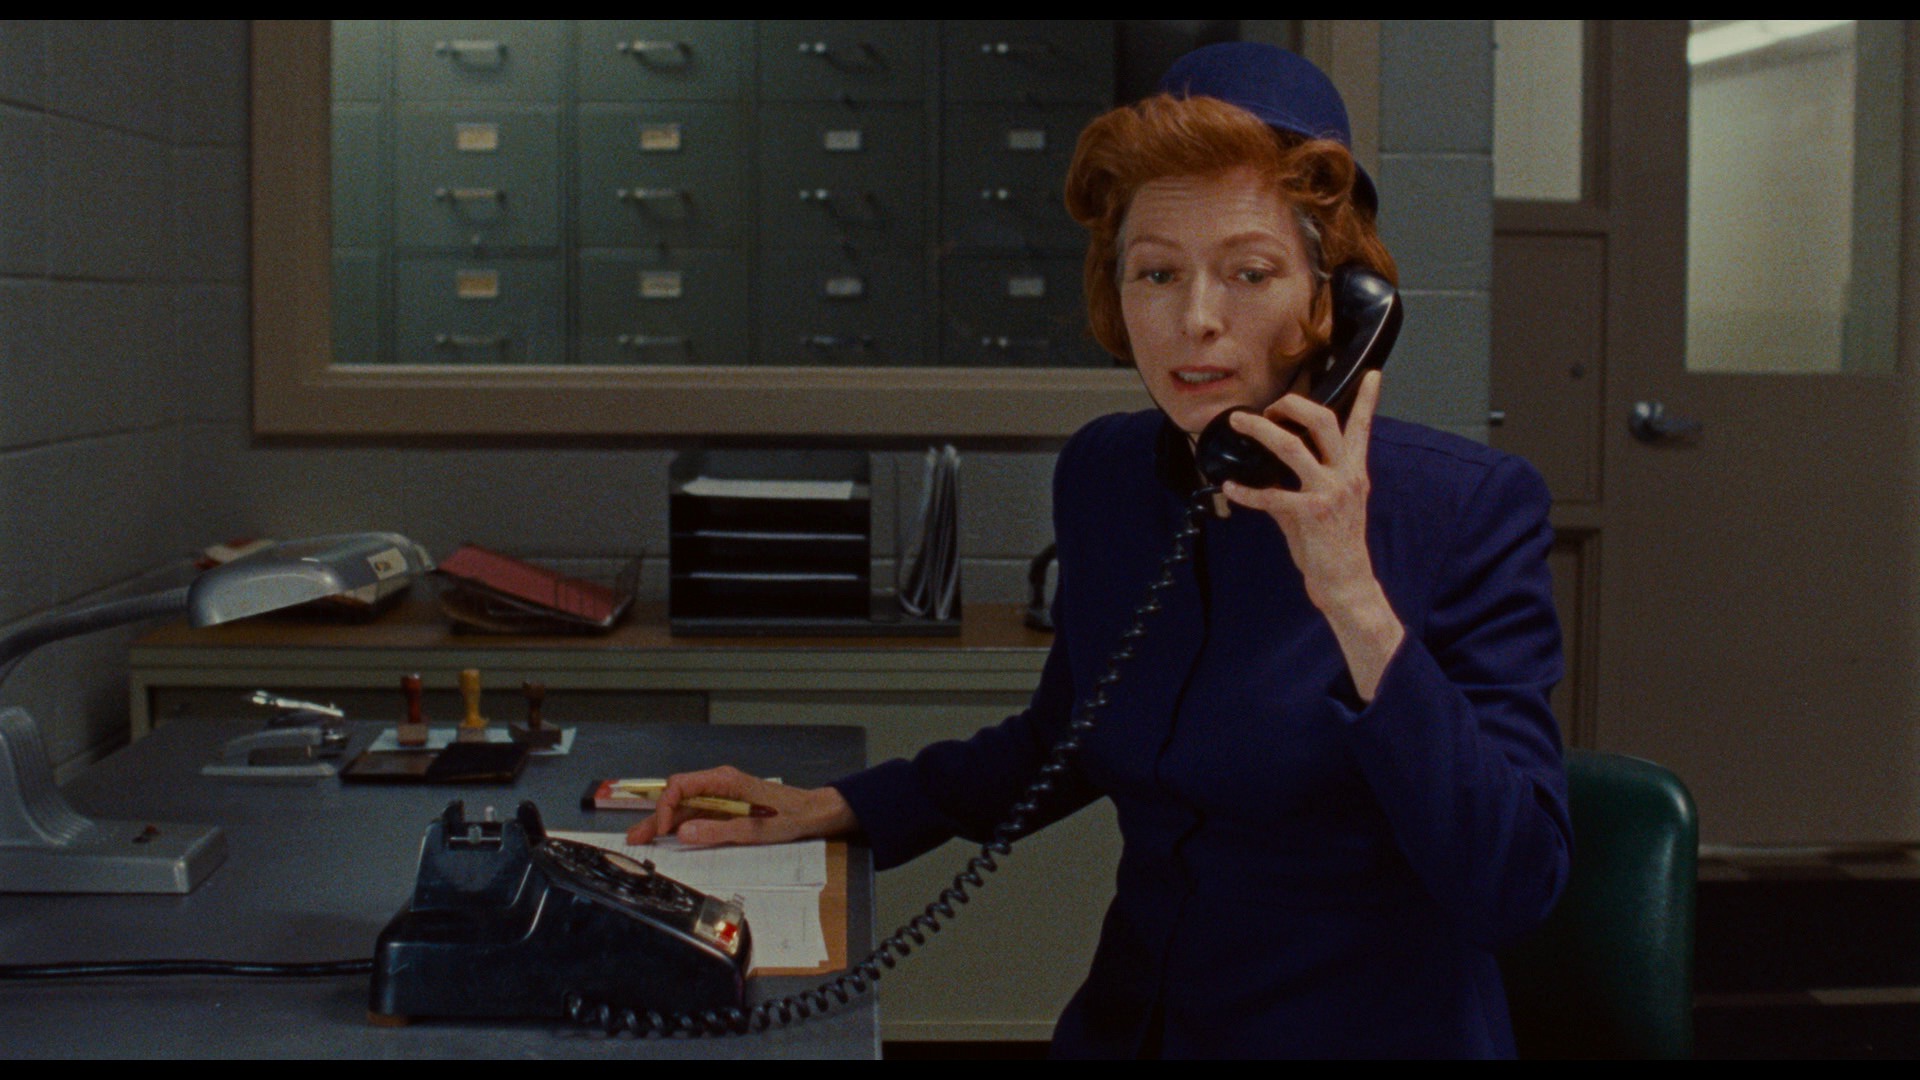
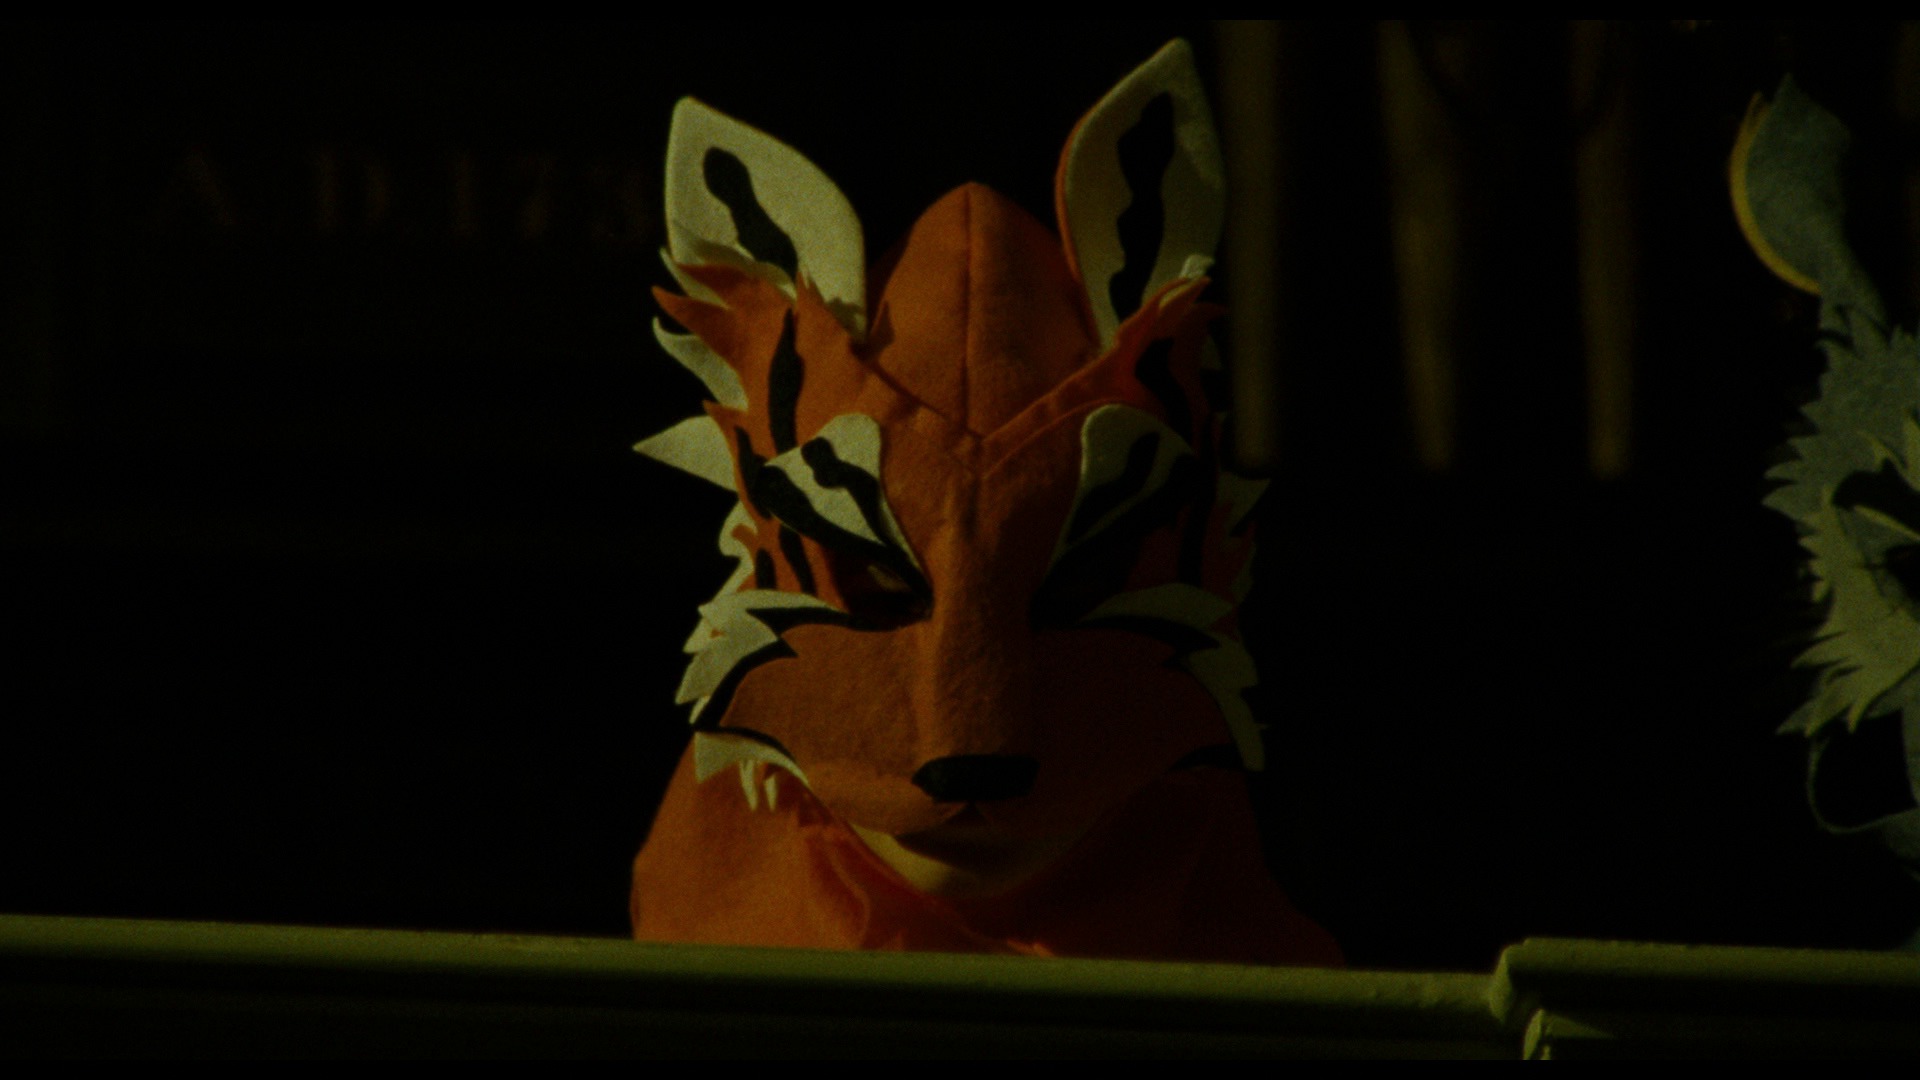
When Björk Met Attenborough. Louise Hooper. 2013.
Hey! It’s the third film in this series that’s mentioned Britten!

This post is part of The Tilda Swinton Project.
When Björk Met Attenborough. Louise Hooper. 2013.
Hey! It’s the third film in this series that’s mentioned Britten!
This post is part of The Tilda Swinton Project.

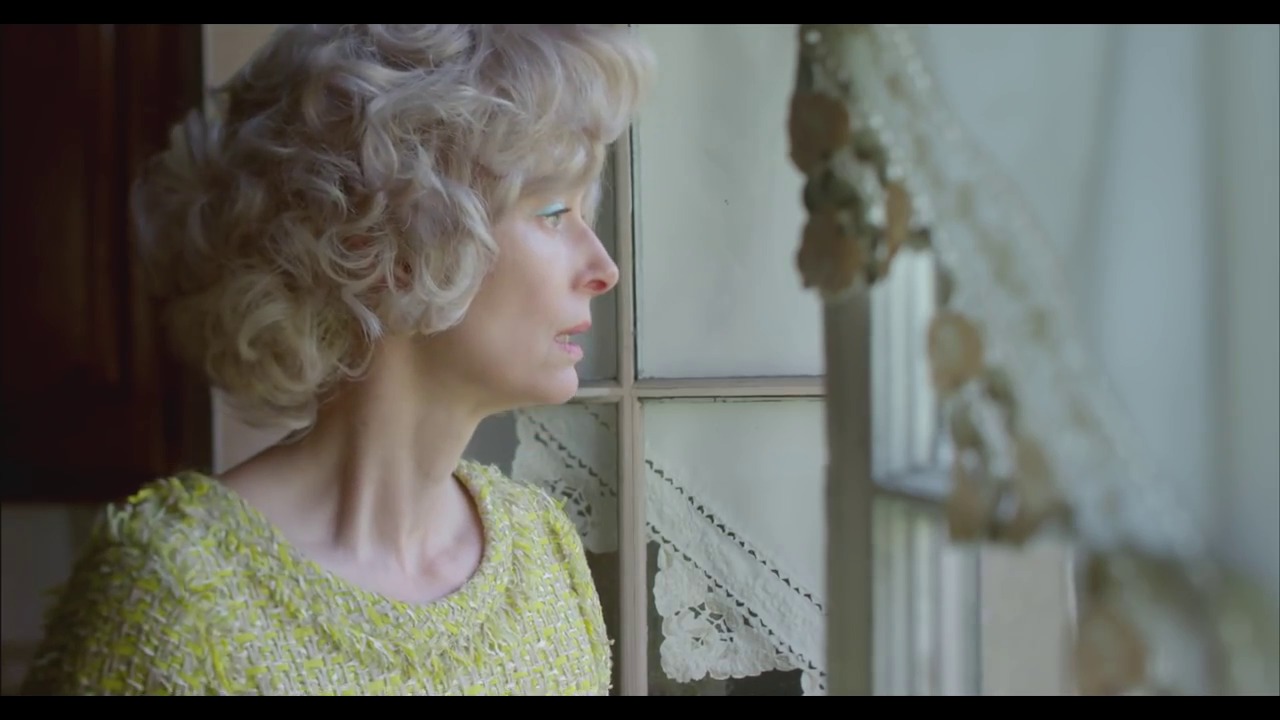

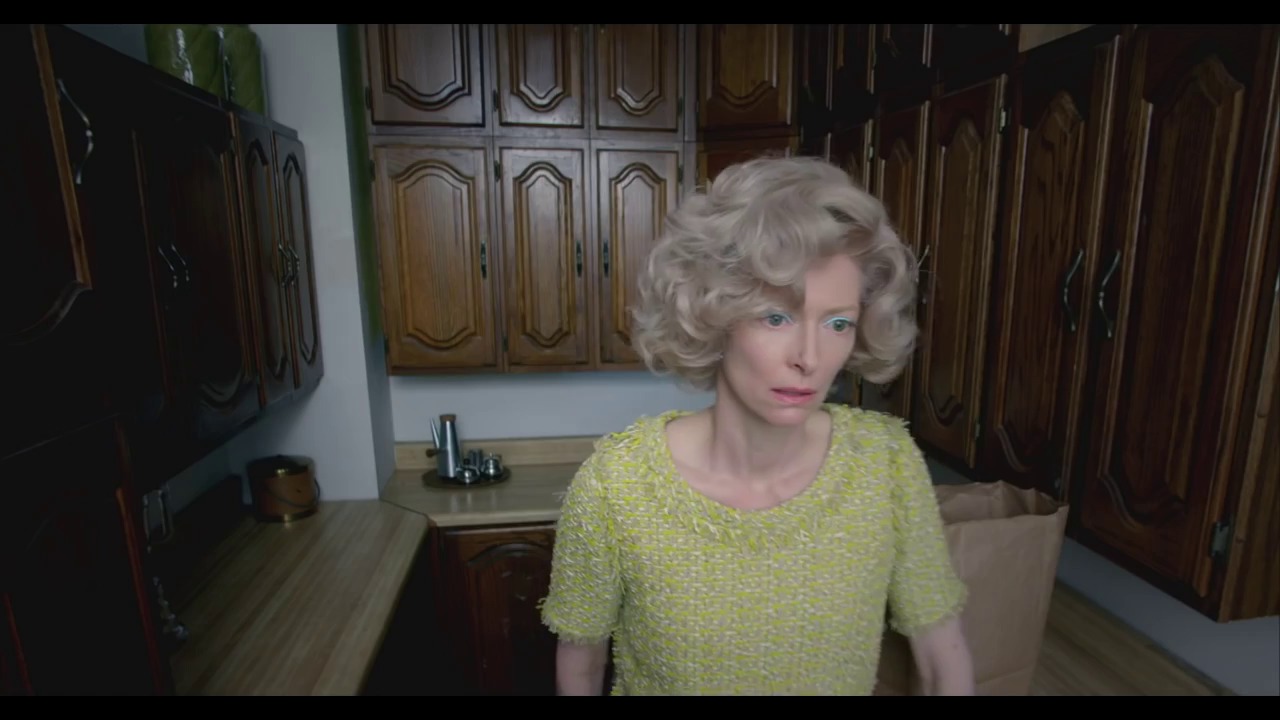

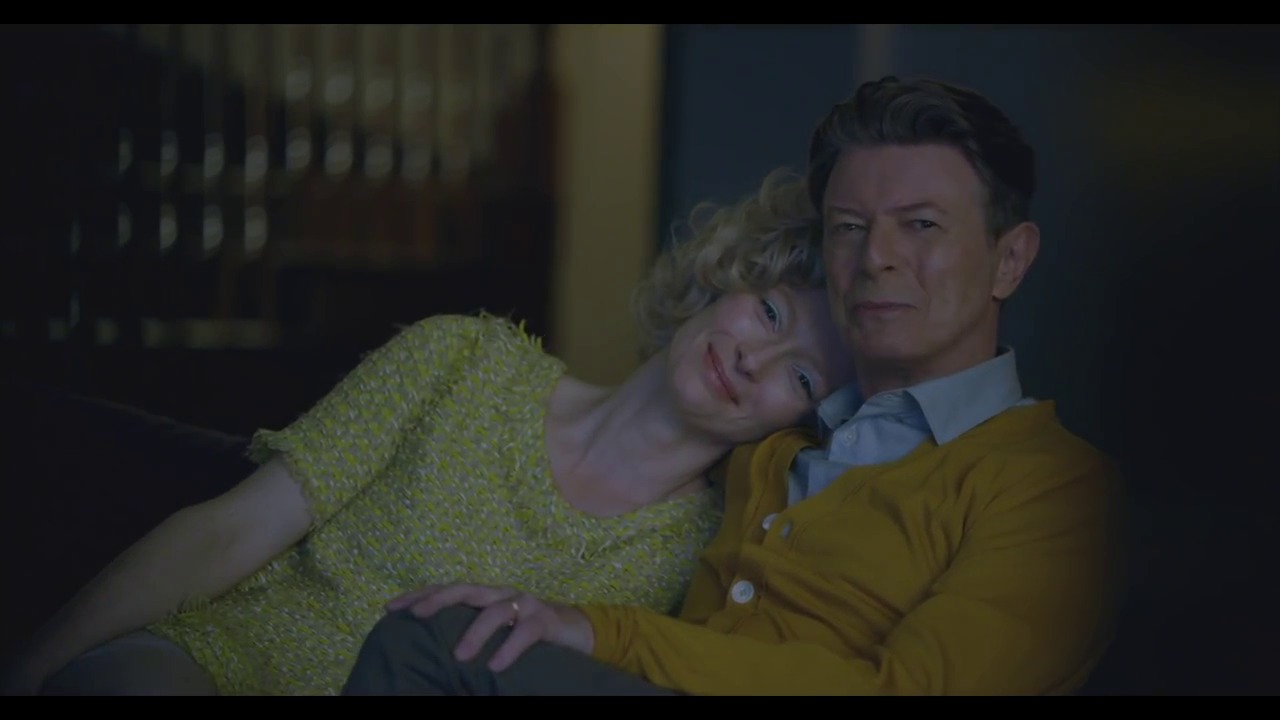

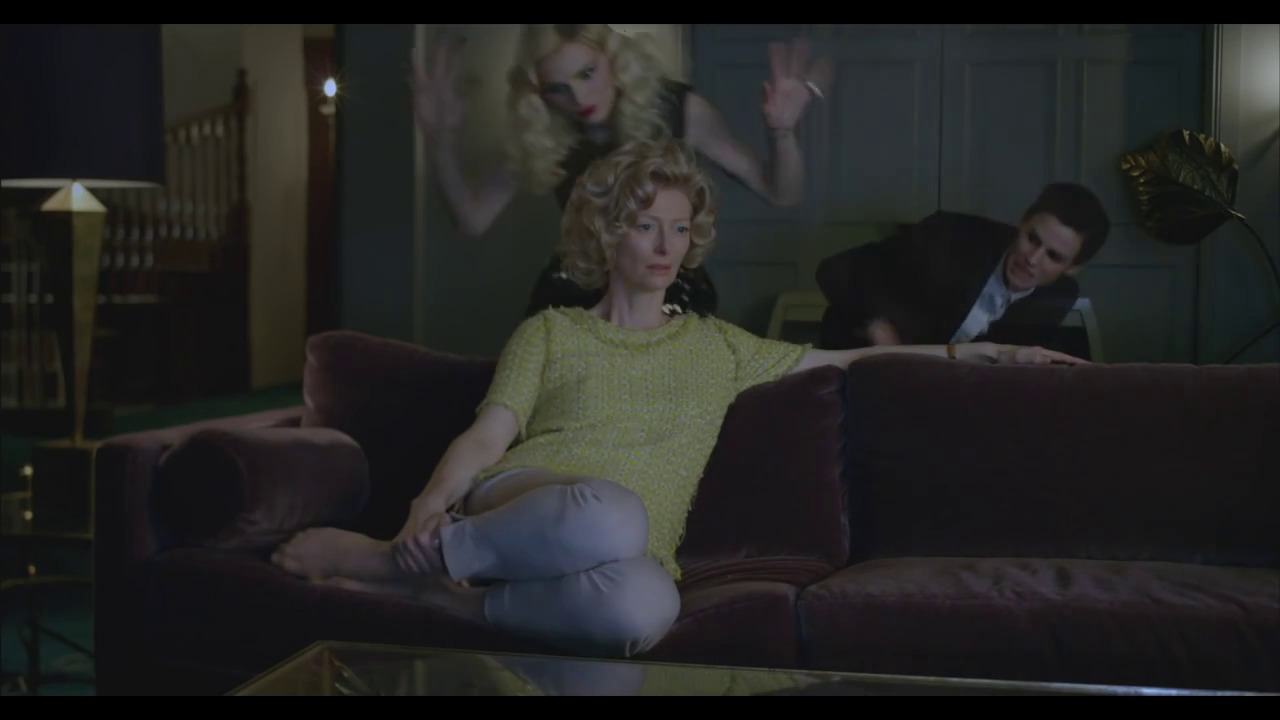
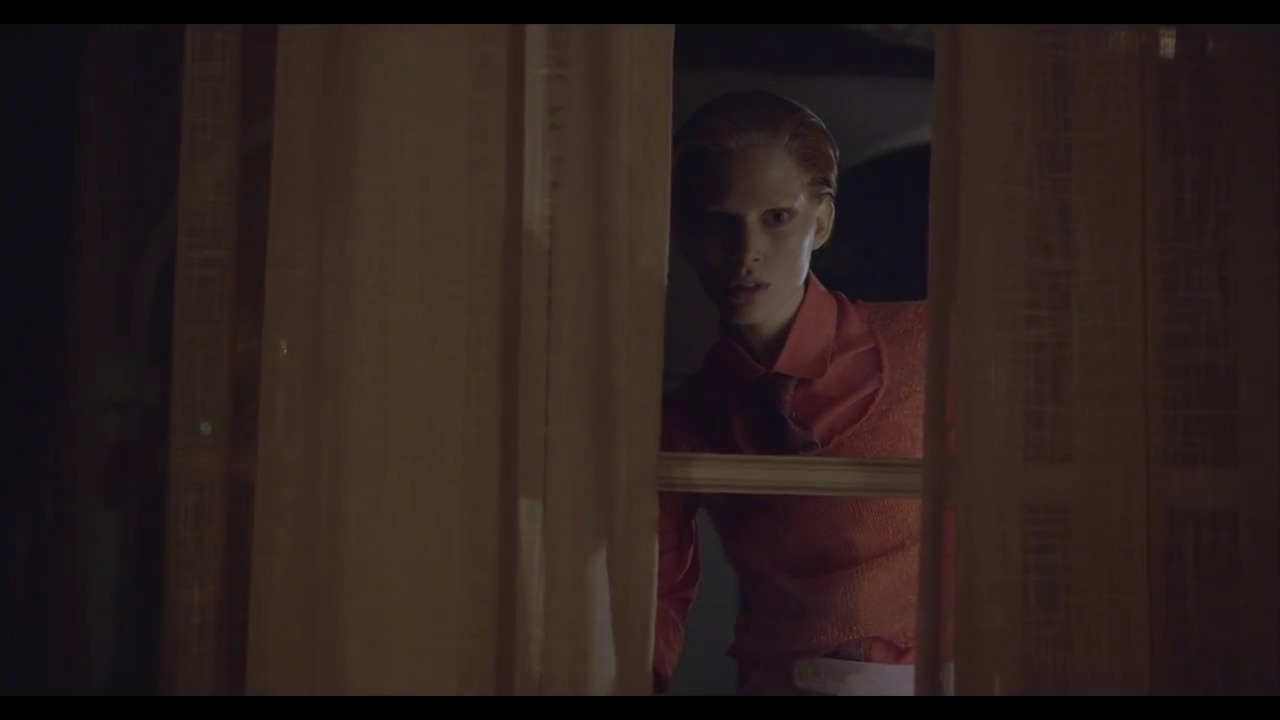
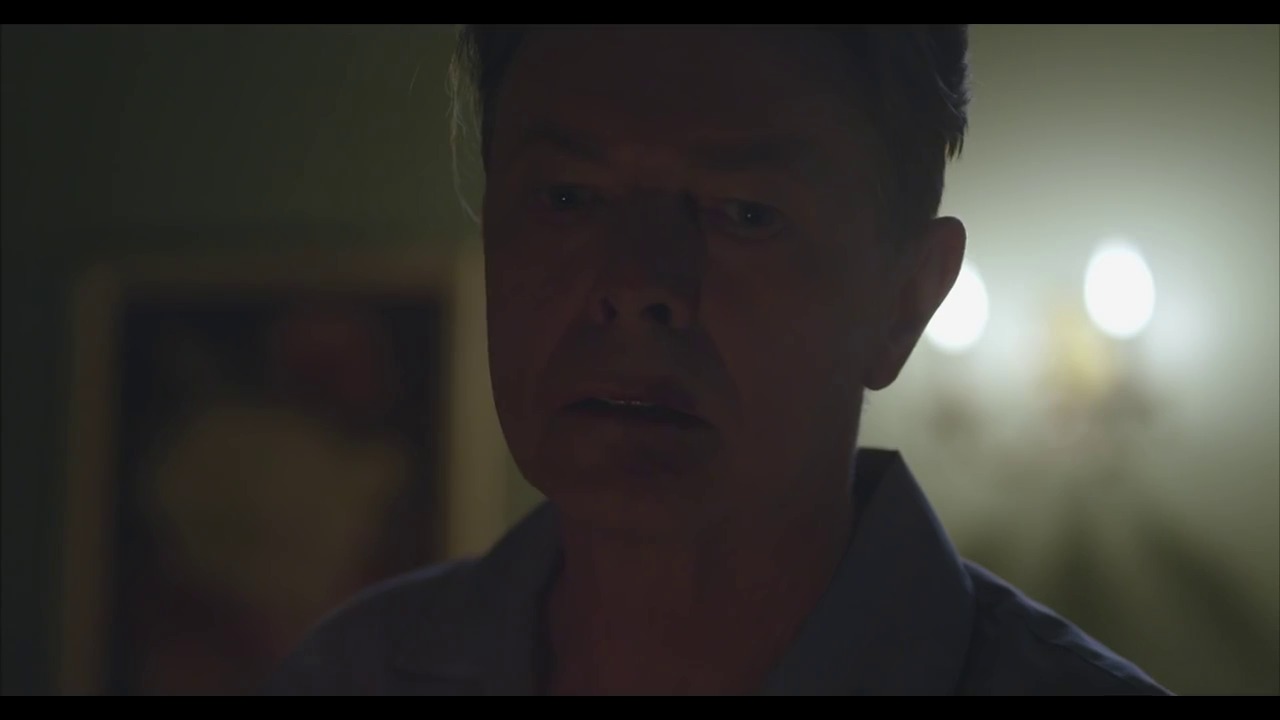

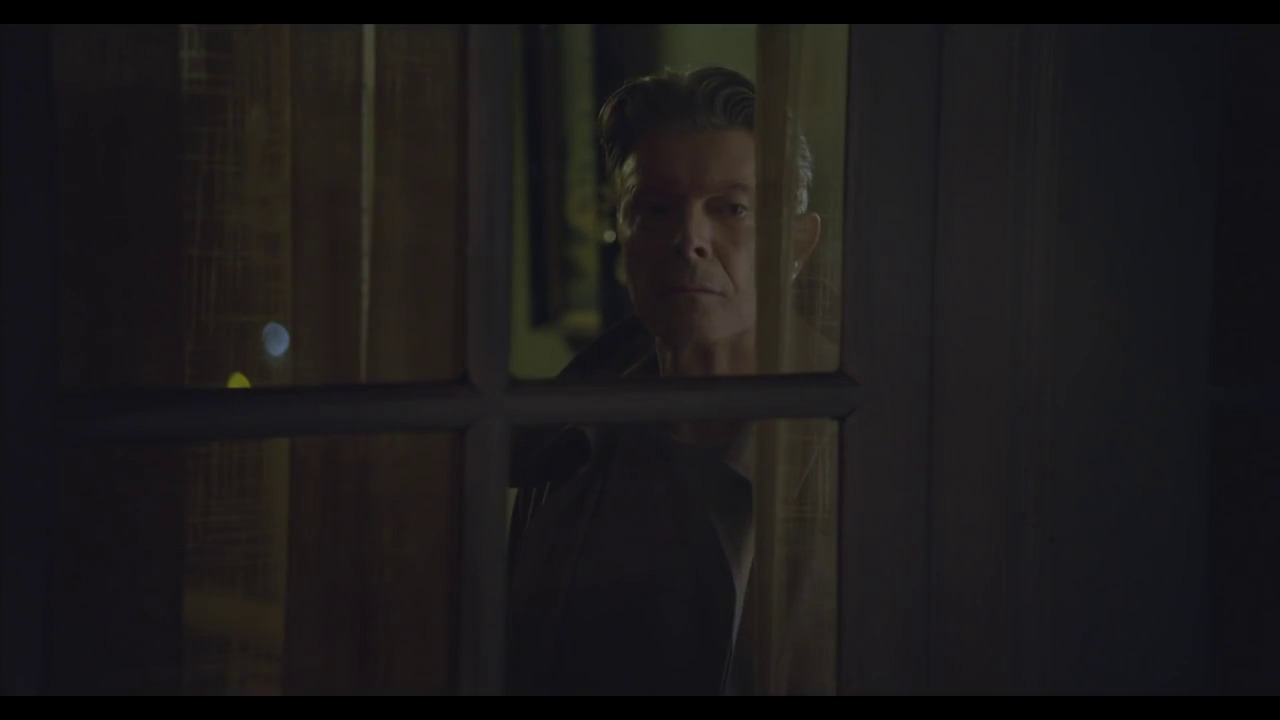
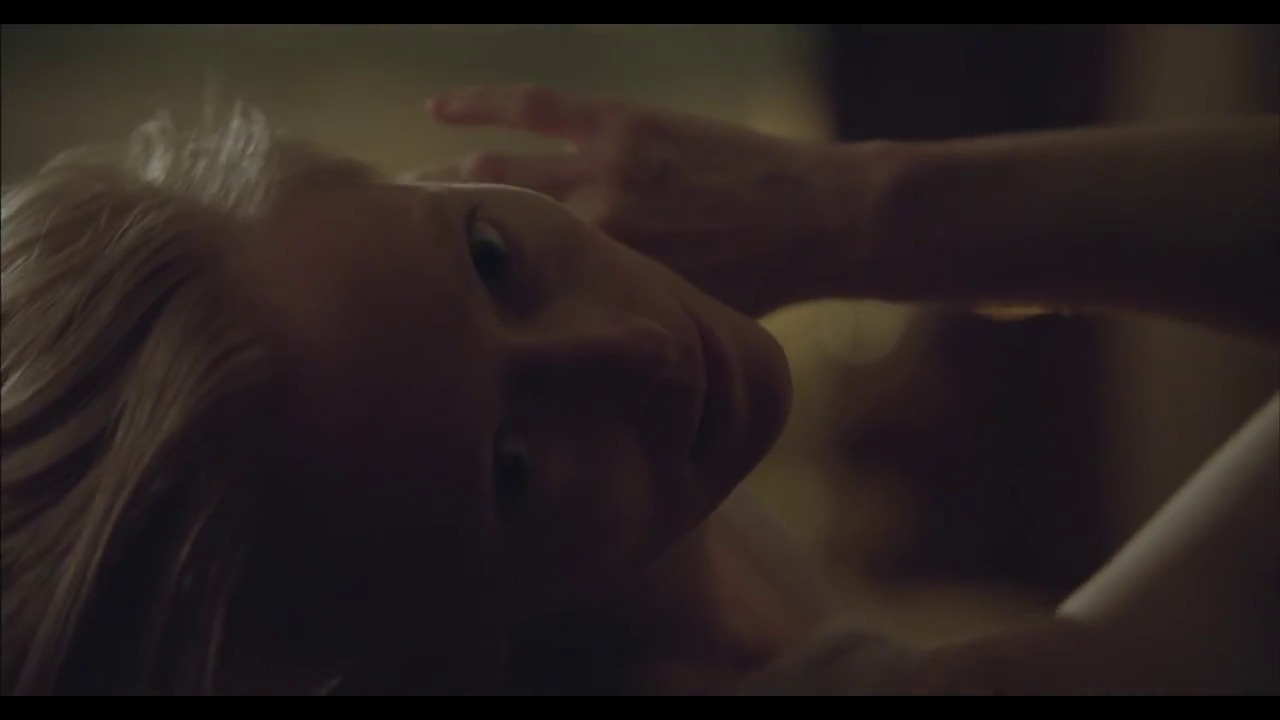
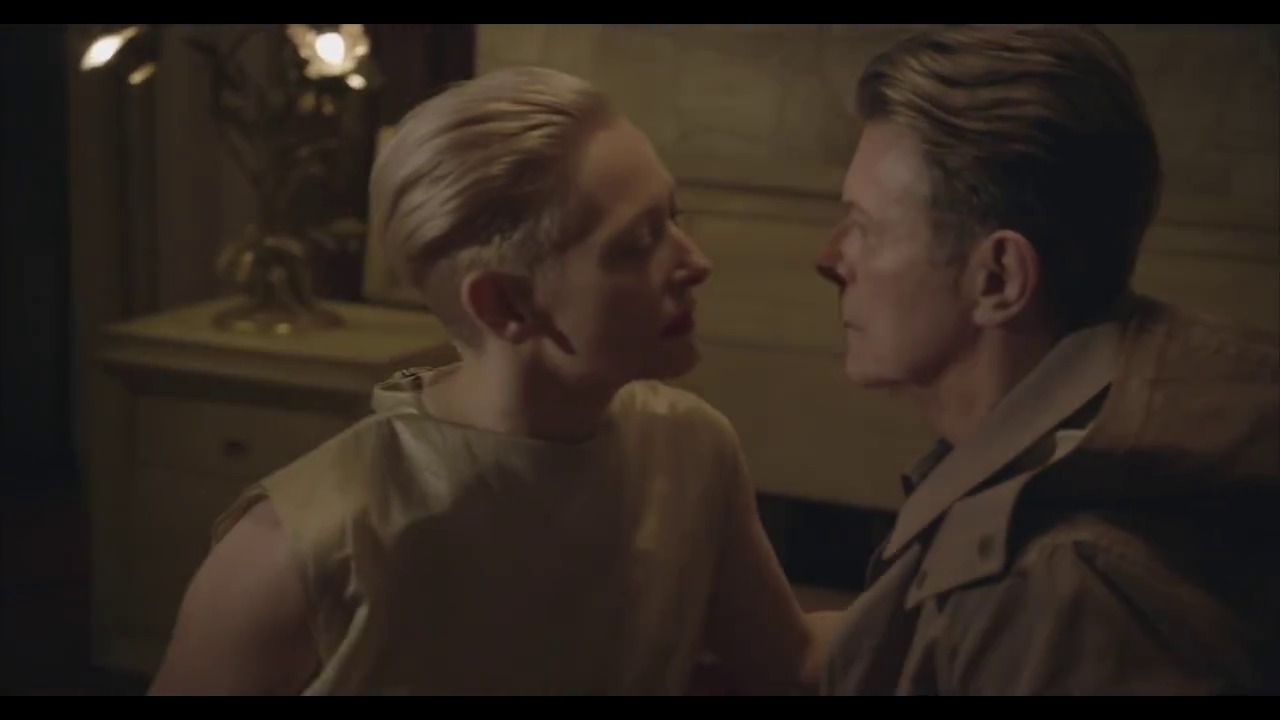
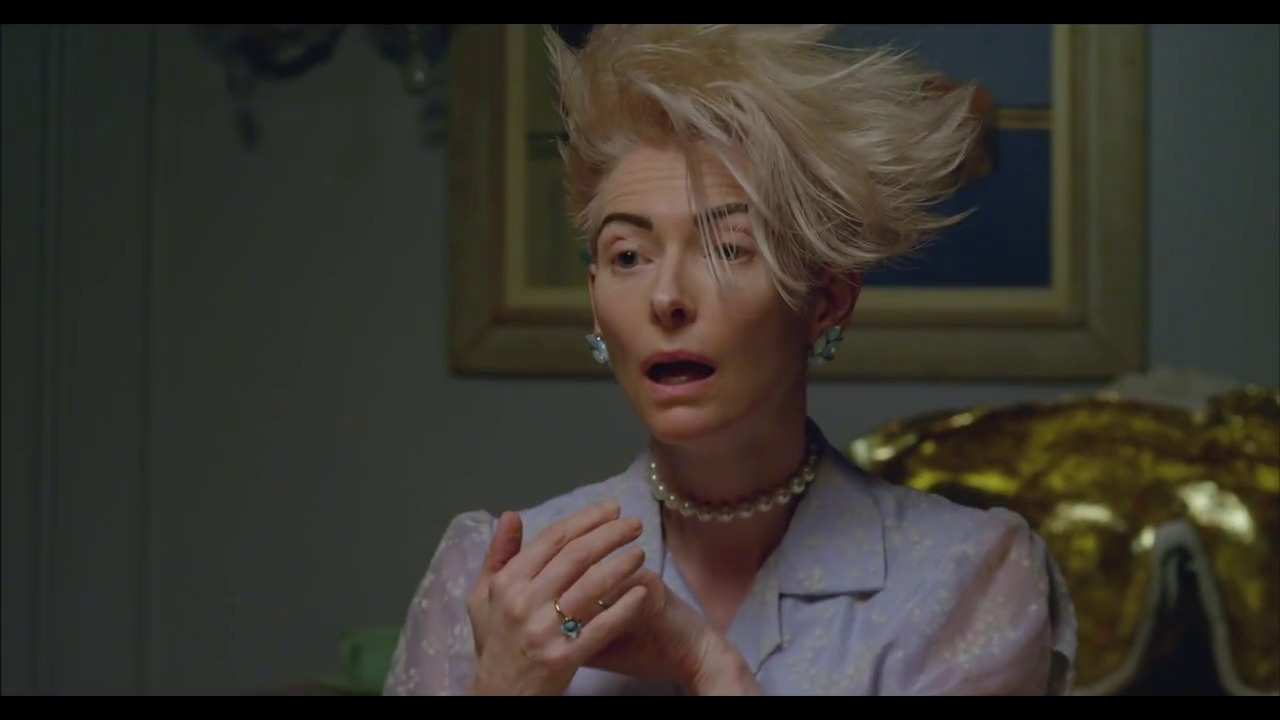
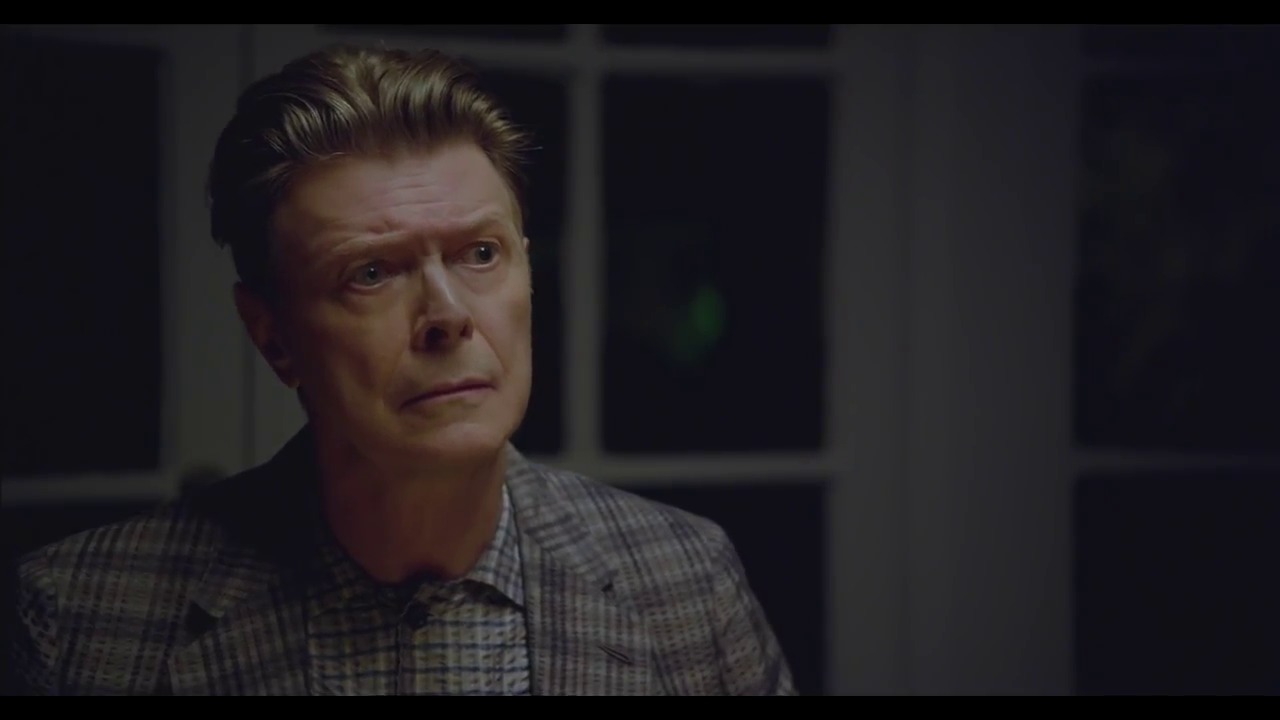
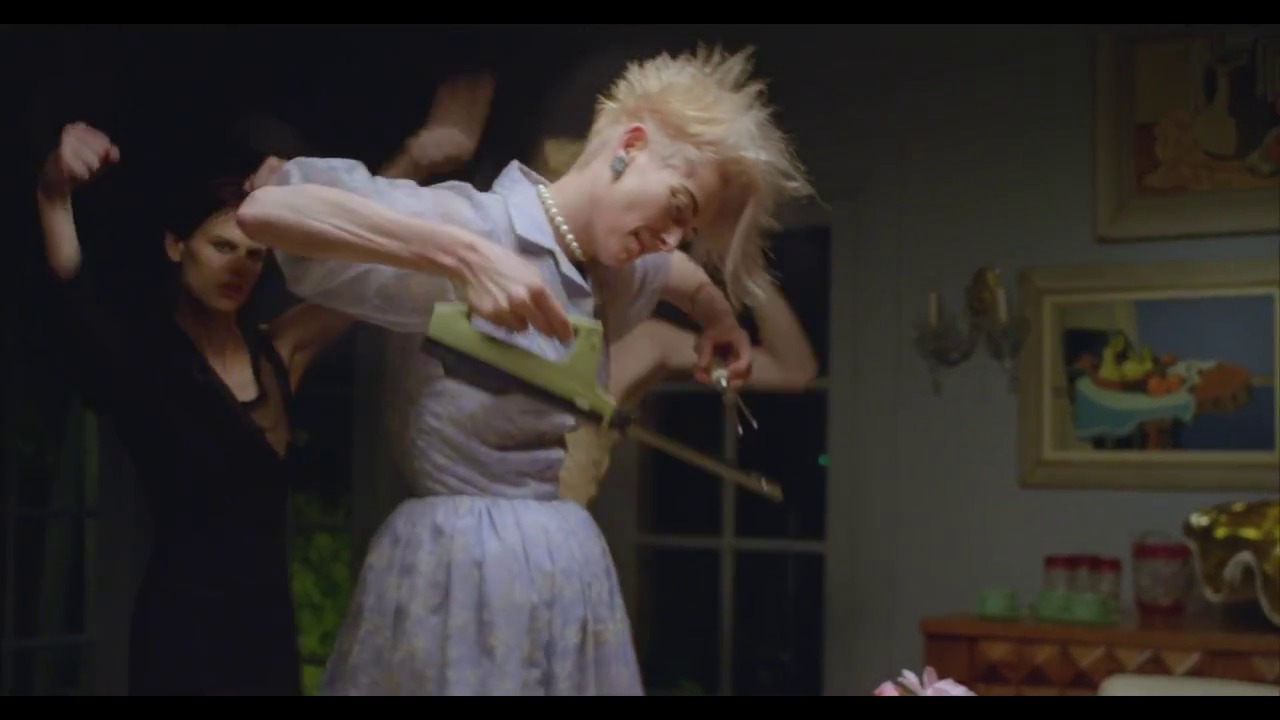
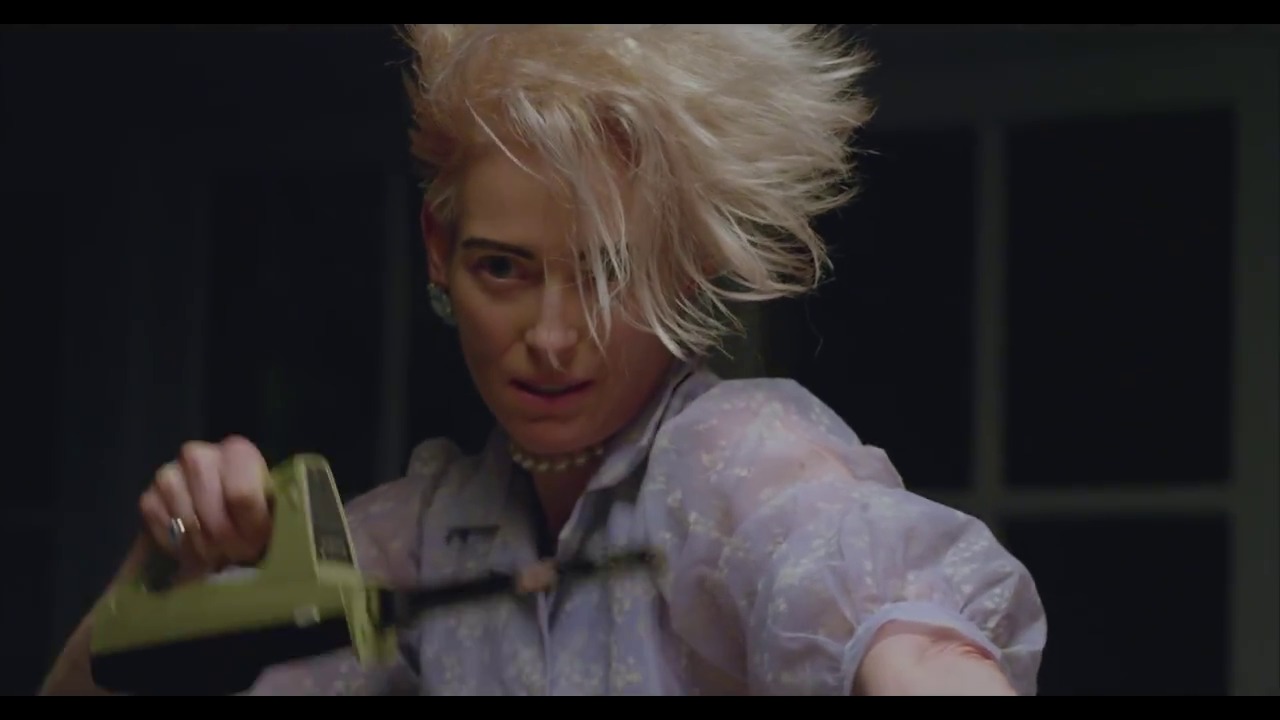
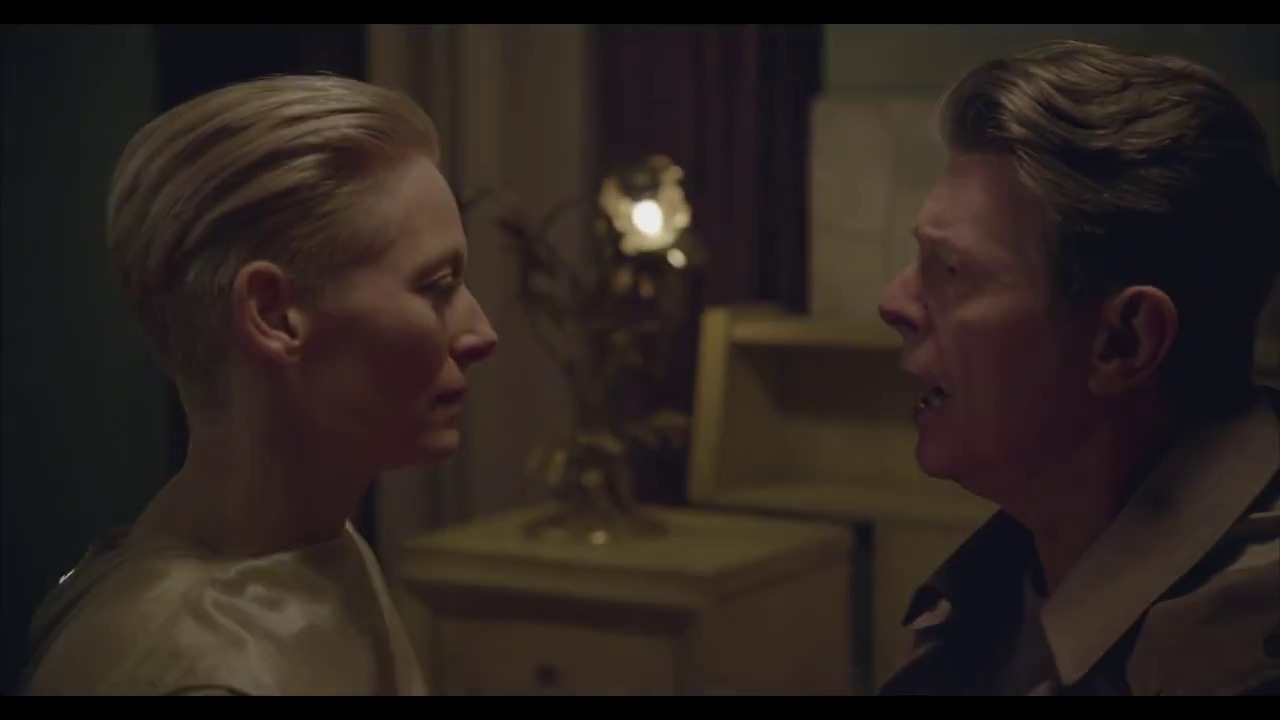
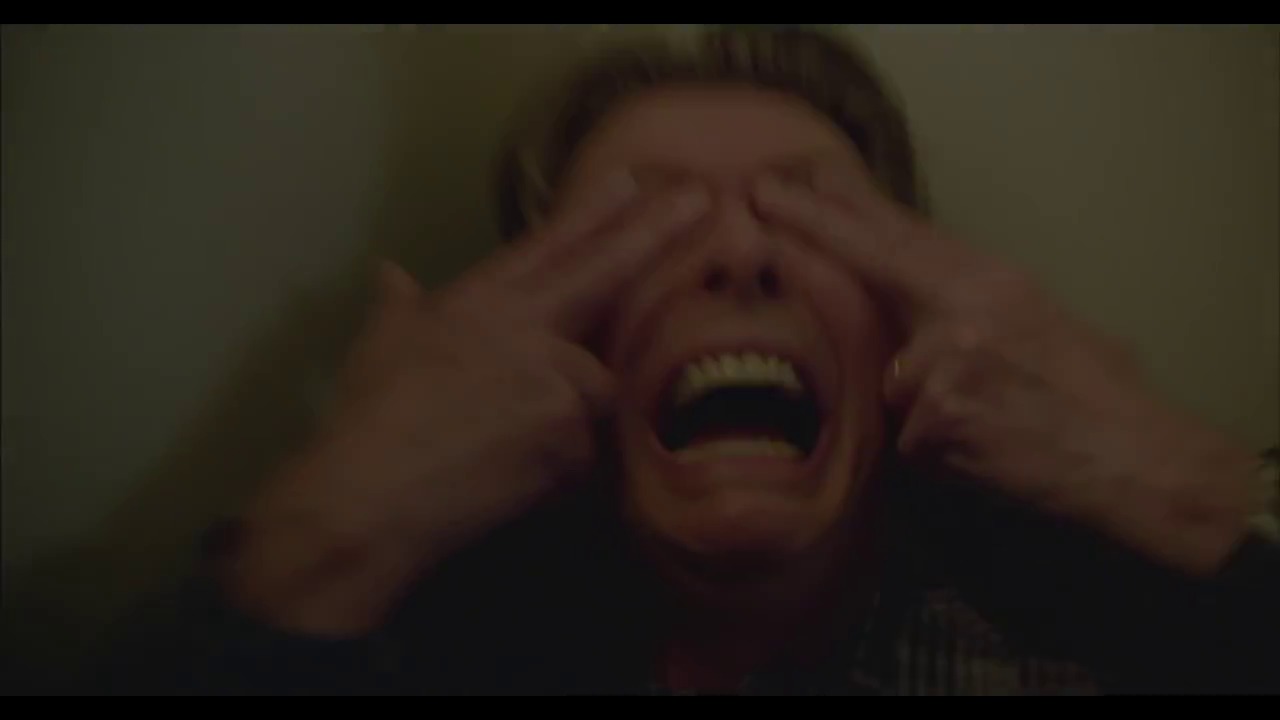
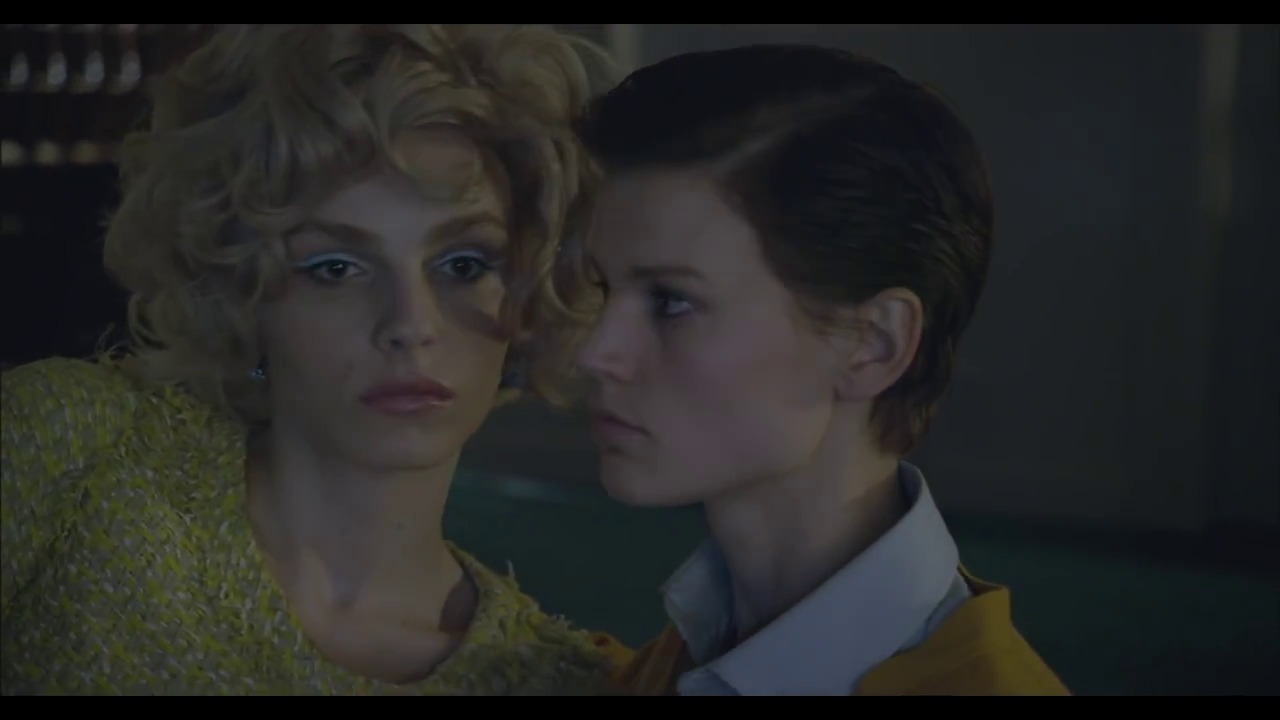

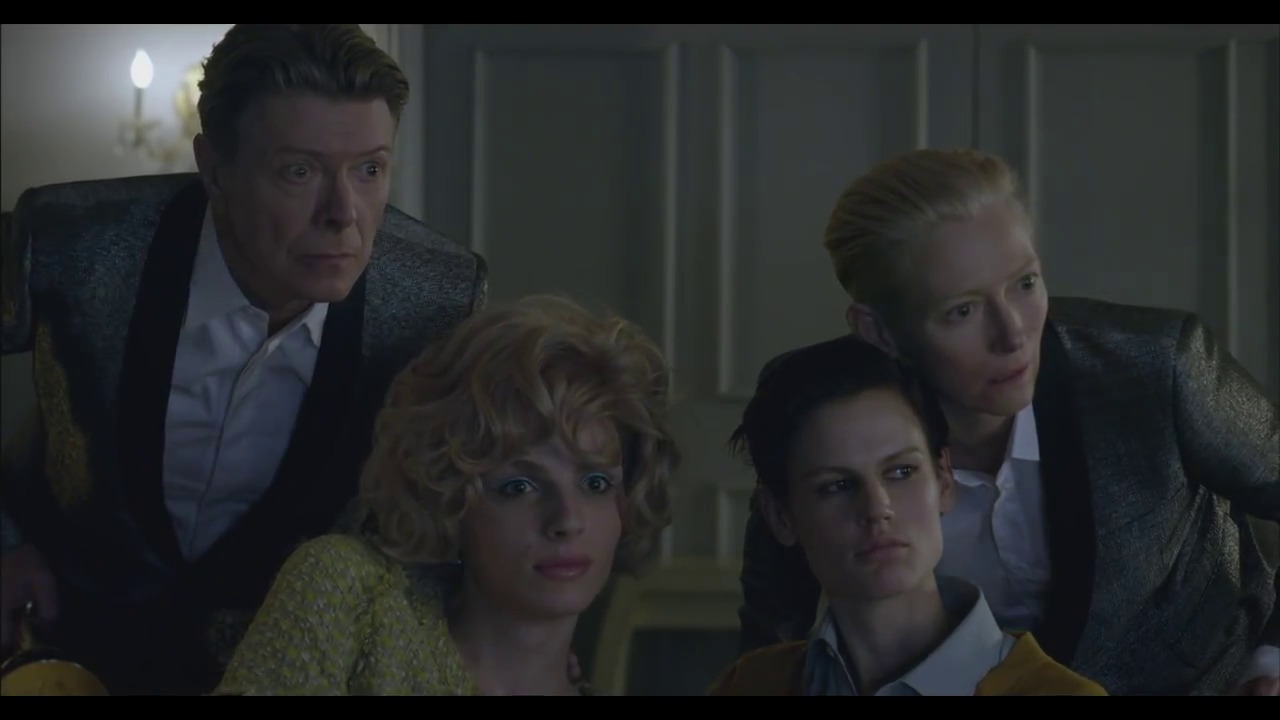

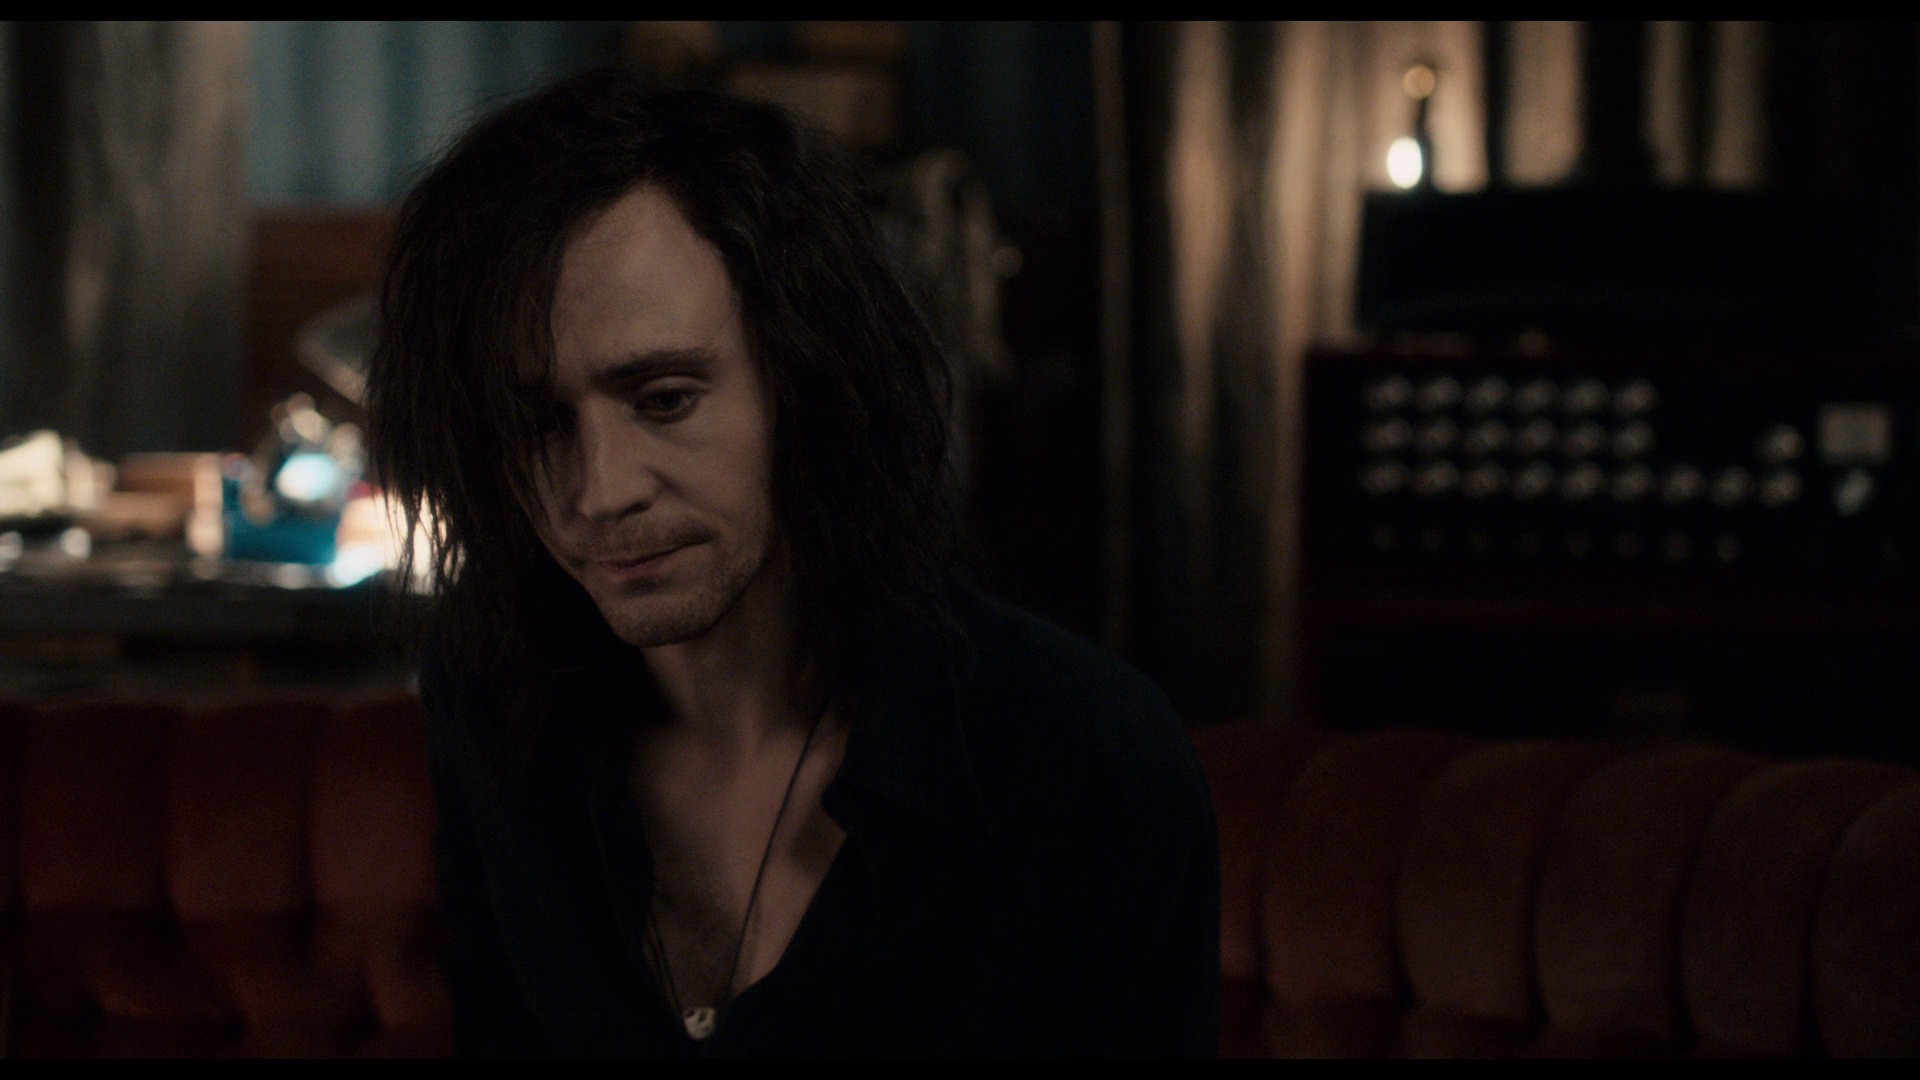
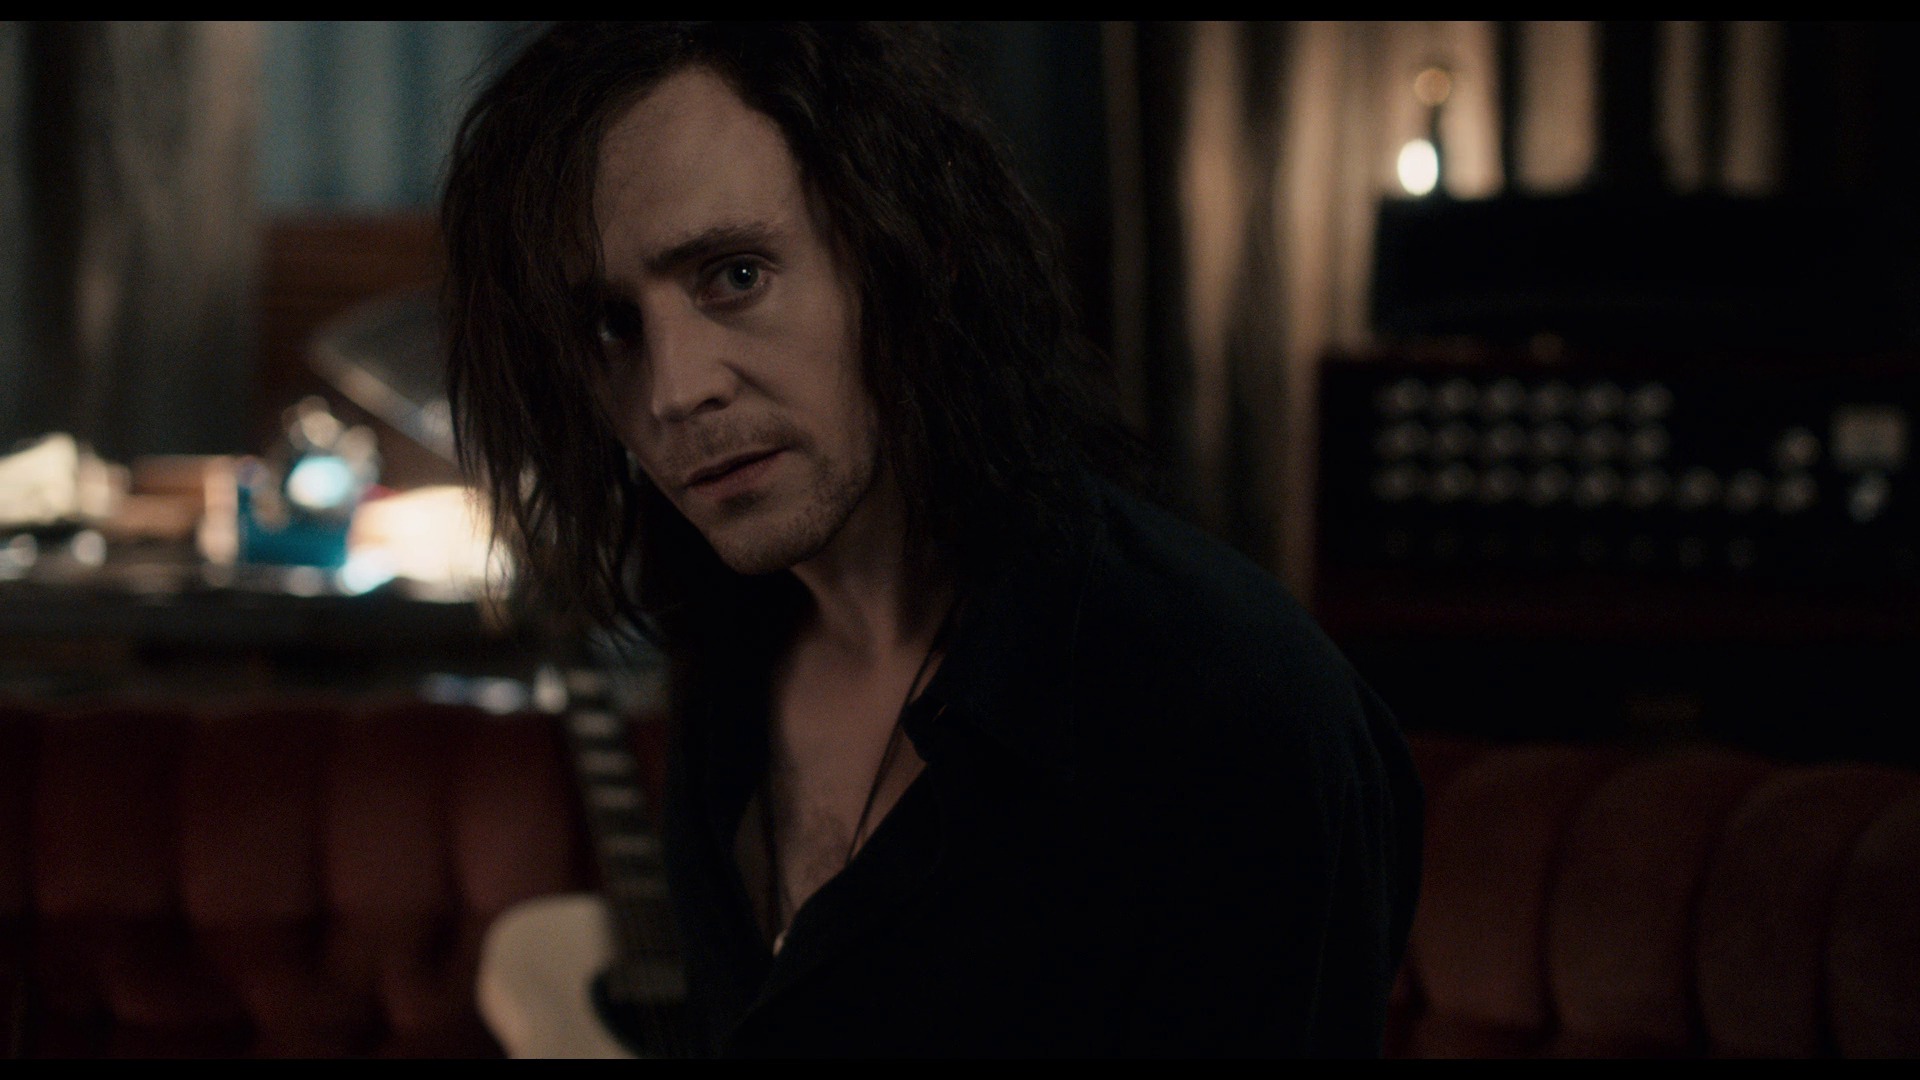
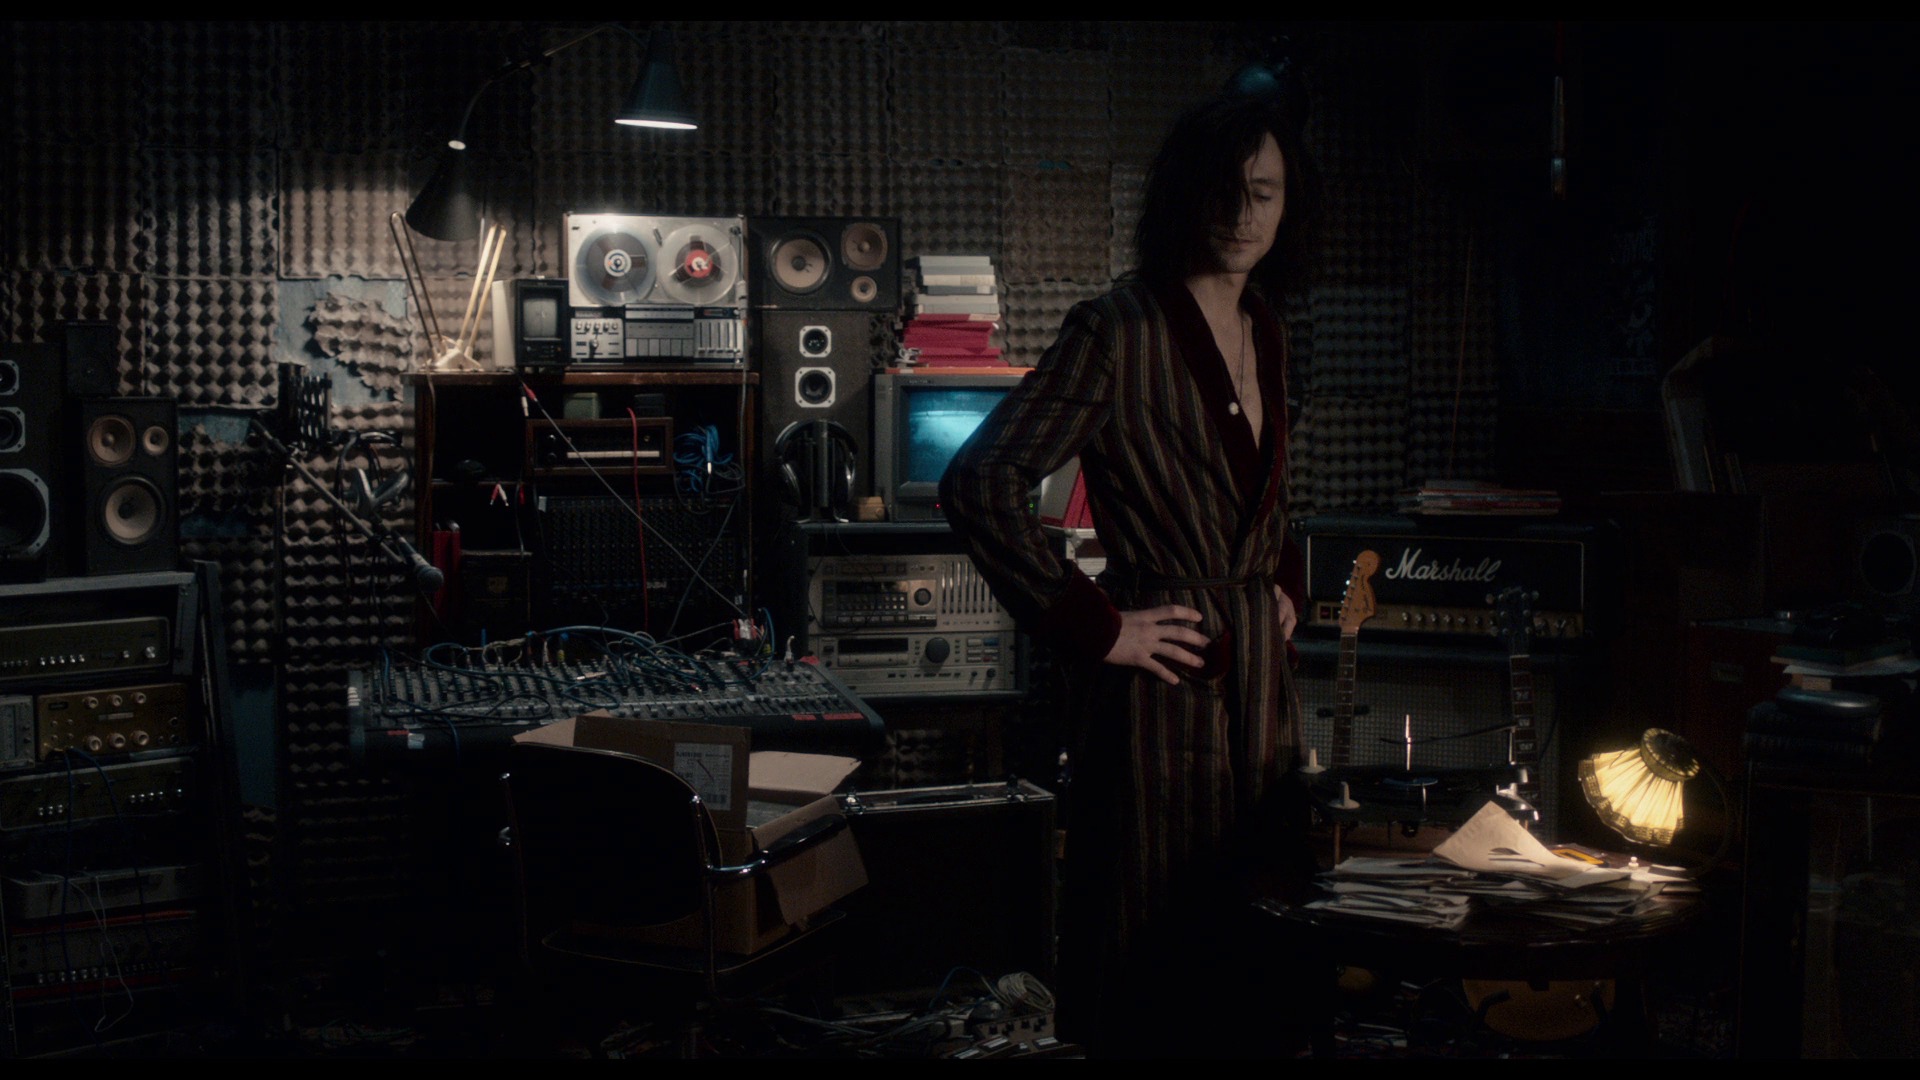
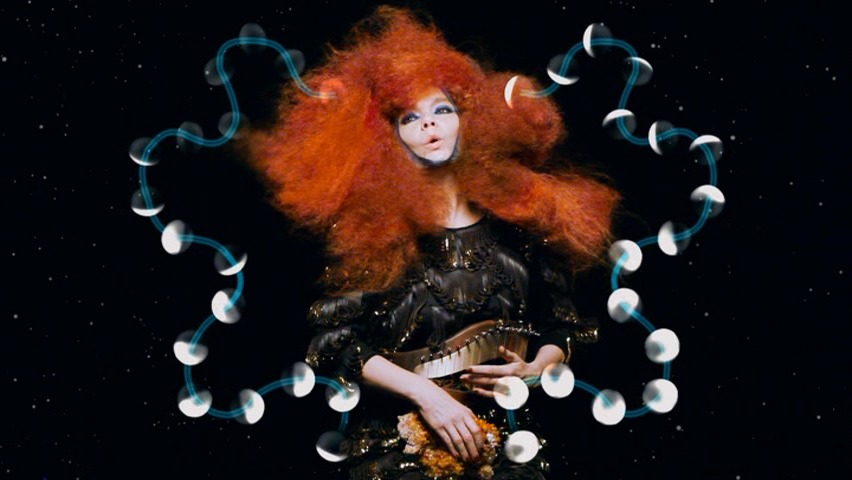
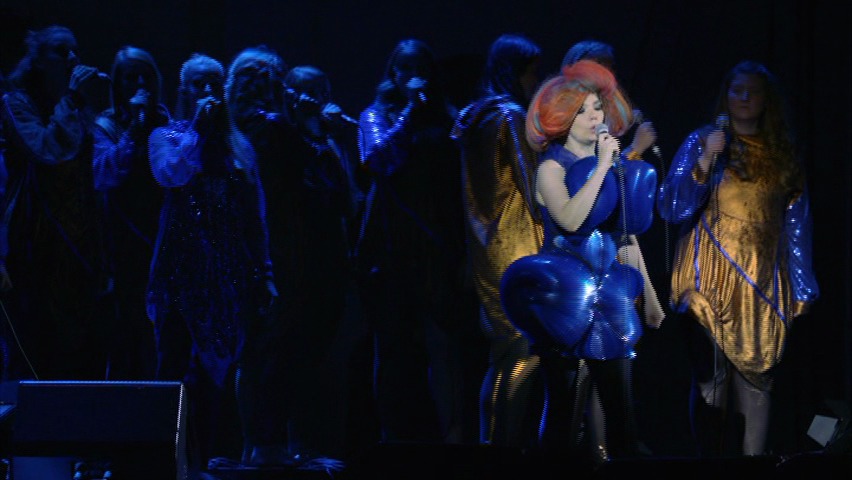
The Stars Are Out Tonight. Floria Sigismondi. 2013.
It’s a proper music video! Yay.
This video can be found on Youtube.
This post is part of The Tilda Swinton Project.
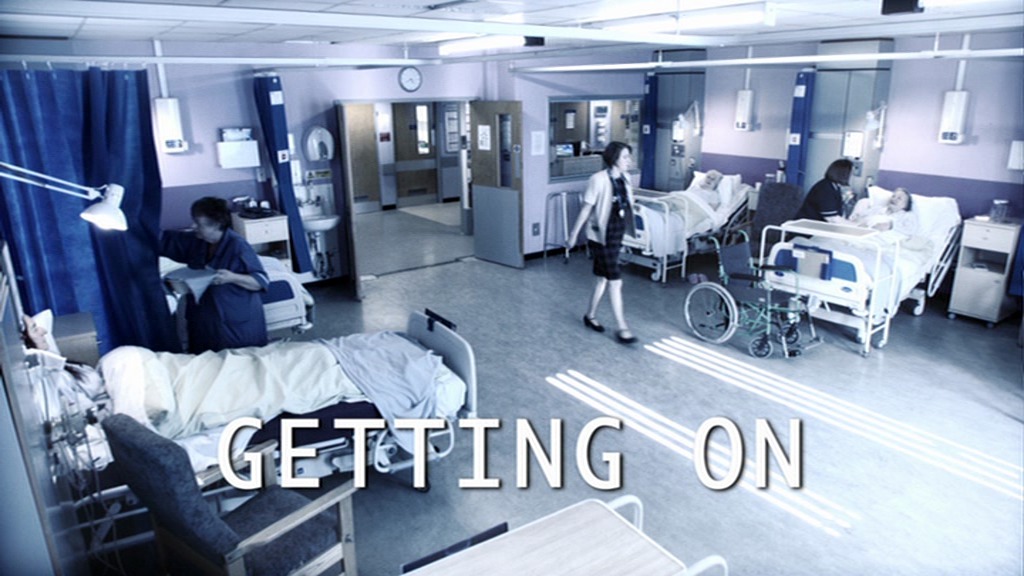

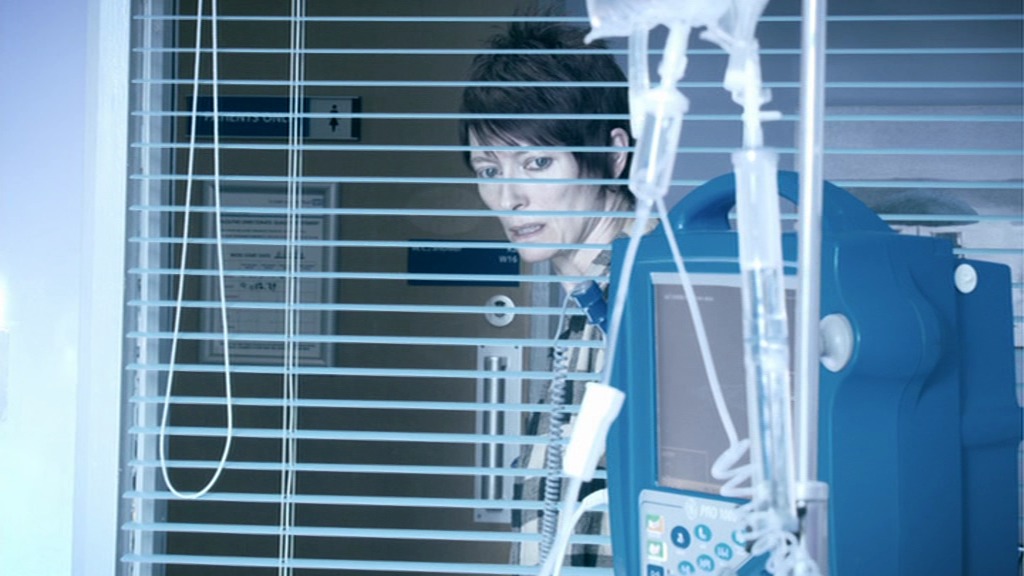
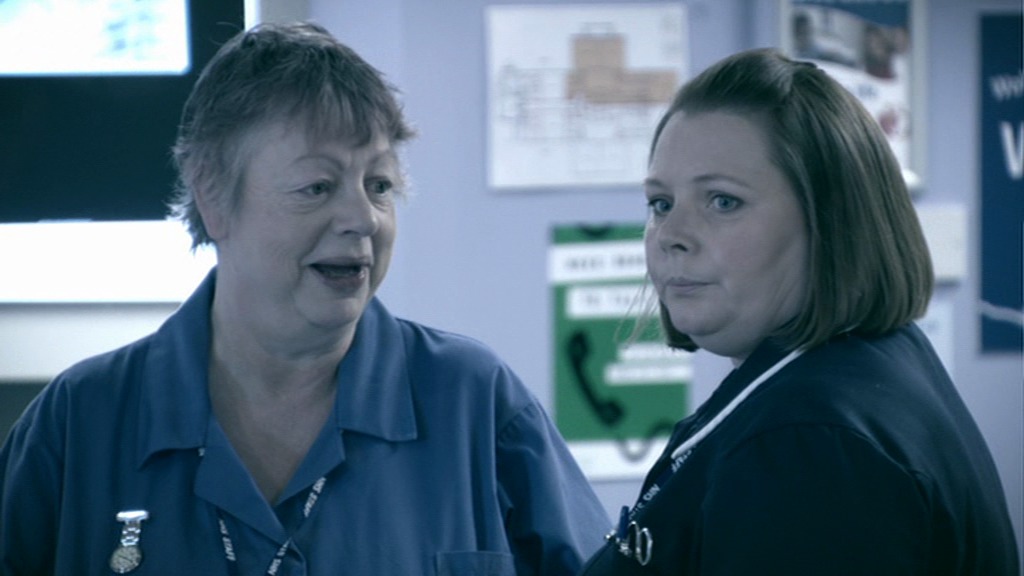
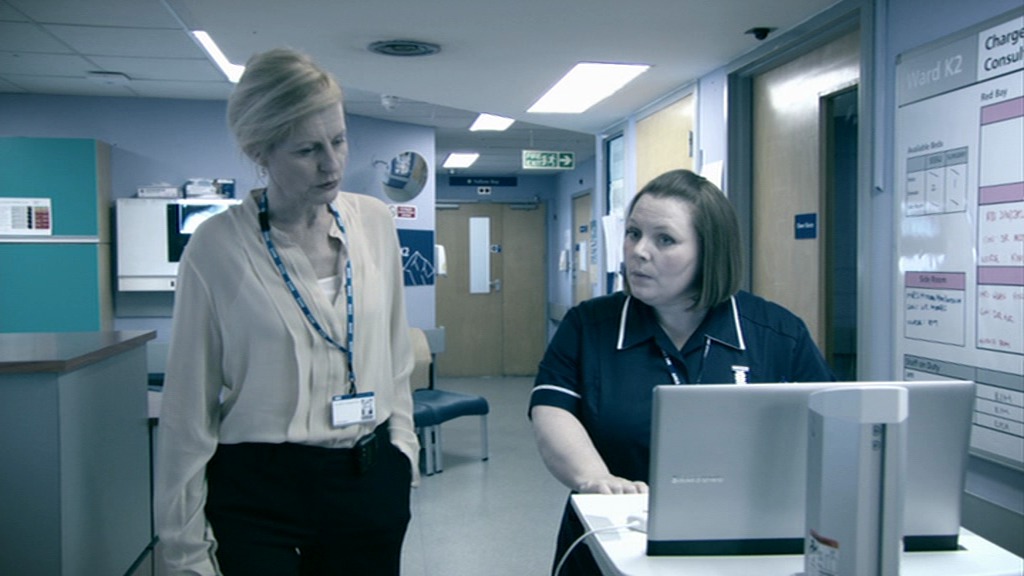
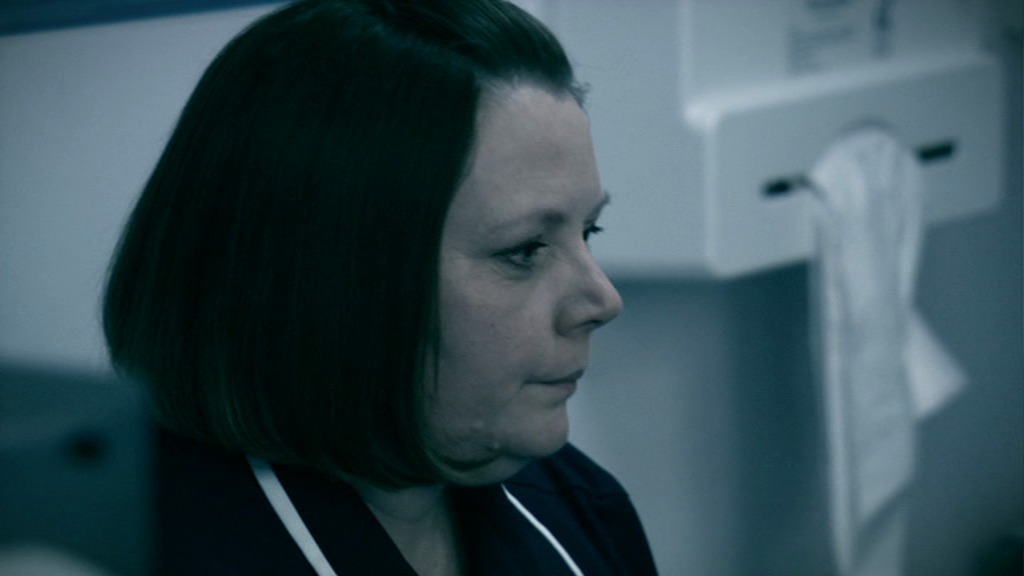
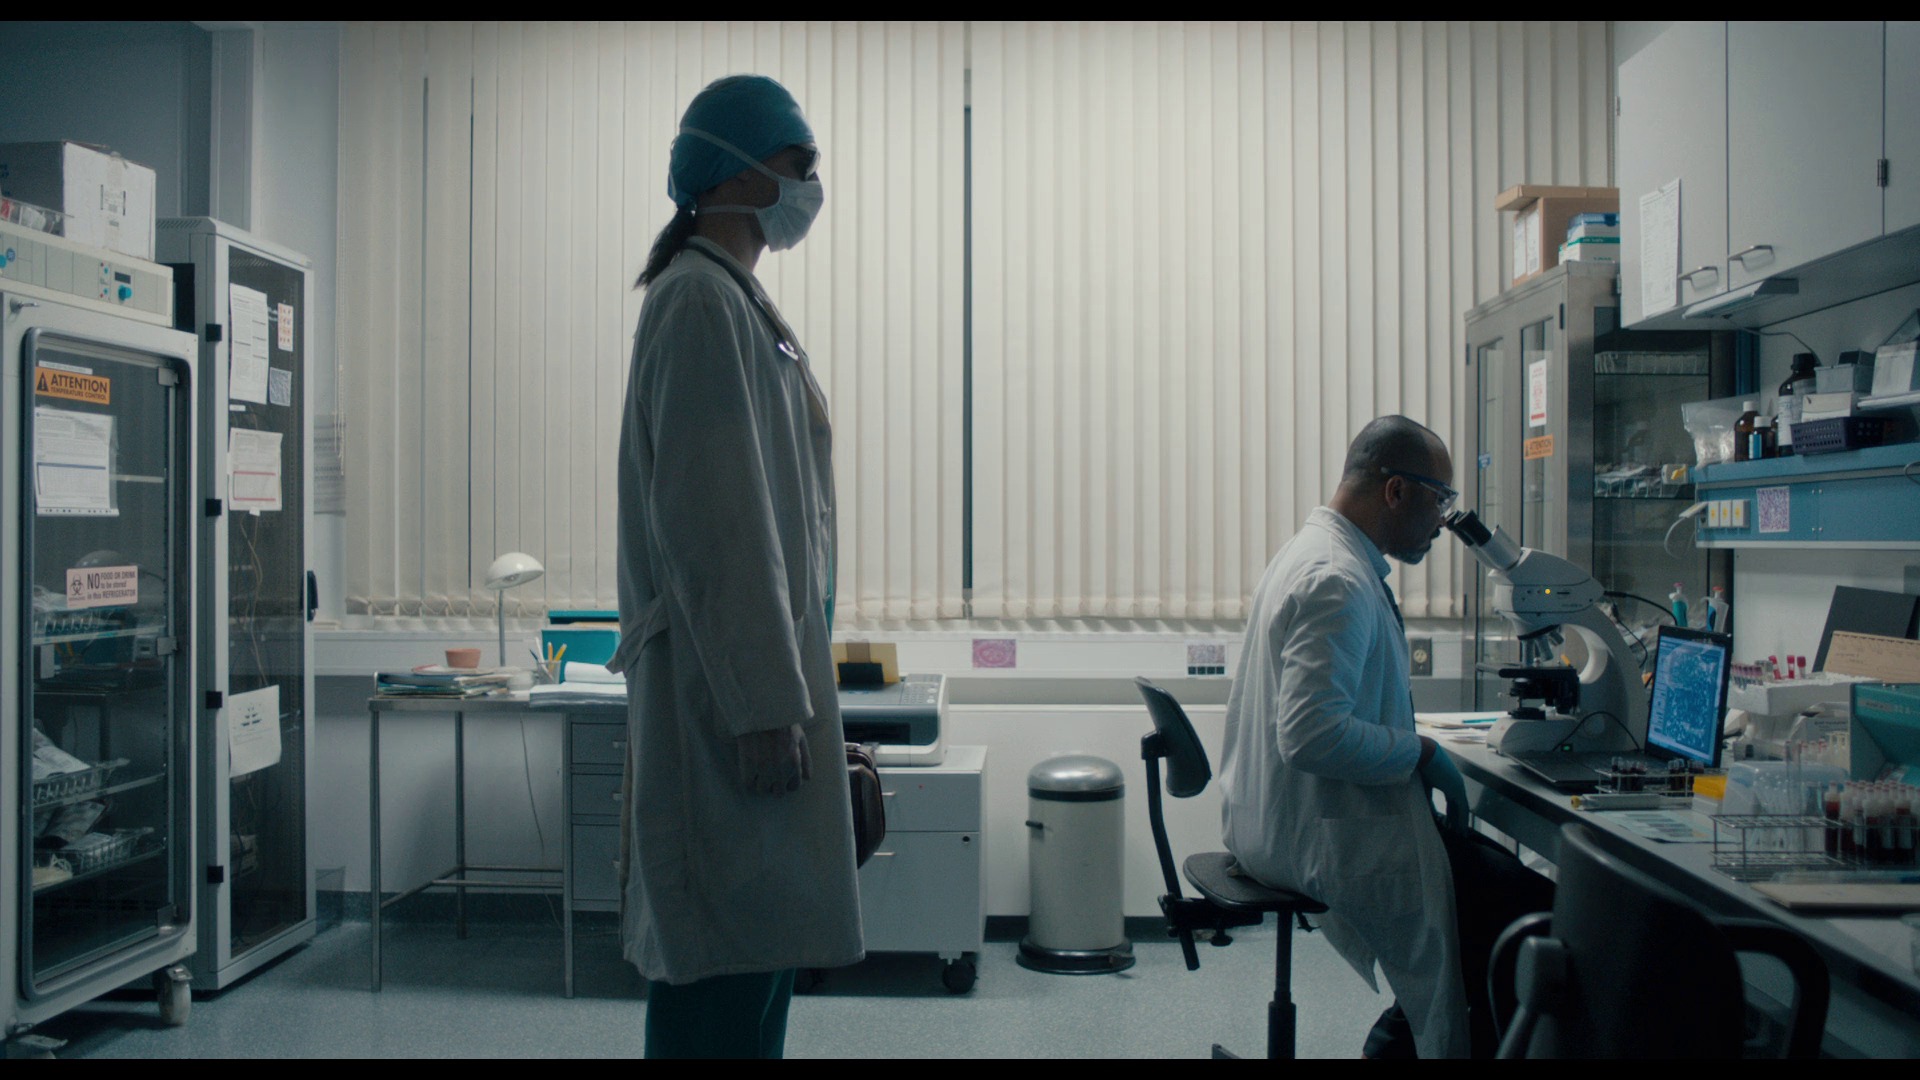
Getting On. Susan Tully. 2012.
This is a really uninformed opinion, as this is the first episode I’ve seen. And this was the last episode from the third series. So it might be brilliant, and I’m just not getting it. But I’m unlikely to get around to watching the entire series, because it’s filmed in really nausea-inducing shakycam. It almost did me in.
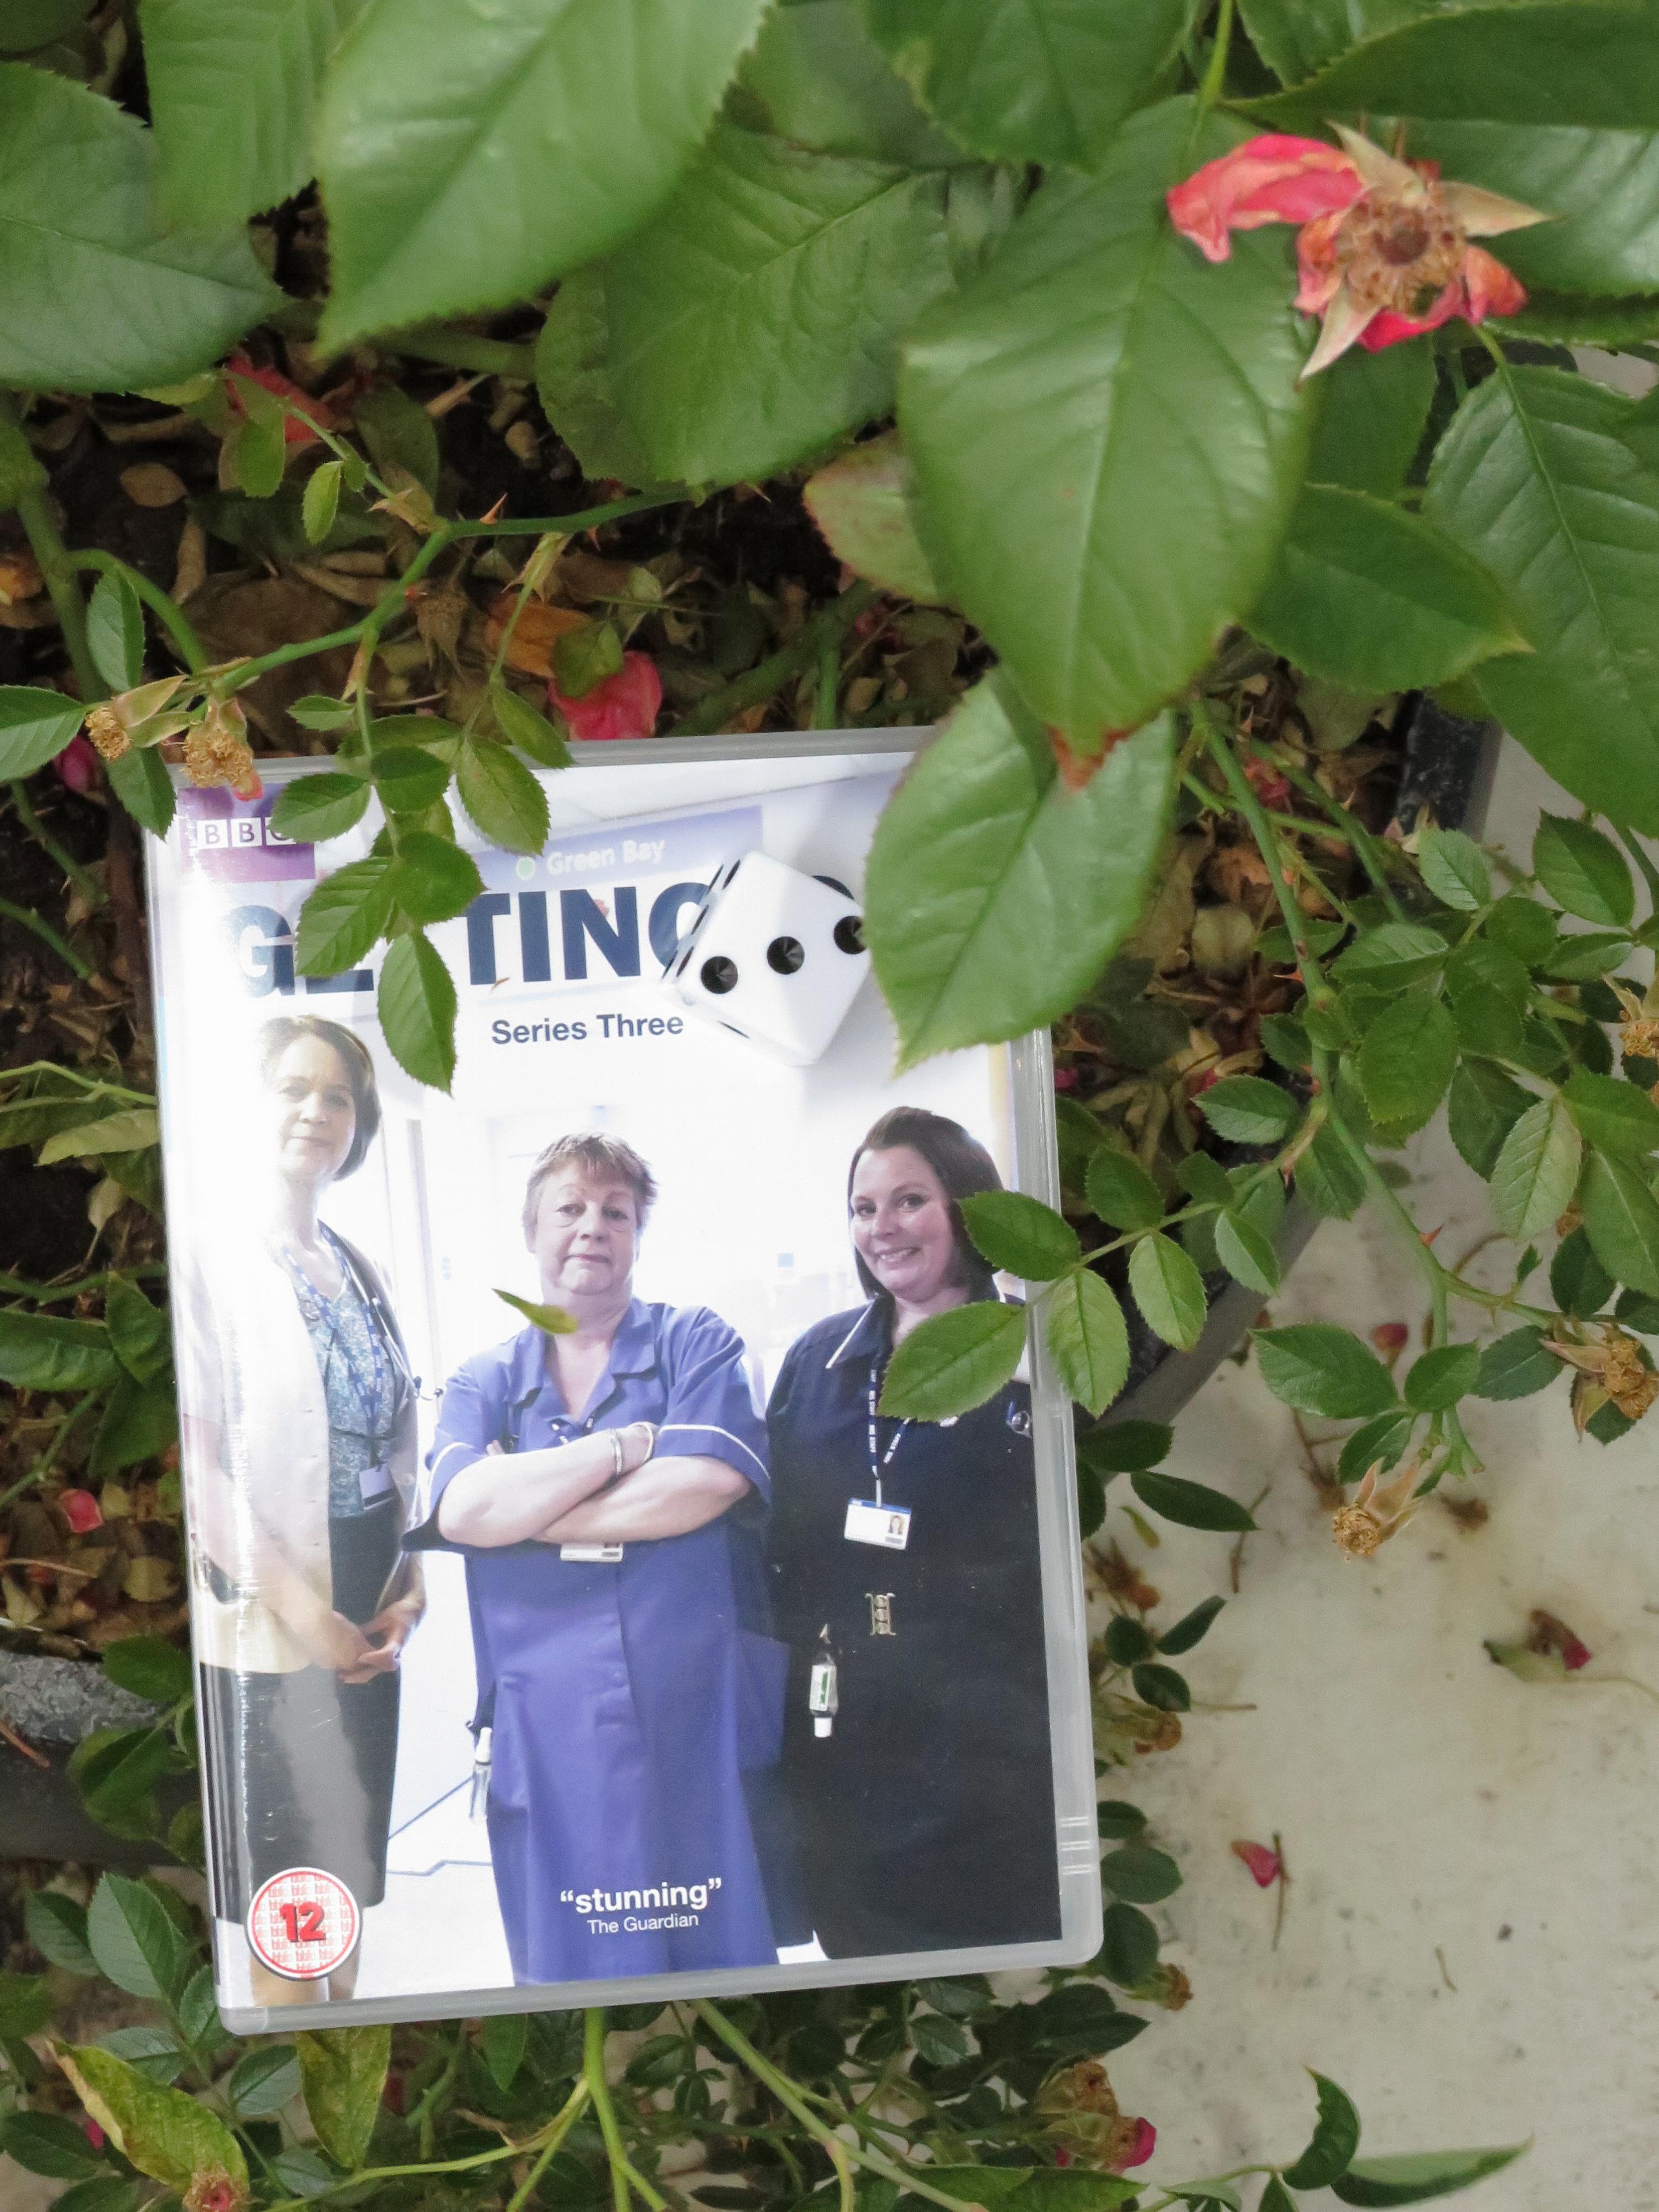
This post is part of The Tilda Swinton Project.

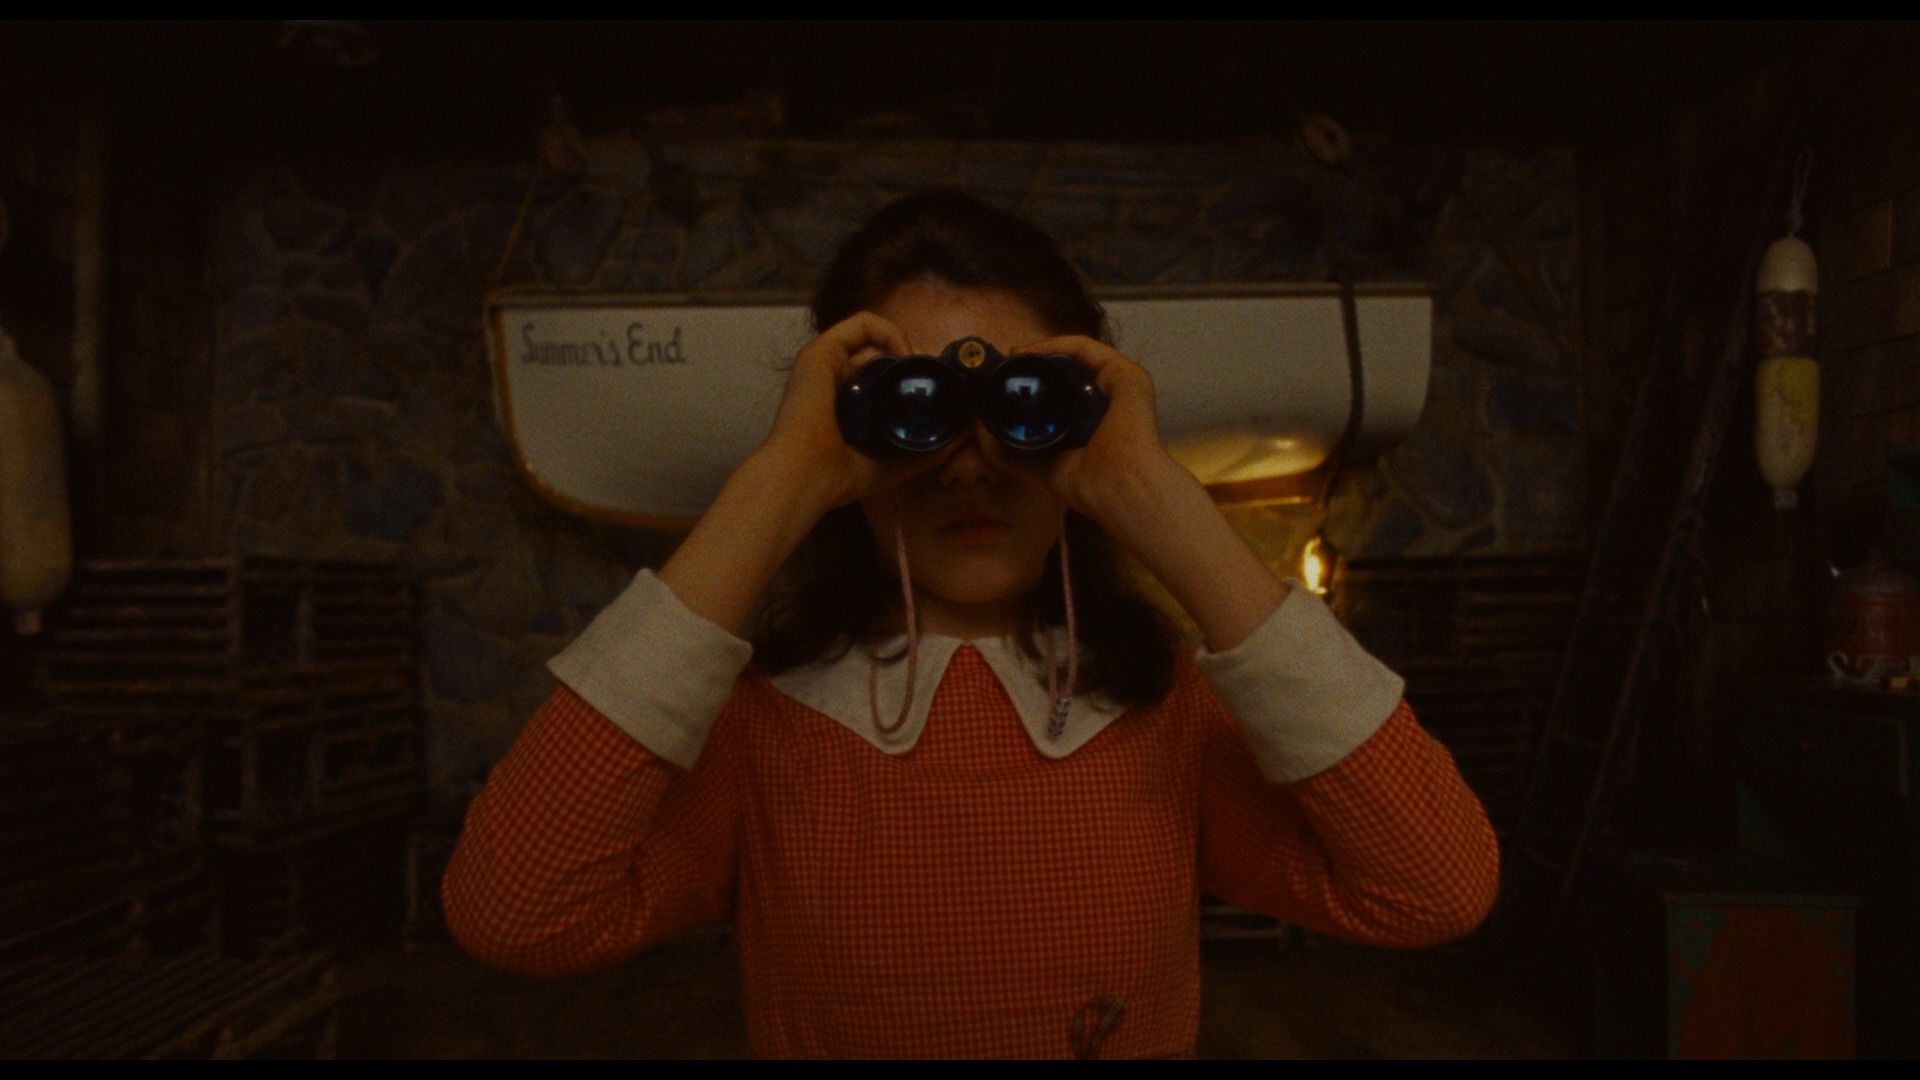

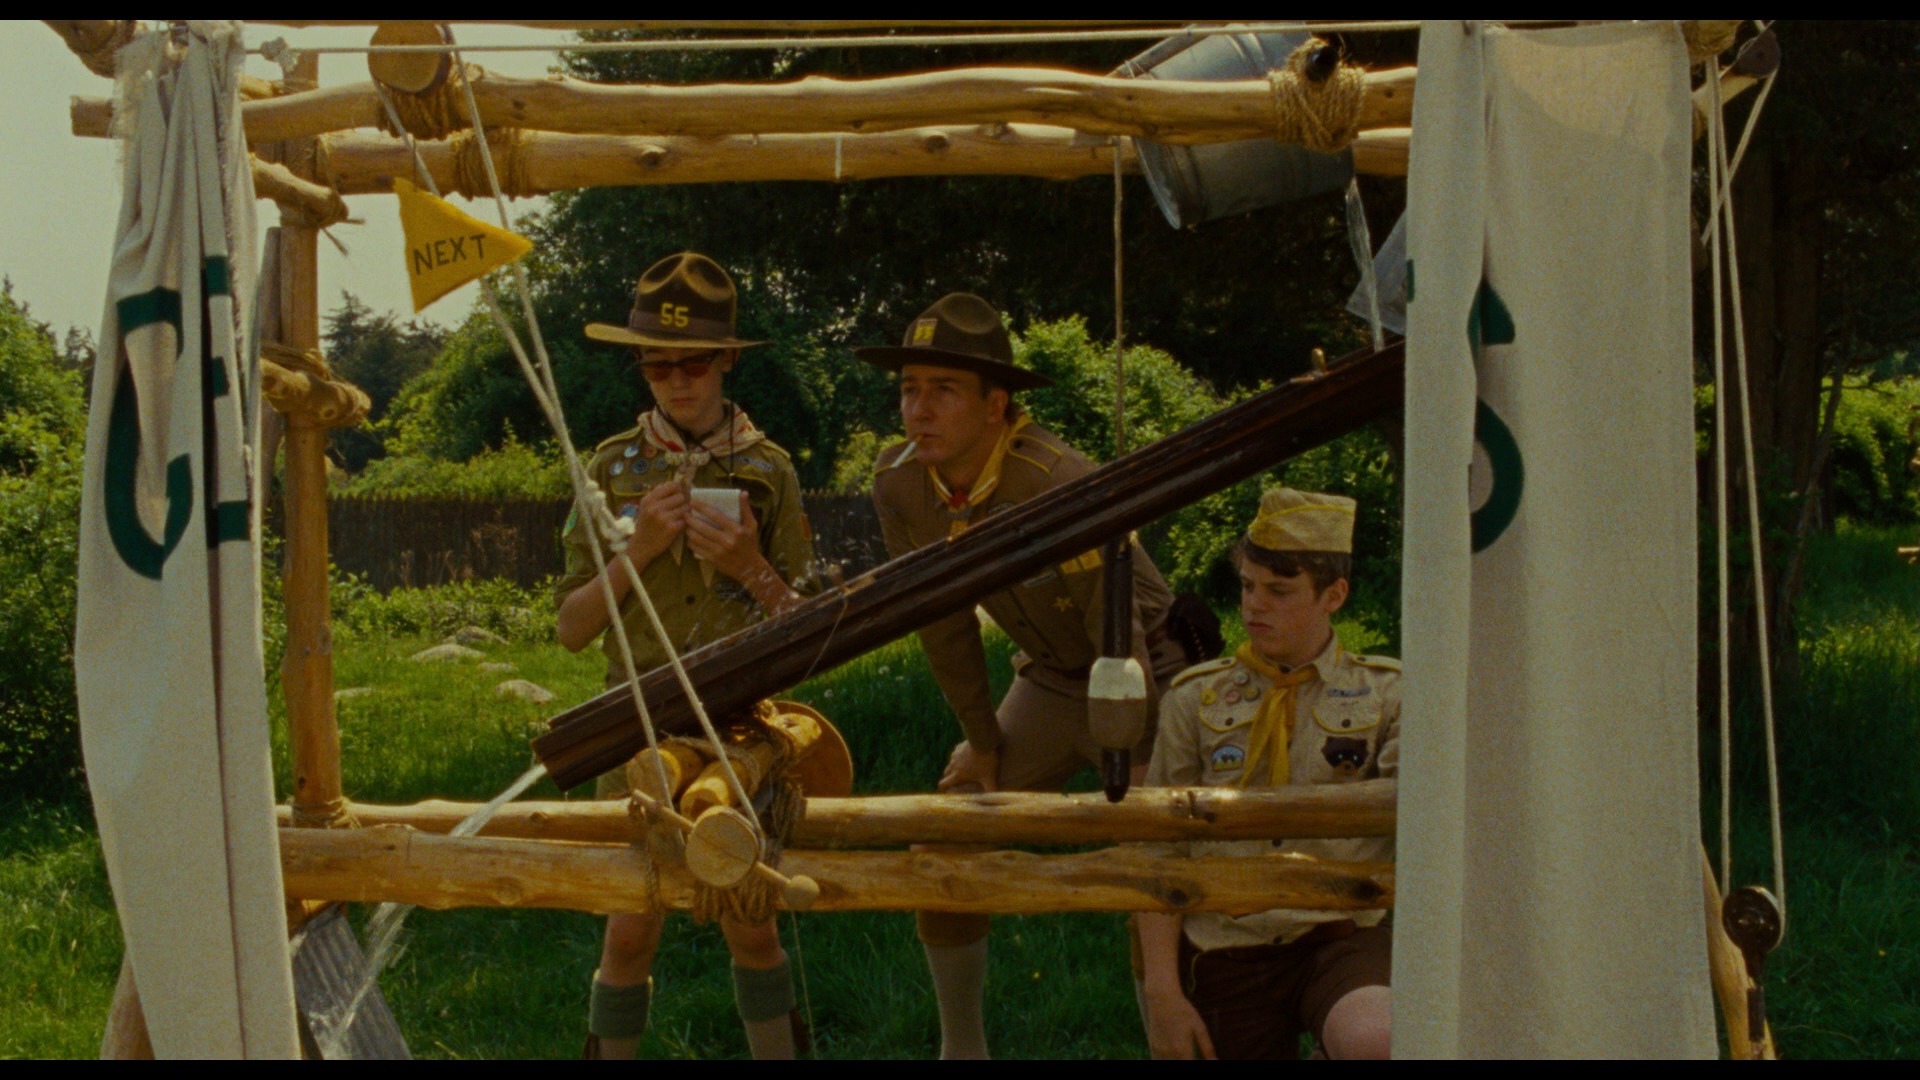
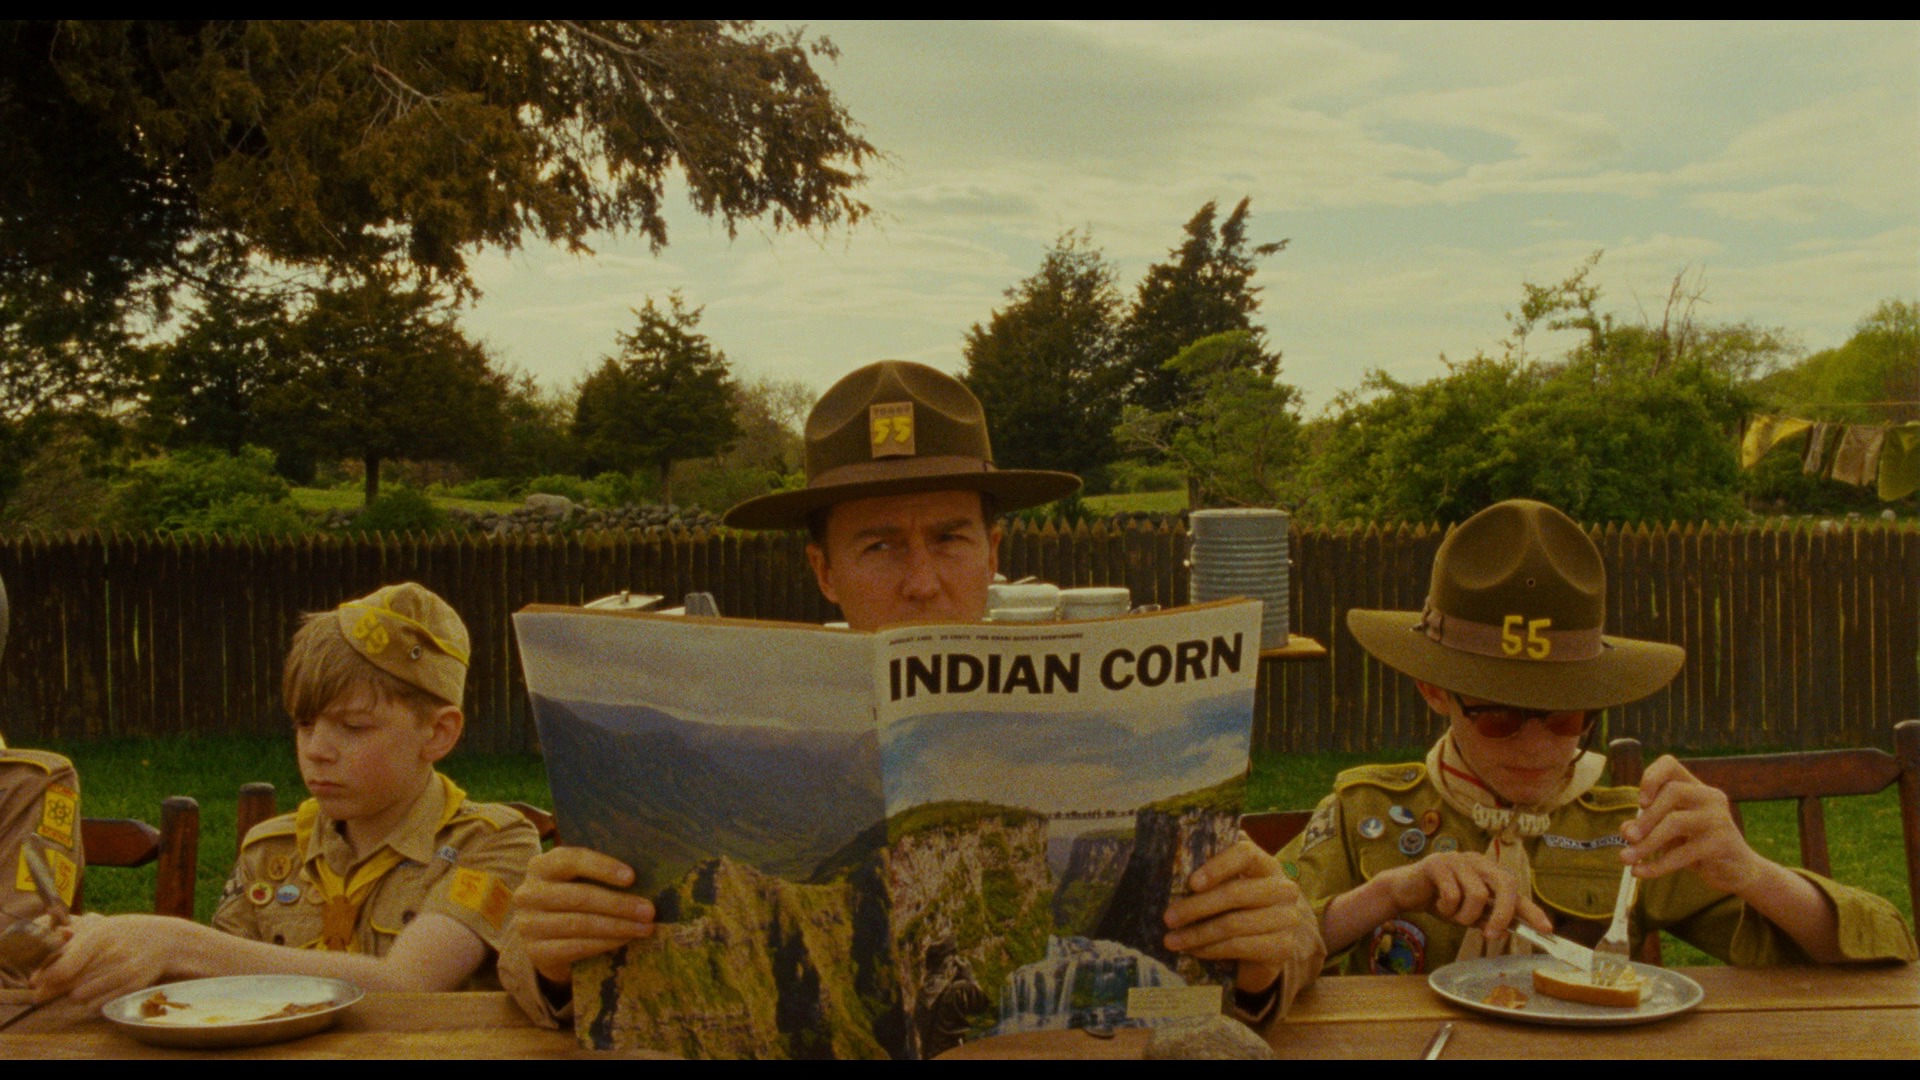
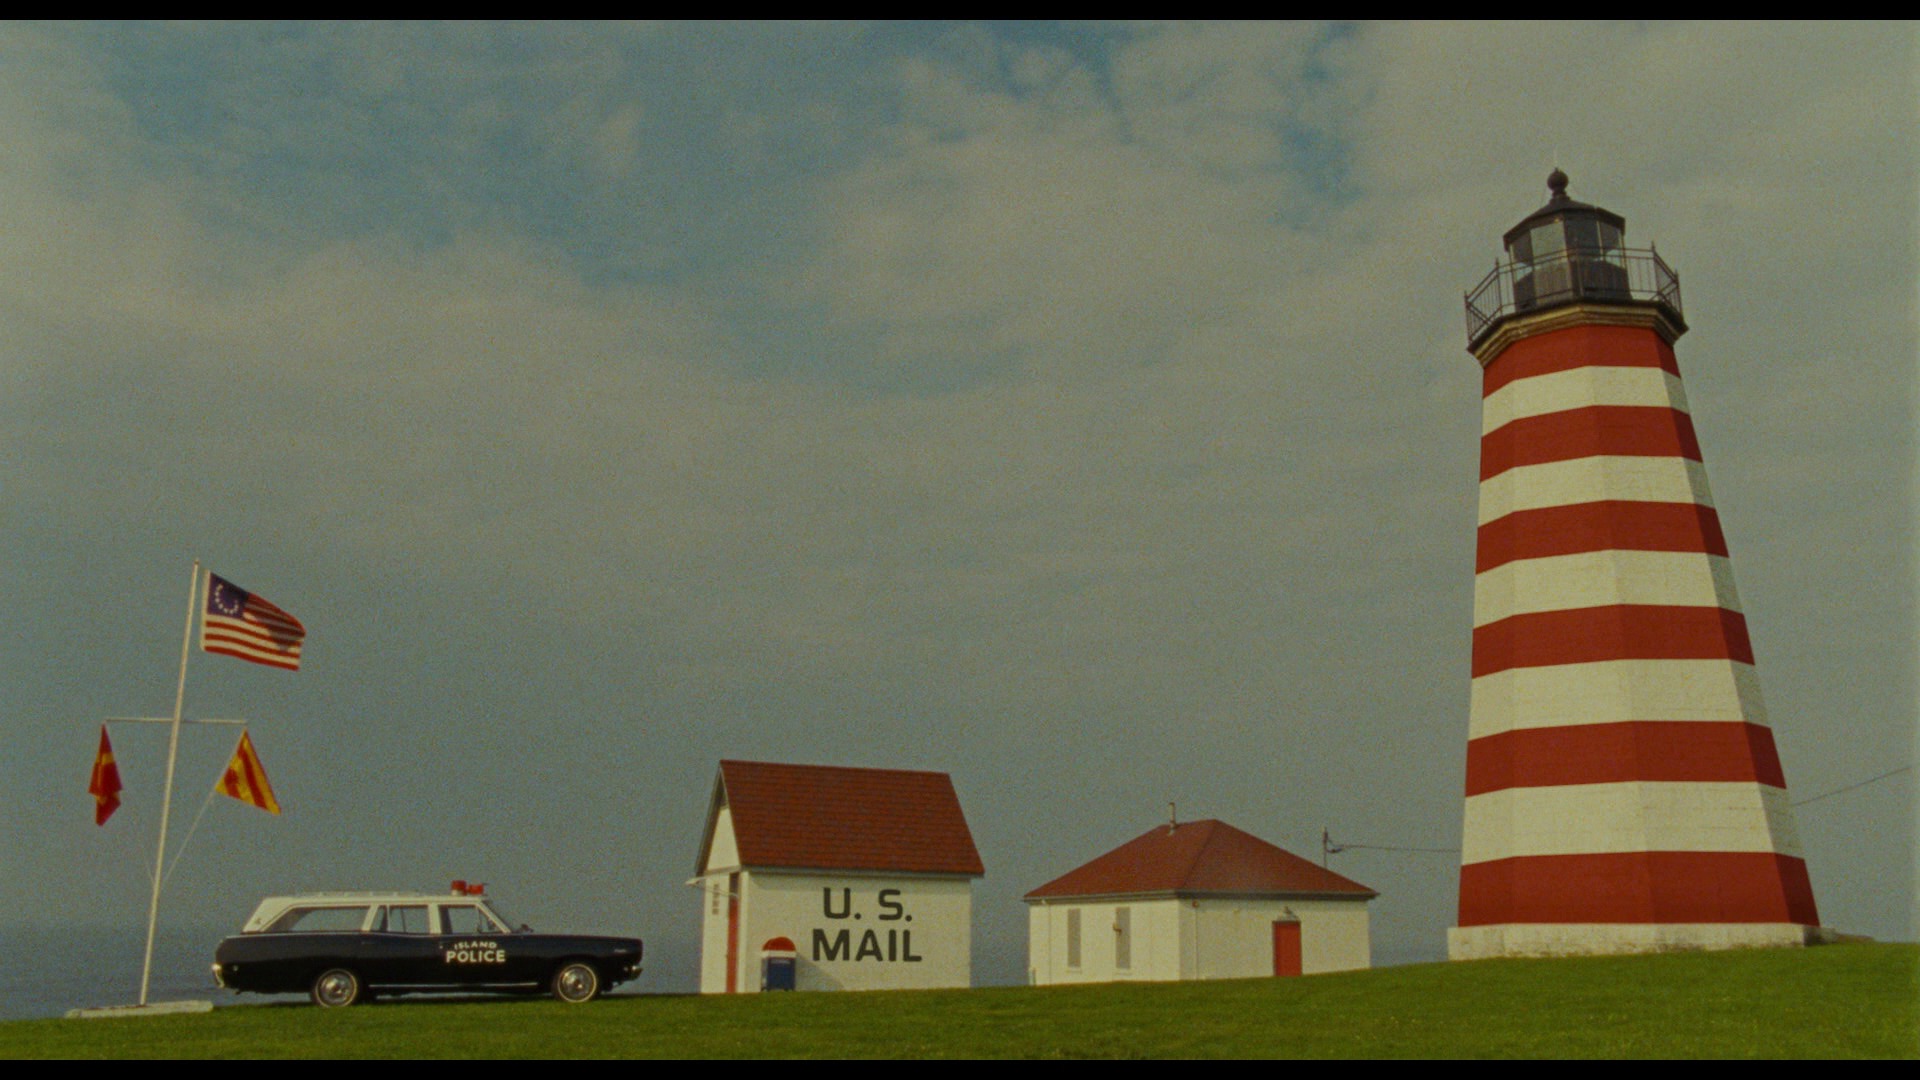
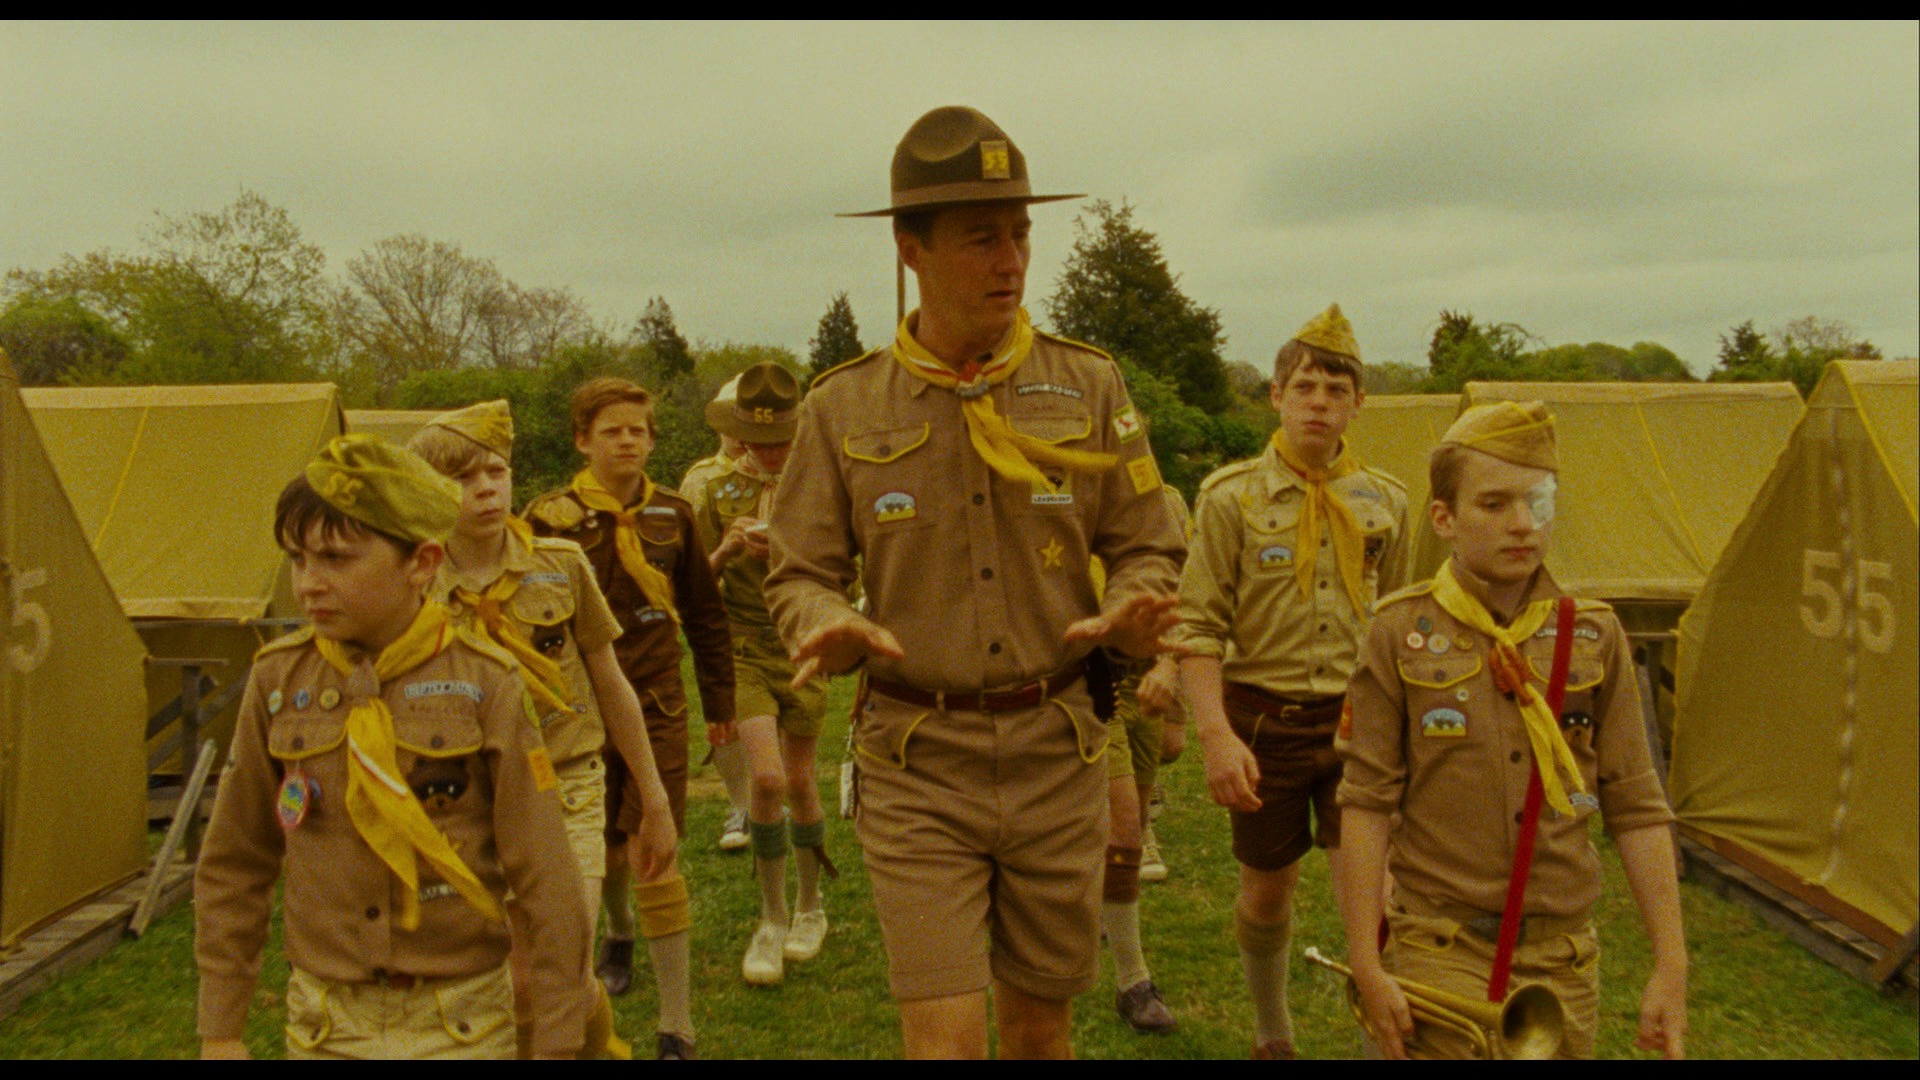
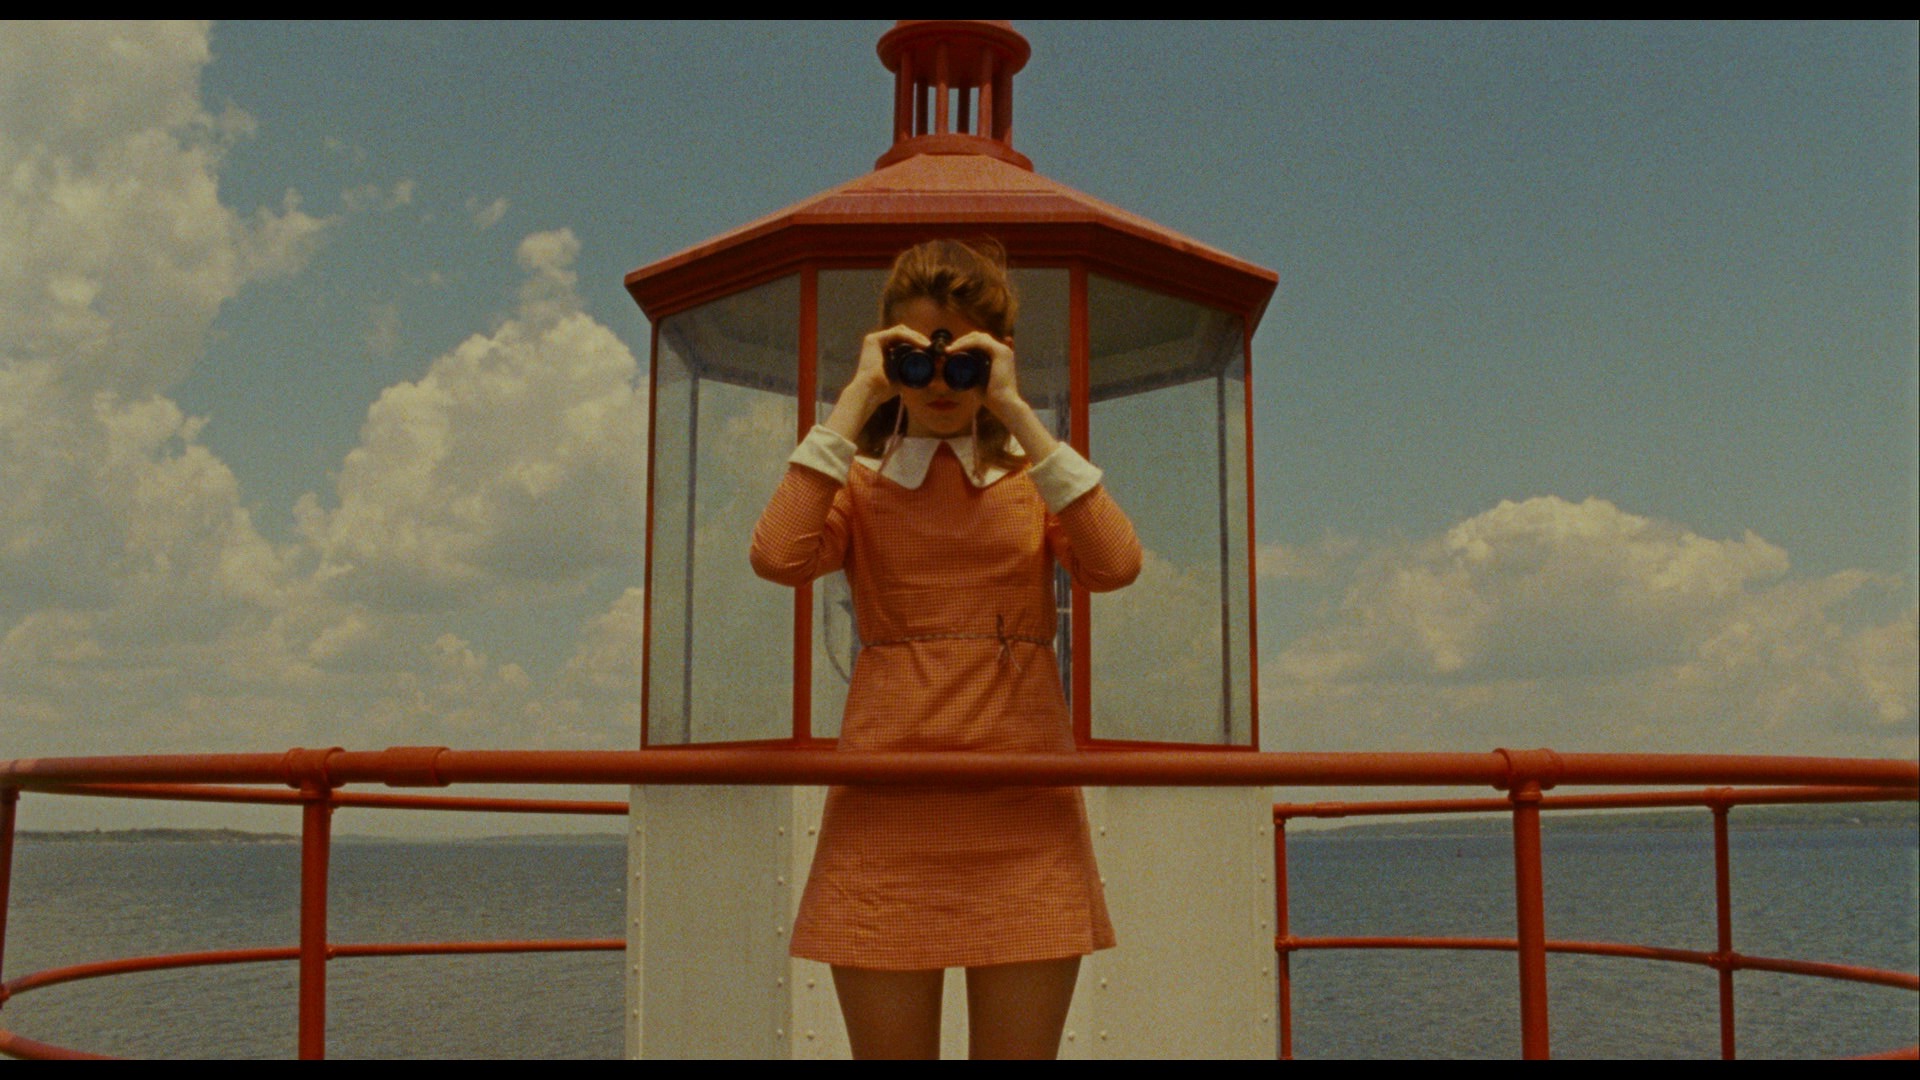
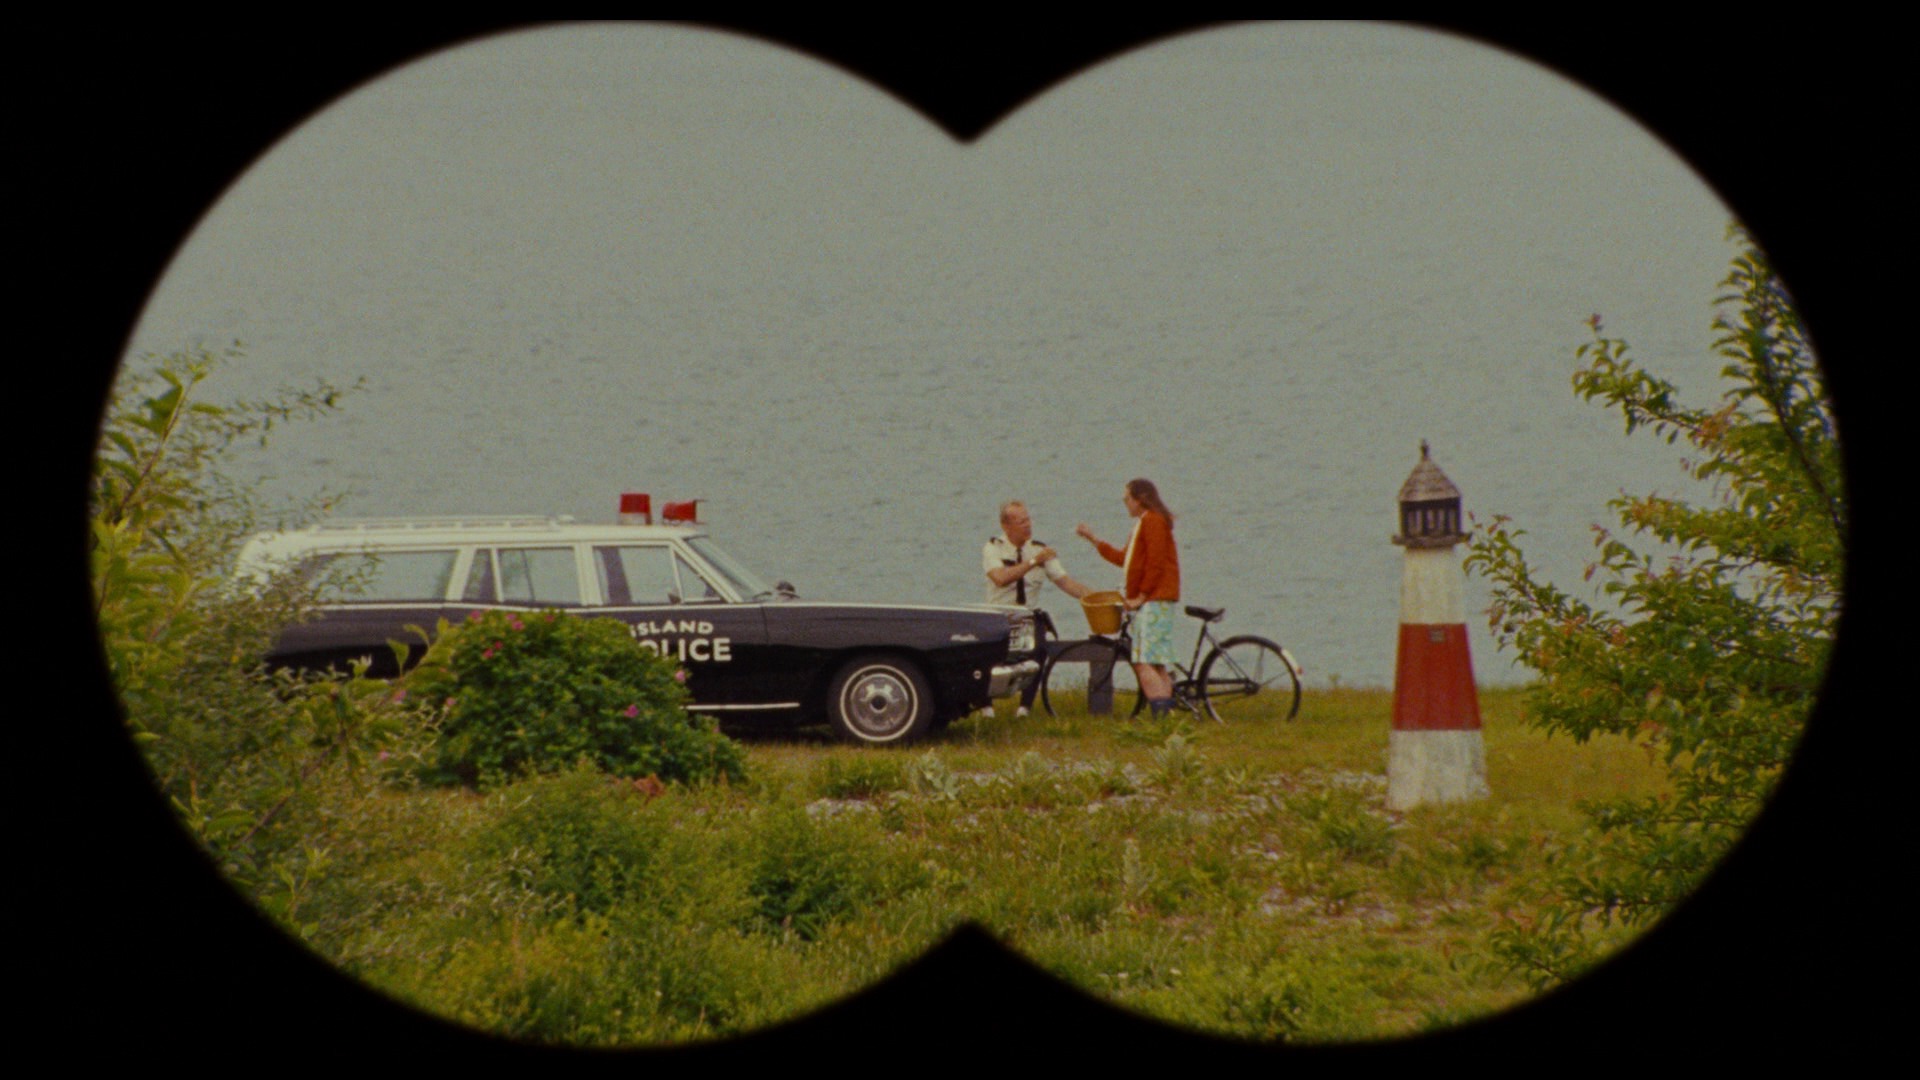
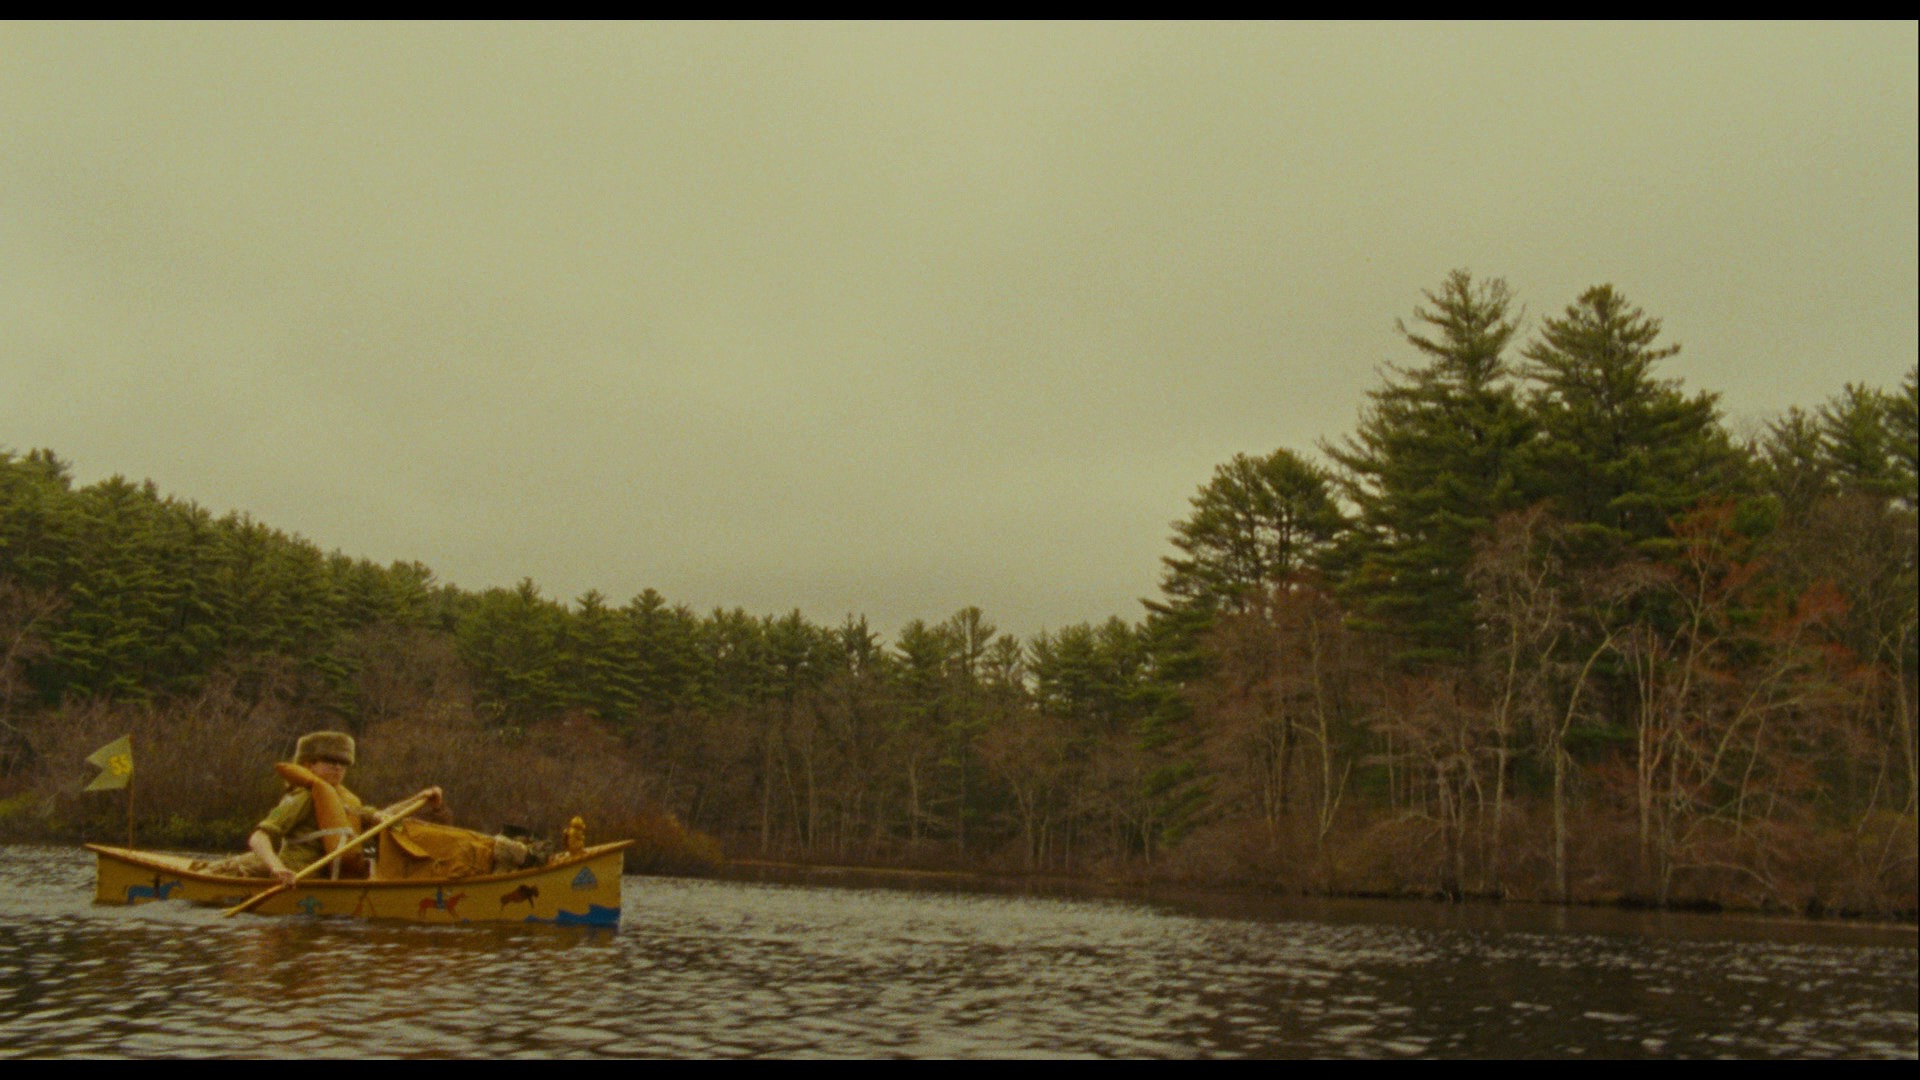
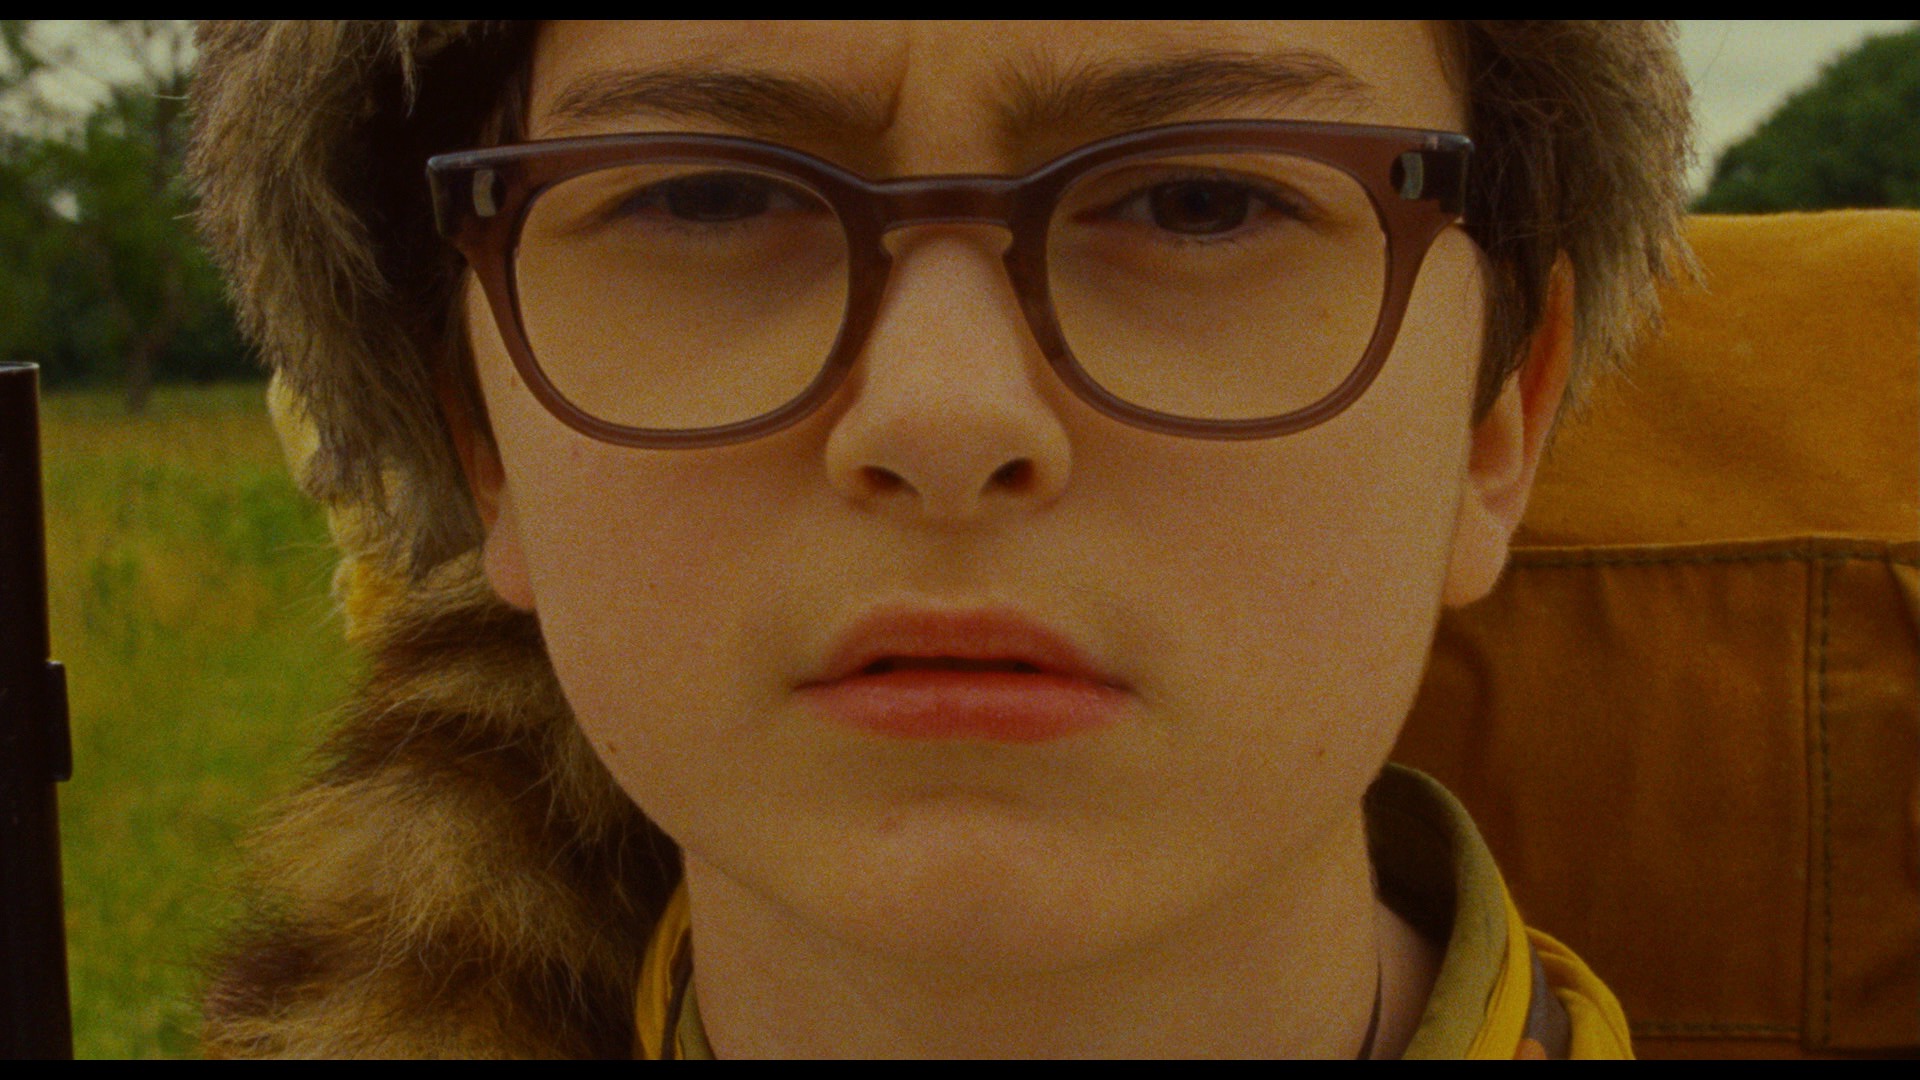
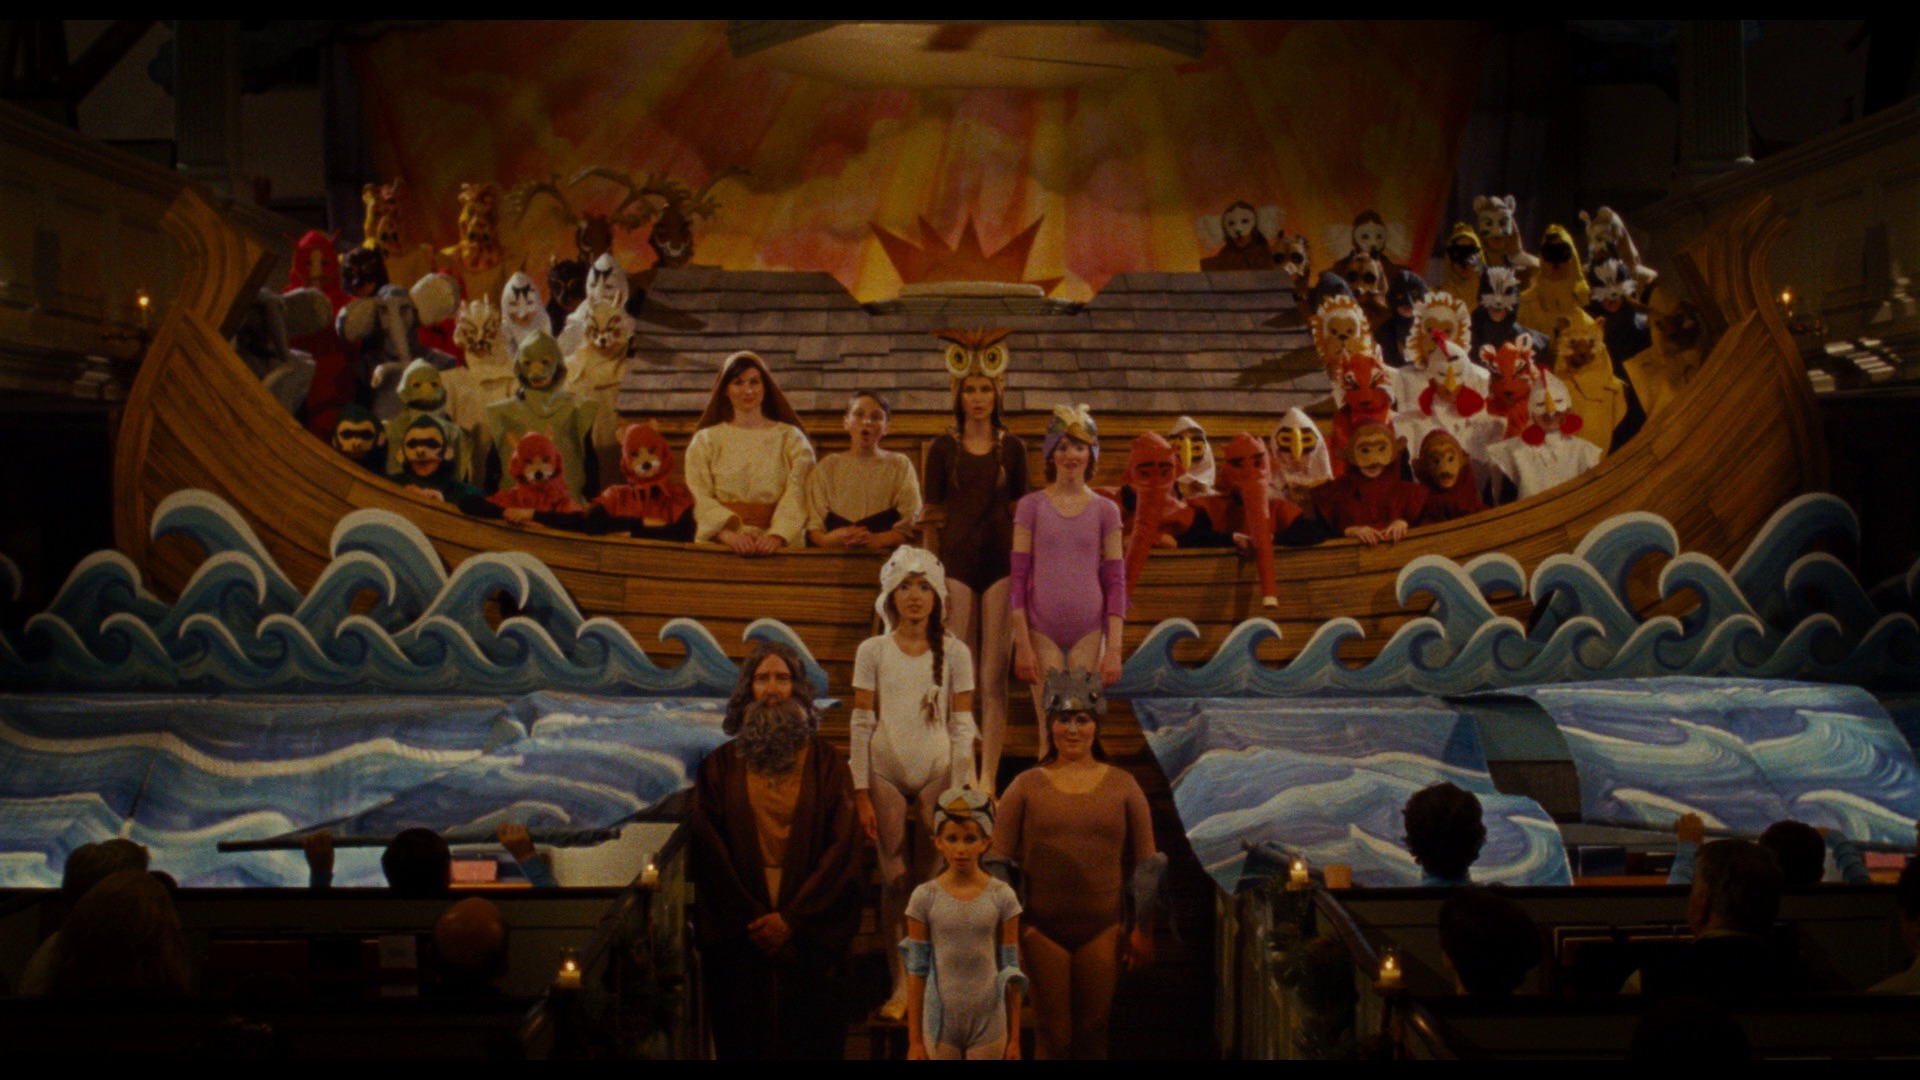
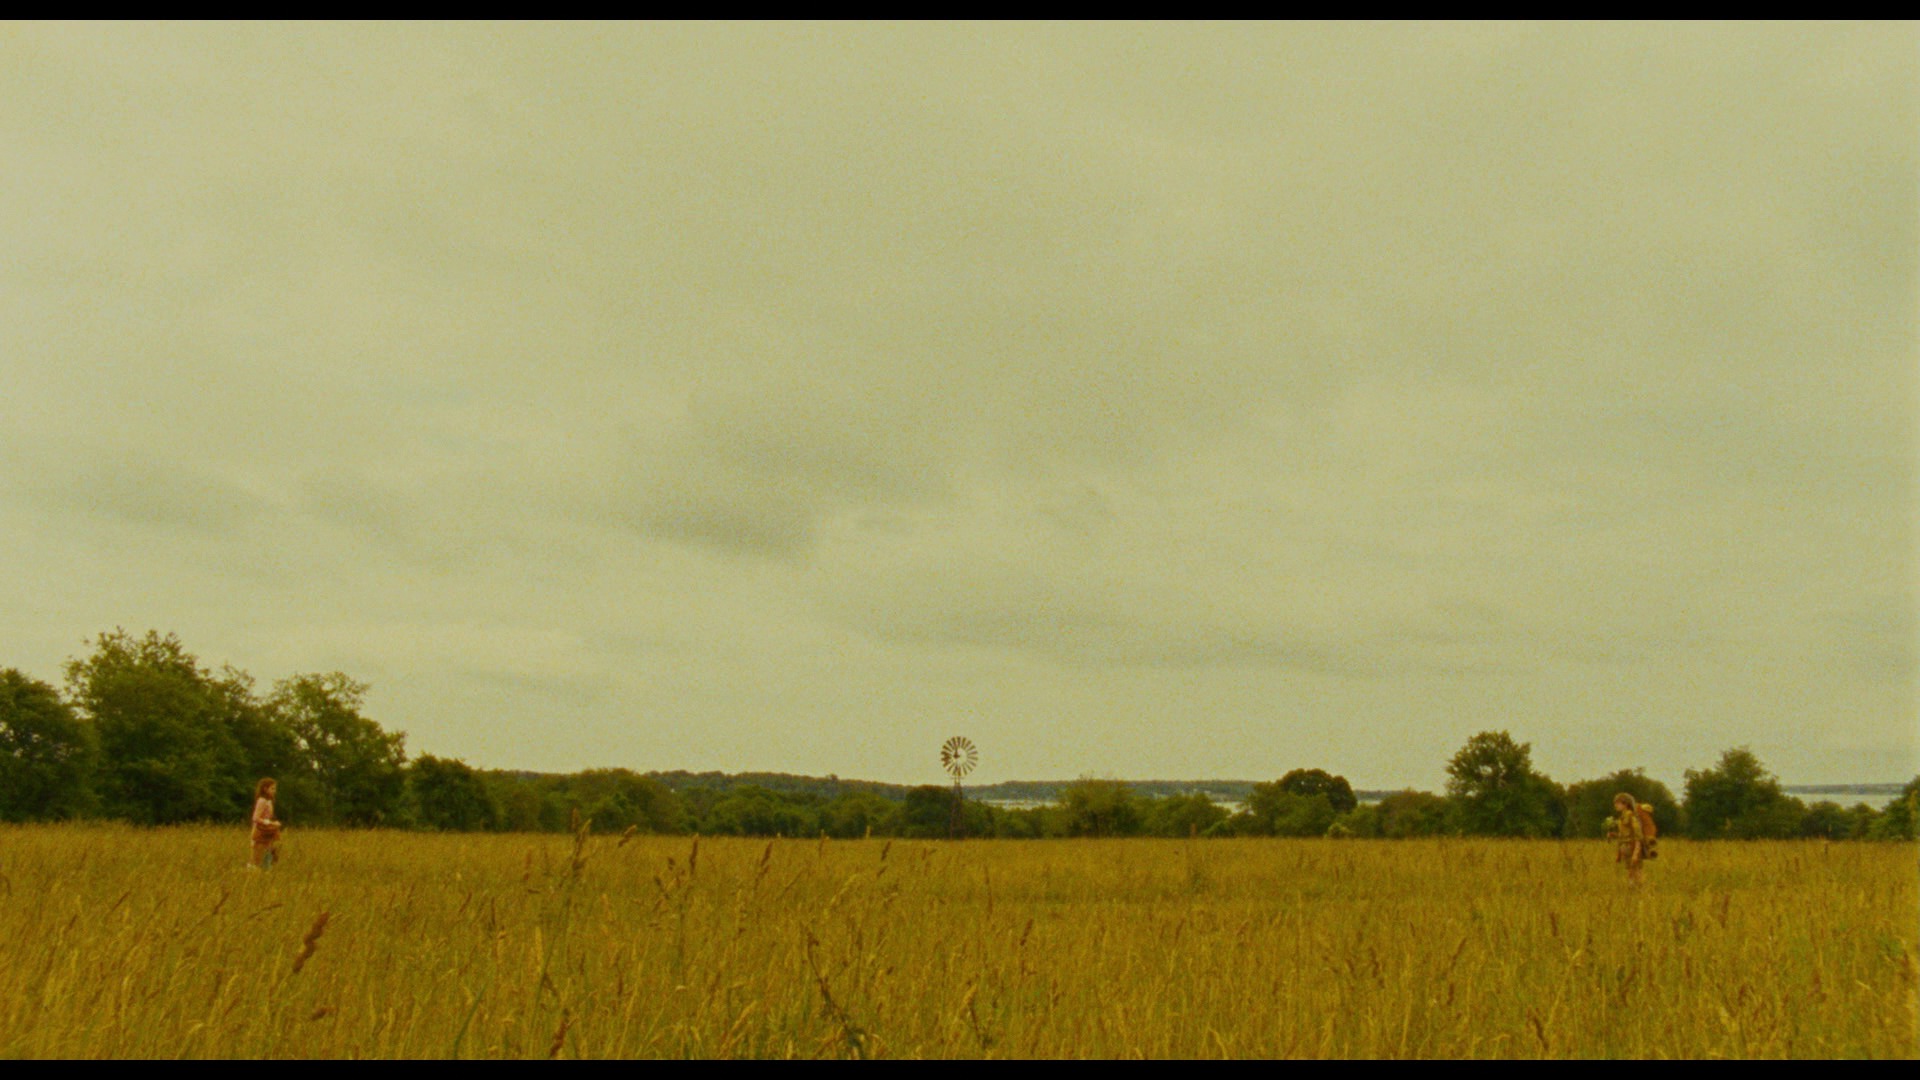
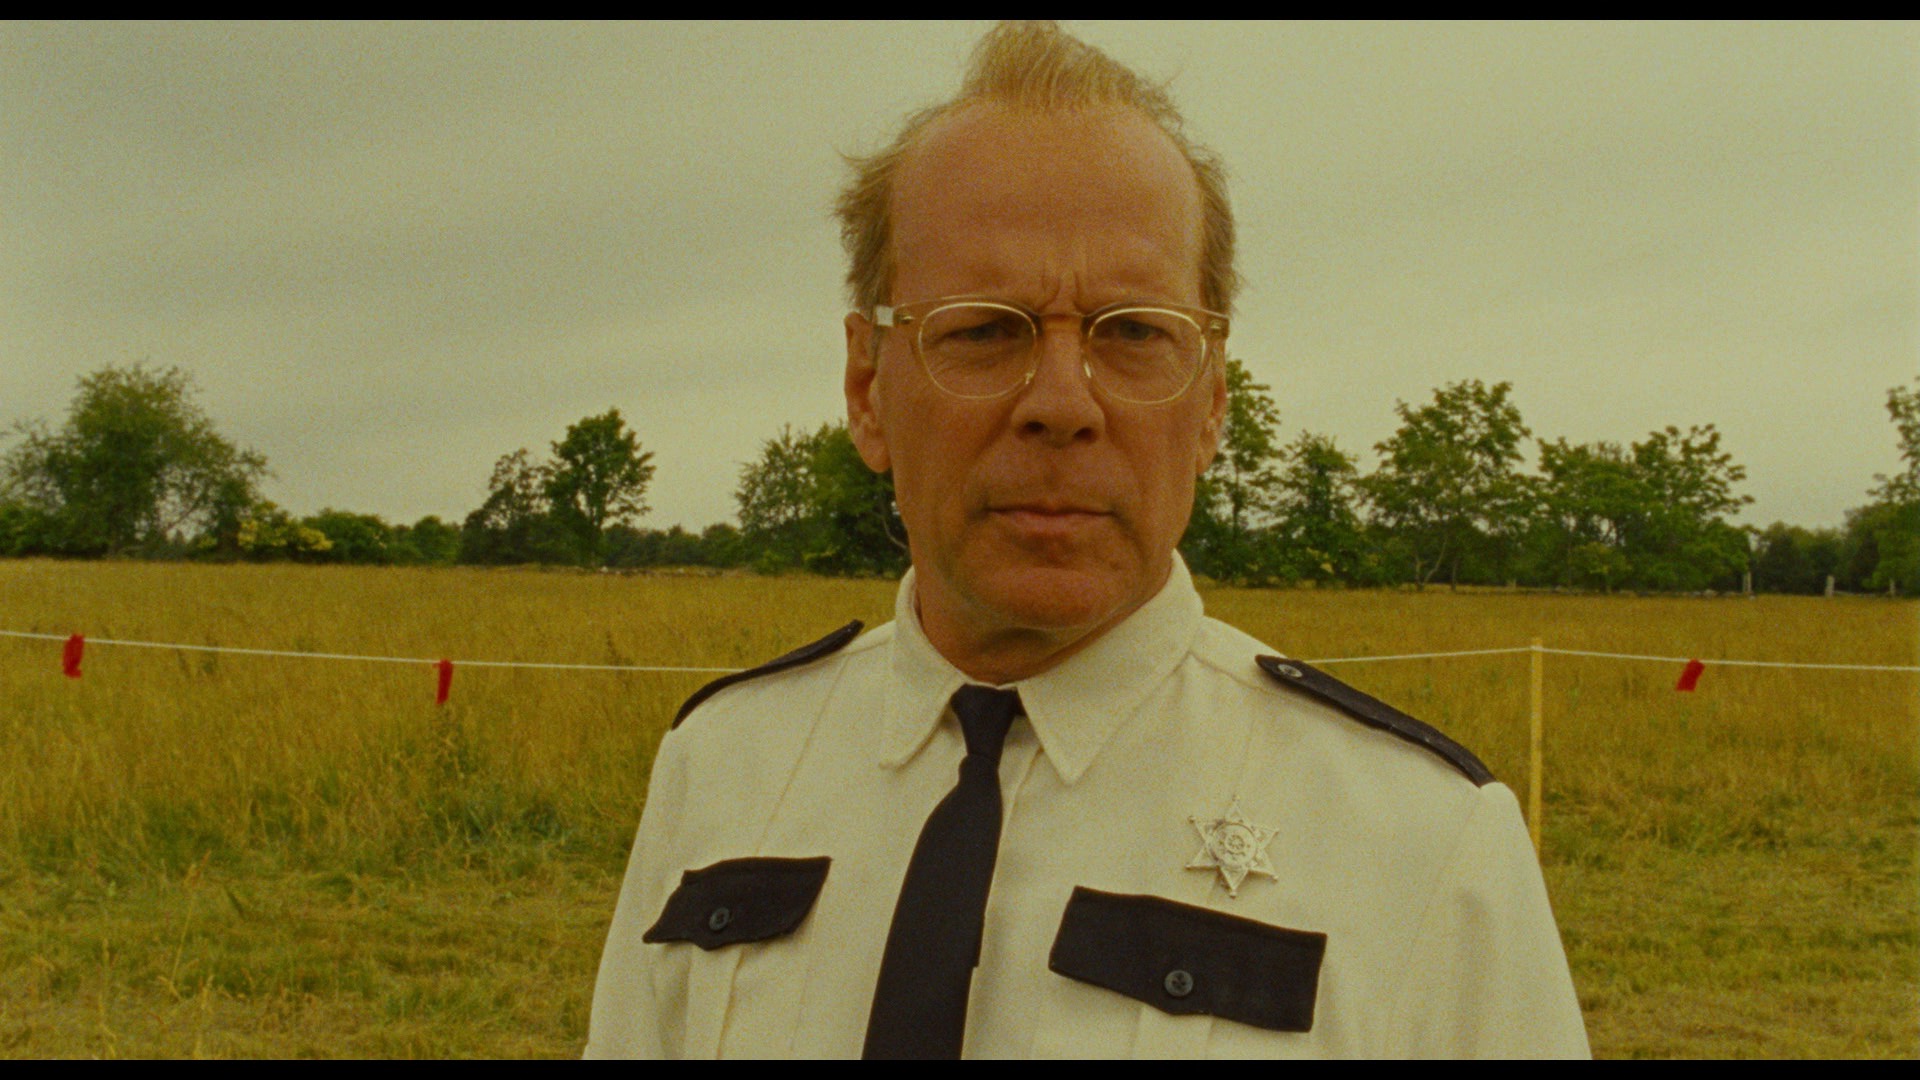
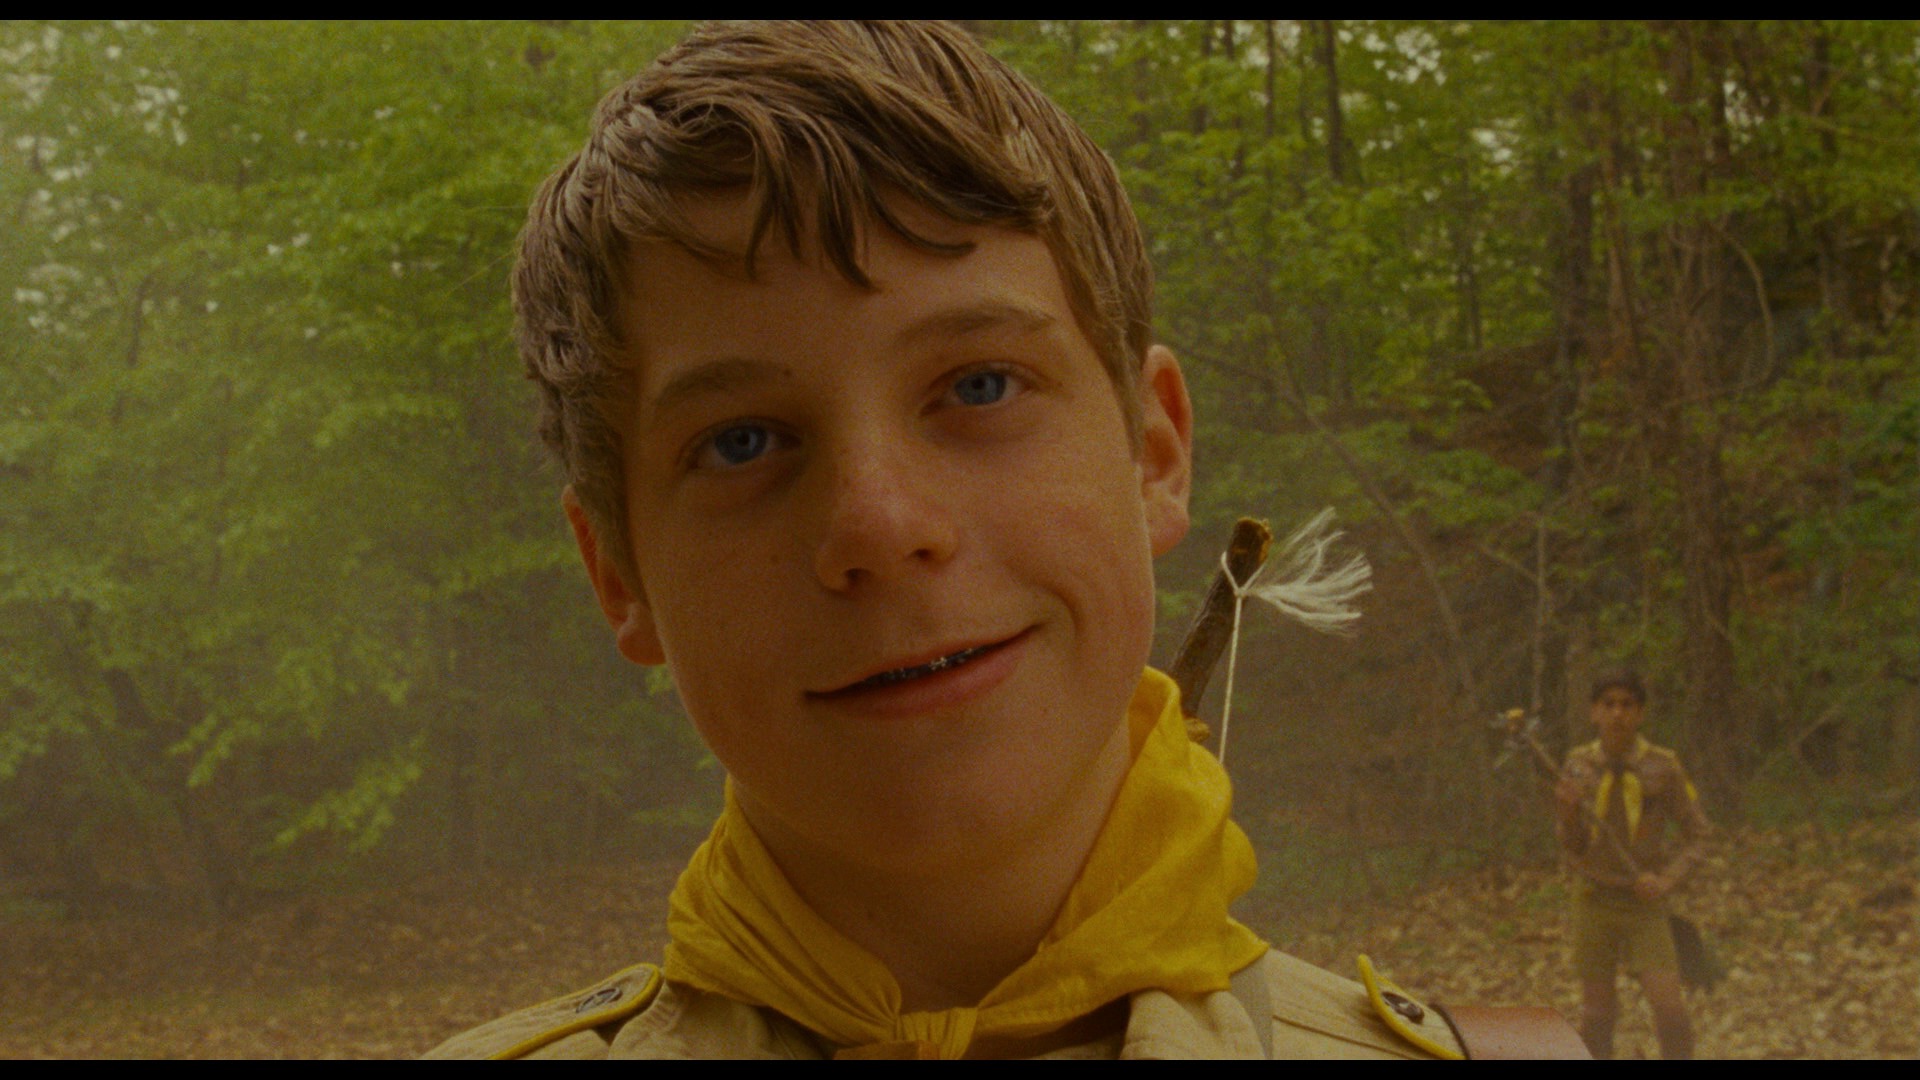
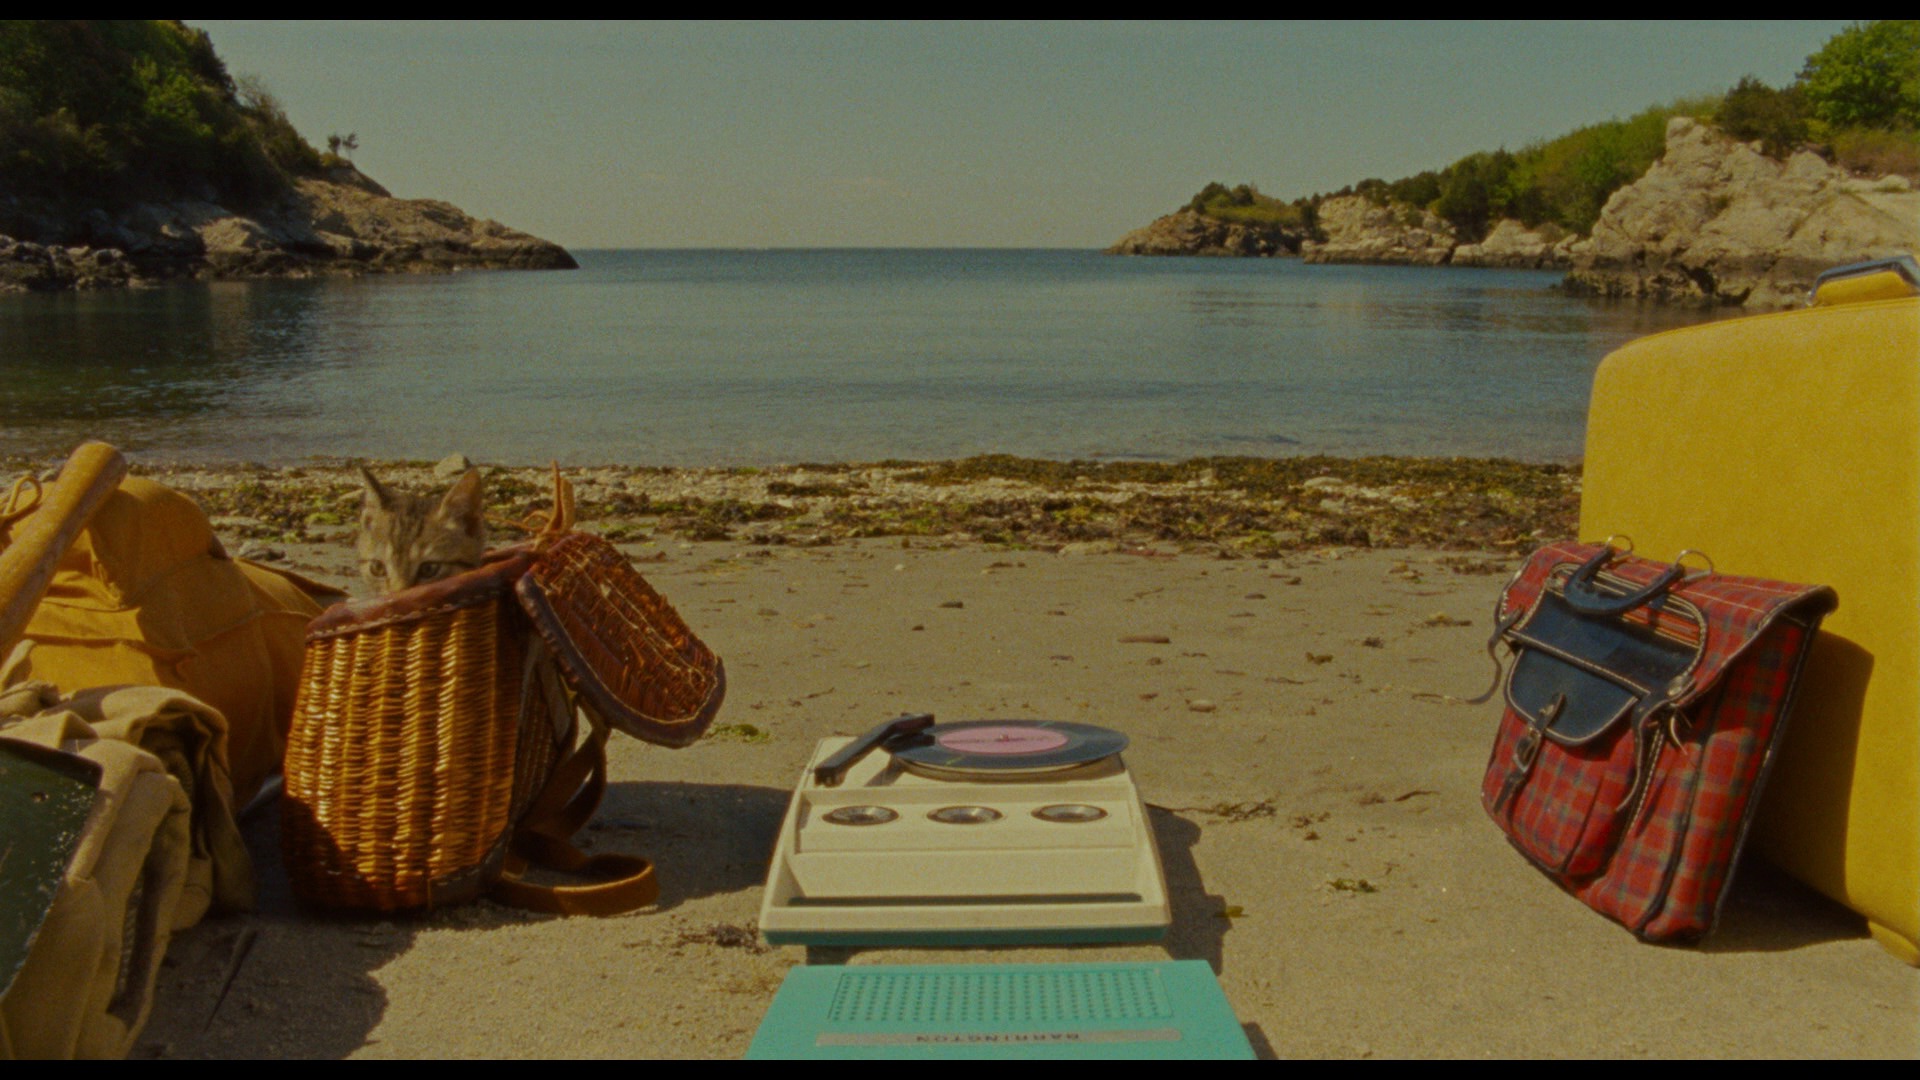
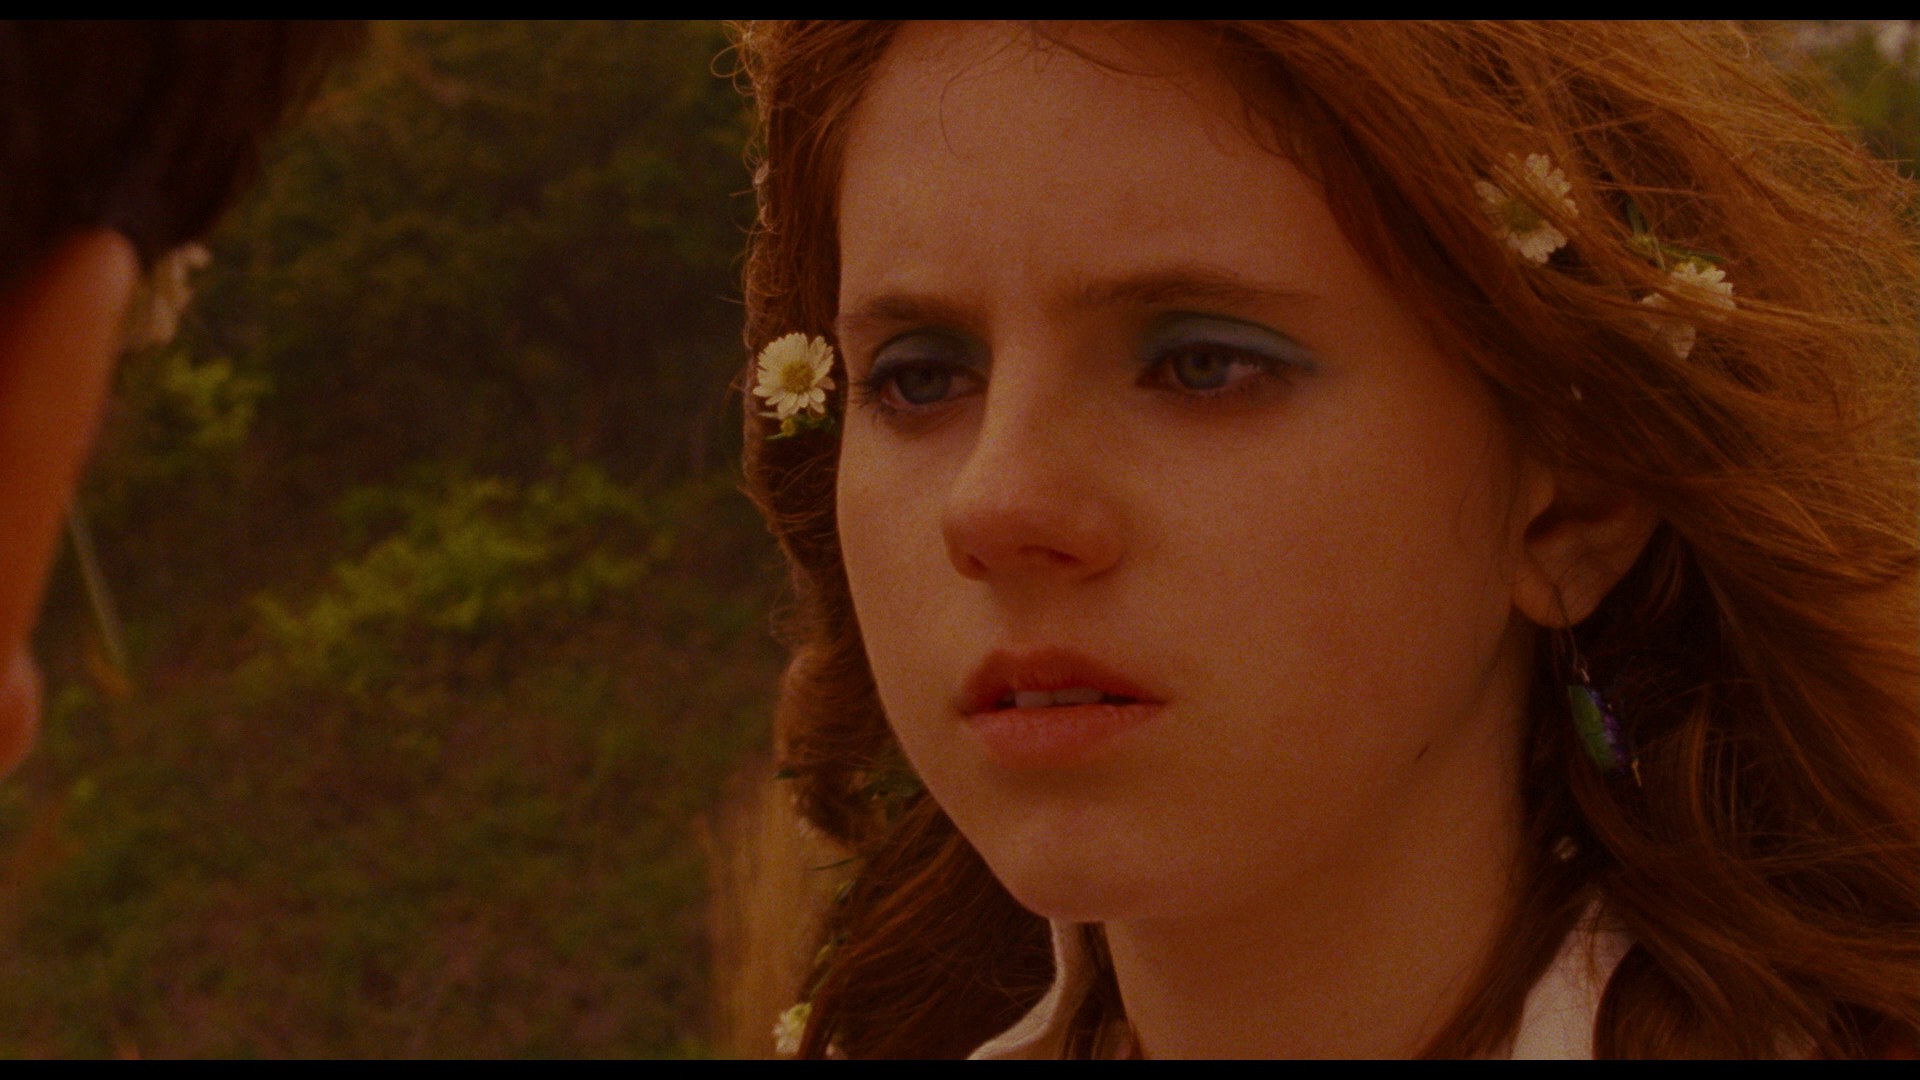
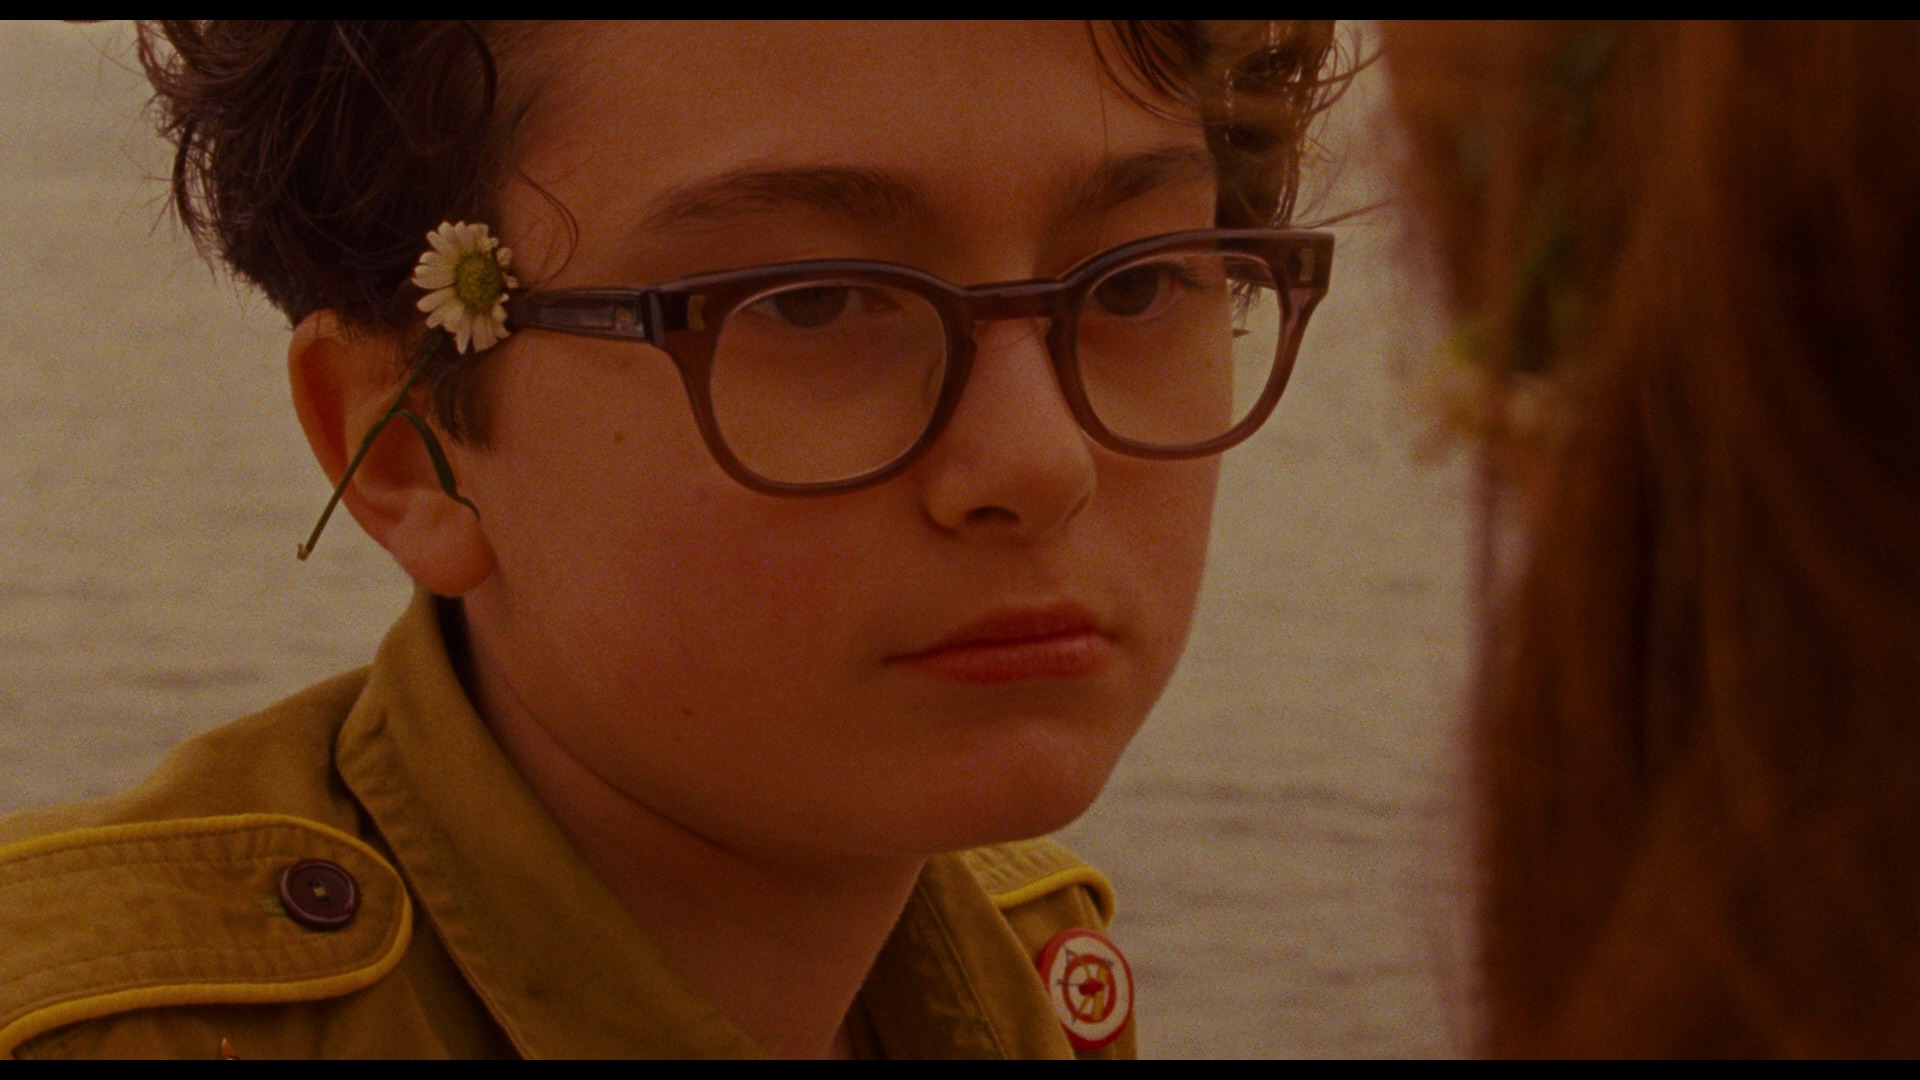

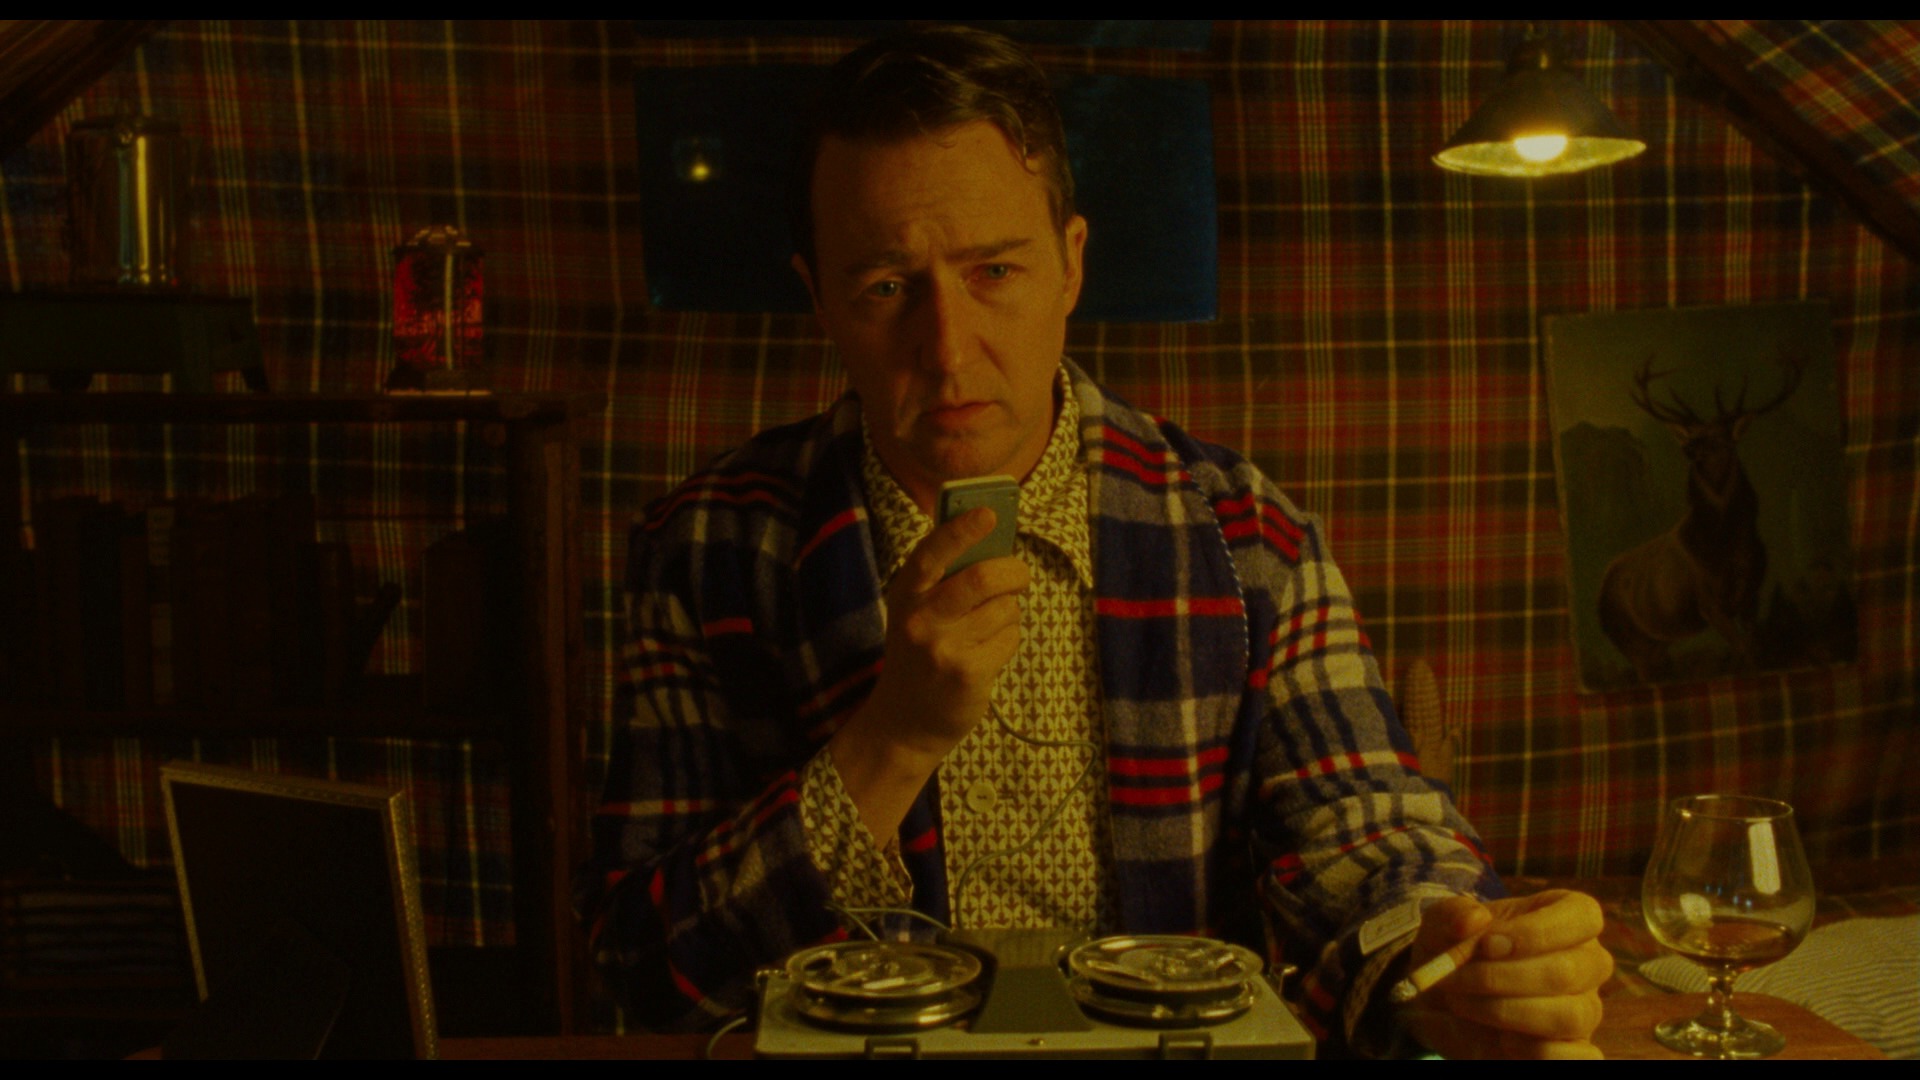

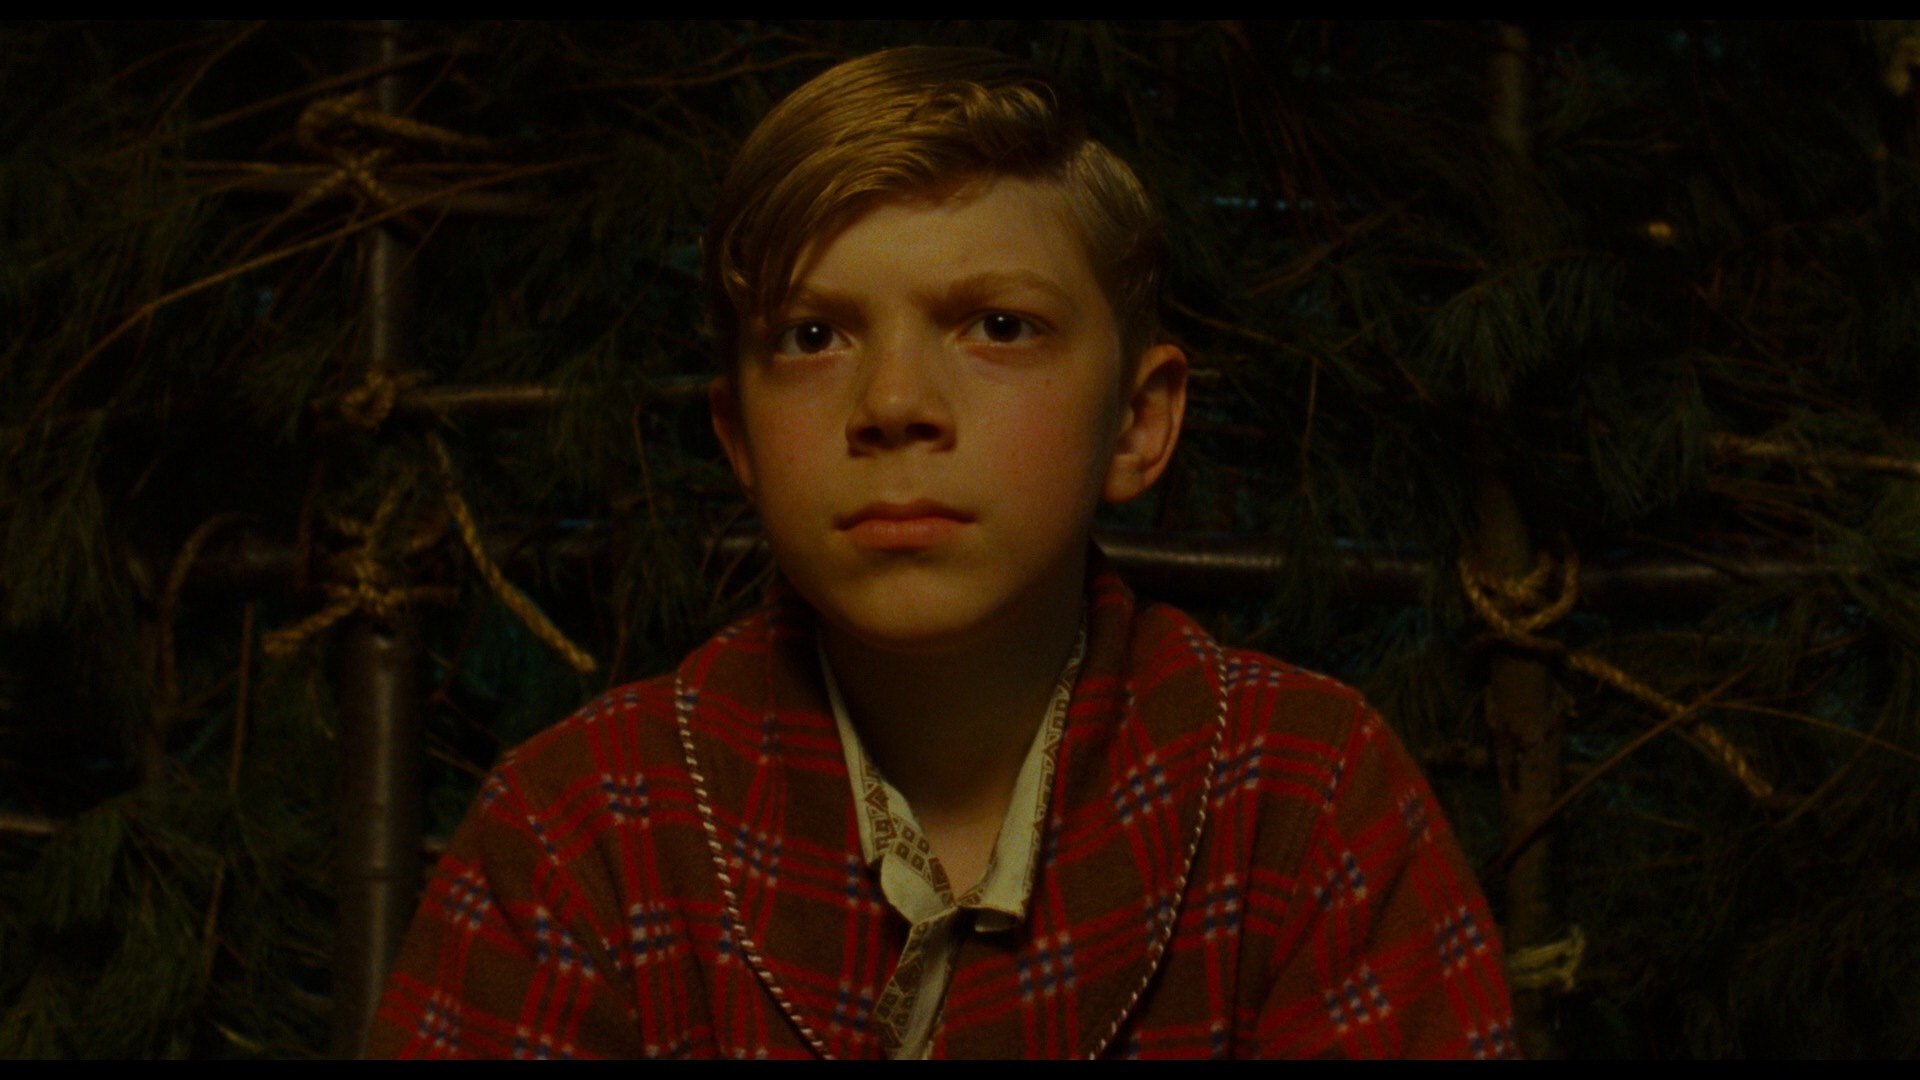
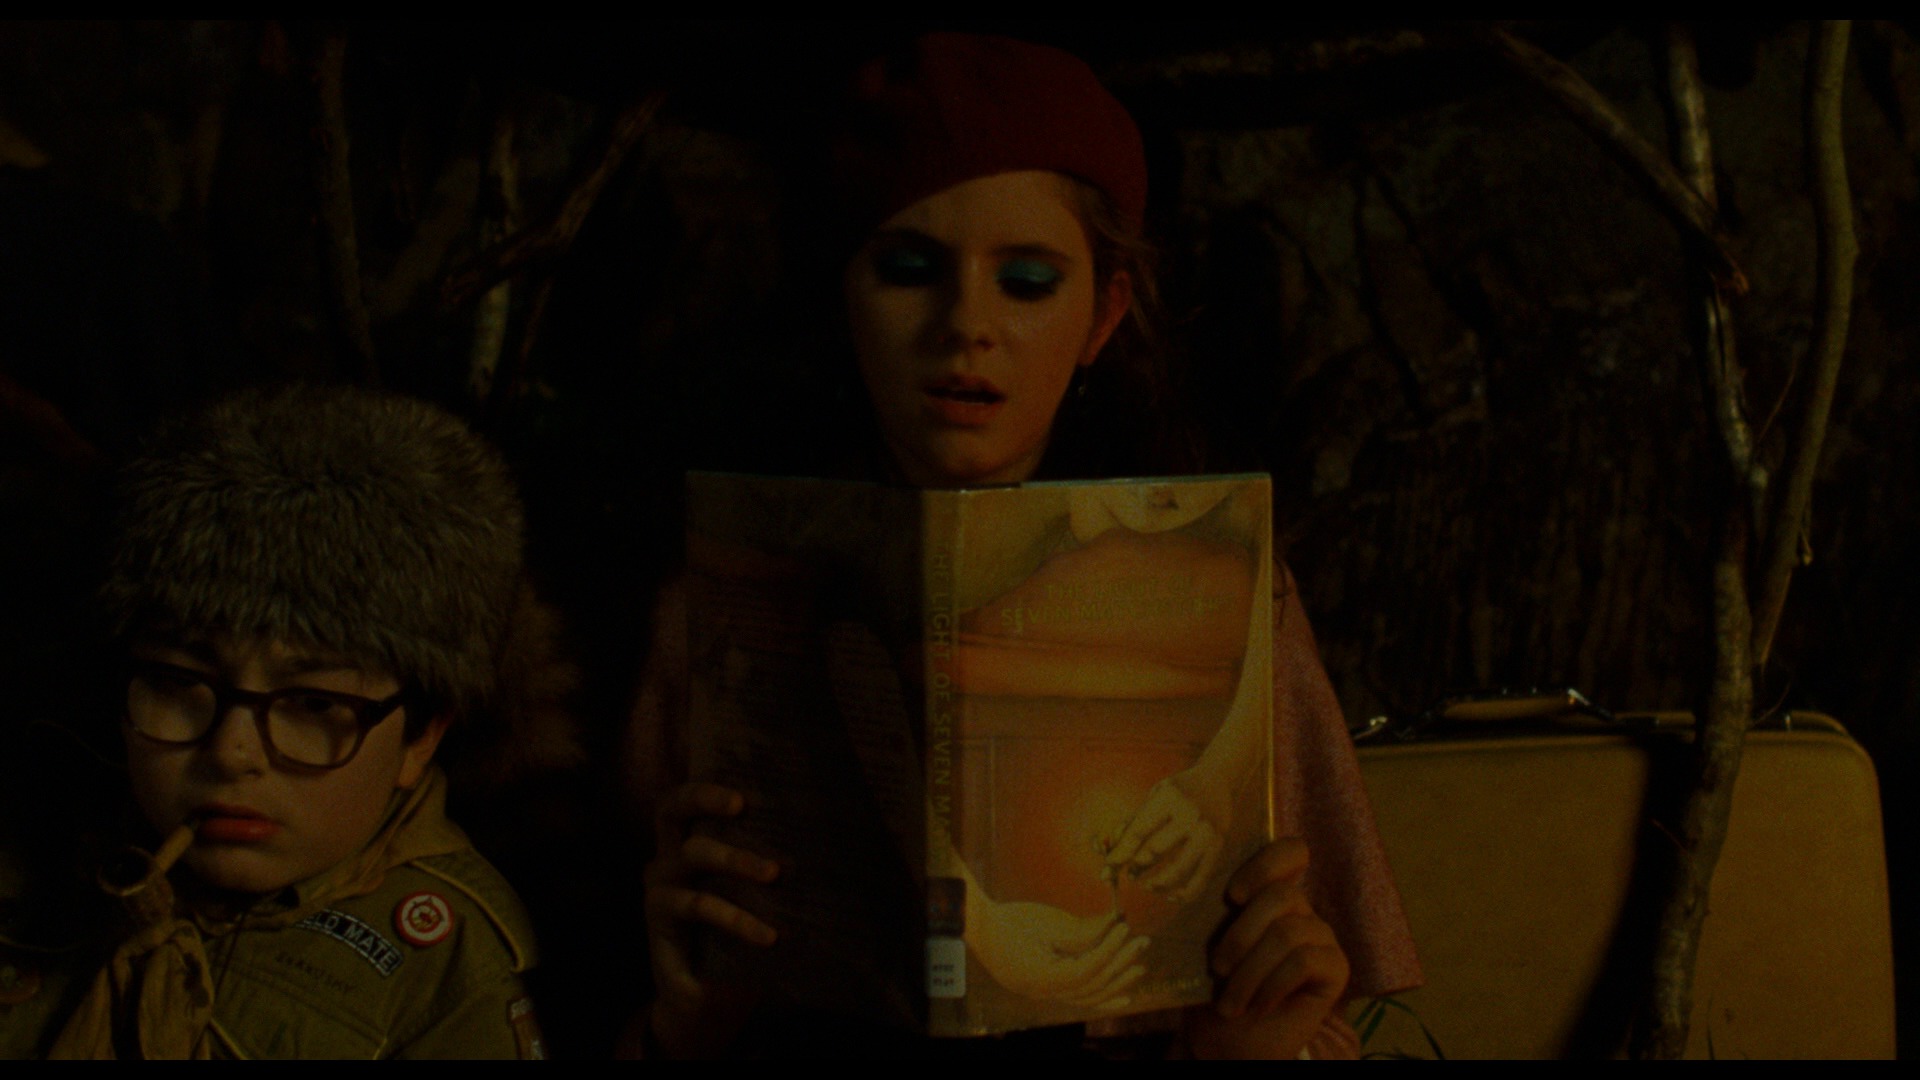
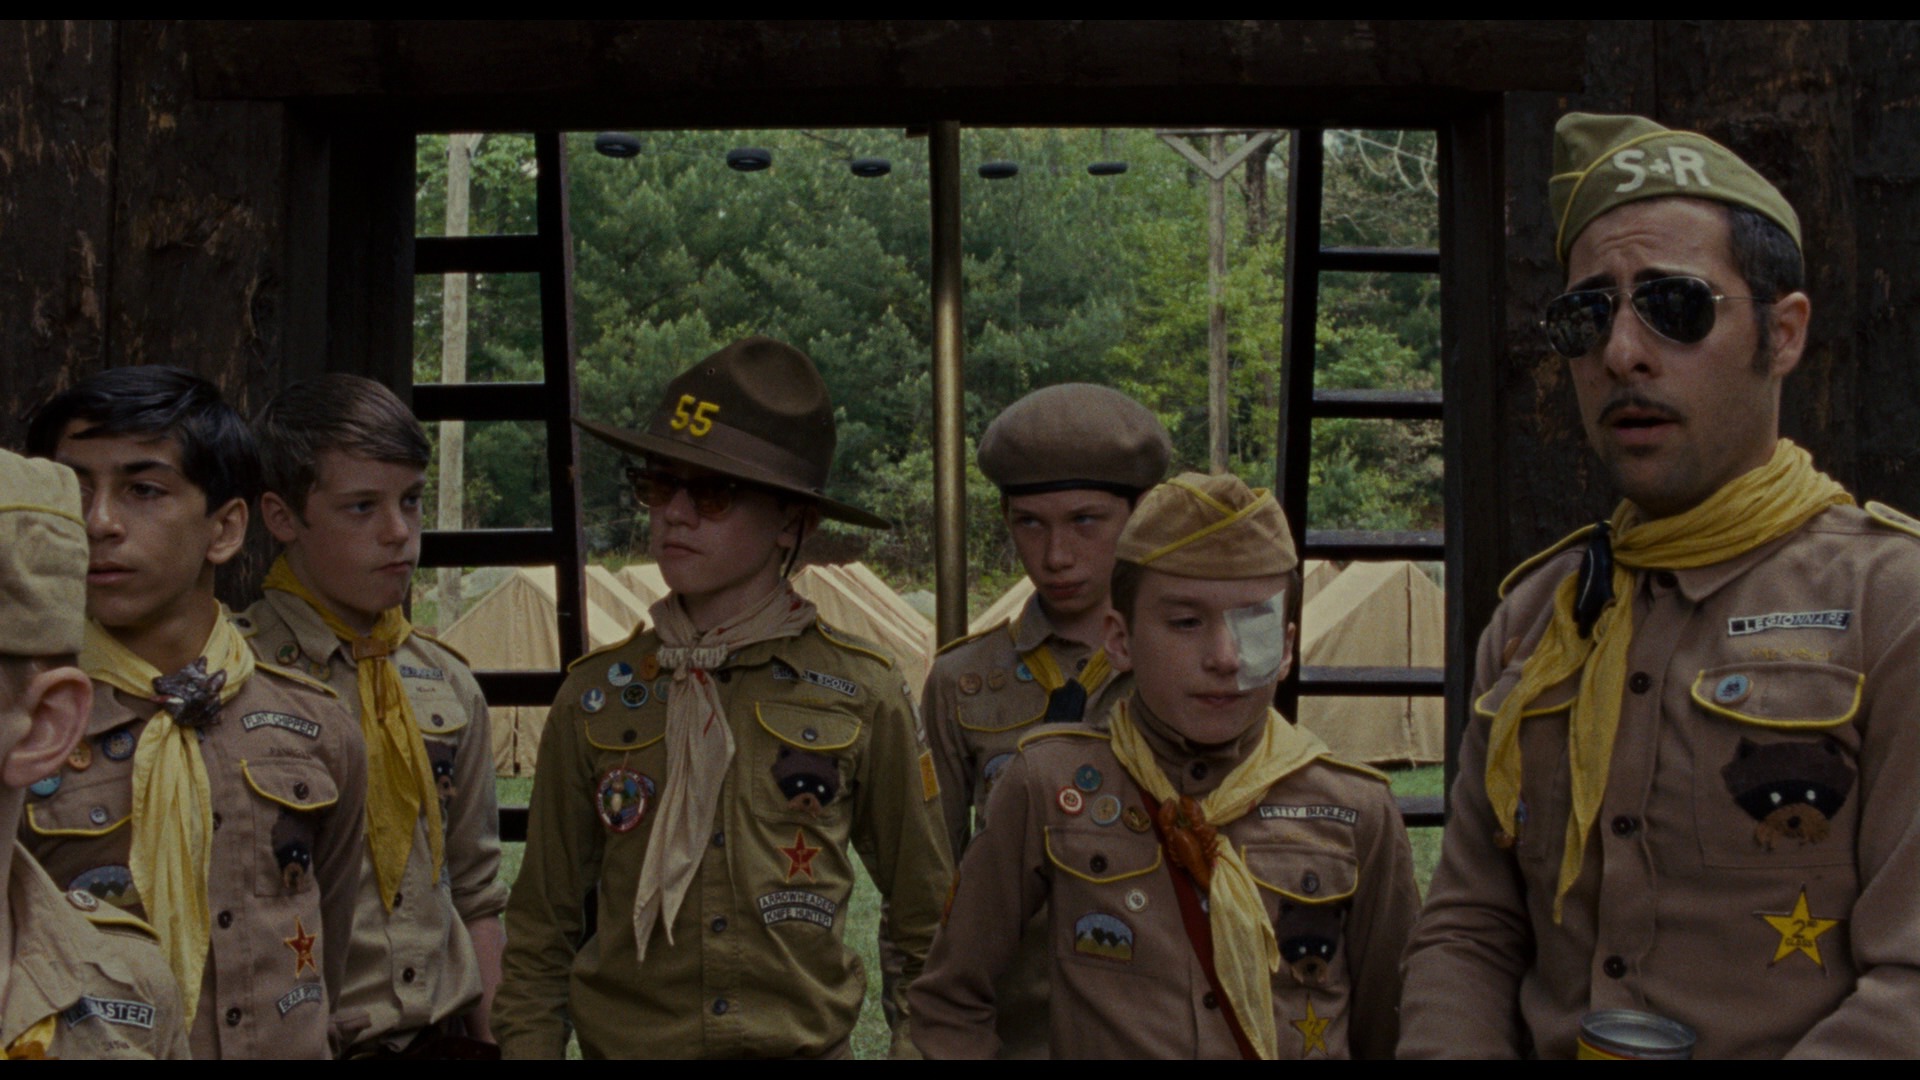

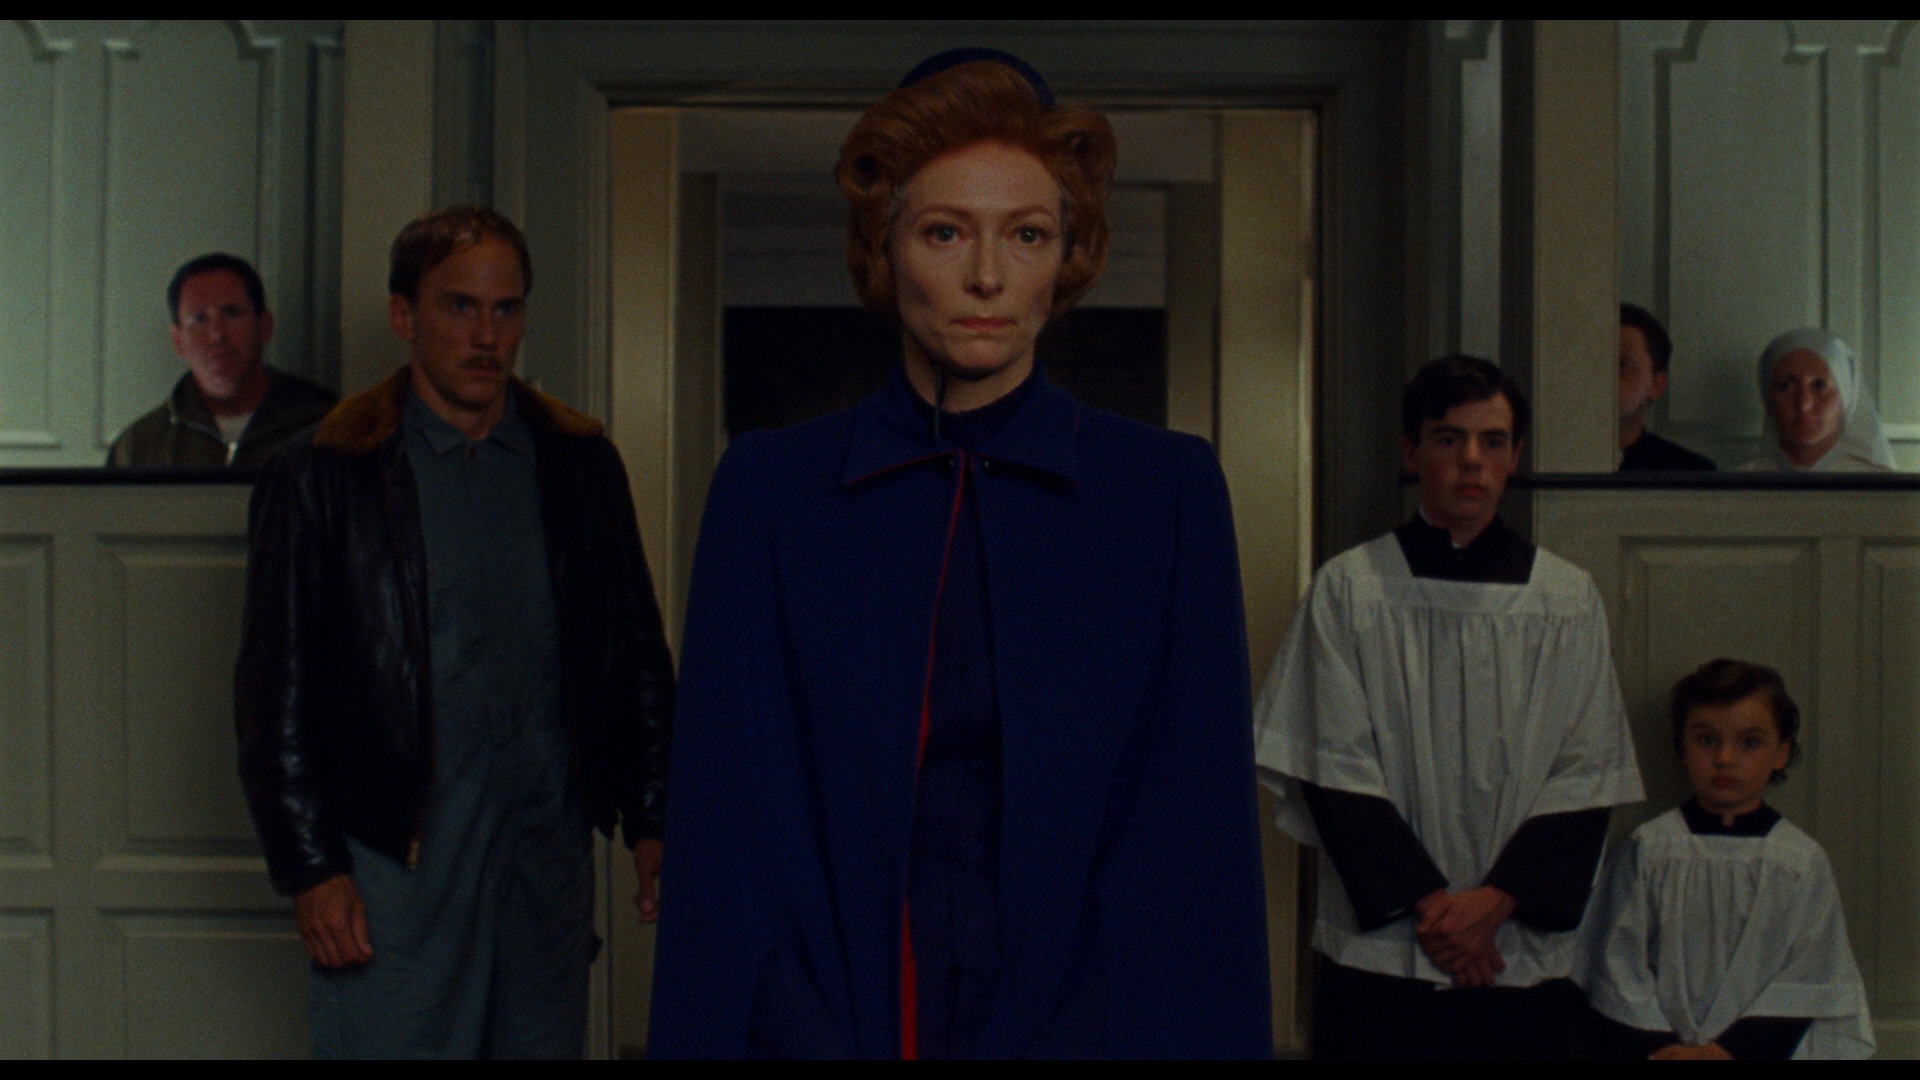
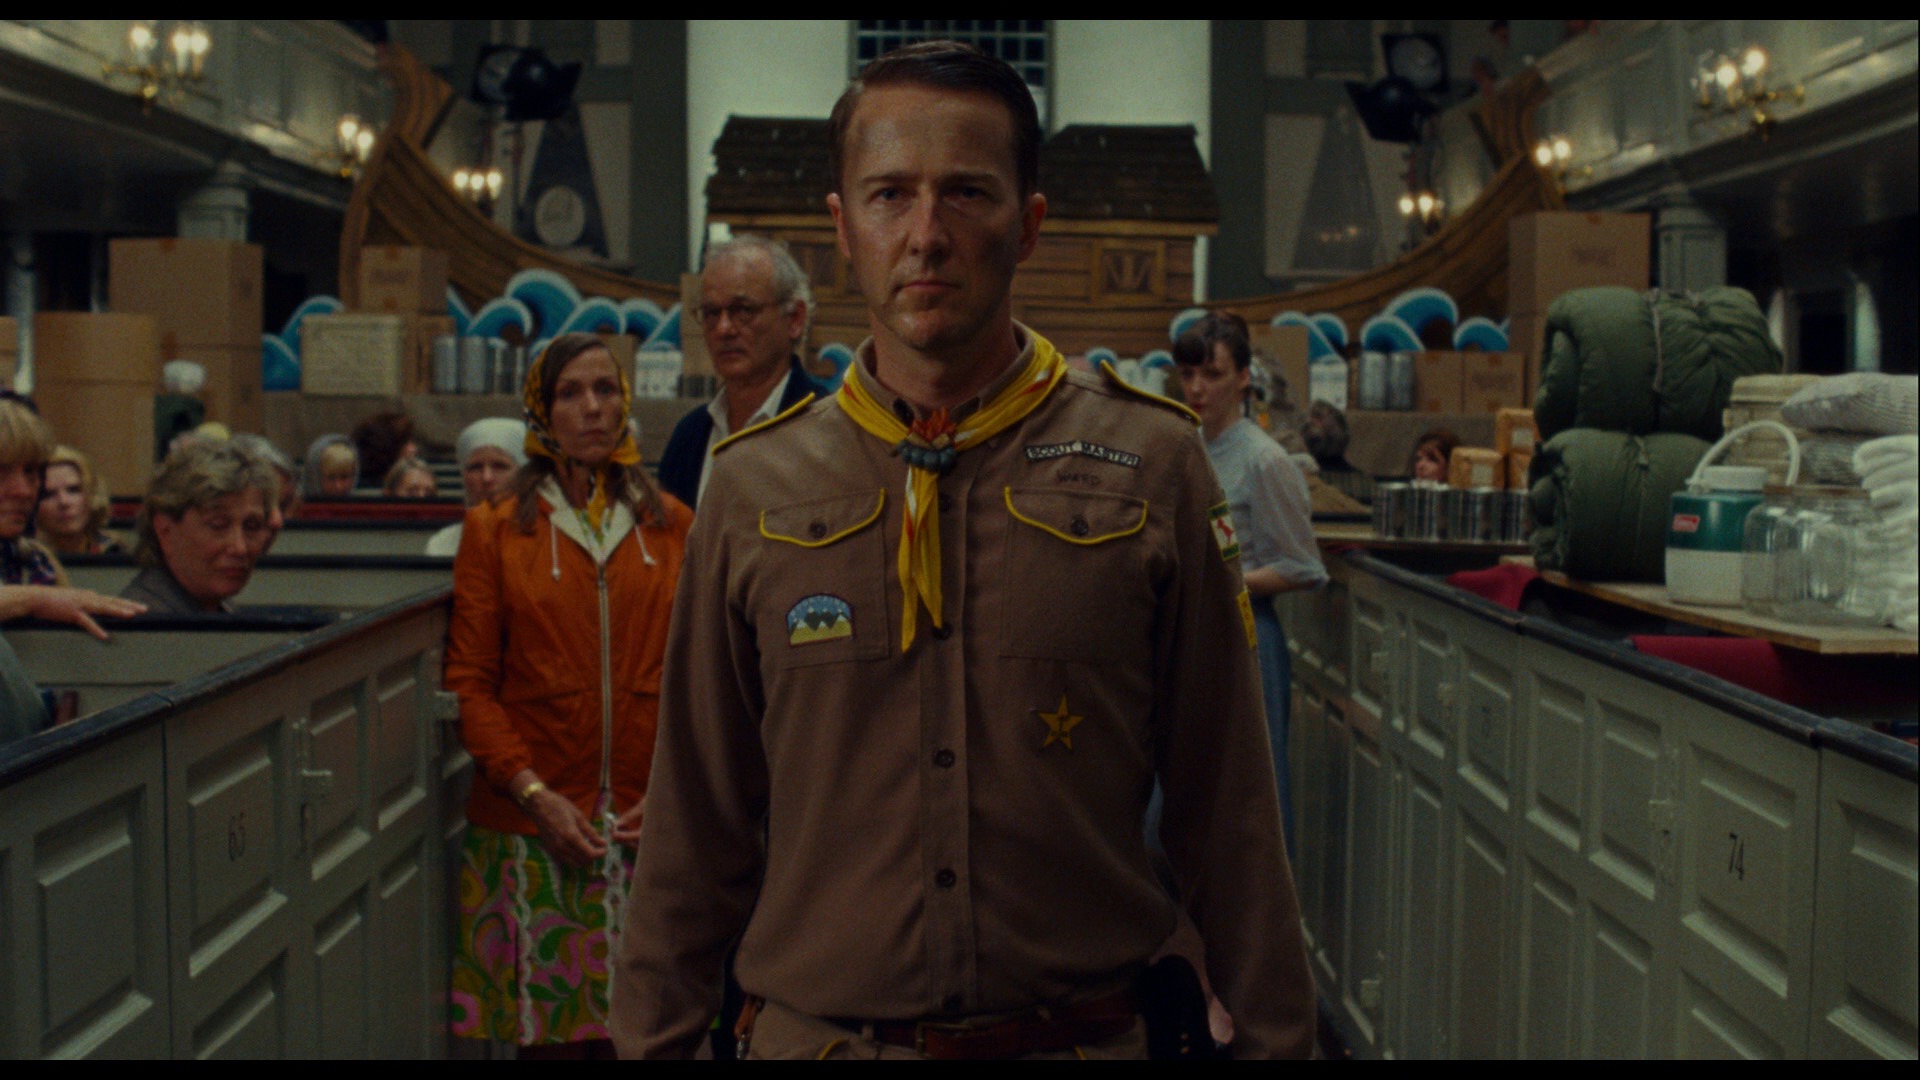
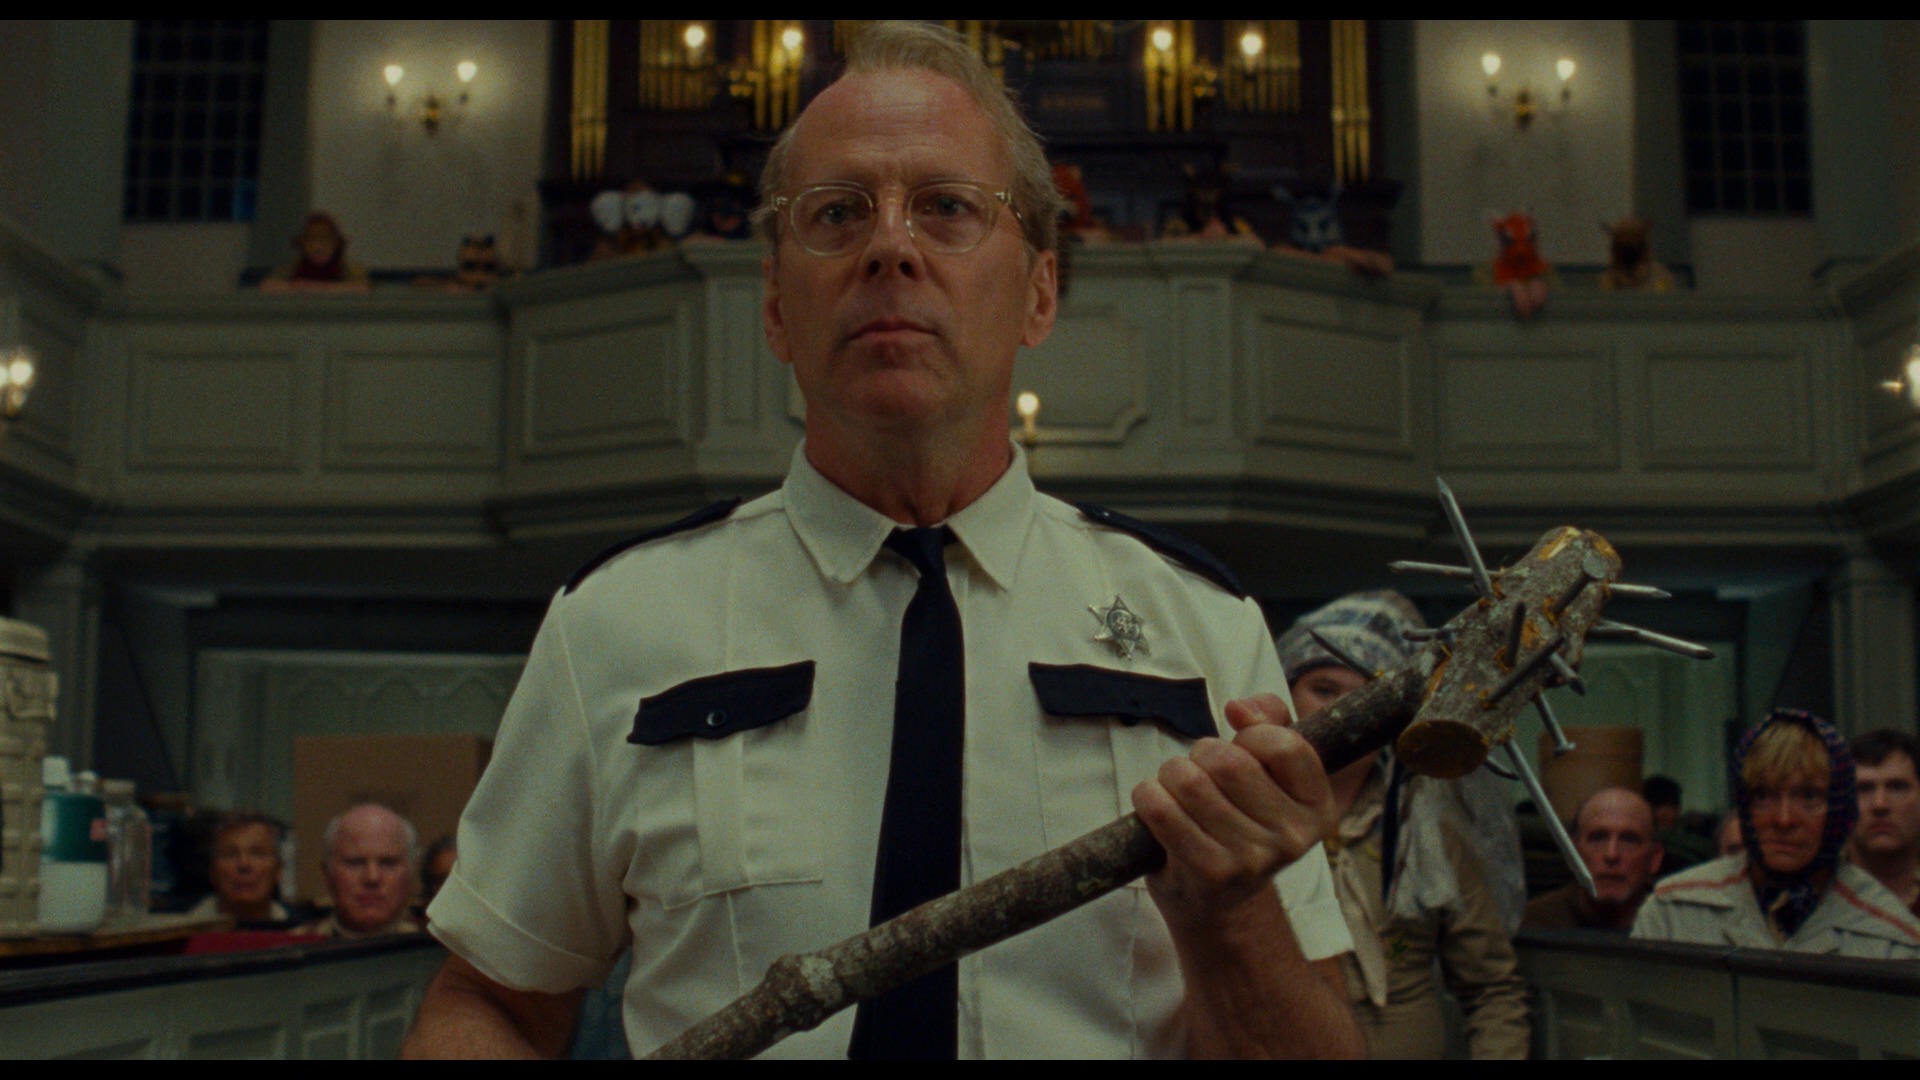
Moonrise Kingdom. Wes Anderson. 2012.
All of Anderson’s films I seen have been good (except Bottle Rocket, which was awful), but I think this one is probably the best one. So funny.
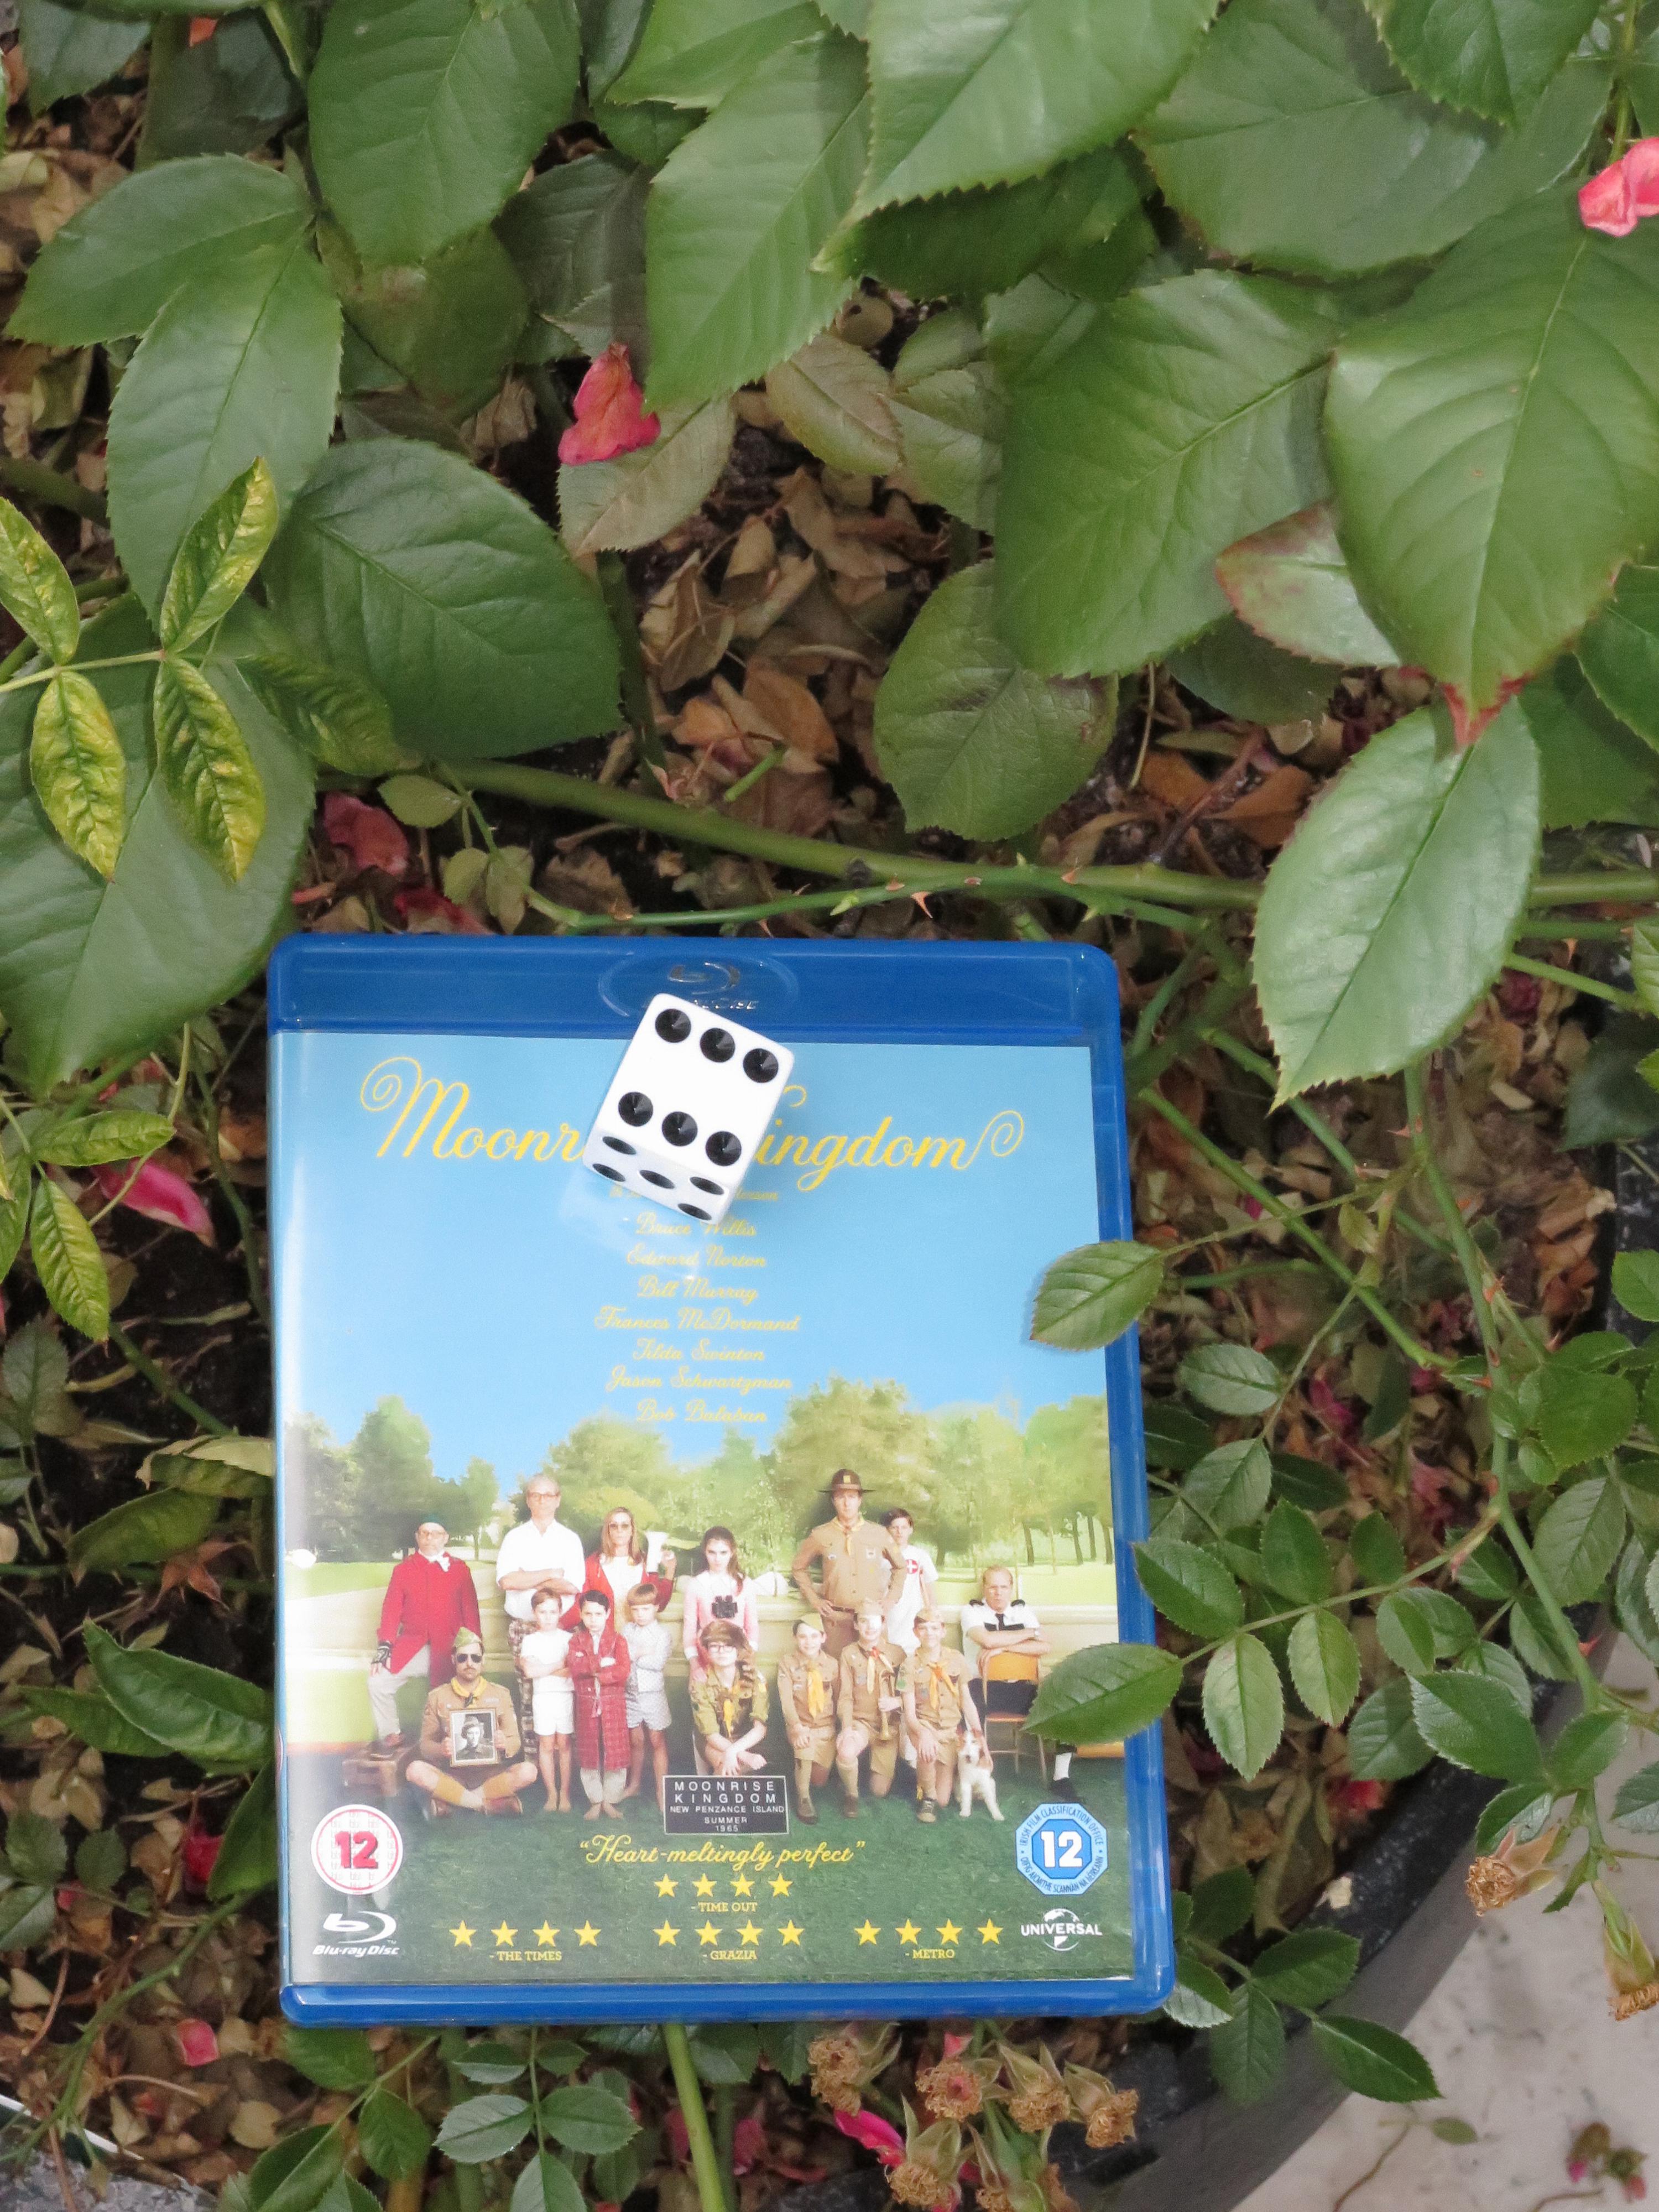
This post is part of The Tilda Swinton Project.