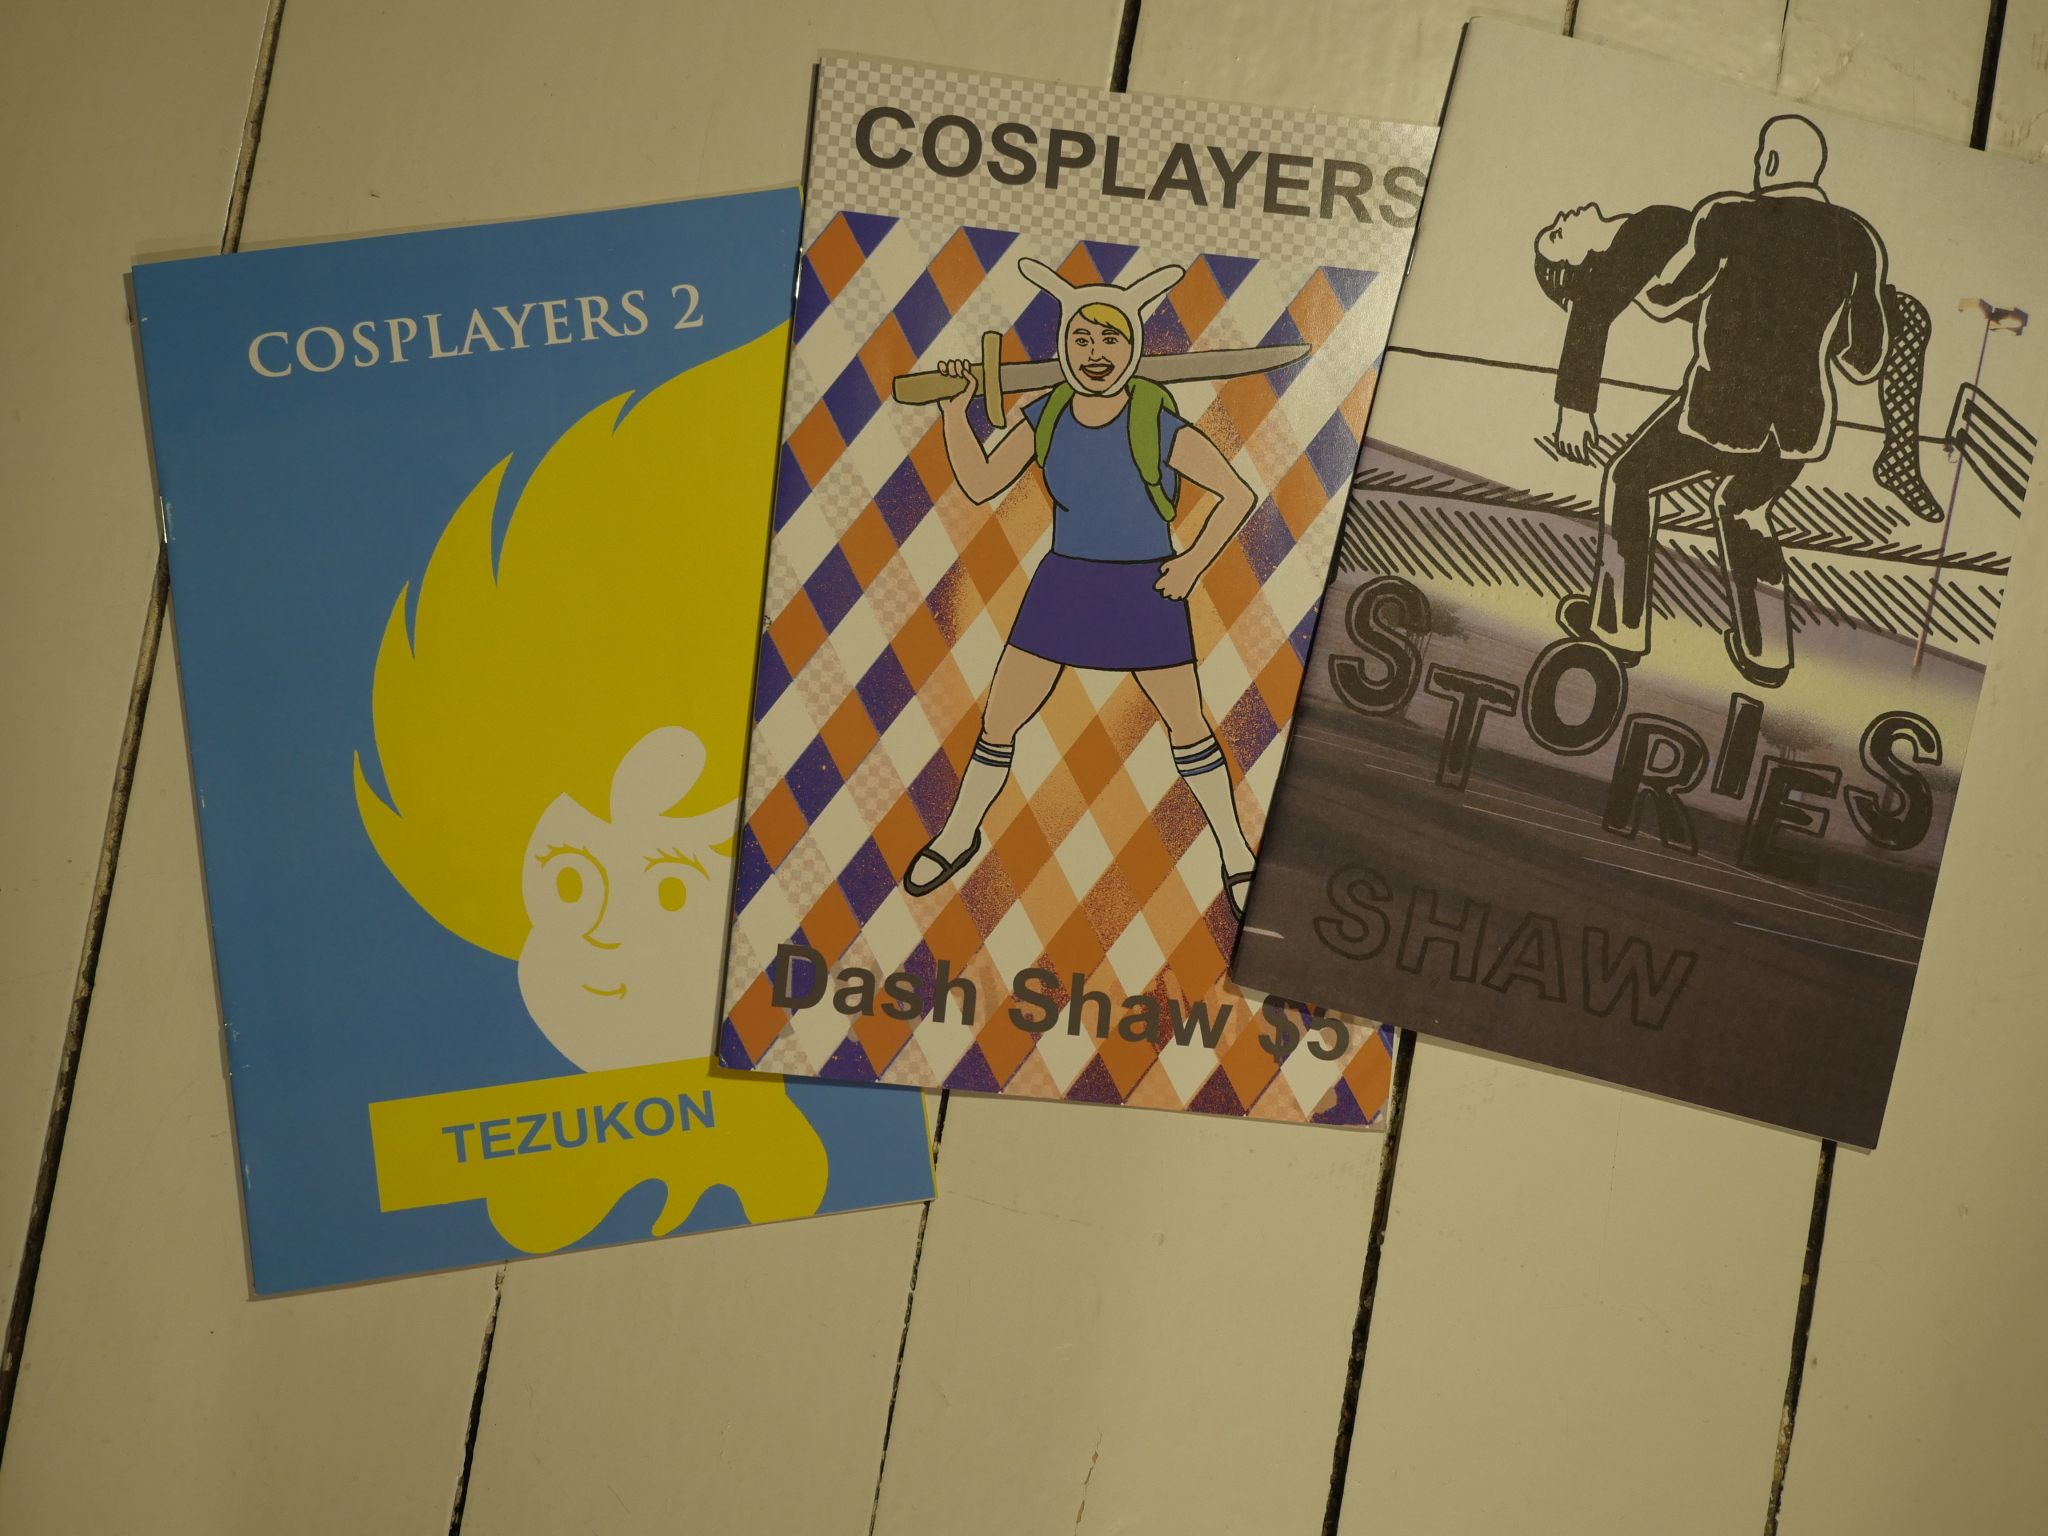
3 New Stories, Cosplayers #1-2 by Dash Shaw.
The major alternative publishers have all but stopped publishing comic book comics, so it was quite a surprise when Fantagraphics dropped 3 New Stories on an unsuspecting public in 2013. According to the comics database and my notes here, Fantagraphics had published no new pamphlet series since 2006 (although Tales Designed To Thrizzle, started in 2005, continued to appear irregularly throughout the years).
I would assume that publishing art comics pamphlets in the current market is a money-losing proposition, but some artists like the format. I would guess that that’s why these comics were published like this, with ads (even however untraditionally produced) and all. Shaw had previously released a number of (pretty successful, I think?) graphic novels.
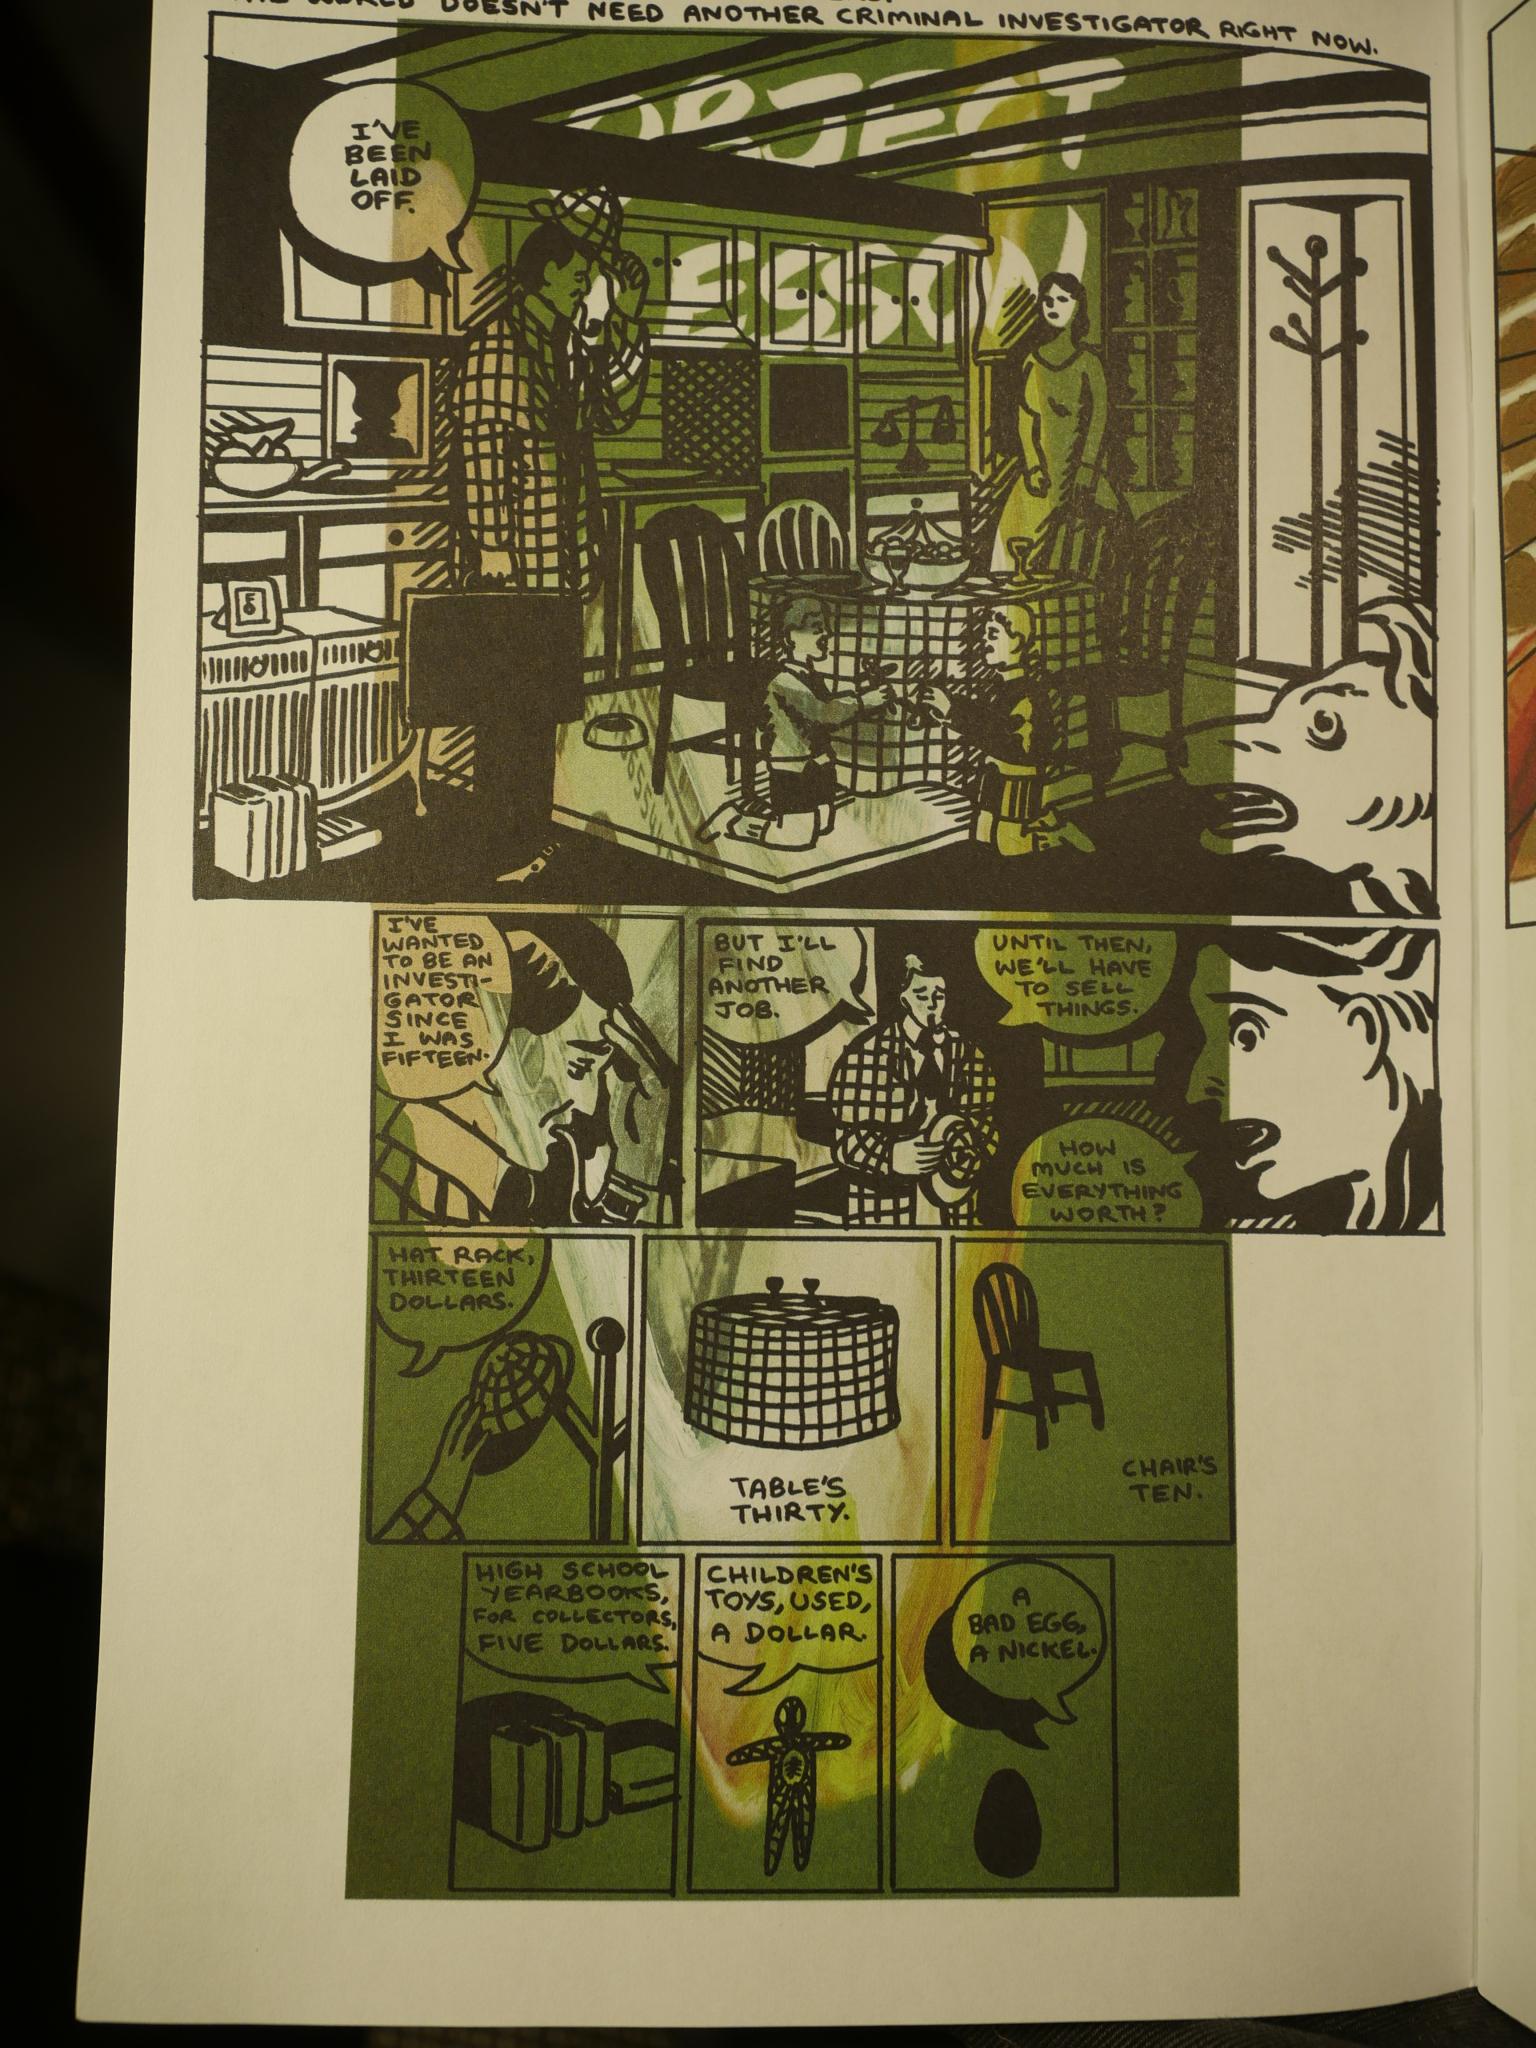
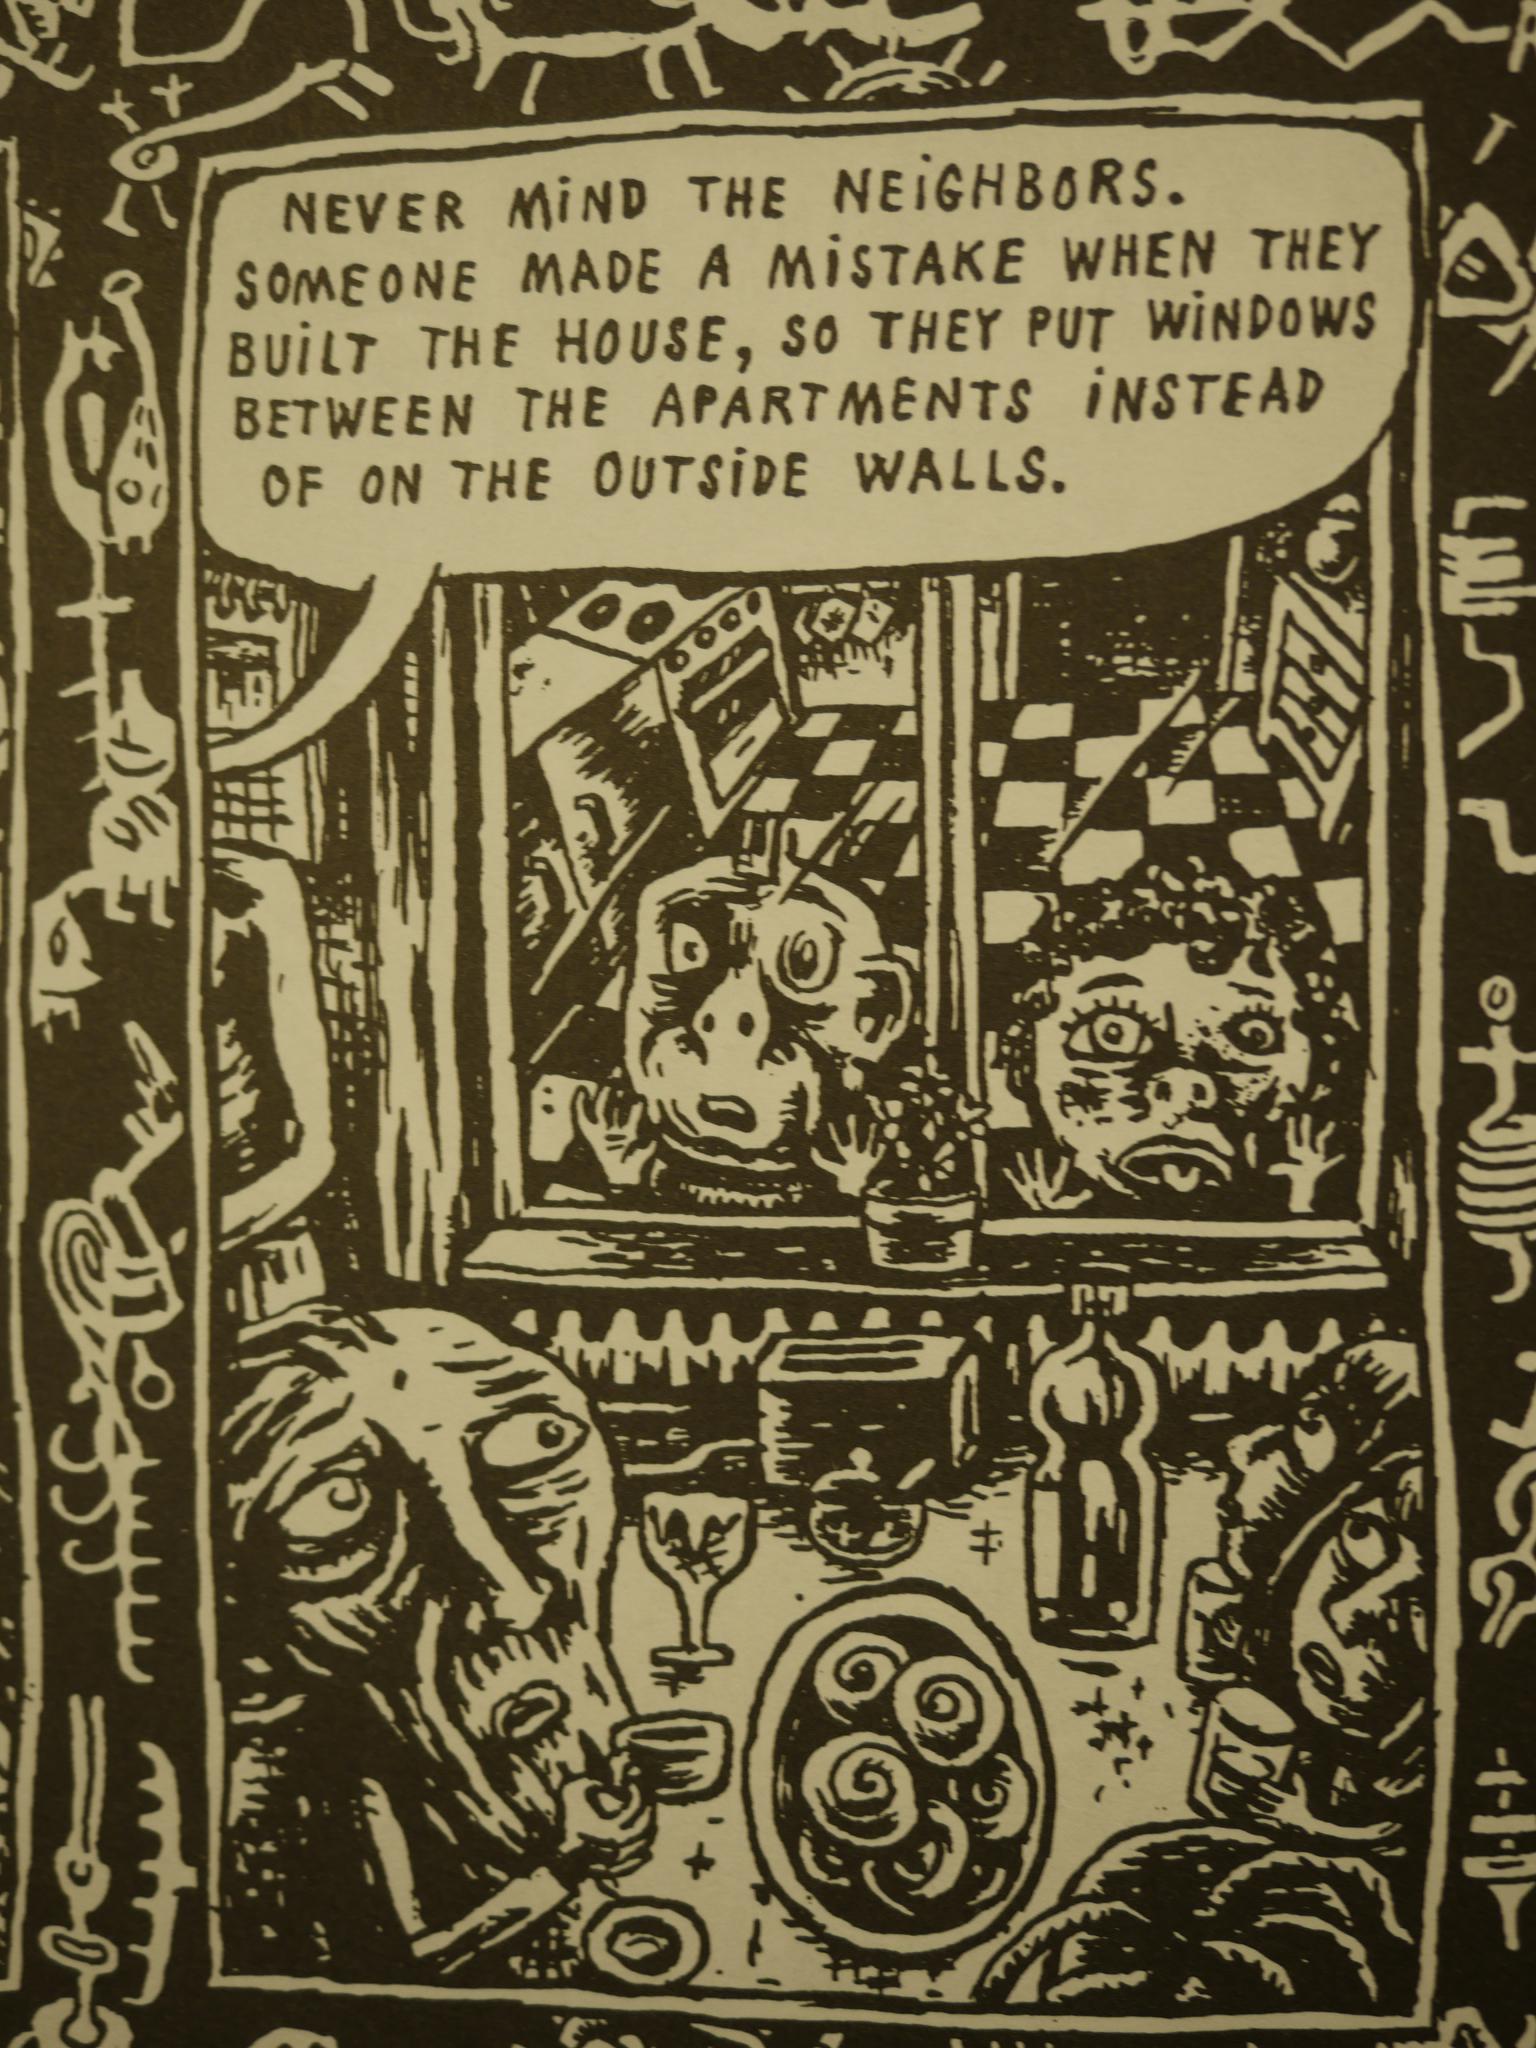
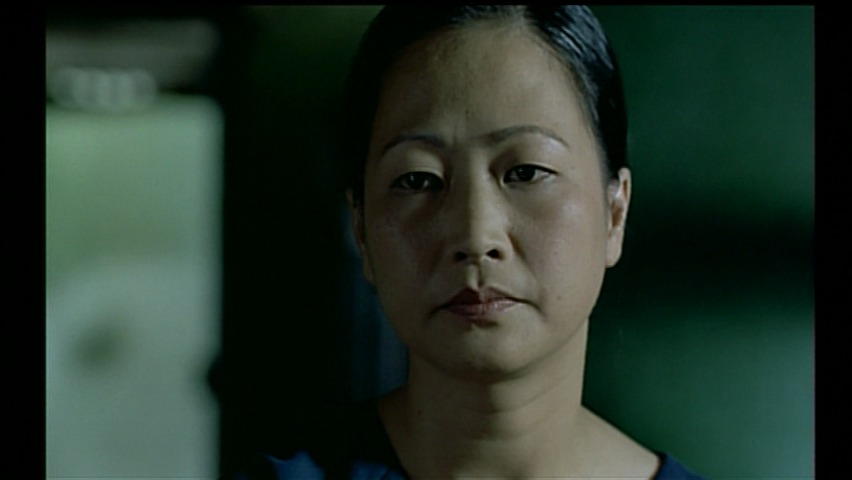
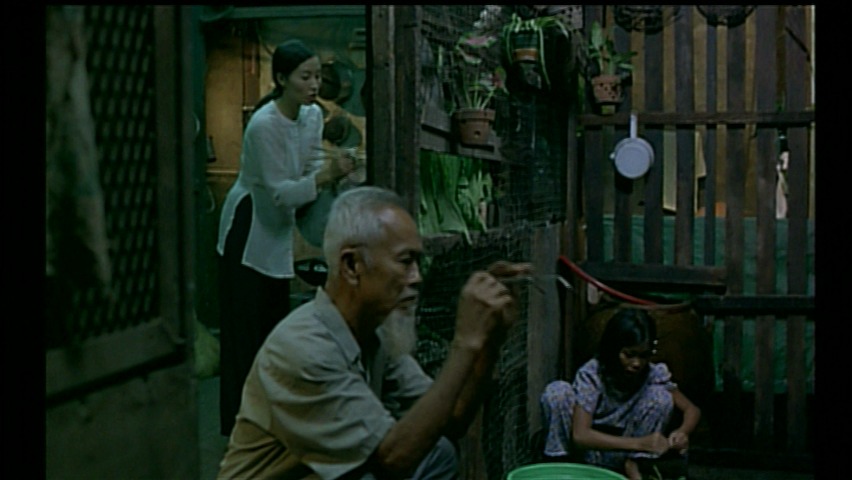
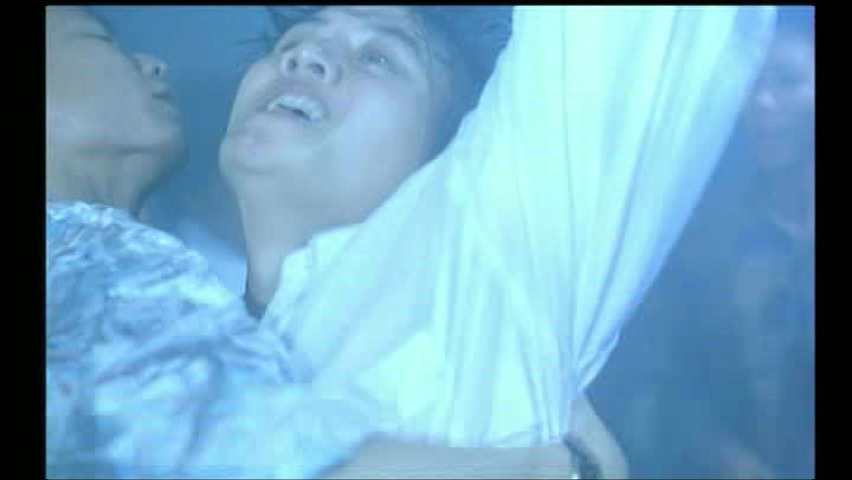
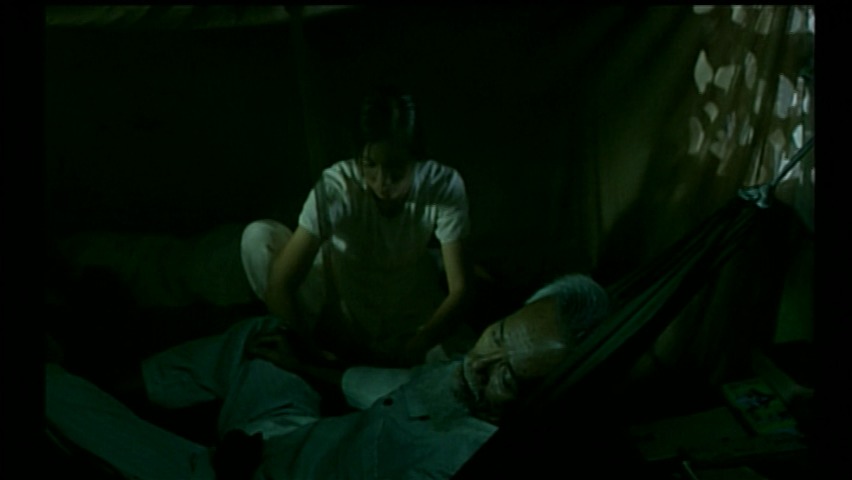
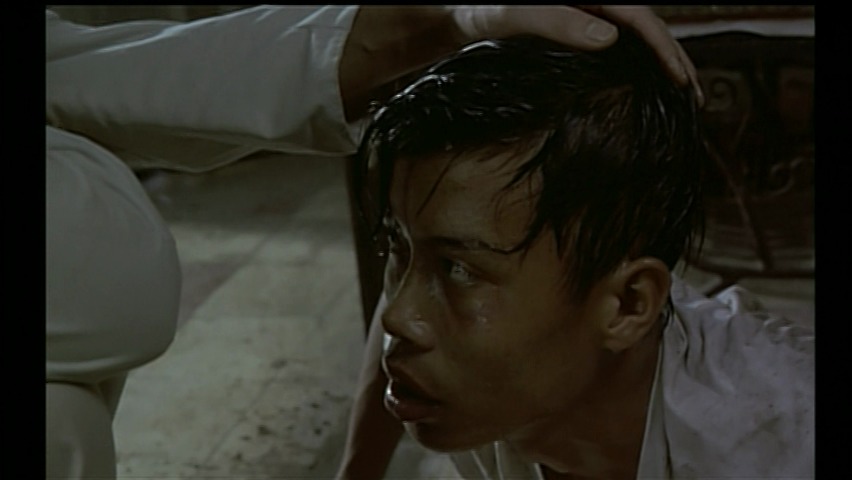
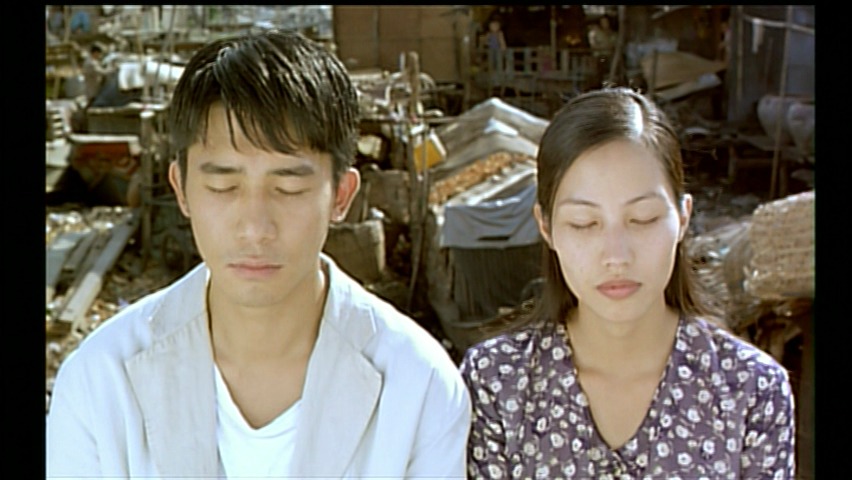
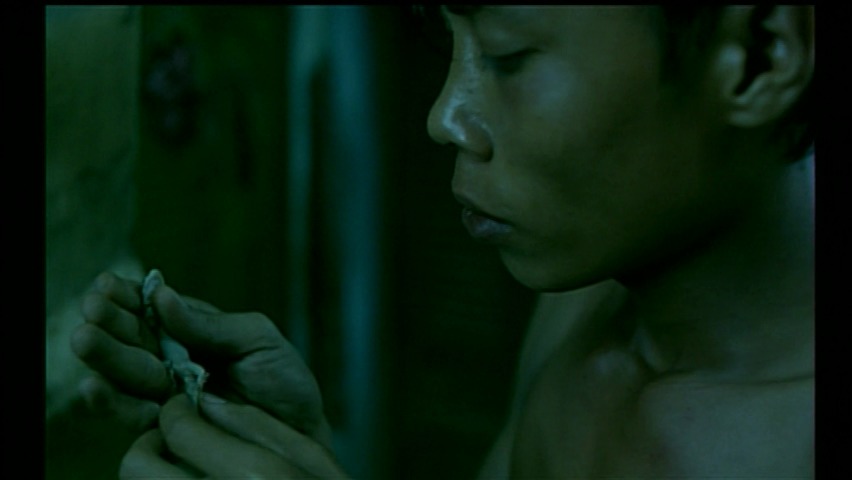
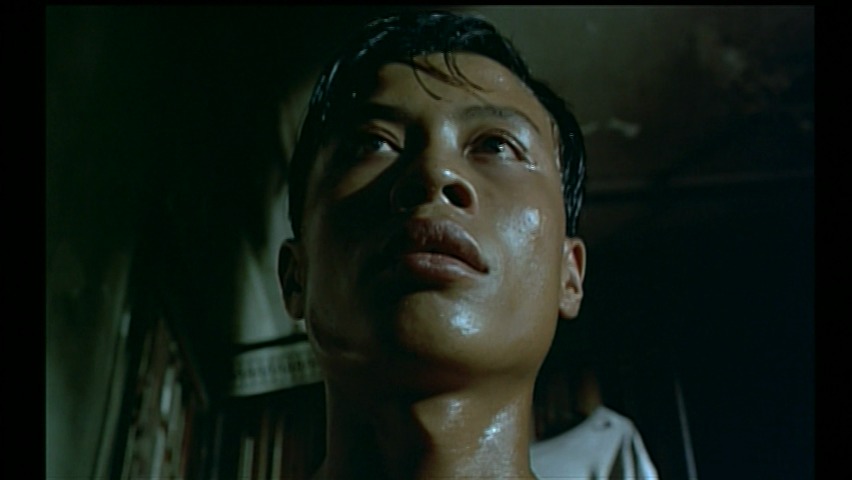
In the first story in 3 New Stories, Shaw does his “reproduce paintings under drawings” thing that he would use more at length in his New School graphic novel, also released around this time.
It’s often difficult to make out what the paintings (and sometimes photos) are supposed to be, and whether there’s any connection between them and the storyline.
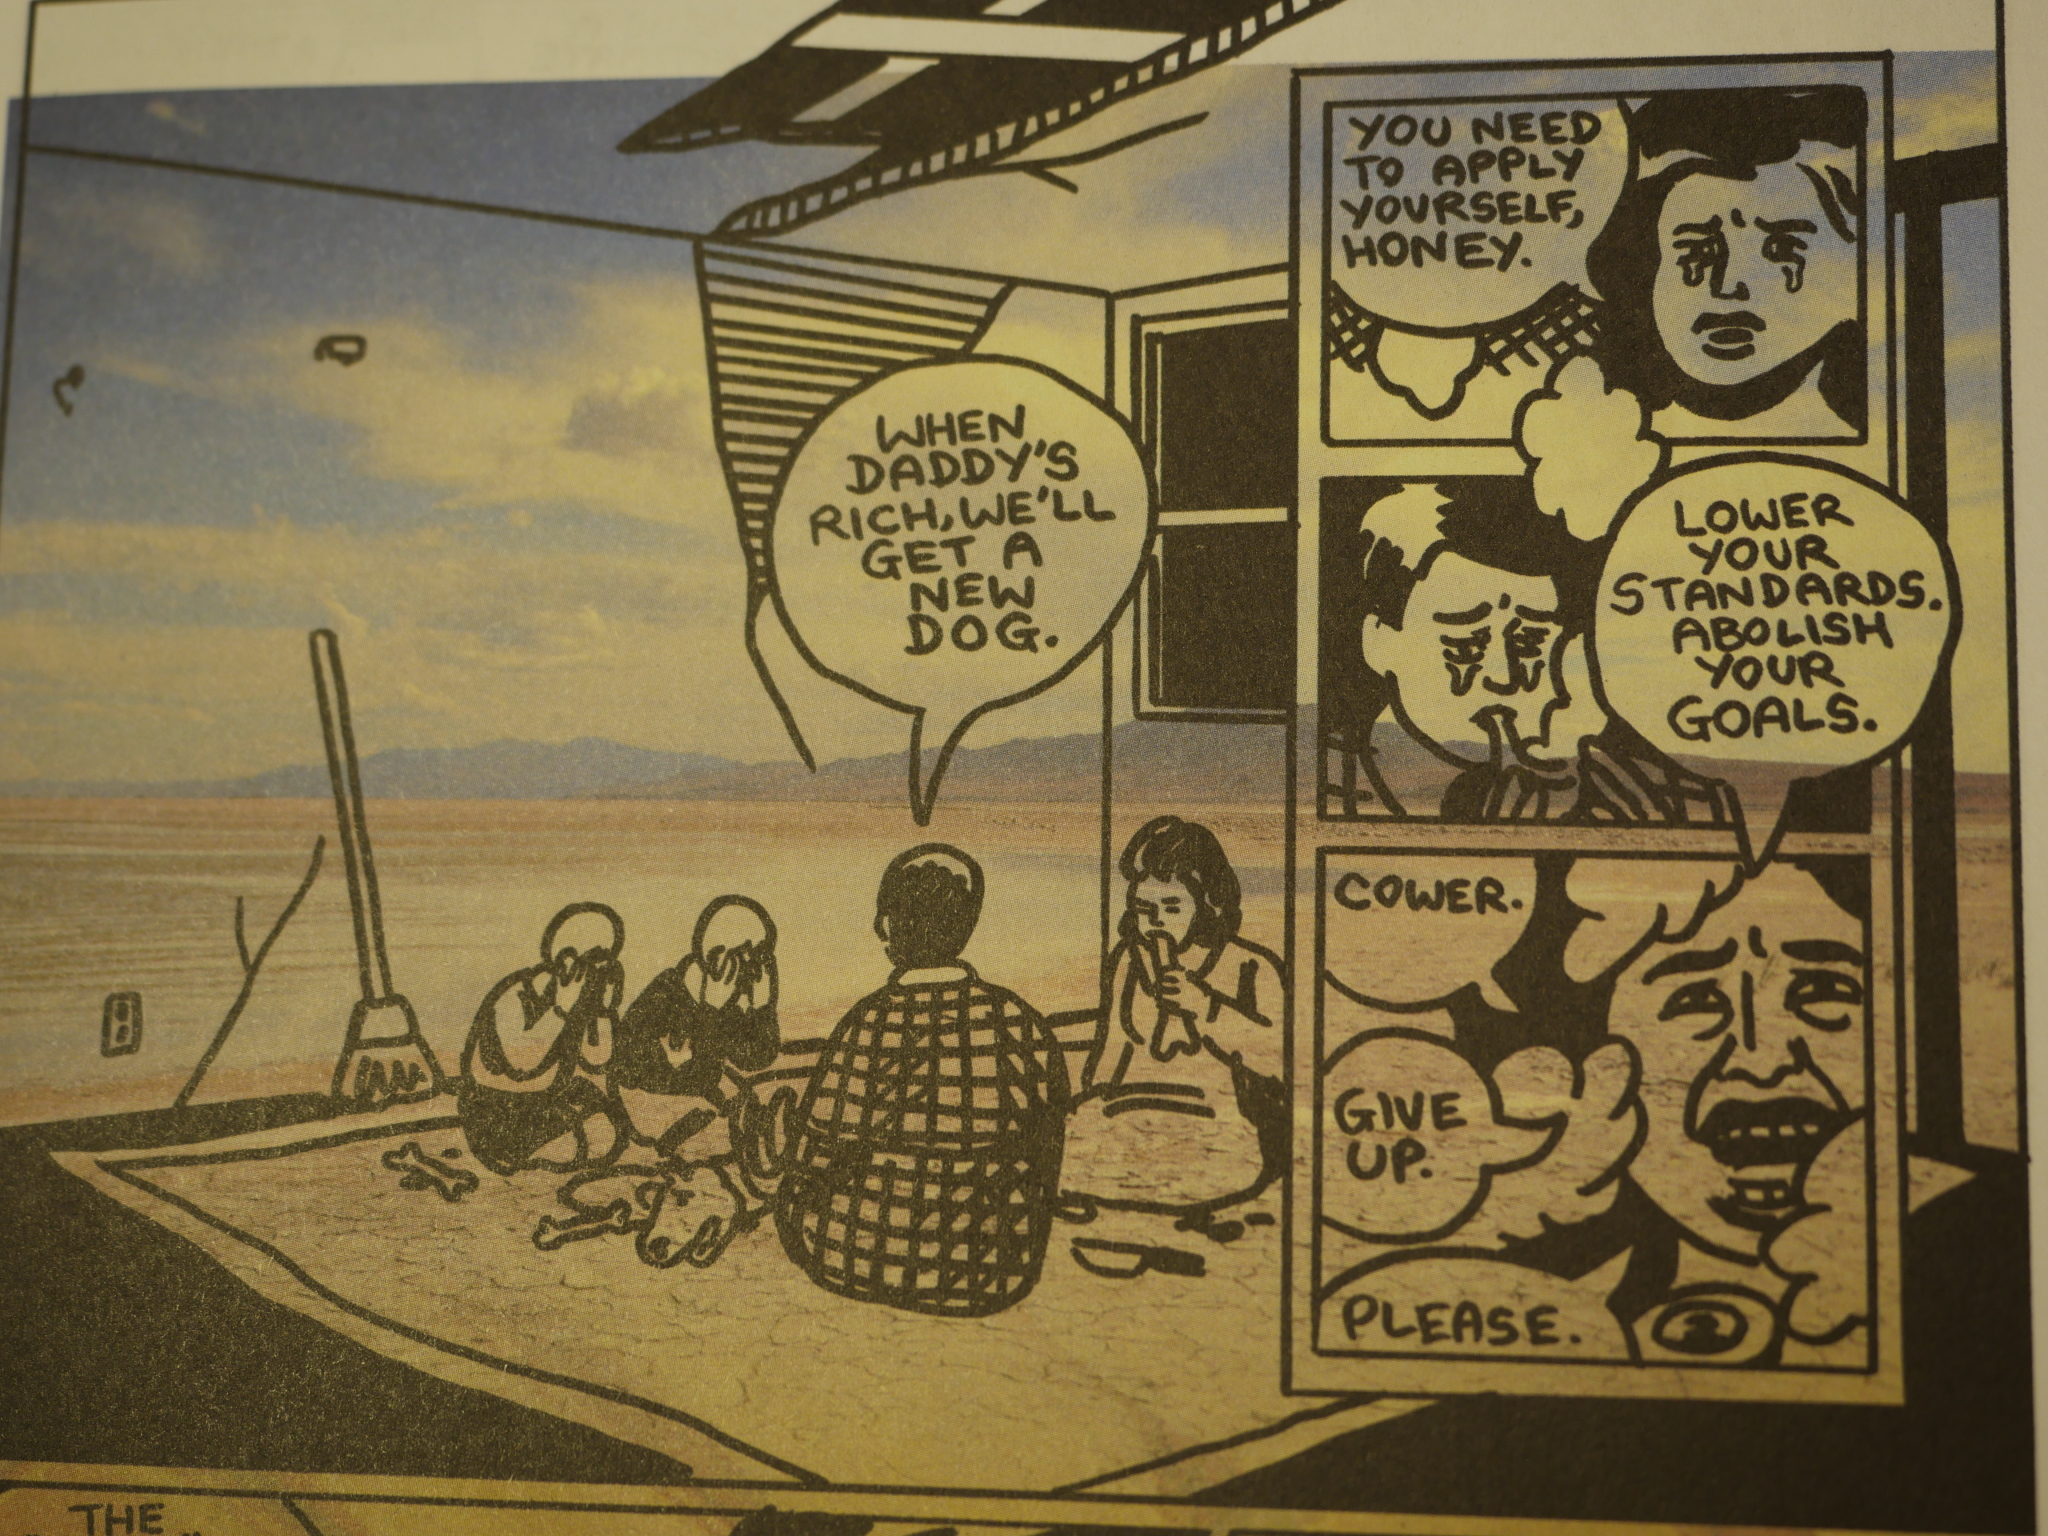
Like here, where the father has sold off all the furniture, and they’re eating (the dog) on the floor of the apartment, there’s a picture of a desert landscape underneath. It adds a dissonance to the already dissonant story. It’s rather unnerving cumulatively.
Oh, yeah, it’s a wonderful story.
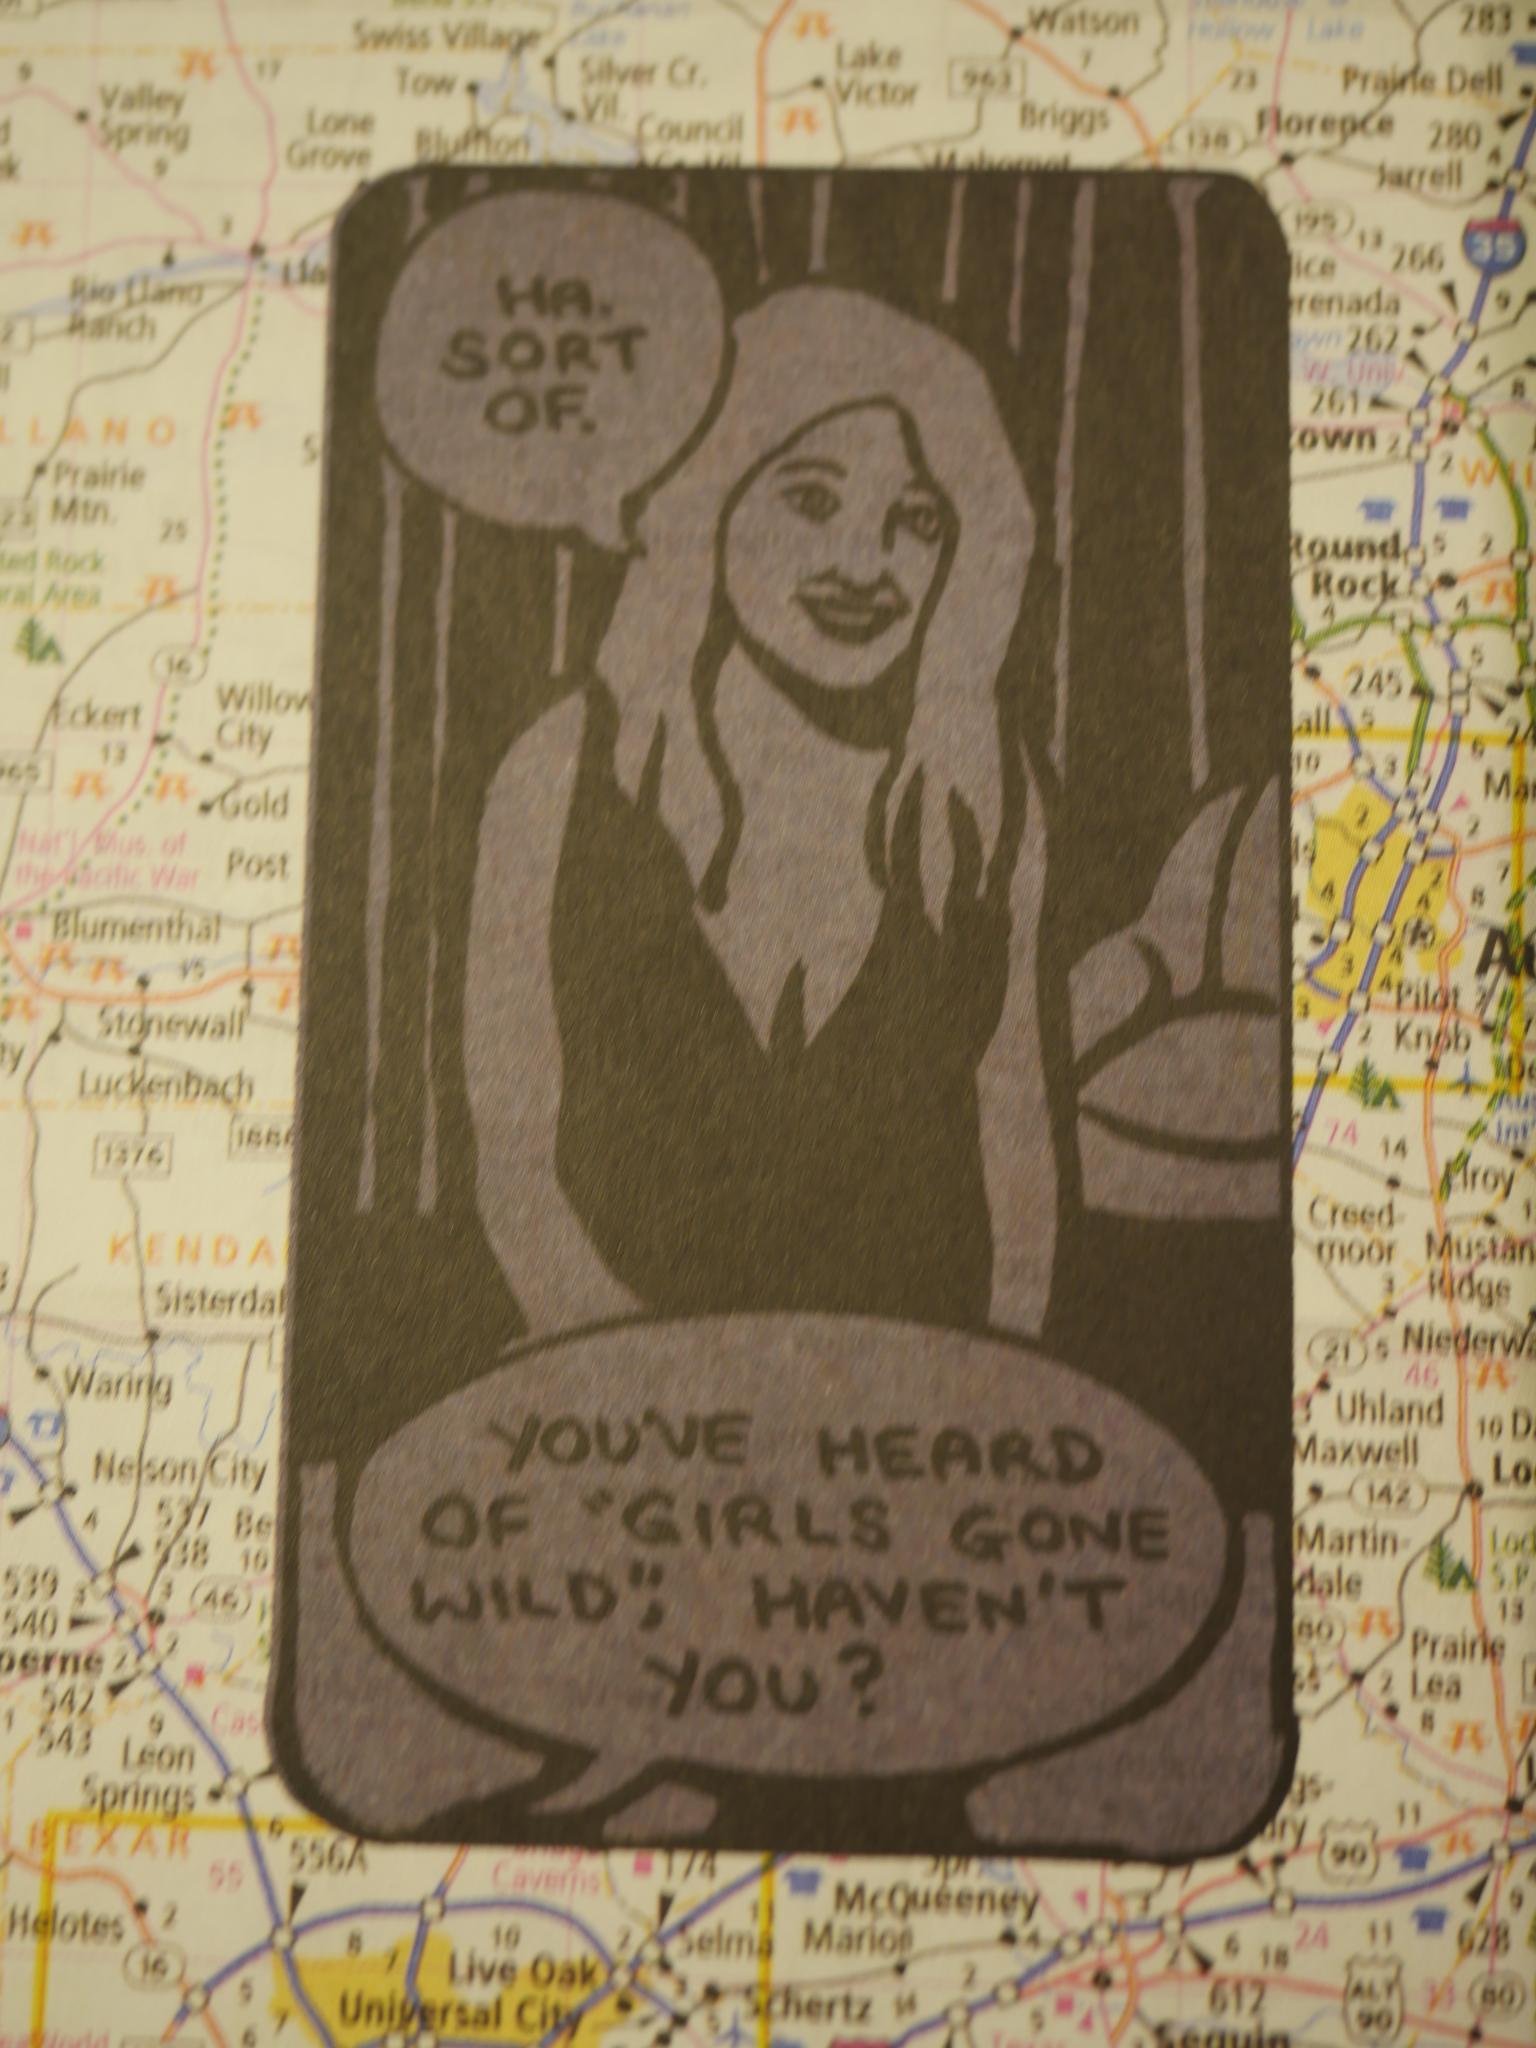
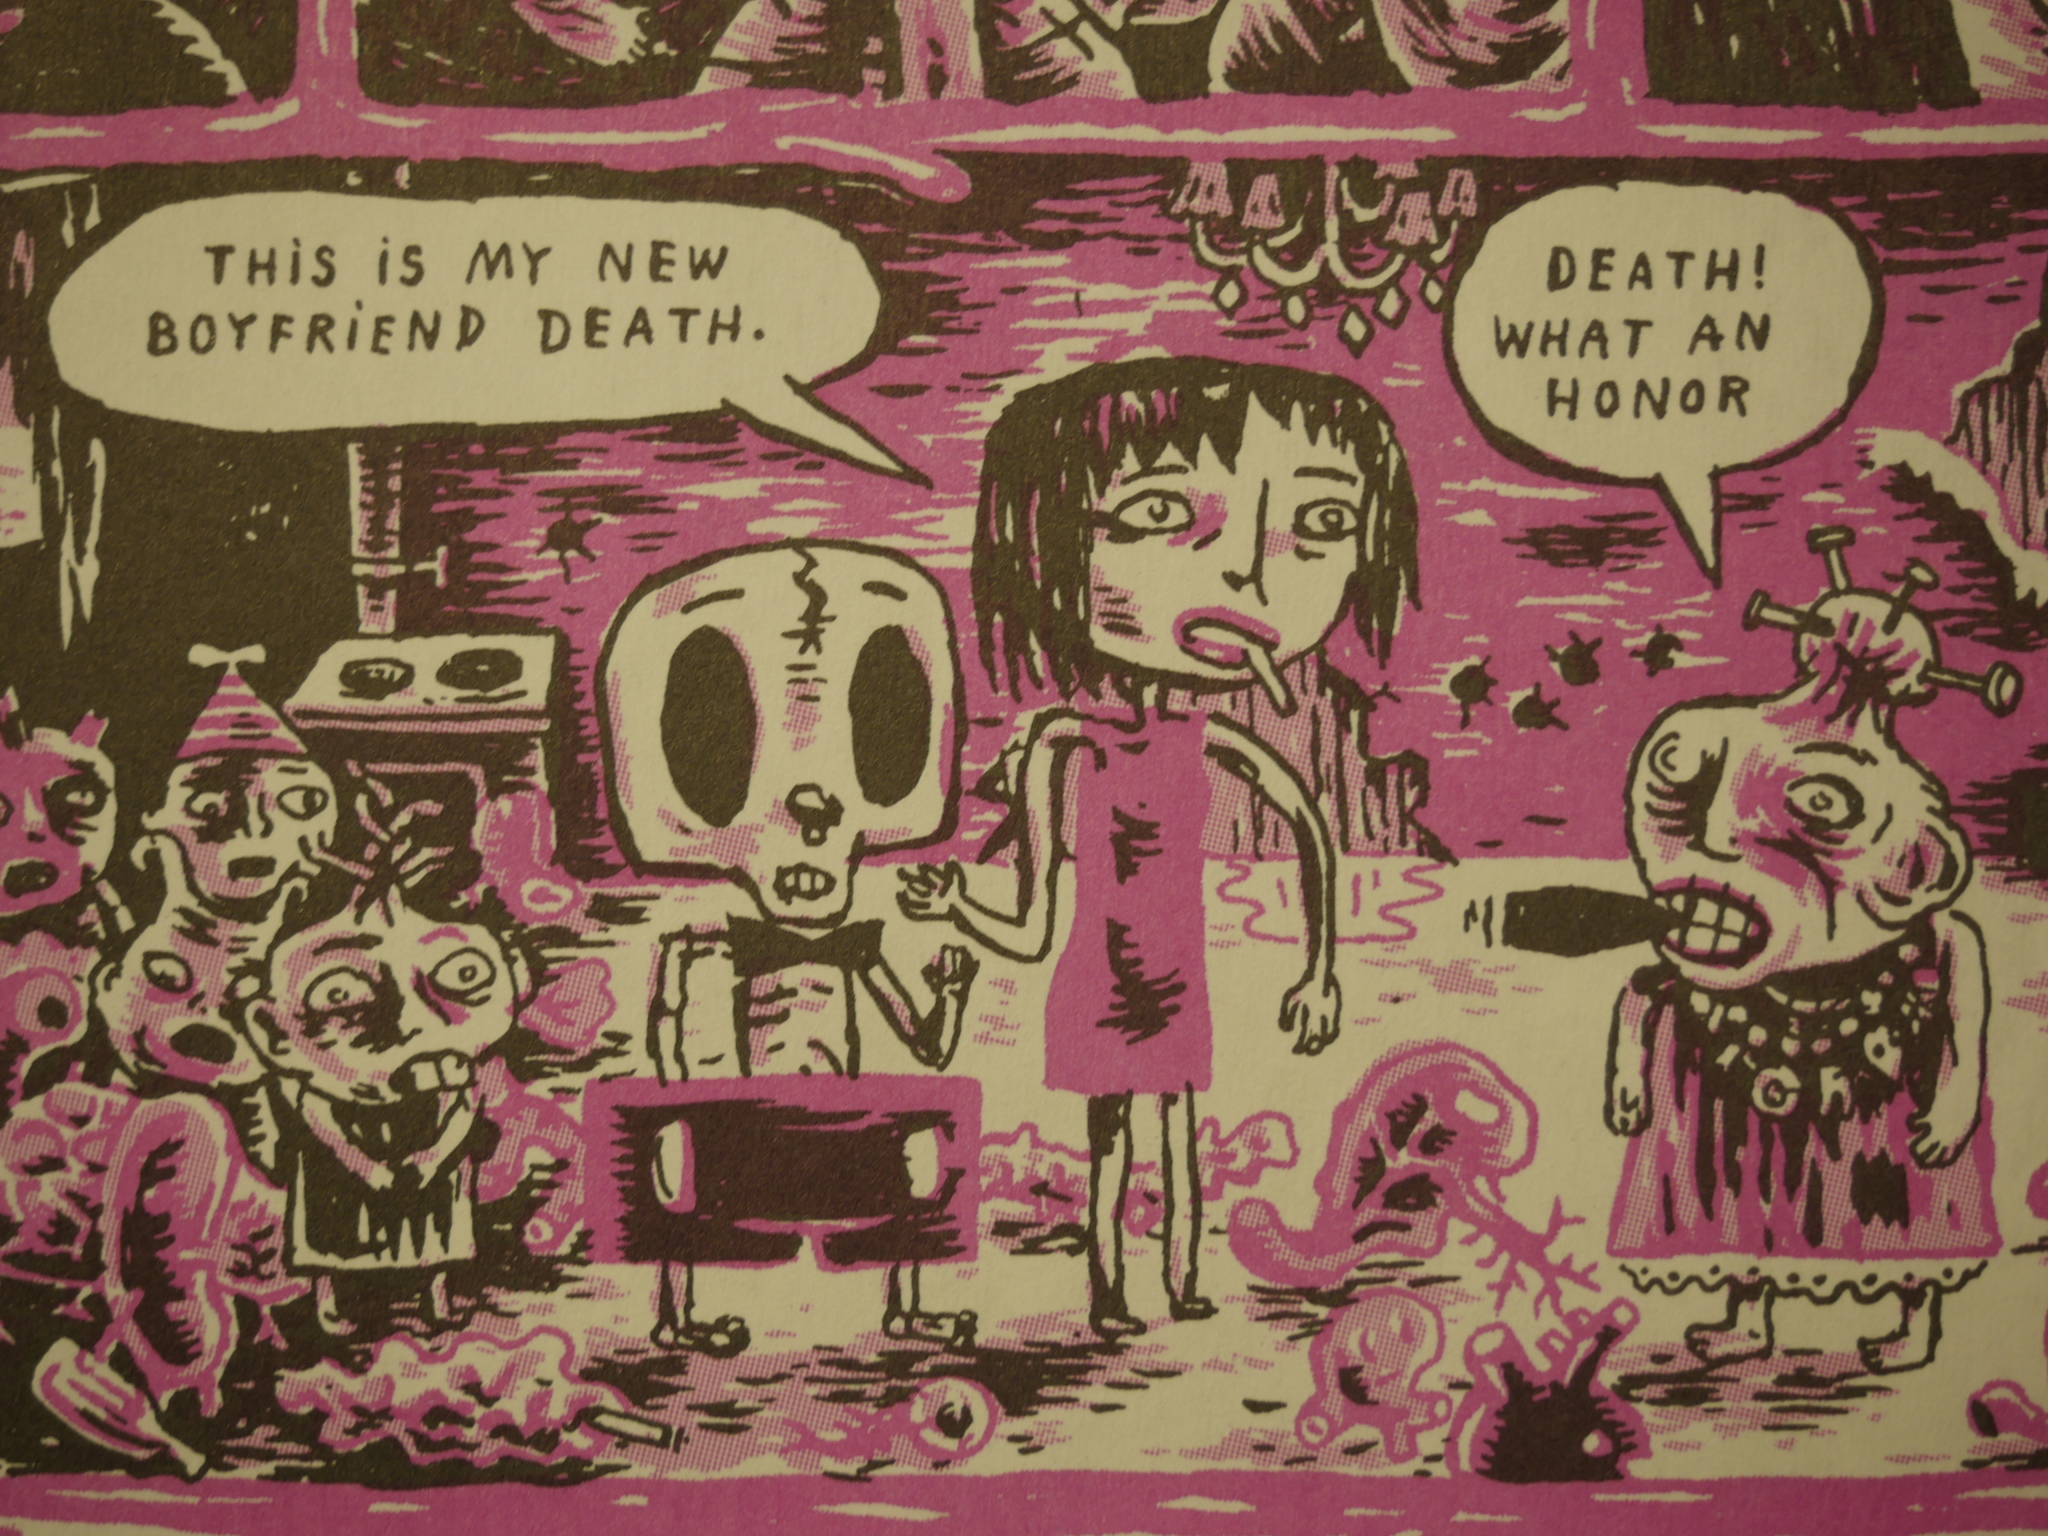
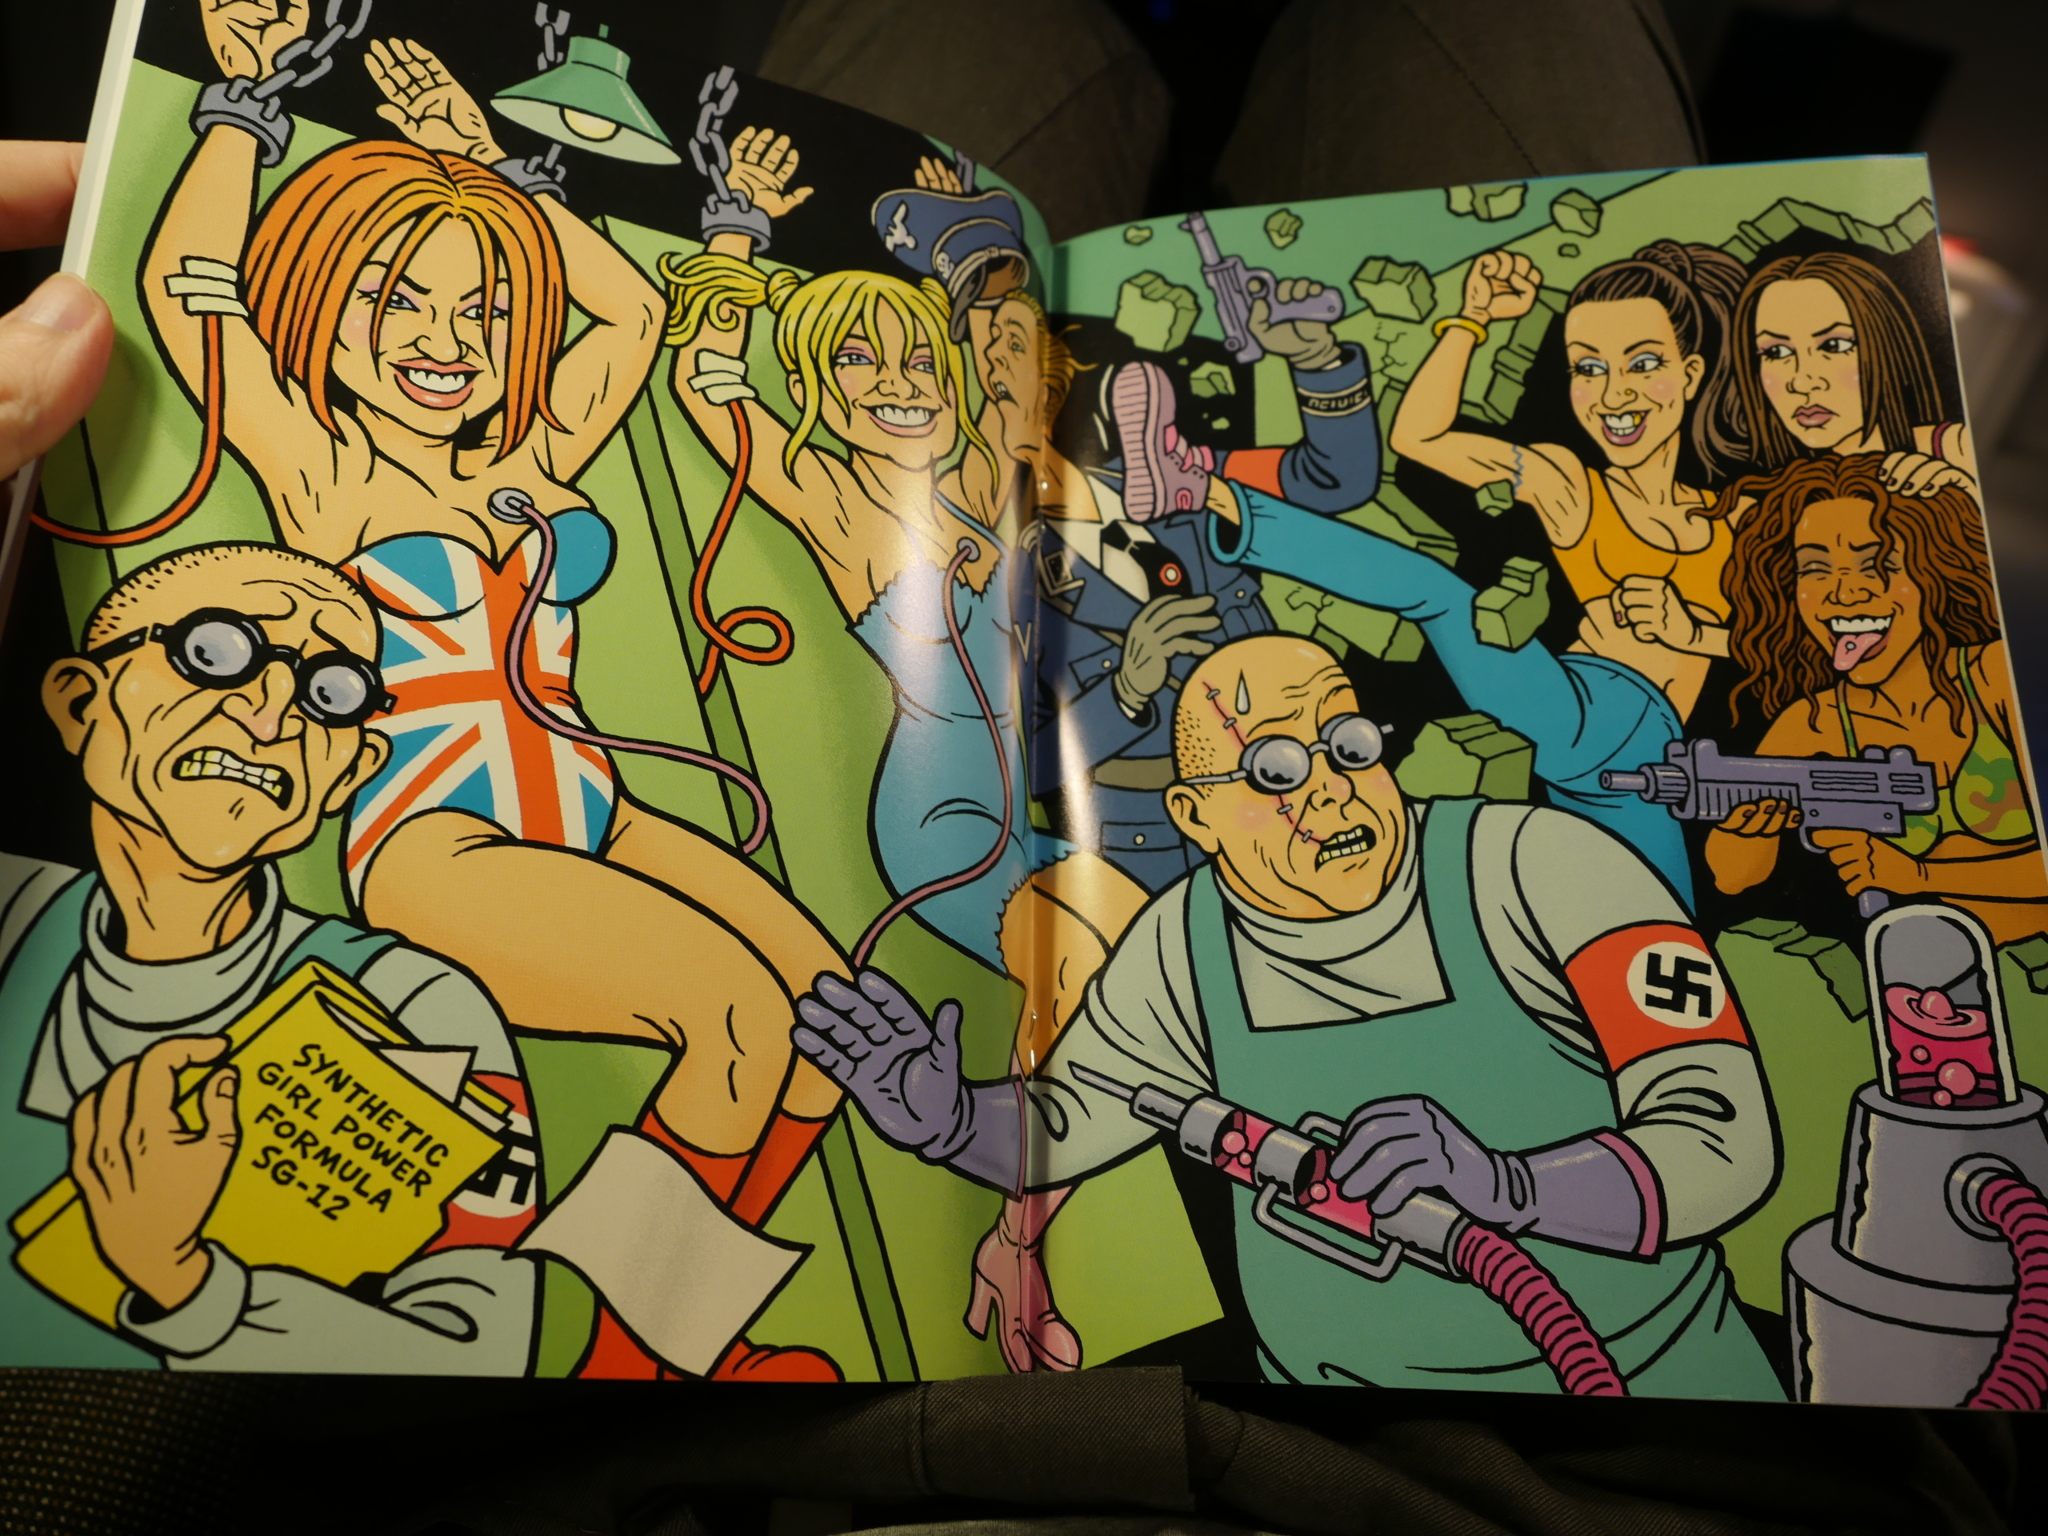
The second piece is Shaw apparently adapting a Girls Gone Wild segment. It’s fun.
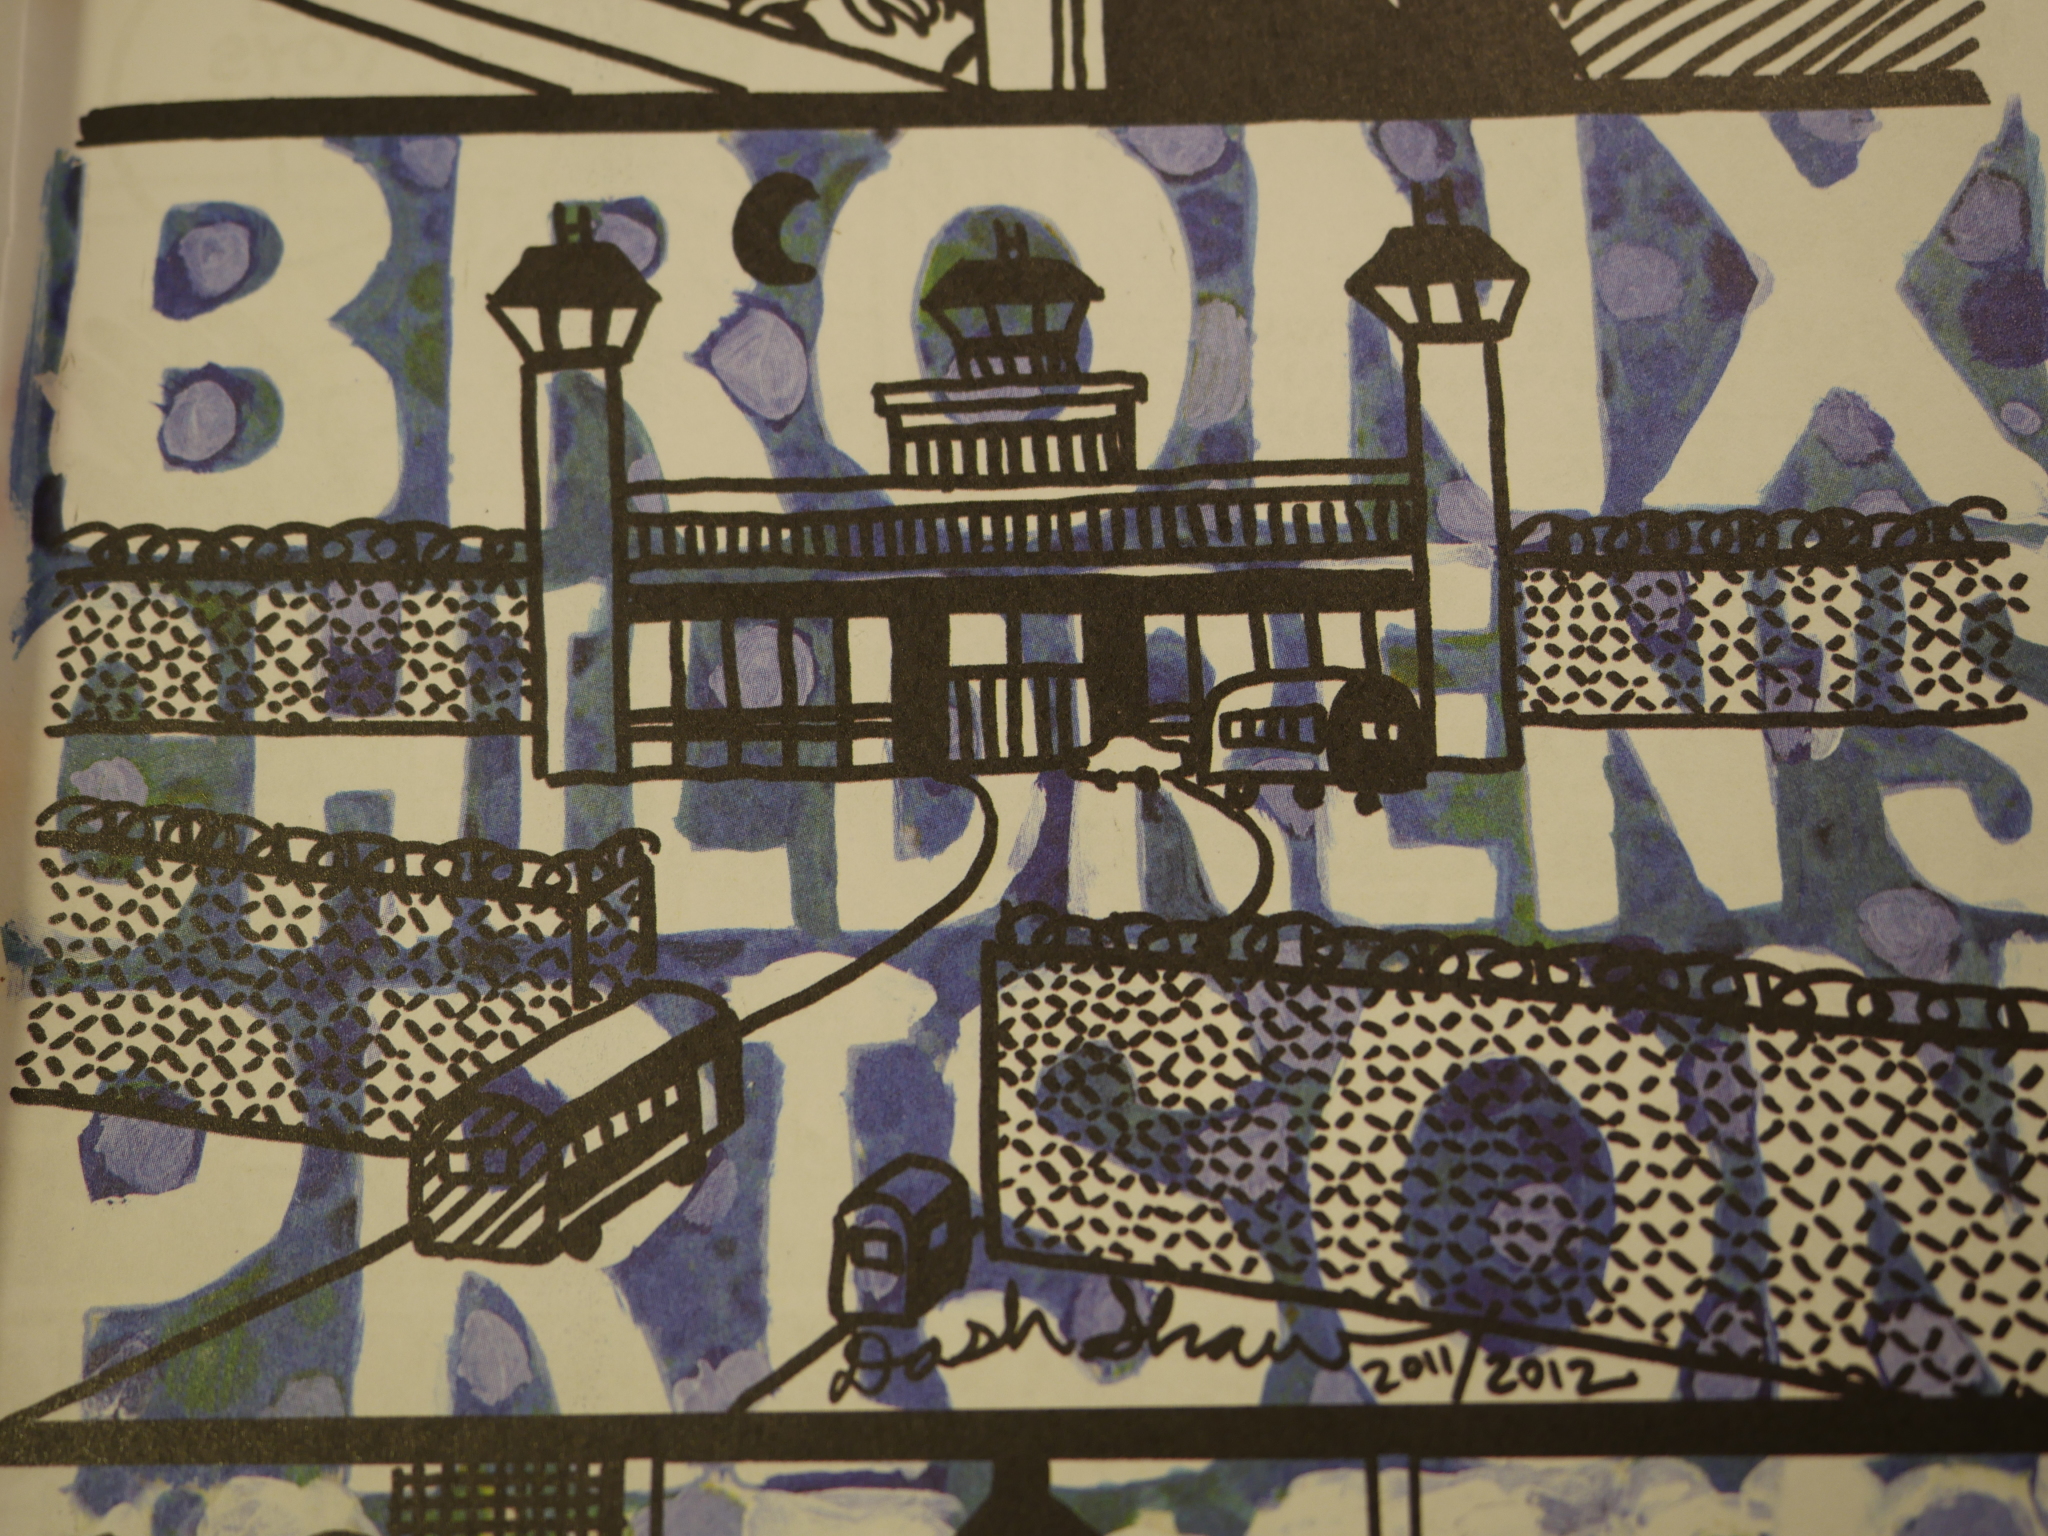
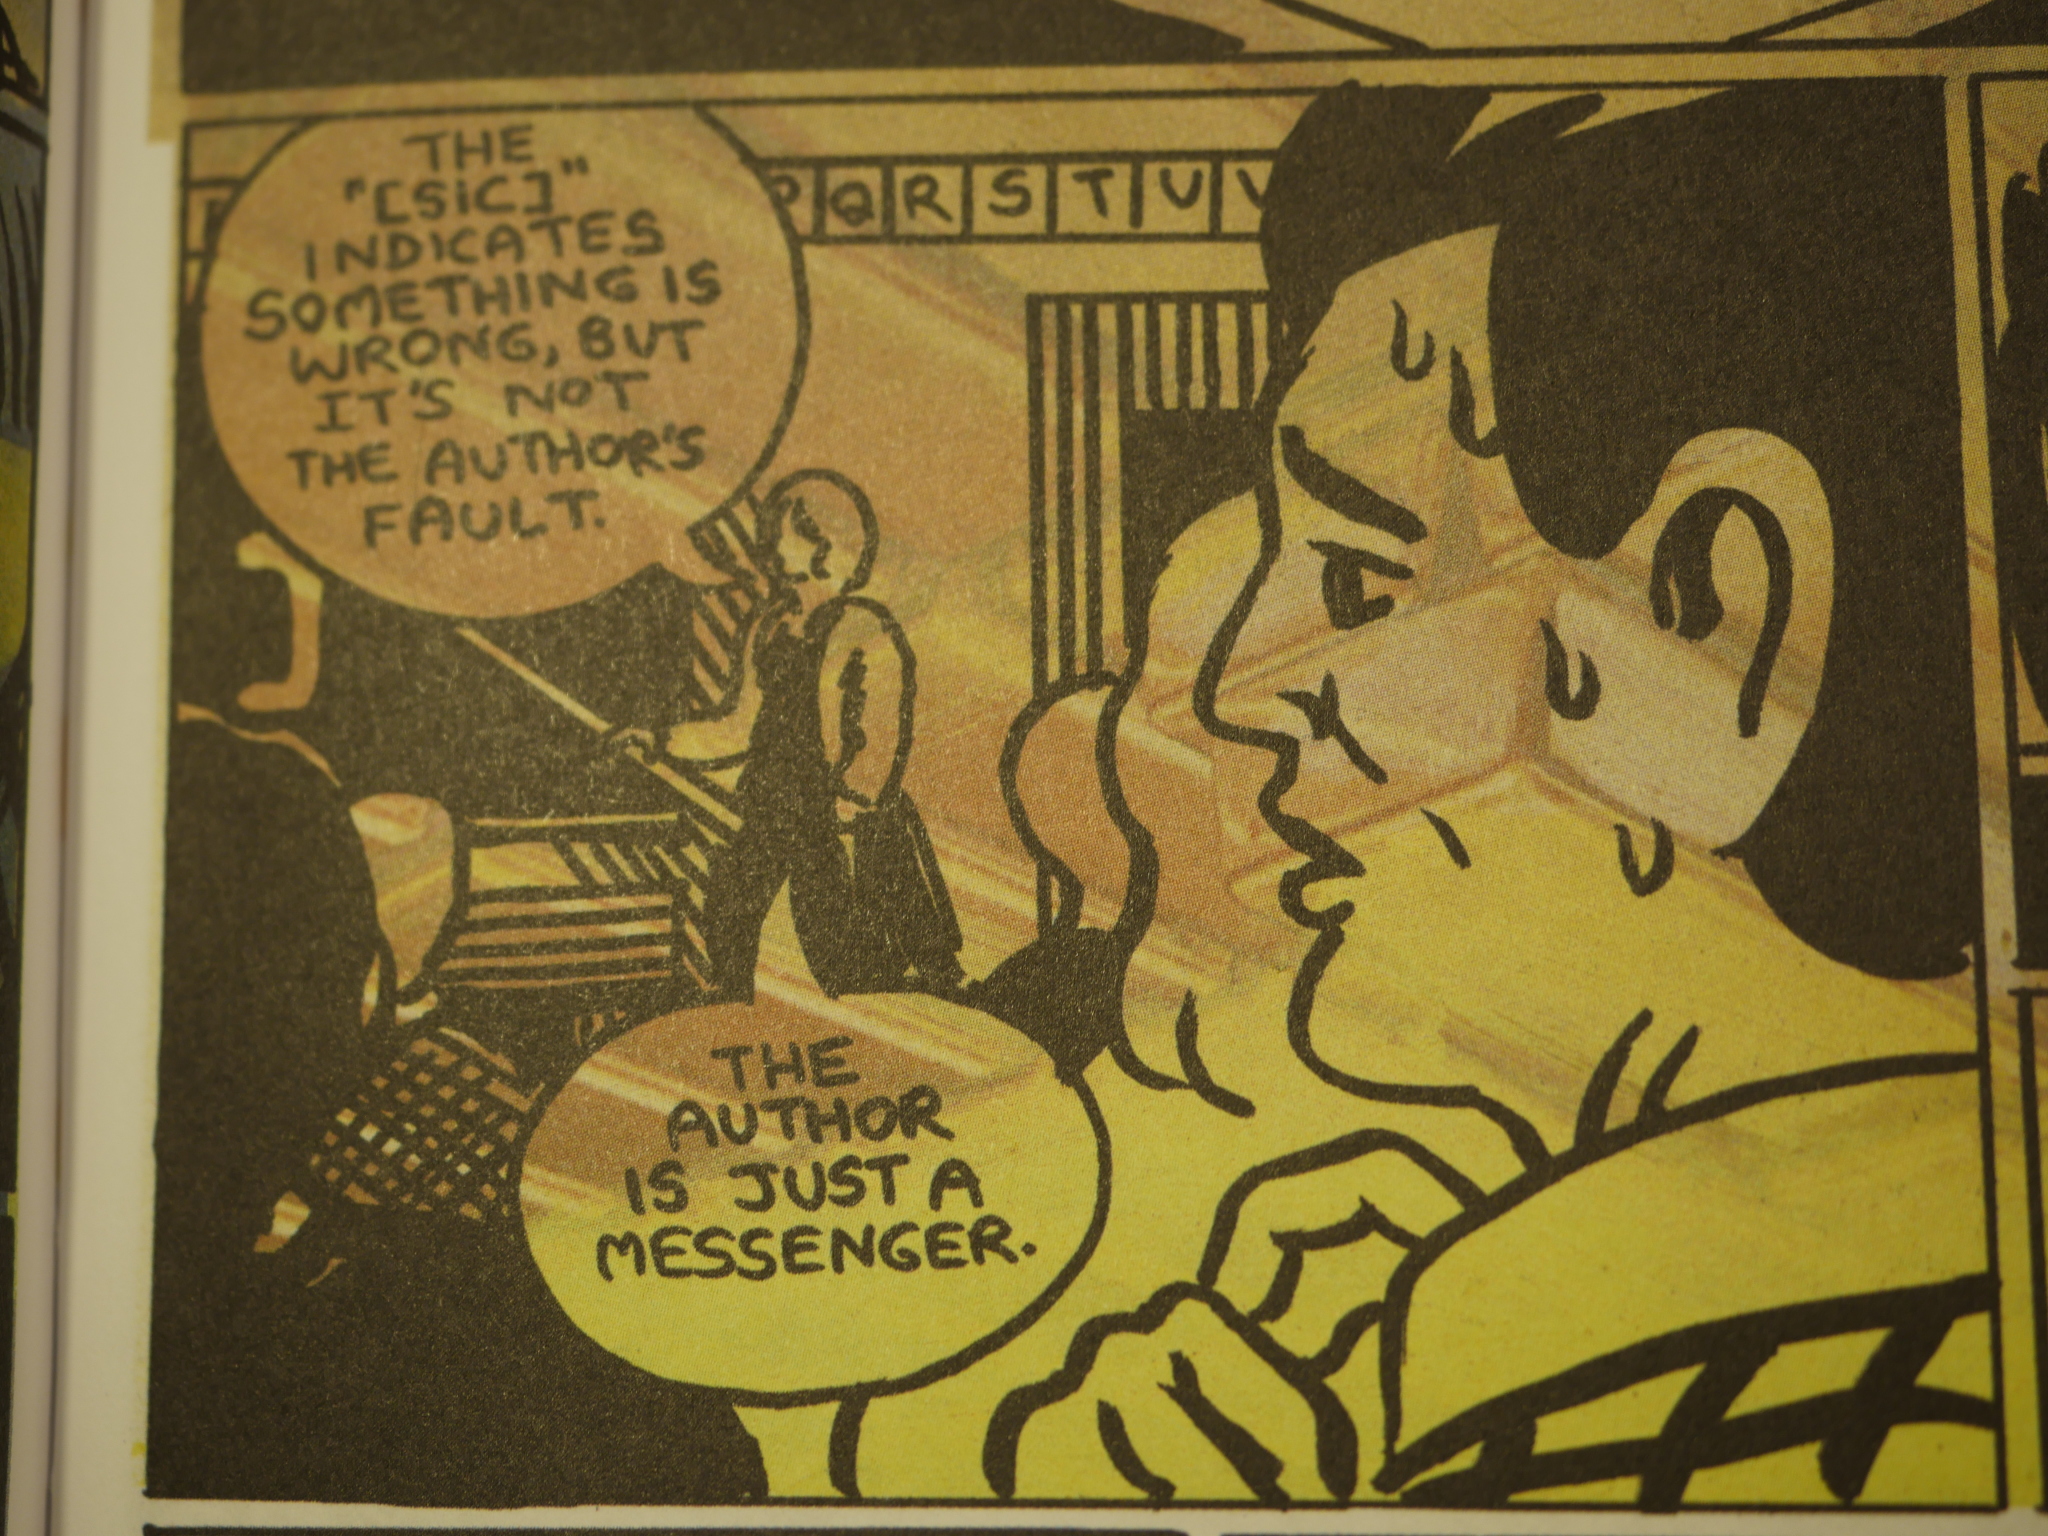
And rounding out the issue is a brutal story about a future Bronx children’s prison.
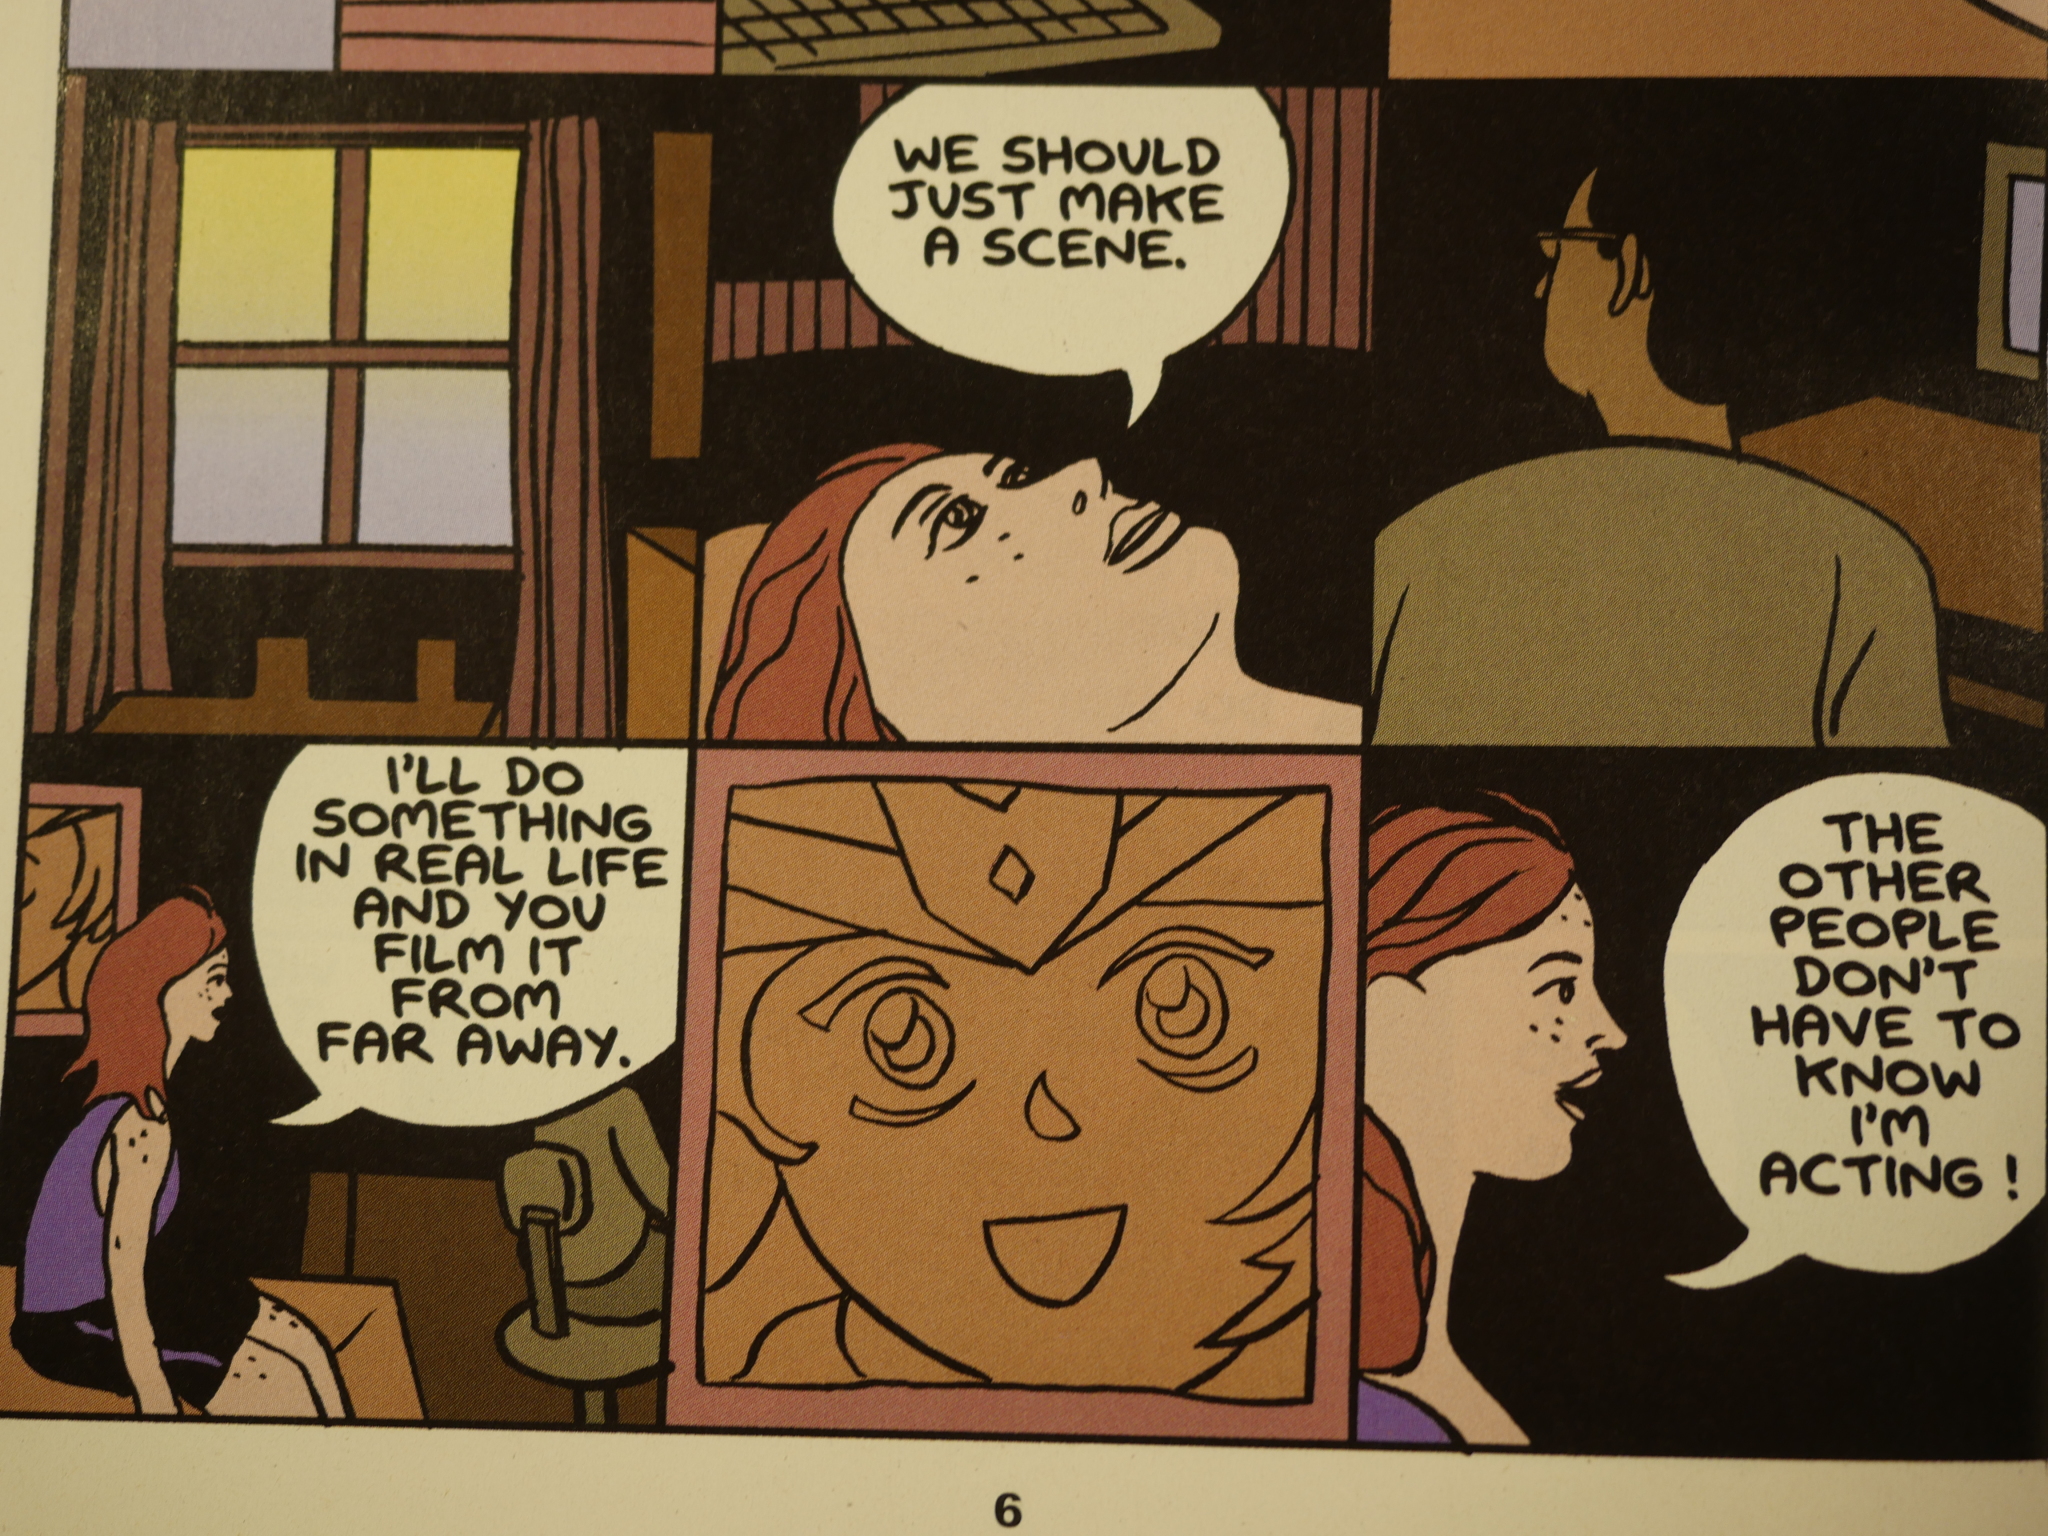
The first issue of Cosplayers, released the year after 3 New Stories, is about two girls who are making no budget films in a rather original manner: They don’t tell the other people in the films that they’re in the films. So it’s a different version of “cosplaying” than you’d think looking at the cover.
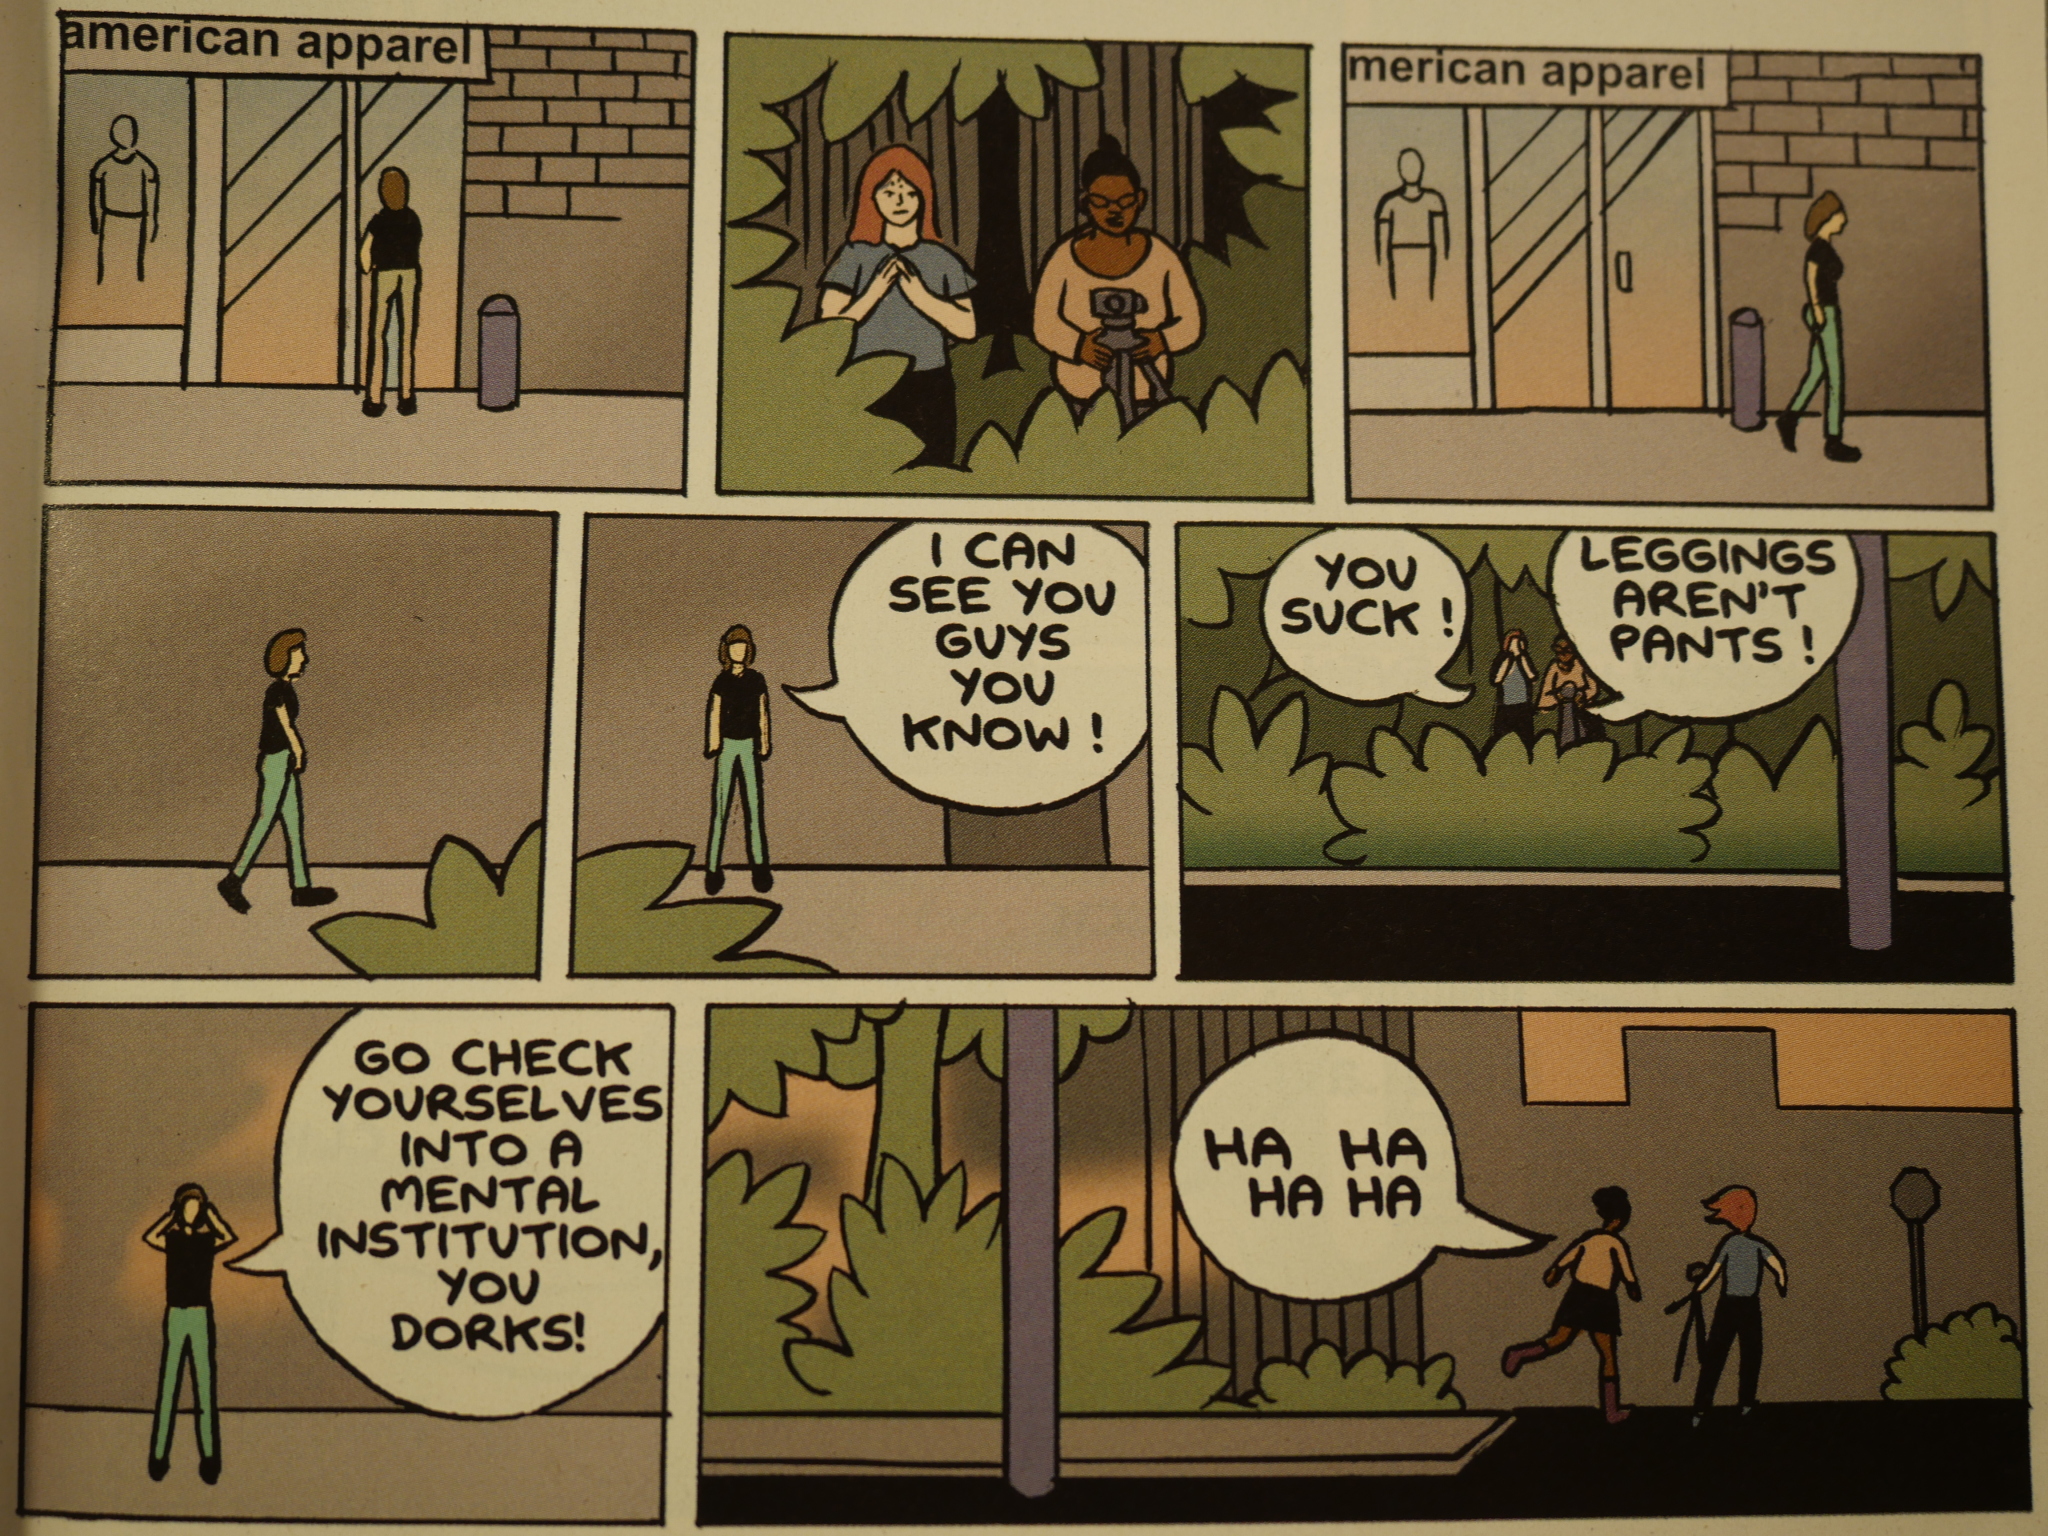
Heh heh. Fashion advice, too.
It all feels so real.
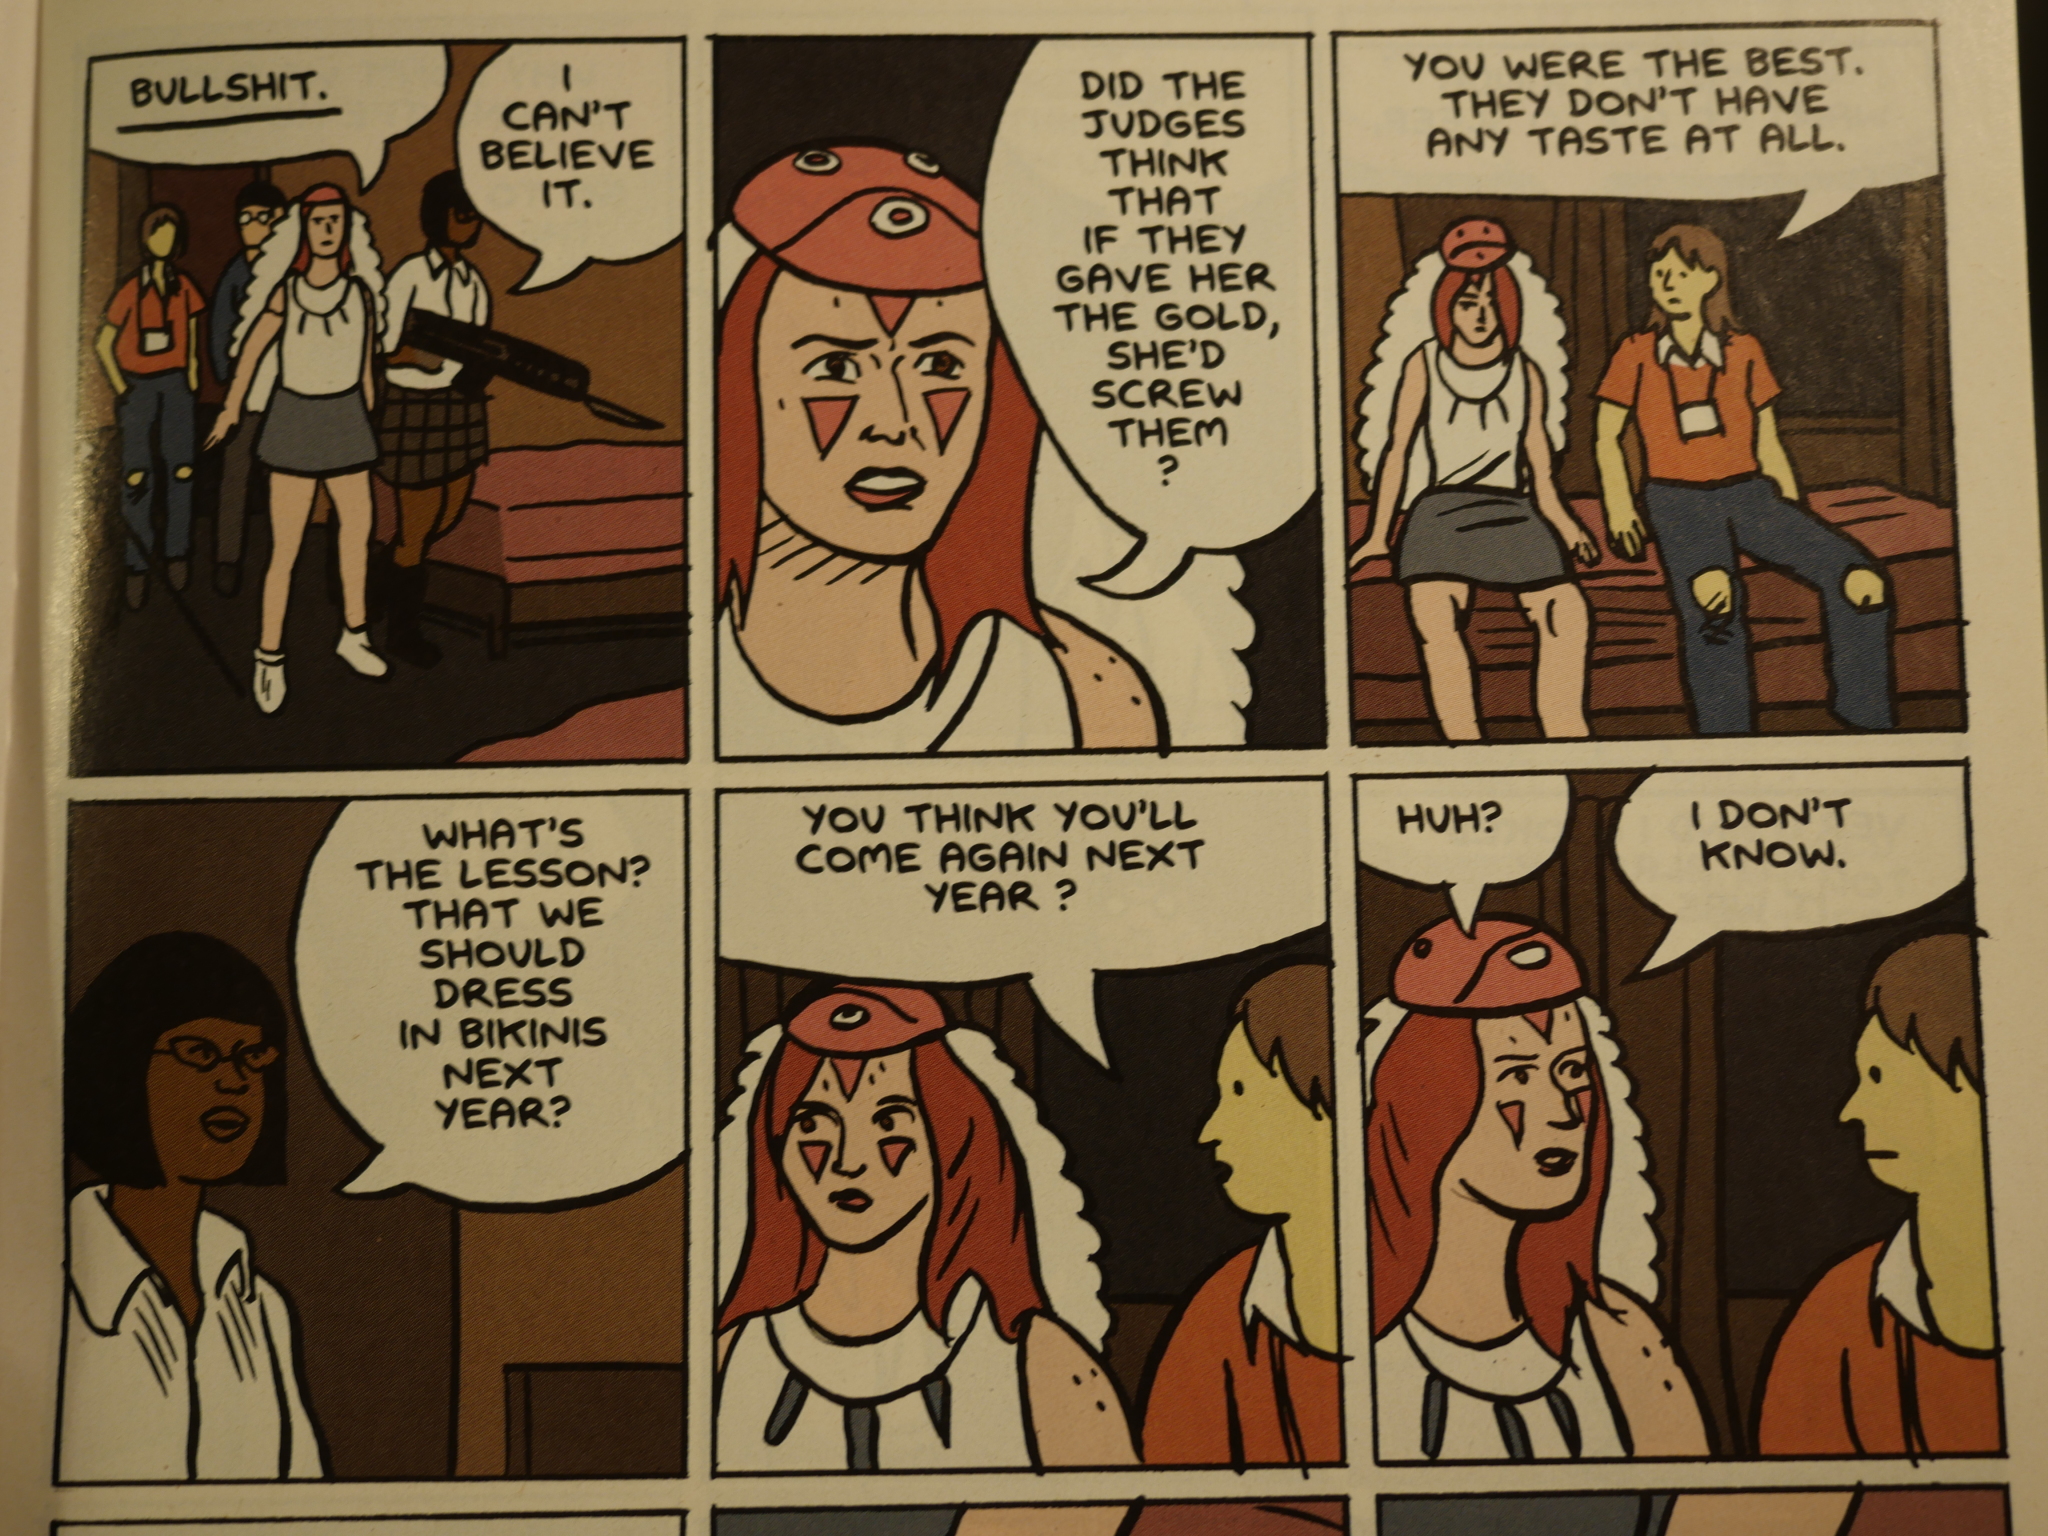
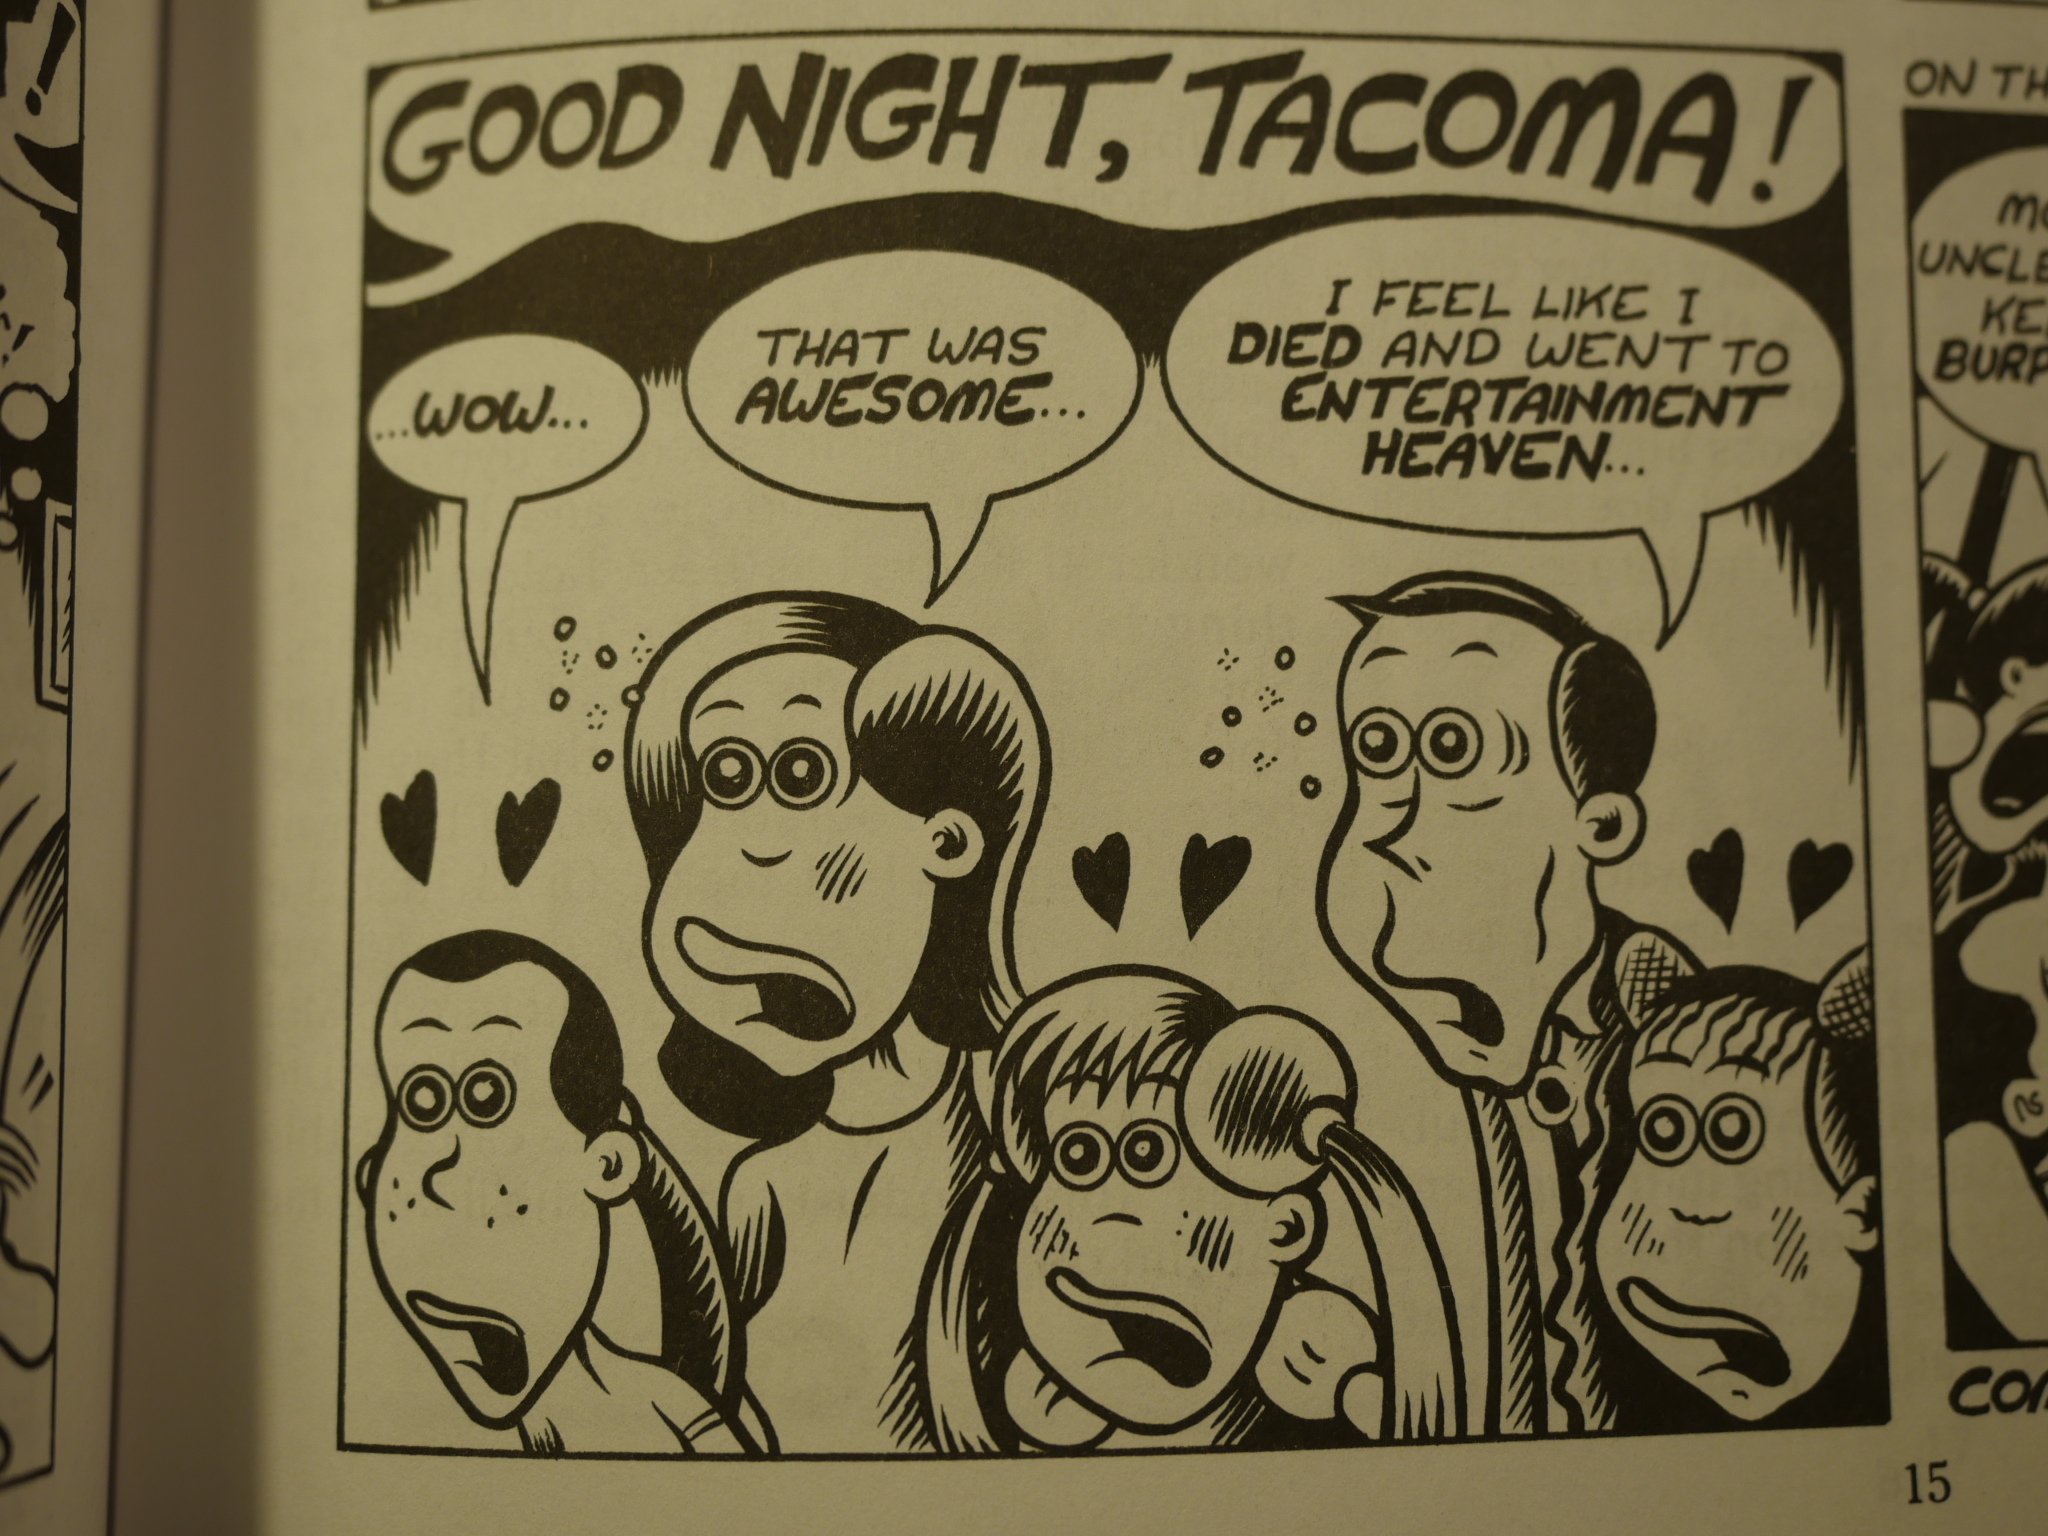
In the next issue the protagonists go to an Osamu Tezuka convention and do the cosplay thing. (And meet up with some nerds.) It’s drawn in a simpler line than the 3 New Stories pieces. All the figures are more blunt.
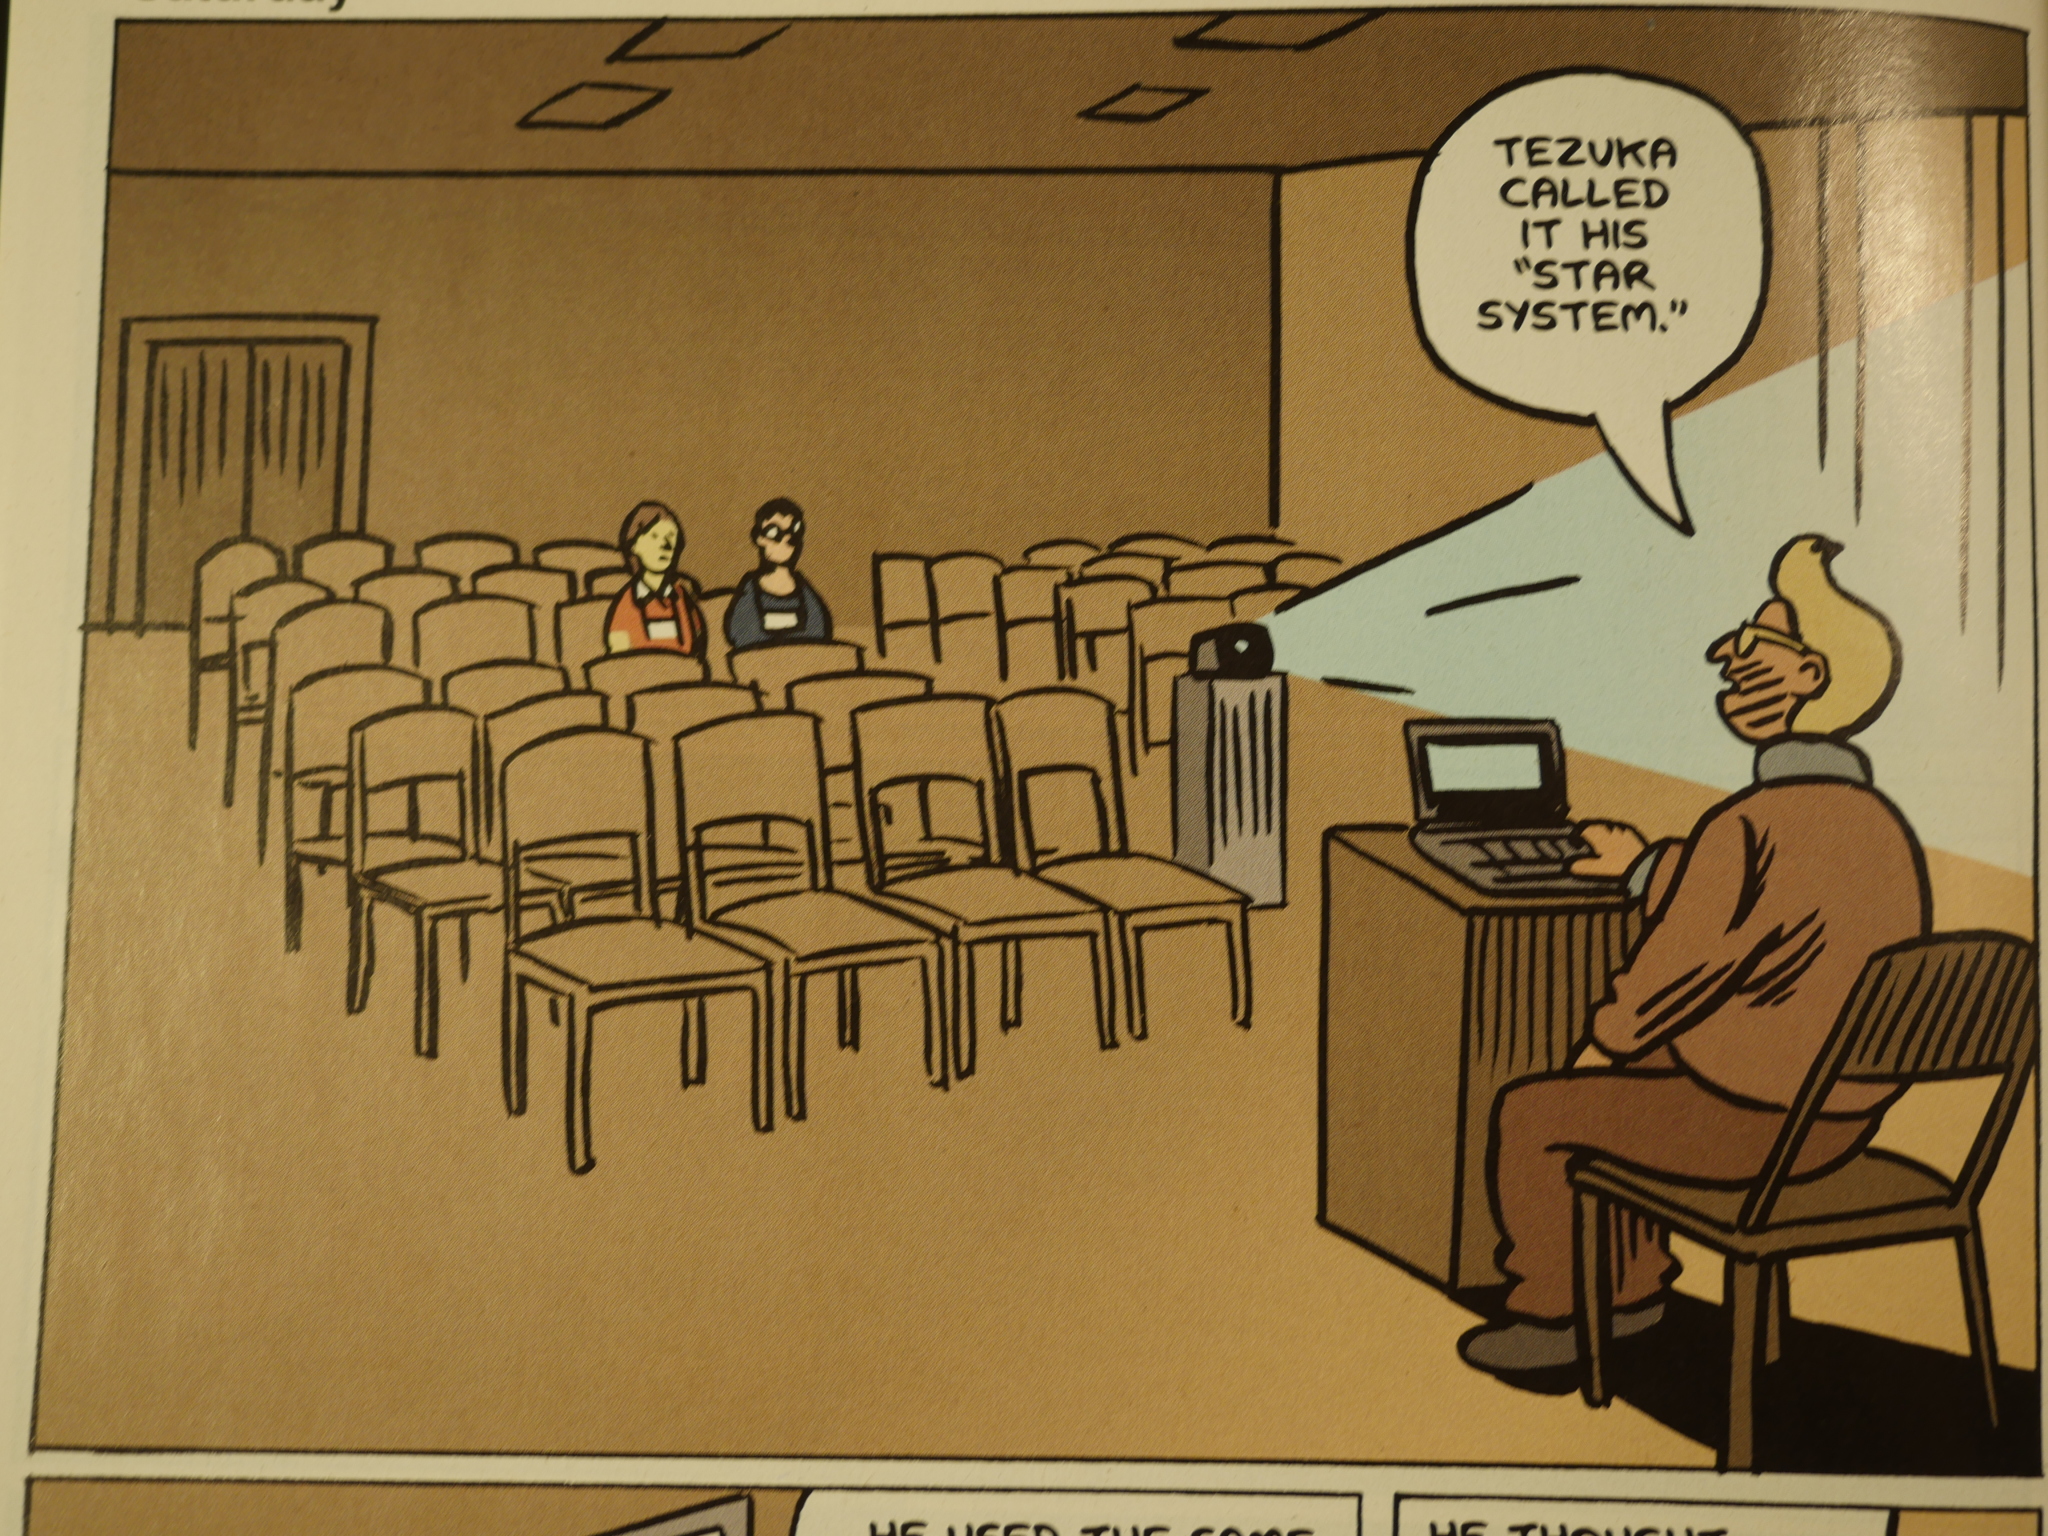
Reading these comics, I’m mostly just flabbergasted how much emotion Shaw manages to convey. It’s all so tense and feels so important, both to the characters in the stories, and to me as a reader. I really want to find out what’s going on.
And funnily enough, Cosplayers was recently published in a collected edition, which I haven’t read yet, but it’s somewhere over in that stash of unread comics…
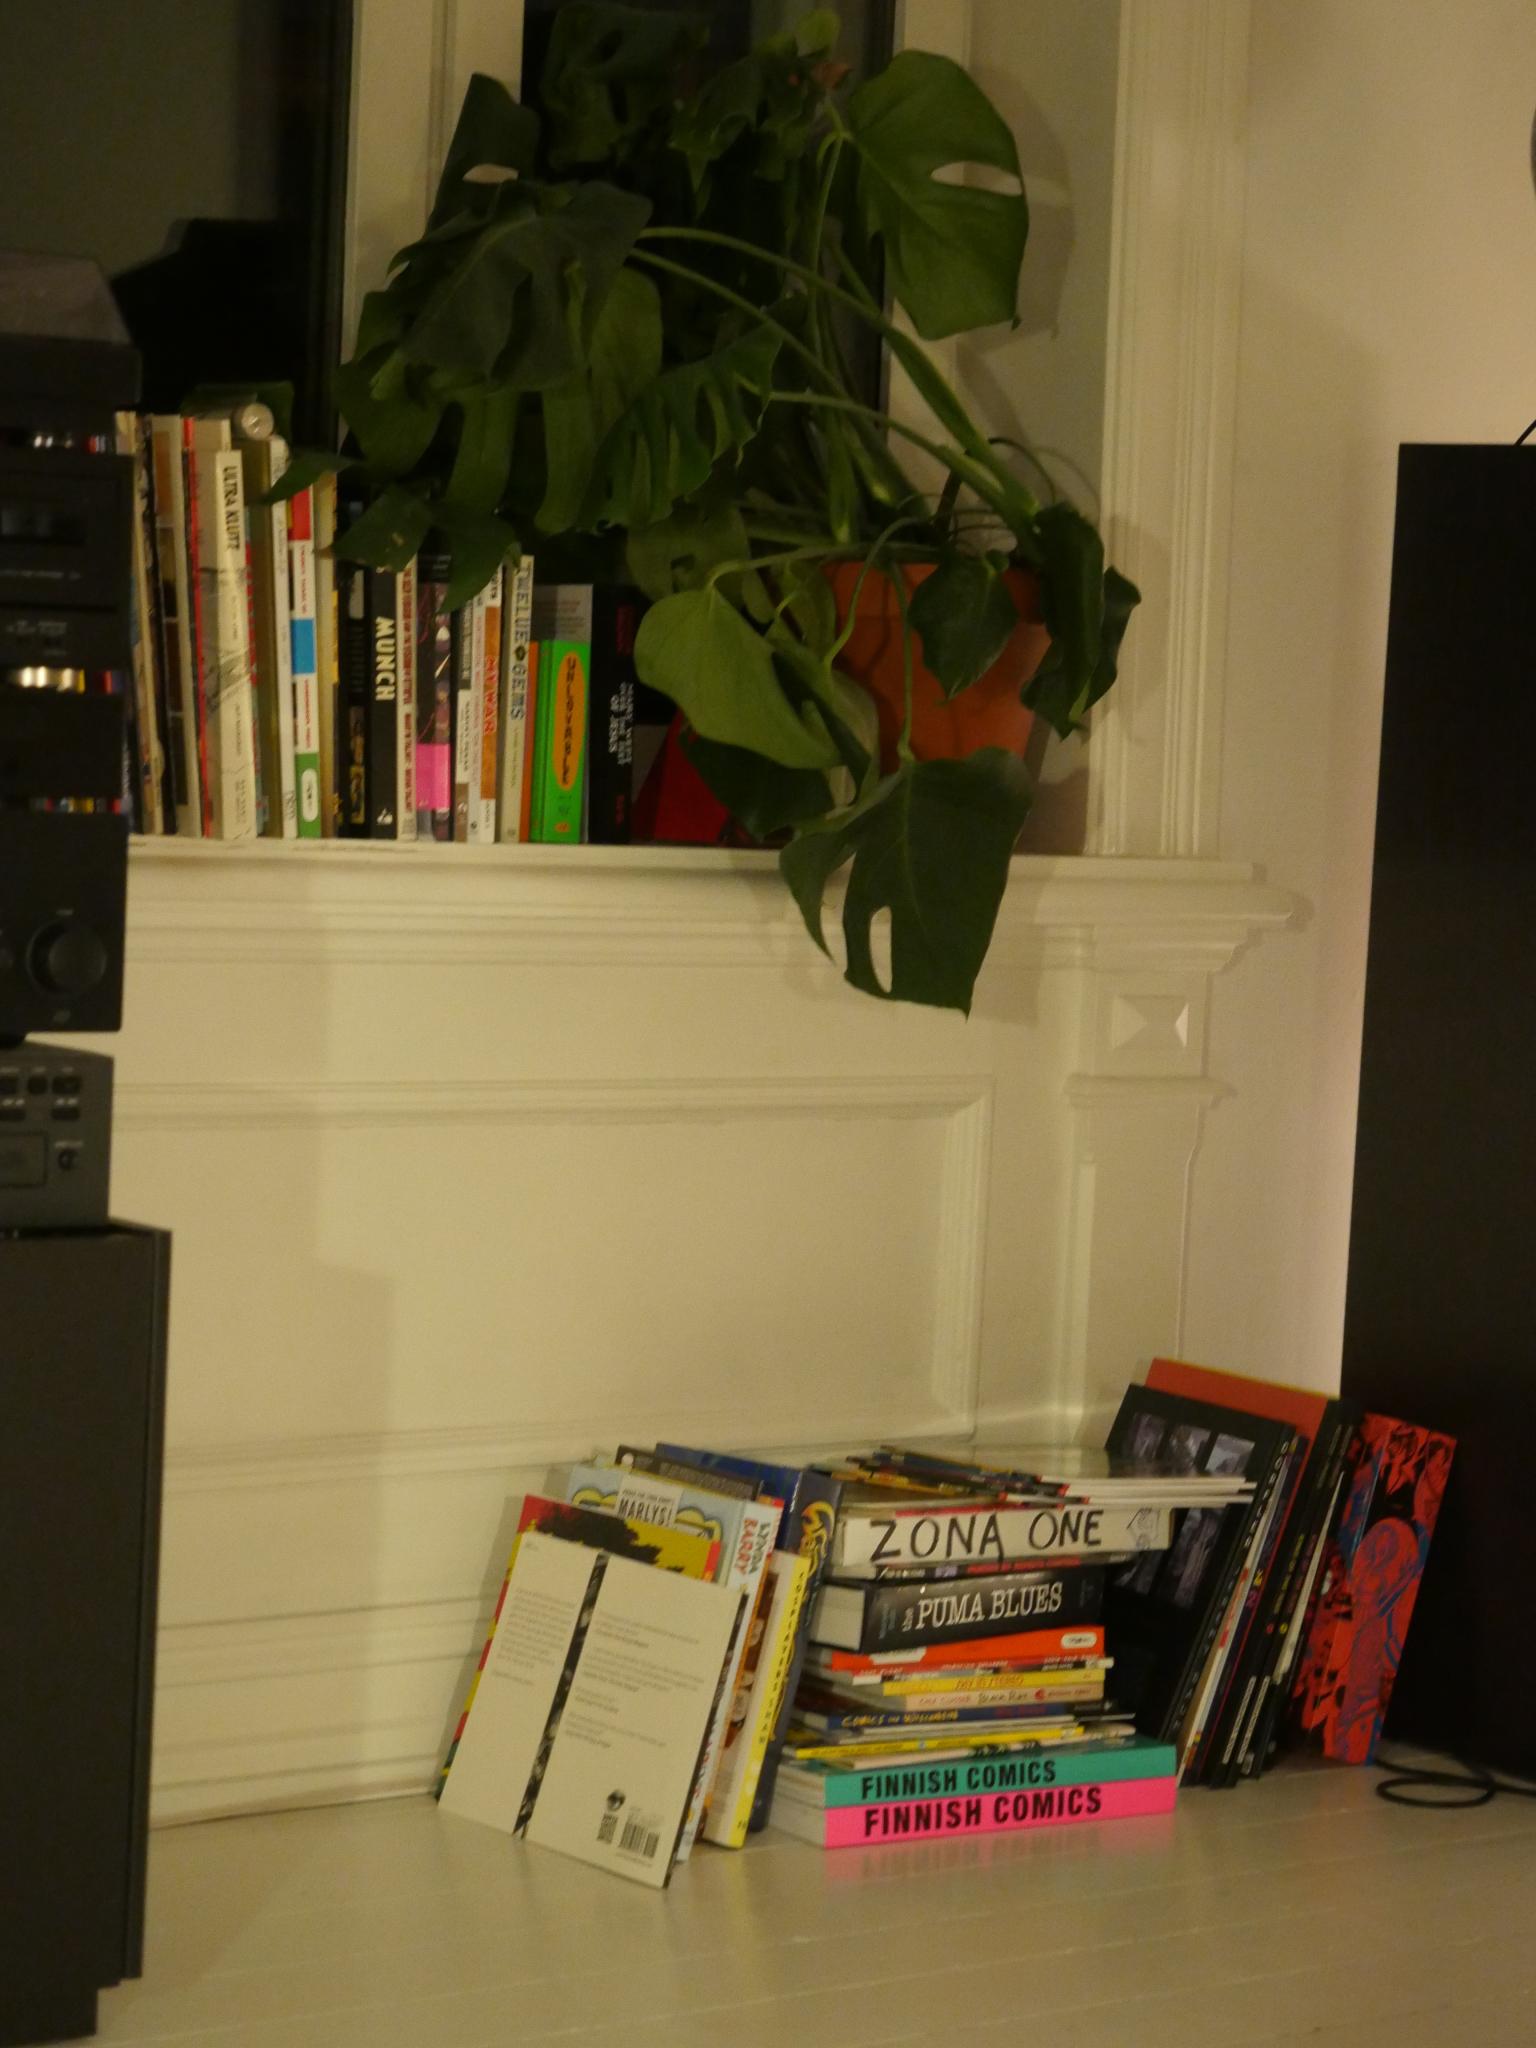
Give me an hour and I’ll read it and get back to you on whether the collected edition is any different from the comics.
I’m back!
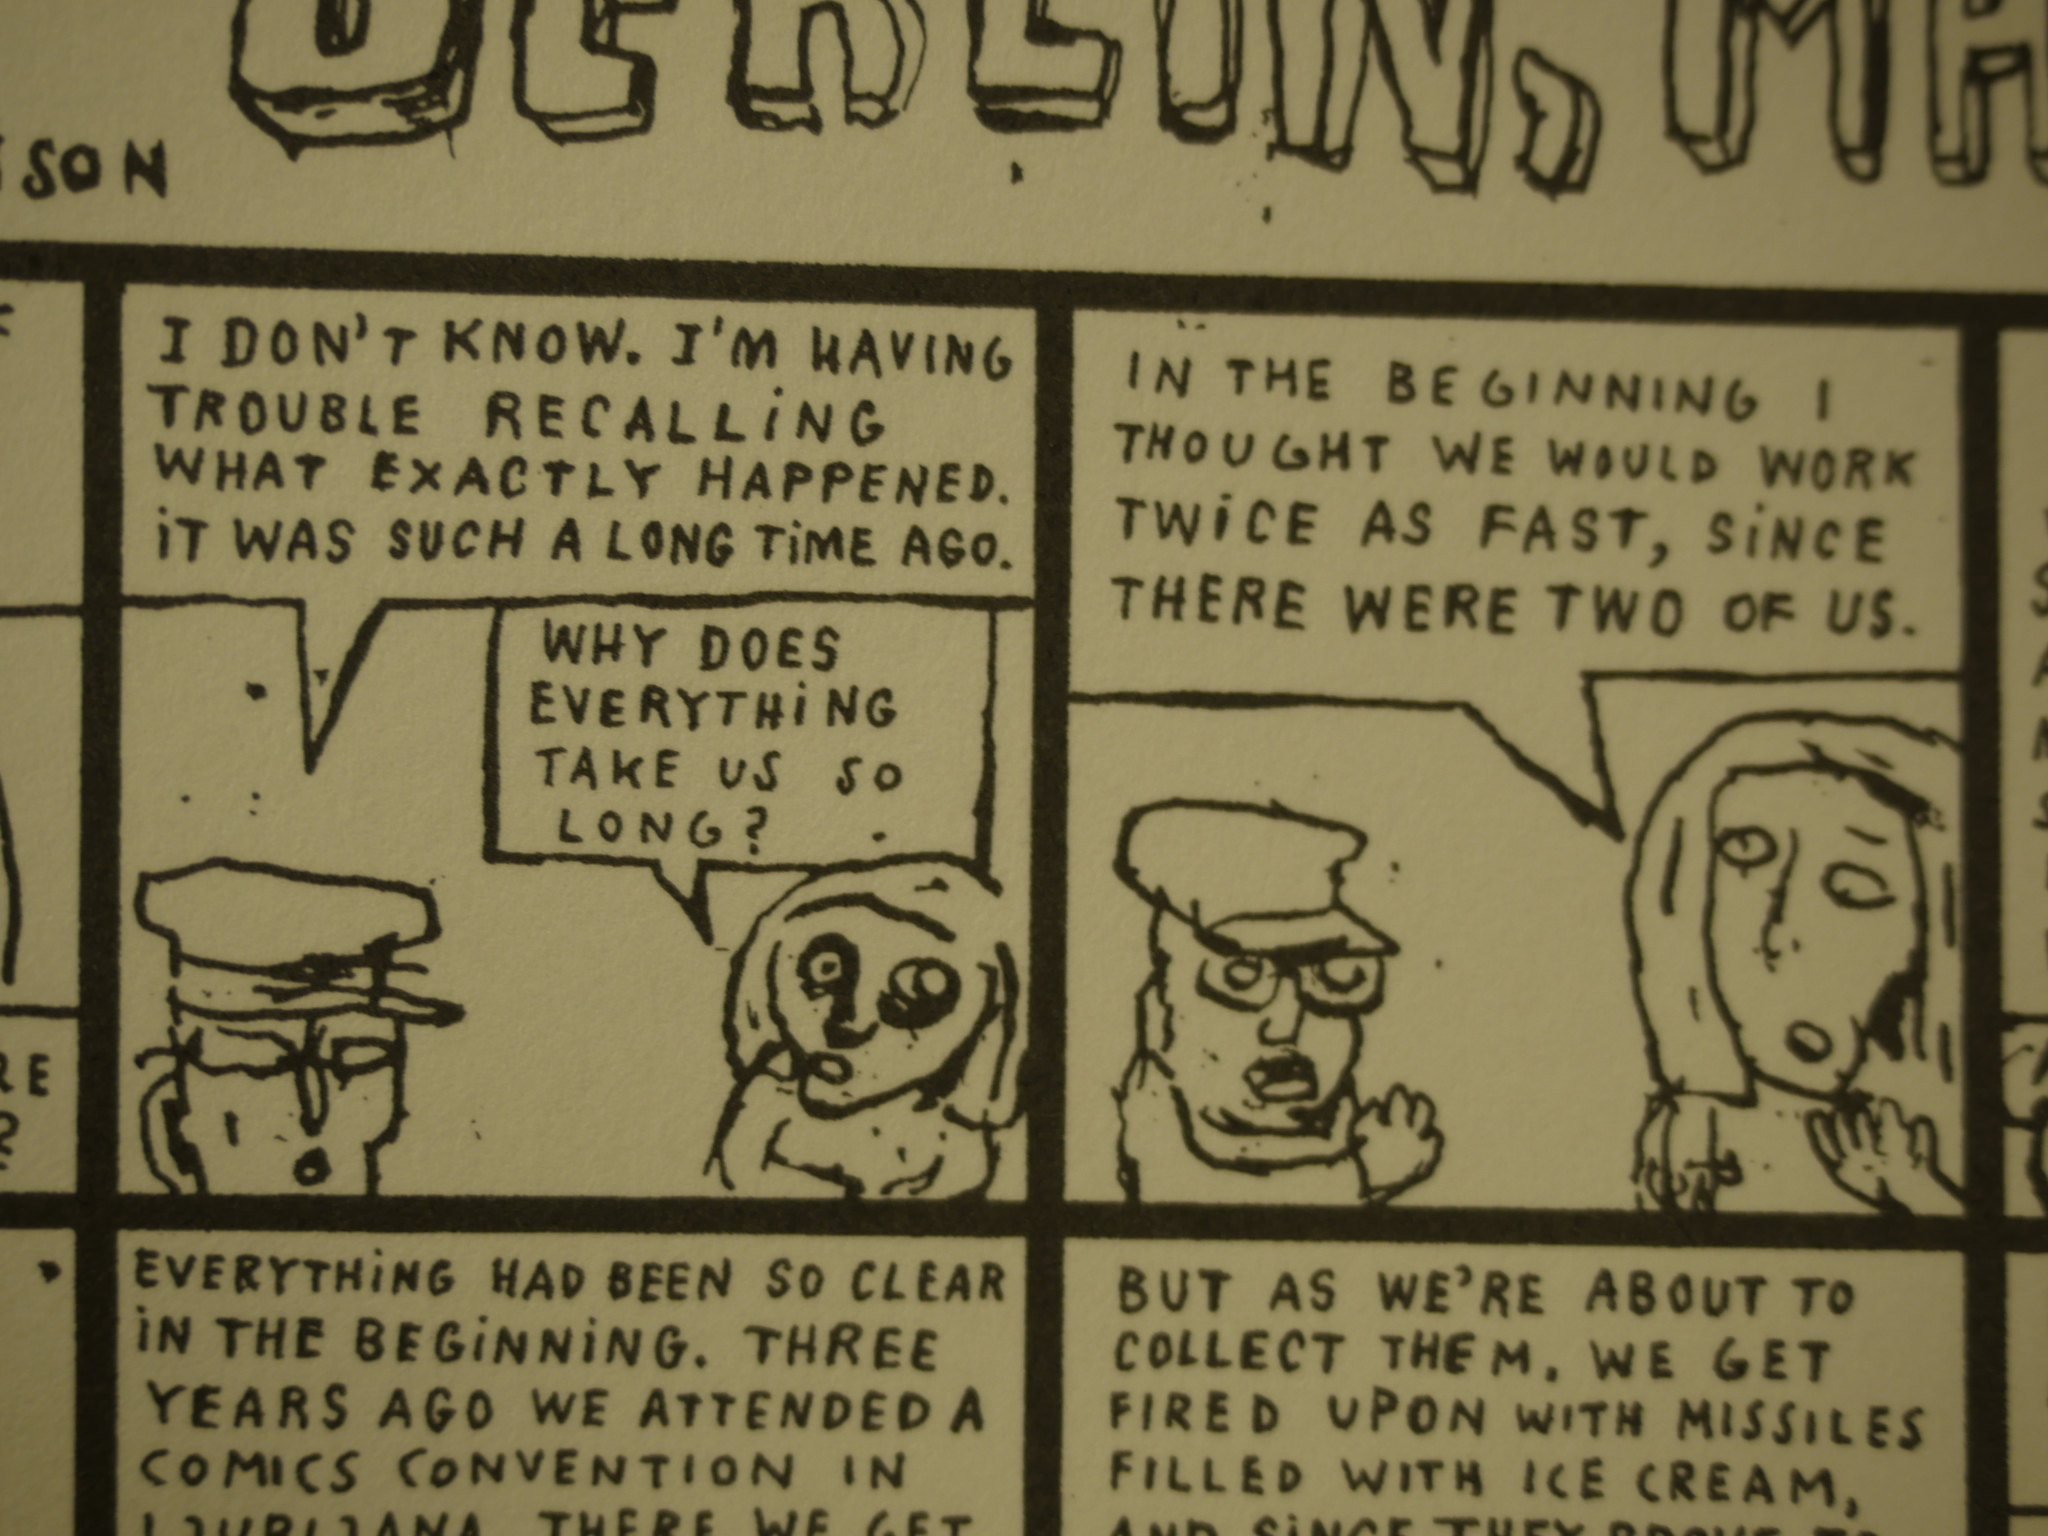
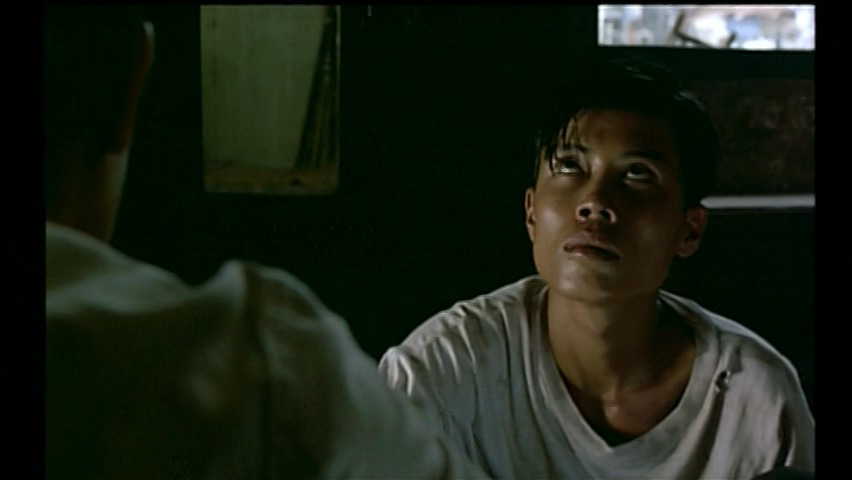
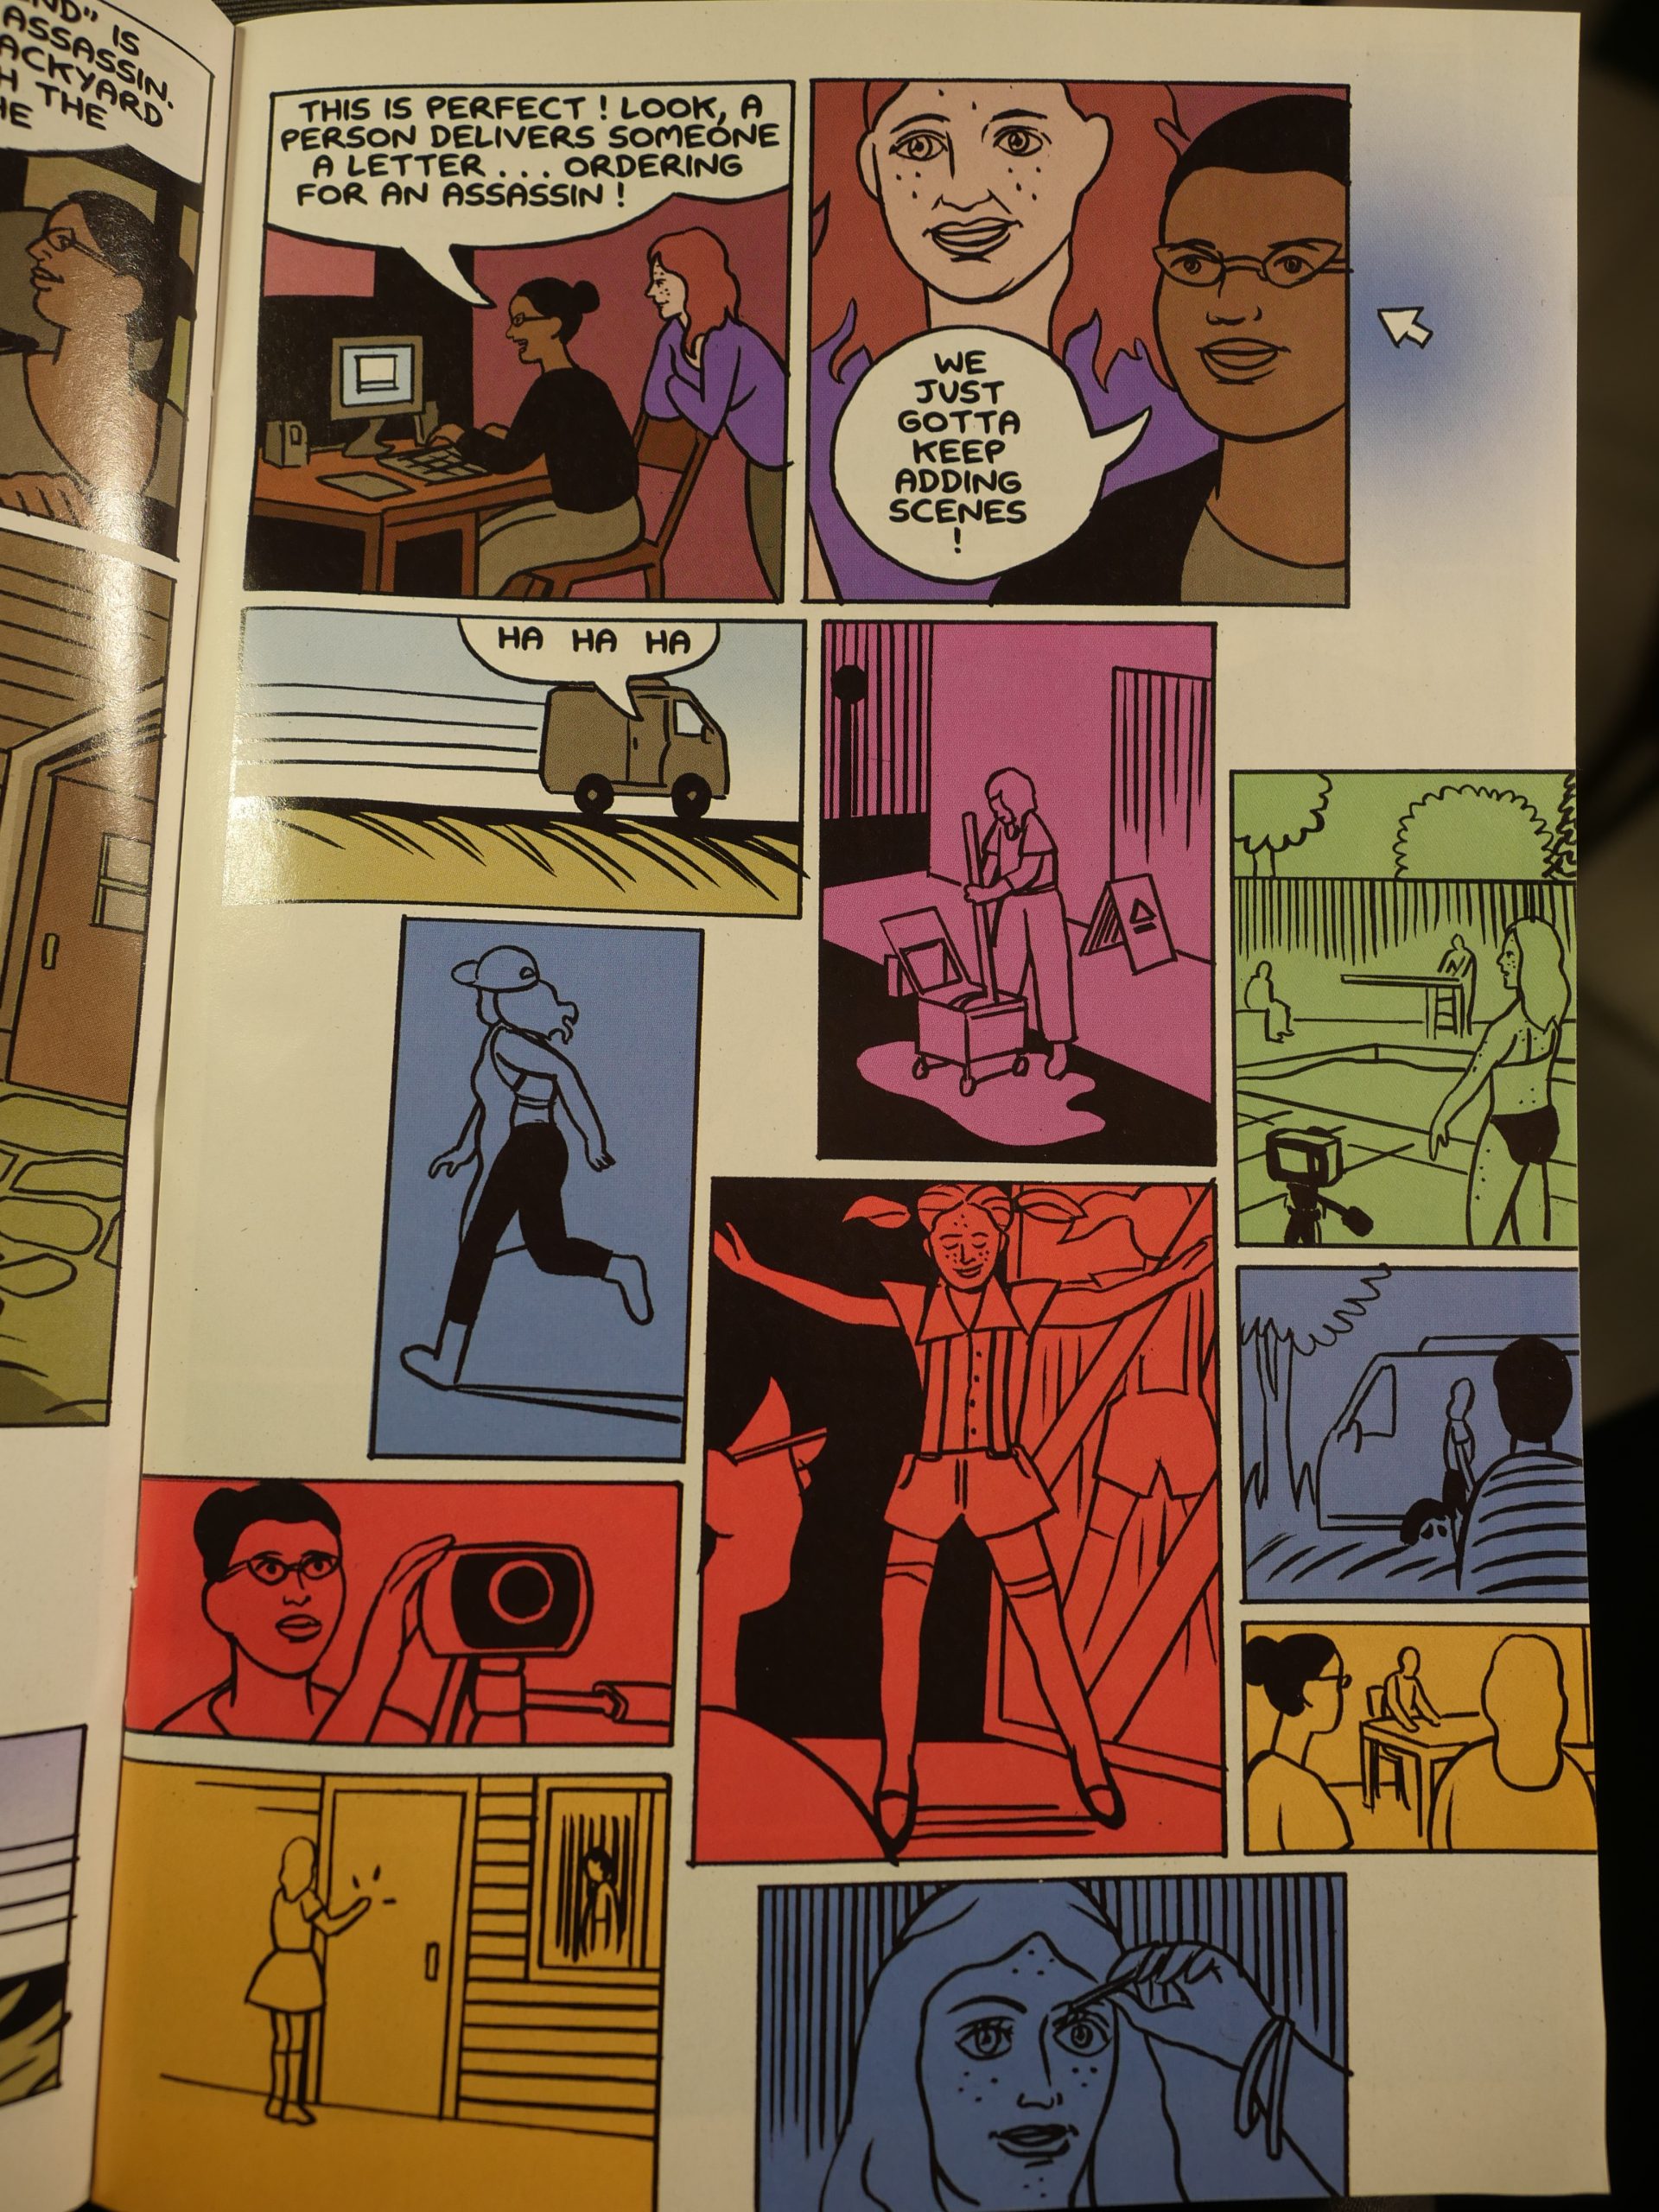
The storyline hasn’t changed much, but the material from the first issue was completely redrawn. Here’s a page from the original (printed on very glossy paper, by the way):
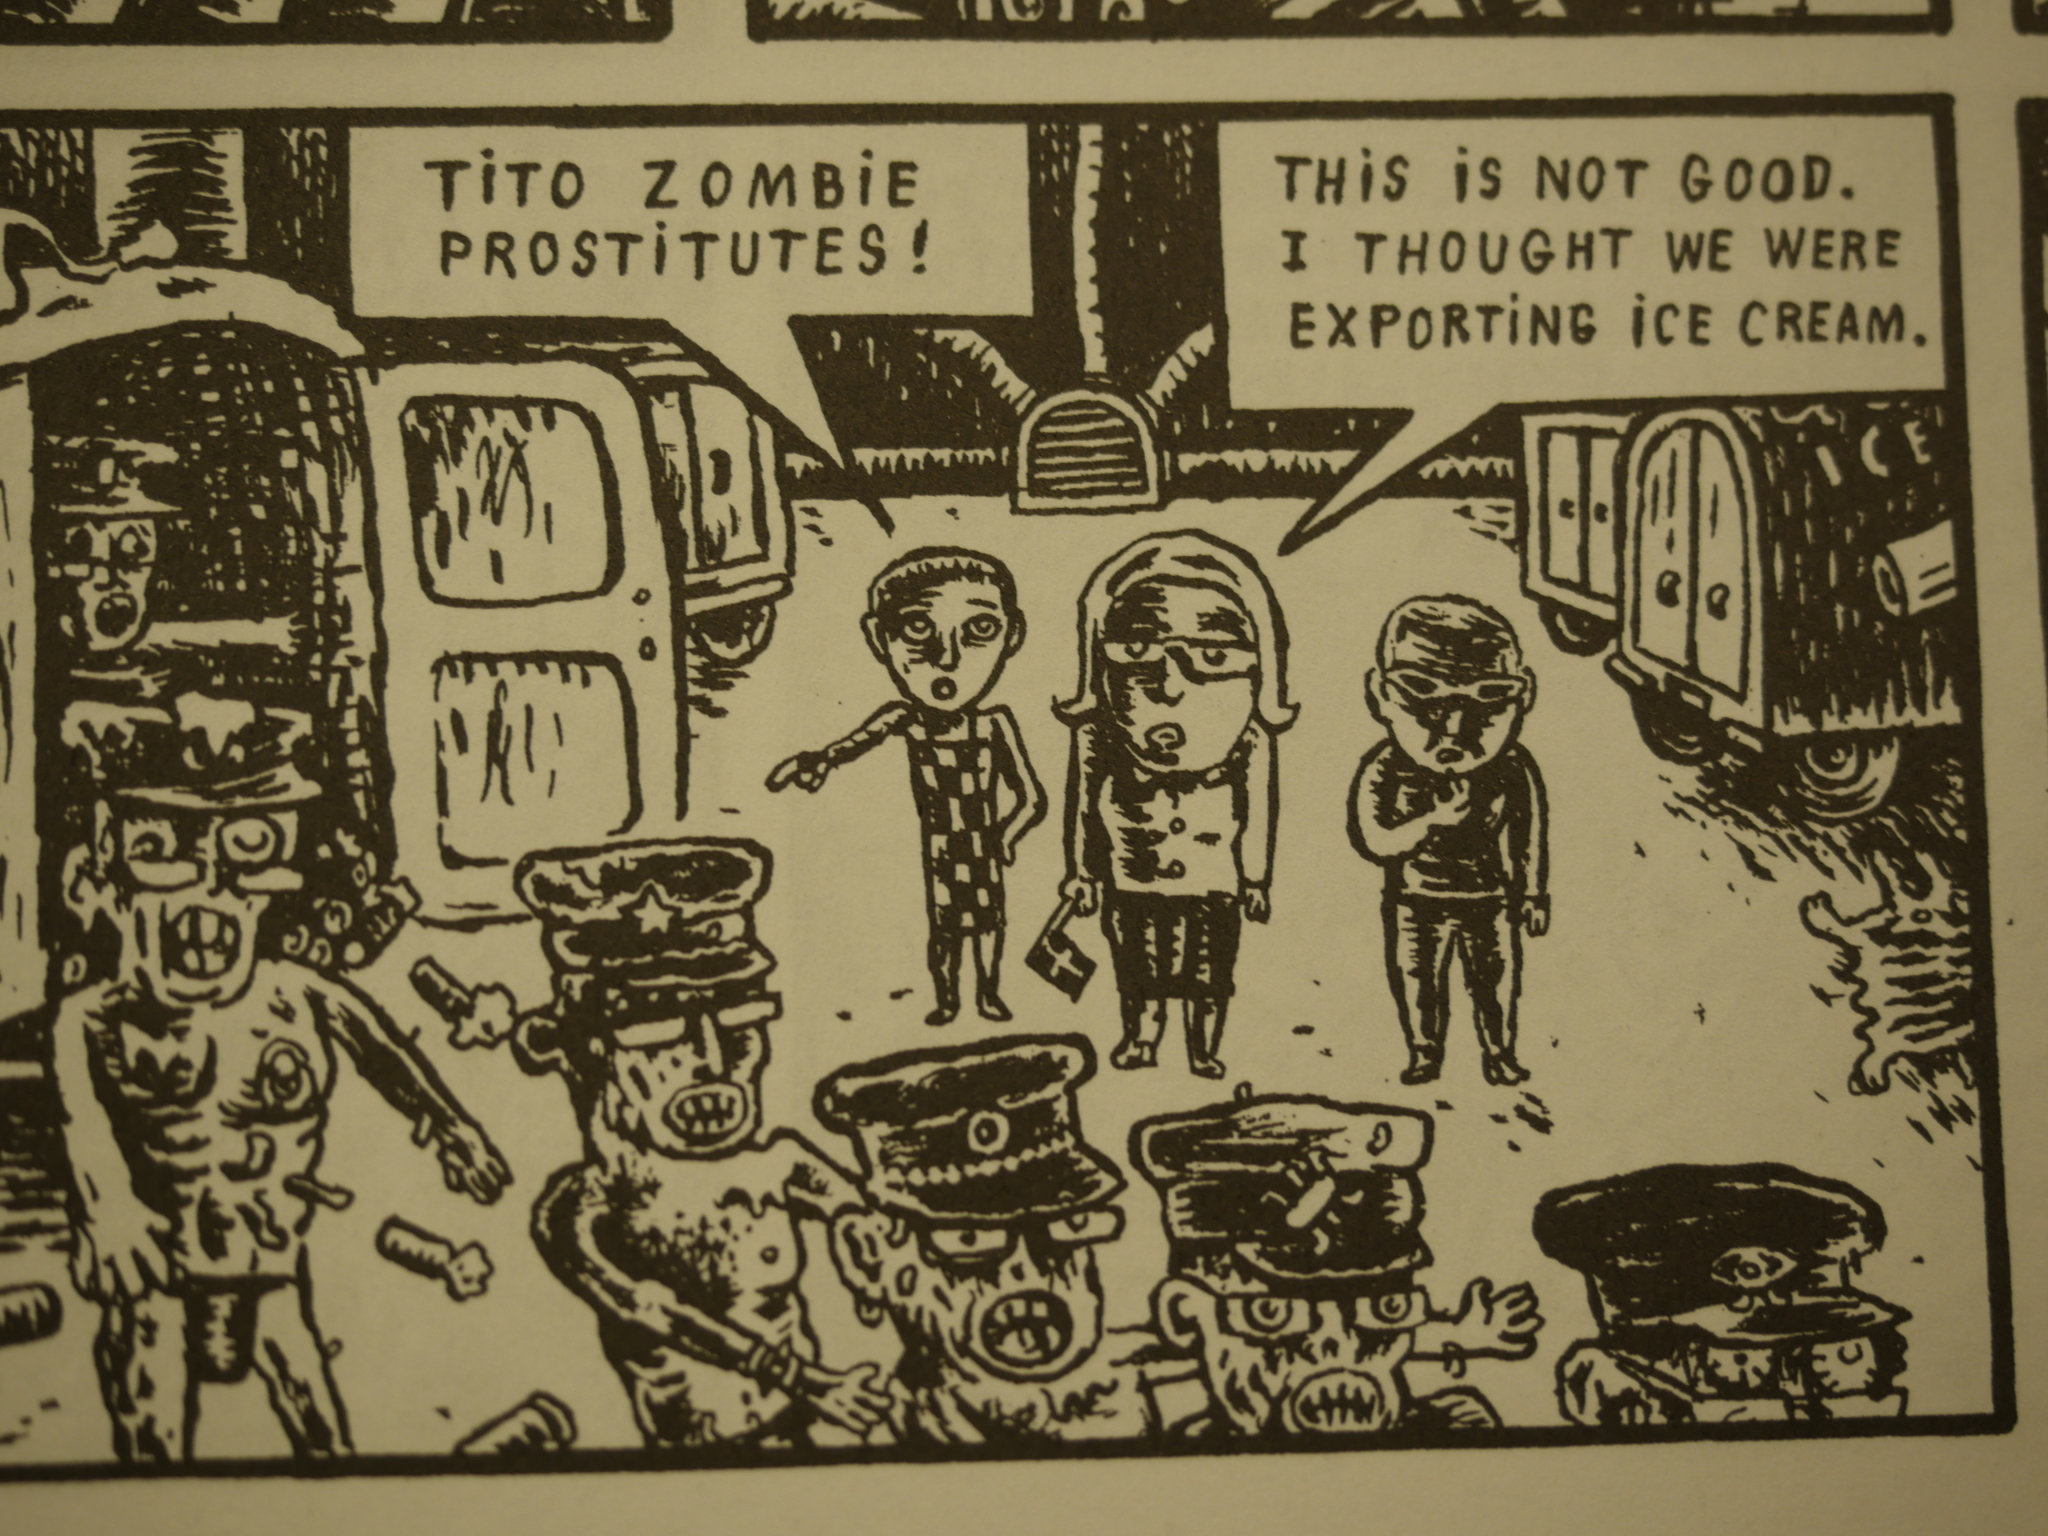
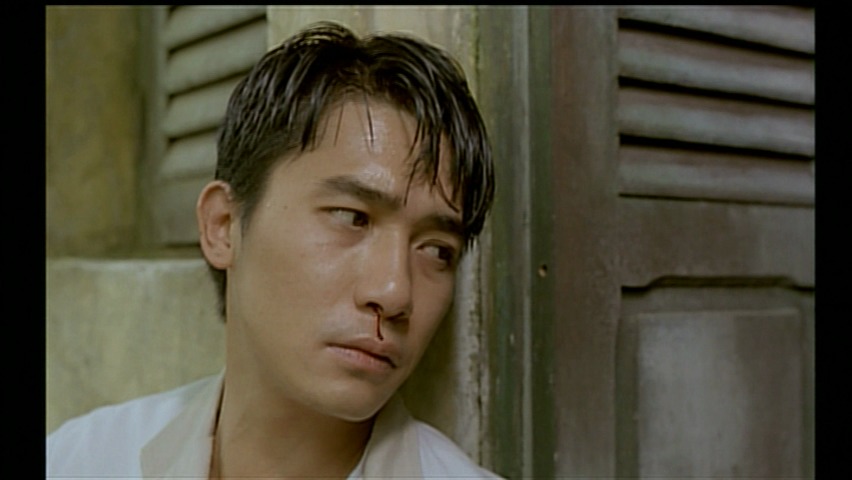
And here’s the new version (on non-glossy paper, and somewhat smaller format):
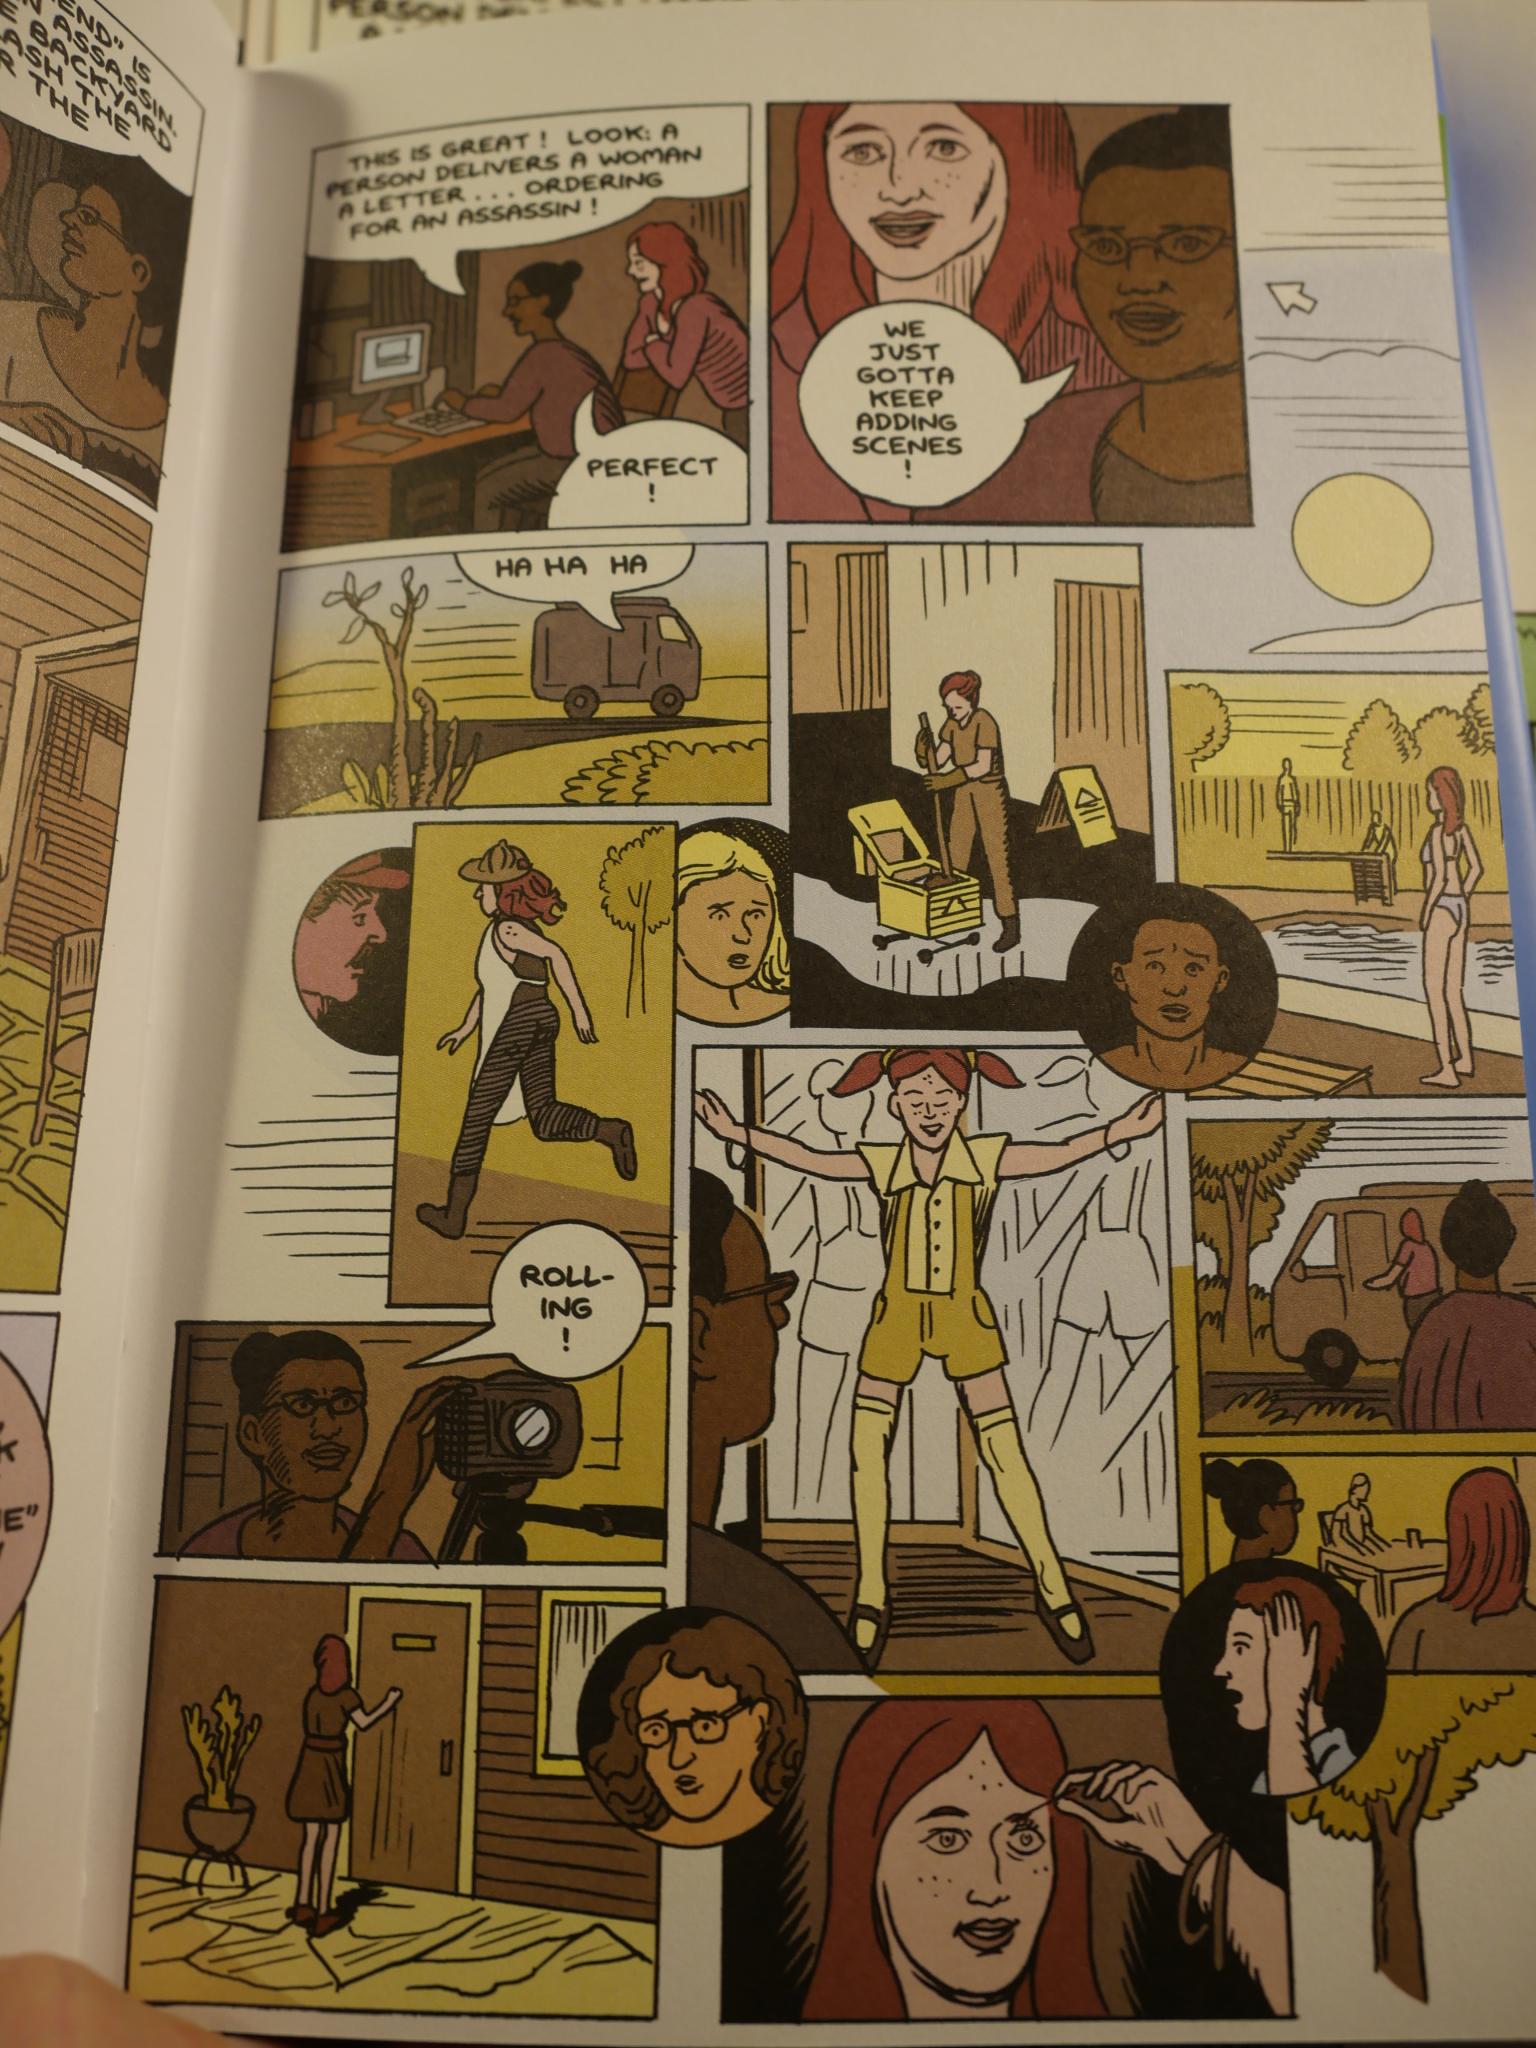
The material from the second issue hasn’t been redrawn, but the colouring has been touched up on some pages.
In addition to those changes, about fifty new pages were added to the end.
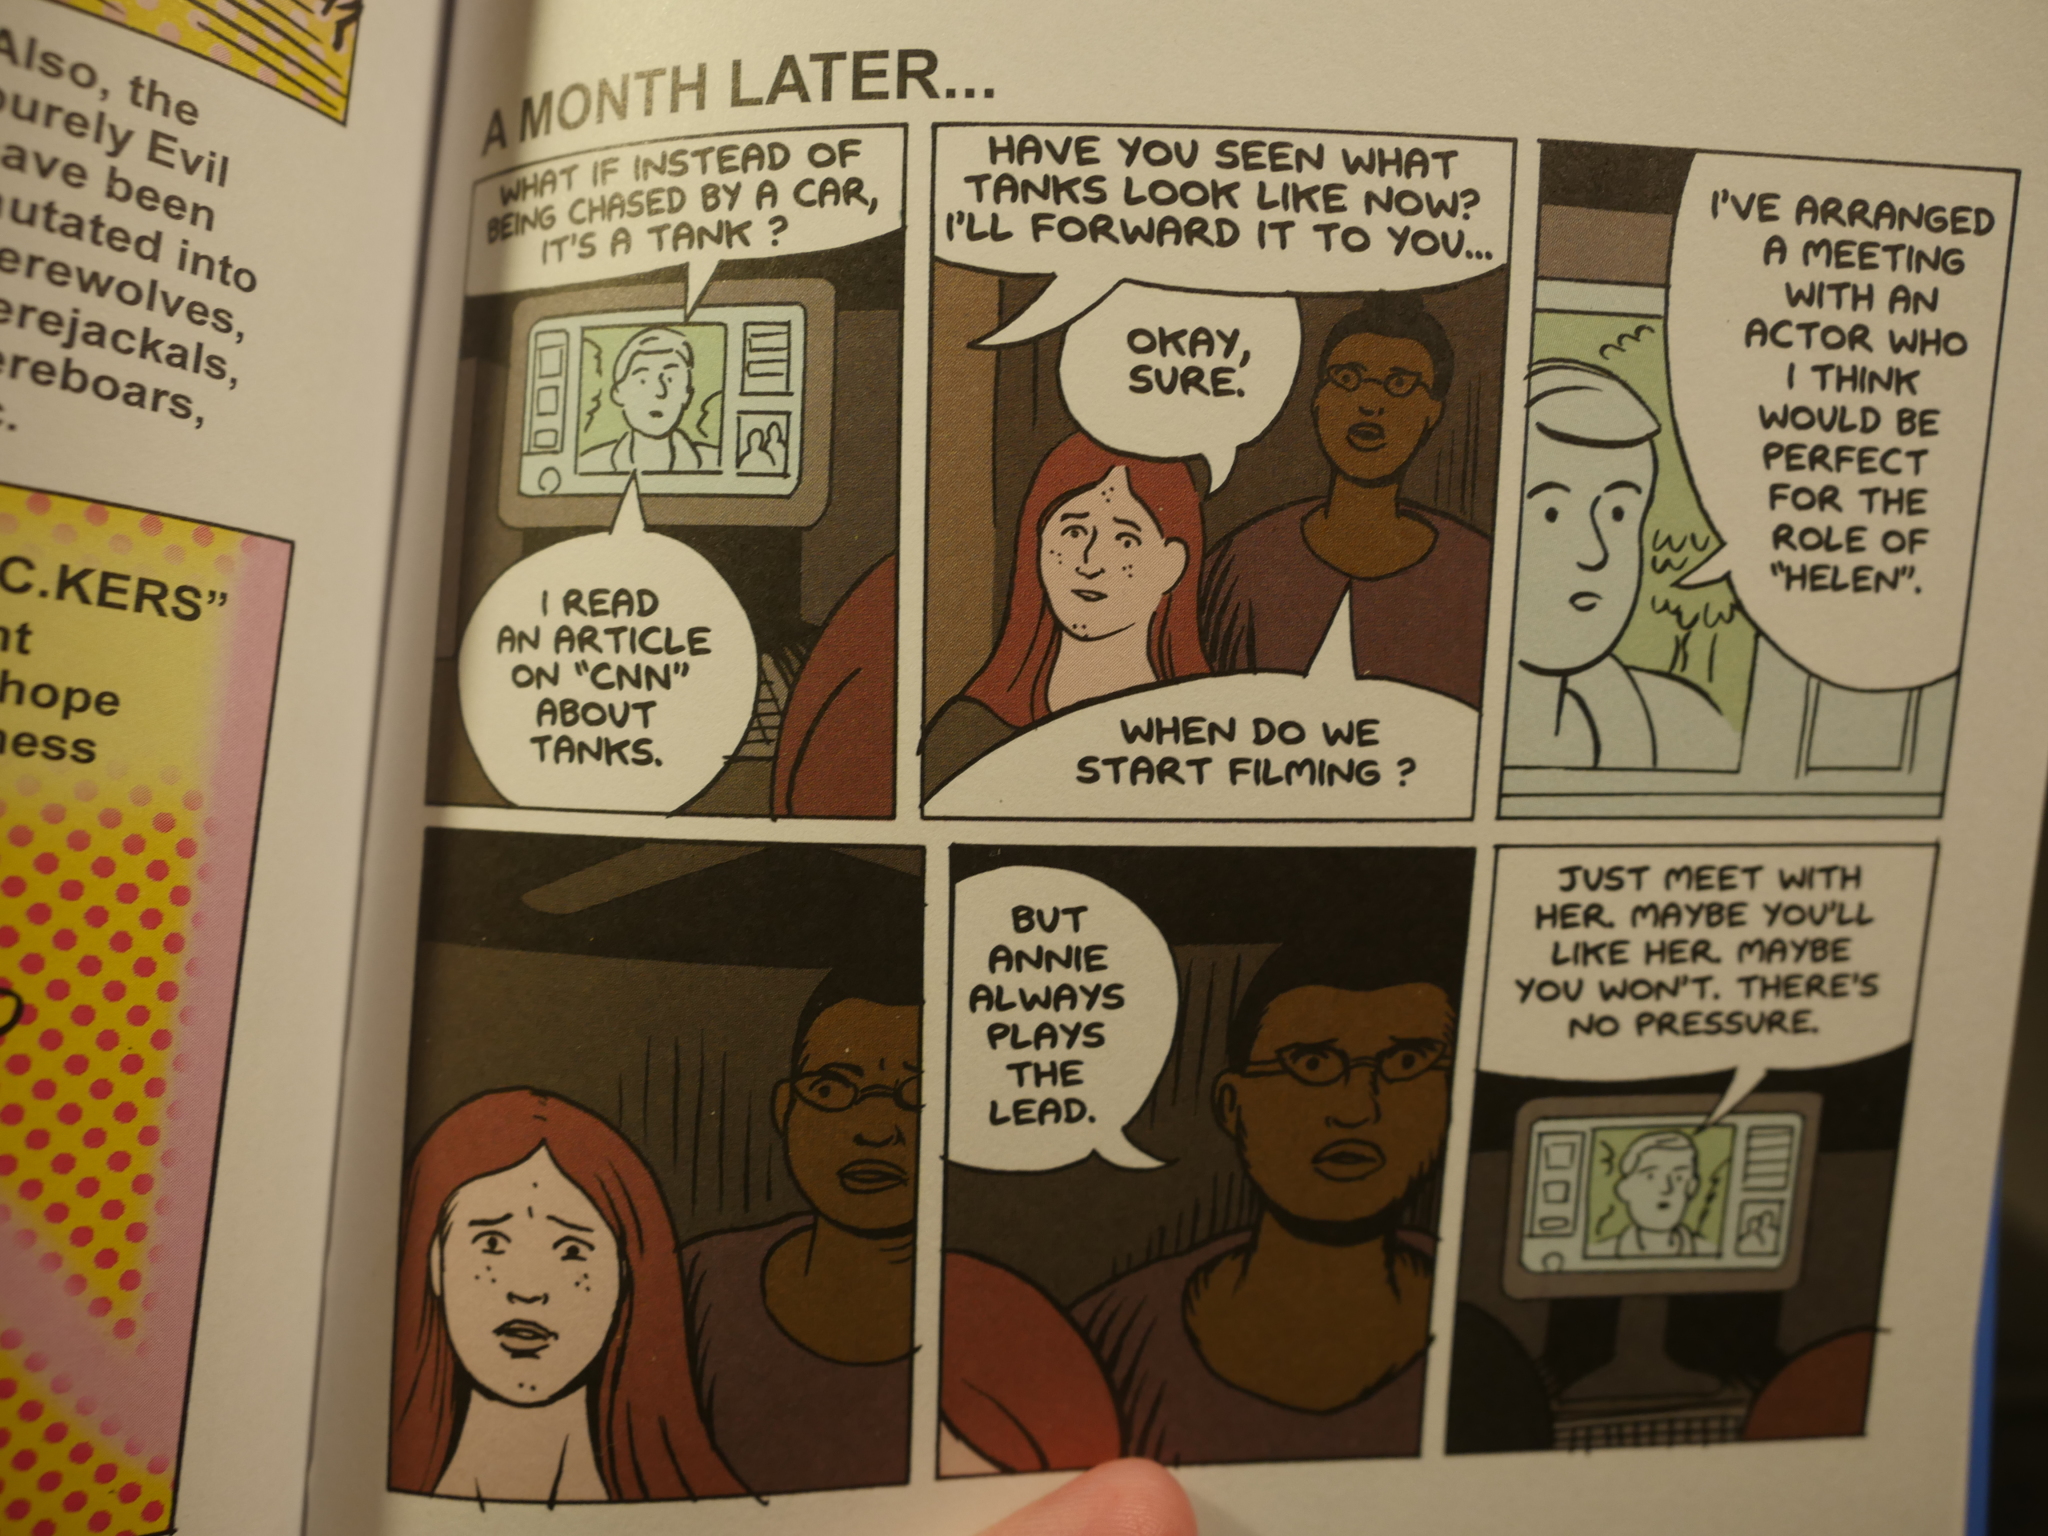
There’s a story about Hulu approaching our heroes to make a professional version of their cosplay films, with a somewhat predictable storyline.
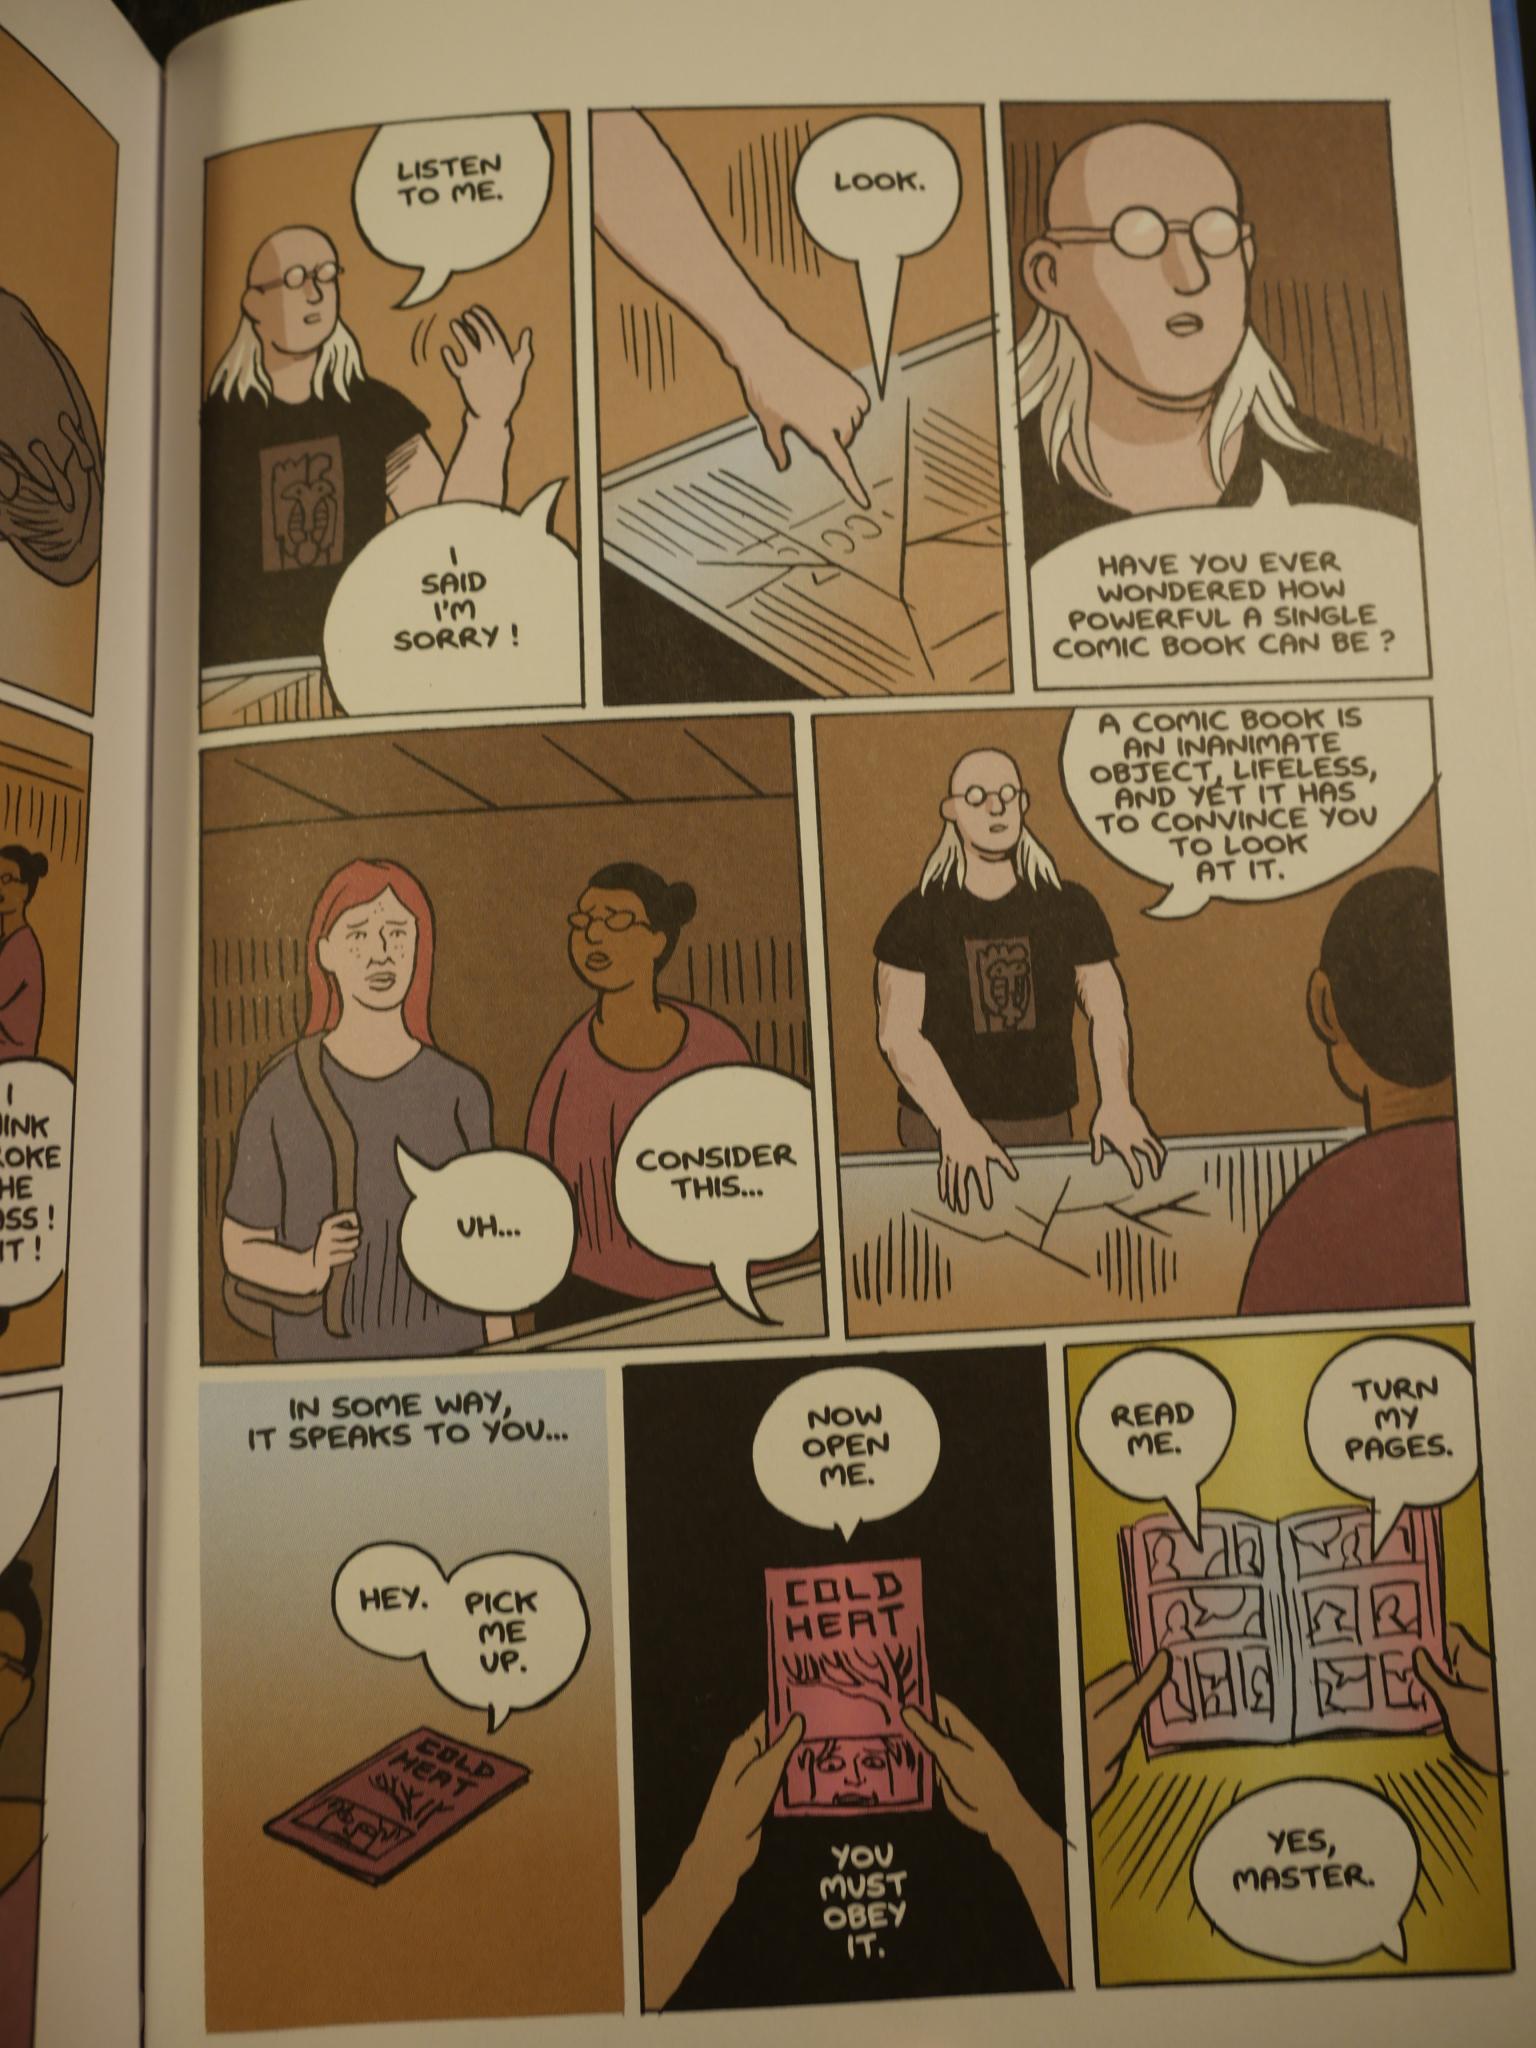
And a story about a very wise guy working in a comic book store. (That’s Cold Heat by Frank Santoro and Ben Jones, but Shaw did a special, I think…)
The Cosplayers book is, of course, a very enjoyable book, but I think I may have preferred the floppies. It’s difficult to say, though: Reading the story twice over a couple of hours isn’t the normal way you’d read comics.
Anyway, Shaw has a number of new books out at the moment (I think perhaps Doctors is the latest one (and which I managed to buy two copies of, for some reason or other)), and it’s also rather good. I think the only Shaw book I haven’t enjoyed was Bottomless Belly Button, which I think was akin to Blankets: Not very exciting.
This post is part of the Fantagraphics Floppies series.