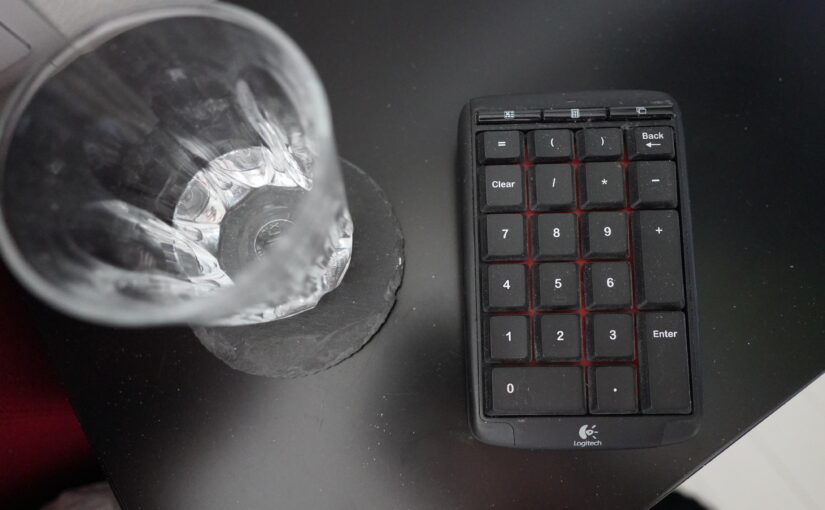
I’ve been using some variation of the same system for my alarm clock since at least 2011. Probably earlier — I didn’t have a blog before that, so who knows? As the saying goes: What hasn’t been blogged about is lost to the mysteries of time…

(Here’s some music to play while reading this blog post (because of the “I feel like an alarm clock” lyrics)… This is gonna be one of those posts that require a lot of scrolling. You’ve been warned.)
My alarm clock idea has been the same since the start, but with a varying assortment of components.
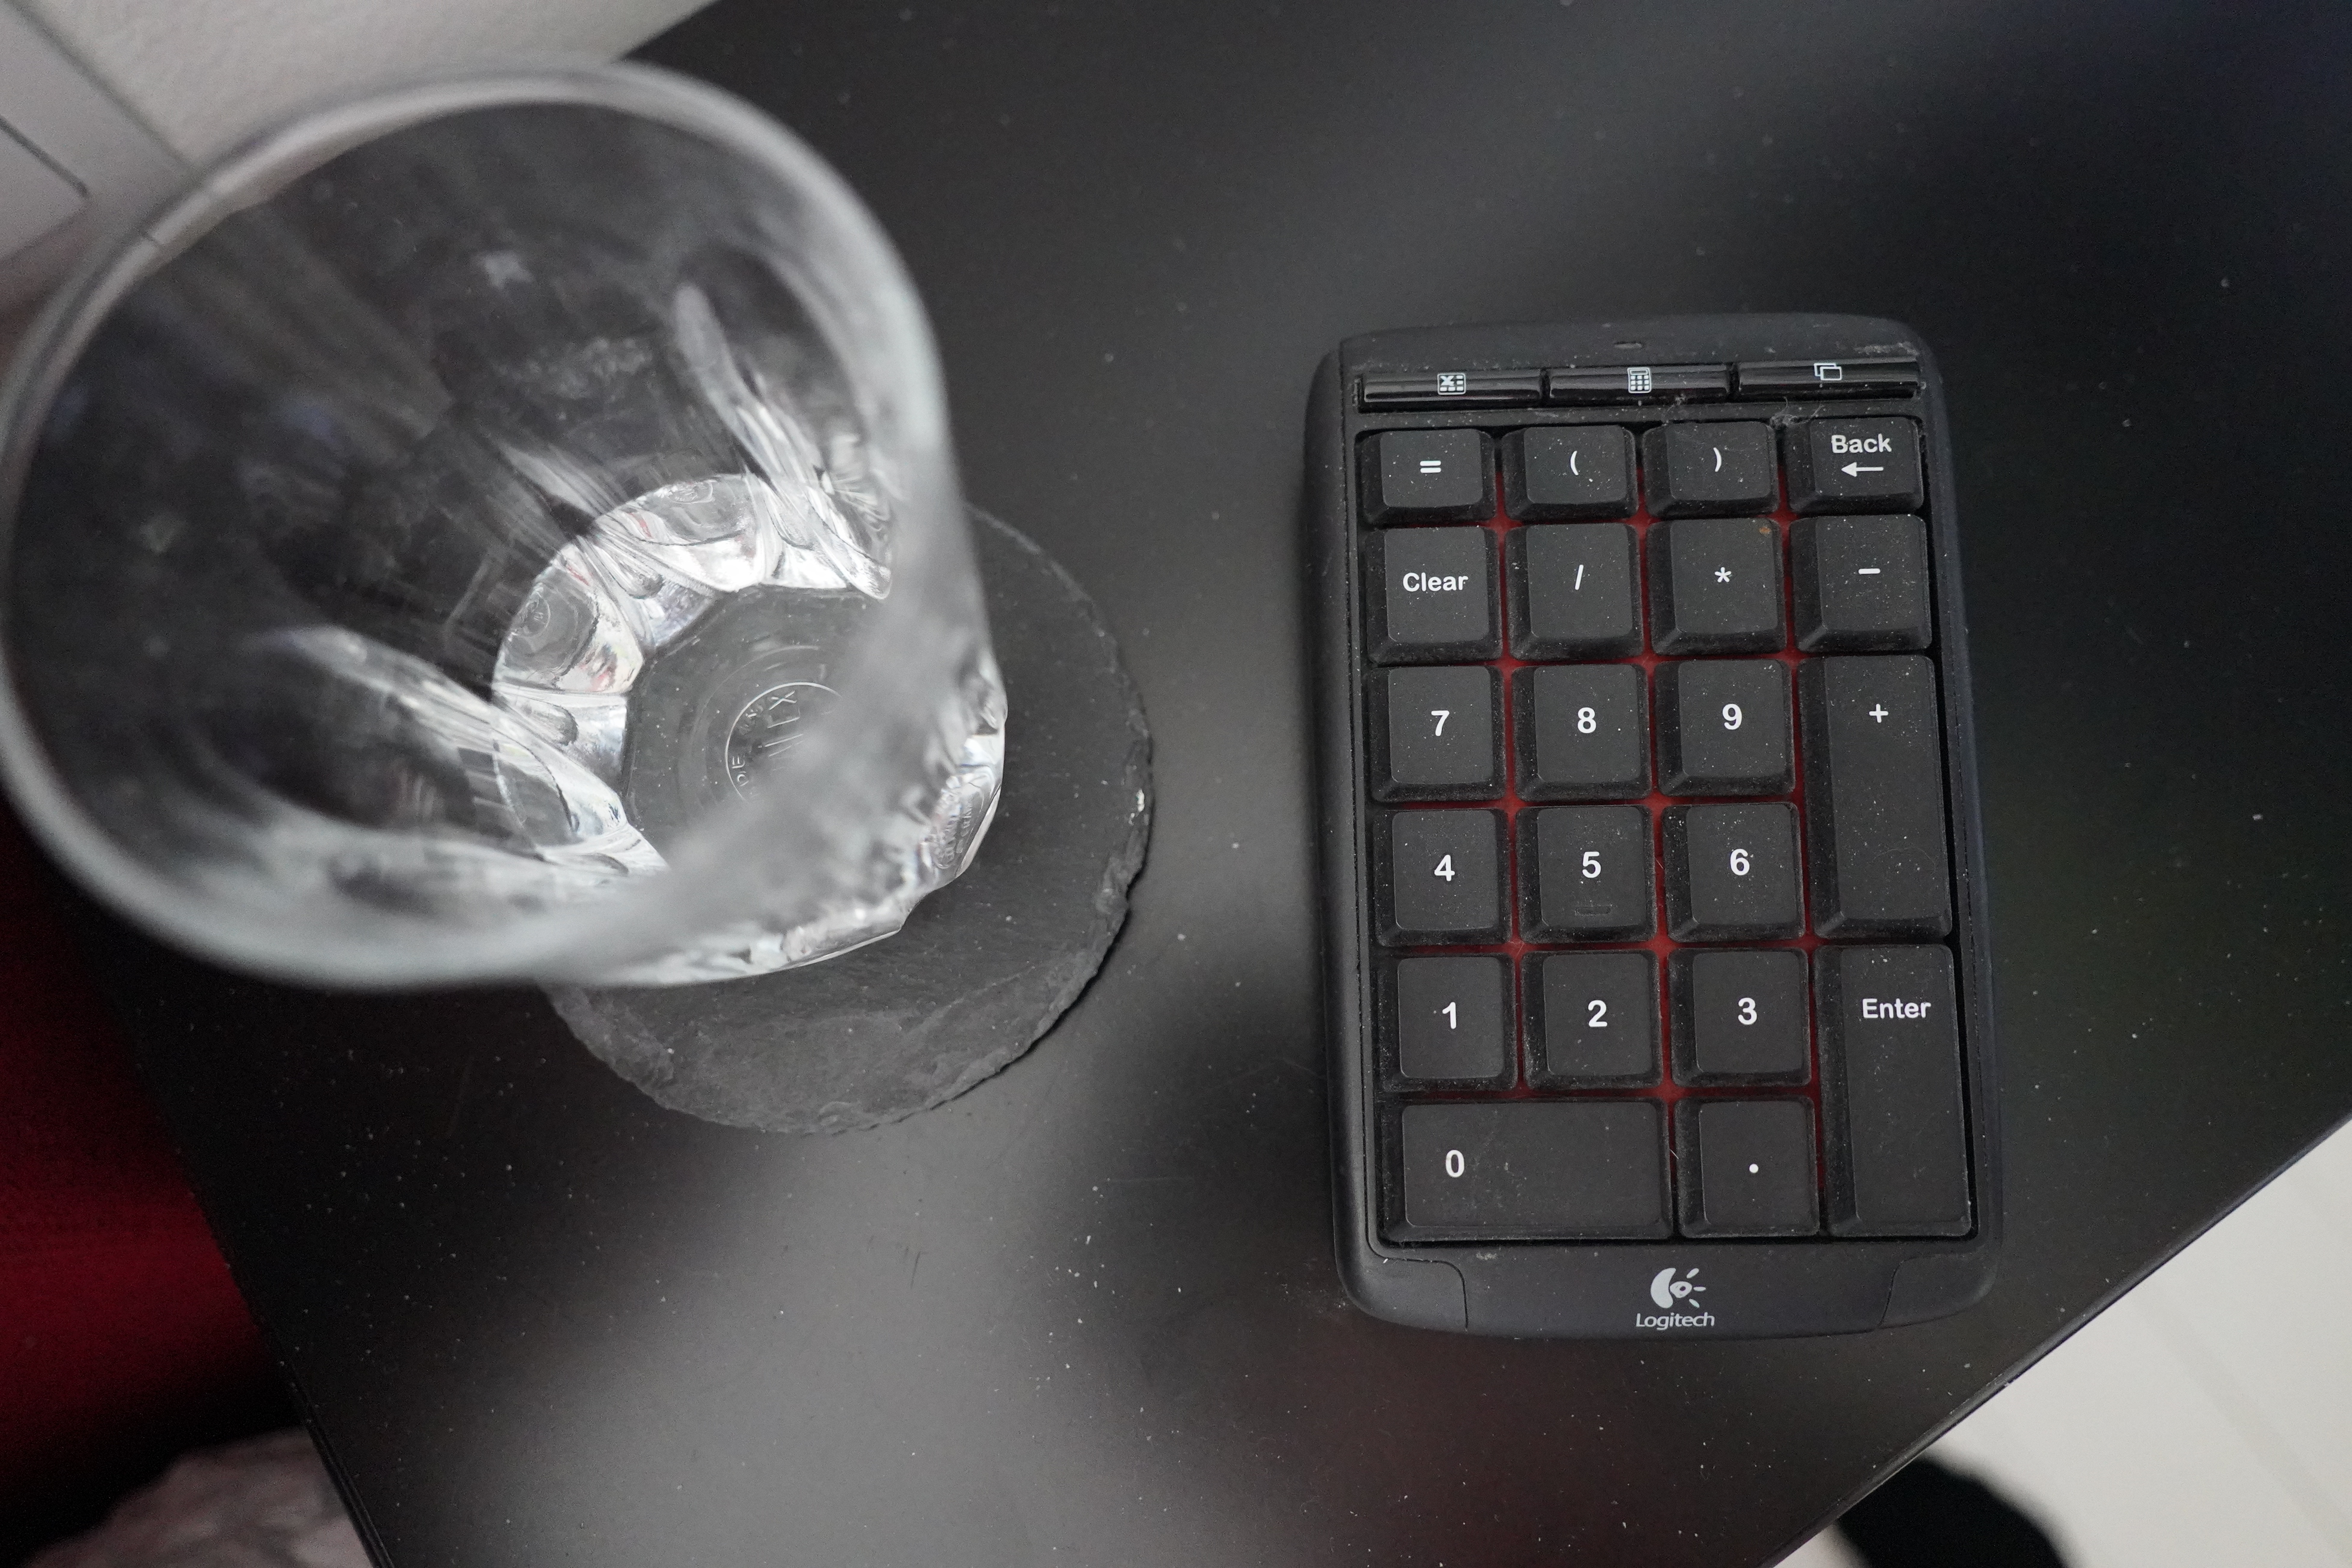
A numpad to input the alarm…
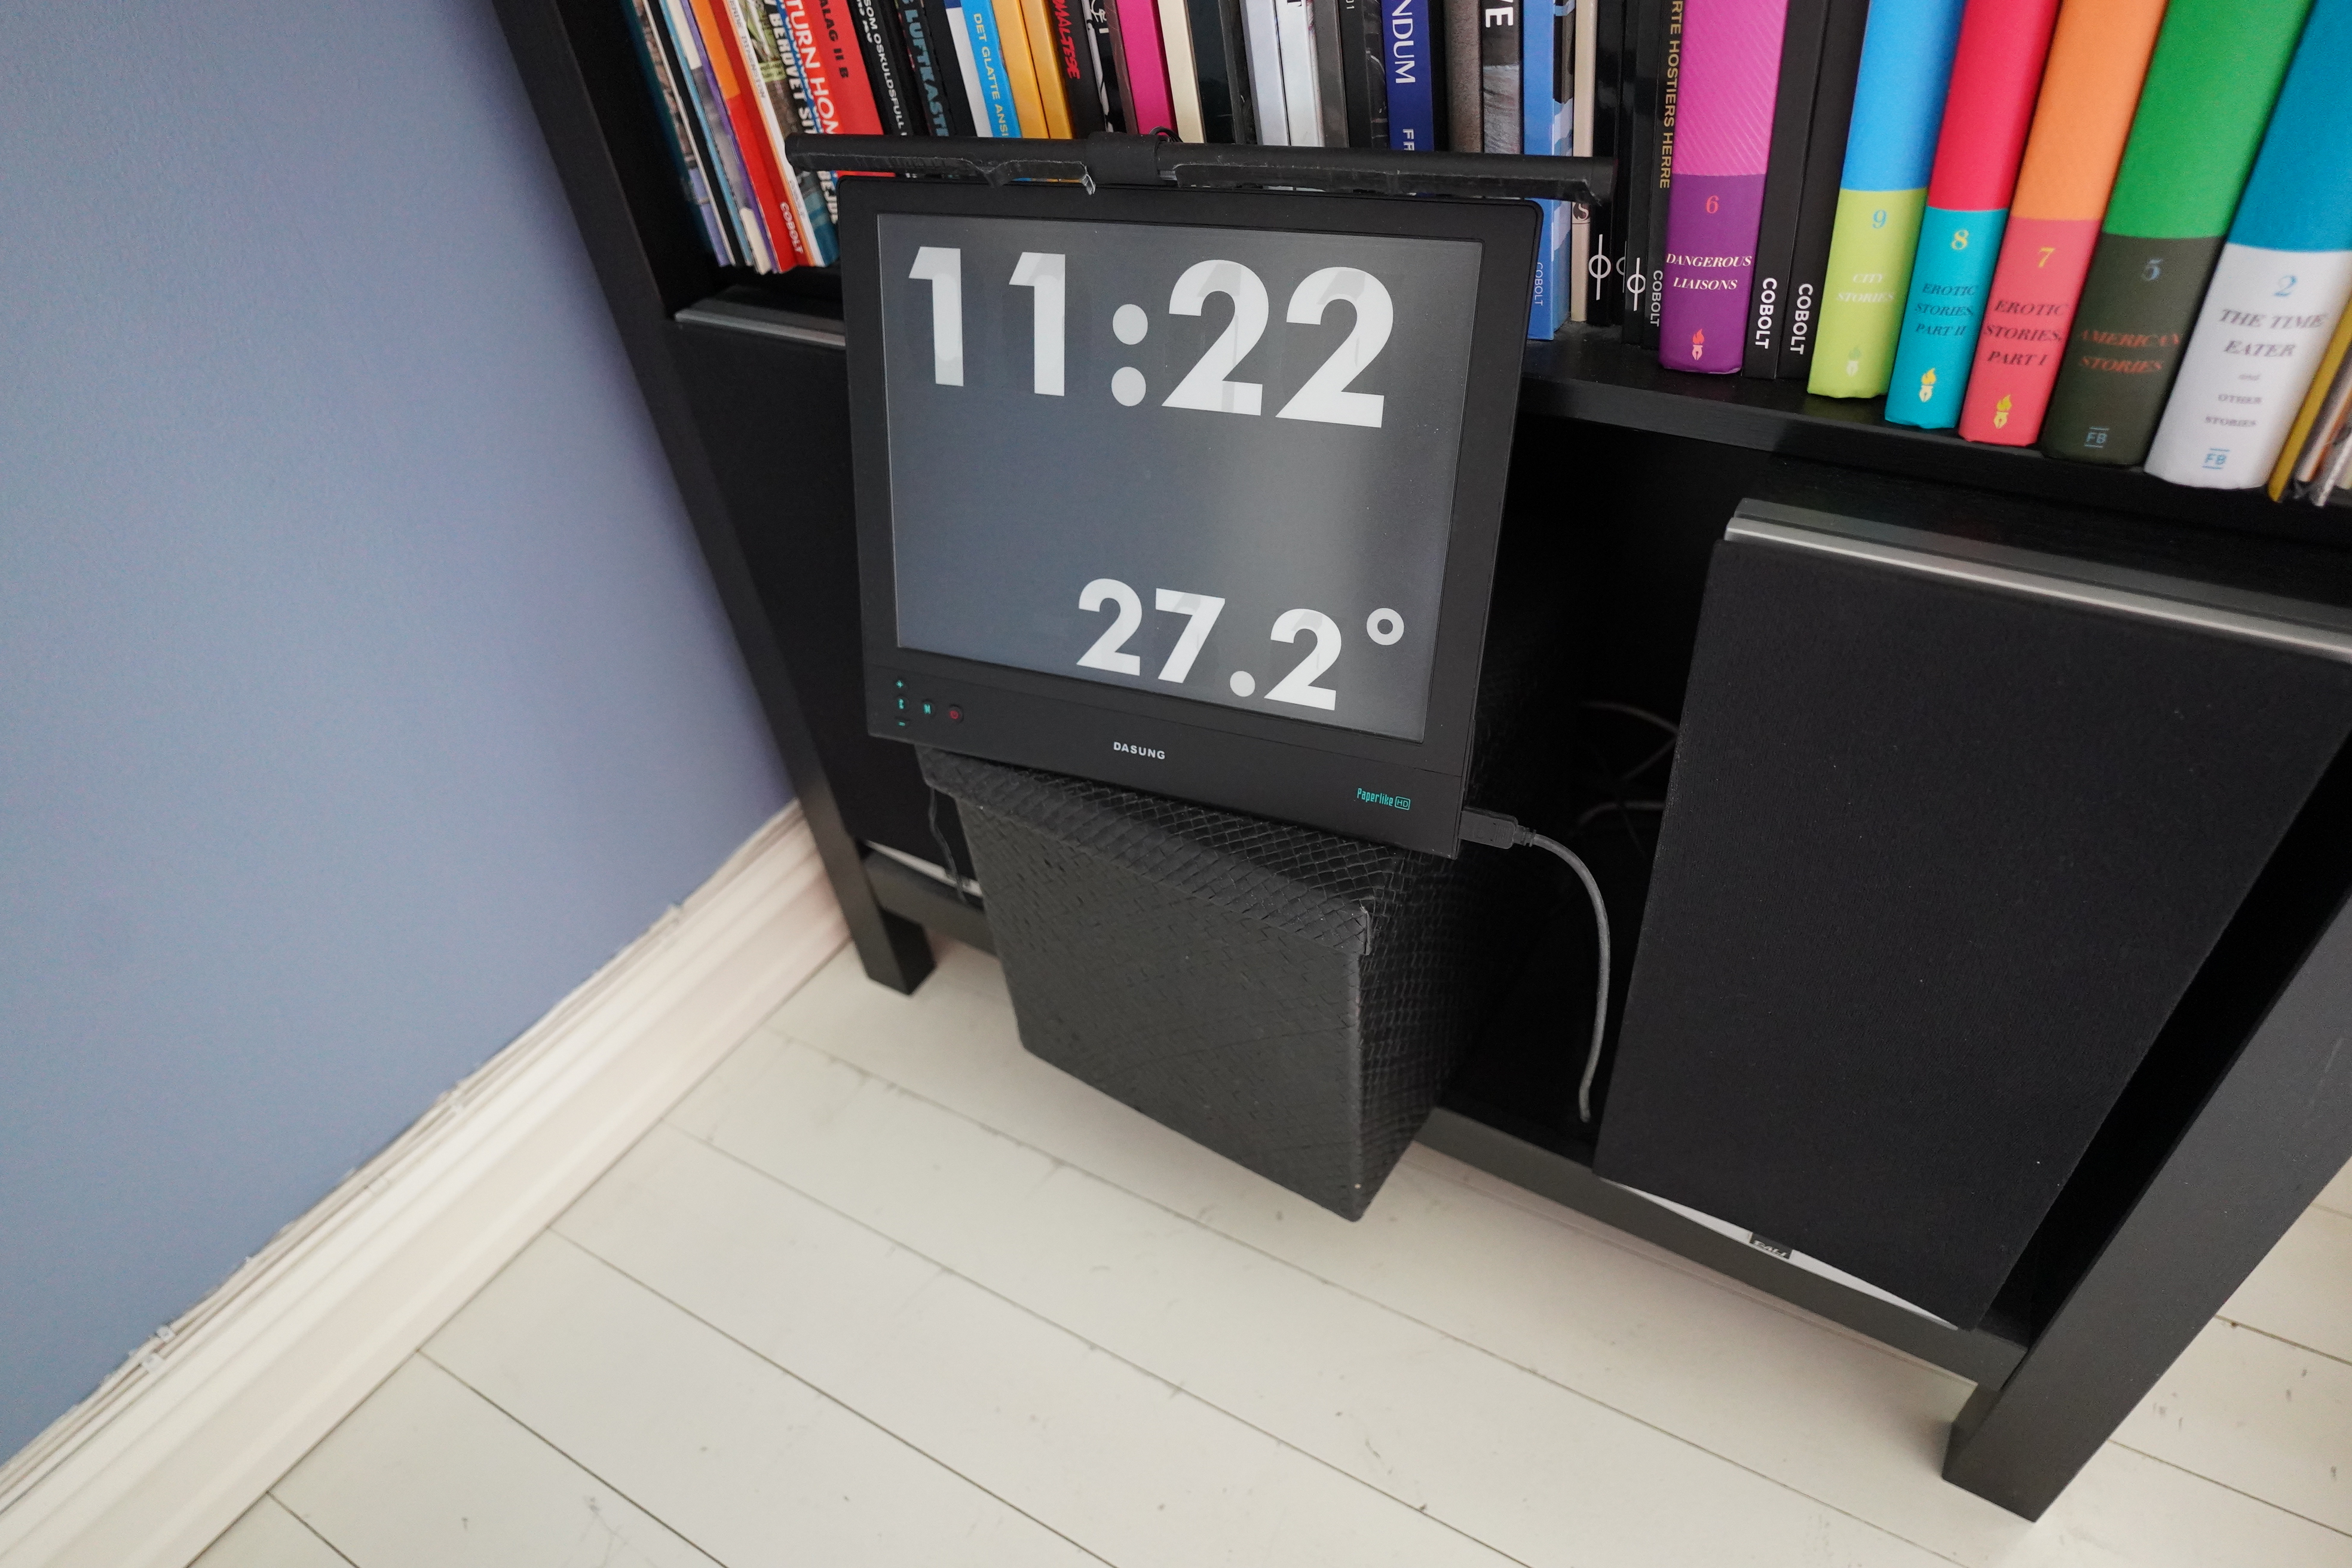
… and a screen/computer to display time and the alarm. (And the temperature. Brrr!) This particular hardware combination has been going since 2019.
So I tap in the time I want to wake up (like 9) and then at 09:00 it turns on the stereo to play whatever was playing. I’m kinda proud of the interface; I’ve found nothing that is so easy to use in any commercial system. That is, if the alarm is at 09:00, I just type 9, and if it’s at 09:30, I type 930, and if it’s at 13:00, I type 13. *tap* *tap* done. (I’m very good at numpad keying.)
(I guess most people get up at the same time every day, so it doesn’t matter as much, but I always want to eke out the most sleep I can in the morning, so the alarm time changes every day, basically.)
The problem here, though, is that there’s too many moving components. In particular, the system relies on telling the central music server to start playing again, which requires 1) the network to work on the alarm clock computer, 2) the network to be up, (2b) the external network to be up to do DNS until I removed that requirement), 3) the music server to be up, 4) me not having chosen something extremely ambient to be playing, like Music To Sleep By, and 5) me not having futzed around with something that just breaks everything.
Some of these things can be ameliorated, but all of these things have failed over the years, so if I really have to get up, I’ve started using an Iphone:
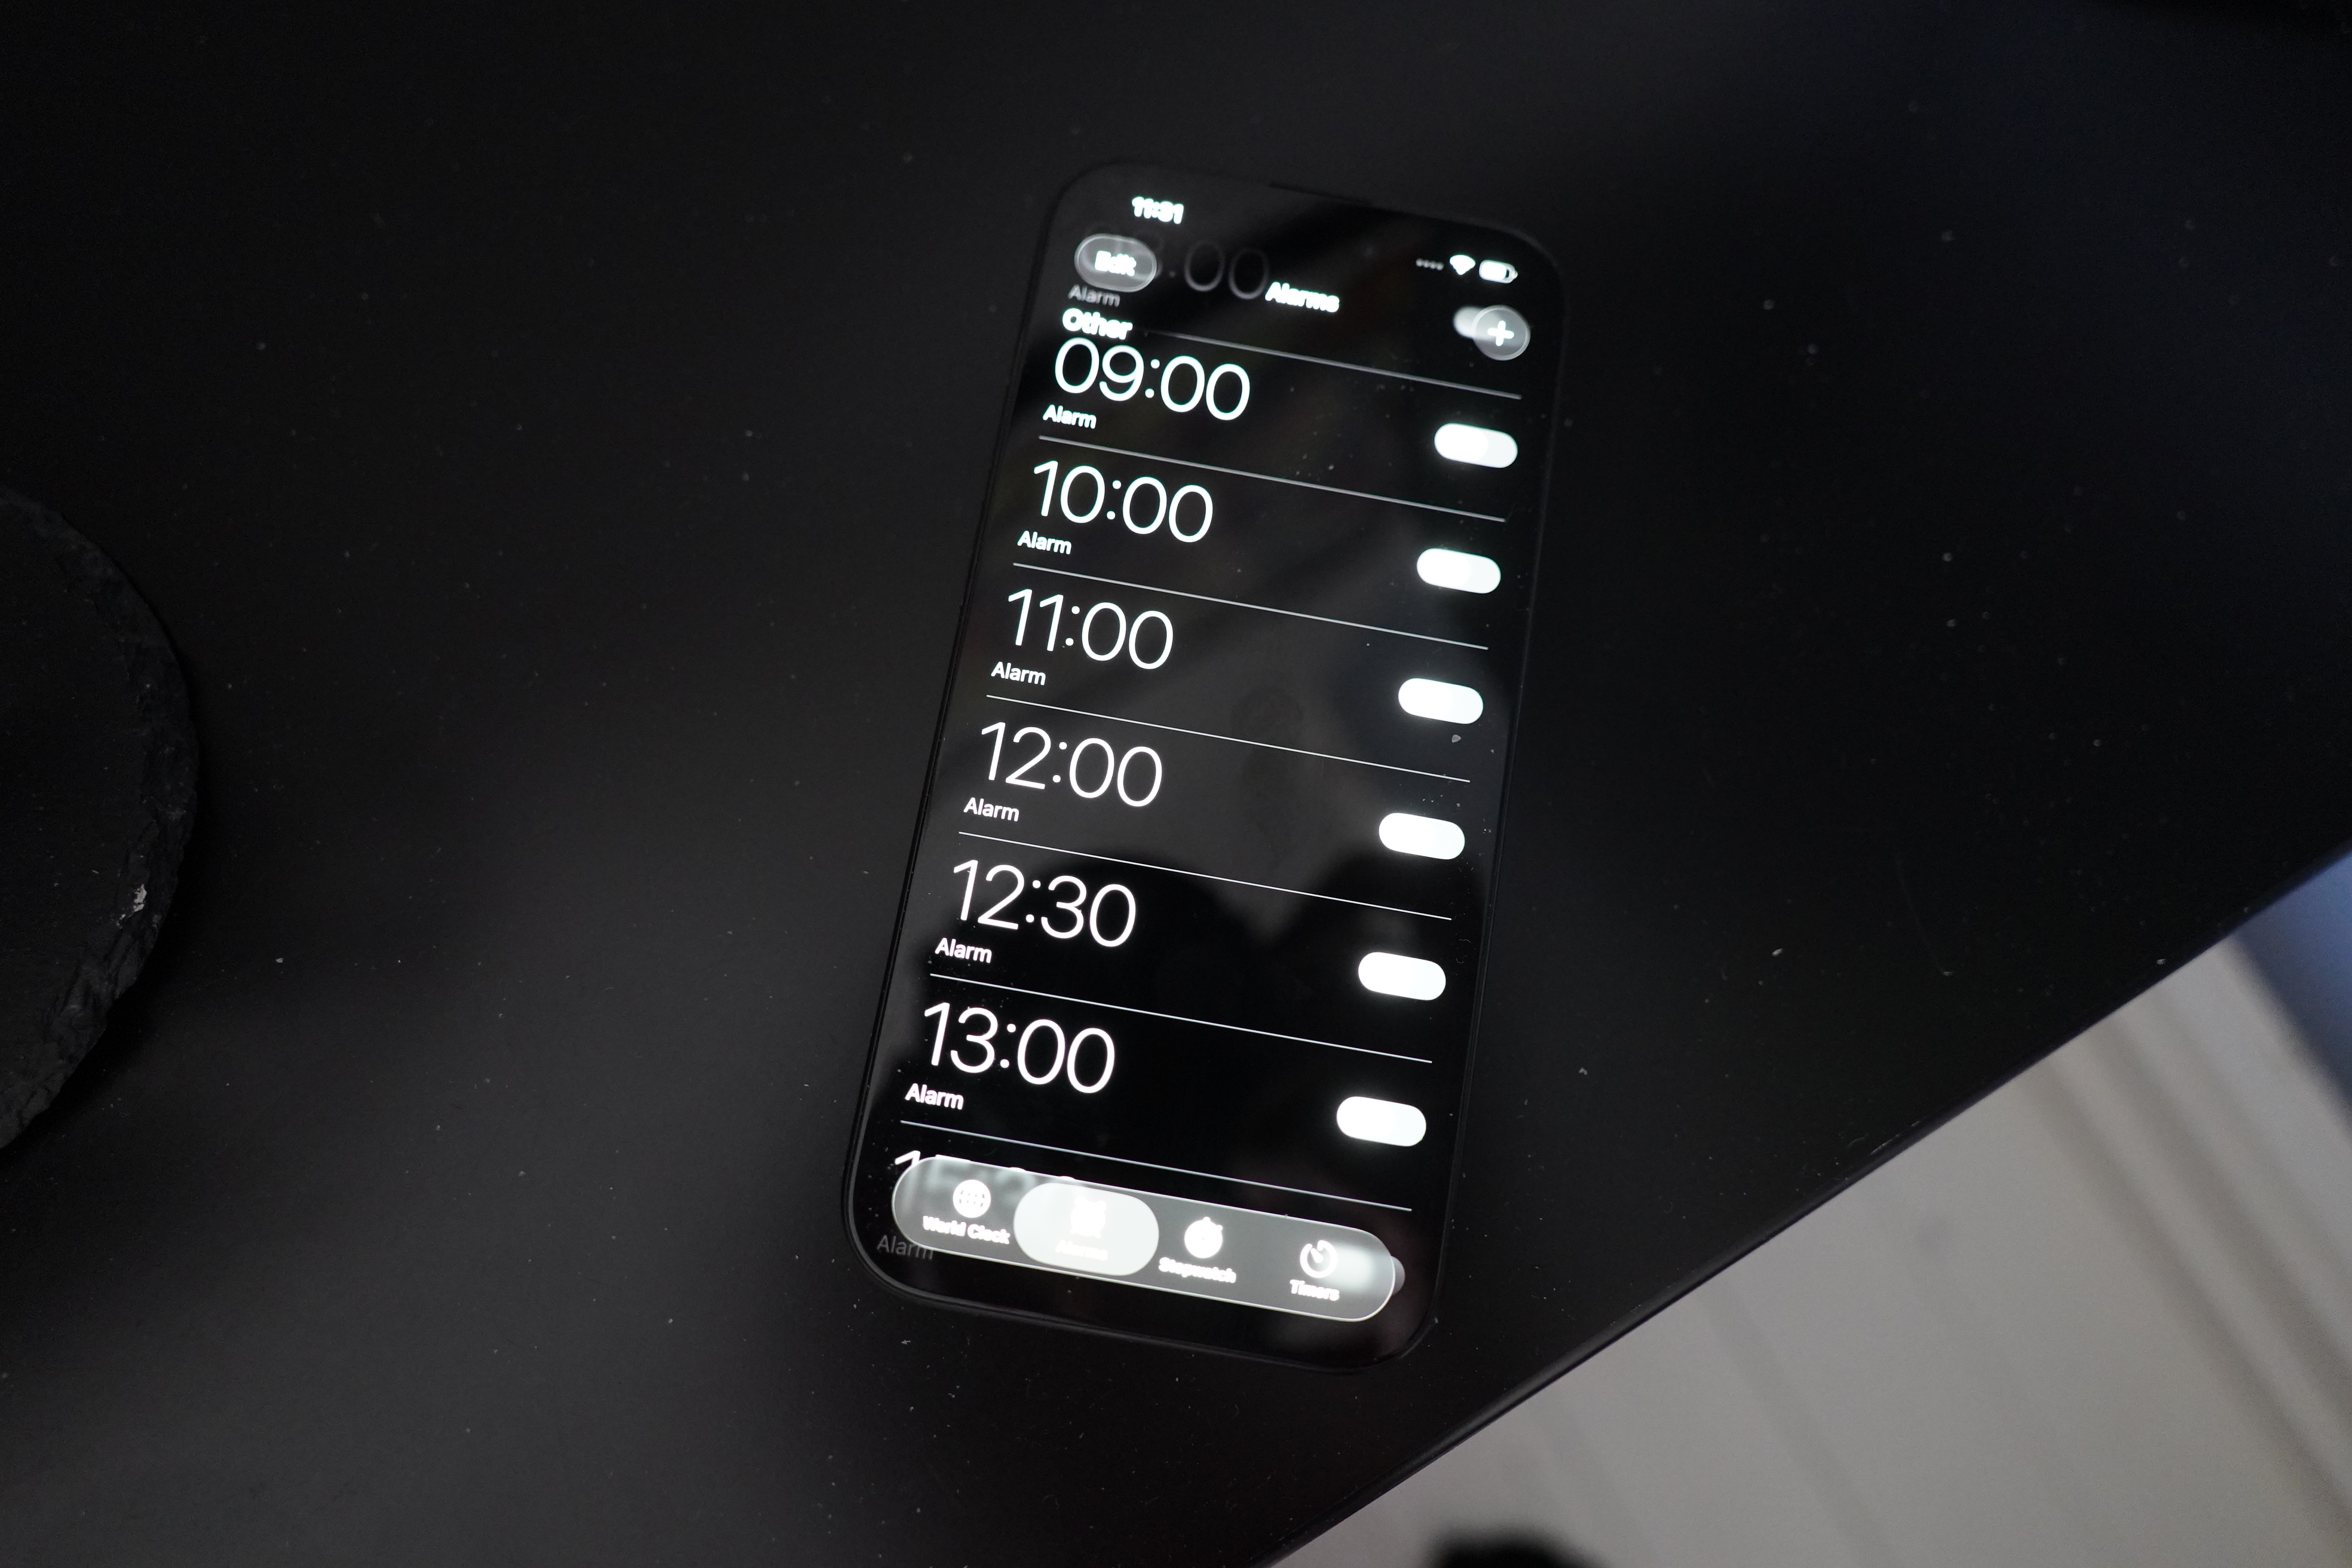
Ewww! This thing has the worst interface imaginable for an alarm clock. That the interface is geared towards making these long lists of possible alarm times is an admittance of failure: It’s so futzy to set up an alarm that people choose to have these moronic lists instead.
Not to mention how many times I’ve lain there for half a minute trying to disable an alarm before it goes off, half awake. (I wake up five minutes before the alarm 87% of the time.)
So… that’s what this blog post is about: I’m building a new alarm clock.
I want to keep the good parts of the old system: The numpad. That’s just the best input device. But I want to jettison the rest, which is too unreliable, and have a totally self-contained system that doesn’t rely on the network or any external components.
I know! Revolutionary! A self-contained alarm clock! I bet nobody’s thought of that before! I must be some kind of genius!
Yeah yeah yeah yeah, I hear you…
Anyway:
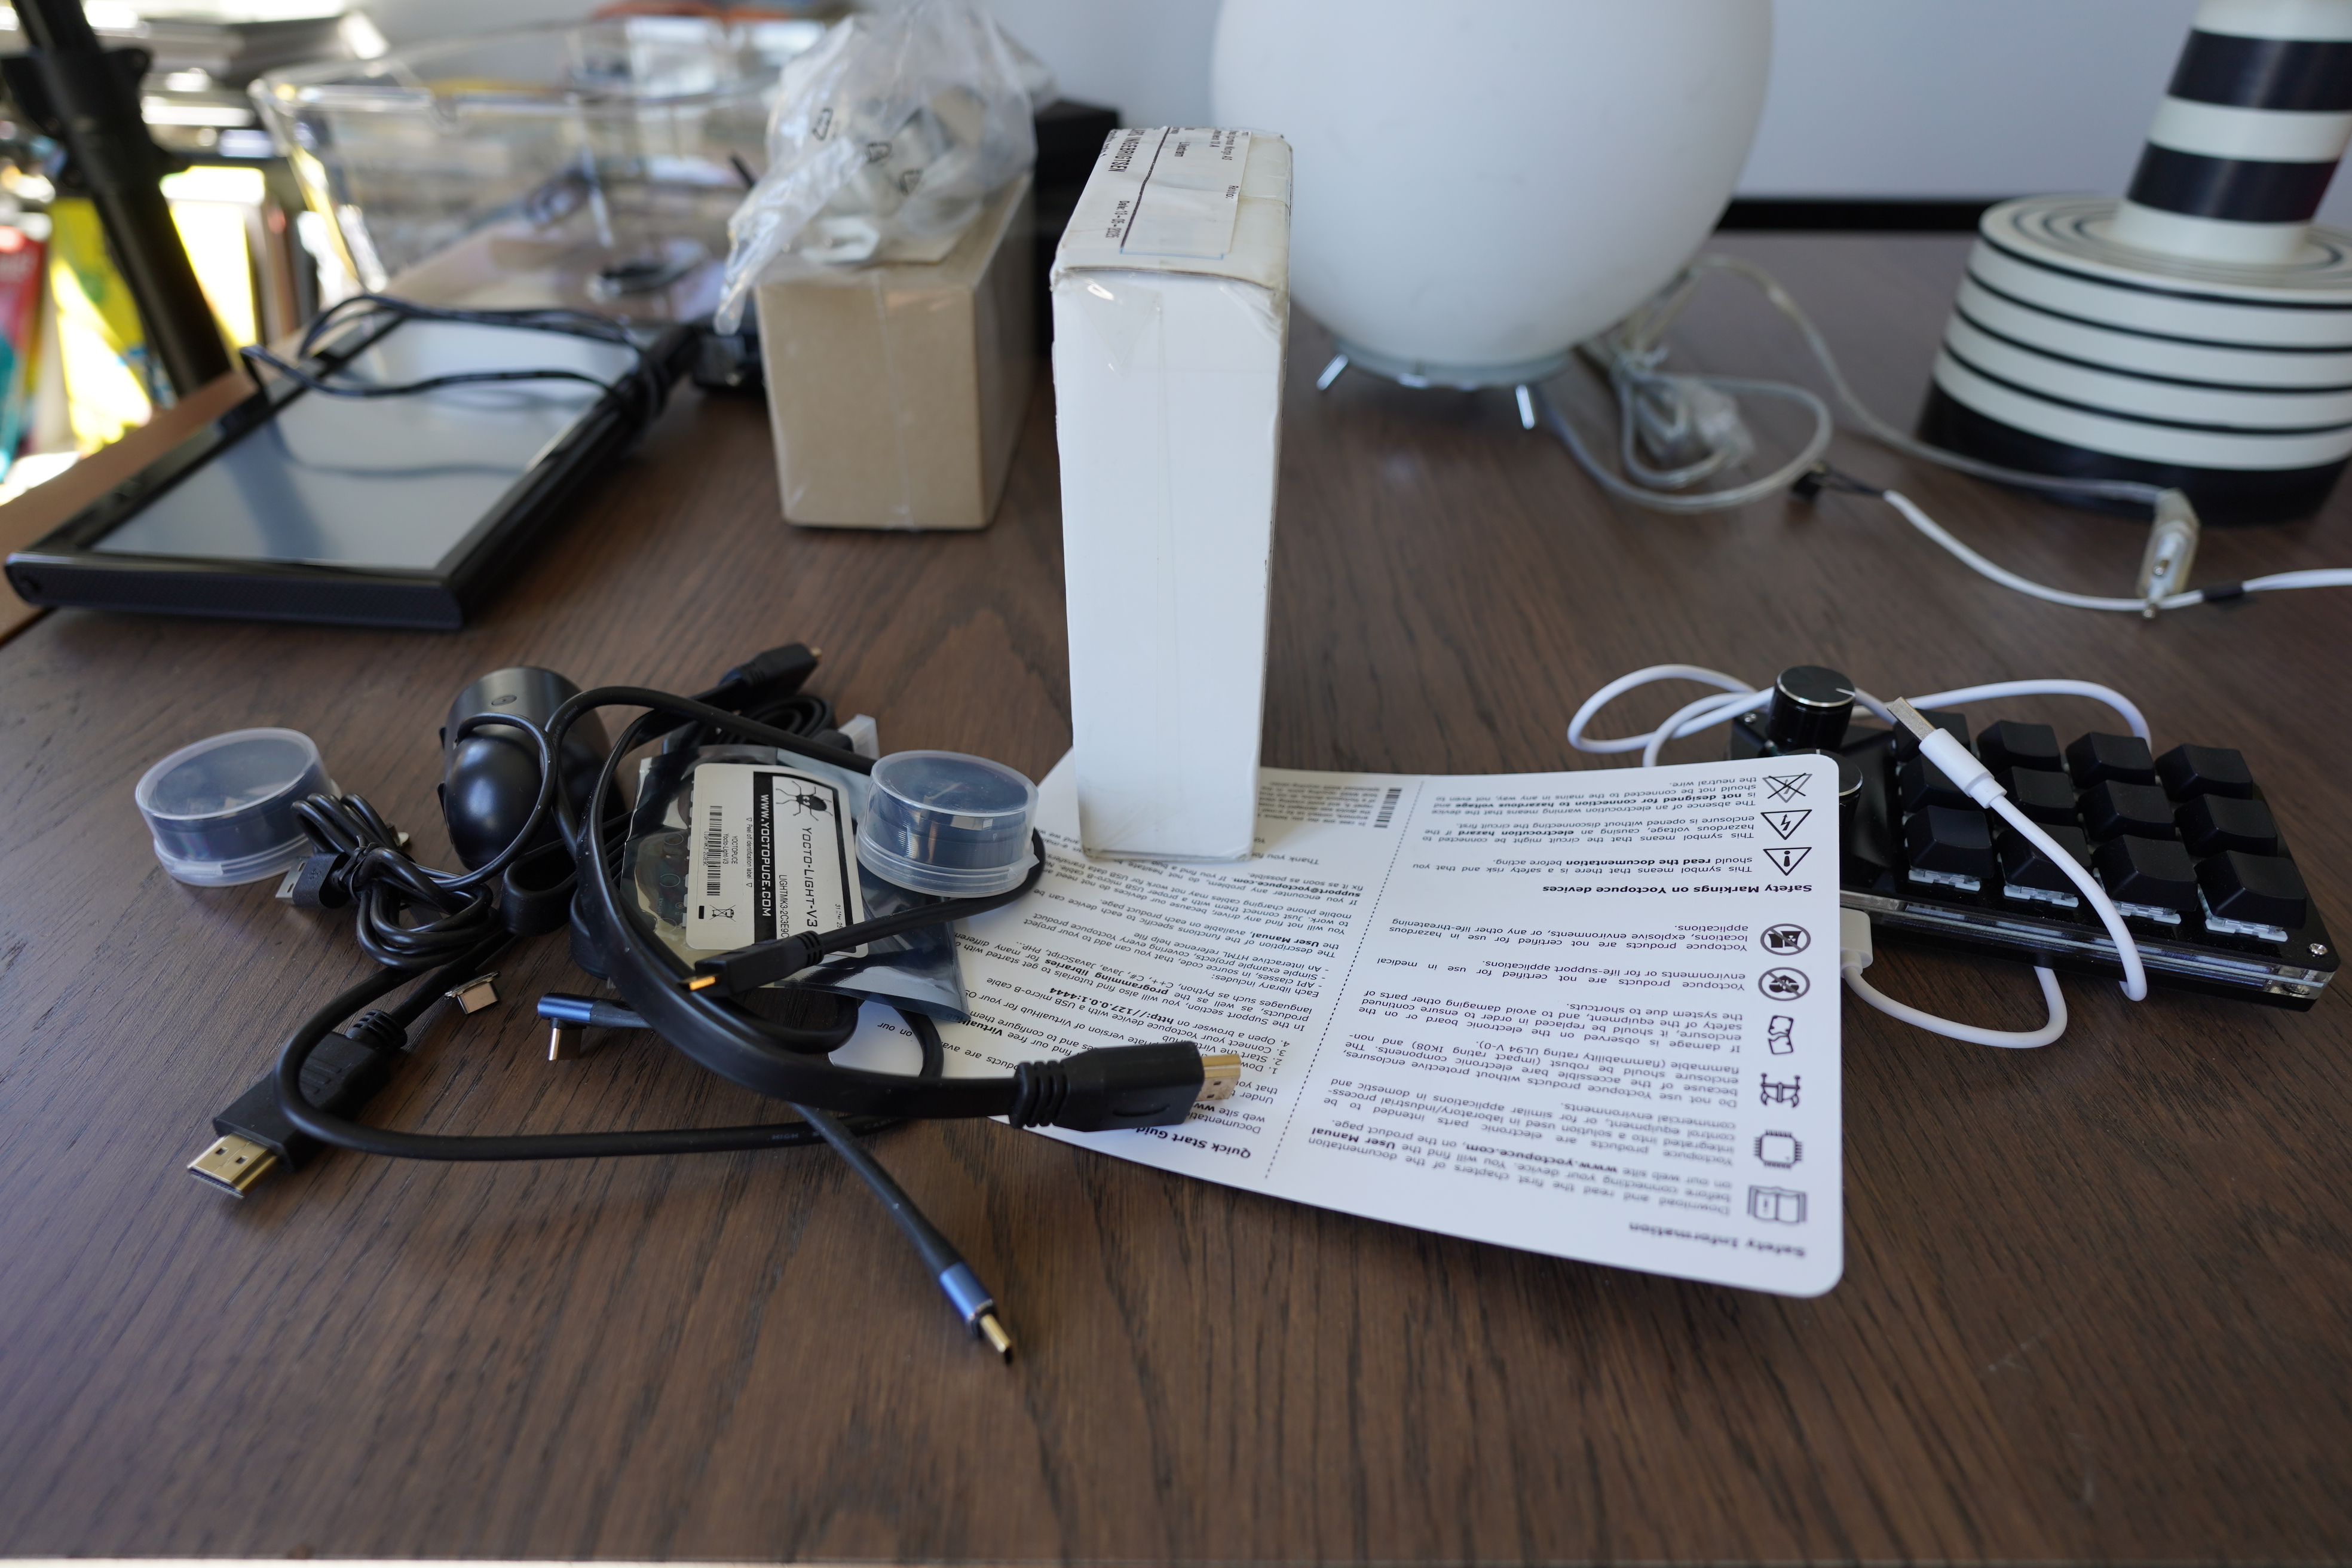
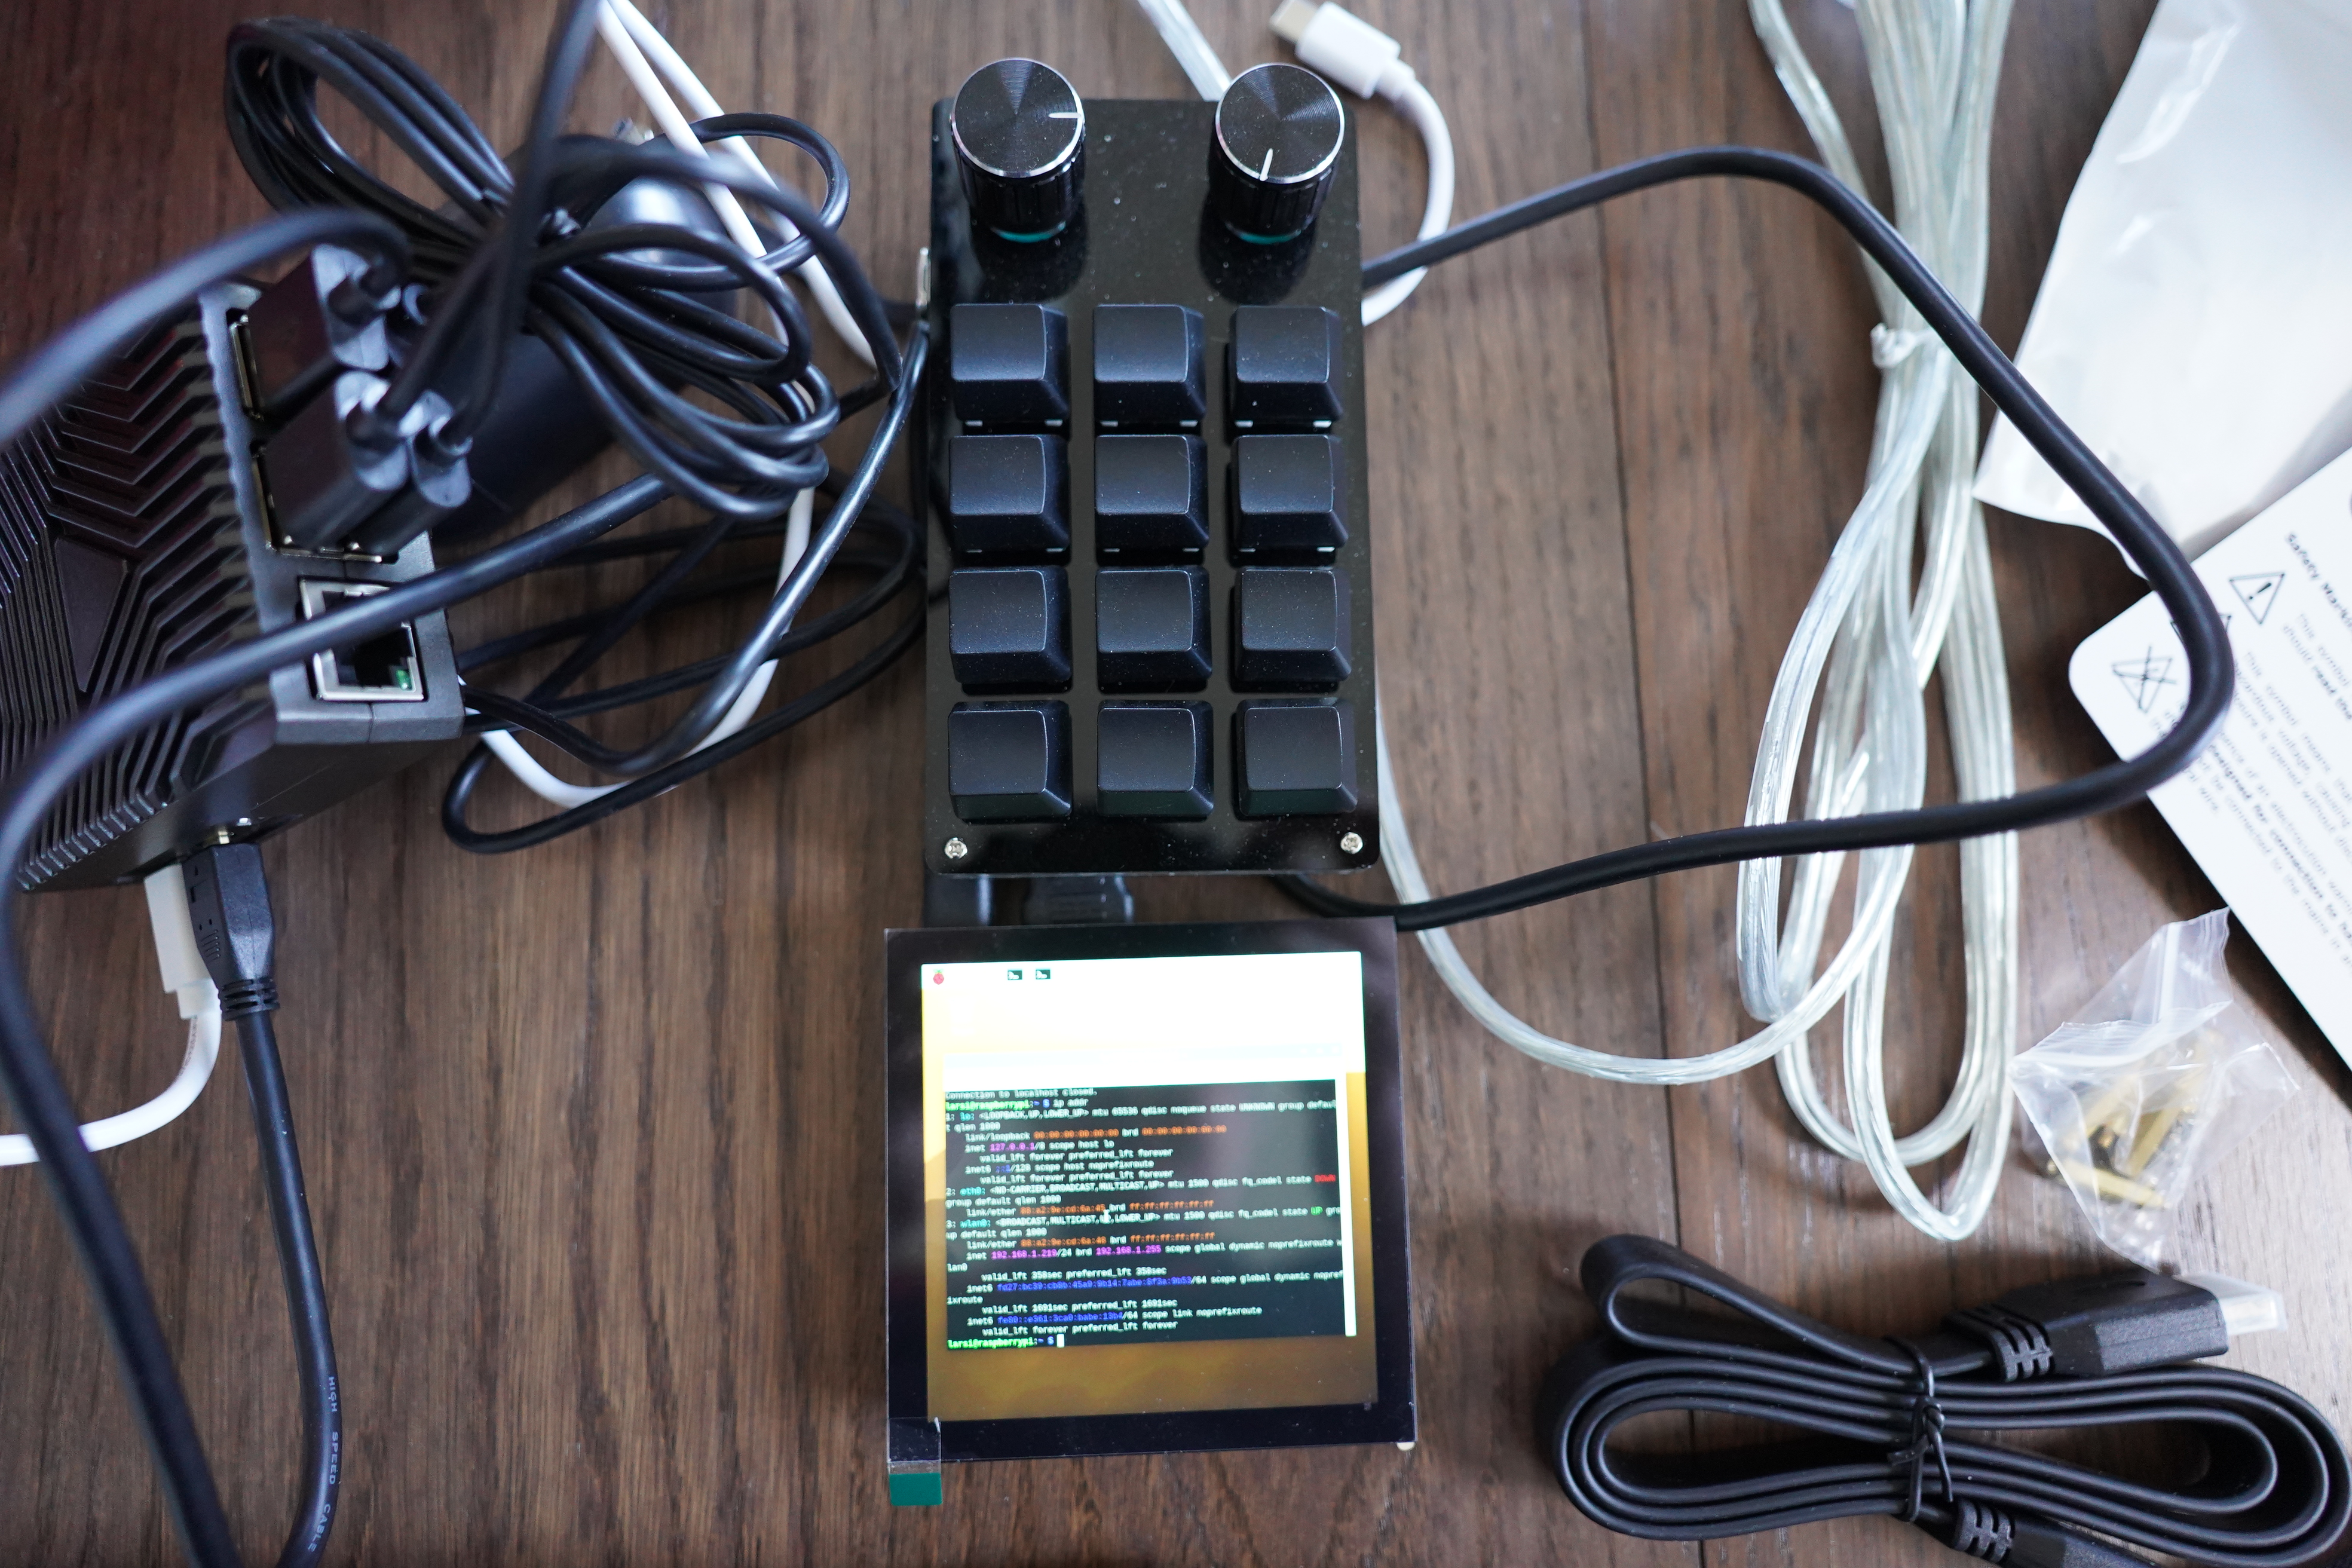
I got the components!
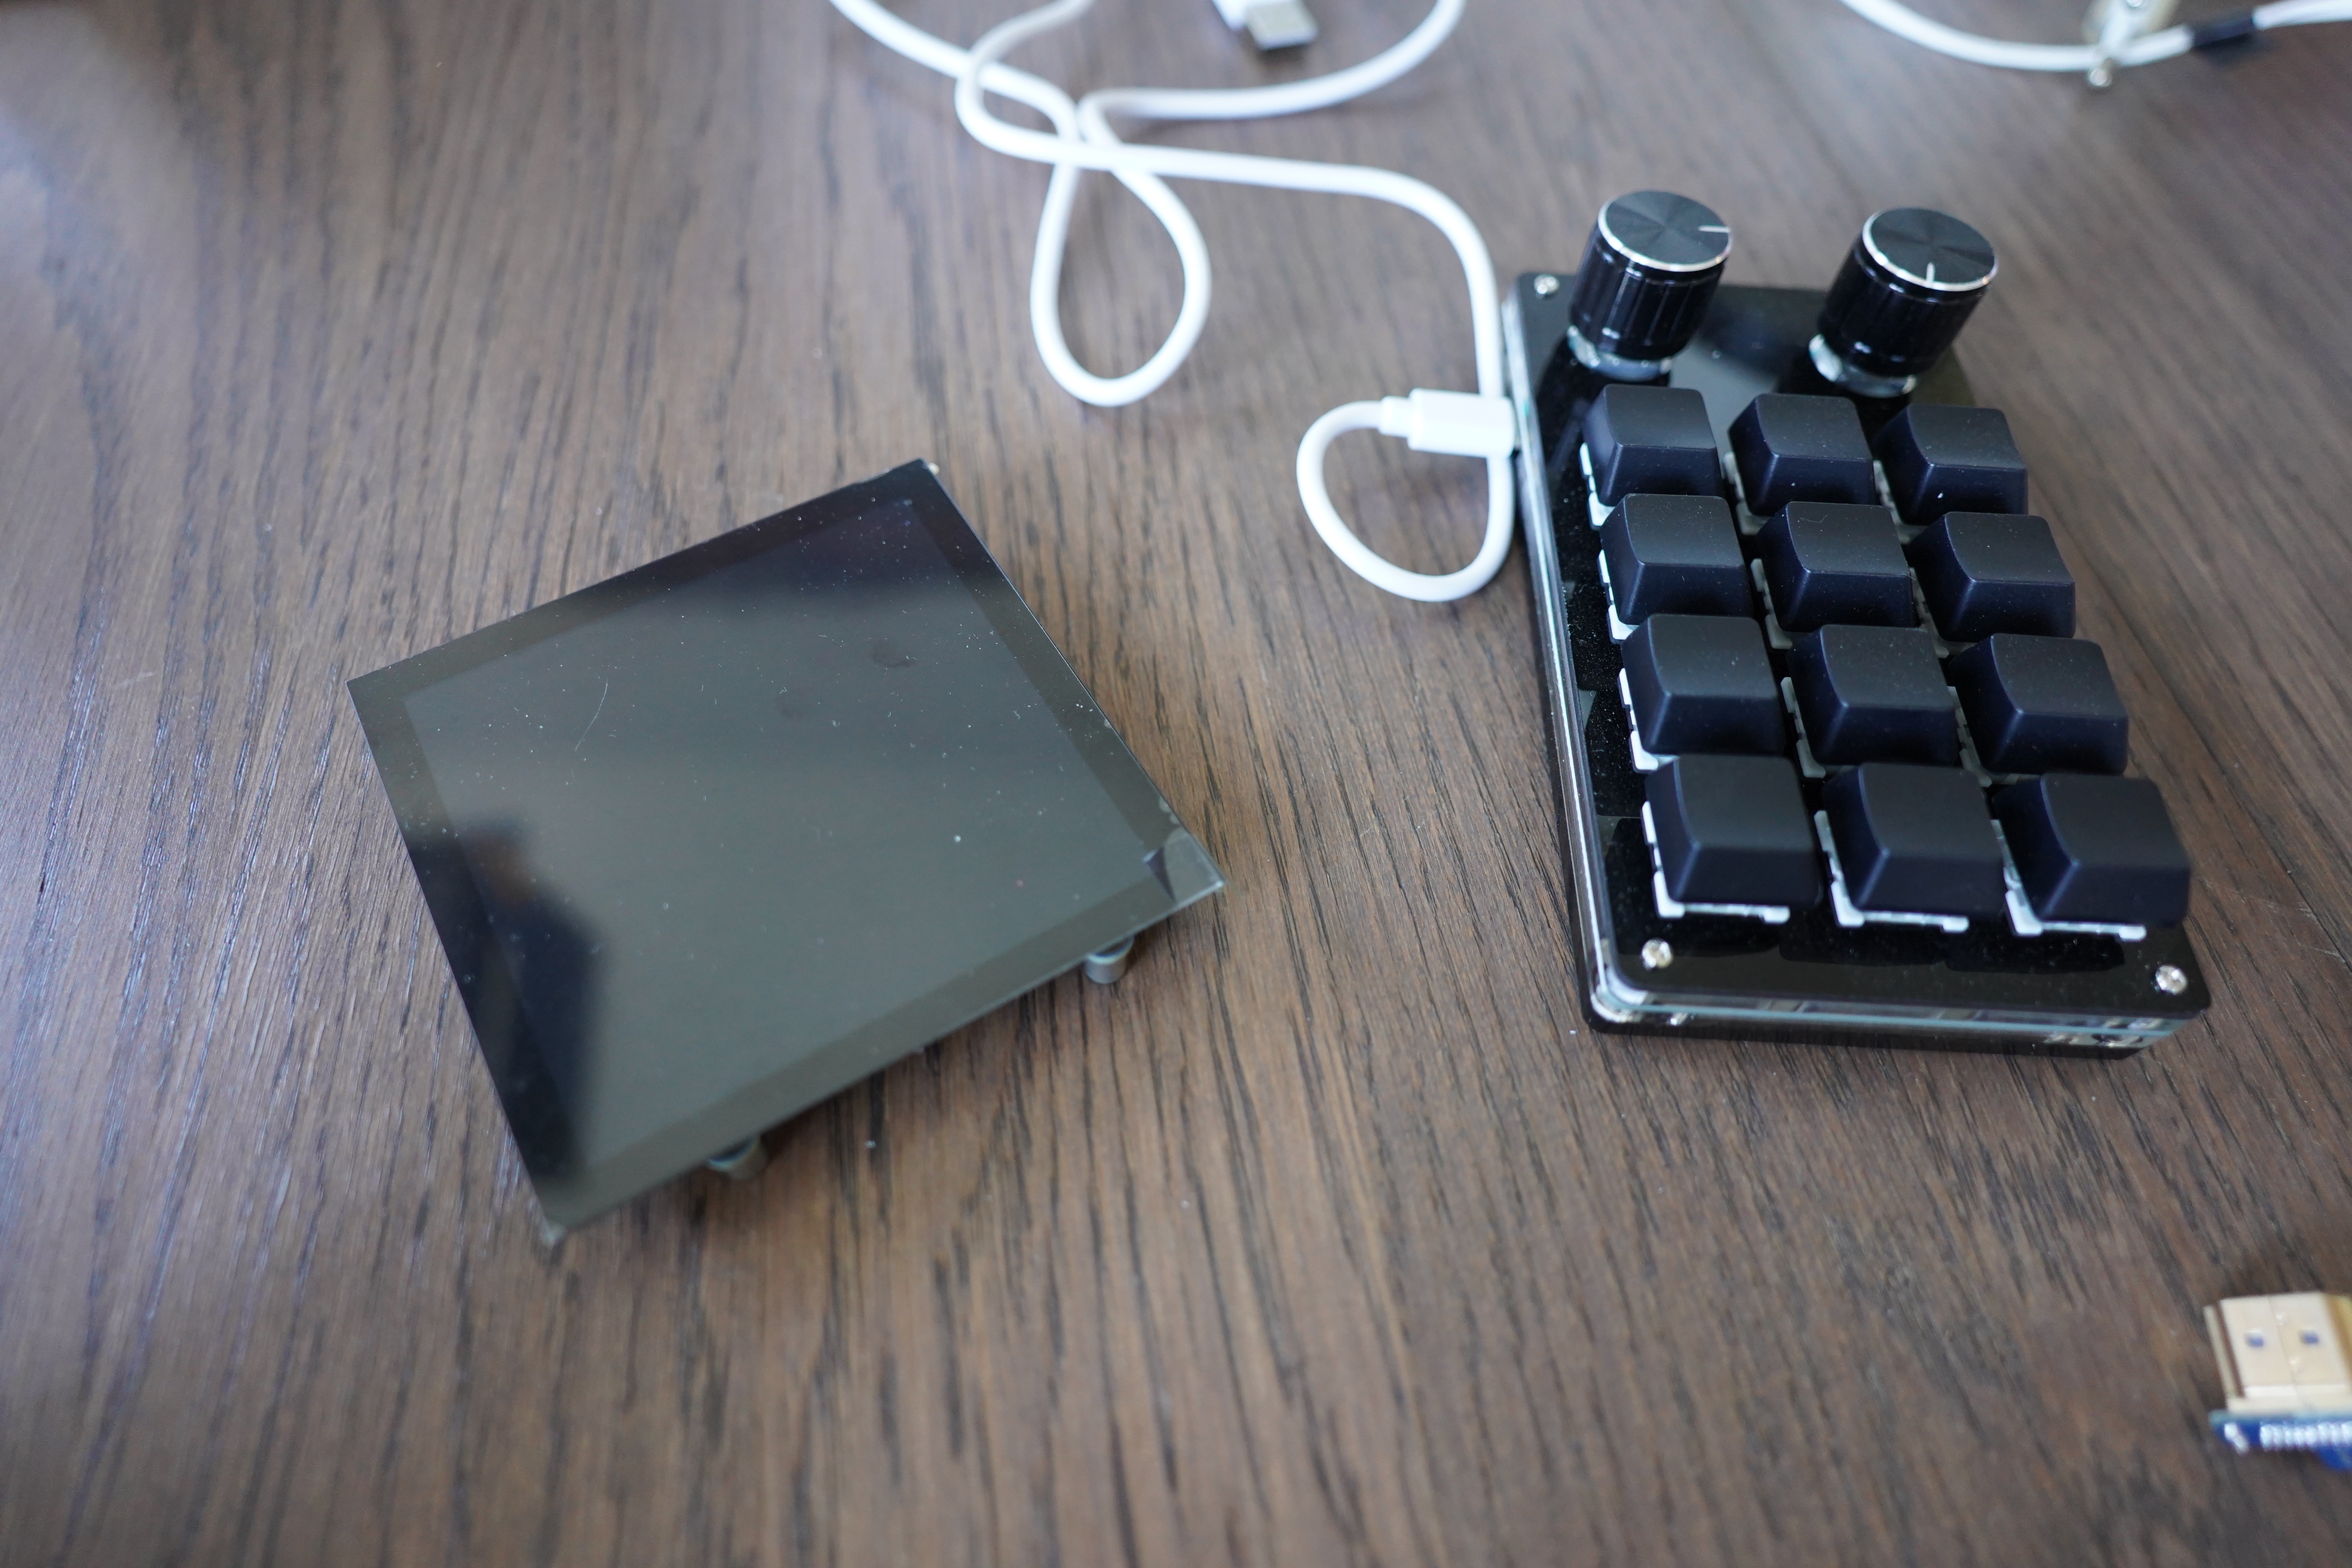
Oh, wow, I’ve been thinking about this for quite a while… I got that numpad over a year ago! But it’s still very nice. I bought various small screens while trying to think of a design for the clock, and I ended up with this 4″ screen. I didn’t want an OLED one, because of burn-in issues, so I wanted a small one so the amount of light would be more limited.
(My current setup has an epaper screen which is nice light pollution wise, but it means that if I wake up in the middle of the night and want to know what time it is, I have to hit a key on the numpad to turn a light on, and that’s not ideal, and is another reason to ditch the old system.)
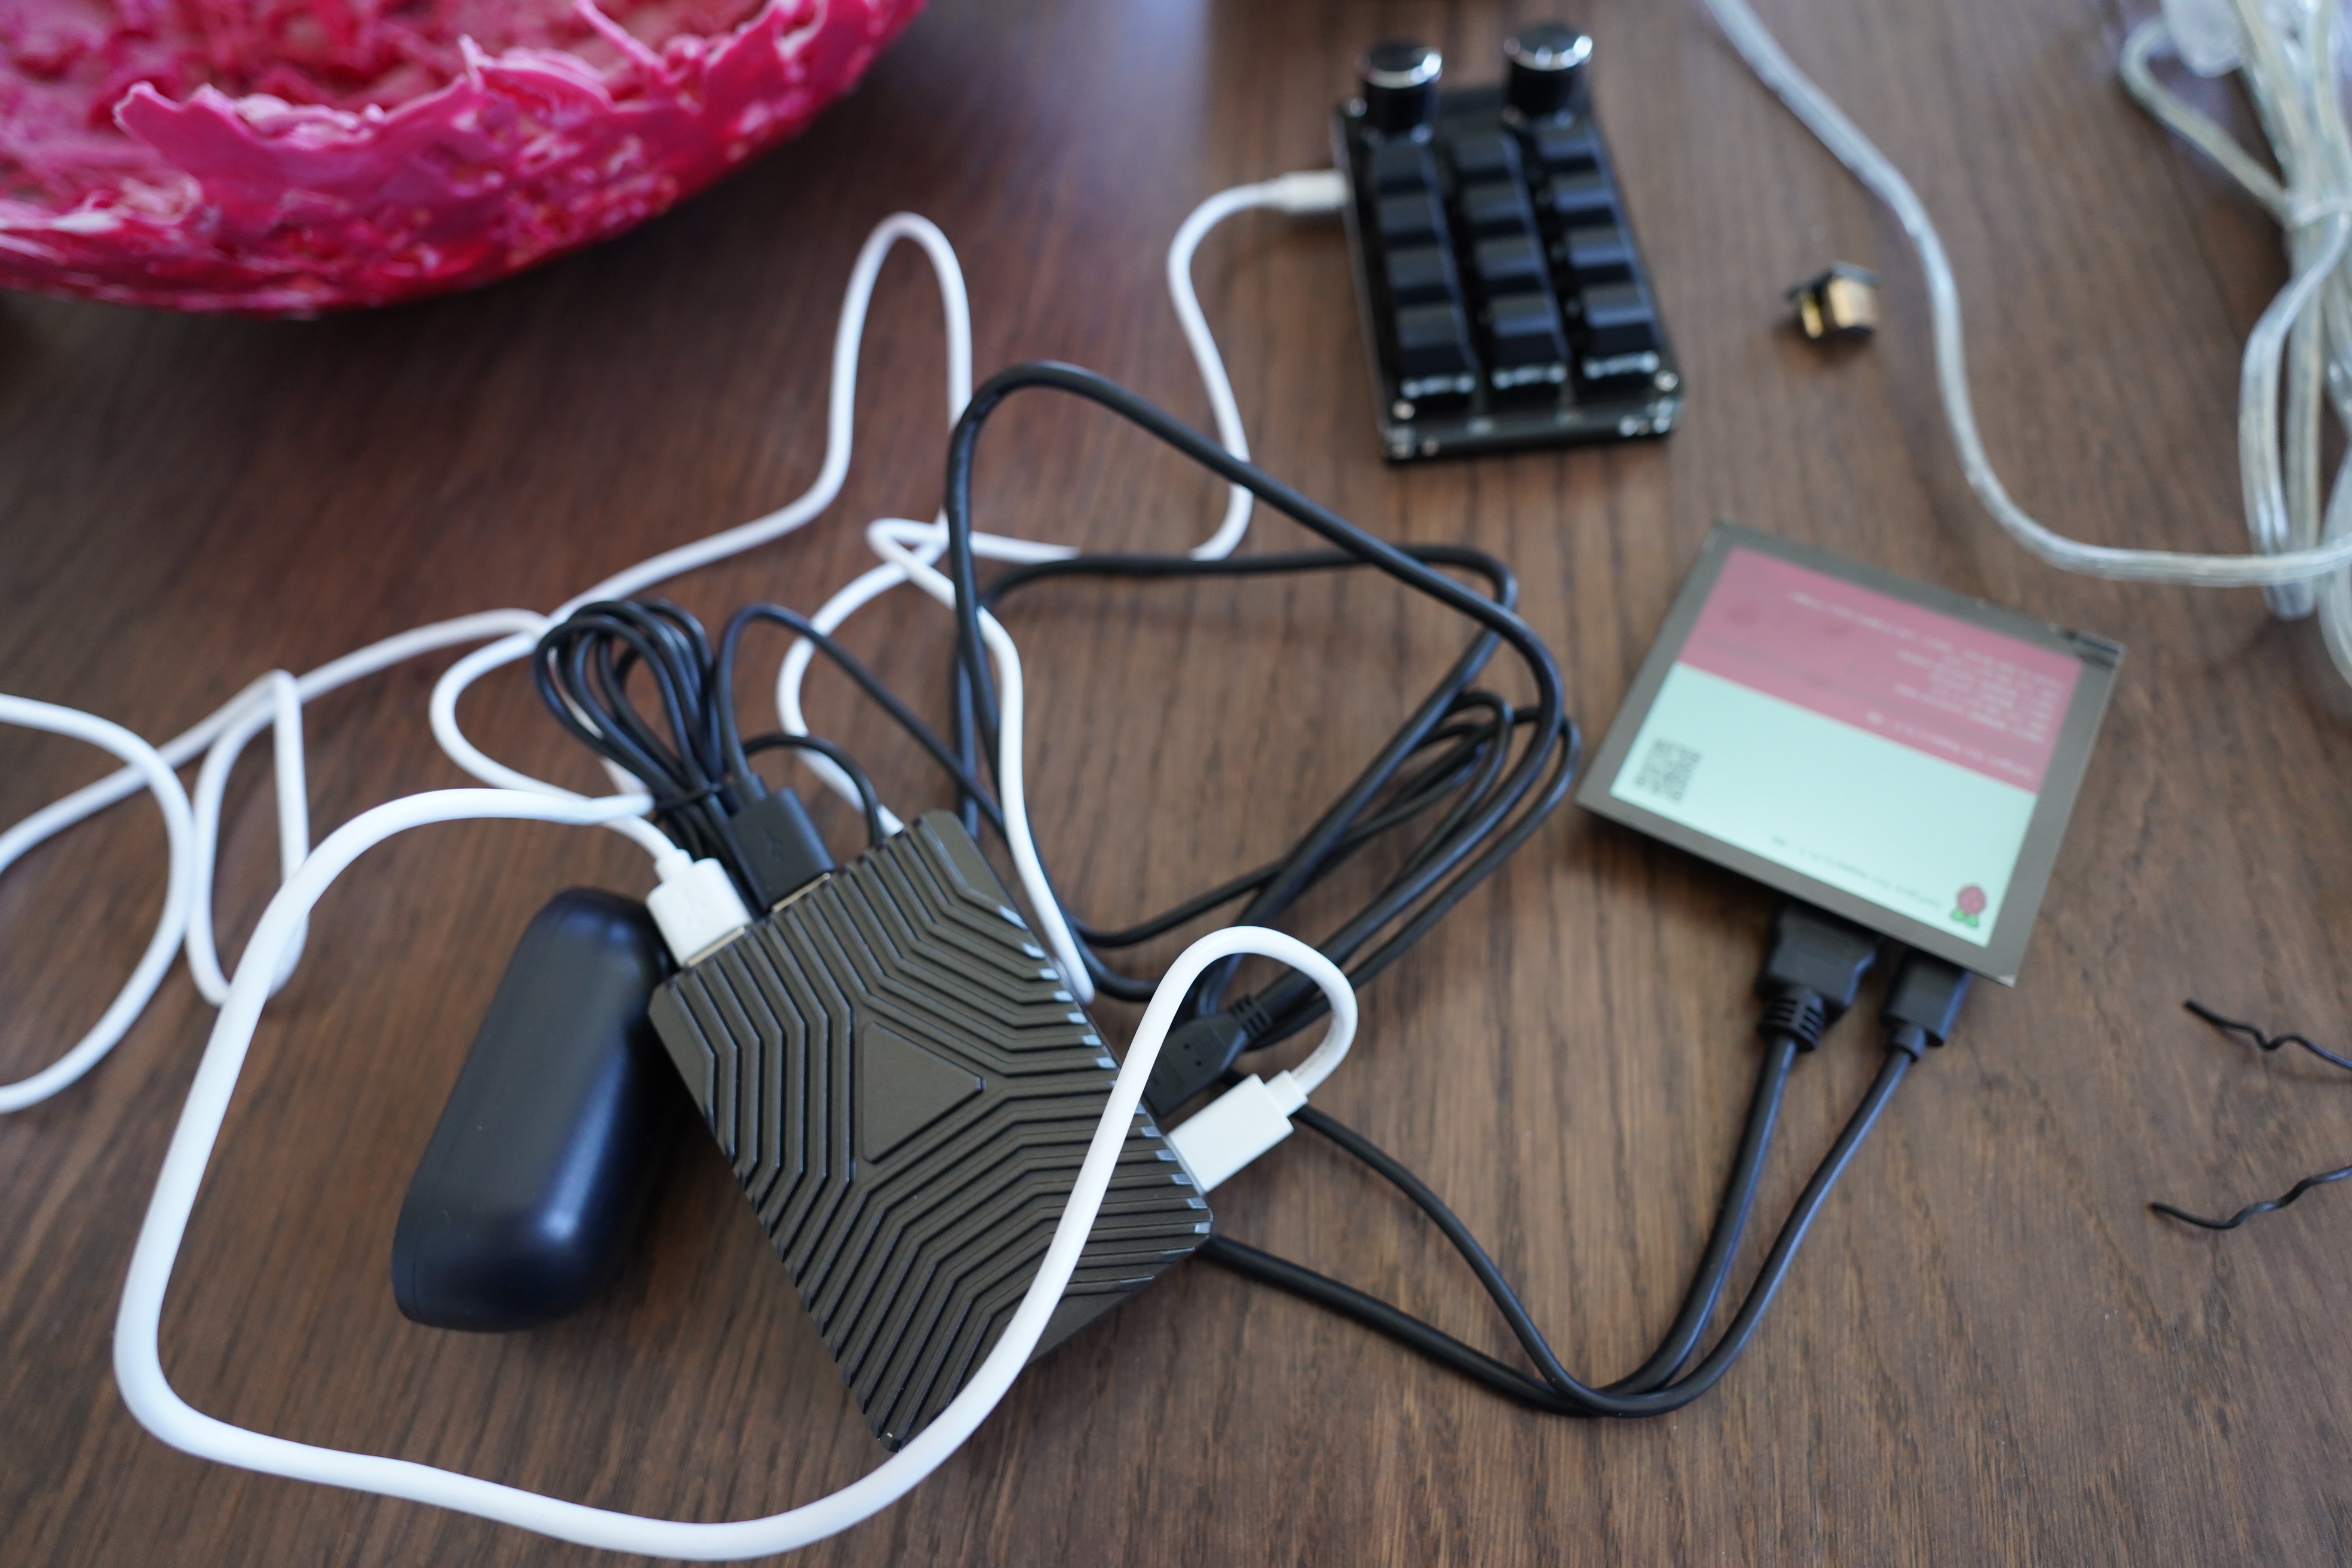
And I got a Raspberry Pi 5 for this. You may think that this is total overkill for an alarm clock… and it is, but I want to run Emacs on it, and I’ve just had a lot of problems doing so reliably on weaker Raspberries. I mean, it works, but suddenly something happens and it’s out of memory etc, and it’s just a pain. Reliability is the point here, so I’m over provisioning.
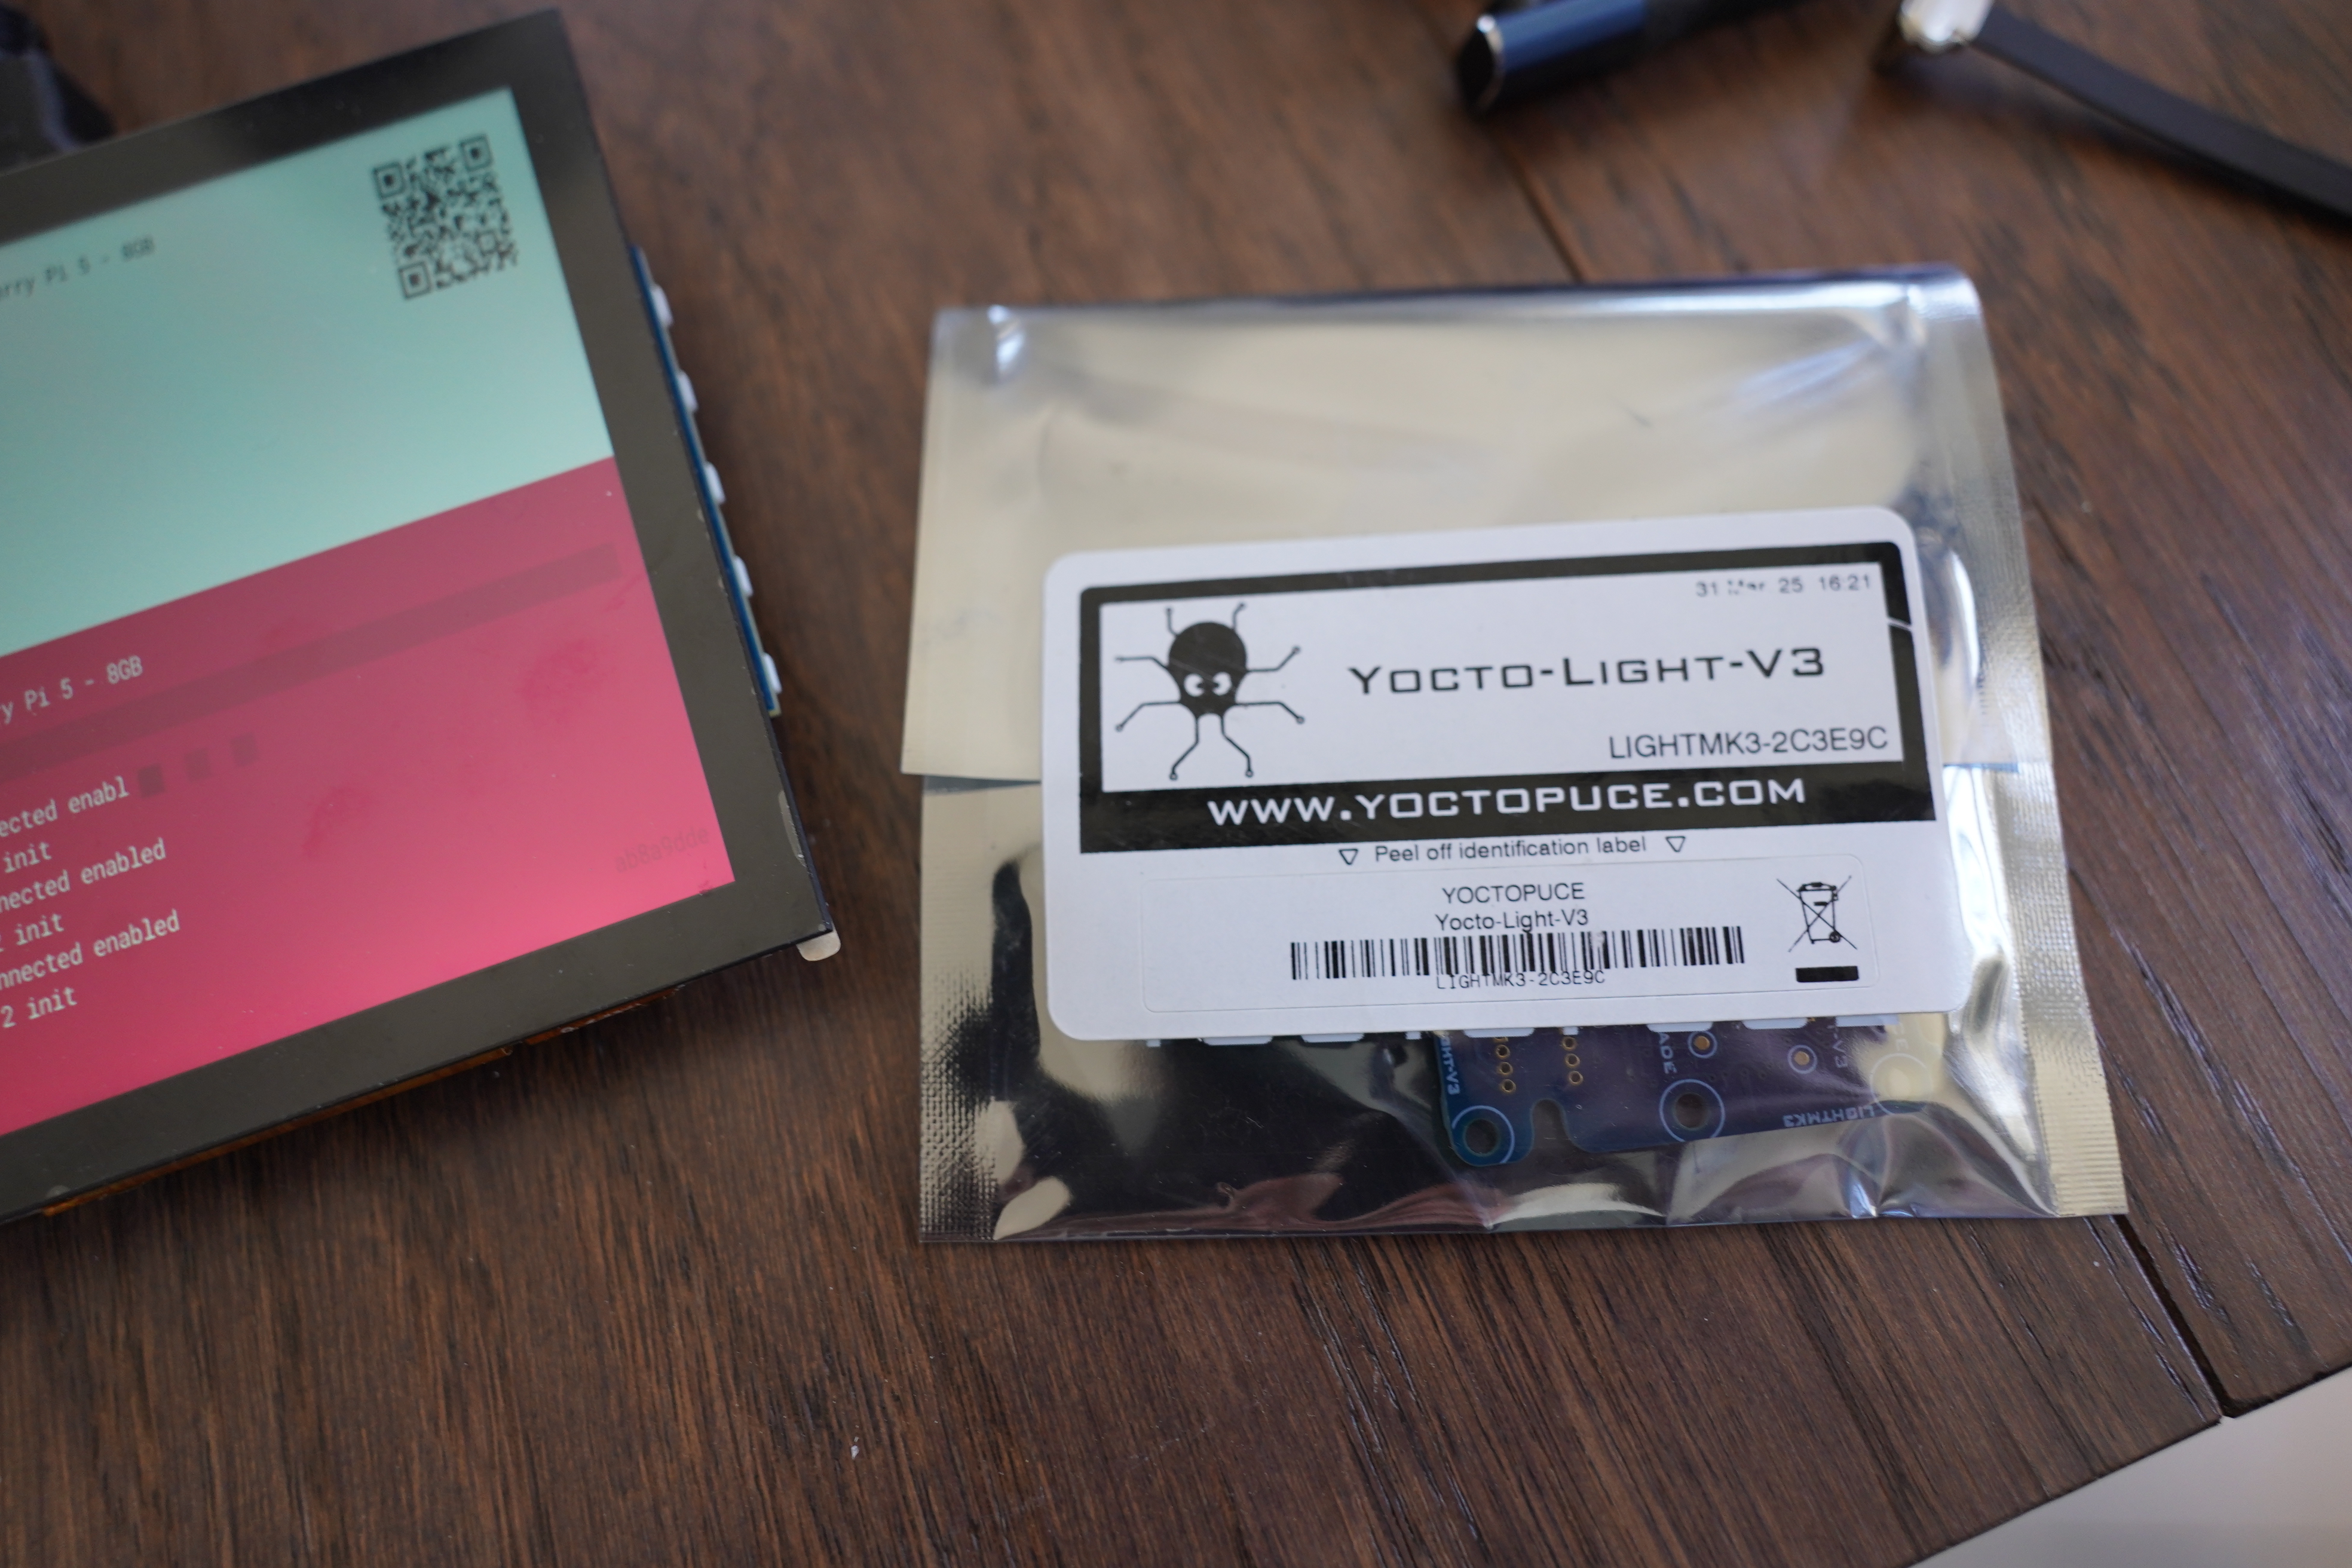
I also got a light sensor from Yoctopuce. I’m wondering whether it’s a good idea to dim the screen when it’s dark and increase the backlight when it’s light, but I’m not sure whether that’s practical or indeed supported. But it’s another fun gadget to play with, so what the hey.
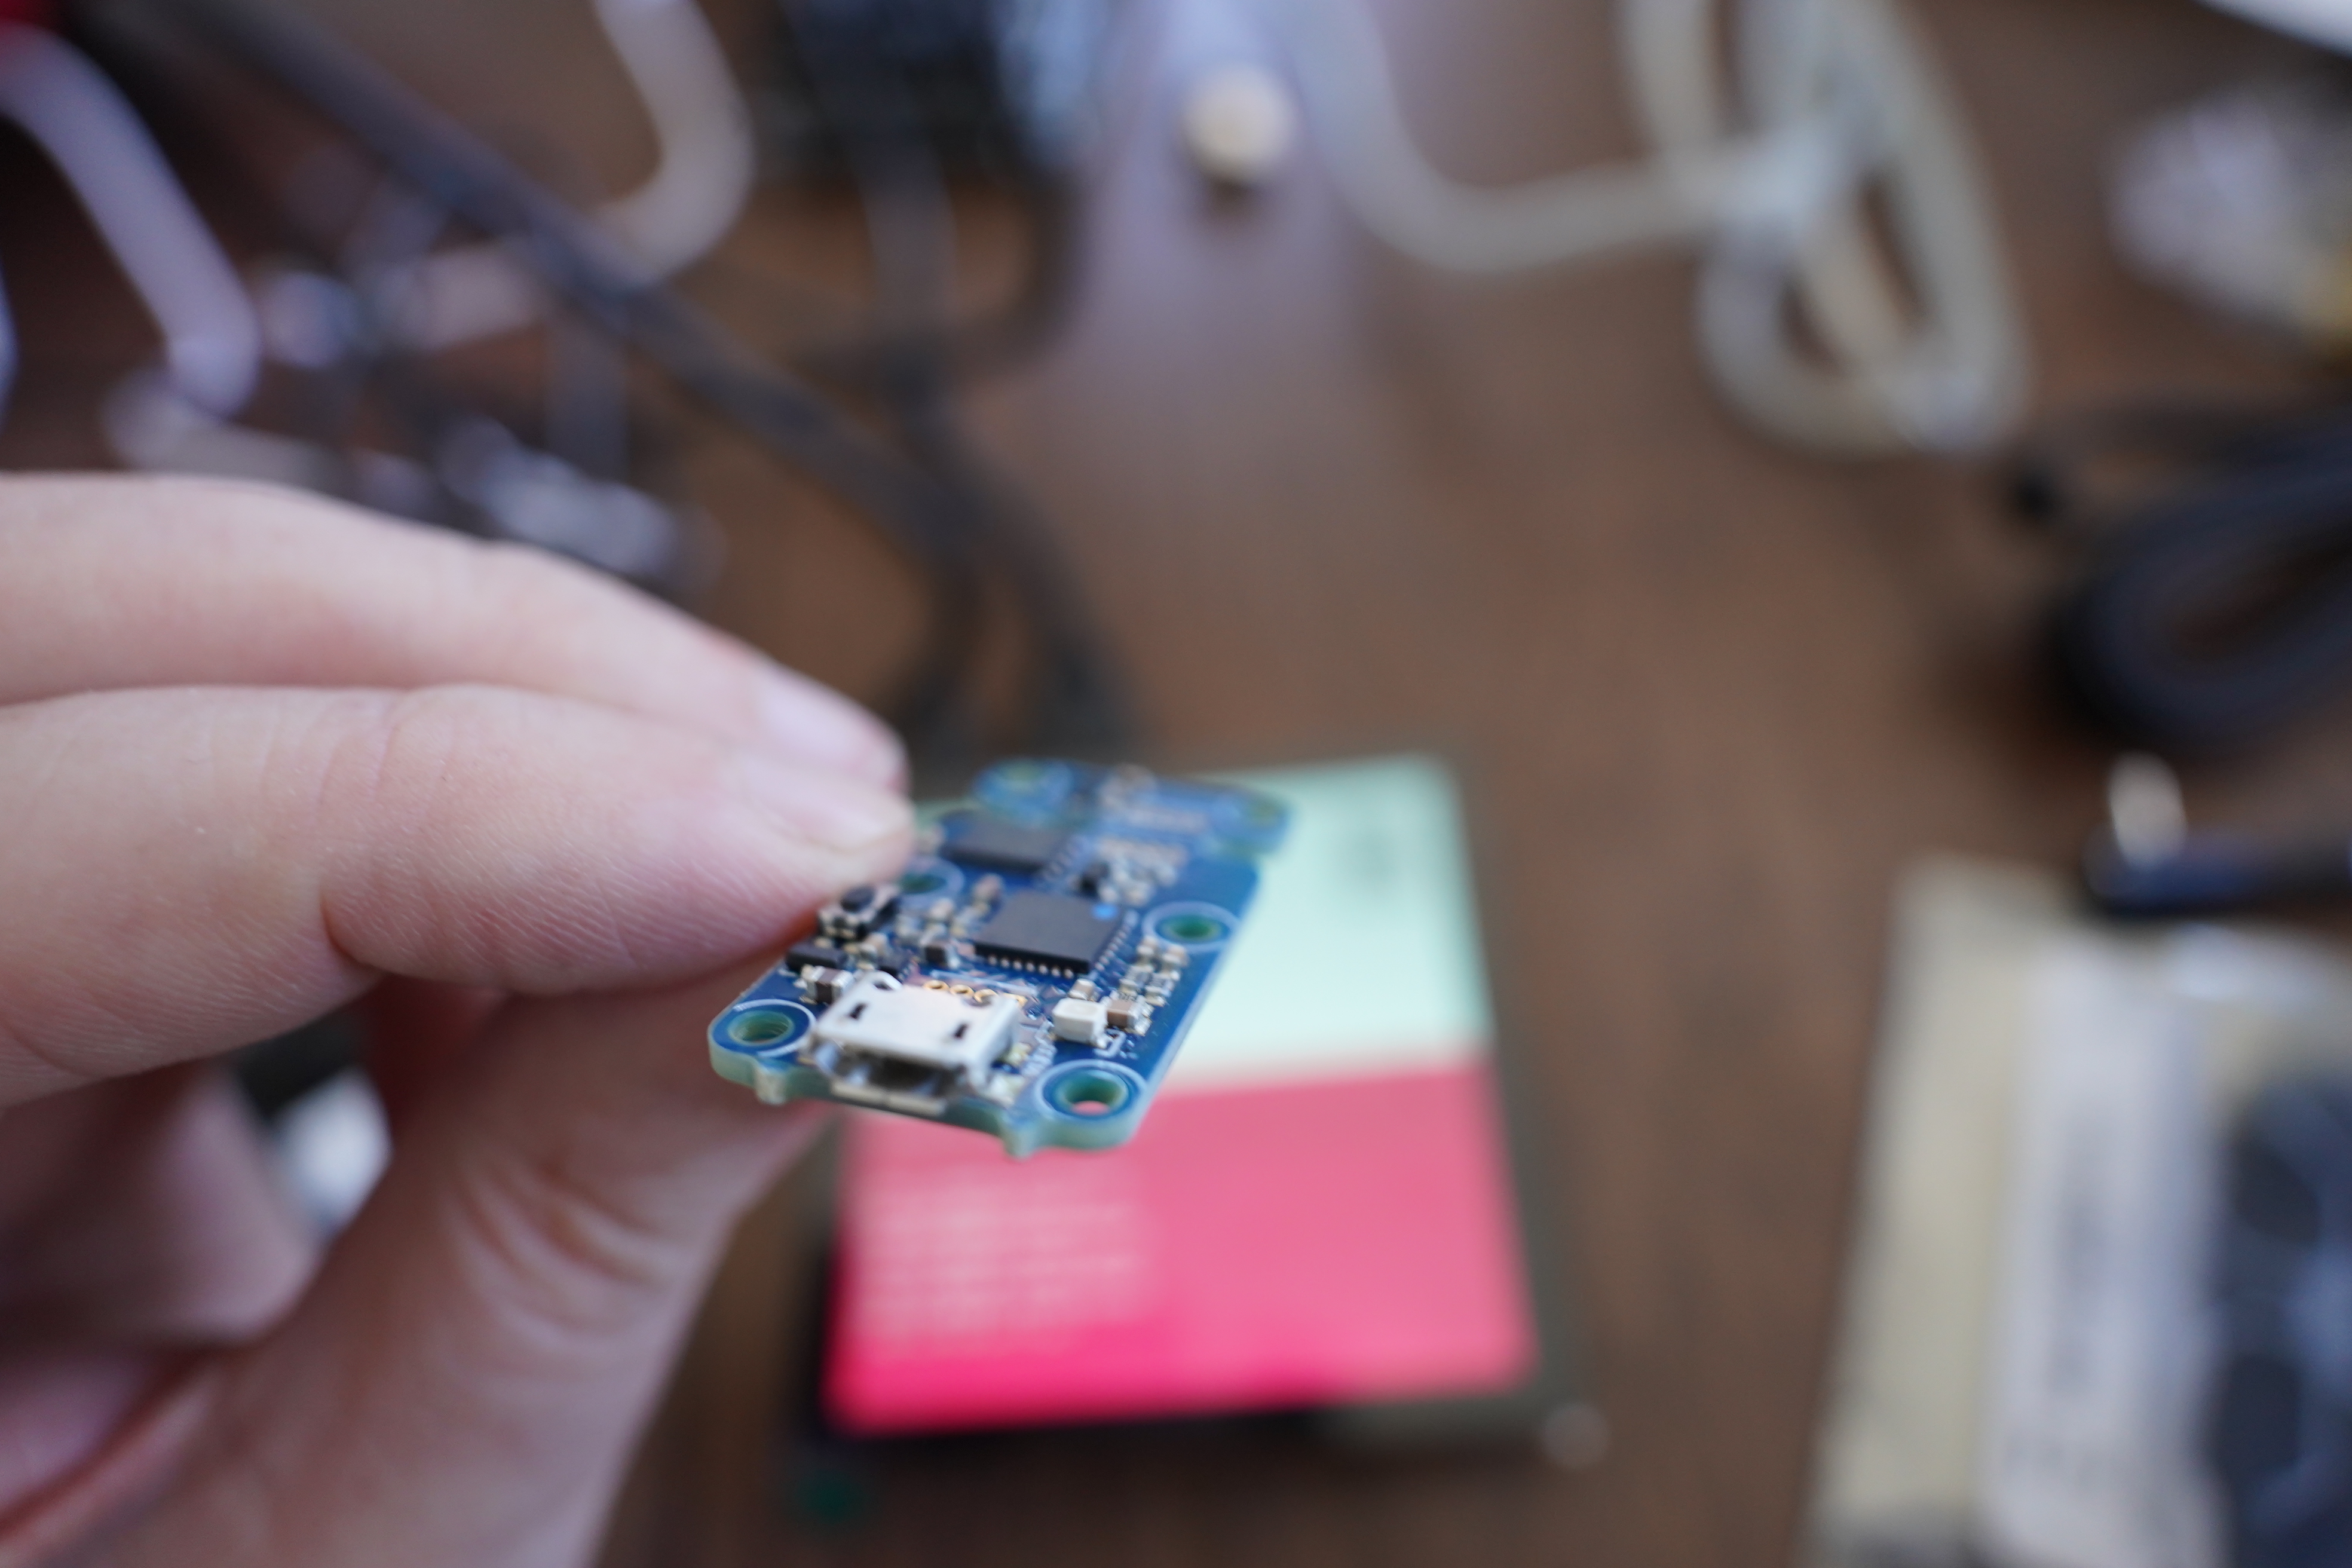
This model connects via Mini-USB, but I see there’s a USB-C version now, too, which is probably a better idea these days.
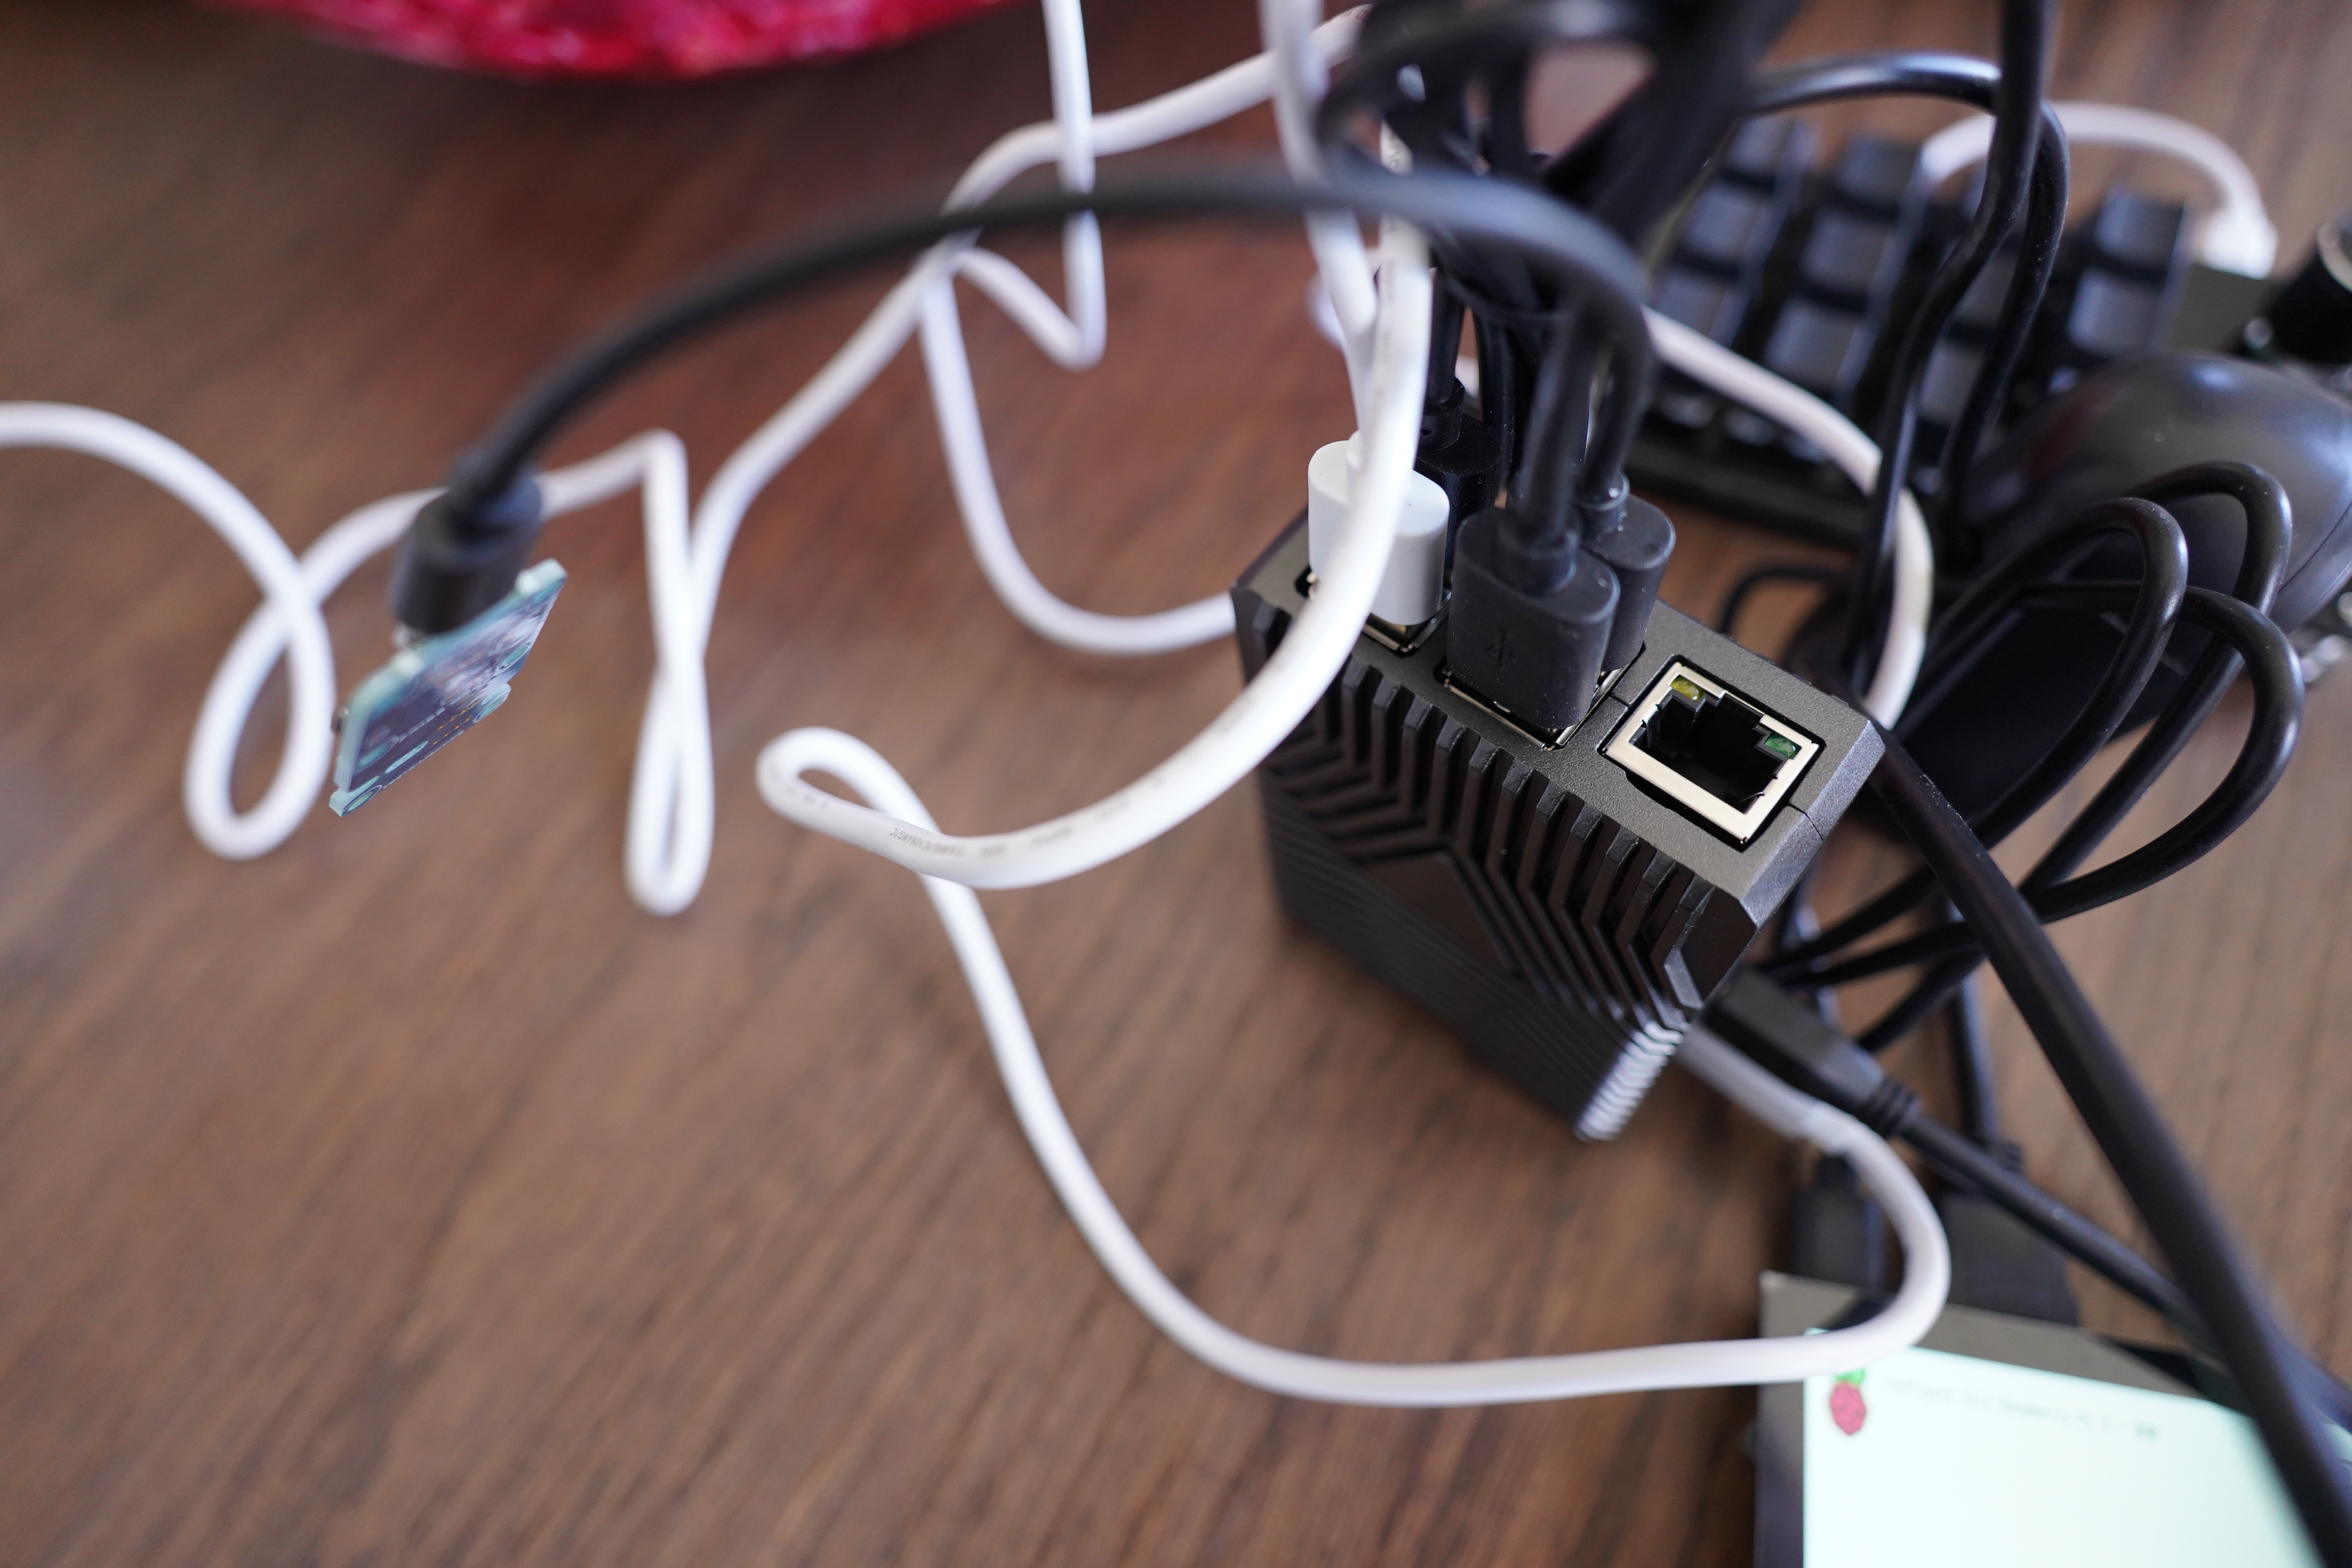
Uh-oh! I’m filling up all the USB ports… let’s see… it’s power to the screen, the numpad, the Yoctopuce, the USB speaker… NOOO! I was also gonna put a Tellstick in there, so that I can also use this as part of my home automation network (the old alarm clock machine is, but that’s going away). OK, I have to add a li’l bus-powered USB hub, too. That’s a shame.
I’ve got the cables!
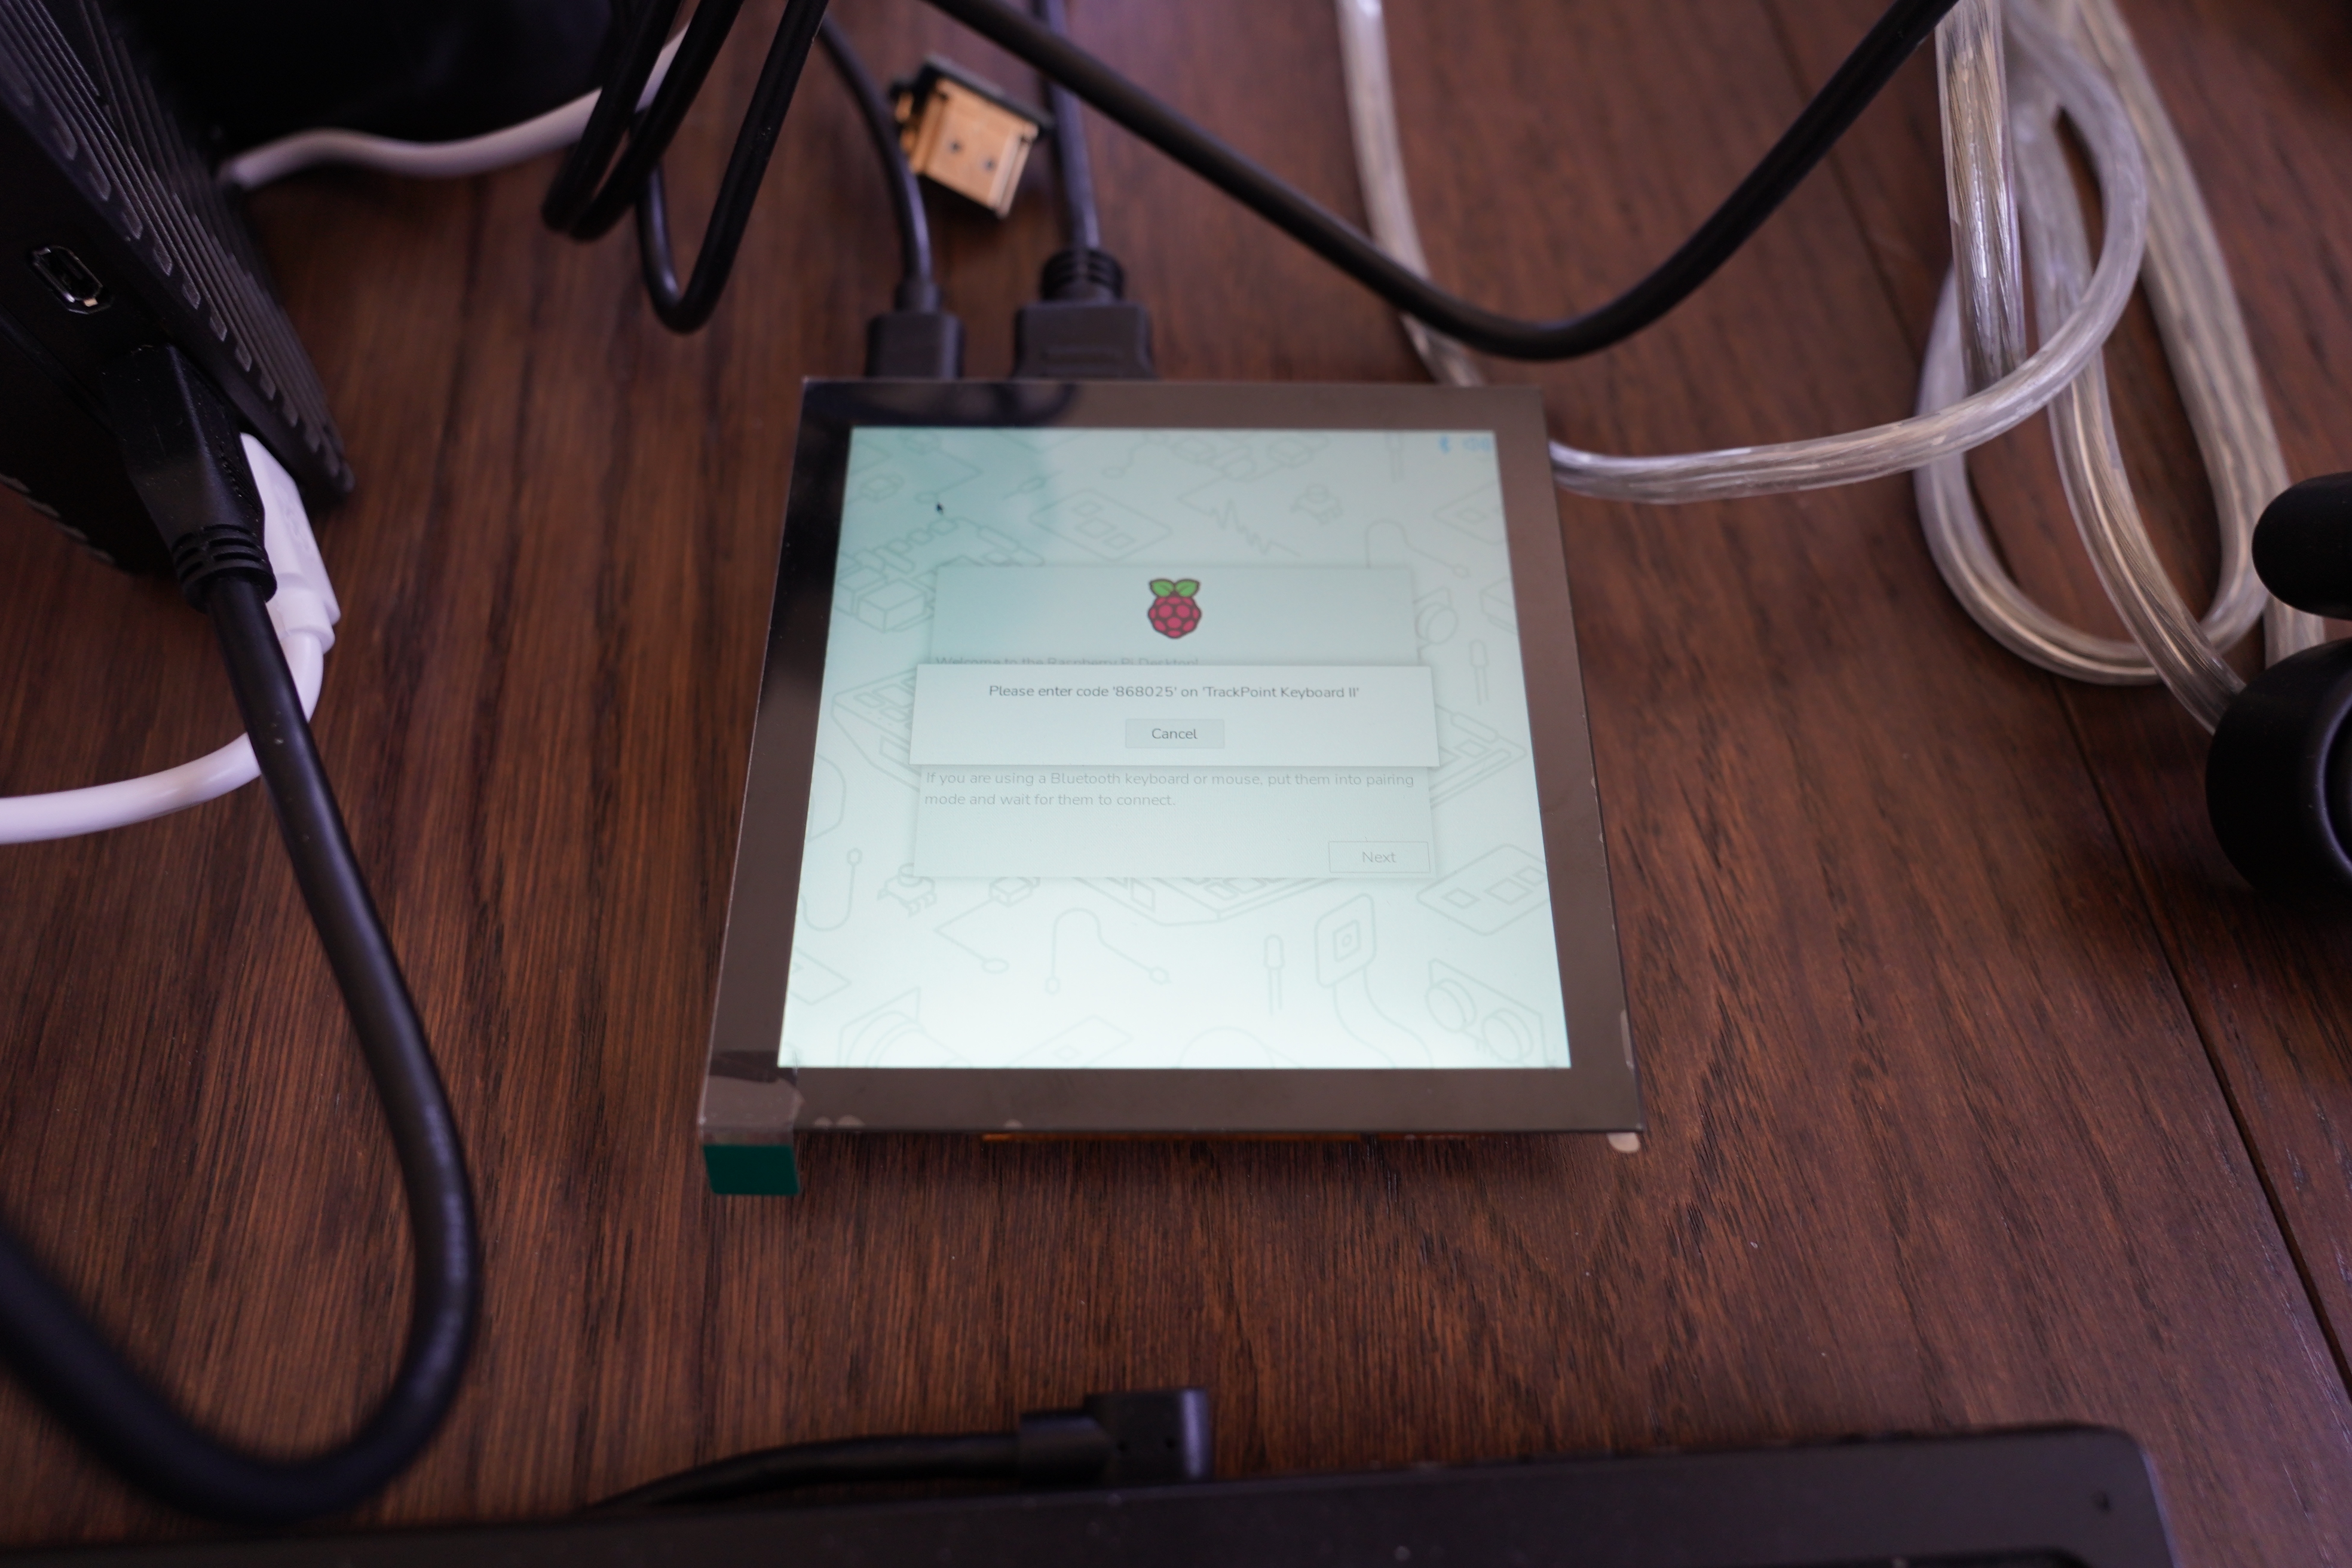
It works!
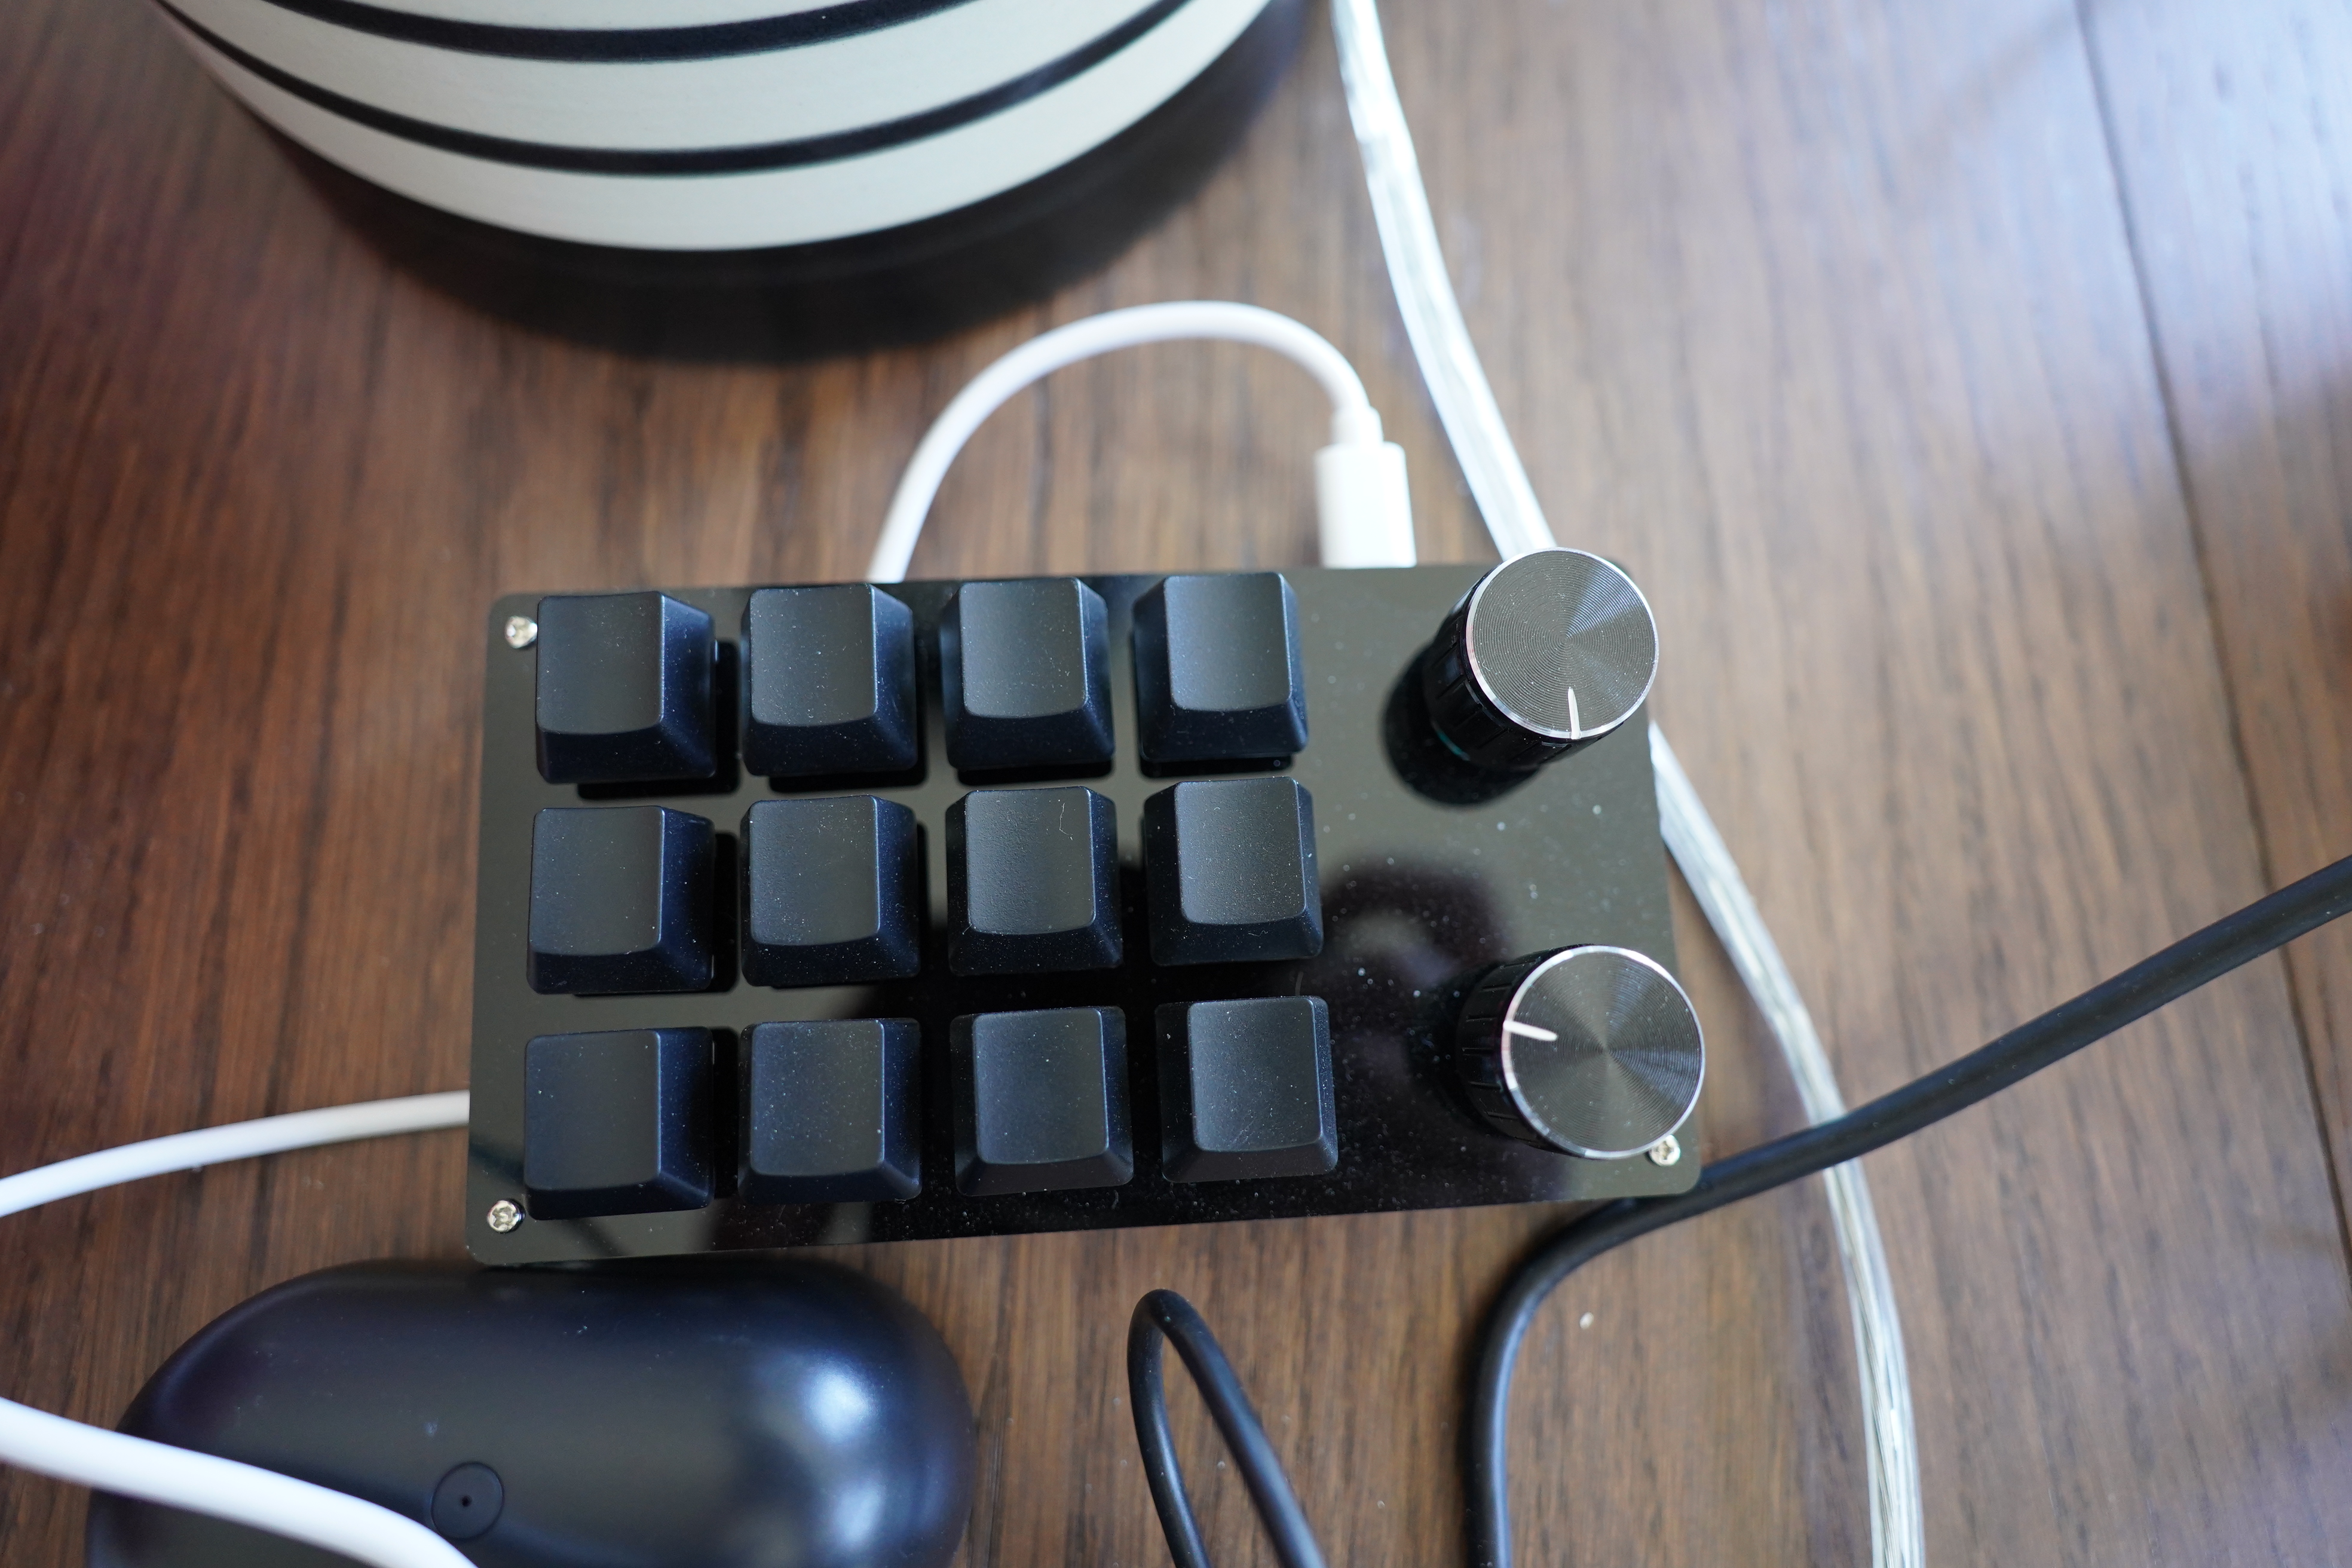
I’m not quite sure what I’m going to use the knobs for. Well, one is easy enough — that’s going to be a volume adjuster for the music in the bedroom. And then tap it to pause/unpause the music. The other one… I can use to turn the lights on/off? Eh. Dunno.
The numpad is, as described, to set the alarm clock, and then the two remaining keys I use for “cancel alarm”.
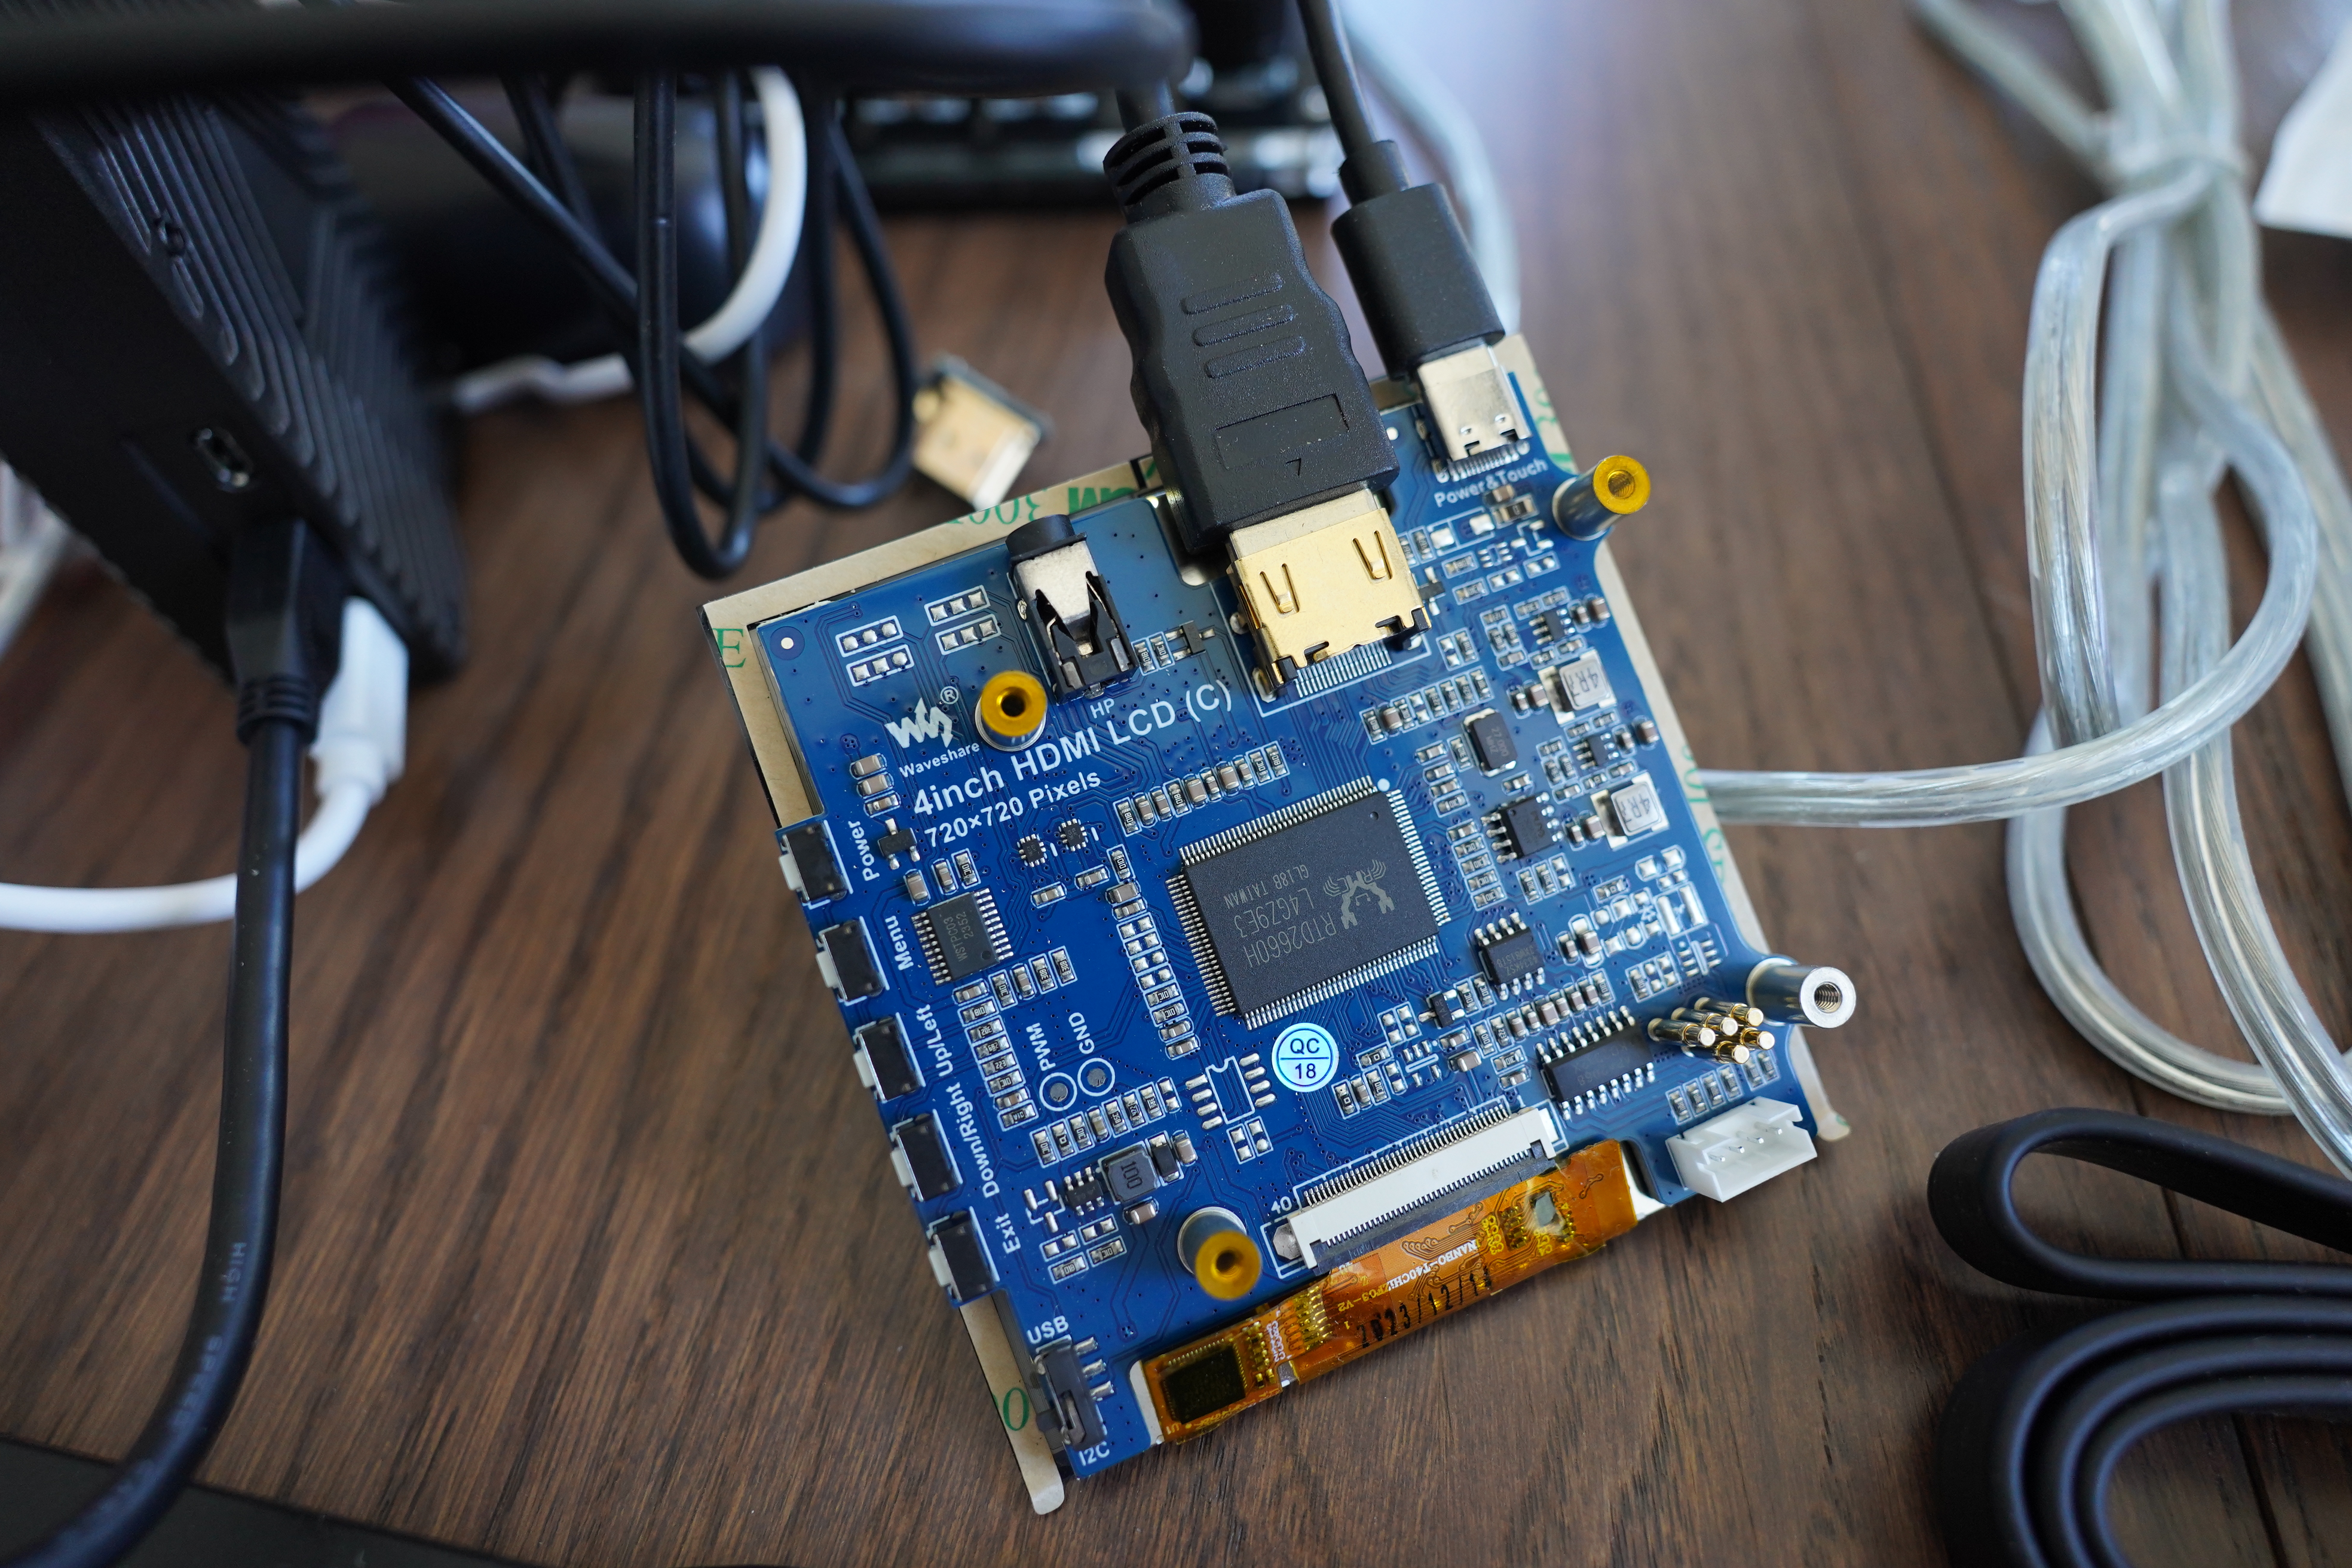
So the screen uses a full HDMI connector, and then is USB-C powered.
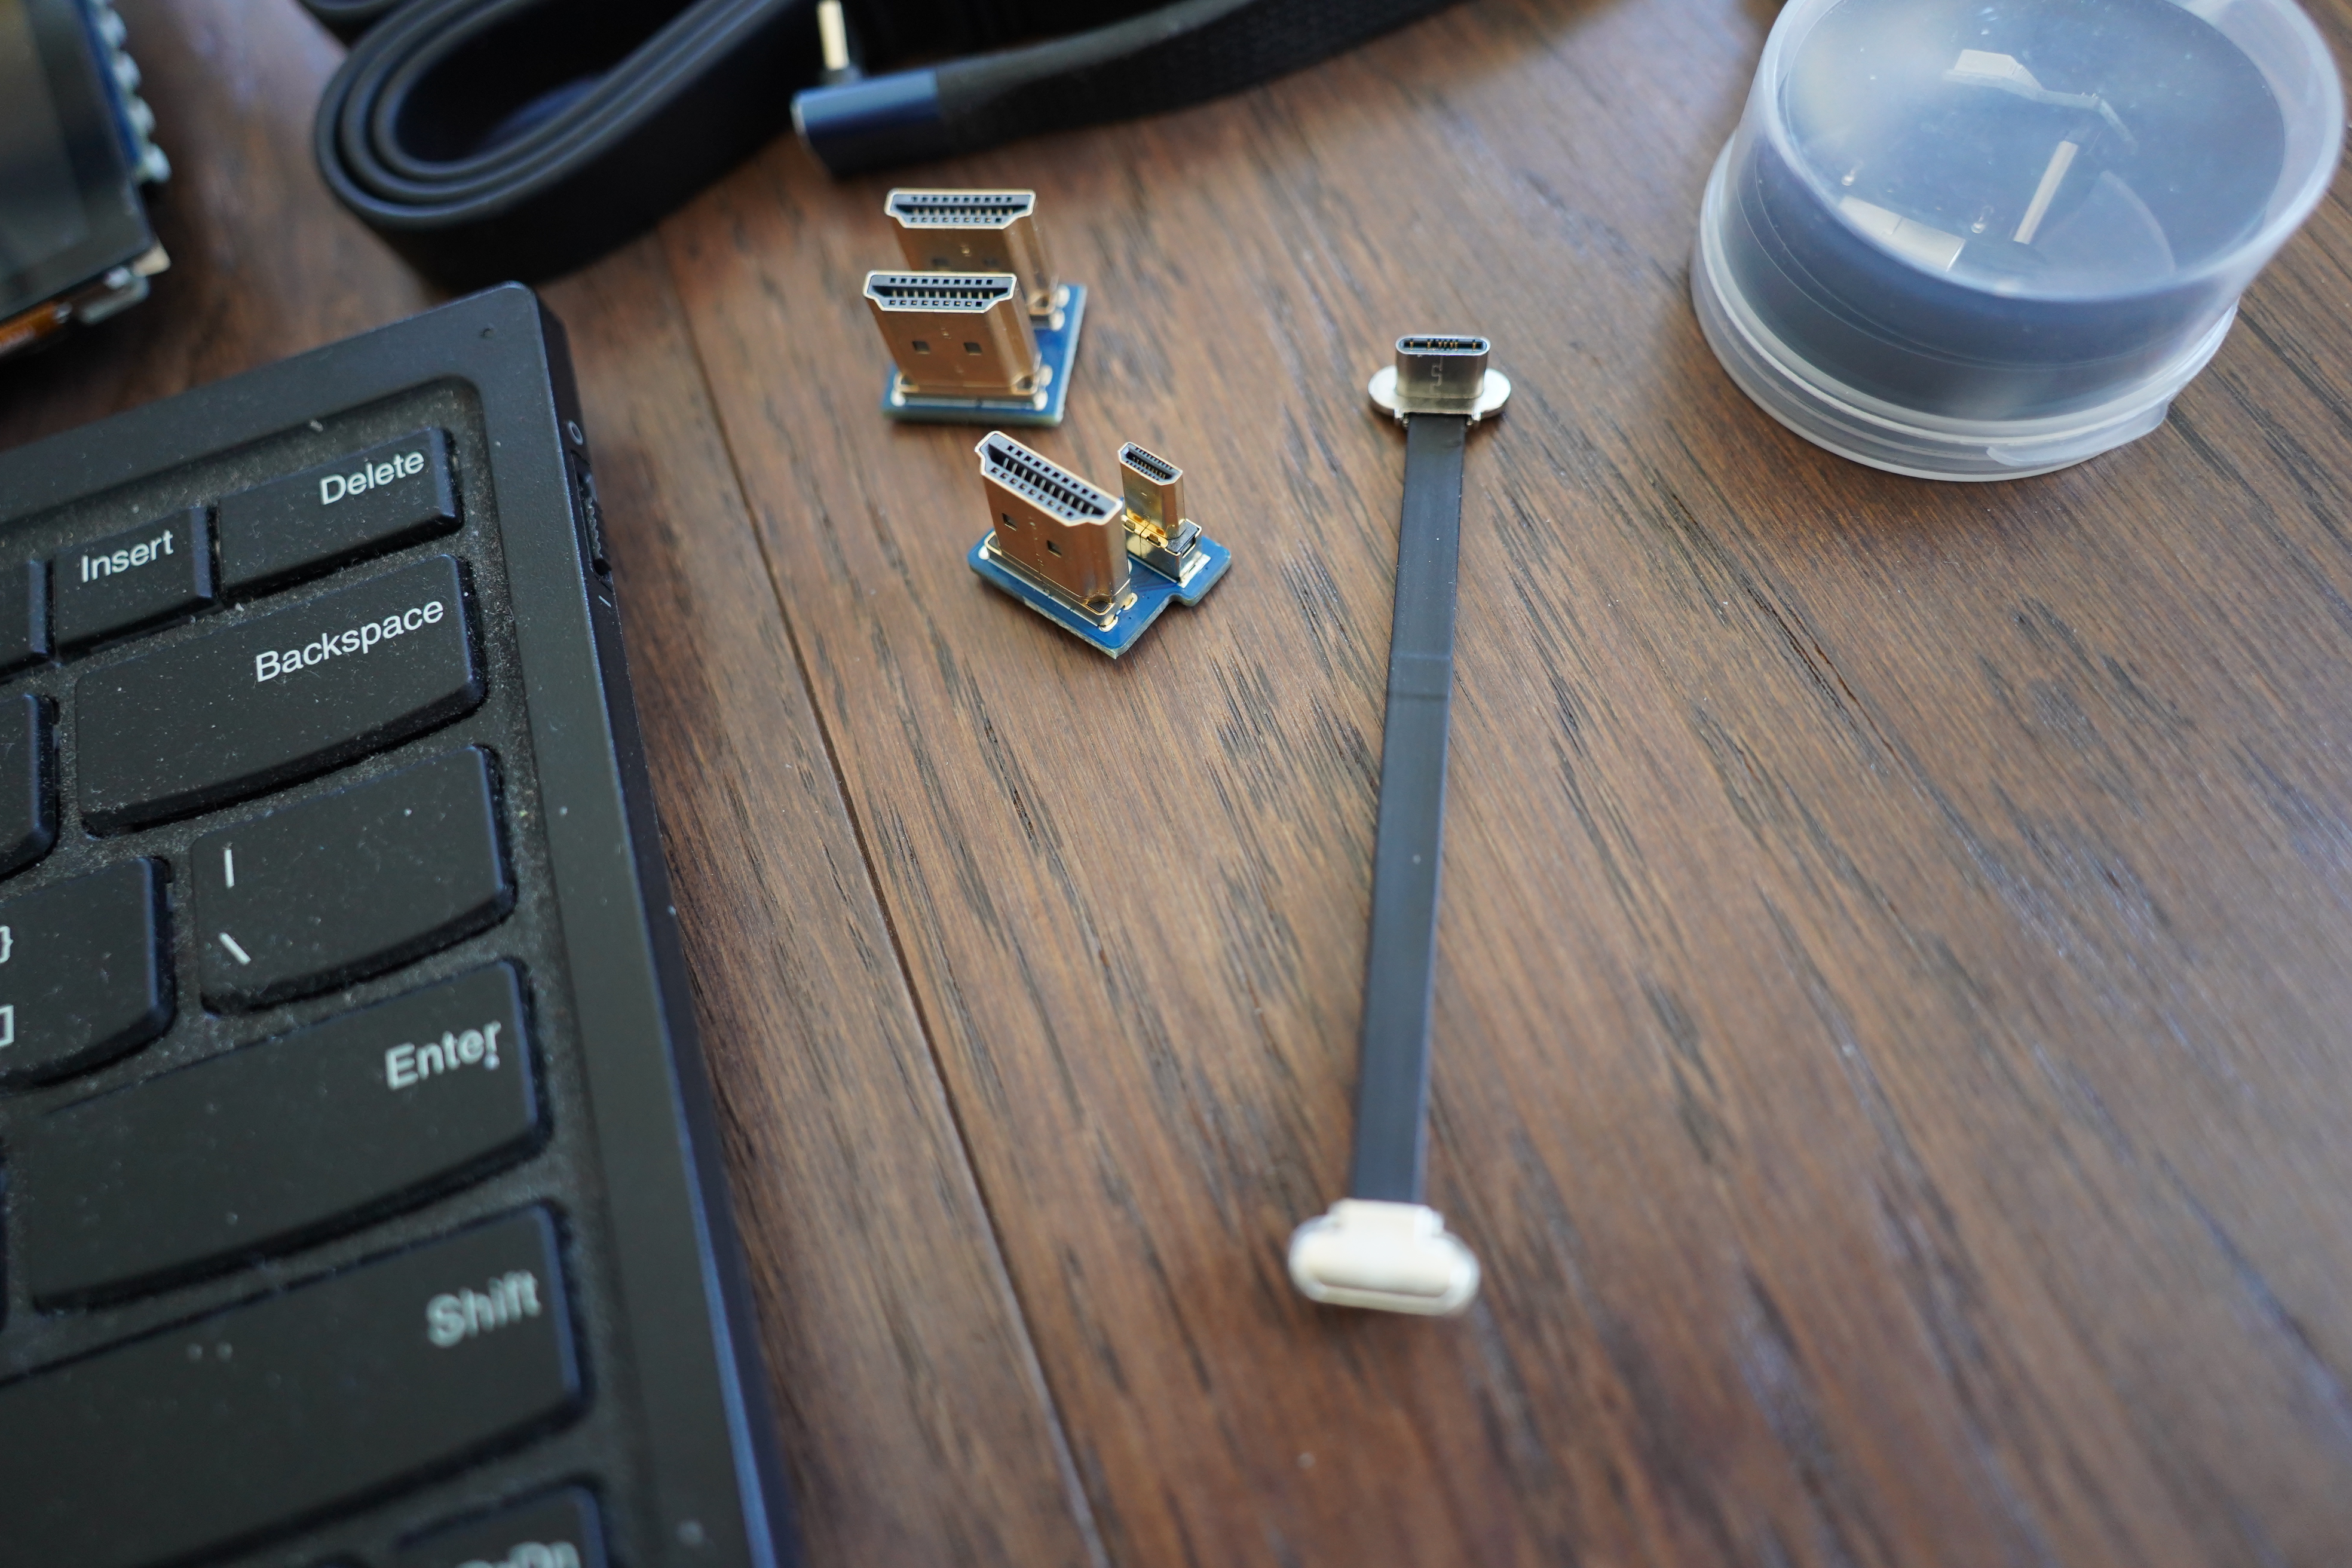
There’s all these connectors included — for if you have a Raspberry Pi screwed to the back of the screen, but that isn’t going to be an option here. Instead I’m going to use cables like this very, very thin USB-C for both the numpad and the screen. It’s too bad that there apparently are no USB-powered small USB hubs that have USB-A toward the host (i.e., the Pi) and USB-C toward the devices. Obviously not USB 3 speeds, but USB 2 would be fine for all of these things. I guess it’s just too niche, so I guess I see some USB-C to USB-A adapters in my future.
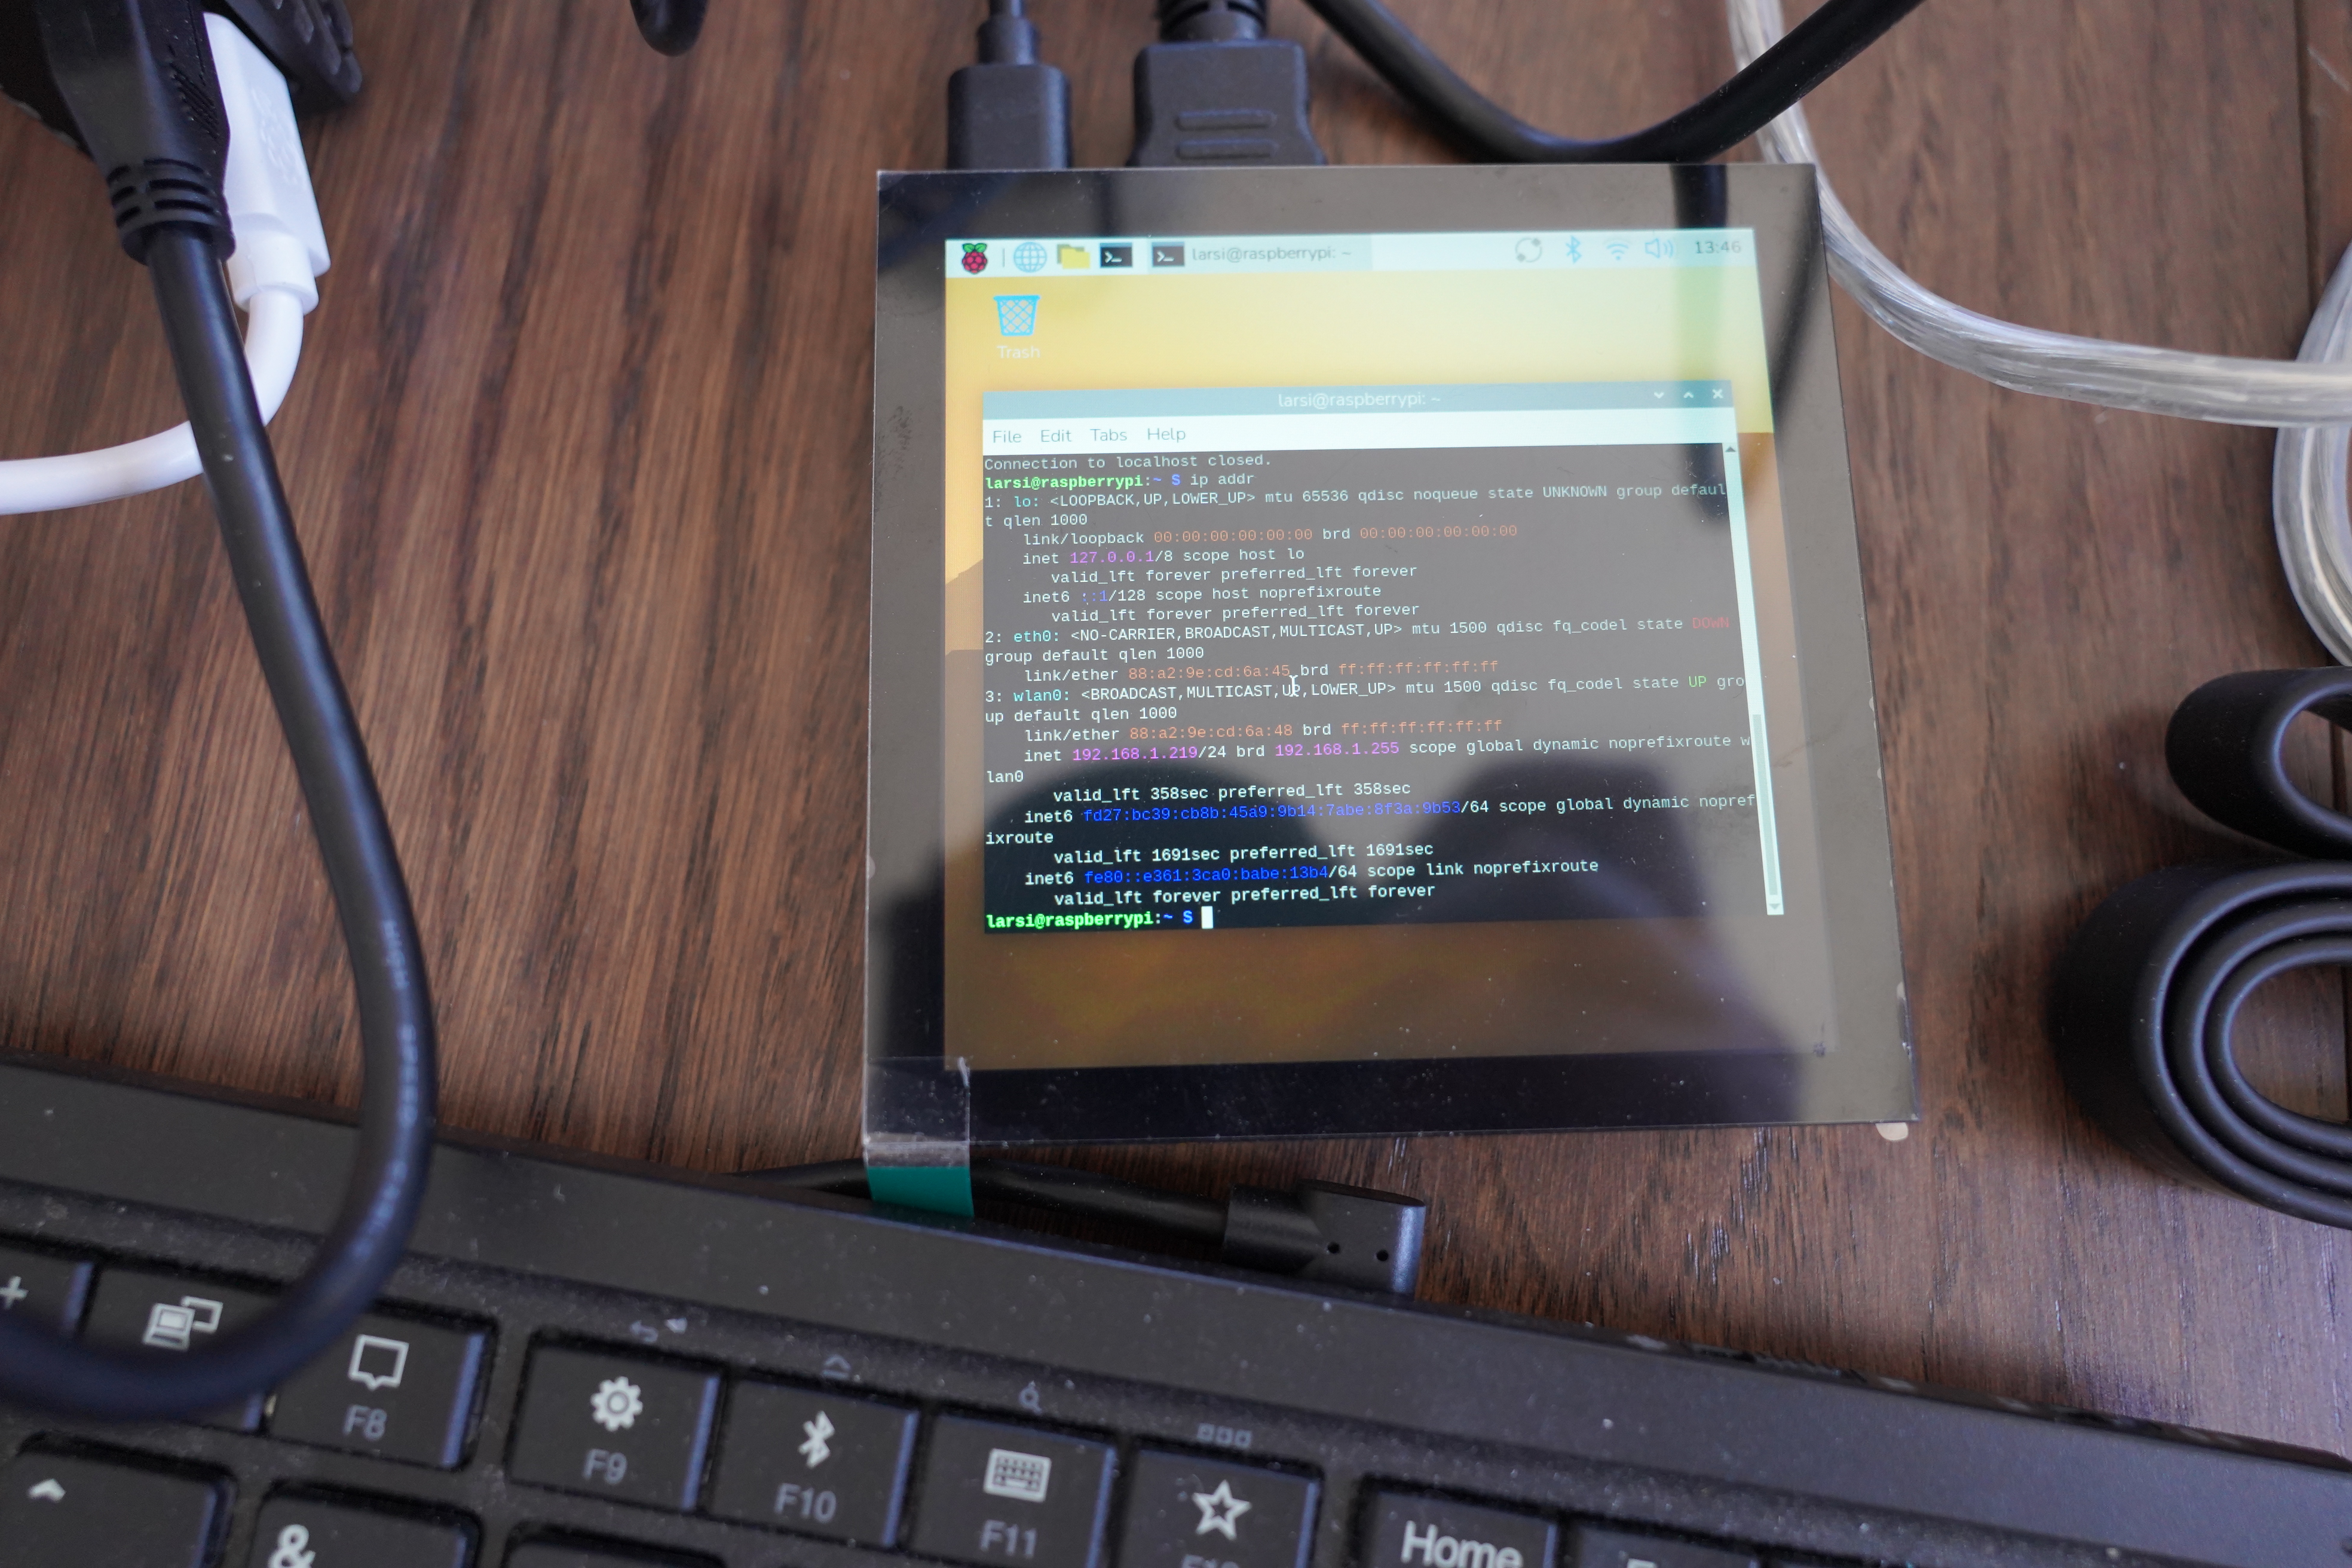
It’s installed!
So this is basically the topology I was thinking of. I’m building a box where the front of the box is the screen, and then on top of the box, the numpad is sitting. Then I have that box on the nightstand, and I can tap on the numpad before going to sleep. And possibly twiddle the knobs to adjust volume on the stereo or something. (Heh heh, he said knobs.)
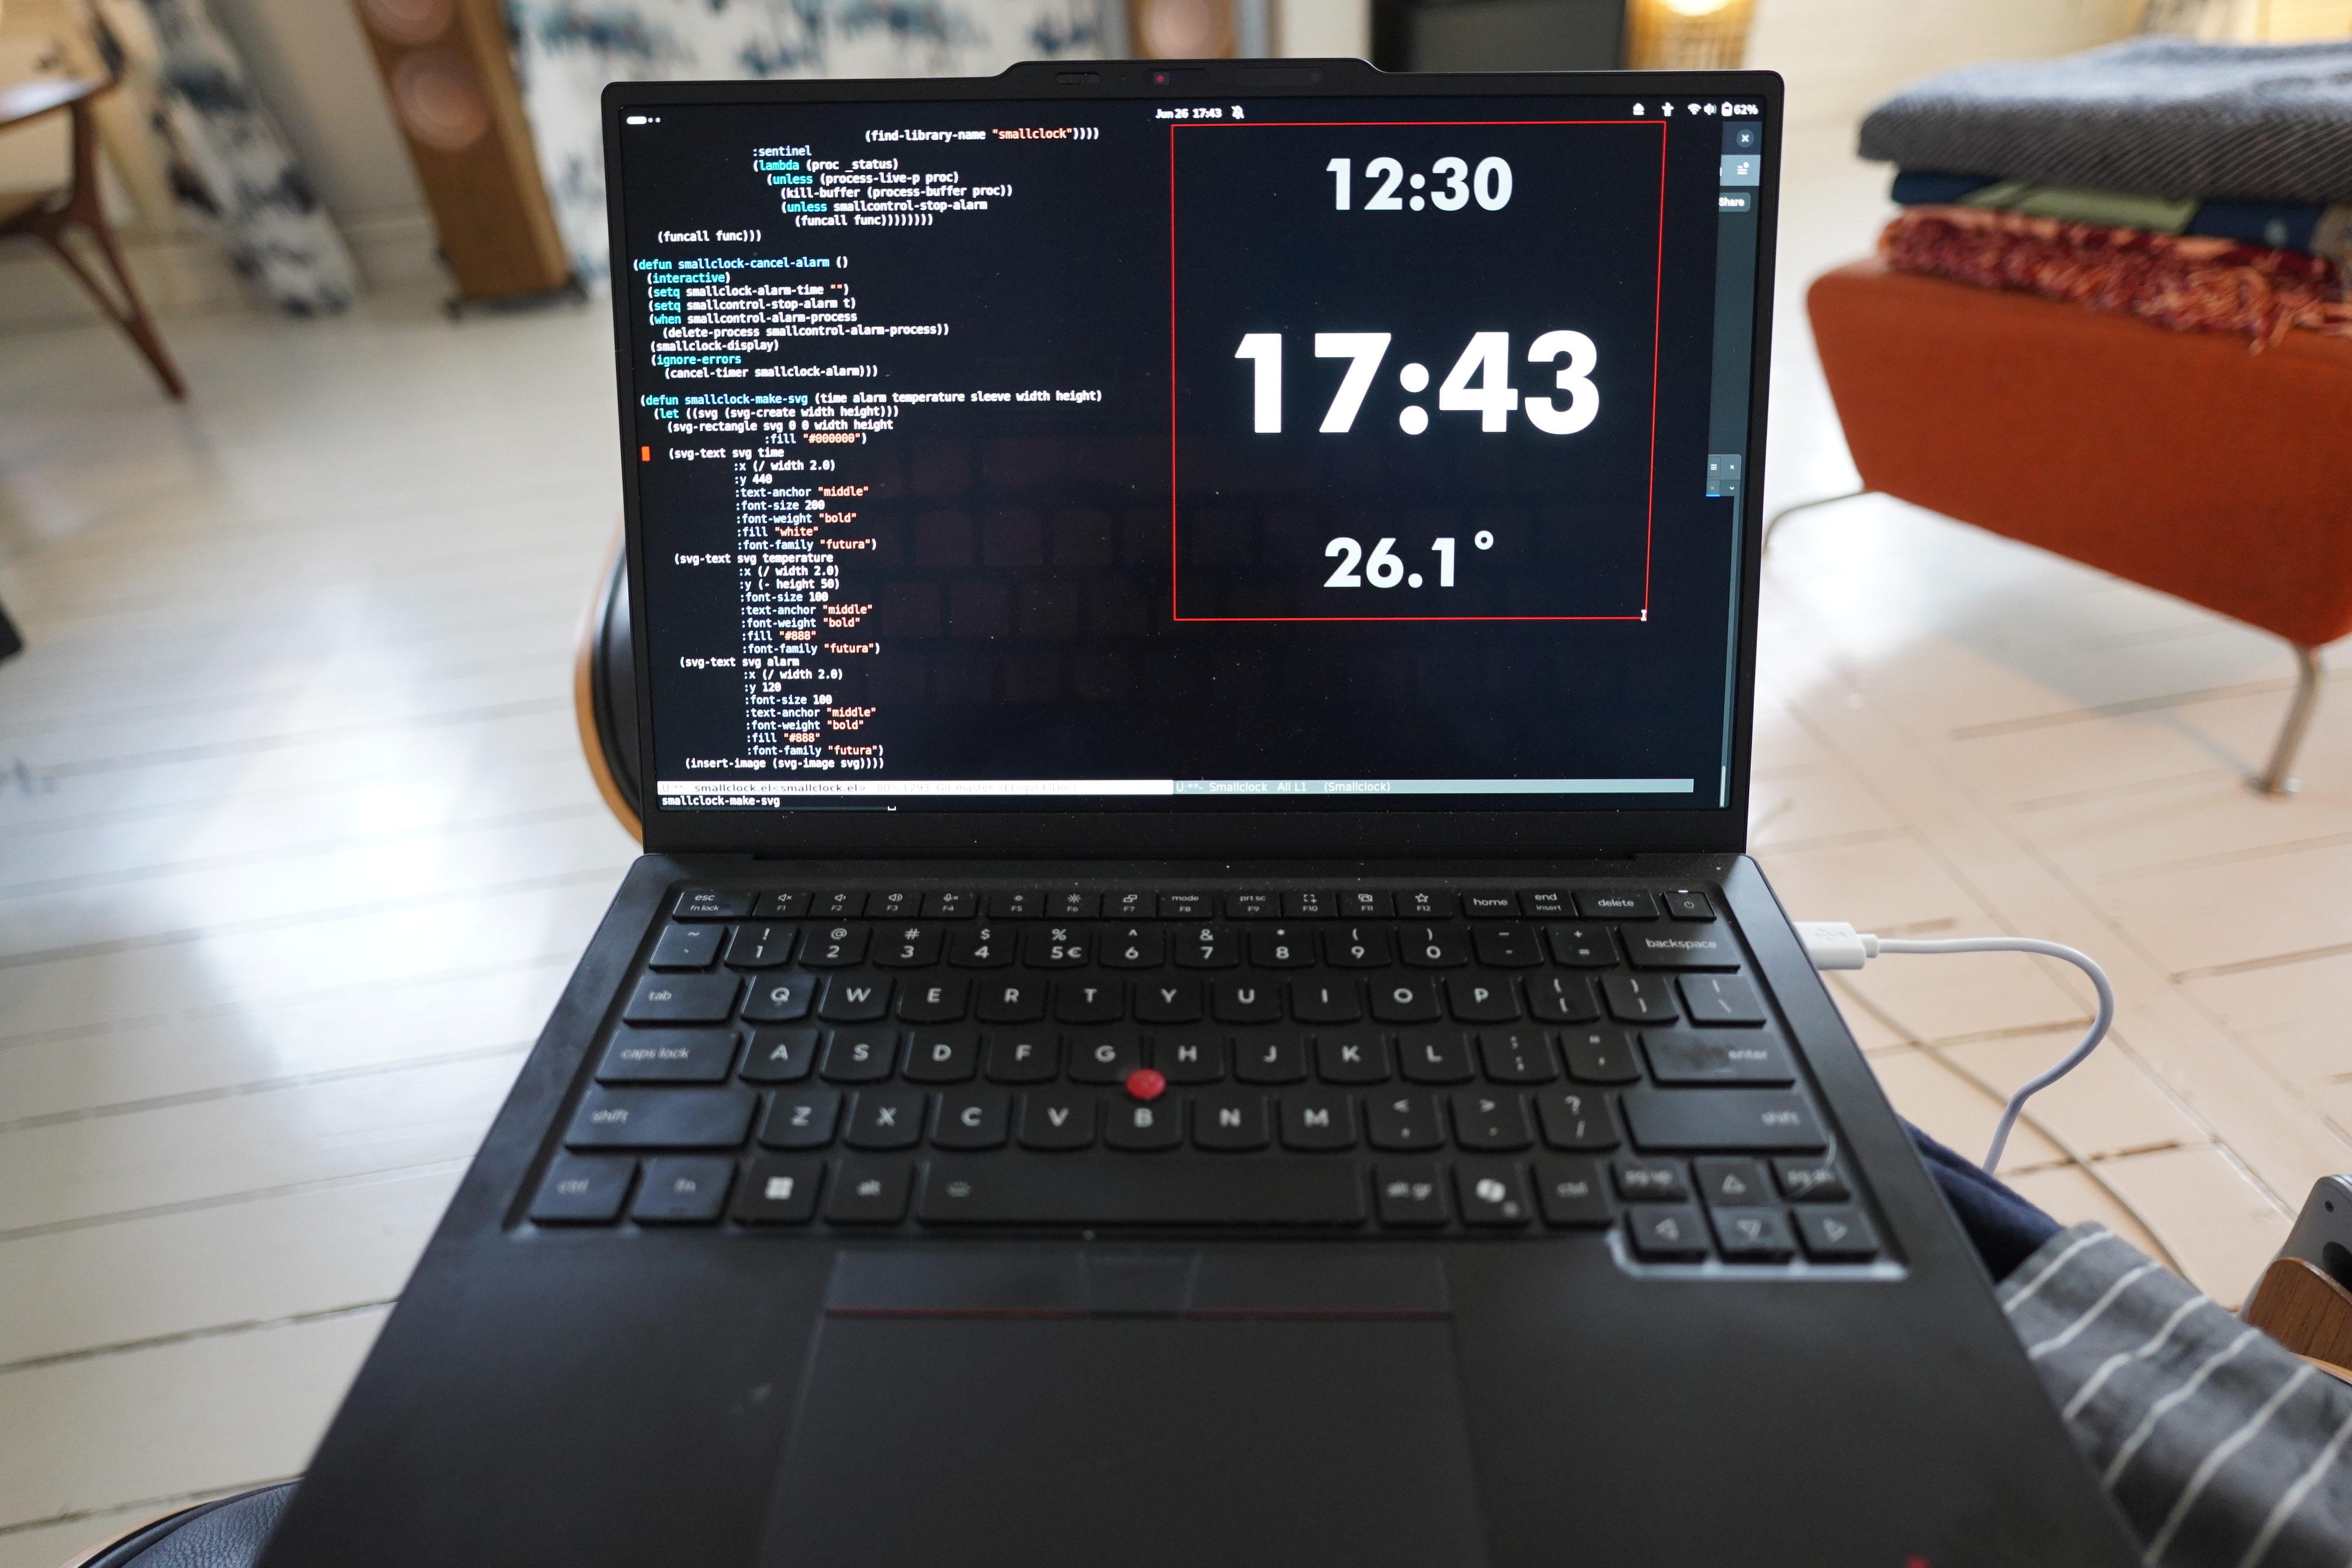
OK, I think I’ve got the hardware under control now, so it’s time to do some programming. (You can find the software on Microsoft Github.)
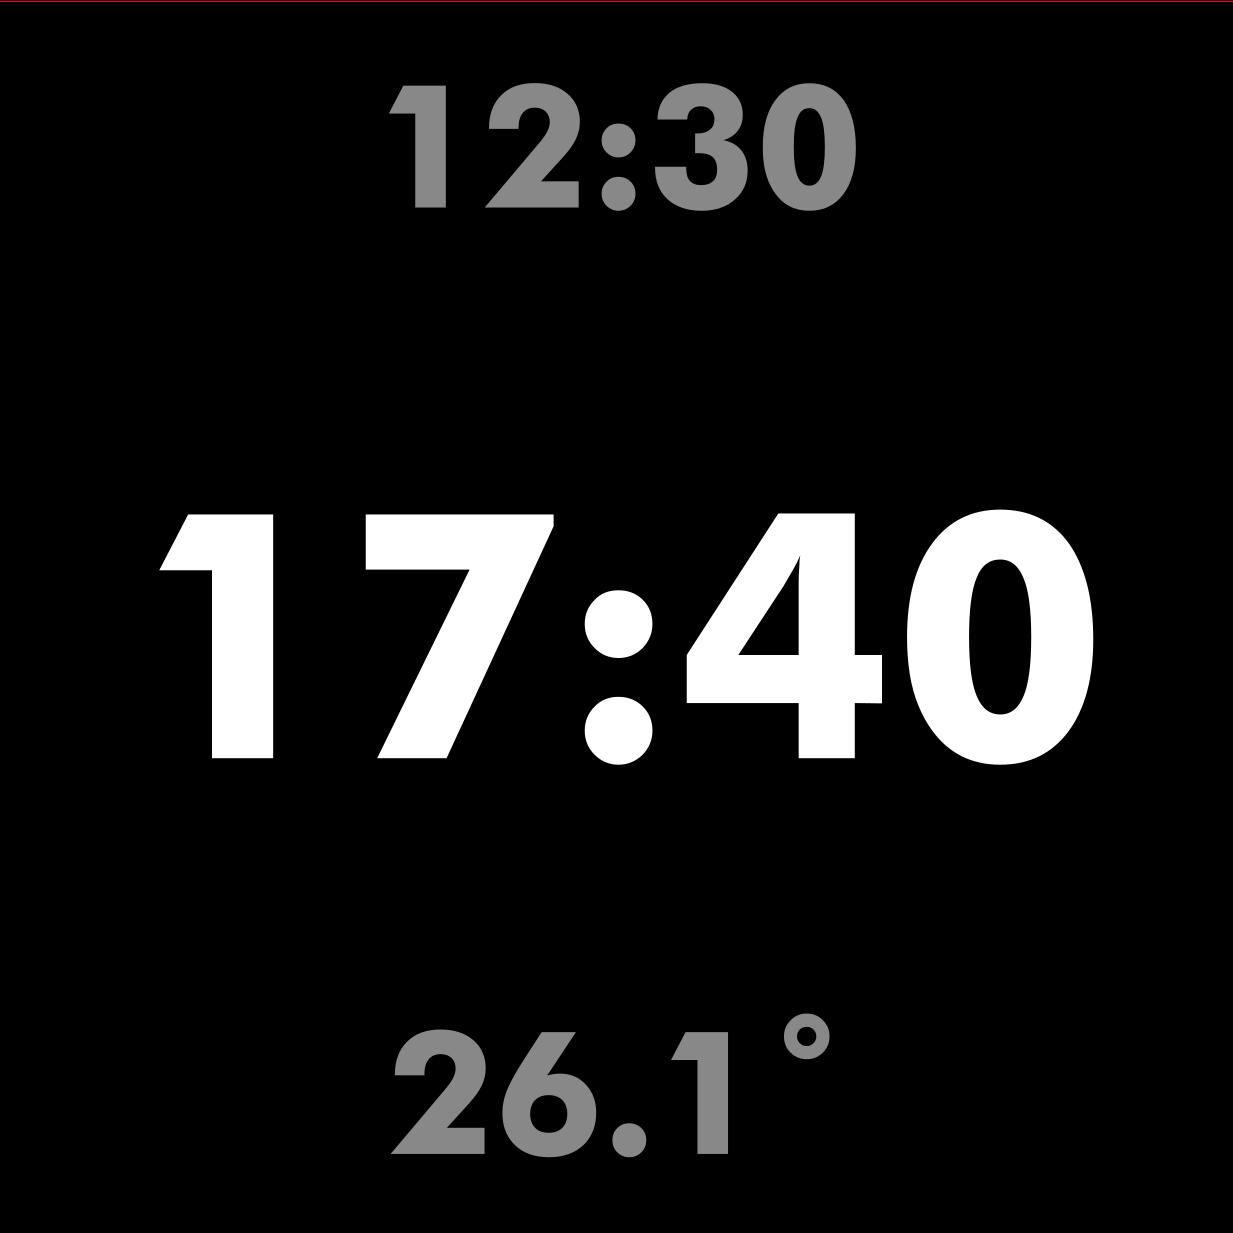
As a designer once said: “Futura, centred, and you’re done”.
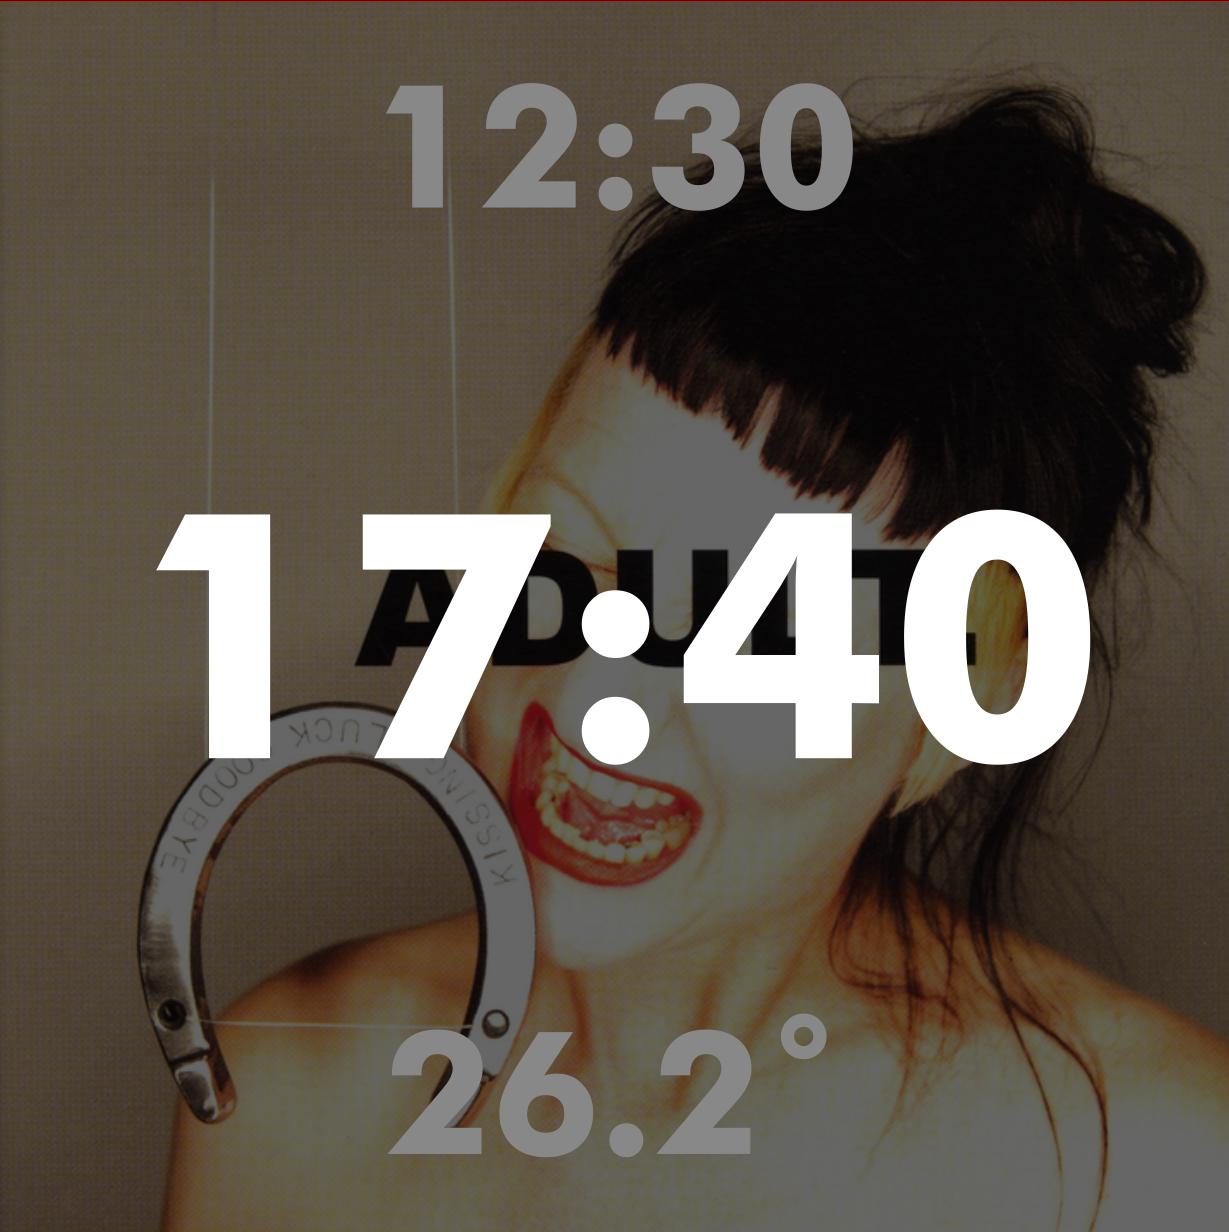
But perhaps I can use the currently playing album as a background? Eh… gotta down the opacity on the image a bit, I think, but it’s not worth fiddling with until it’s running on the real li’l screen. (I don’t want the screen to be too bright.)
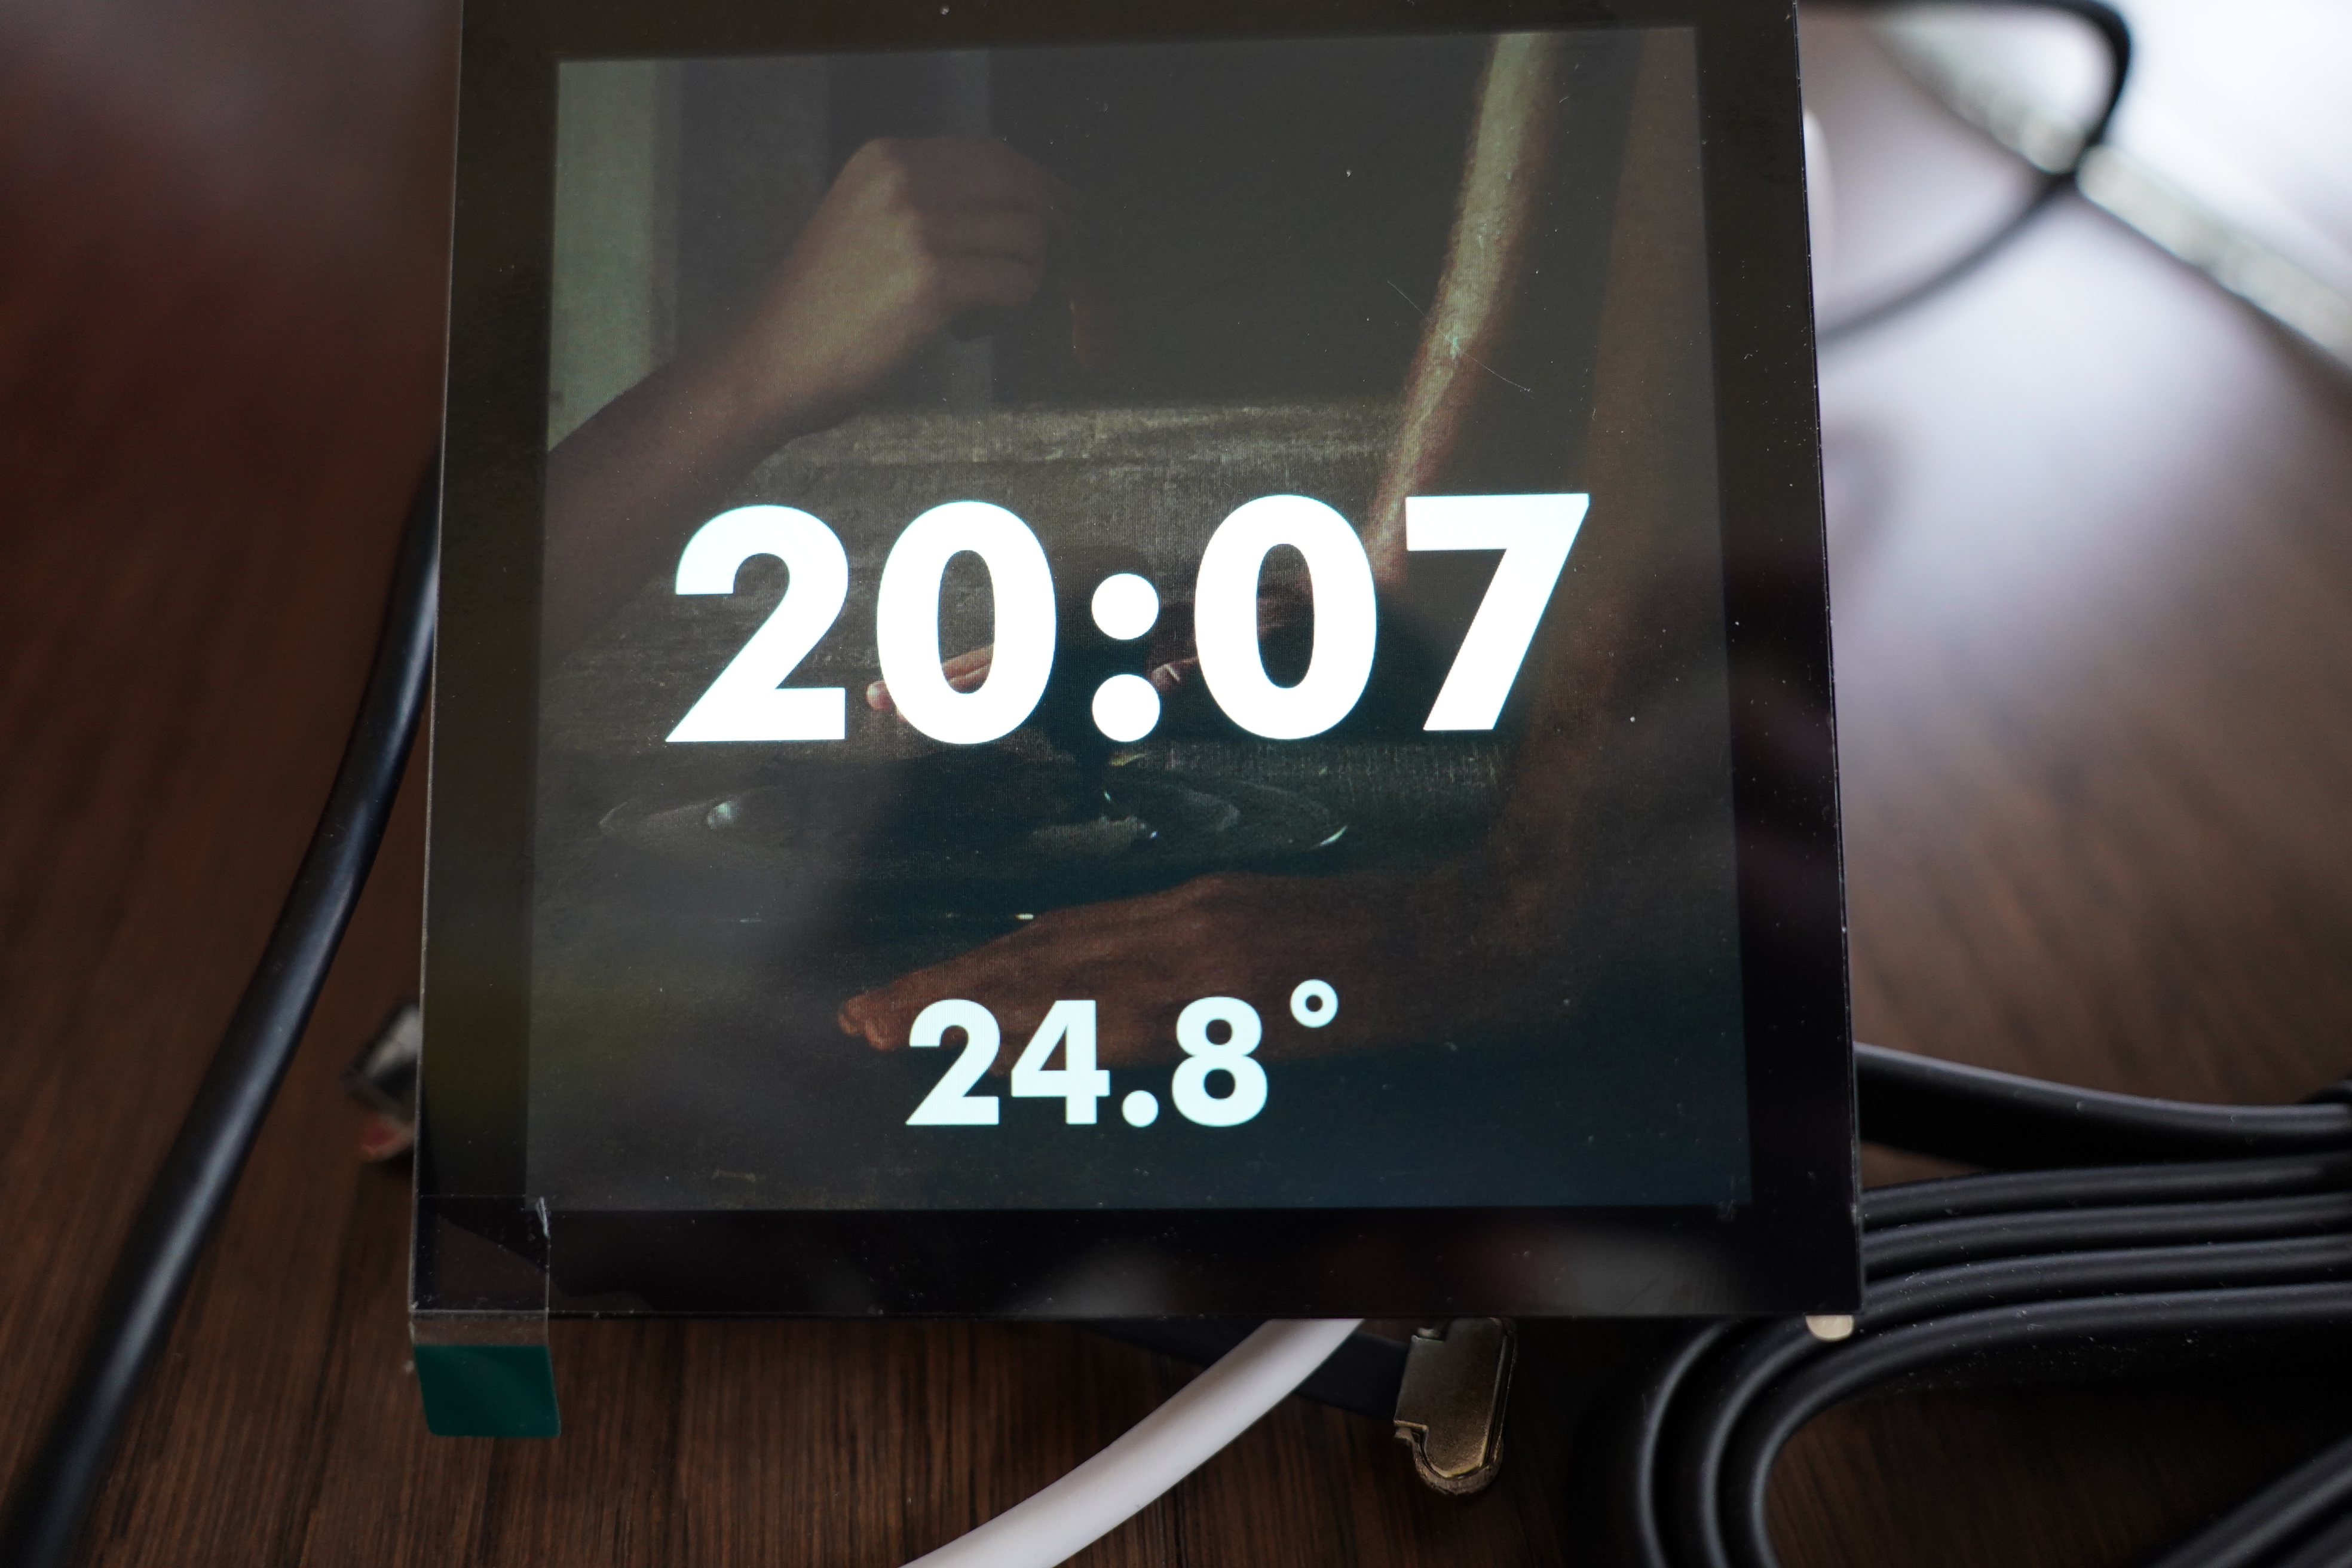
OK, now running on the Pi… Looking promising.
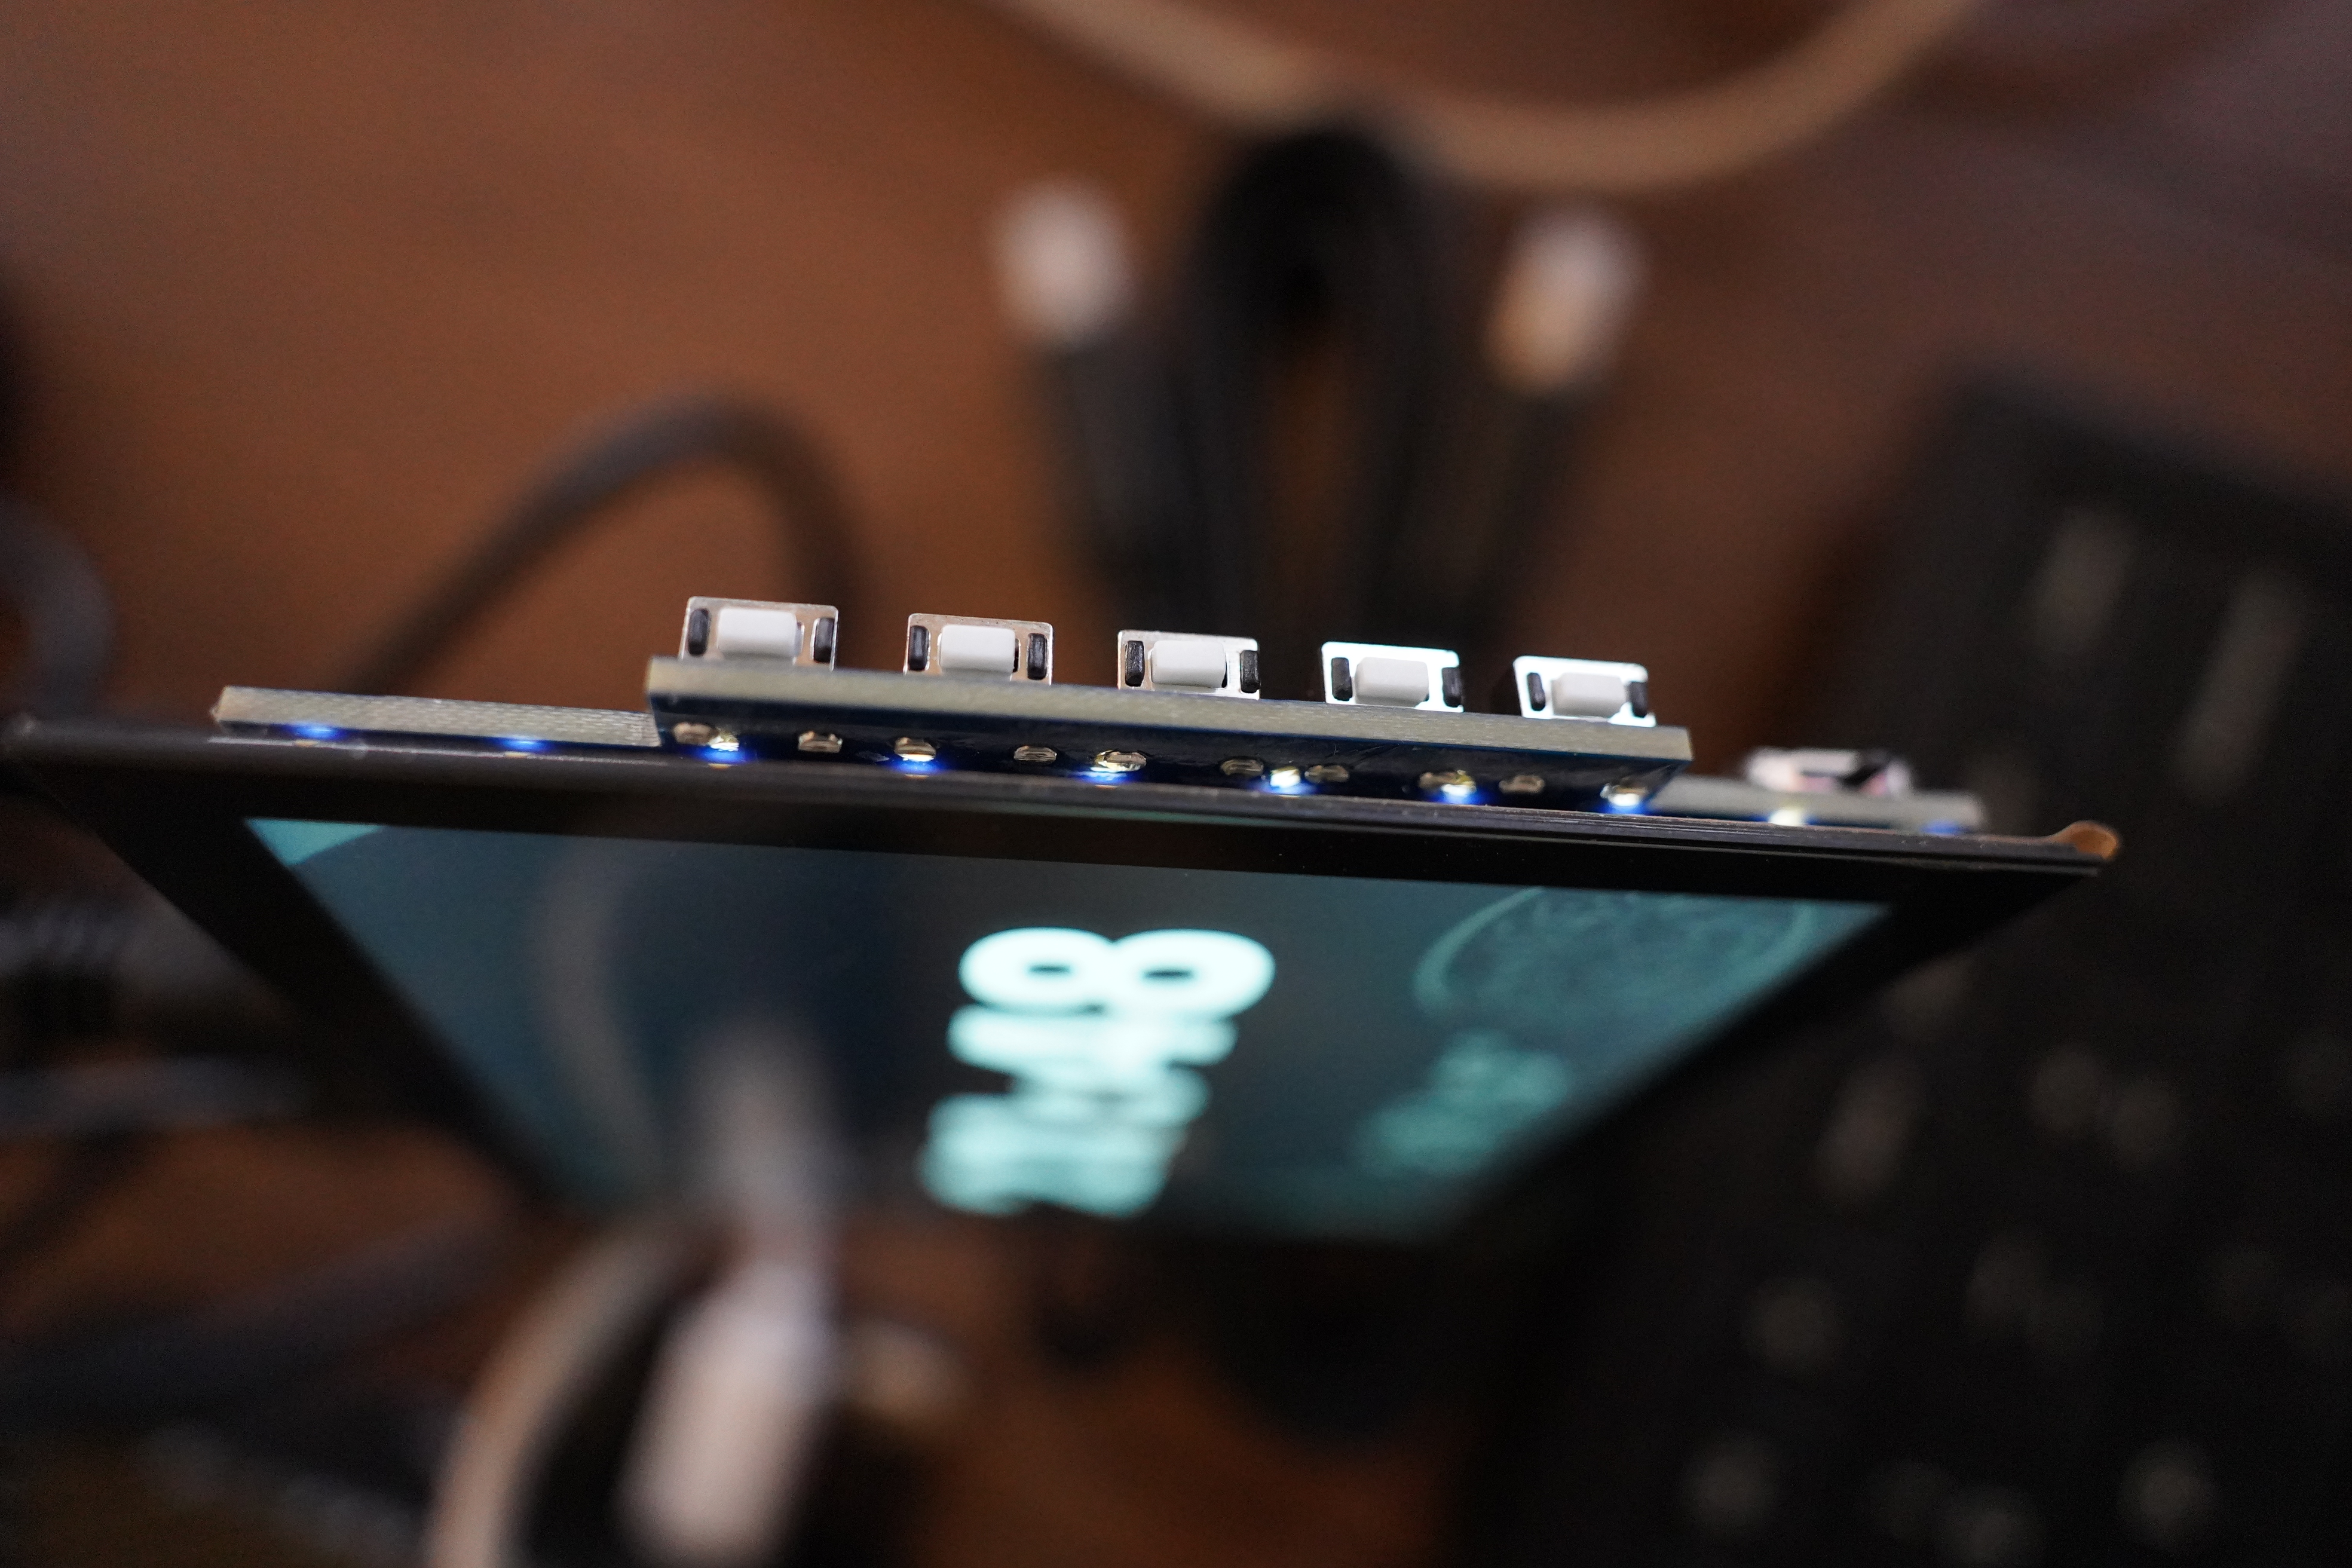
But one think I’m not sure about is how I’m going to fasten the screen to the box. The really isn’t anything to “grab onto” here… There’s the screen, and then a gap, and then there’s electronics that extend equally far out.
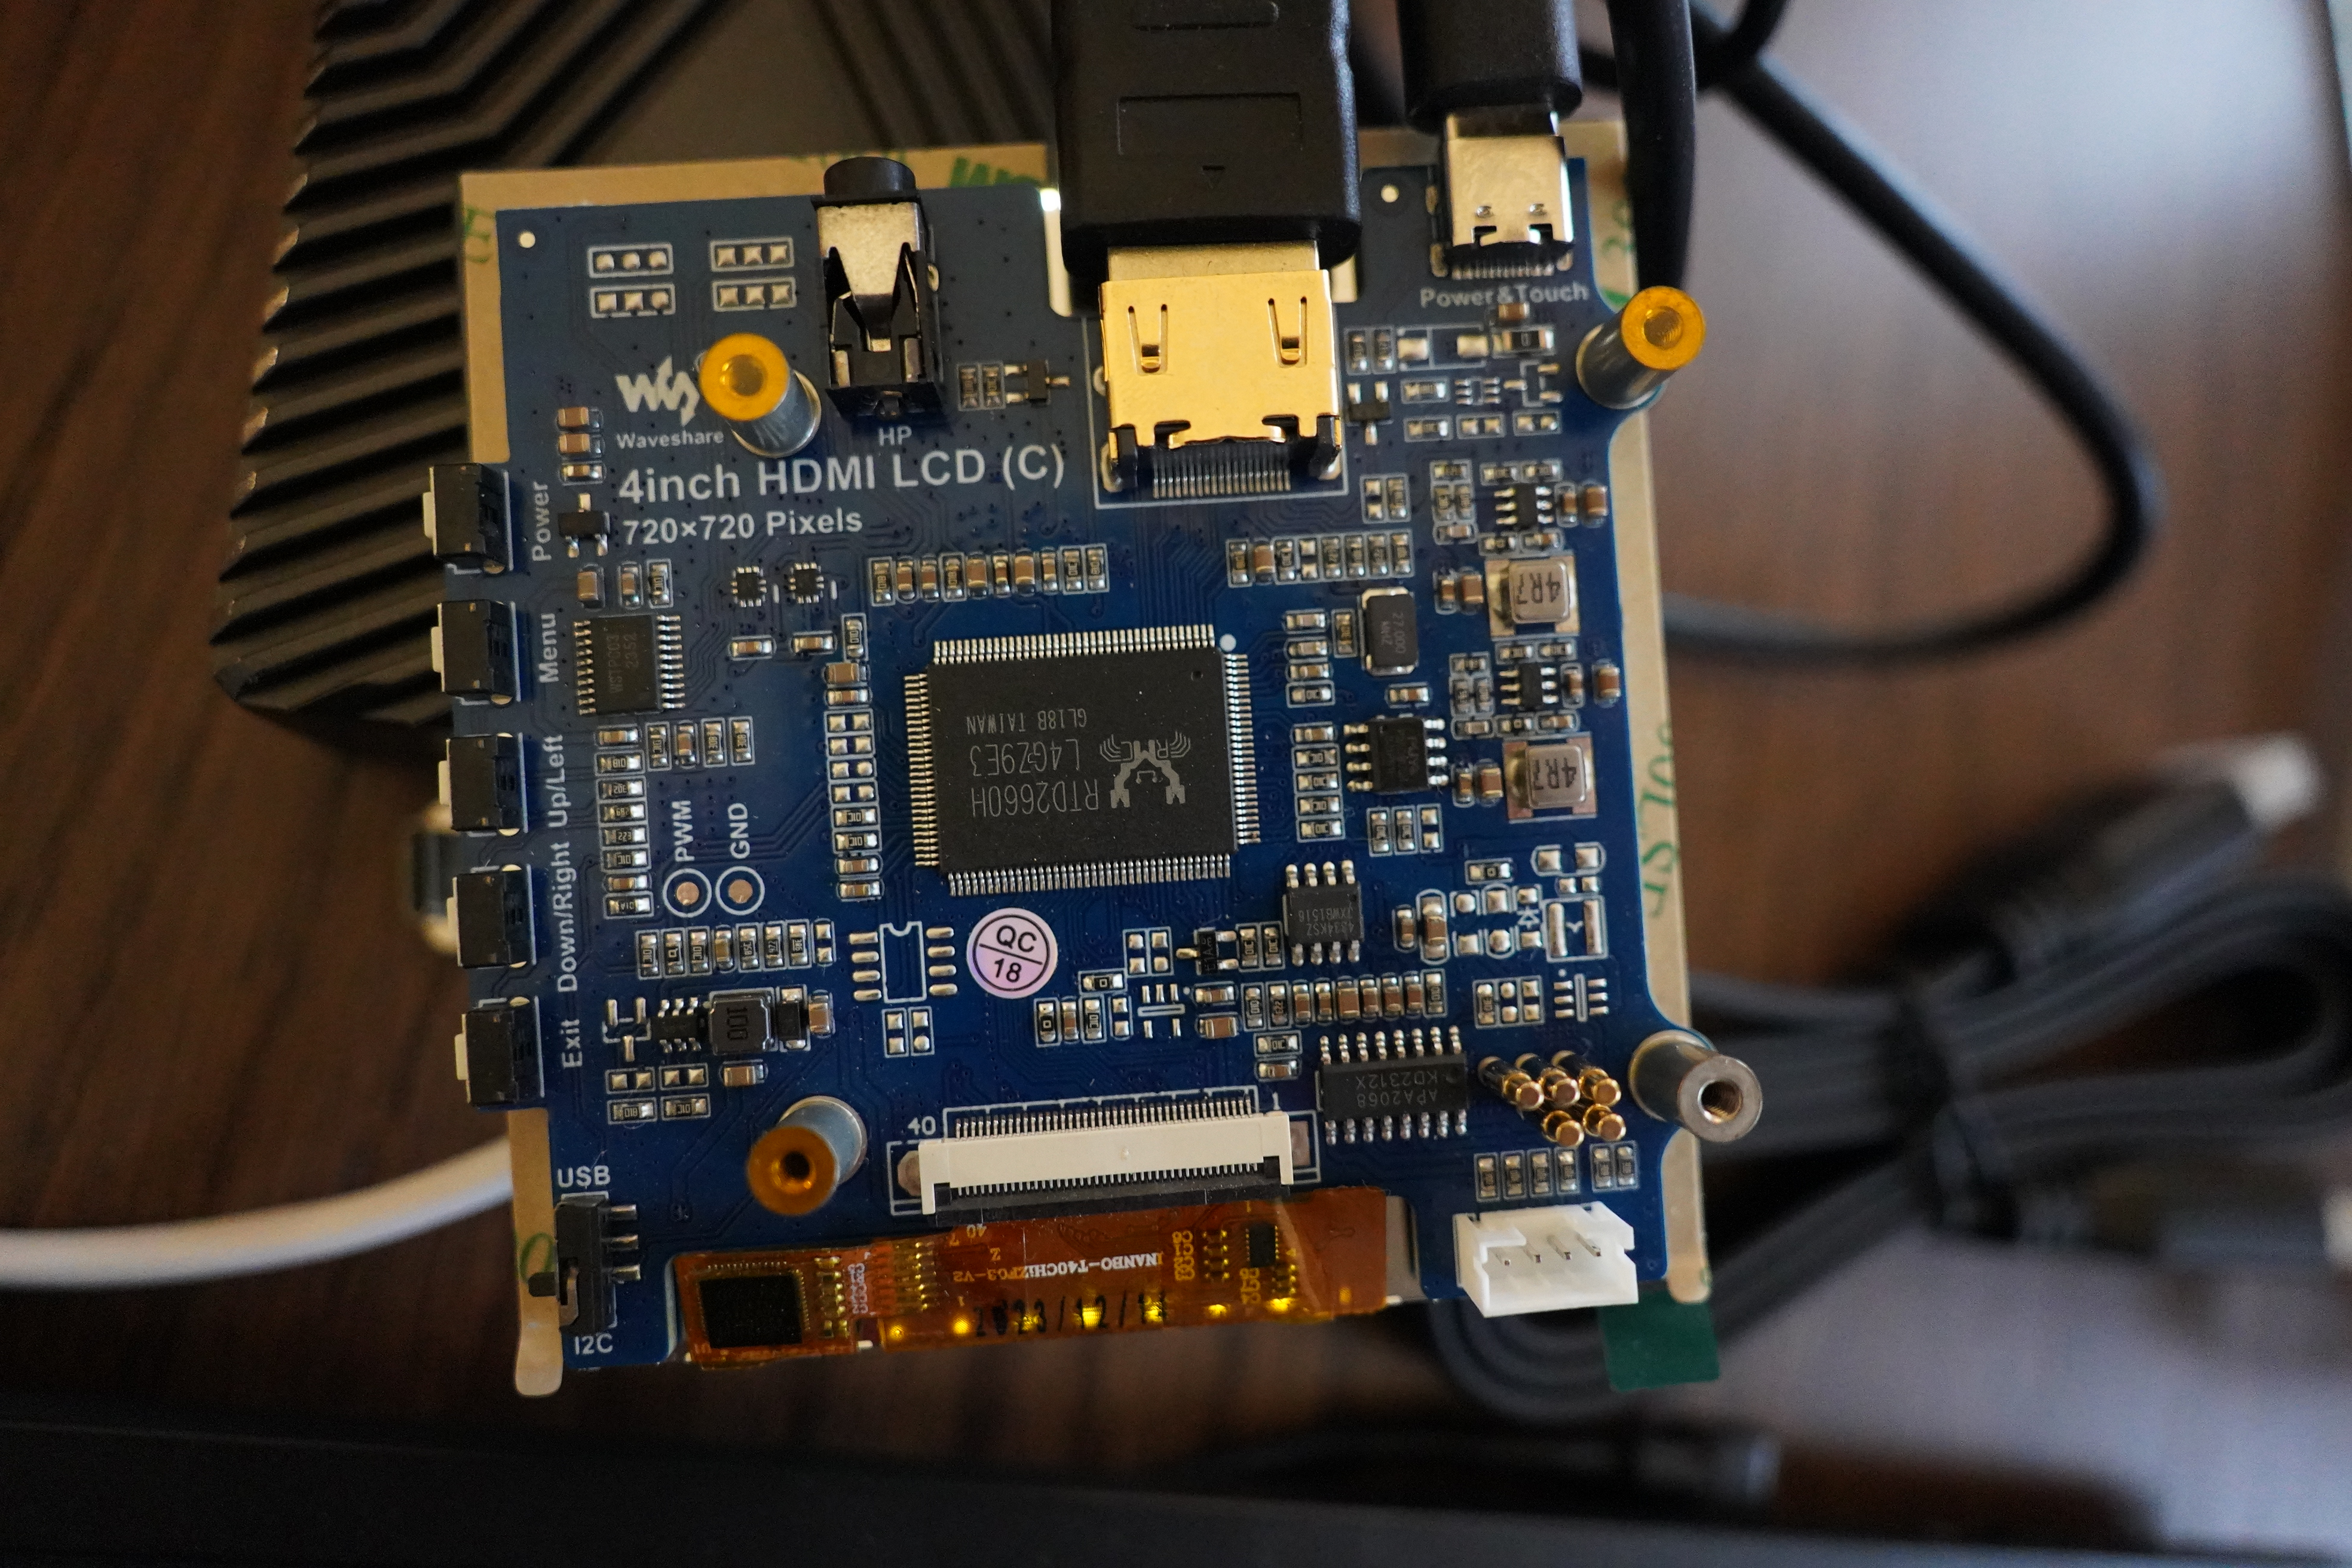
So… er… I wondered whether I might stick something between the board and the screen or something, but what? It can’t be metal, because that would risk shorting out some circuits. Hm…
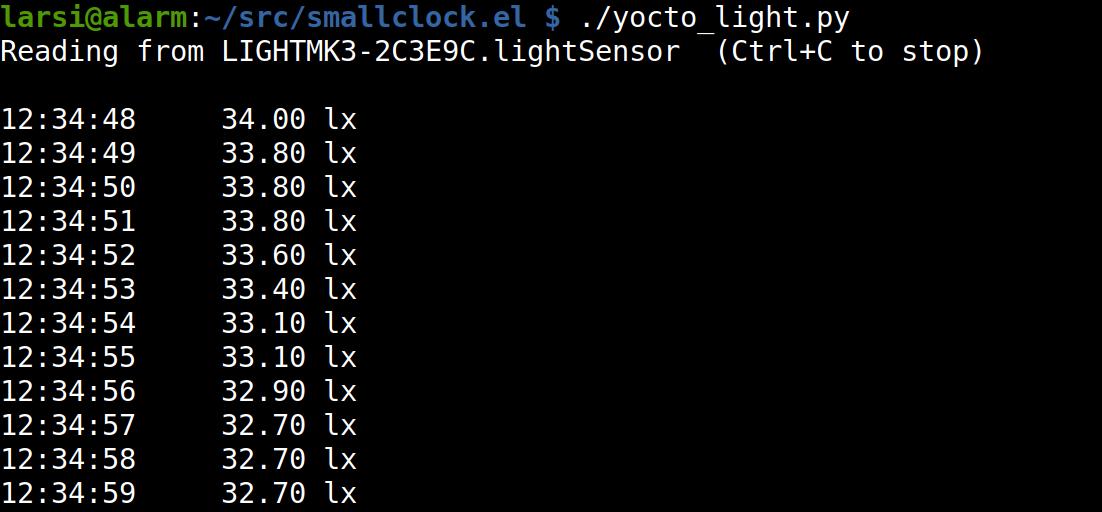
So for that light sensor… I had Claude write a small Python script to just dump the luminance (or whatever) values, and then I can write something in Emacs that listens to that and adjust screen brightness.
But:
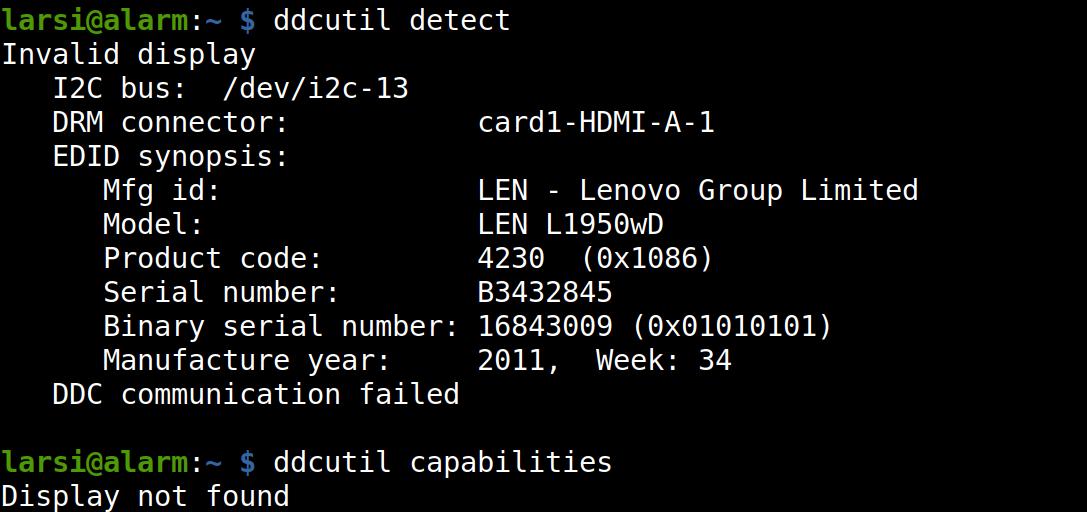
While ddcutil is able to talk to the screen, apparently, it doesn’t get much more than the EDID. So it doesn’t seem possible to adjust the backlight after all. (Lenovo L1950wD!? Lenovo made the li’l screen? No, I think there’s something really off about the output here, because the LEN L1950wD is apparently a 19″ screen. Apparently many Waveshare screens have this data in their EDID, but it’s wrong.)
Uhm… I could still use the sensor to make the text on the screen less bright. I.e., add a black alpha channel on top that’s controlled by the luminance… Hm. Not ideal, but perhaps better than nothing?
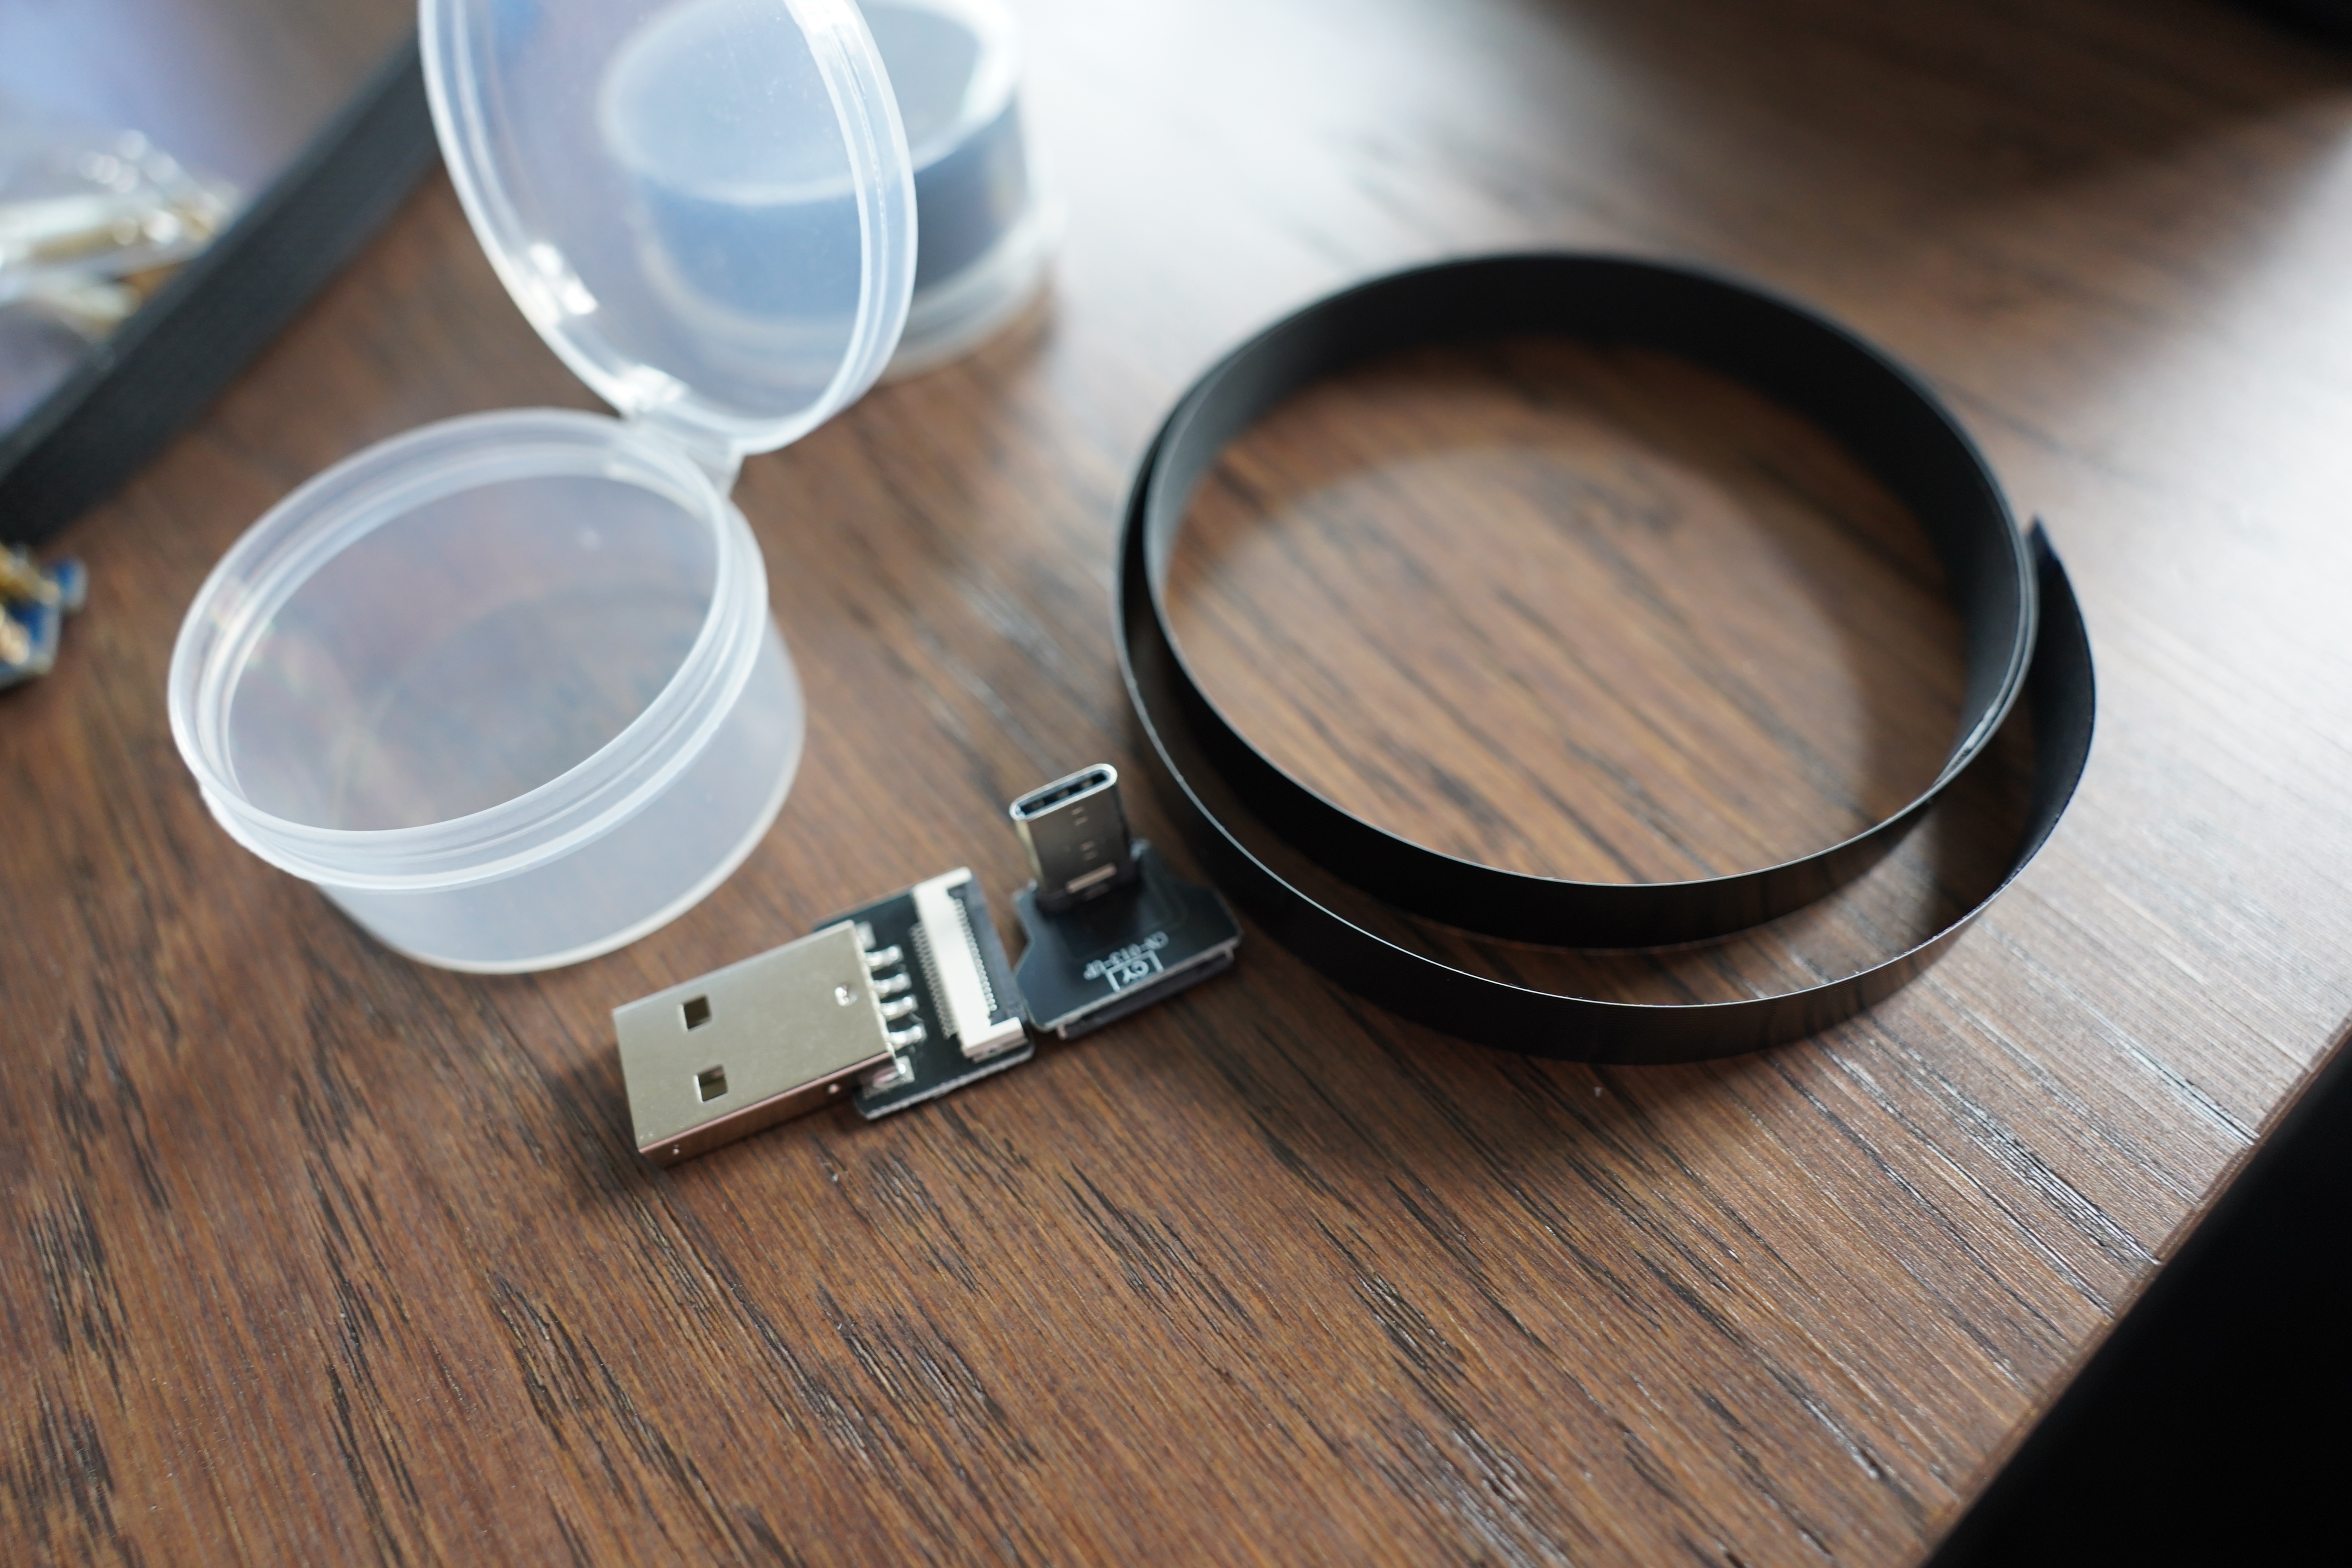
Oh, I’d forgotten that I’d gotten these USB-A to USB-C cables. They consist of a ribbon cable, and then you clip them onto the connectors. Looking at them now, I thought perhaps the point was that you could cut the ribbon to the required length?
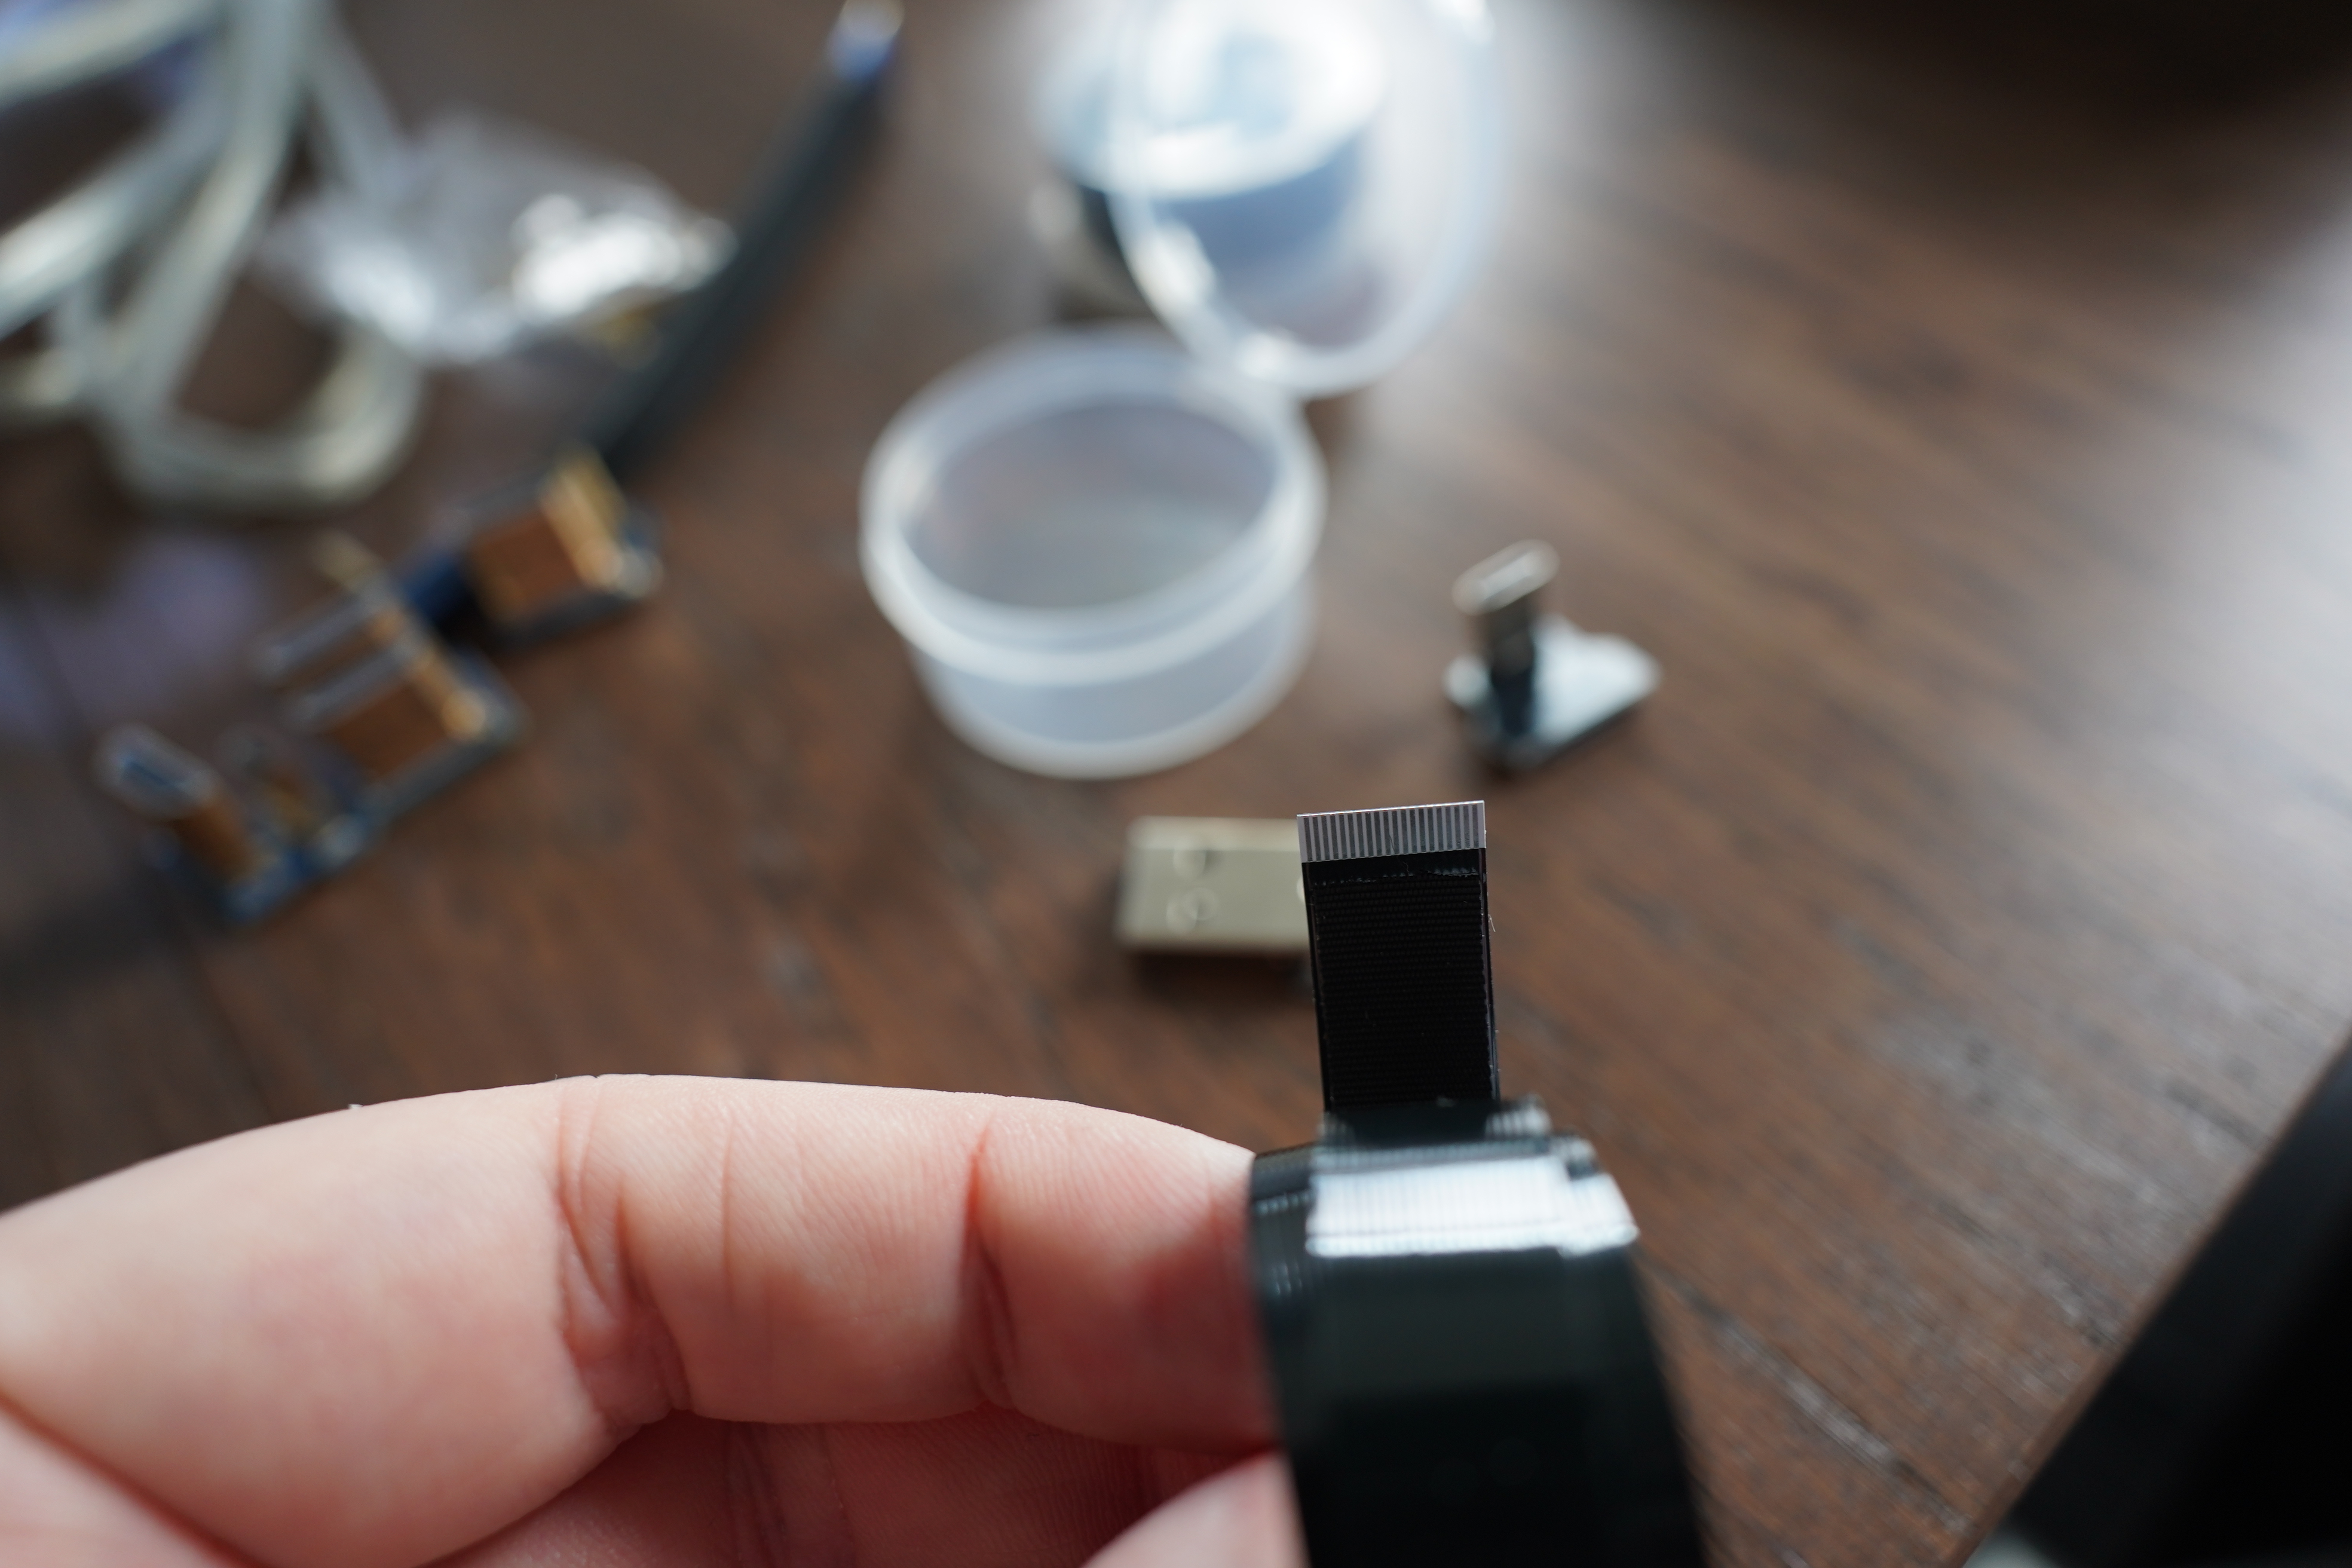
But no? Because the ends of the cable look kinda connectorey…
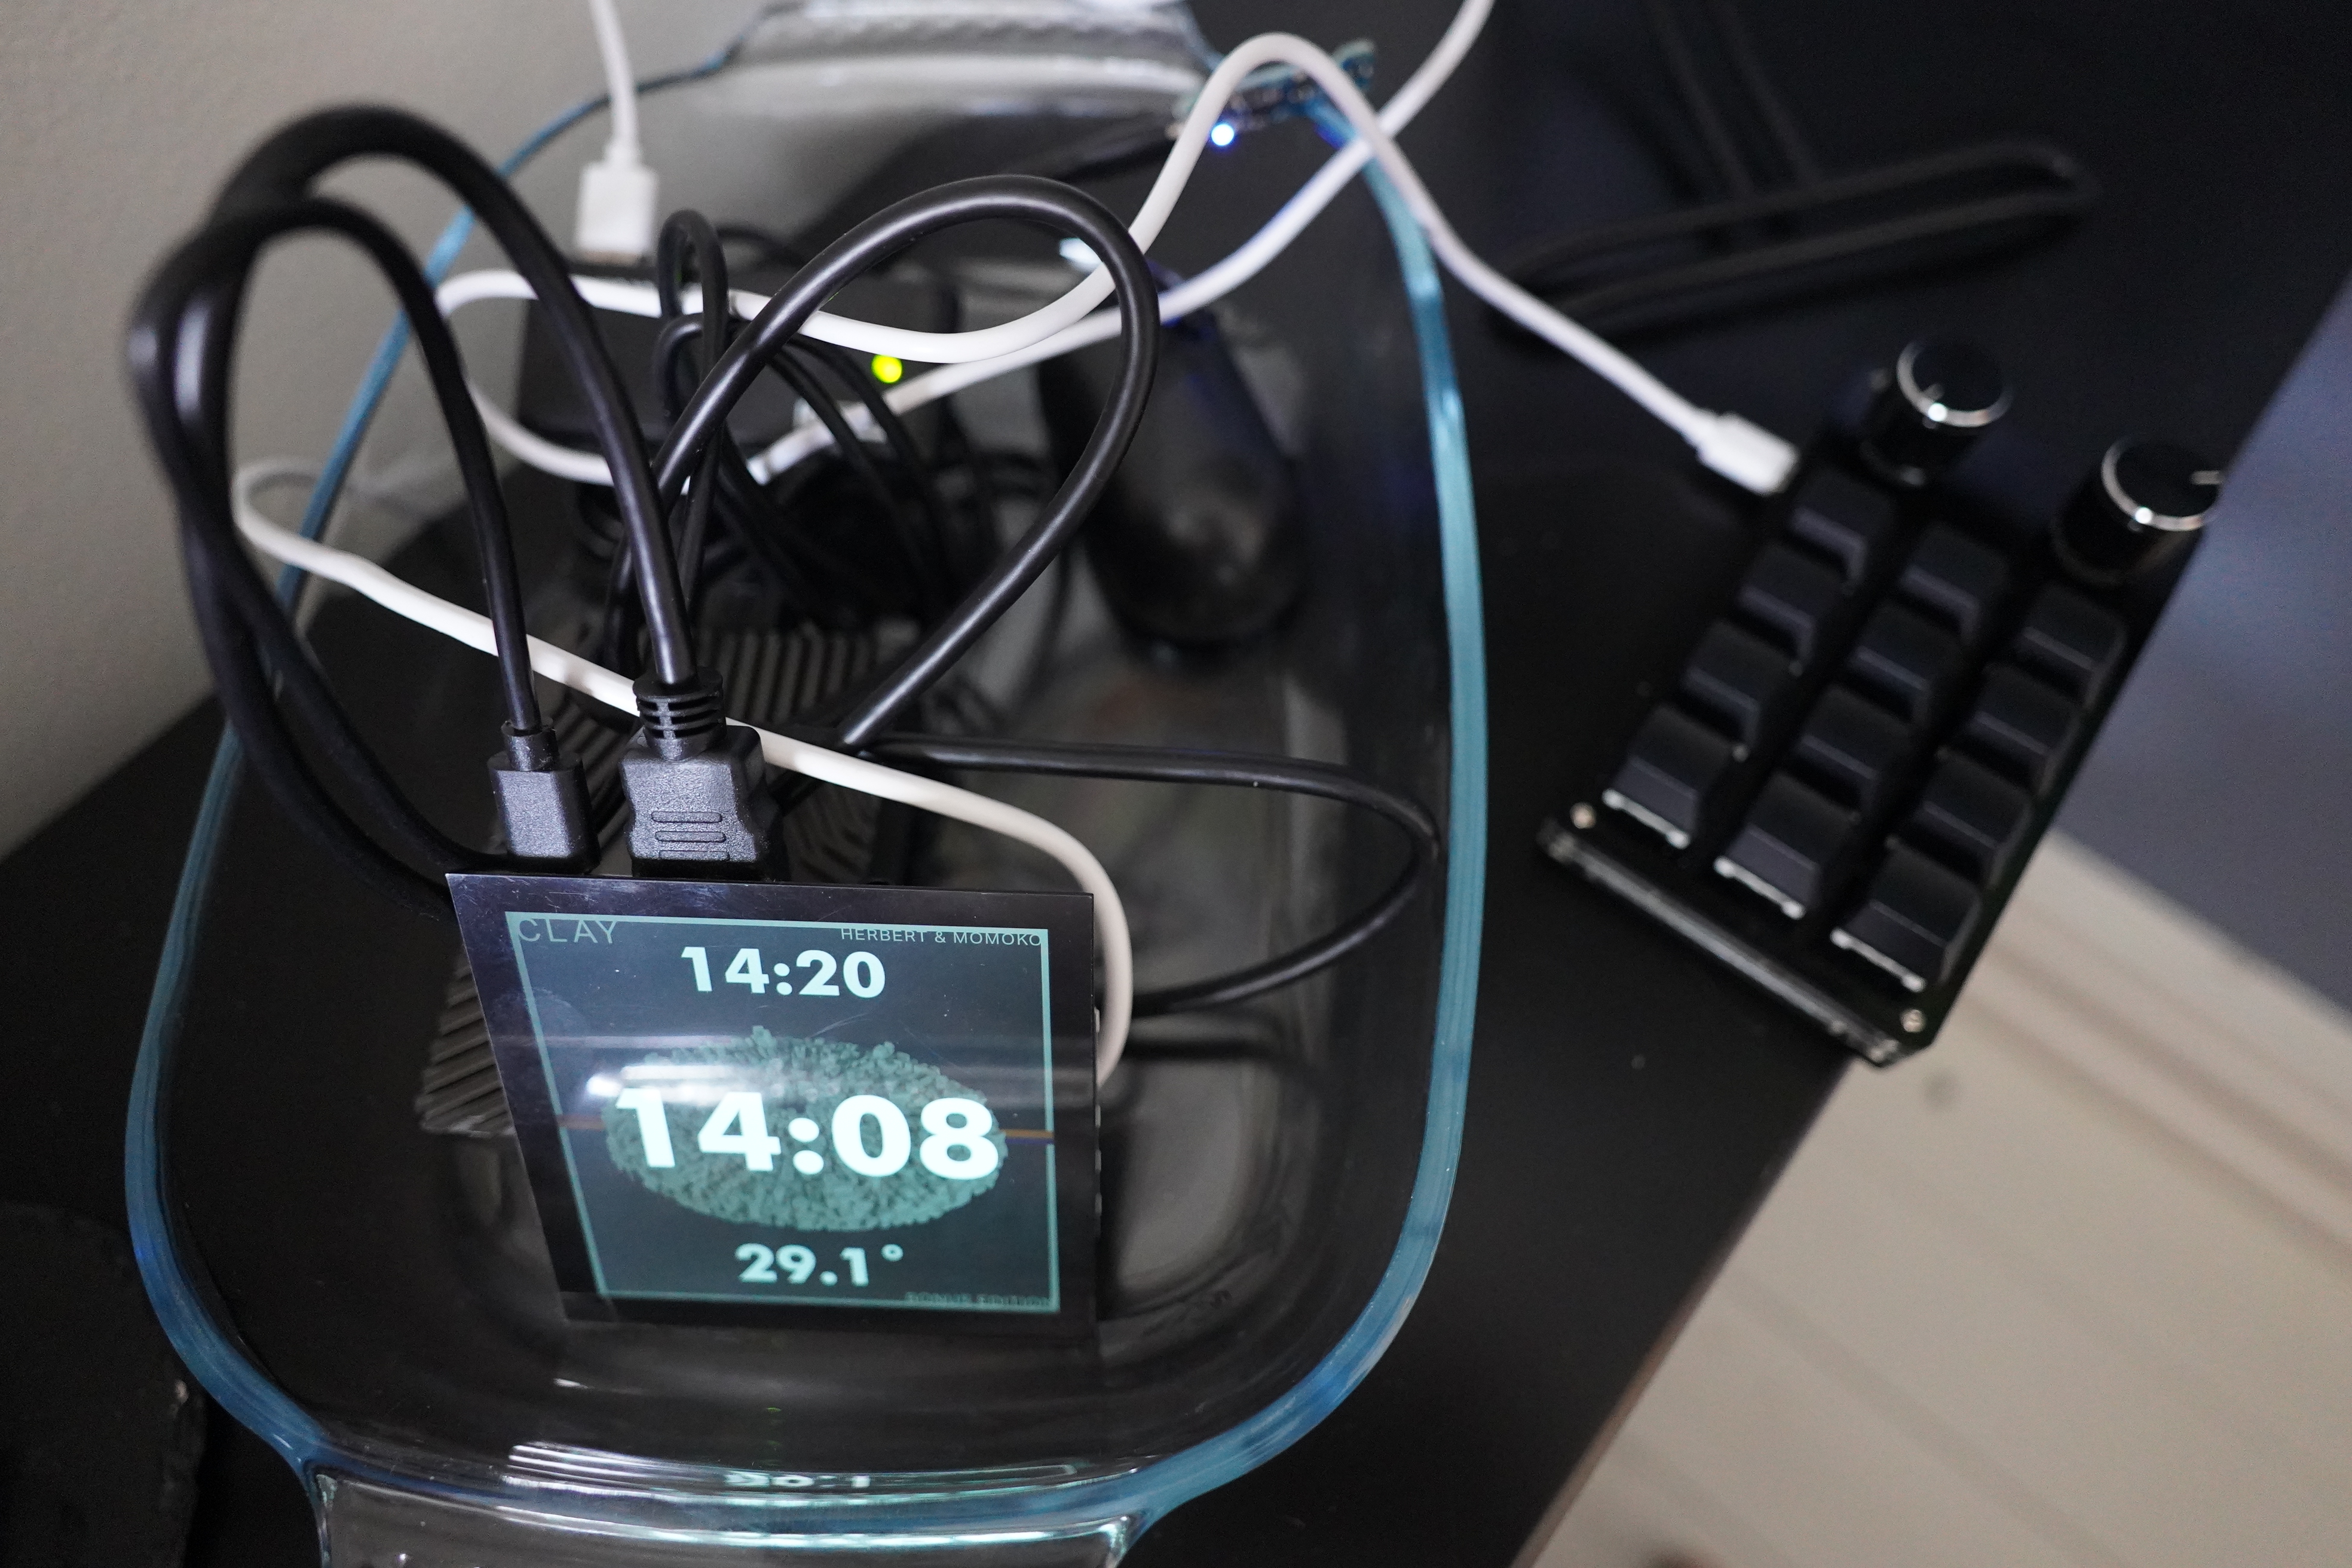
Anyway, I’ve set up the alarm clock for a test run. In “deconstructed form”. Just to give it a go in realistic environments to see whether I’ve forgotten something…
If you’re making a light sensor device, what’s the one extra thing you absolutely have to put on the device? Yes, exactly! A blinking LED! Perfect!
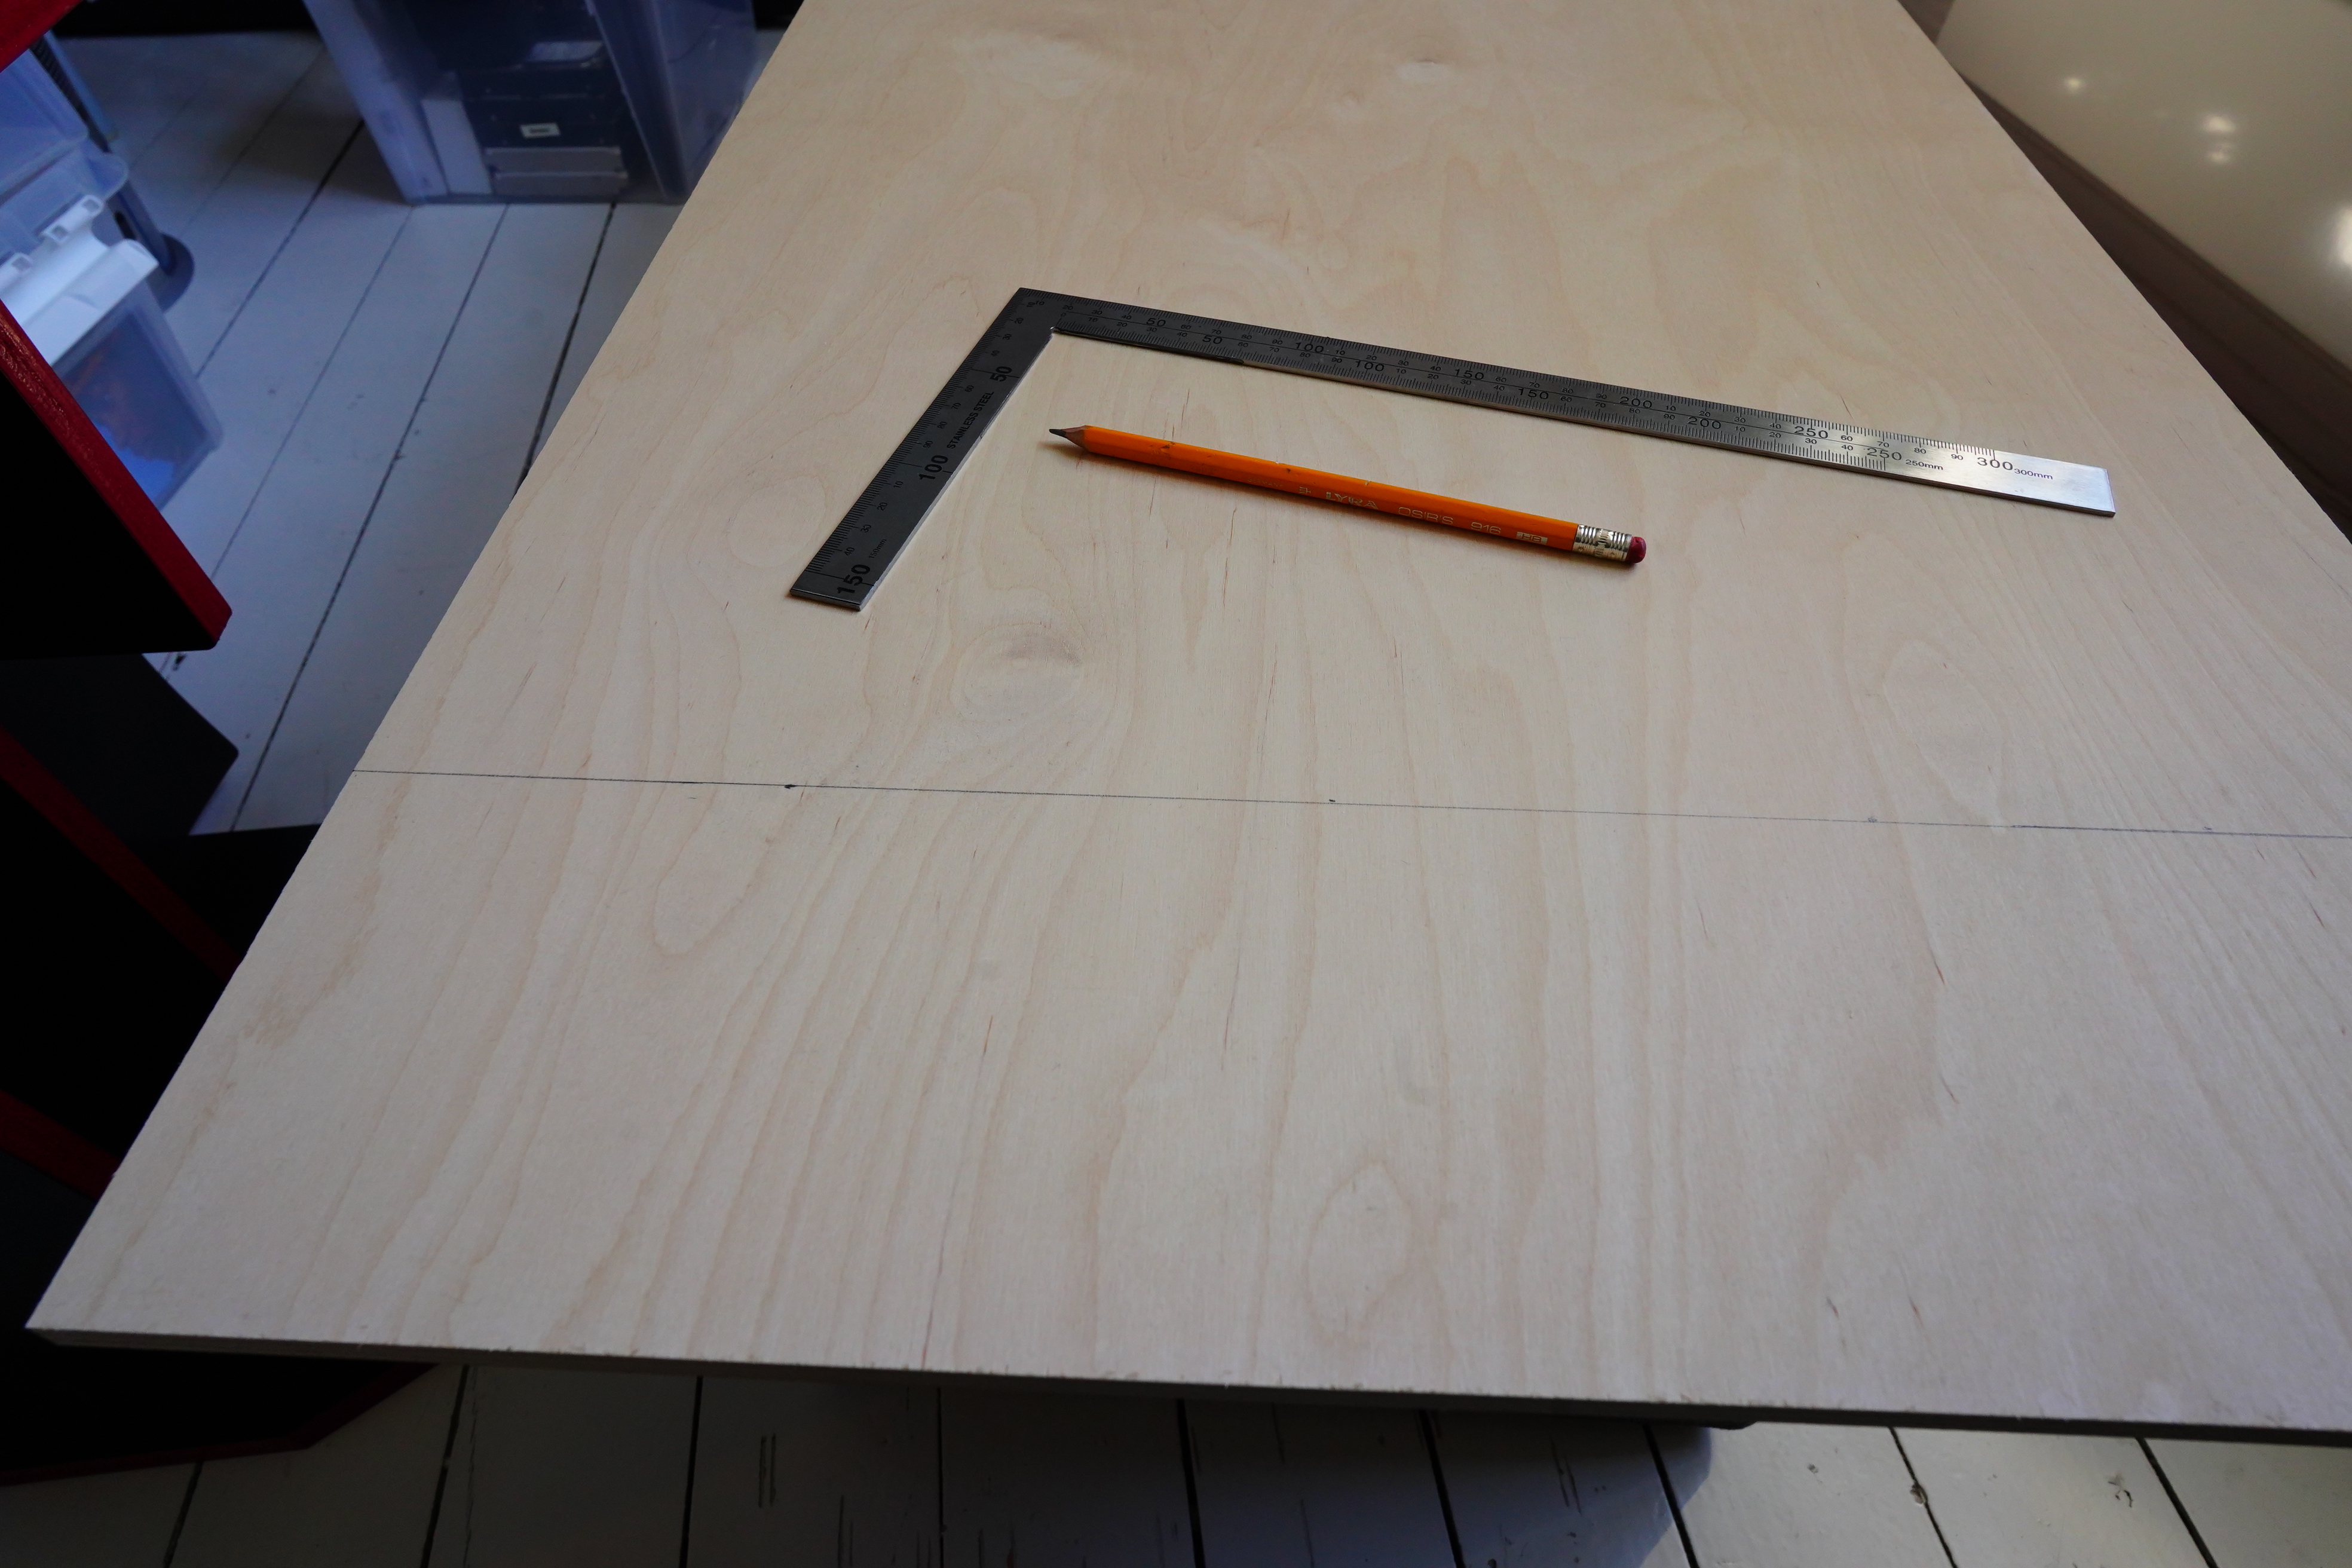
But now it’s carpentry time!
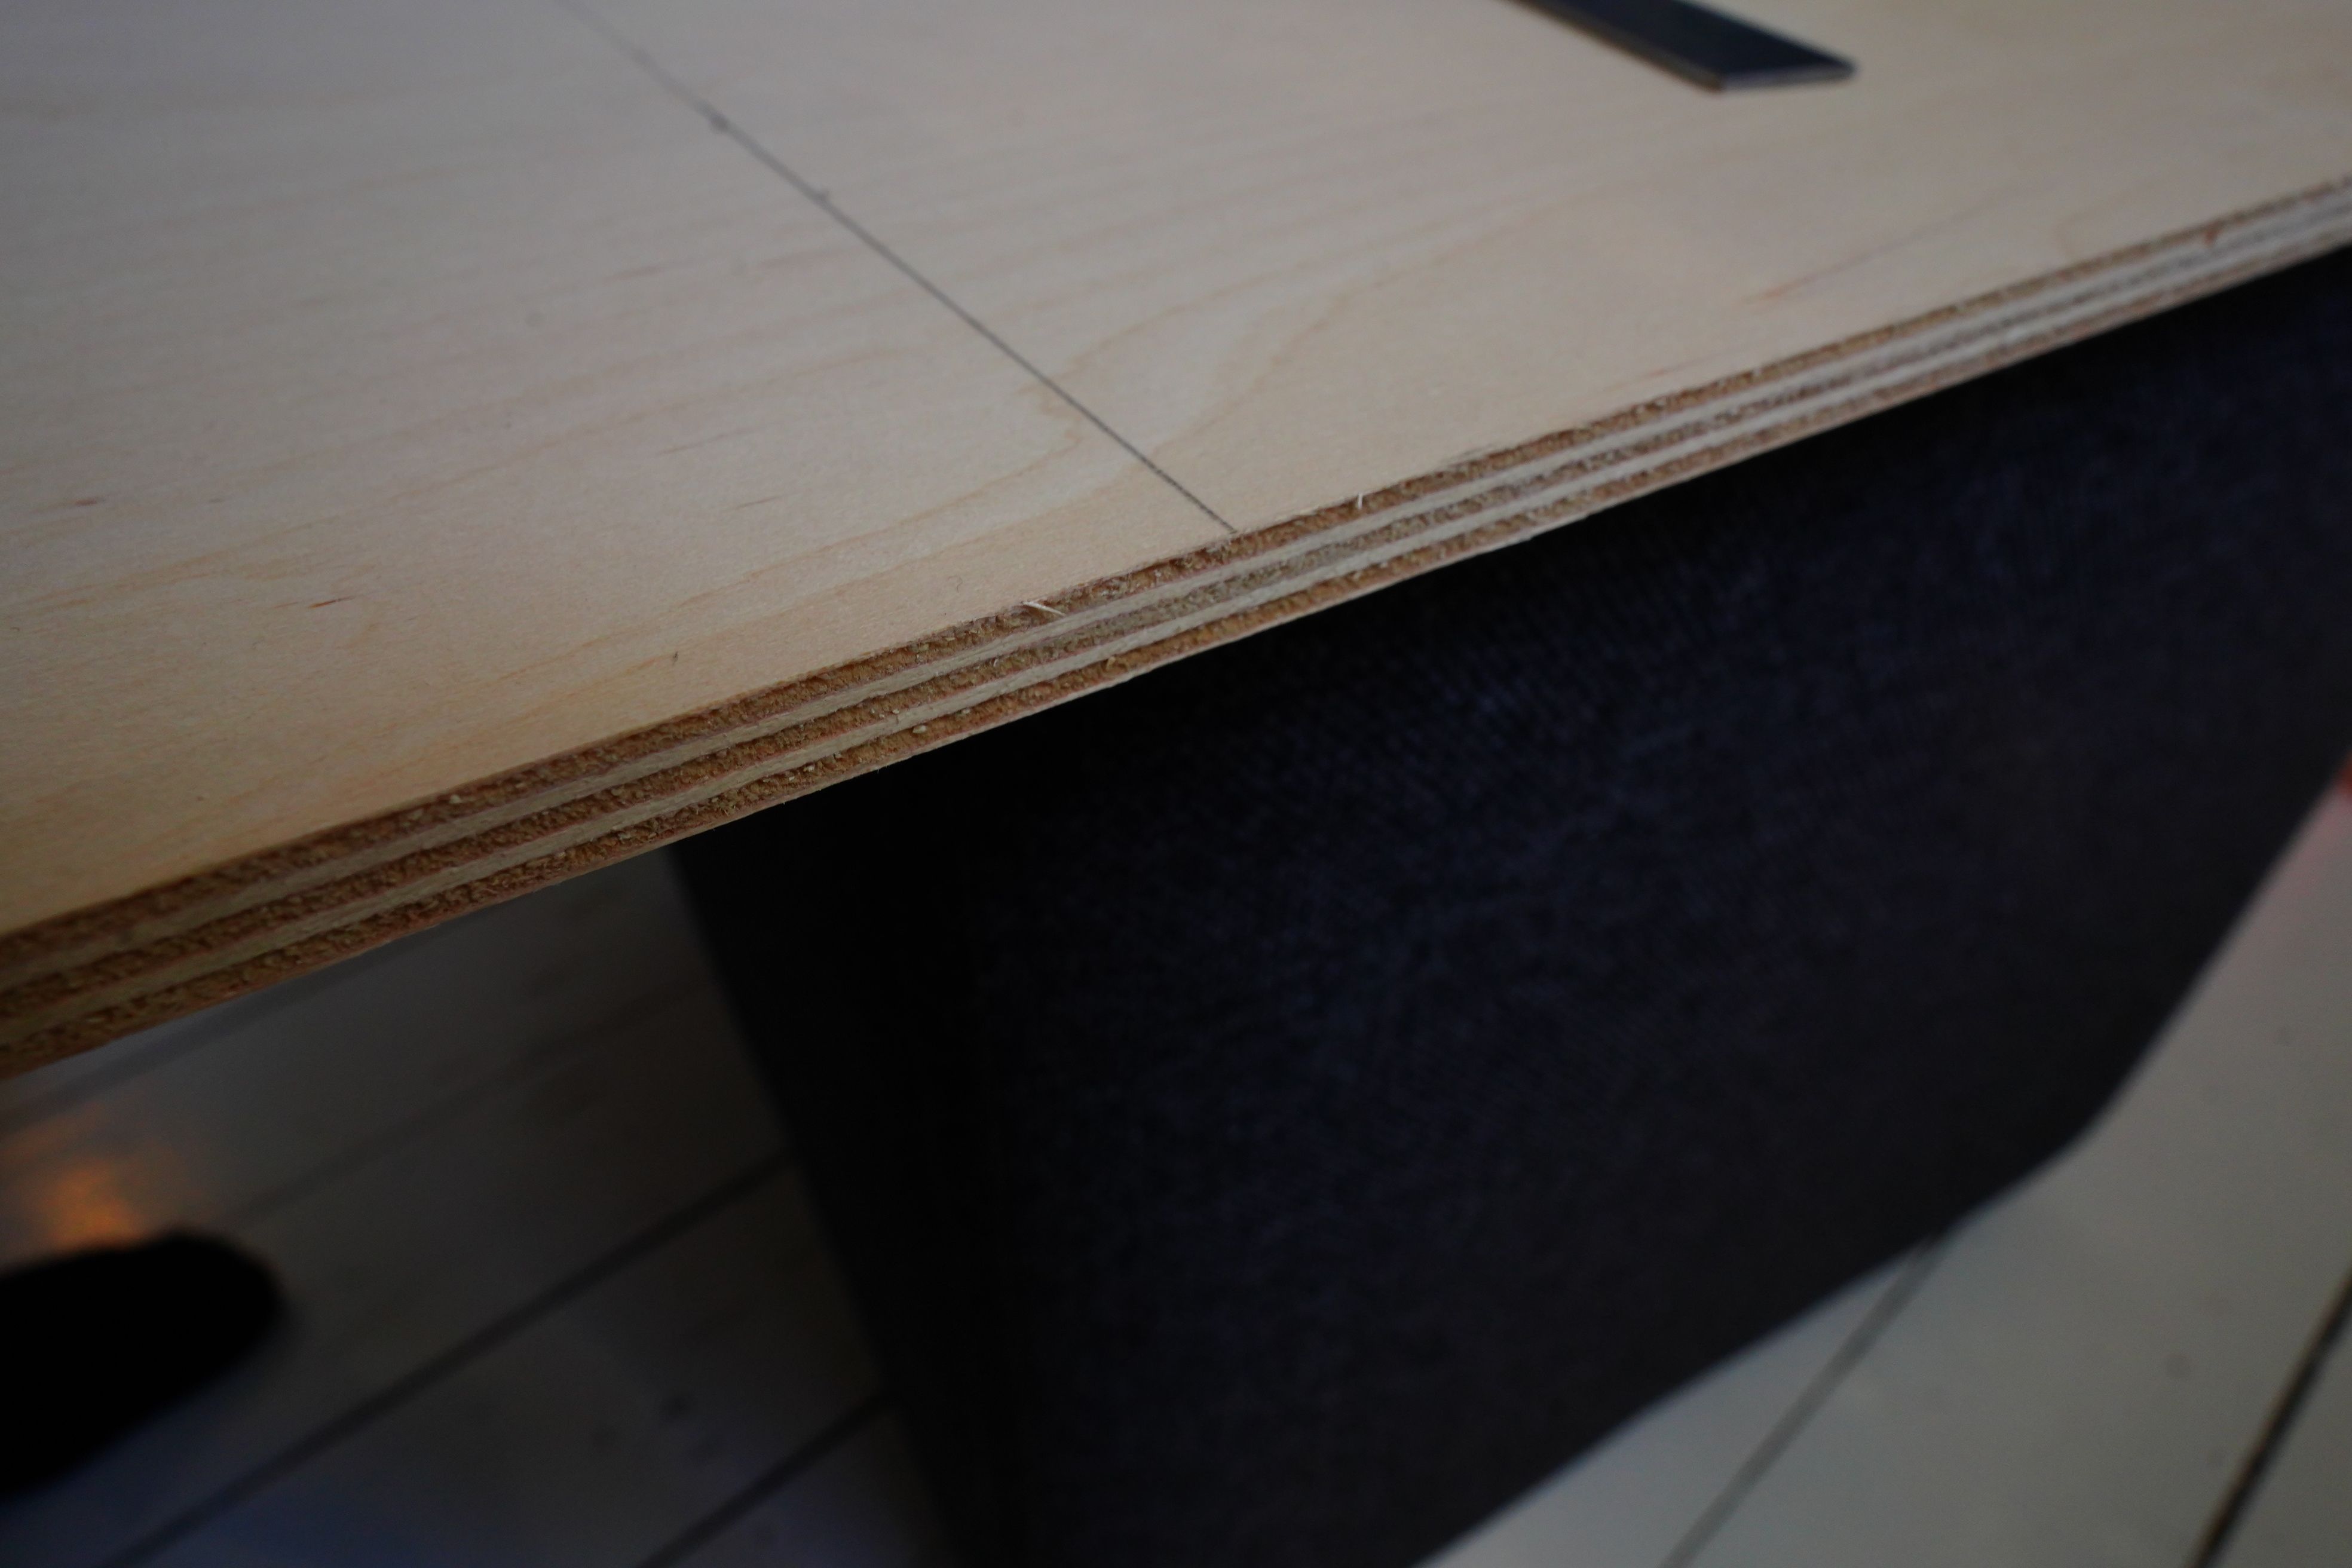
This is the first time I’ve worked with this material — it’s laminated wood with MDF and whole wood things alternating through? And just 1cm thick, because 1) the thinner the less sawing, right, and 2) it makes the clock a bit smaller in all directions.
I’ve worked with thinner wood before, and it’s just not fun. It splinters easily, and you can’t really screw anything into it (and expect it to stay screwed). (So to speak.) So I’m trying this now and see whether it’s a happy medium between Too Much Work and Totally Splinters All The Time.
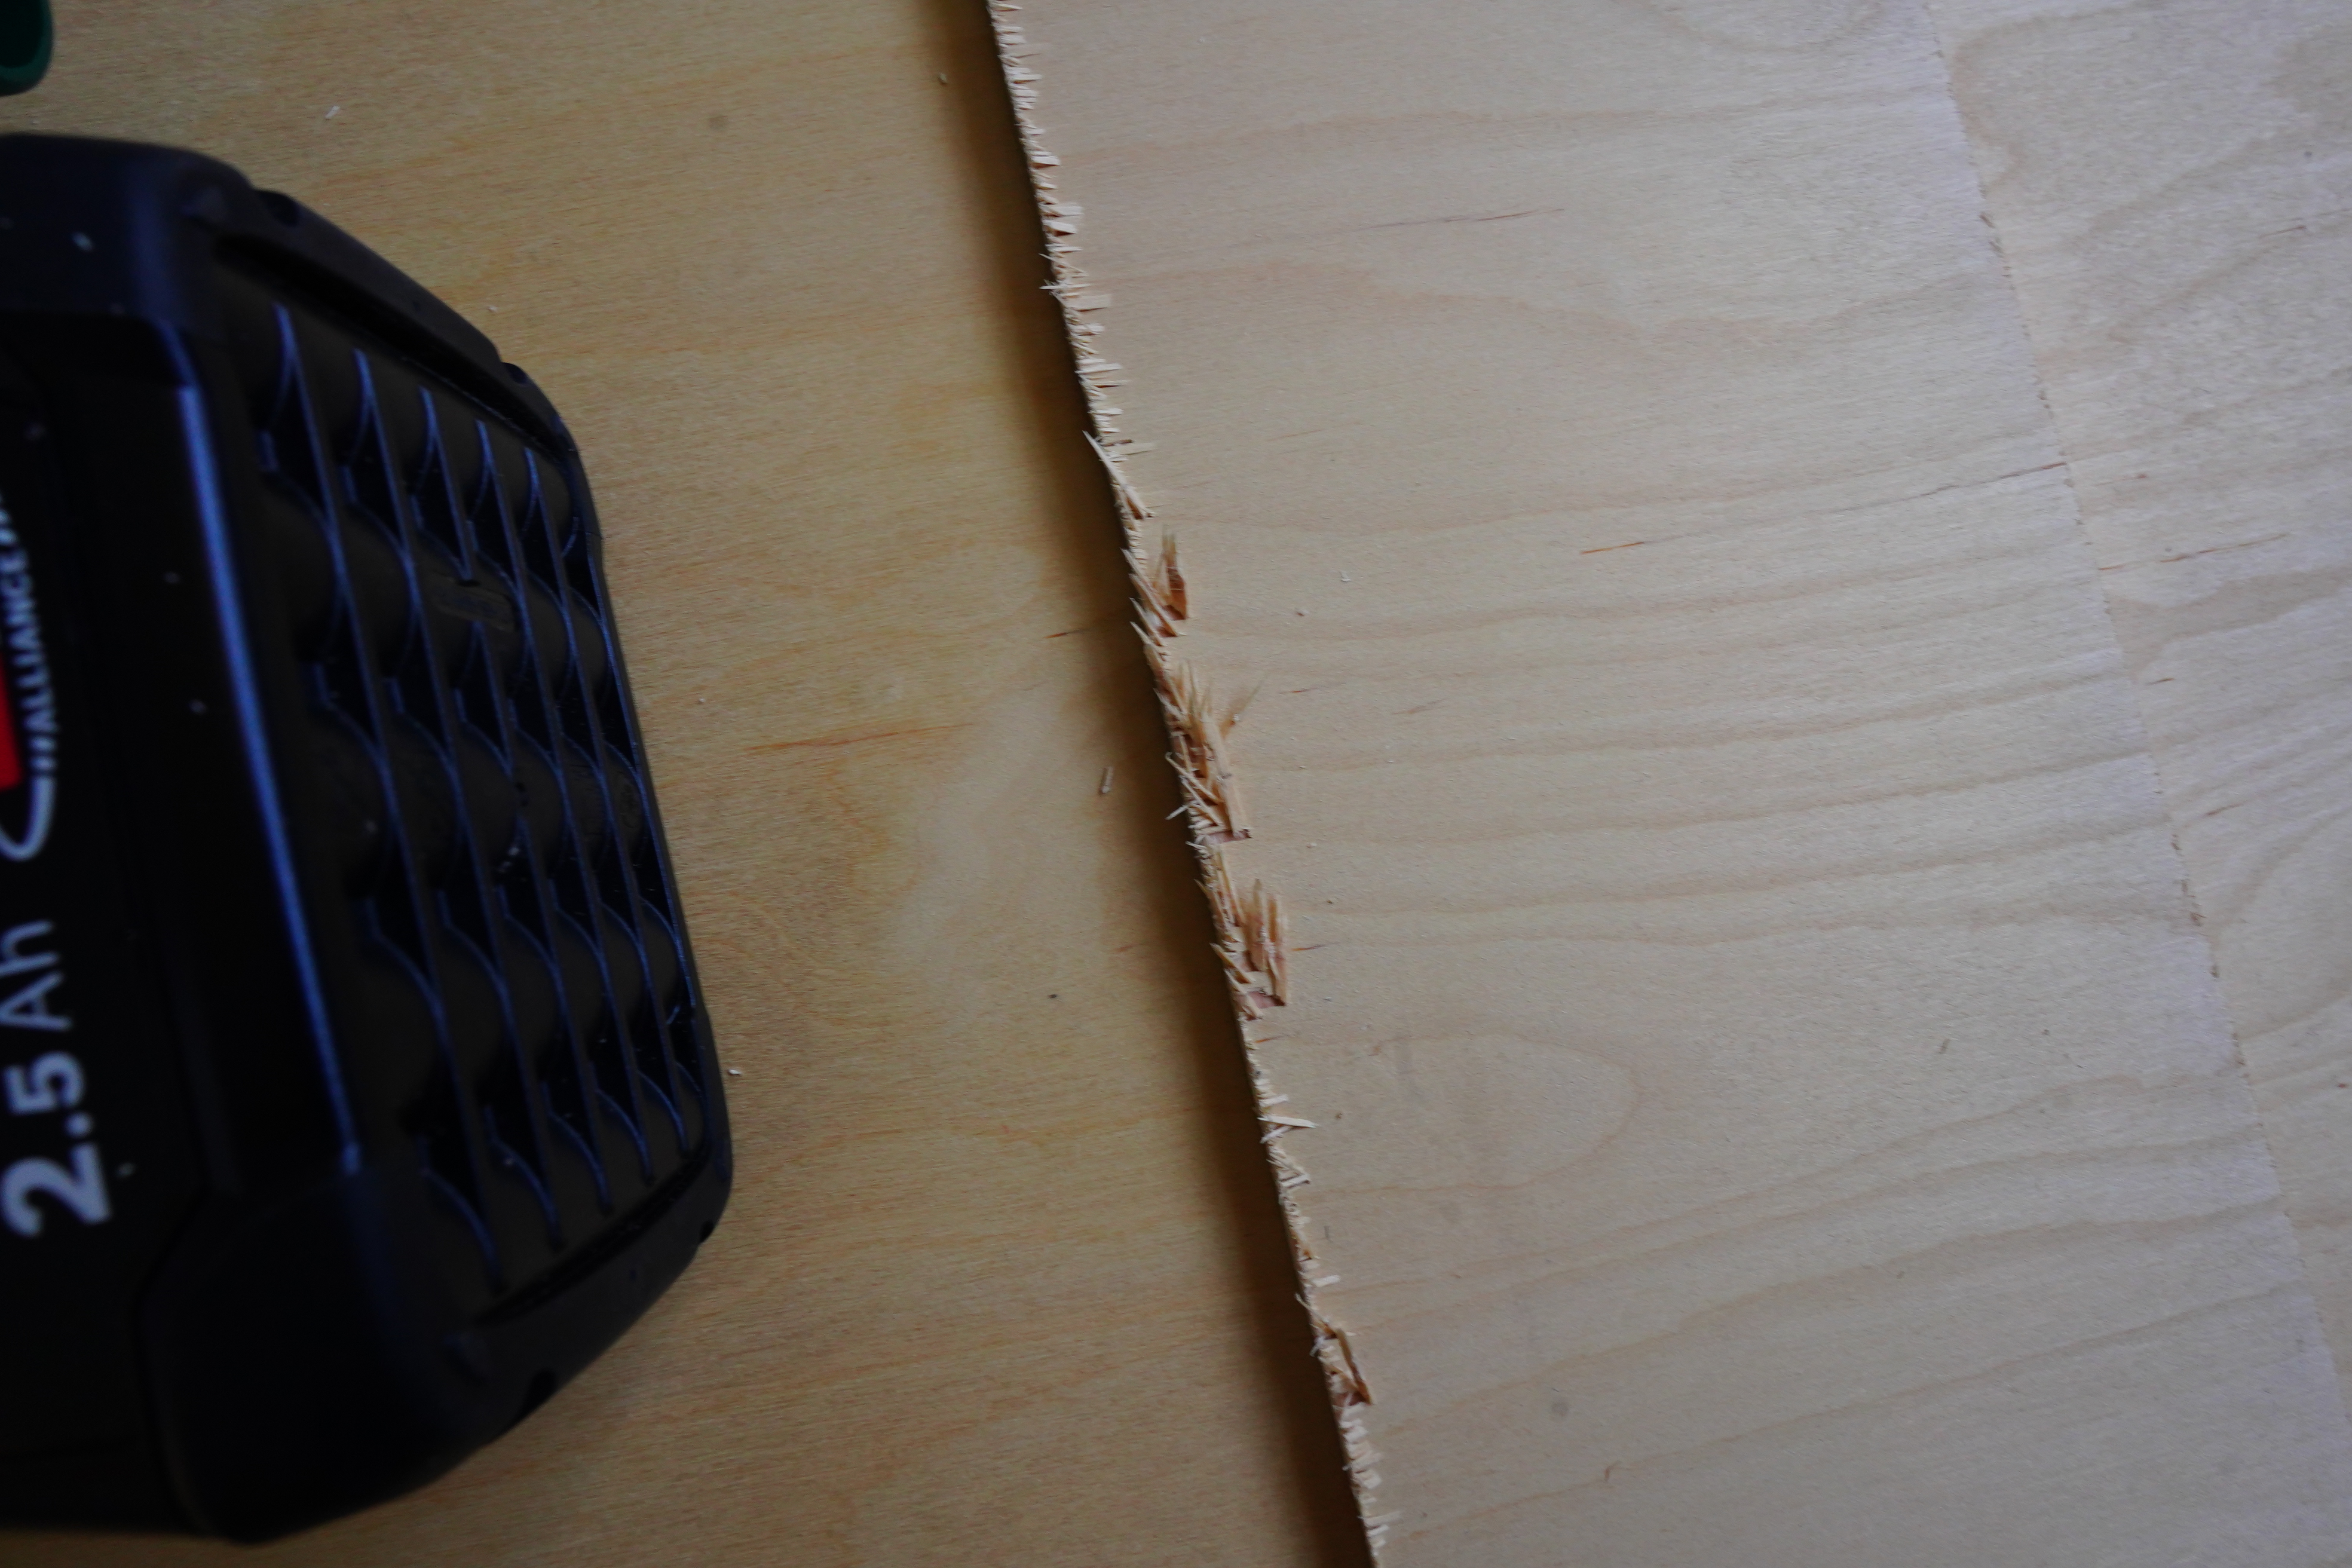
Errr… my jigsaw totally chewed through the wood. That’s not nice.
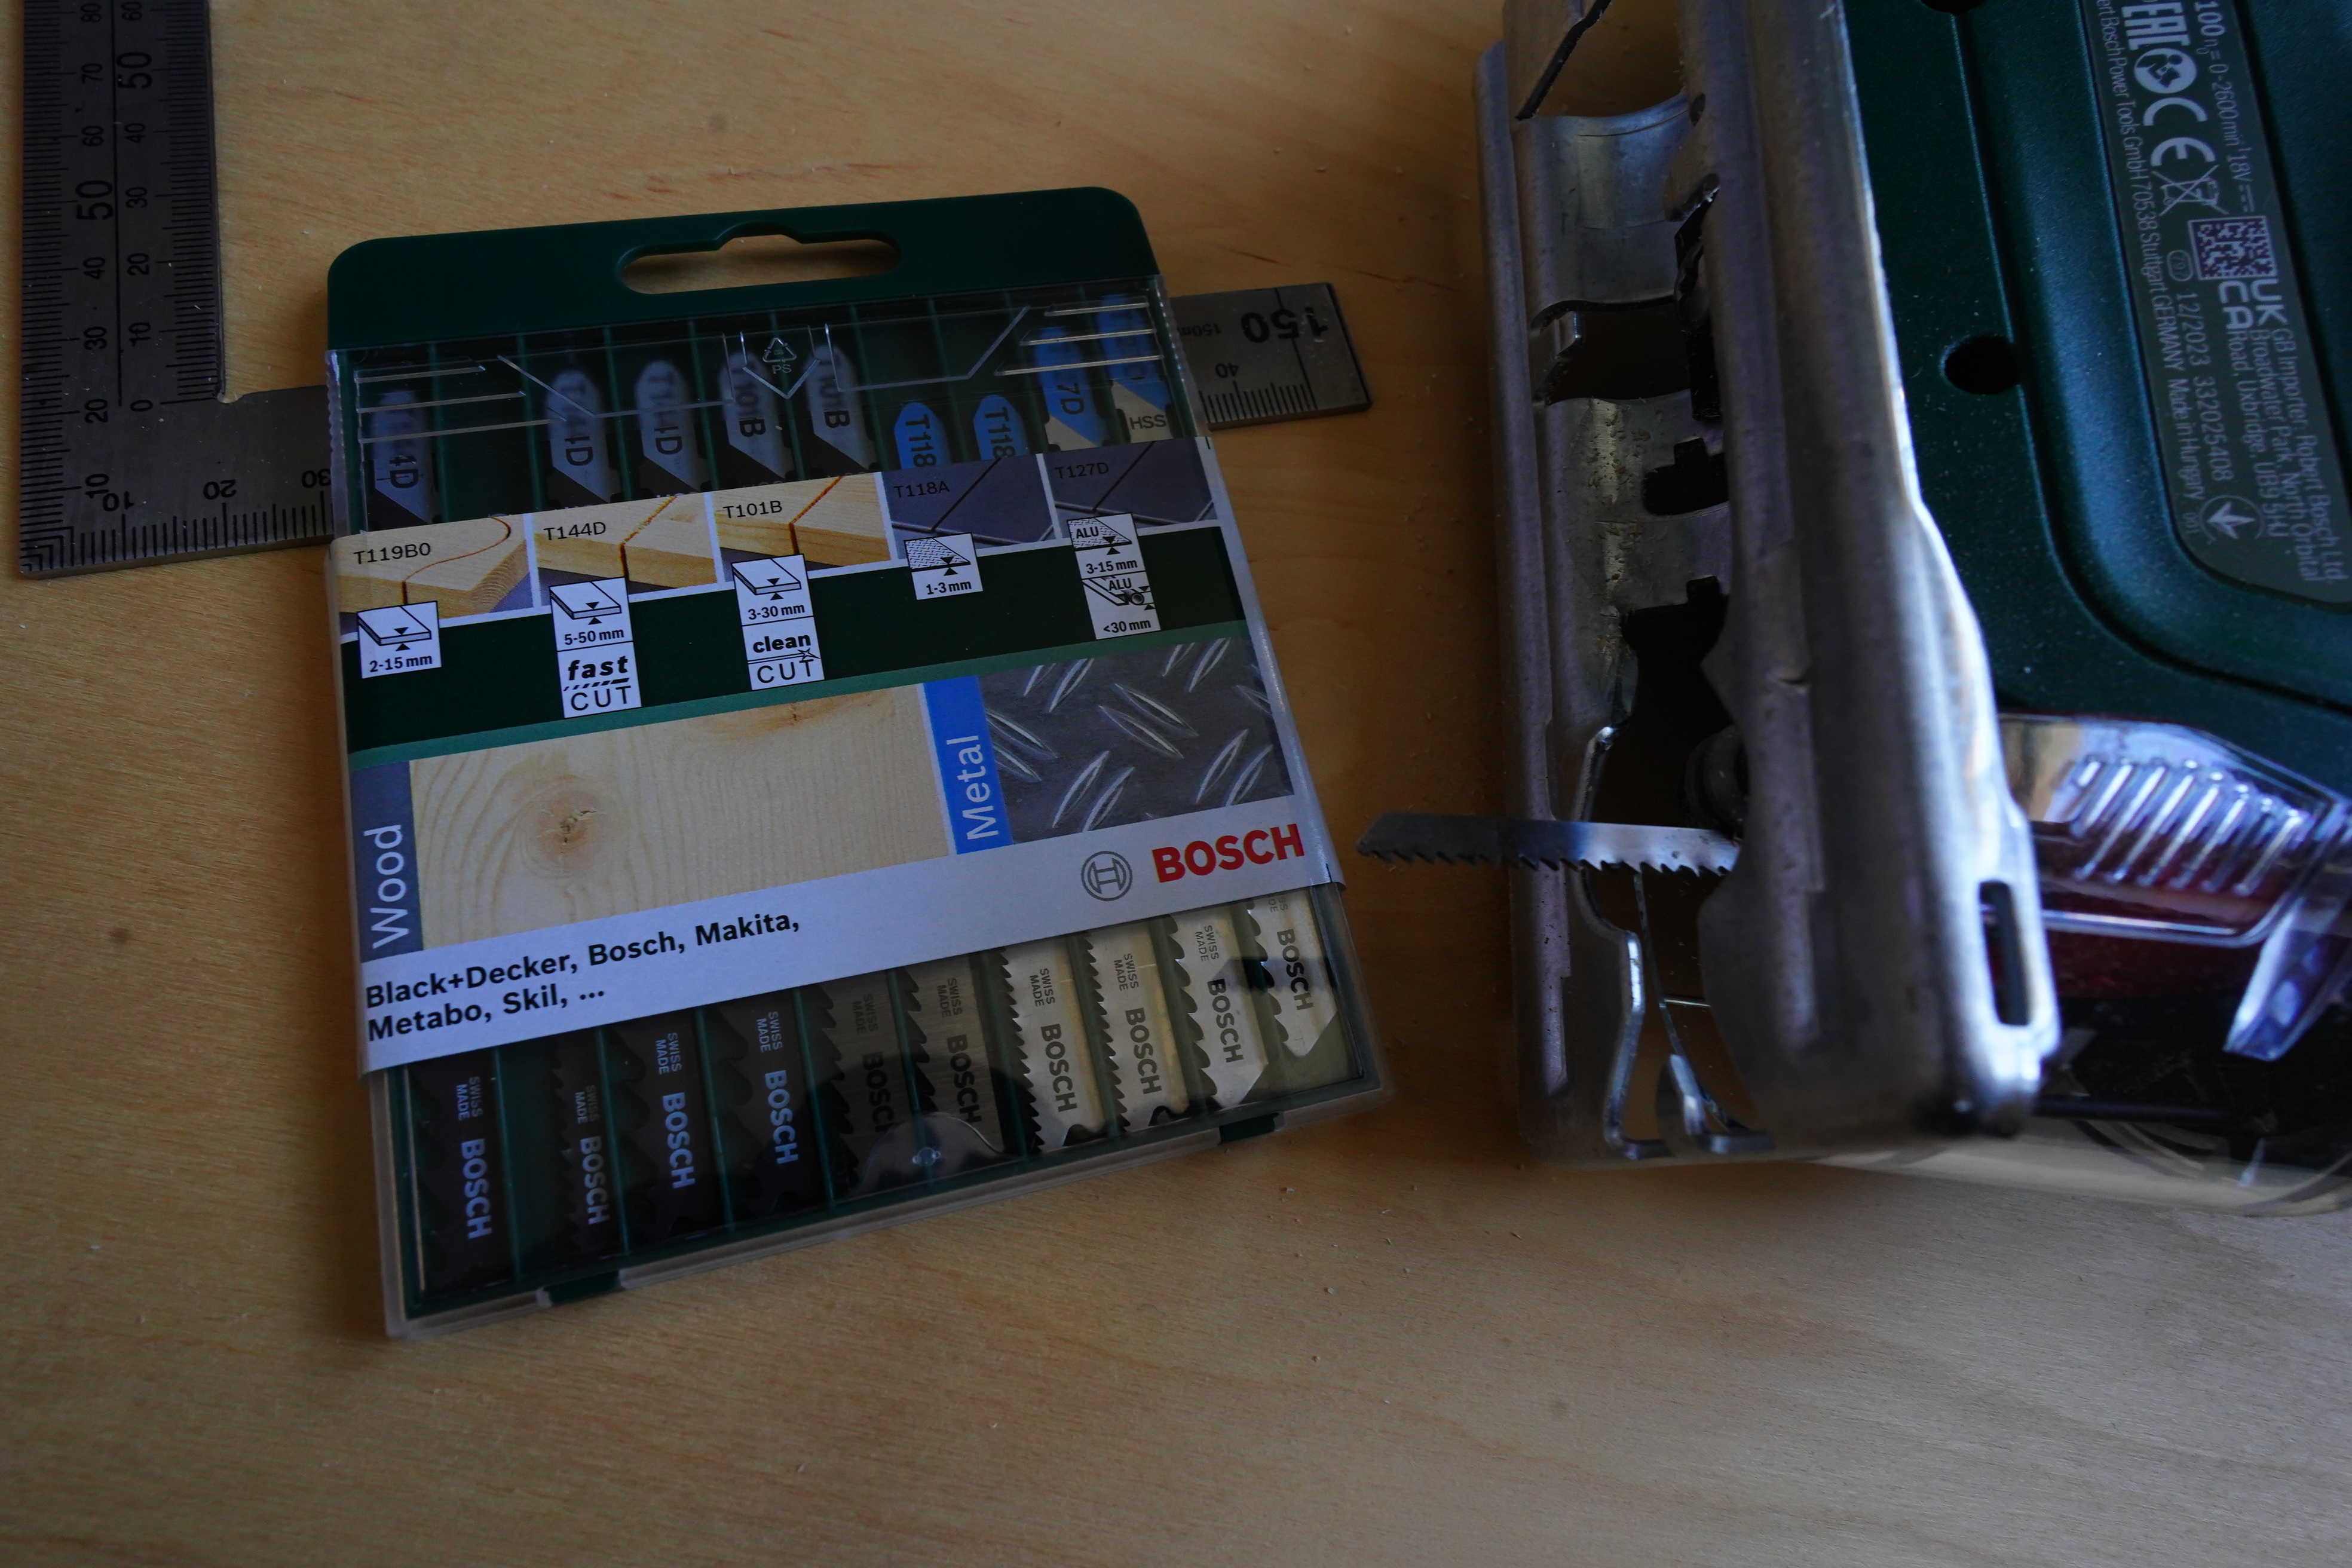
So I’ve got these blades…
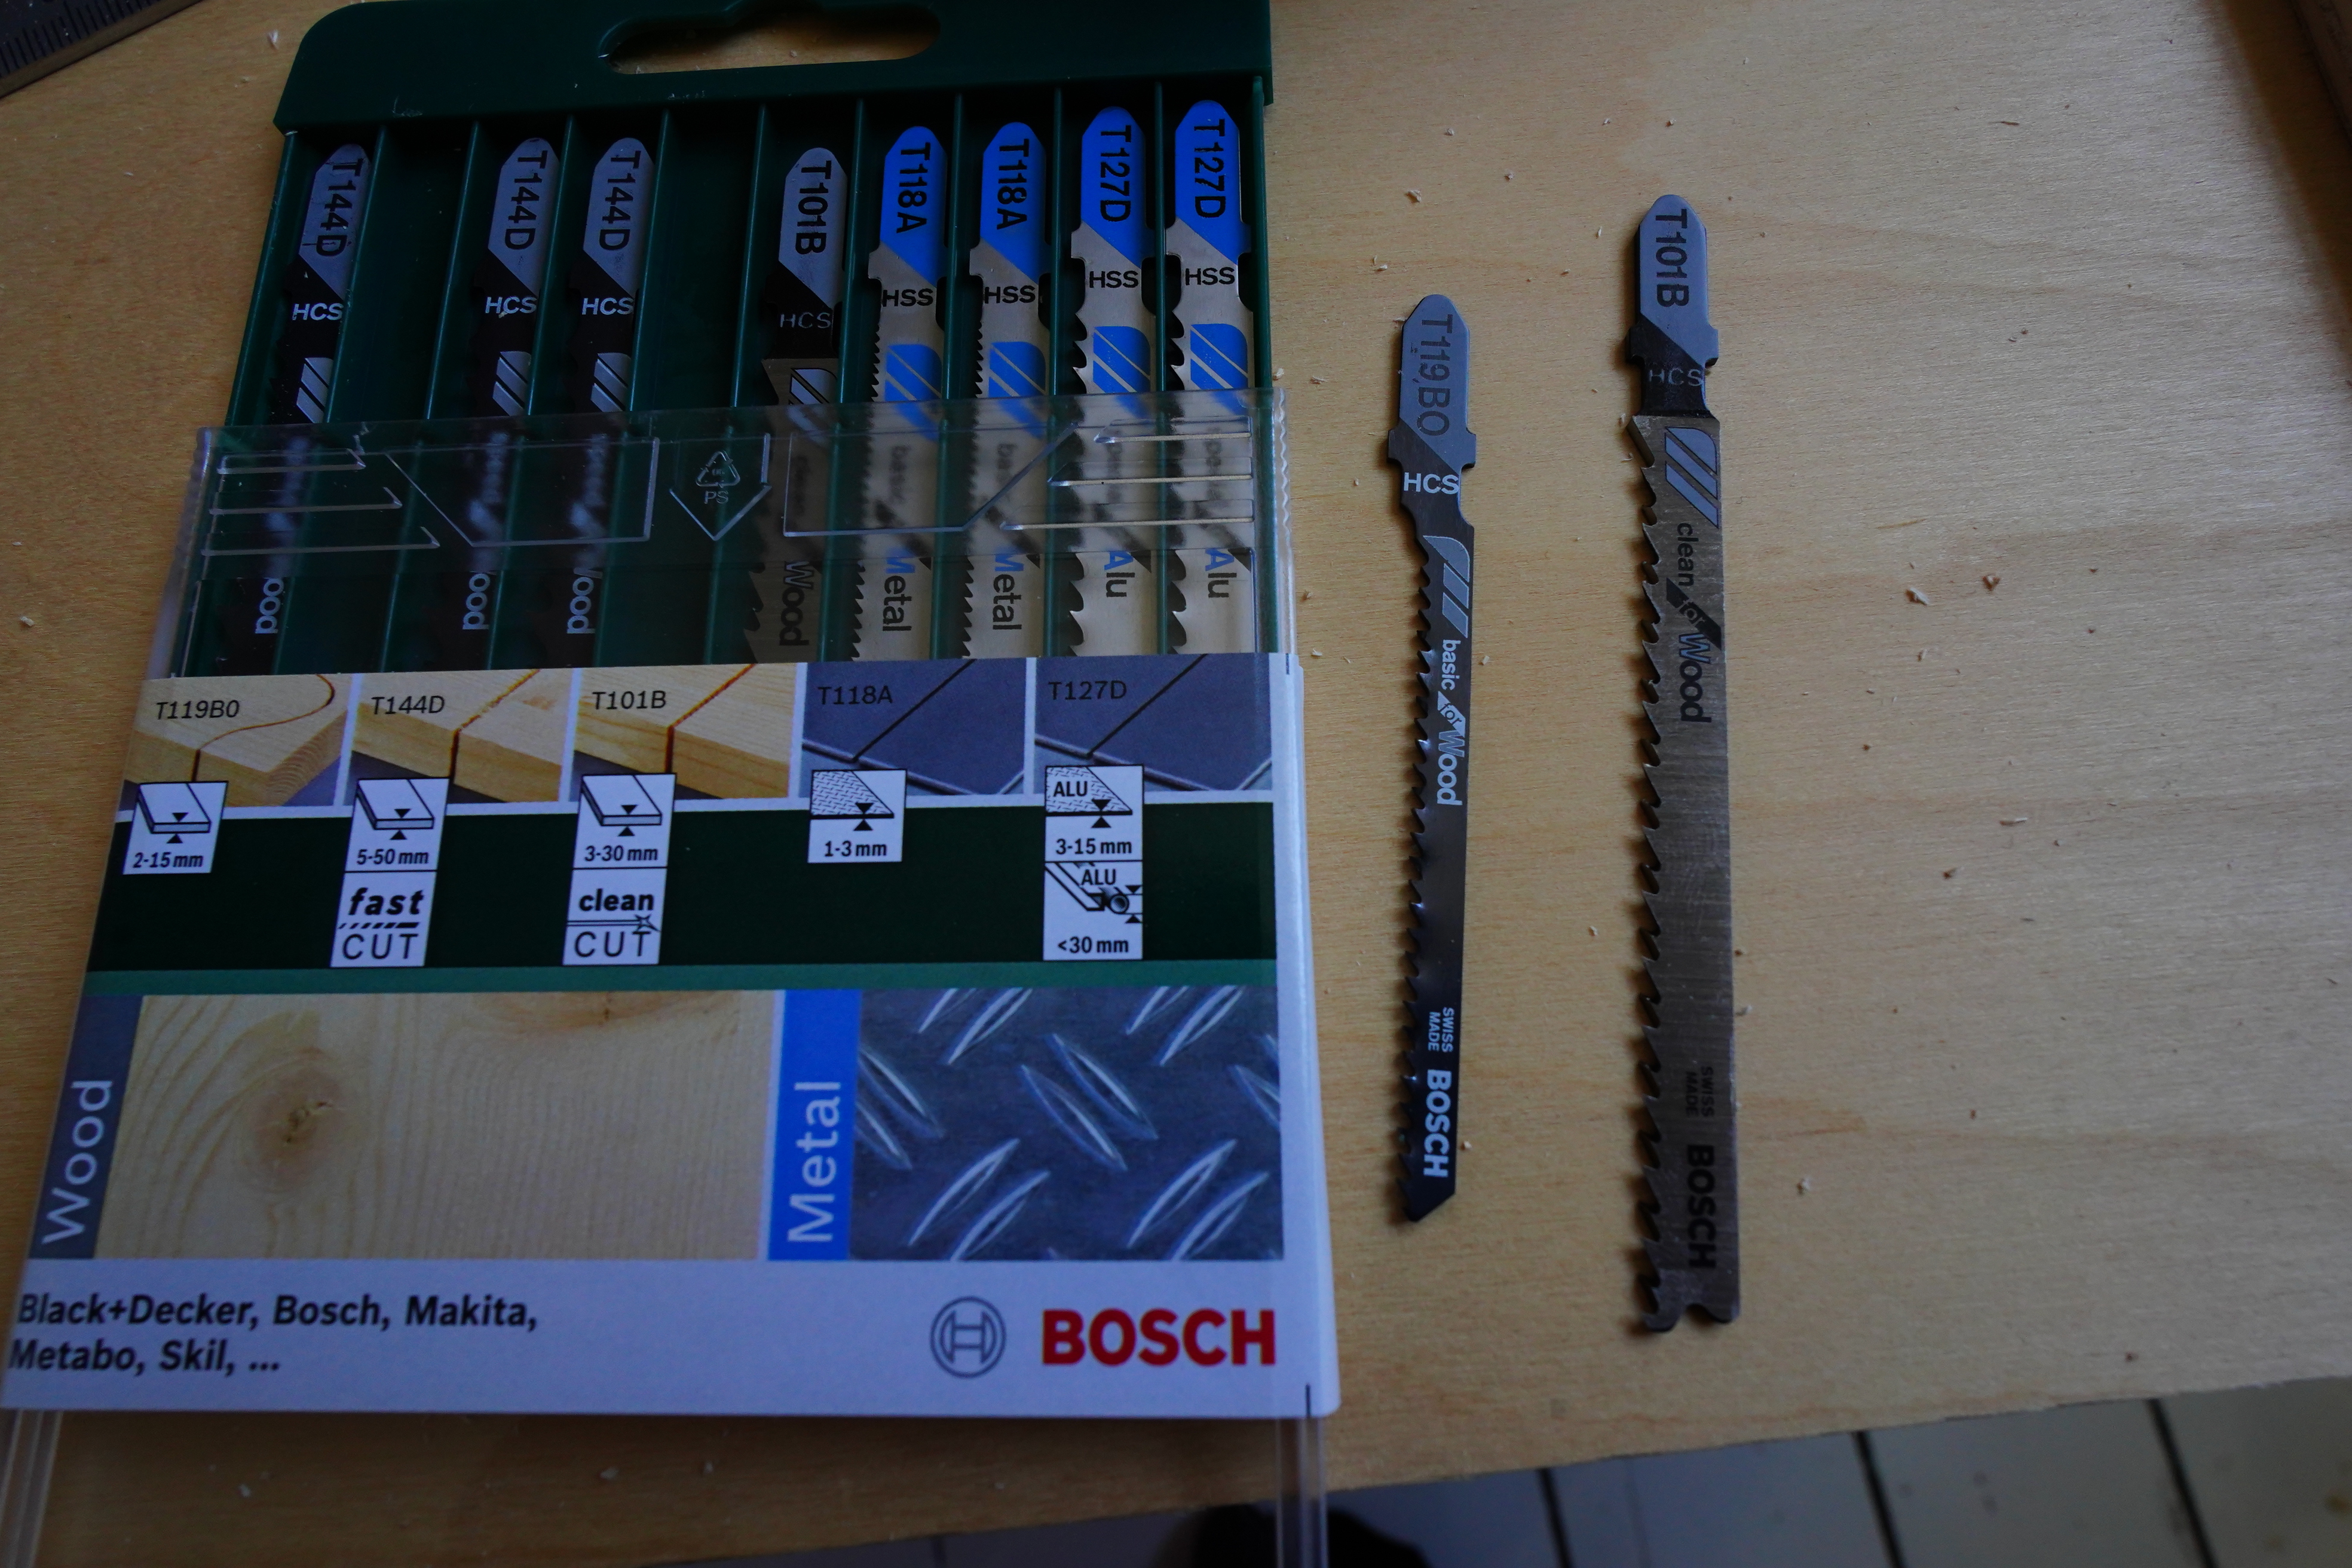
… “basic” and “fast” and “clean”. I used the “basic” first.
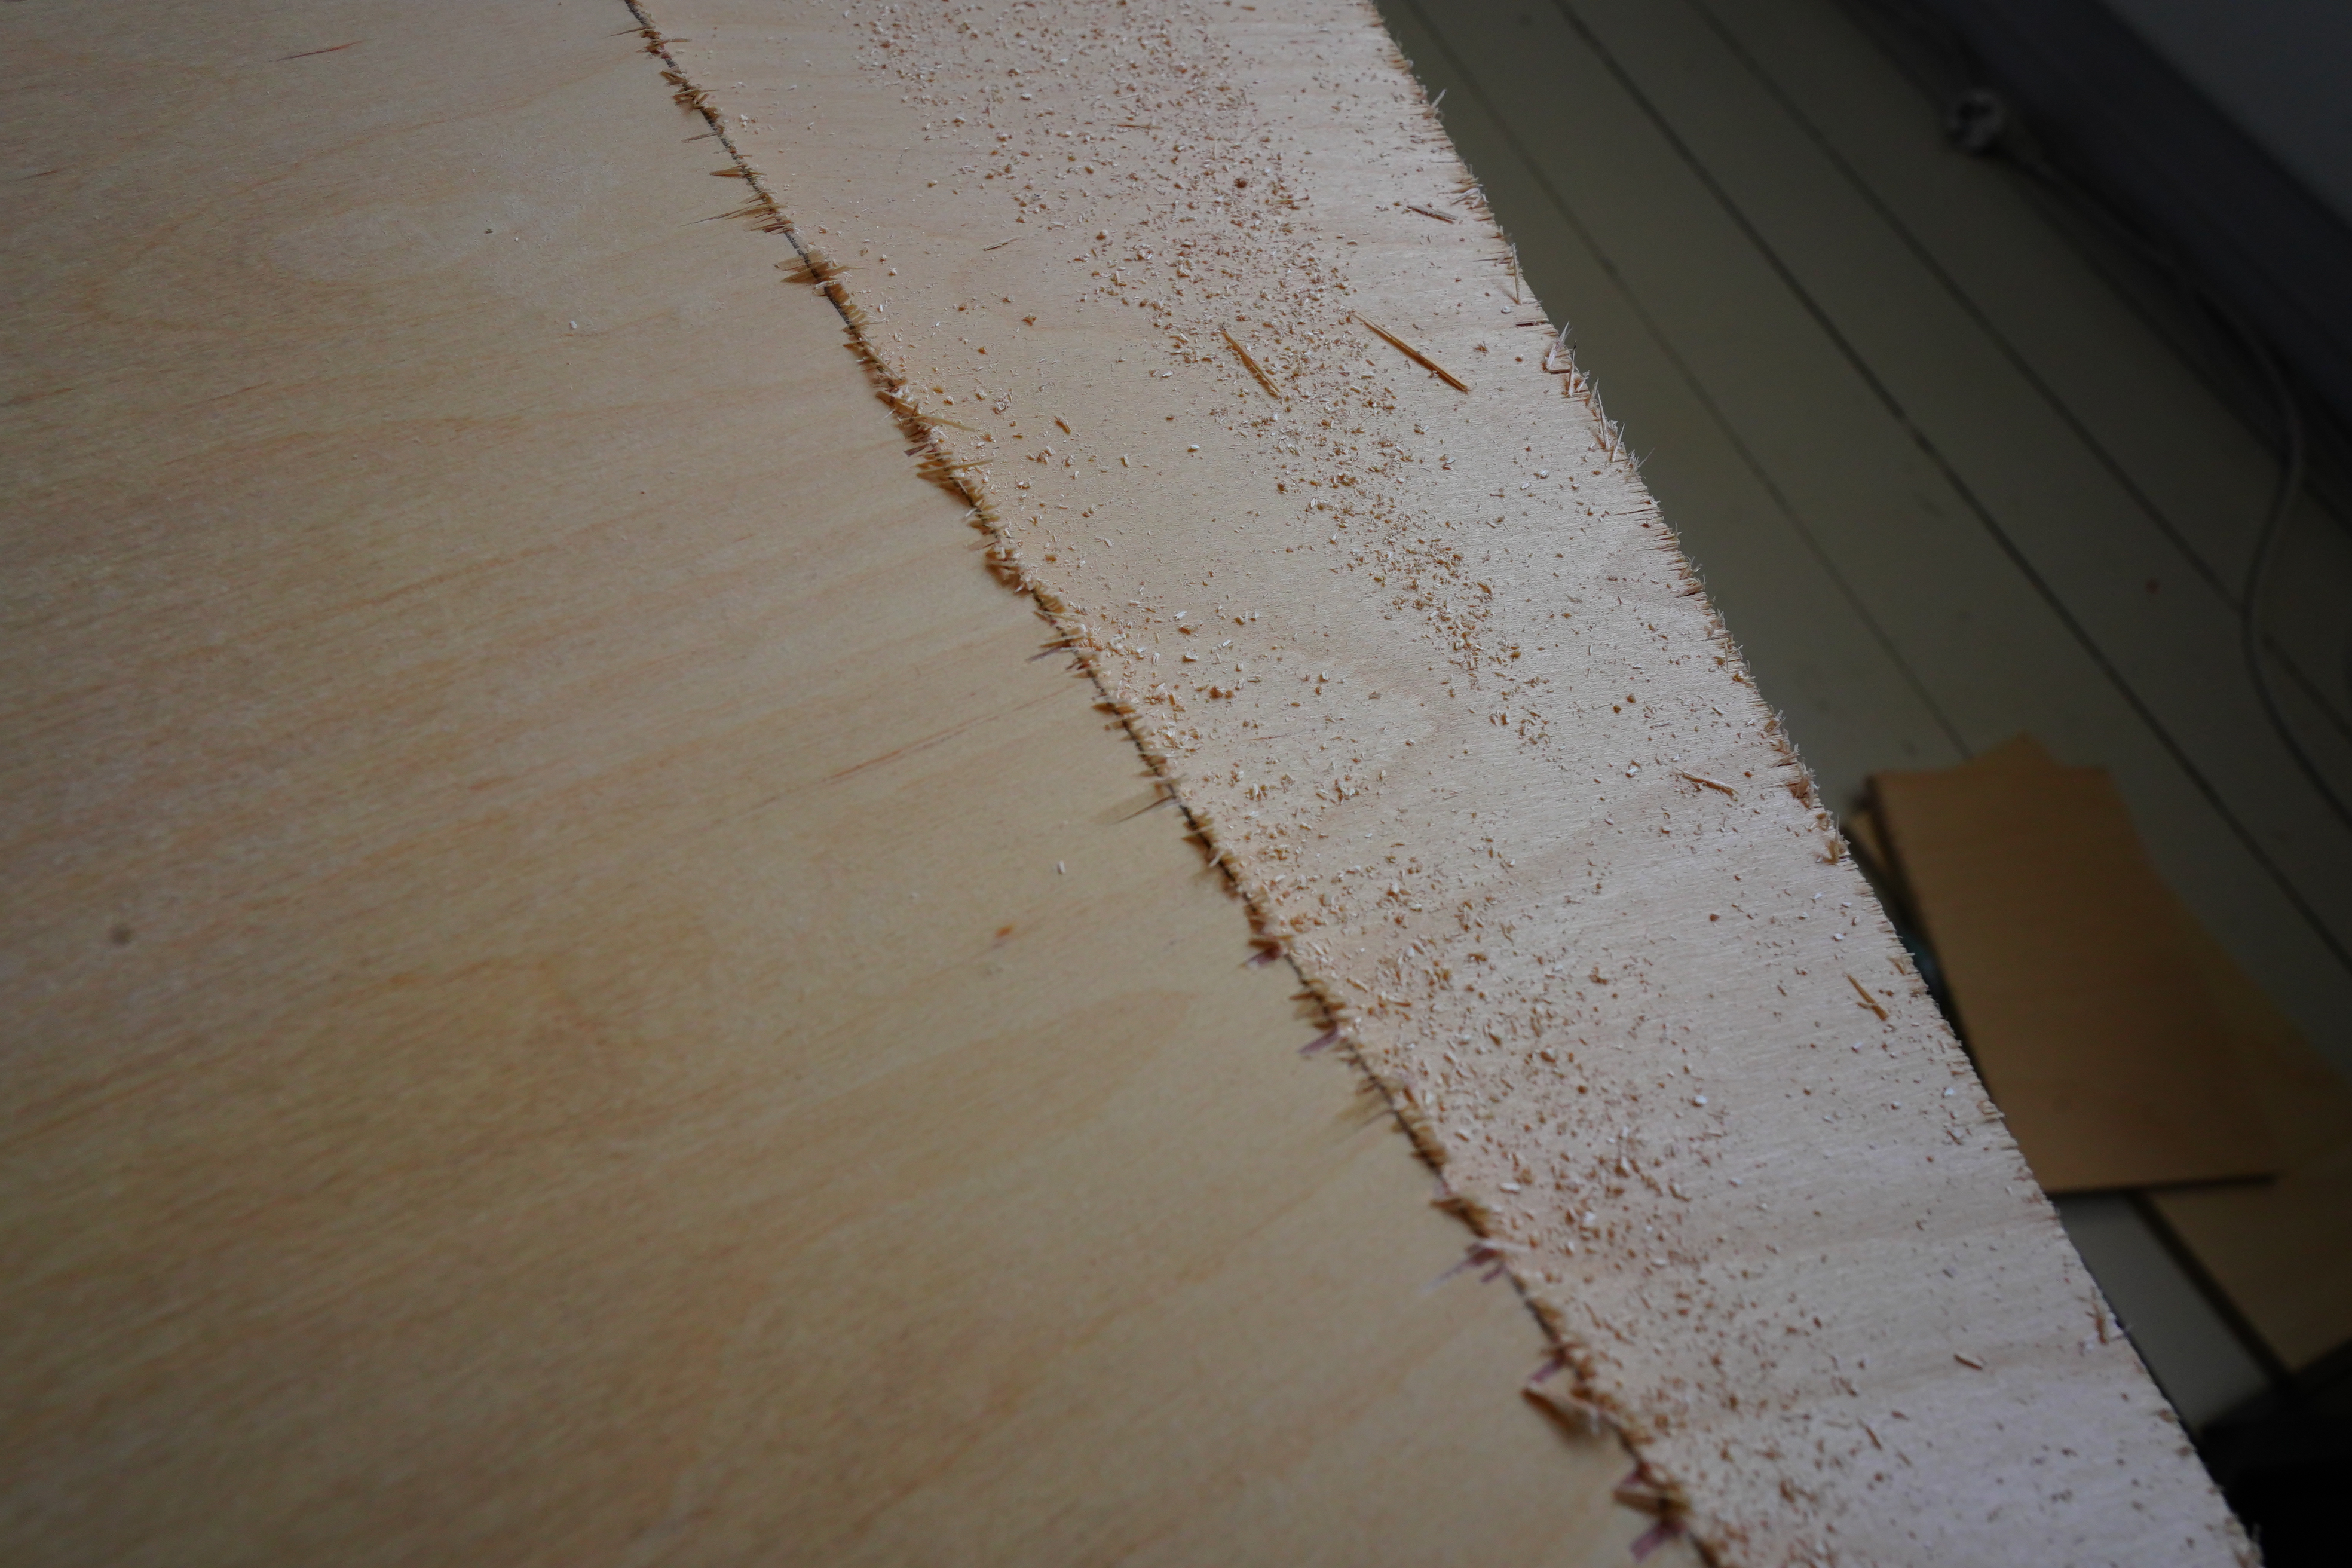
Man, that “clean” isn’t any better, especially on the reverse side, which is just chewed to bits. Am I just using the wrong blades, or is this wood really shitty?!

Oh, there’s something called a two side clean blade. That sounds like what I want?
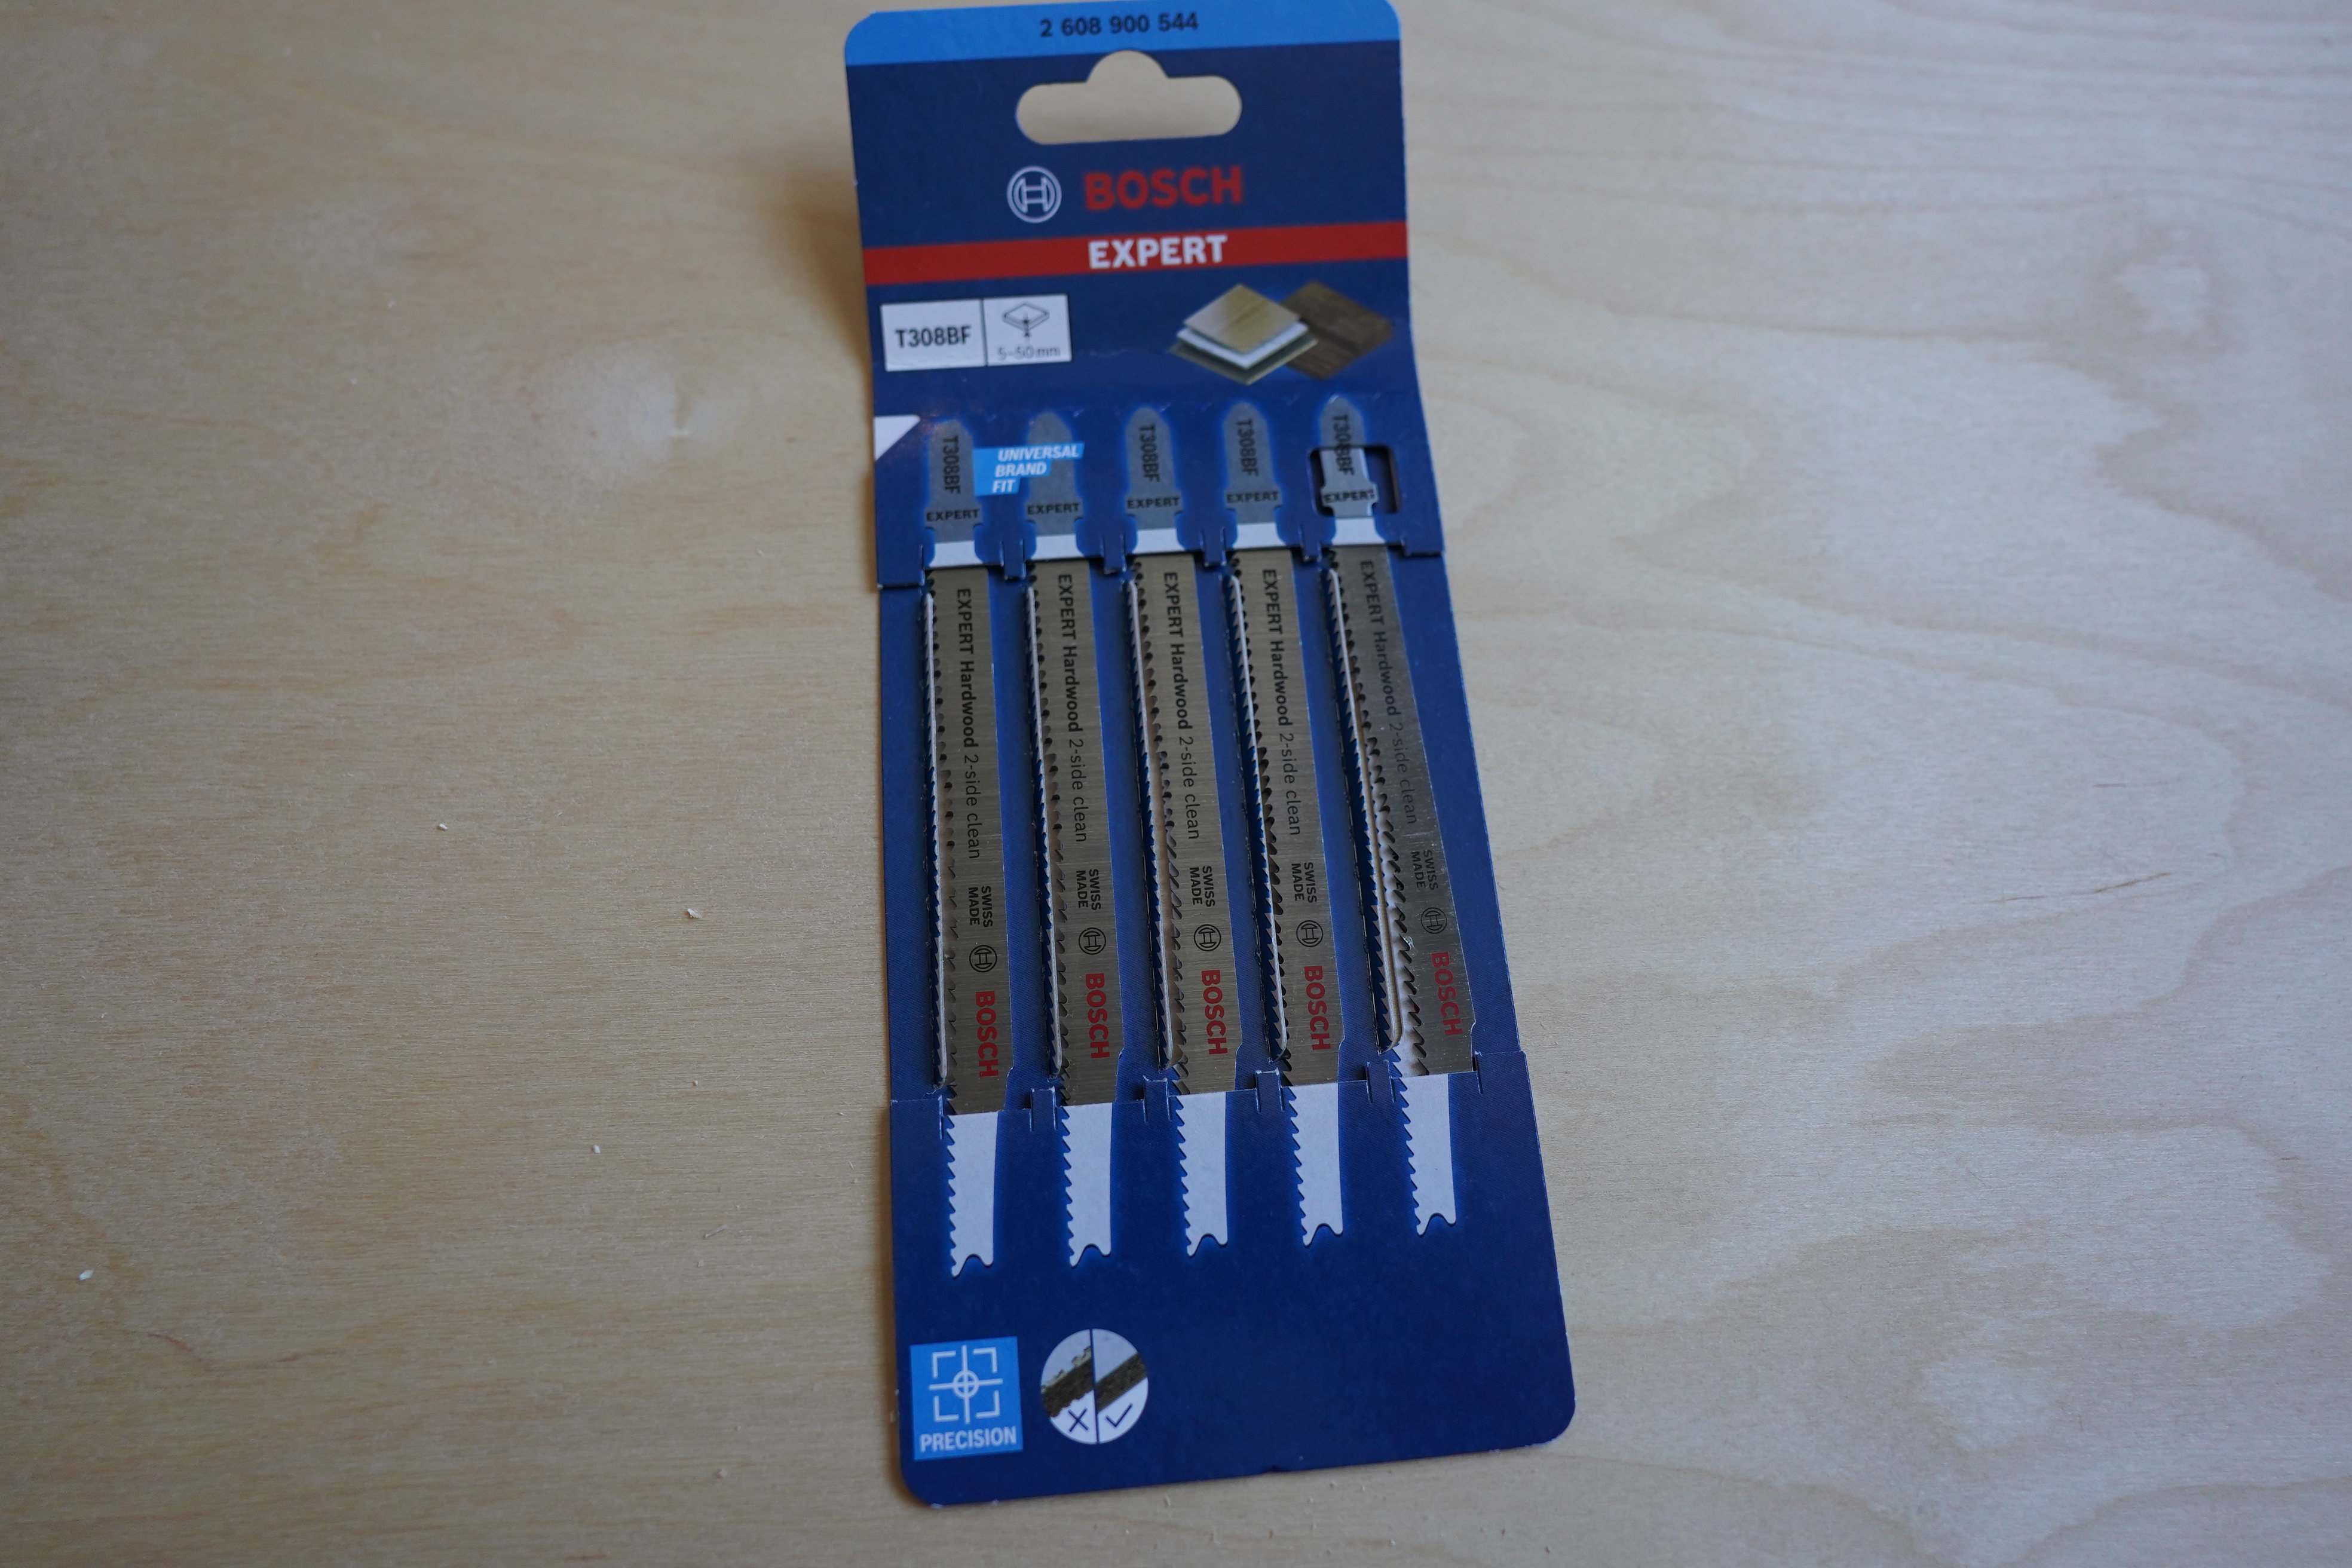
A li’l trip to the store, and I now have some T308TB blades. Let’s try one out:
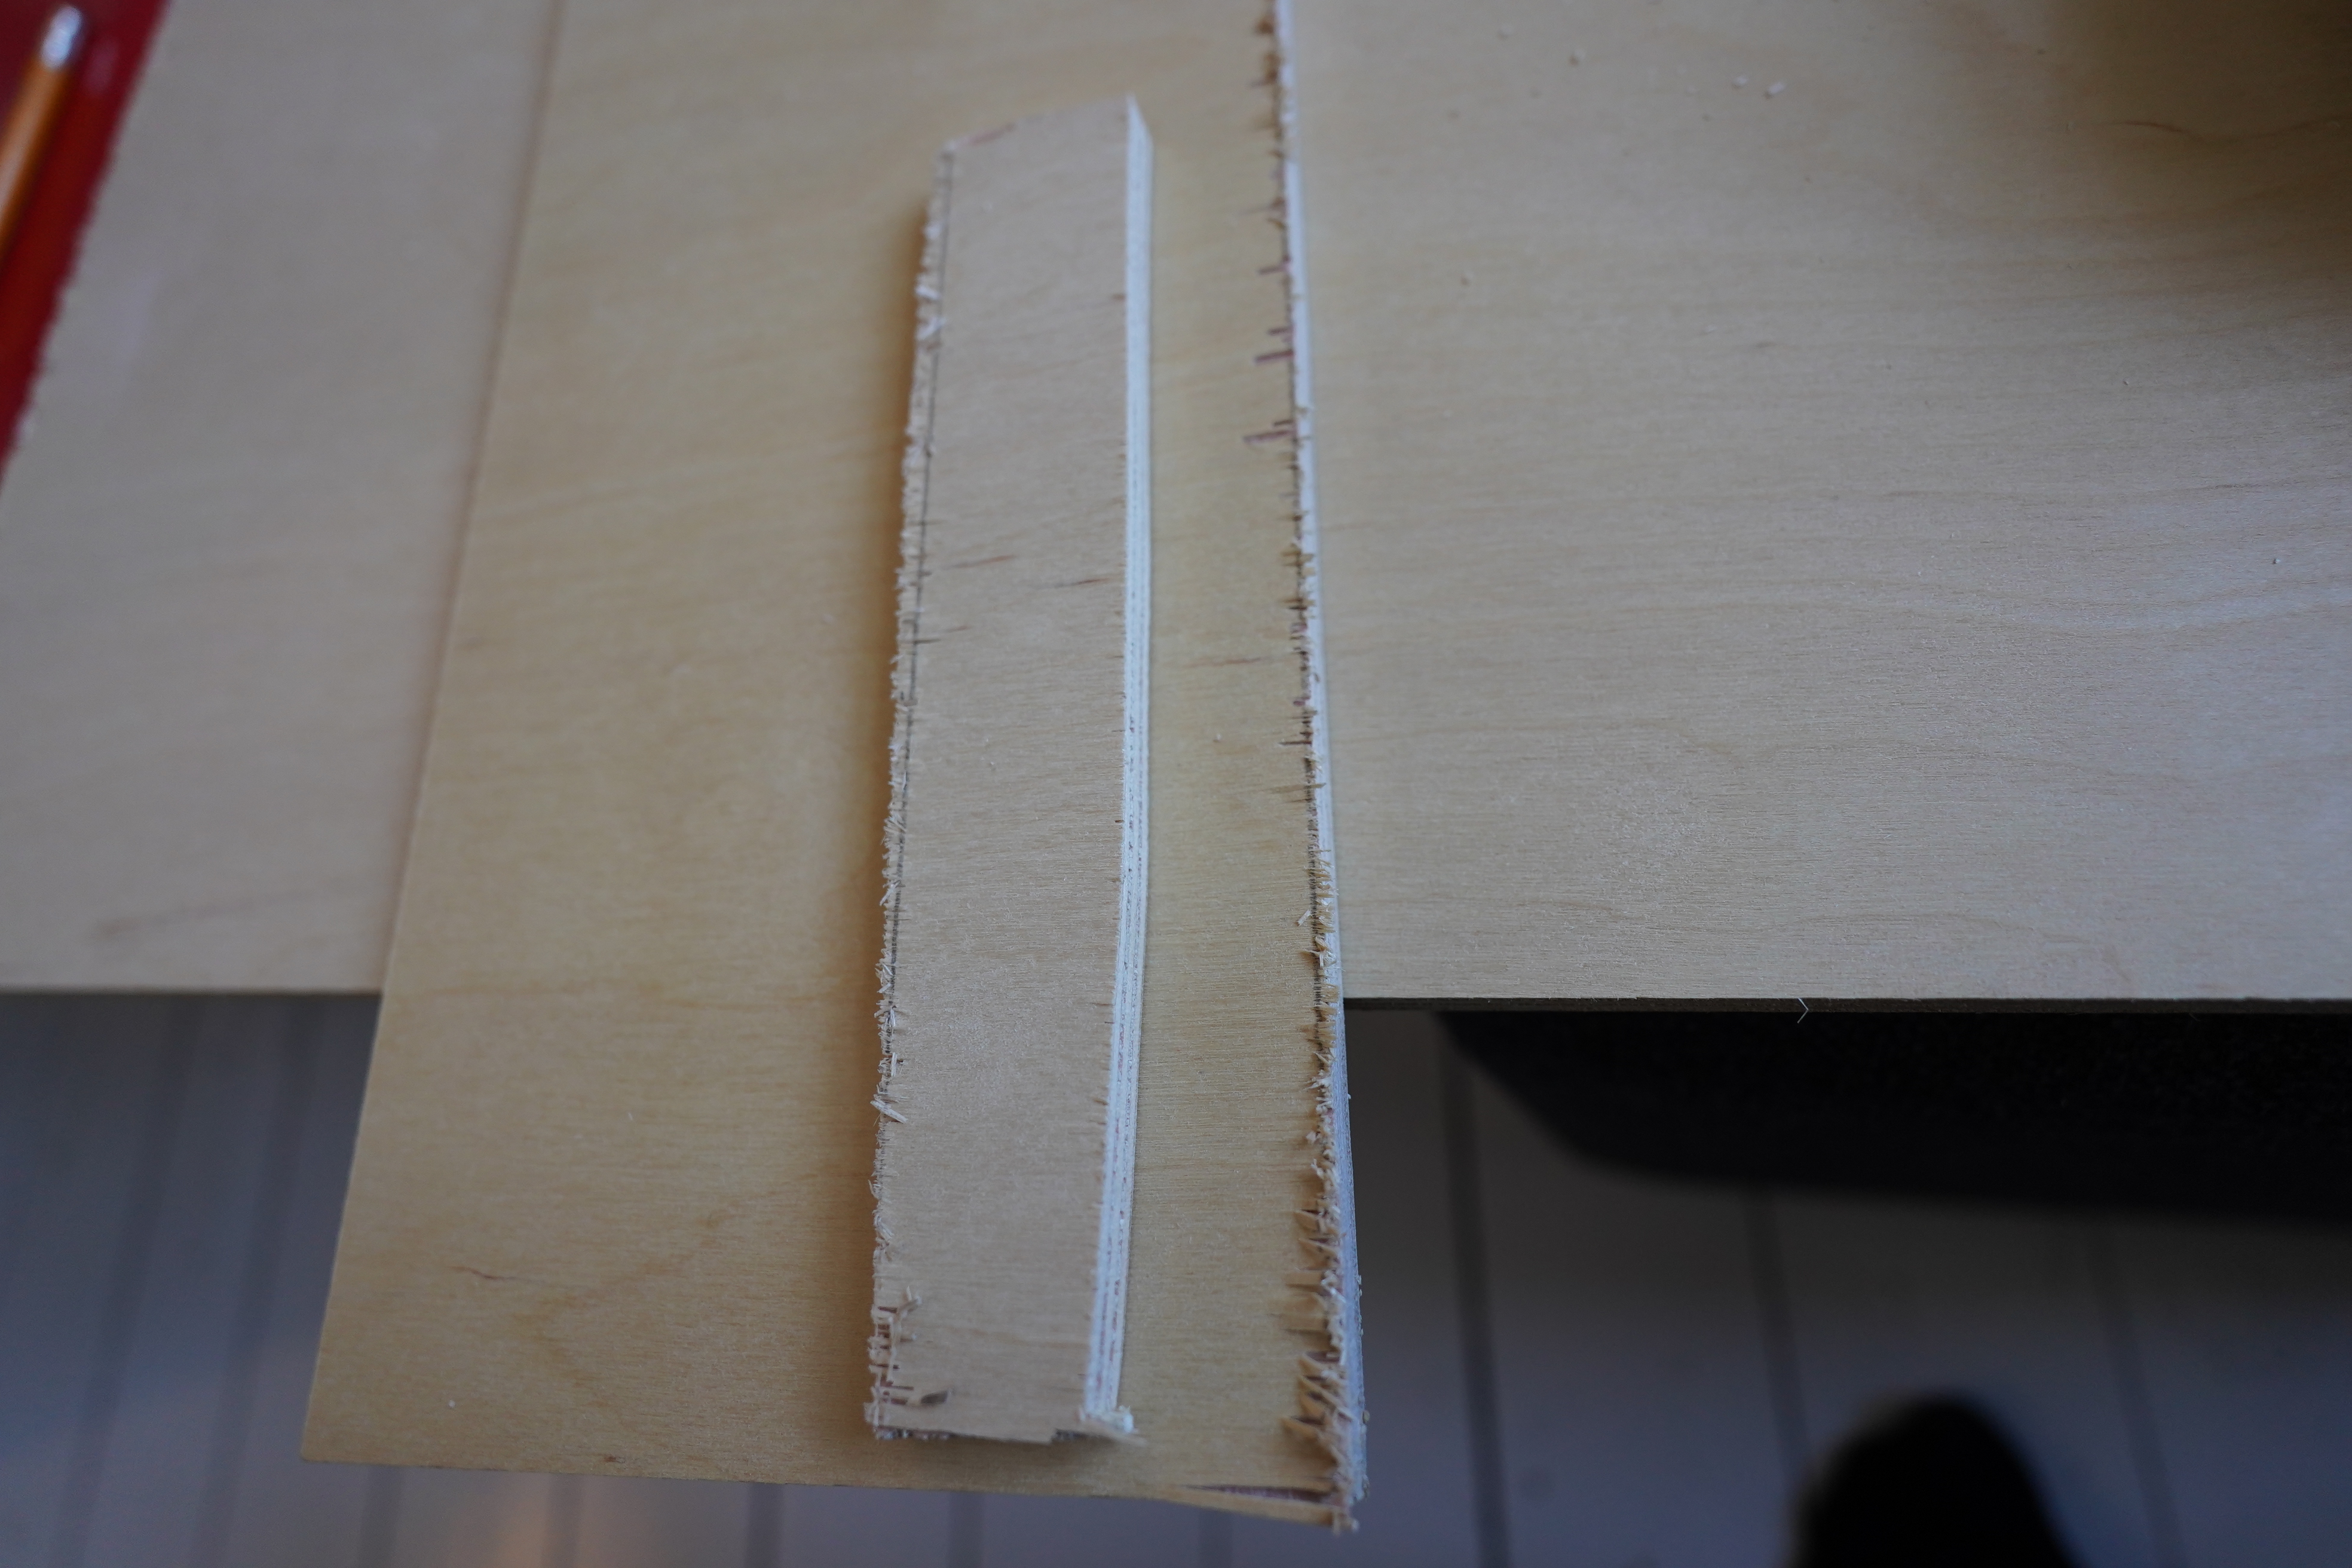
Wow, that’s some difference. The cut to the right is the “basic”, then to the left is “clean cut”, and then in the middle is the “hardwood 2 side clean” T308BF. That’s incredible. And it does almost look equally good on both sides — the other side is even better! Pristine.
Let’s do some cutting of the lid for the box! I’ve measured so precisely, and…
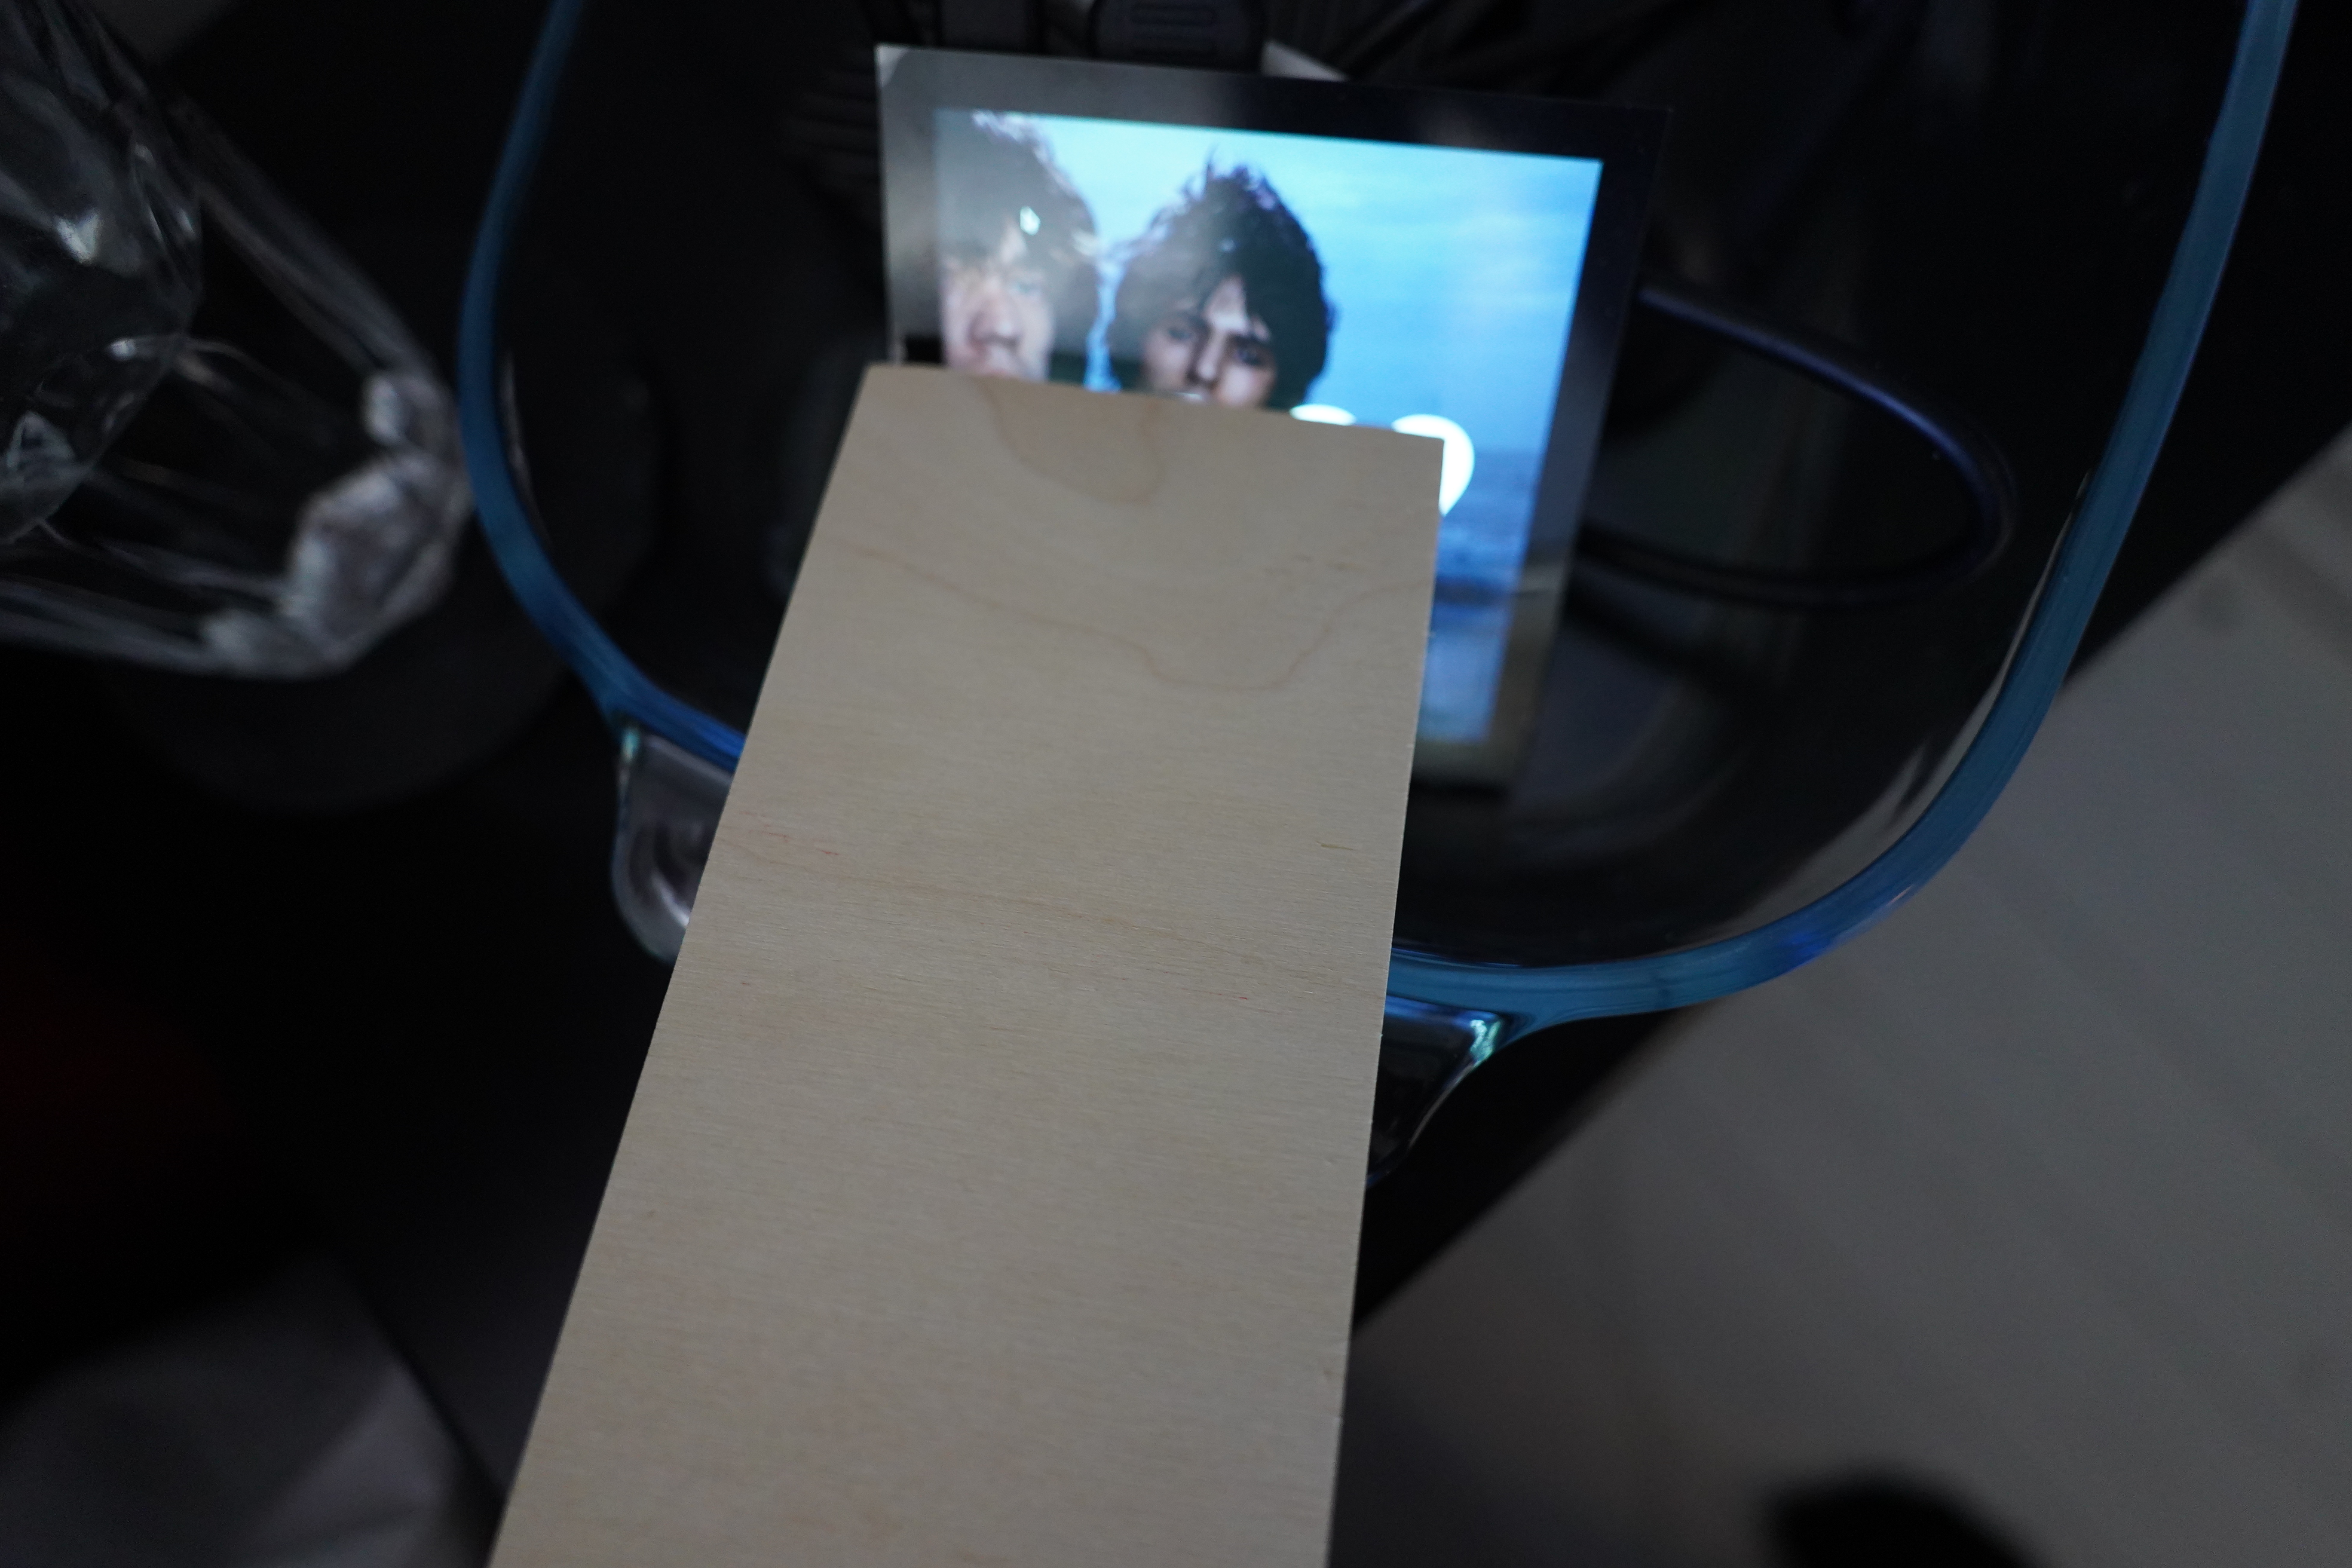
Oh. That’s not… that’s not right. Did I really mis-measure that badly? OK, I’m following the old adage of “measure once and cut twice”, so…
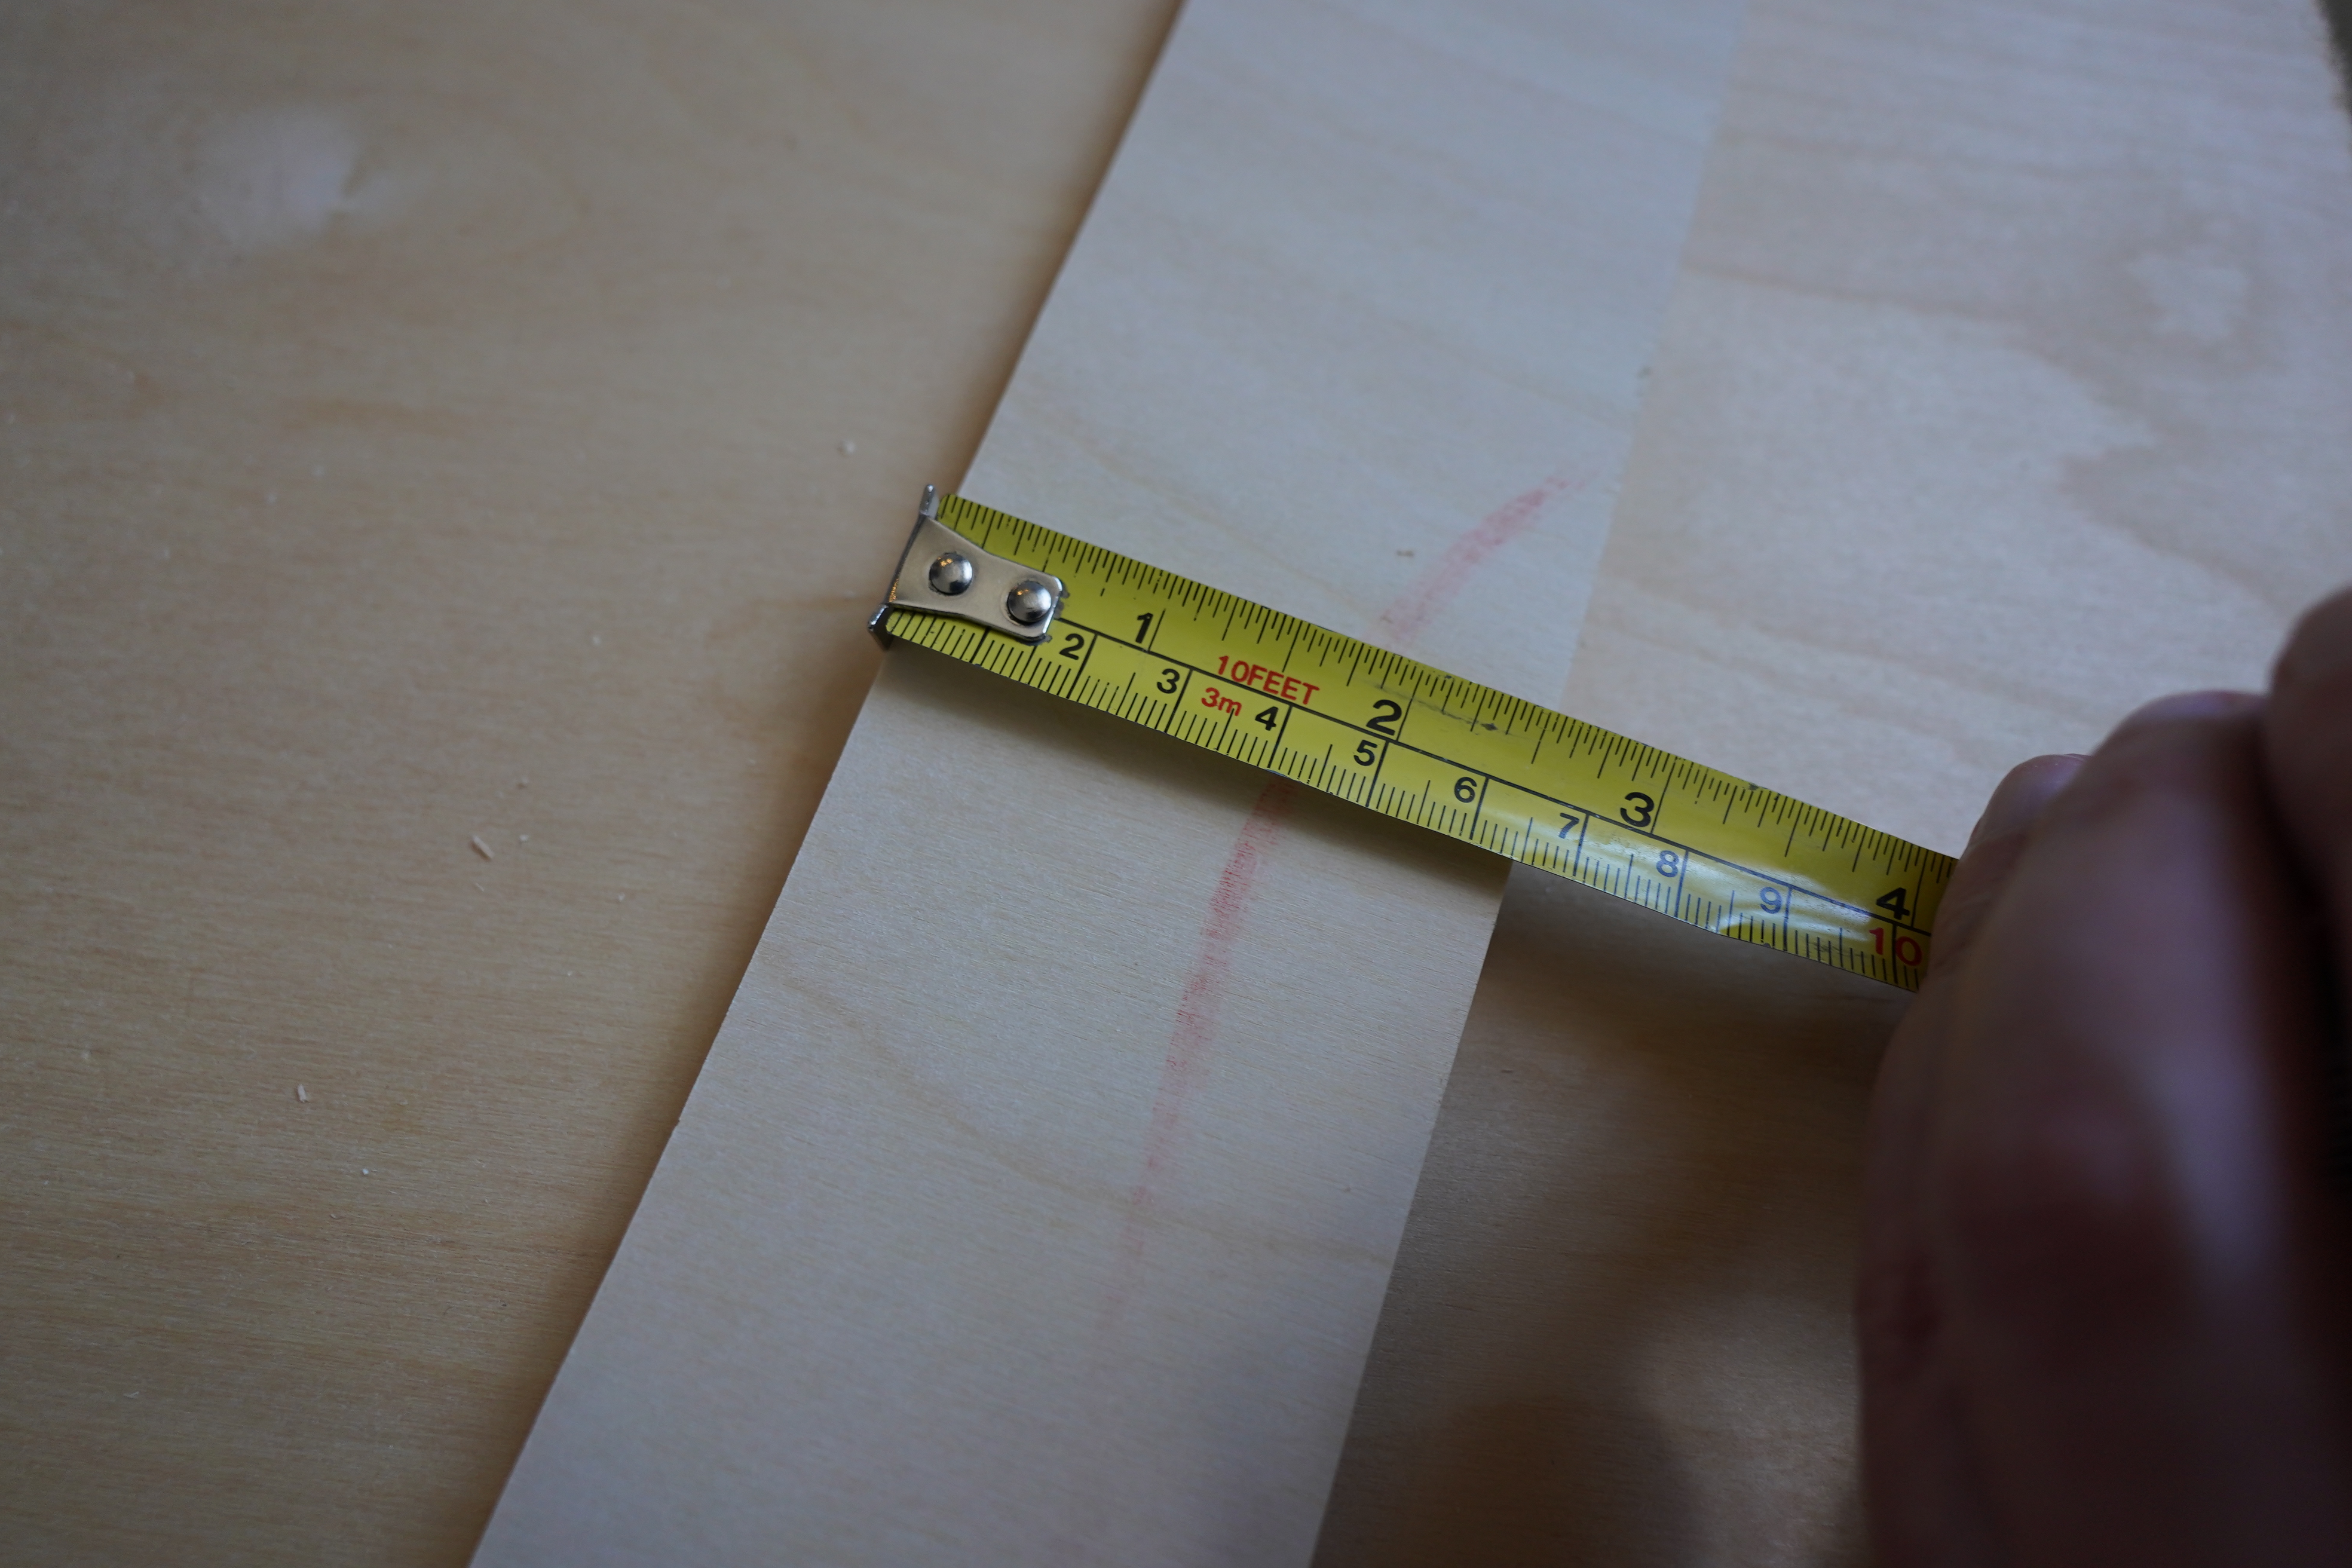
Yeah, that’s really bad. I’m off by 1.5cm at one end while being correct on the other end.
Is there a trick to cutting straight with a jigsaw? There is!
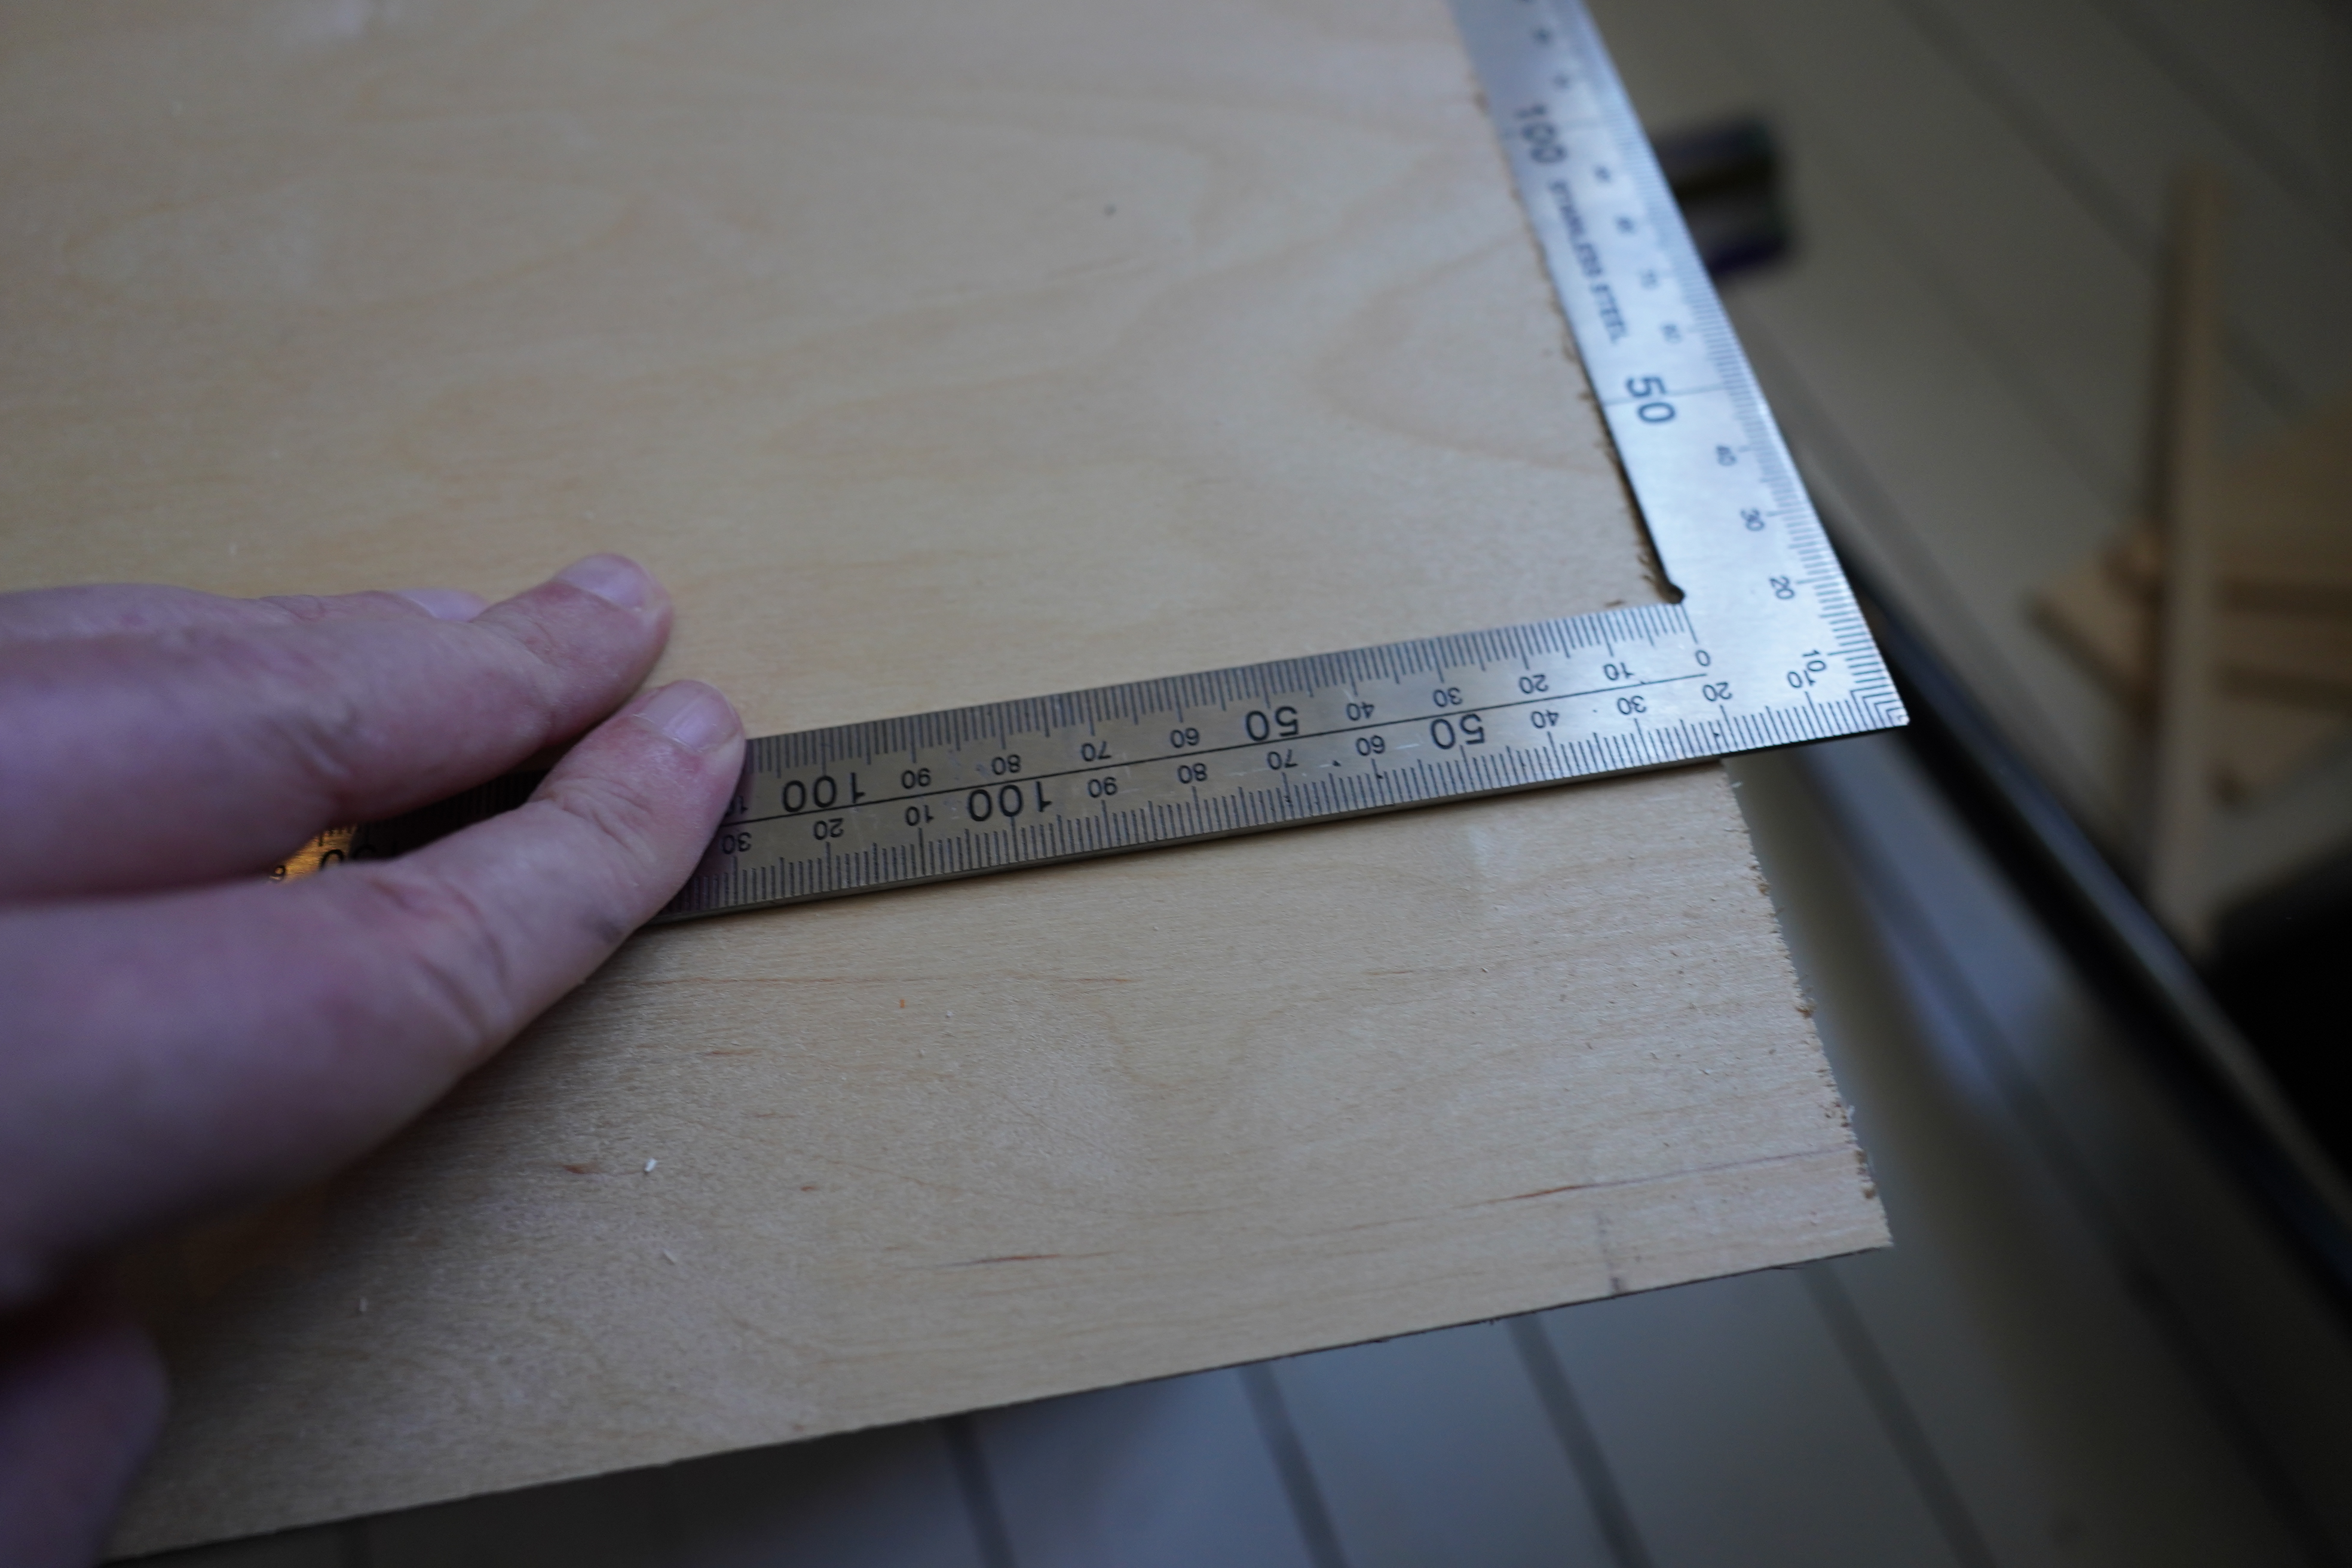
Now let’s see…
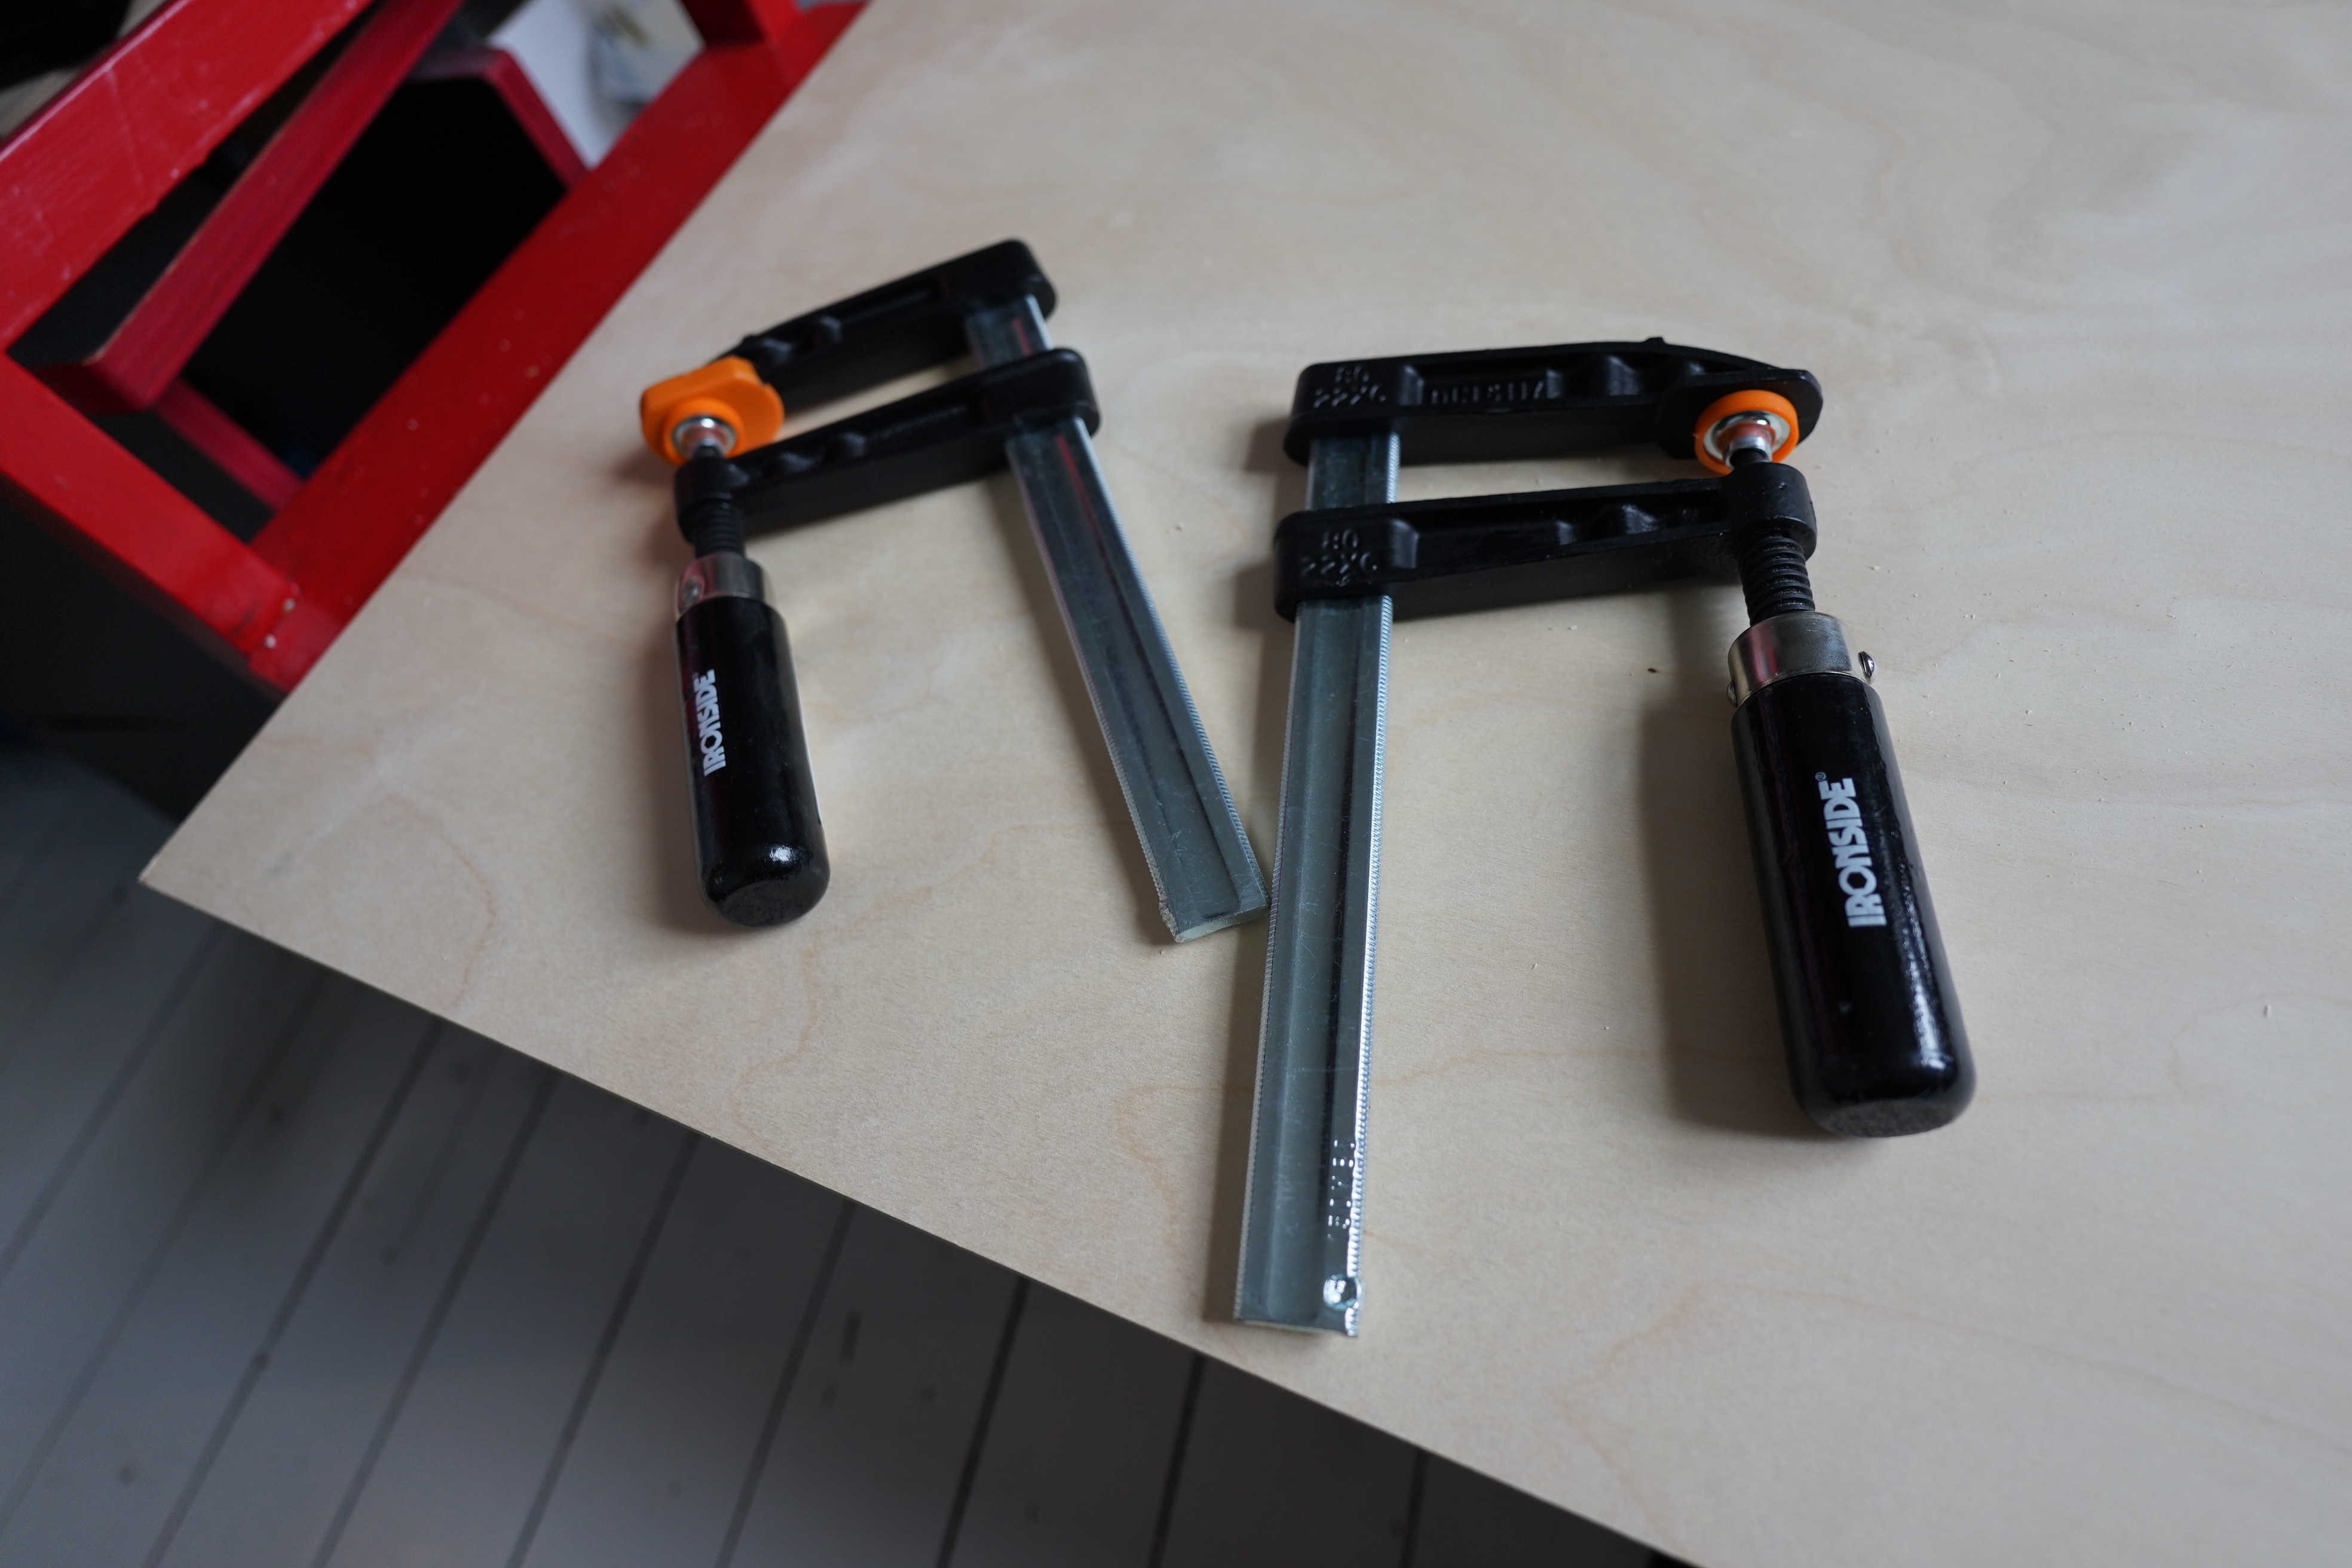
I’ve got these… what are they called? Hand held vises? Nah, can’t be right. Squeezey thingies. That’s the ticket.
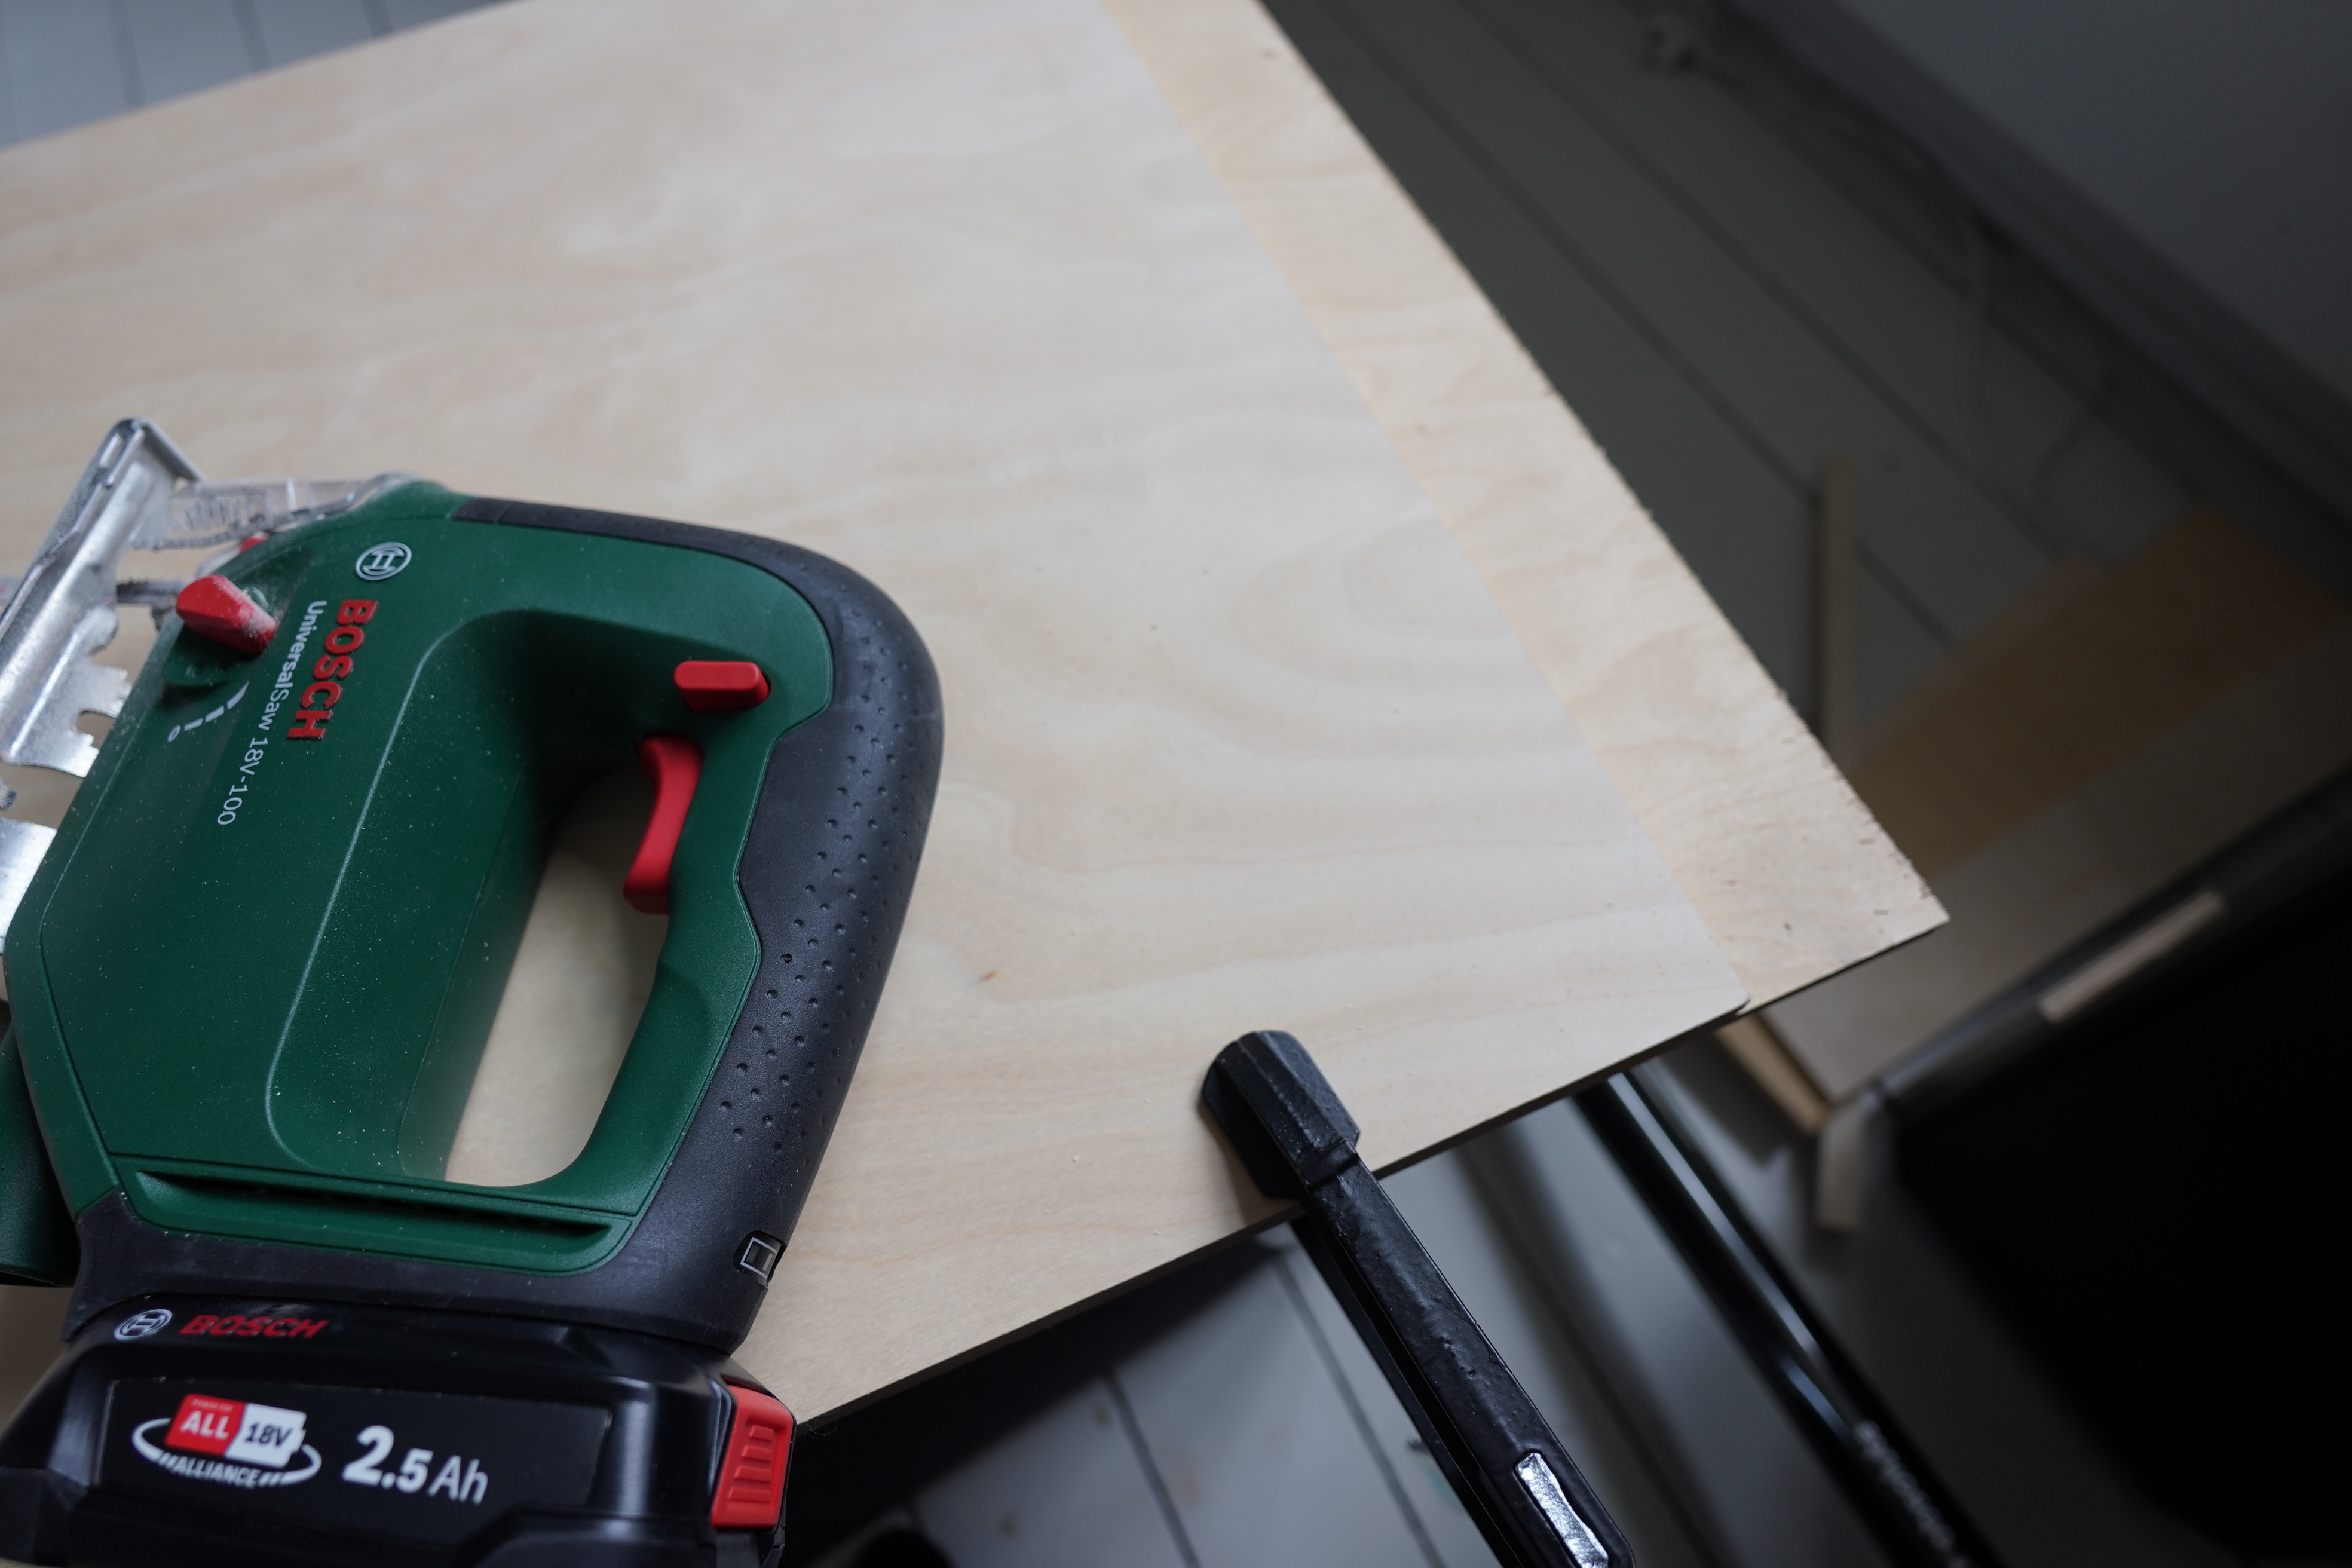
So I squeeze the wood, using one as the guide for the other…
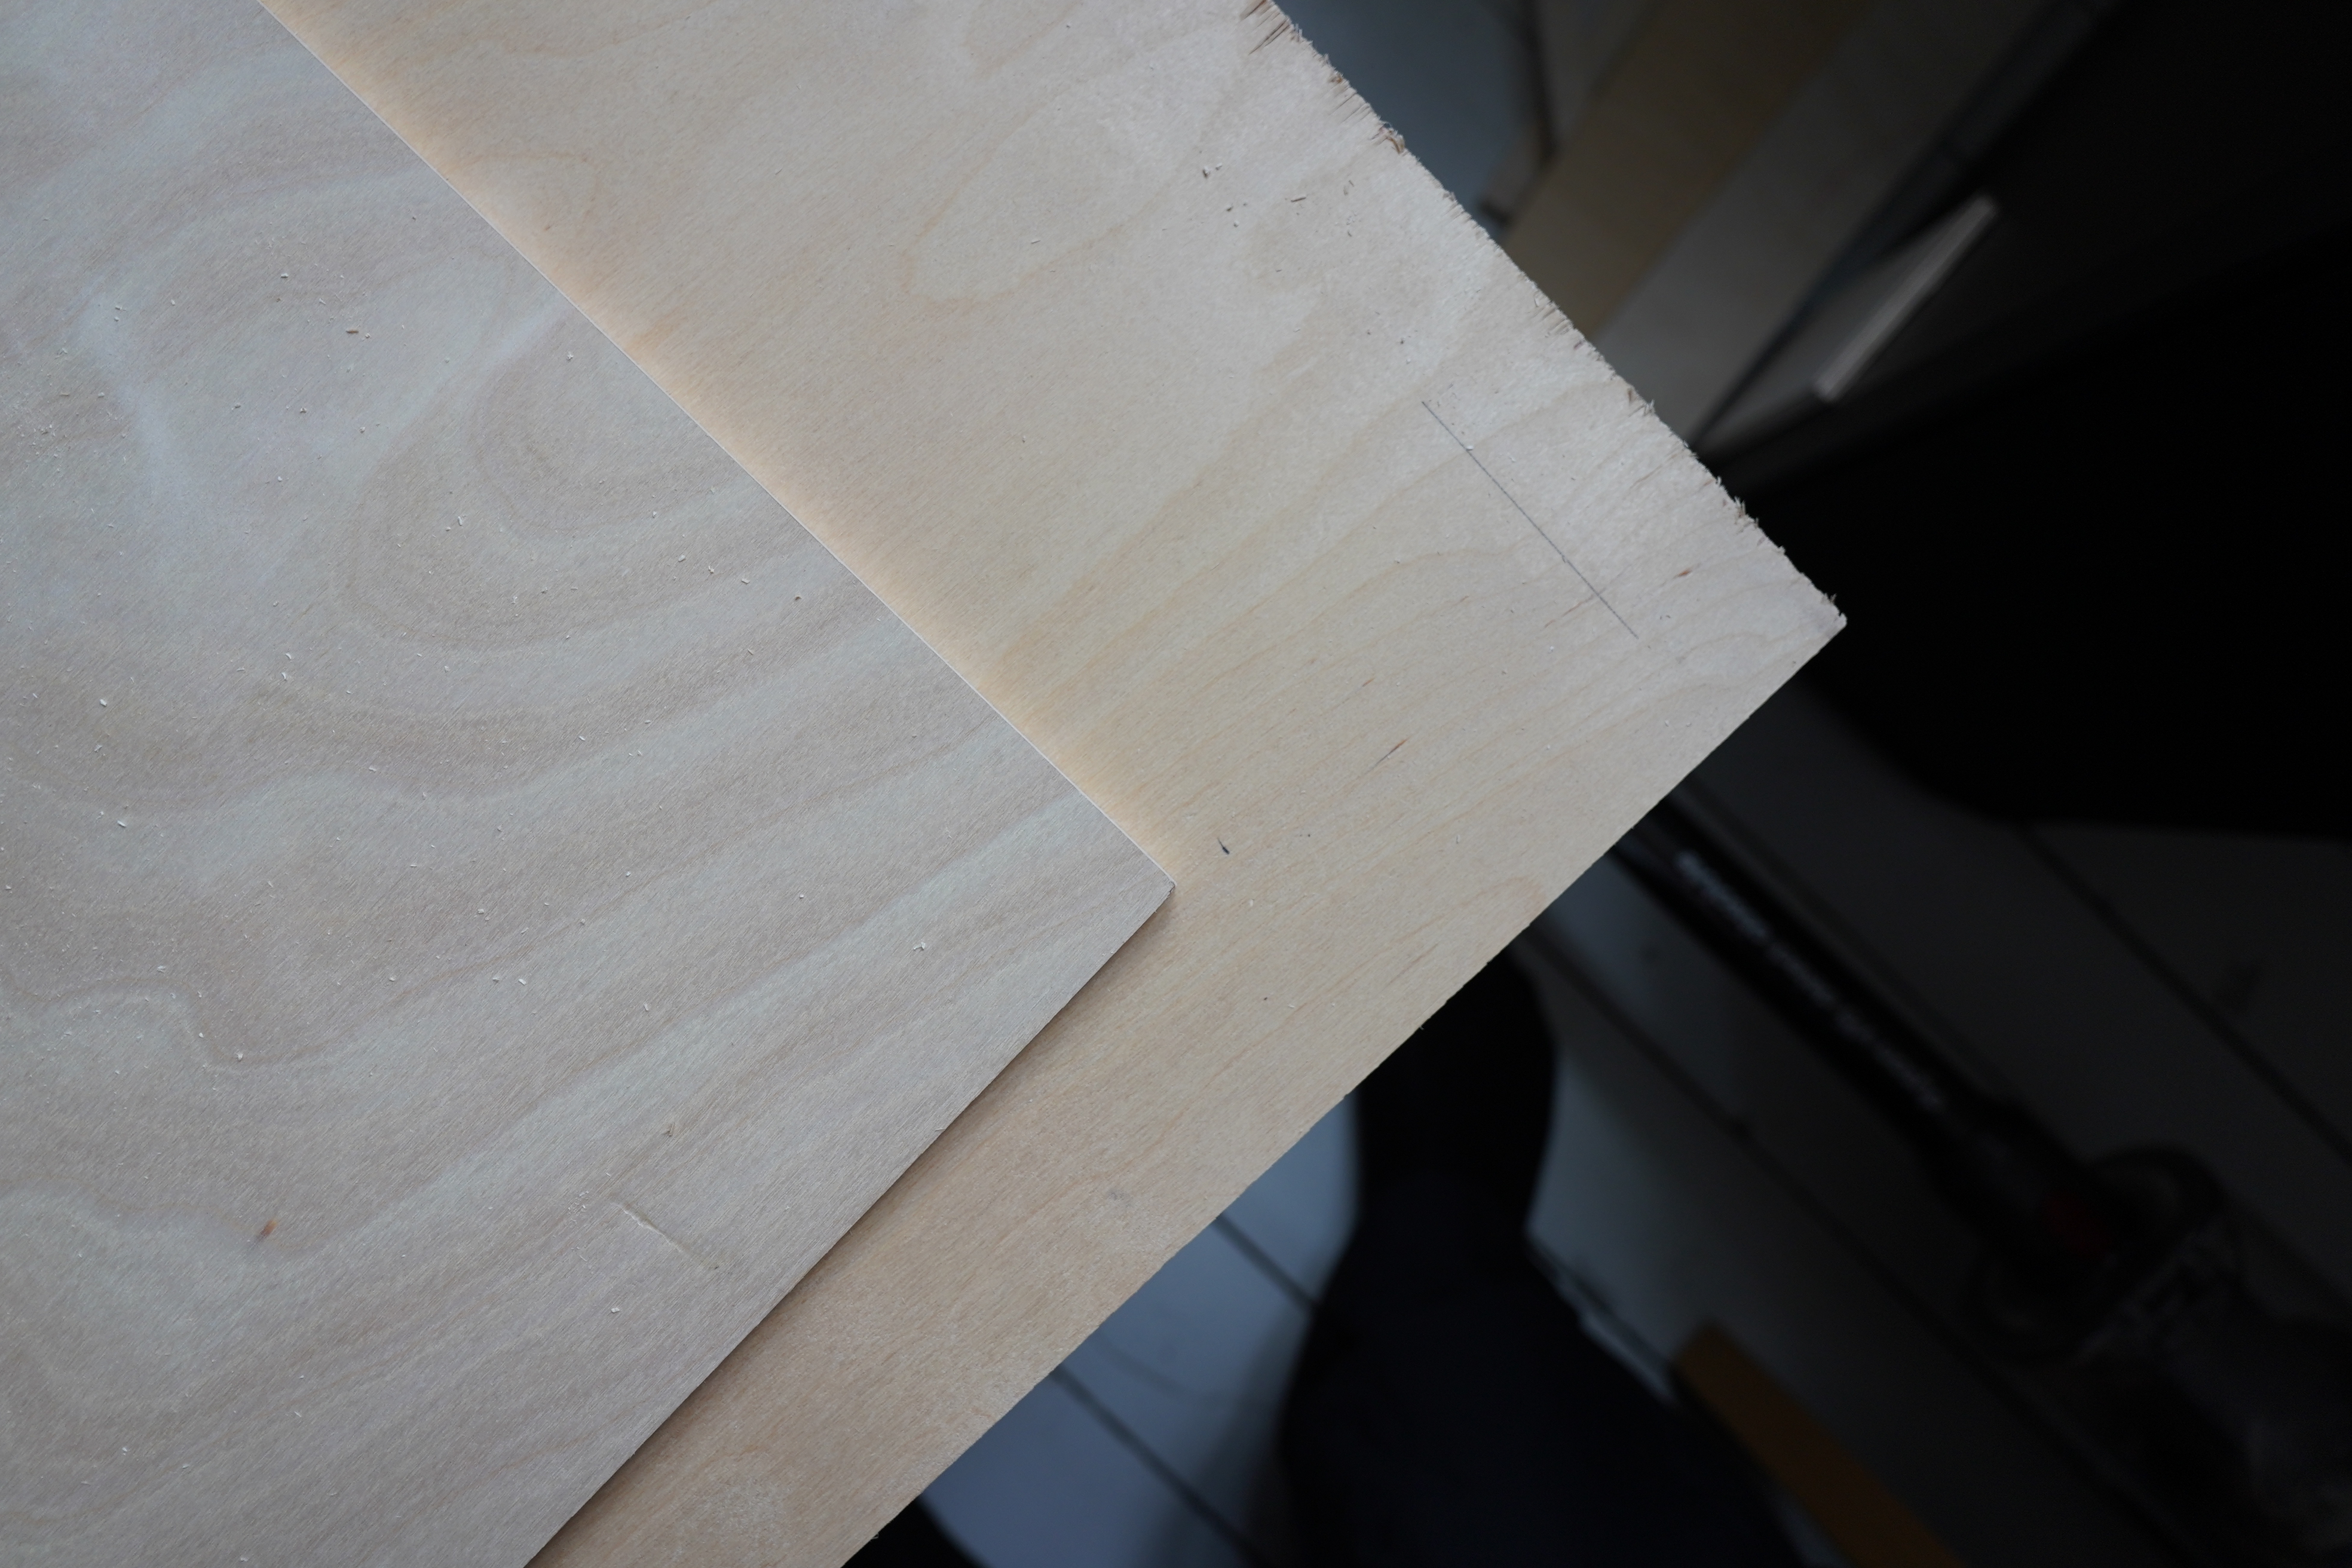
But there’s a lot of mathing involved, since I have to add the width of the guide thing on the jigsaw…
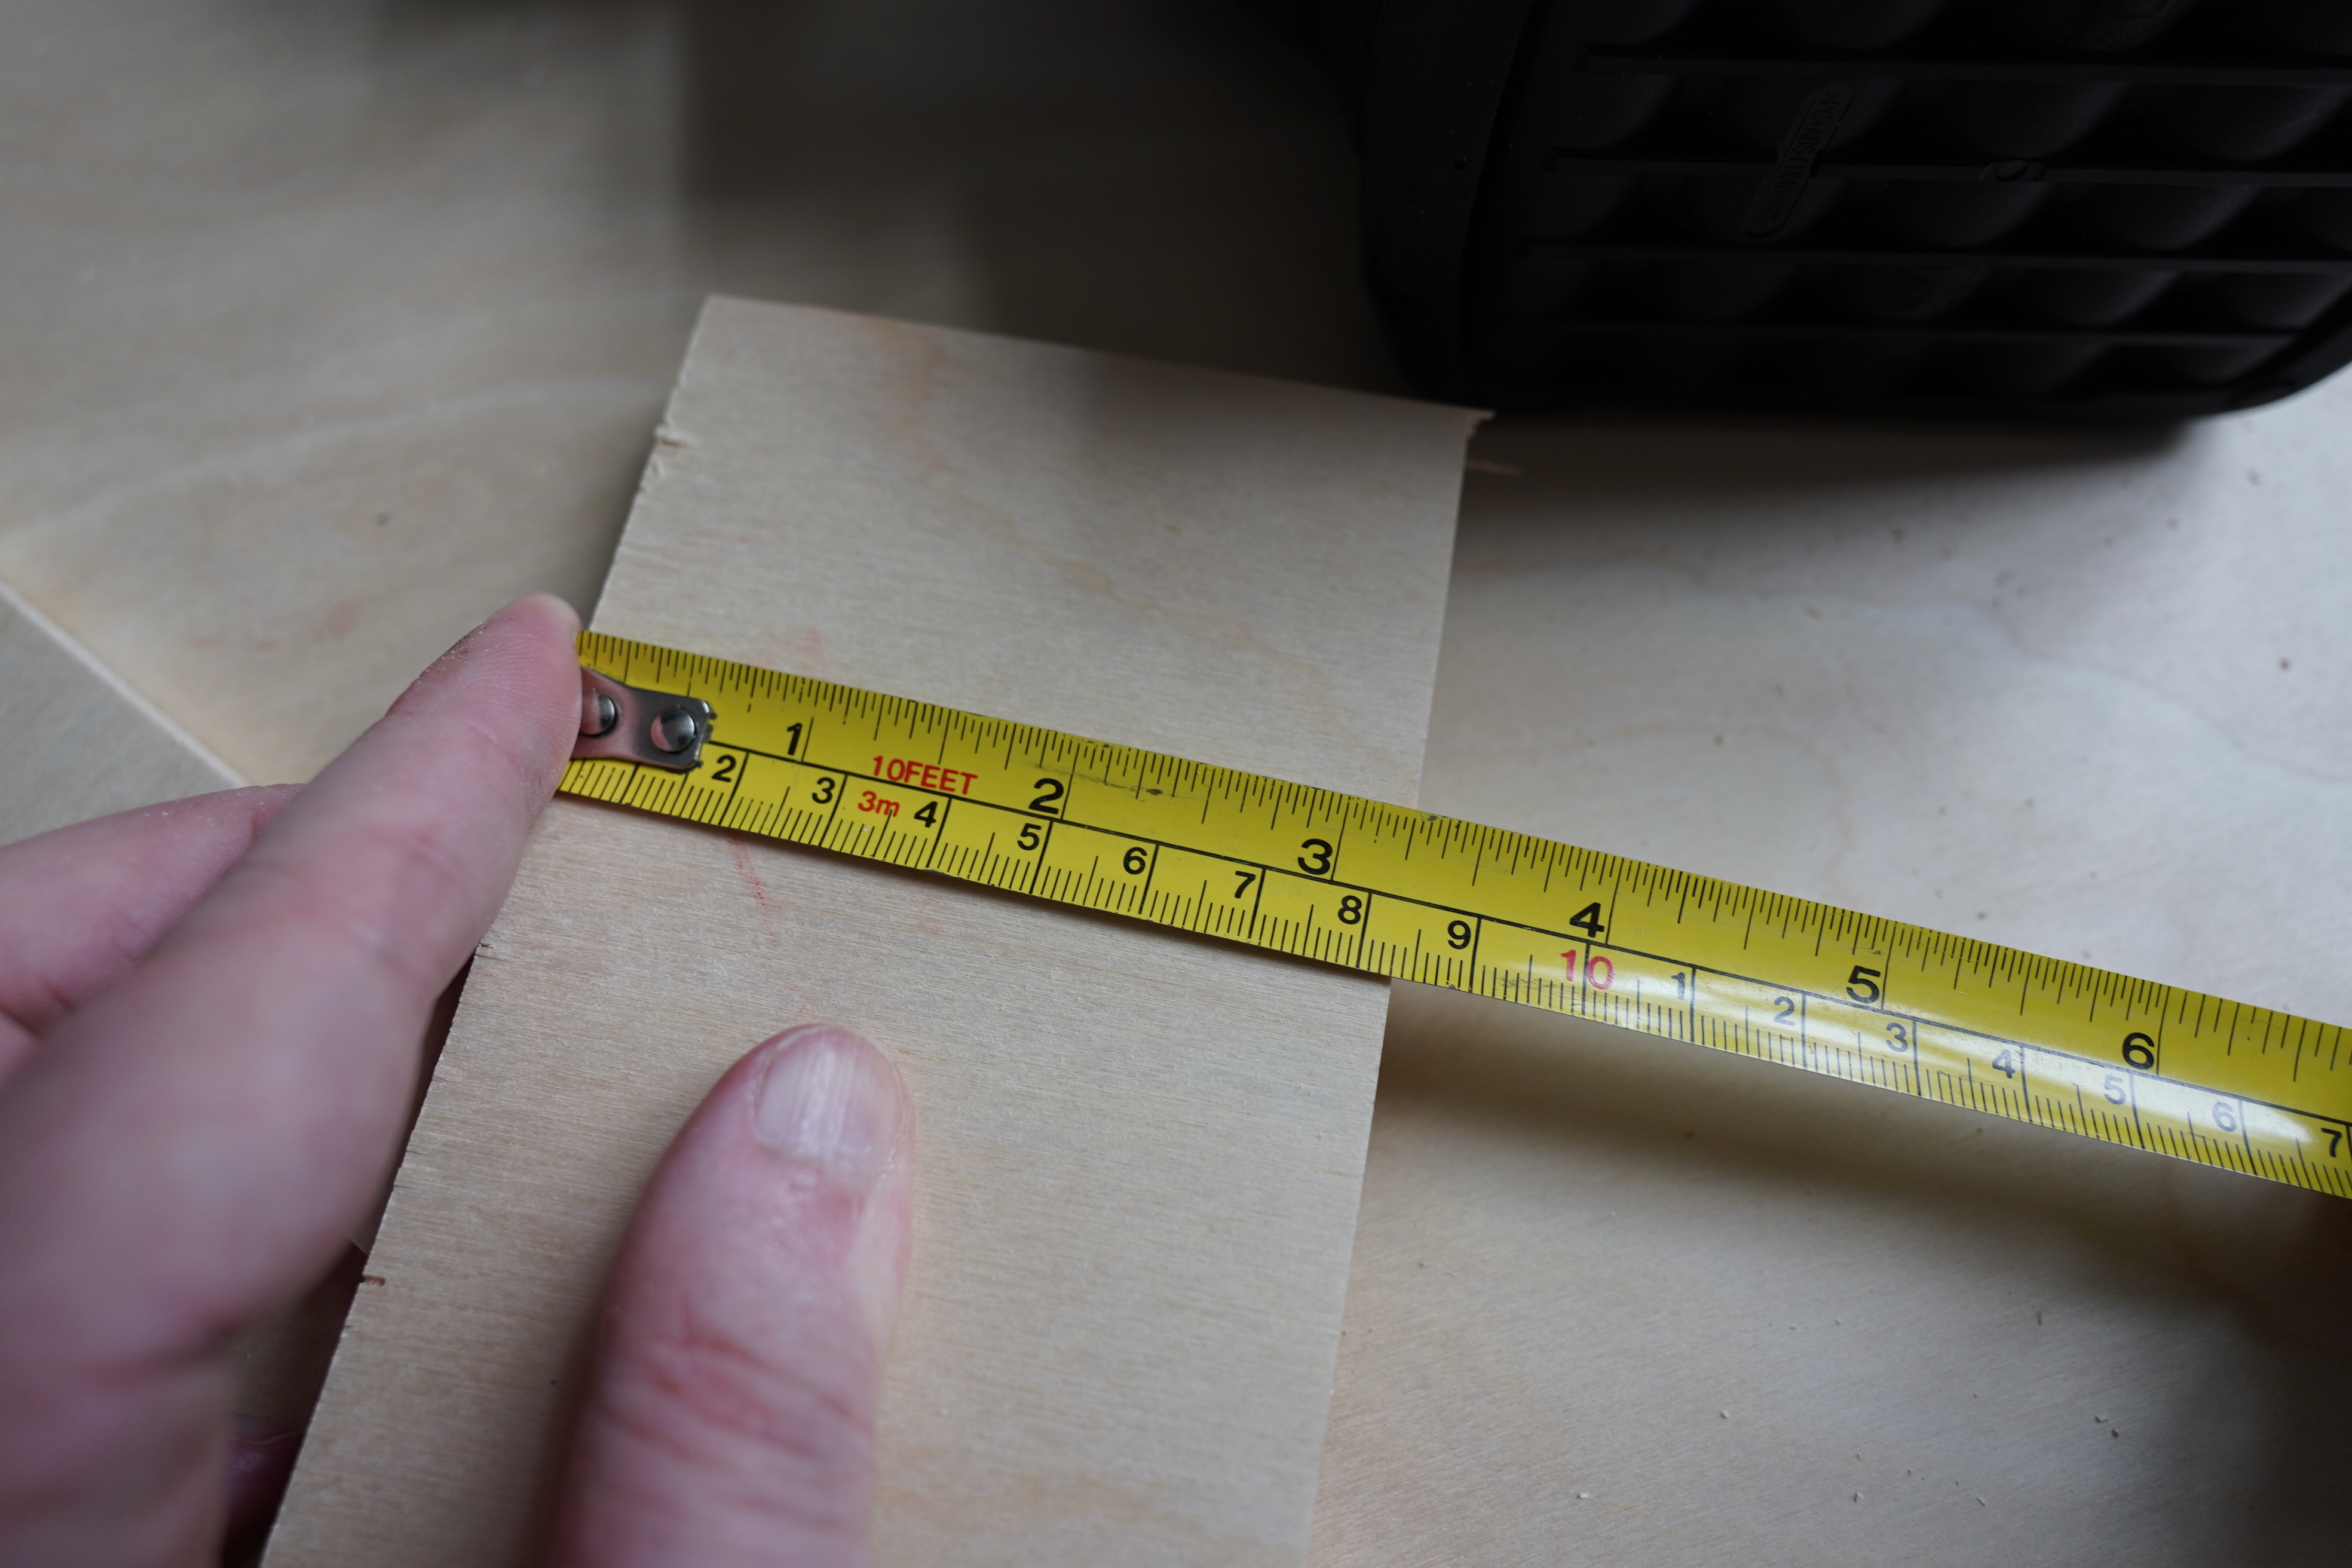
Nooo! It’s the wrong thickness… I want 85mm, but this cut varies between 84mm and 87mm… how did that happen.
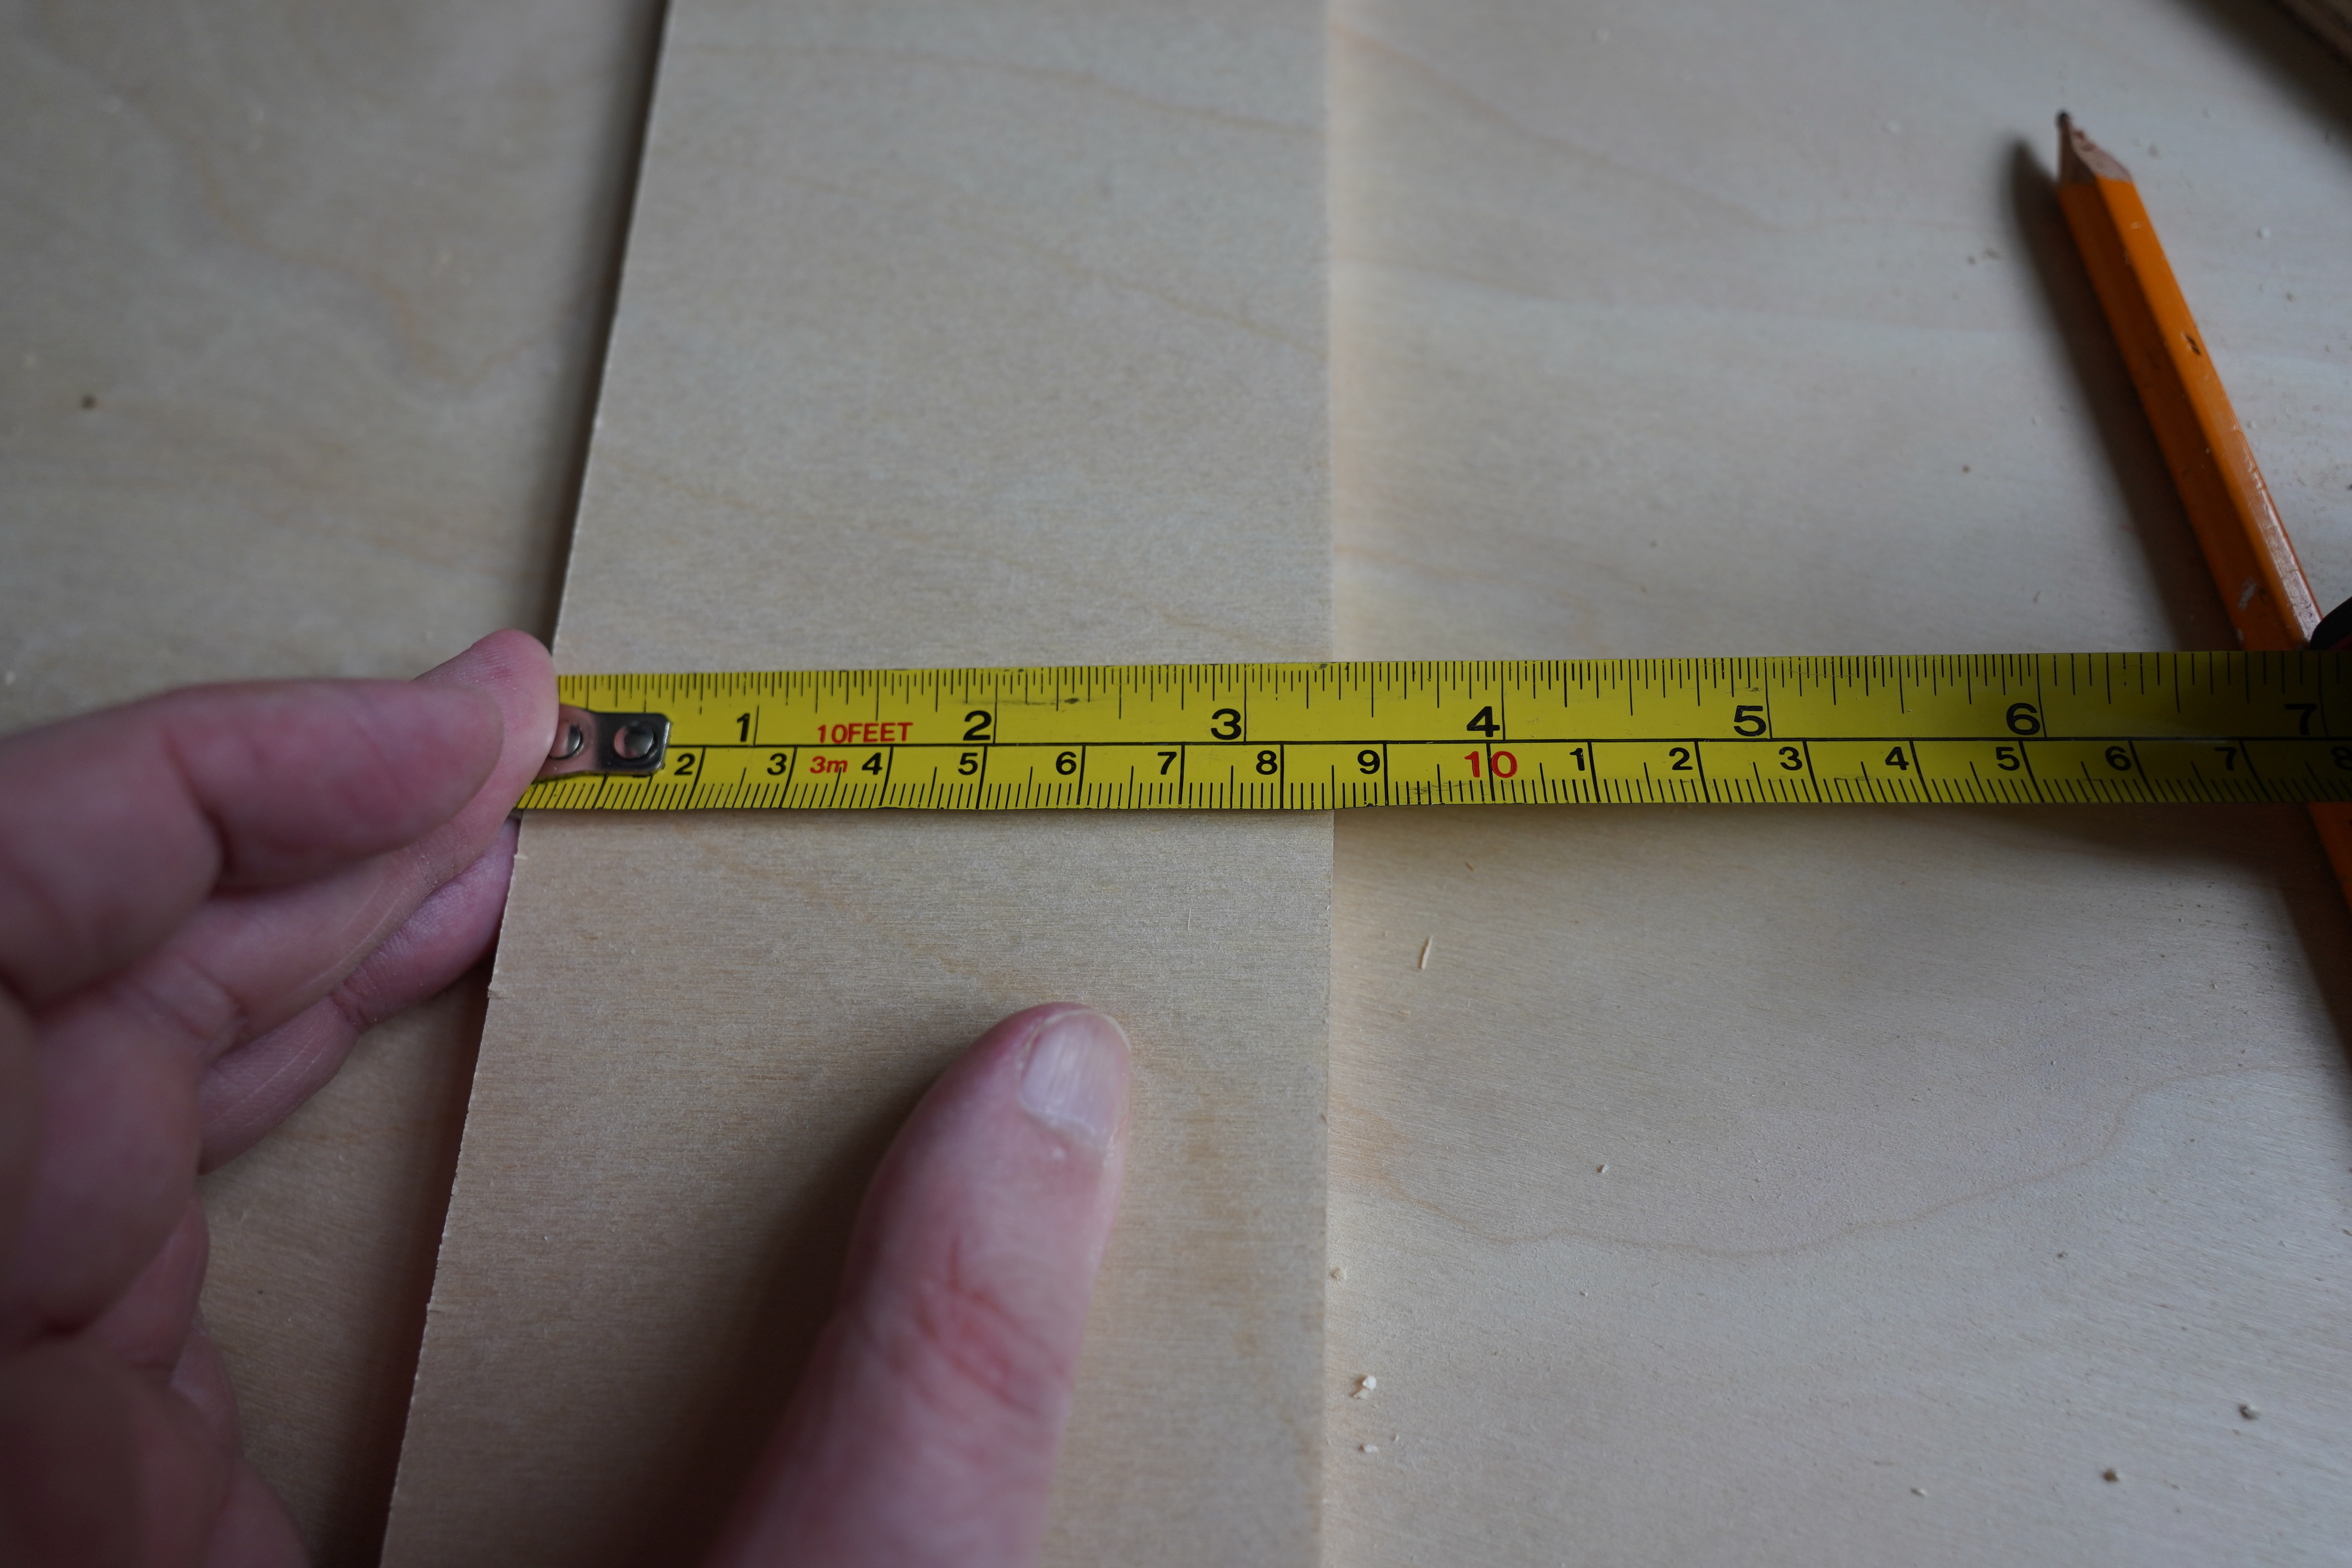
OK, do it one more time — cut a “clean” bit off, and then guide it to 85mm… *phew* I thought I was going insane there for a minute — the math wasn’t mathing! Things just had to have shifted while I was fastening the vise or something.
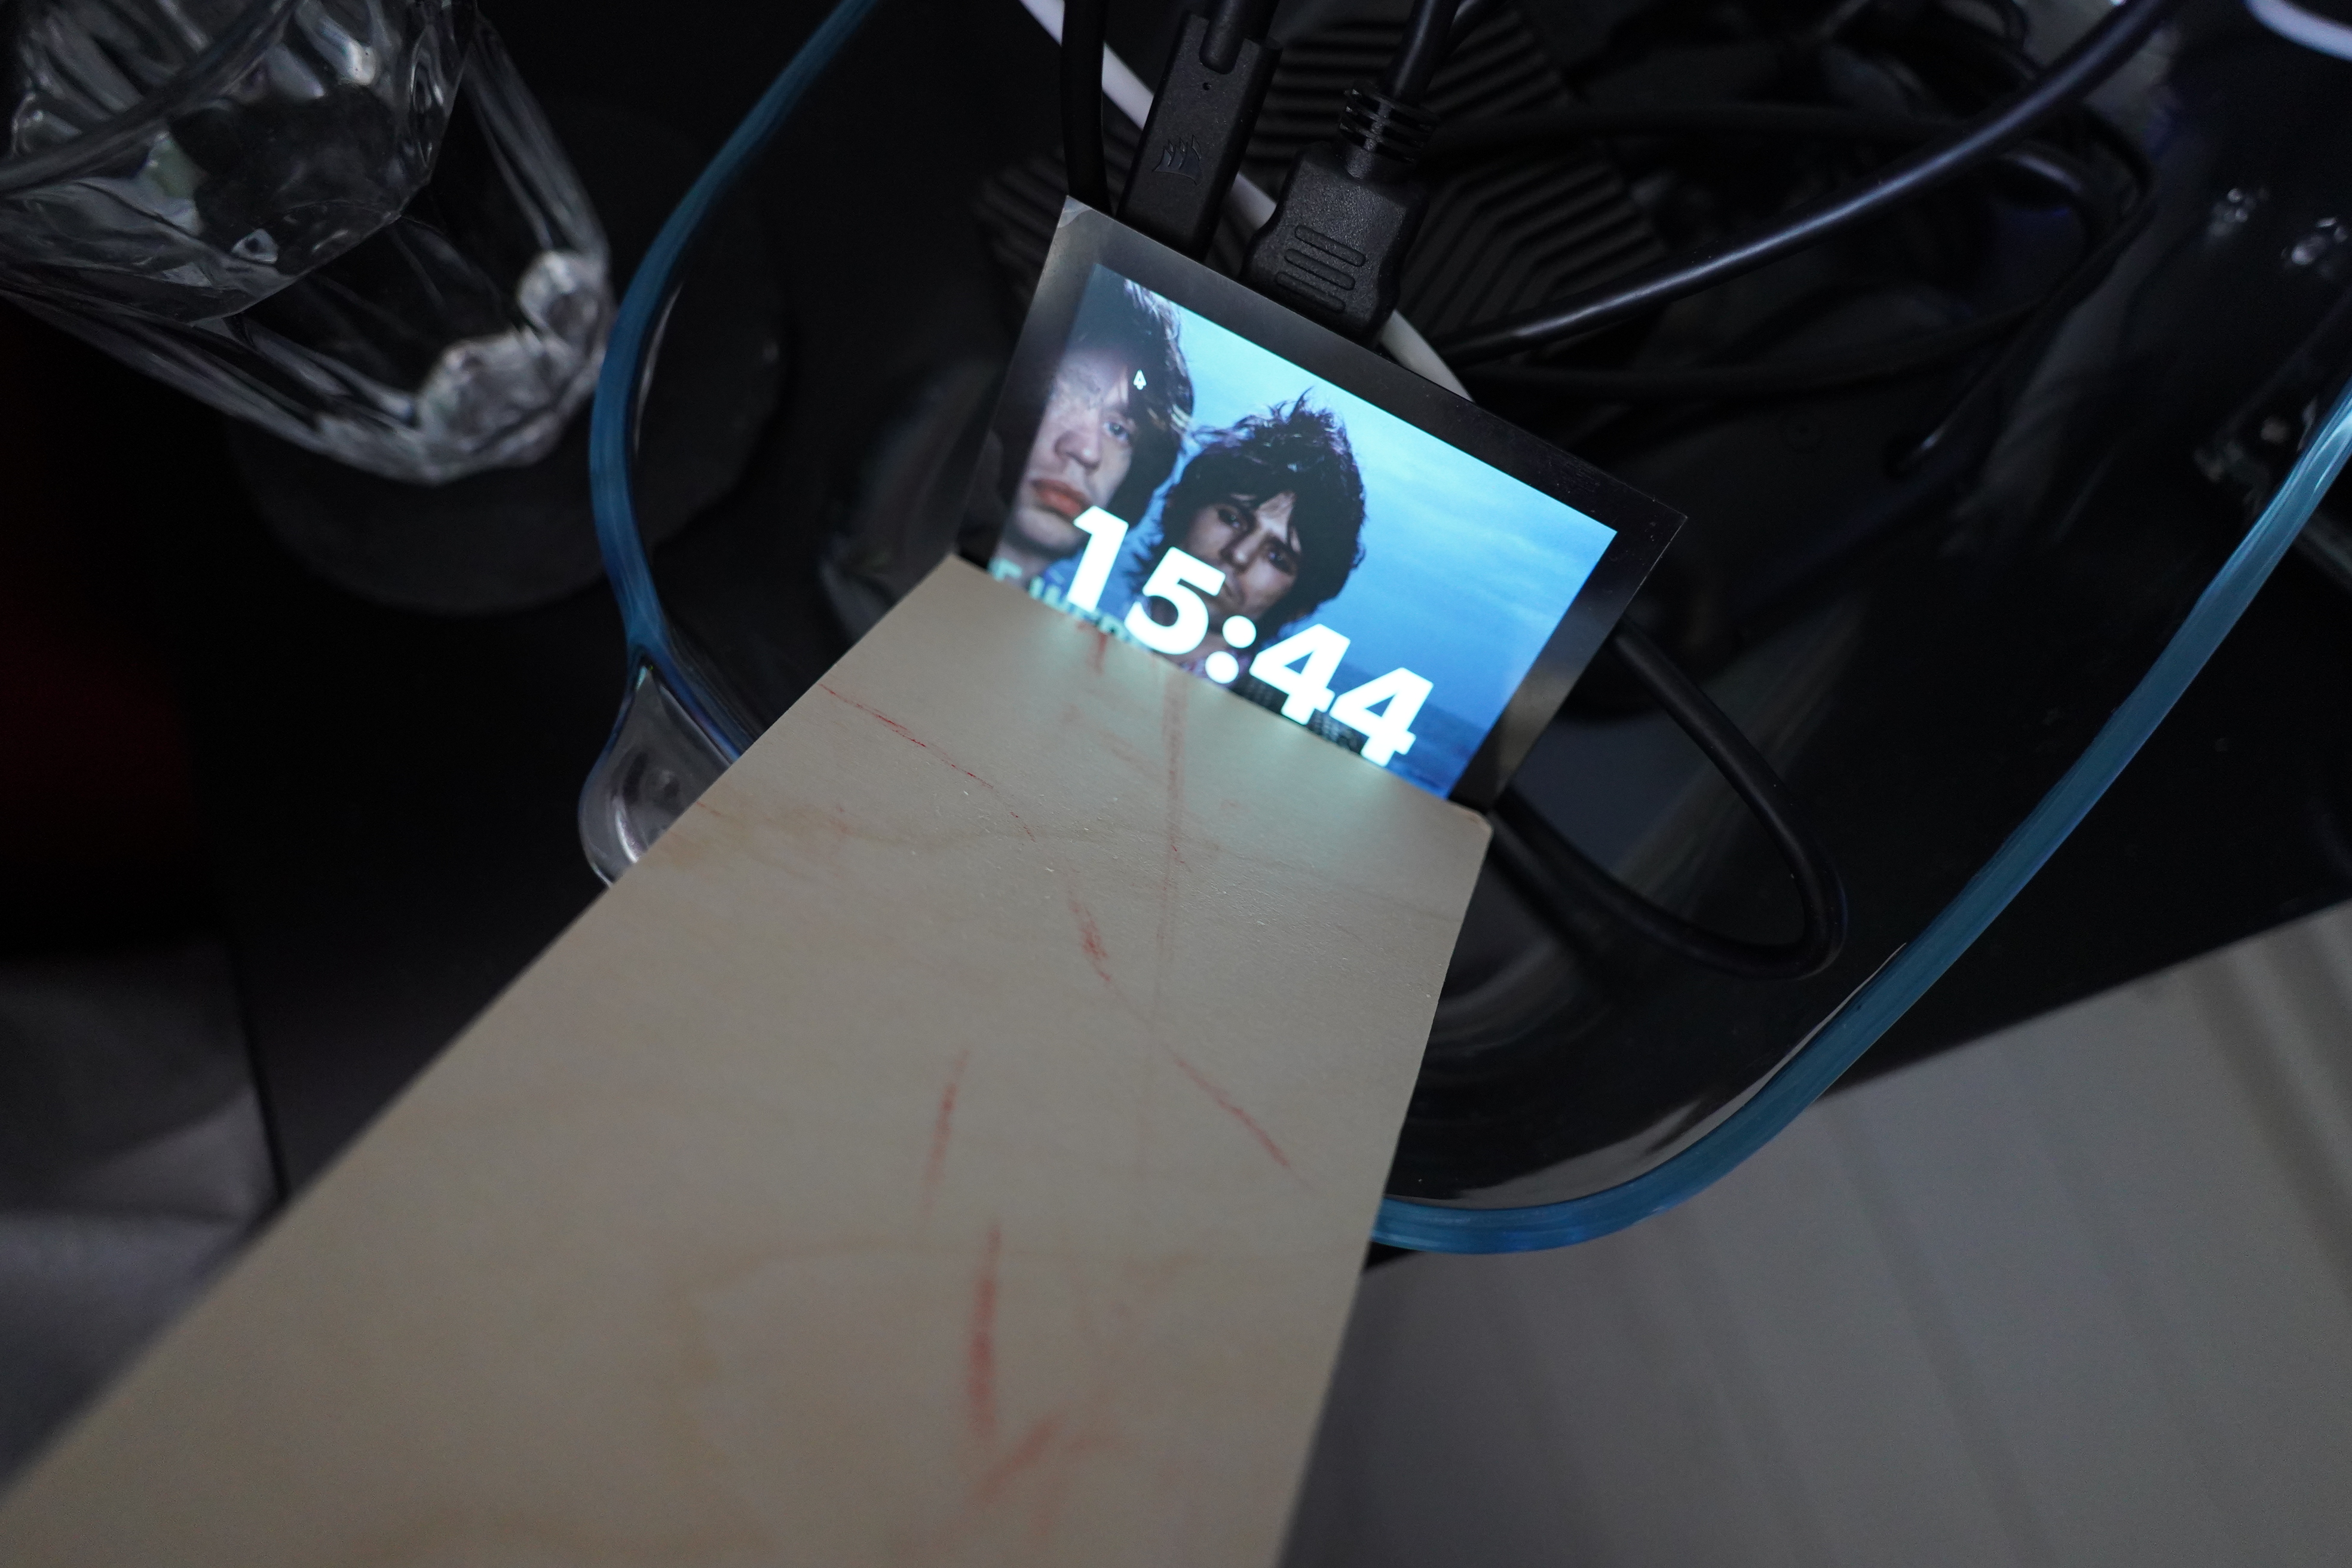
YES! CORRECT BOTH ENDS!
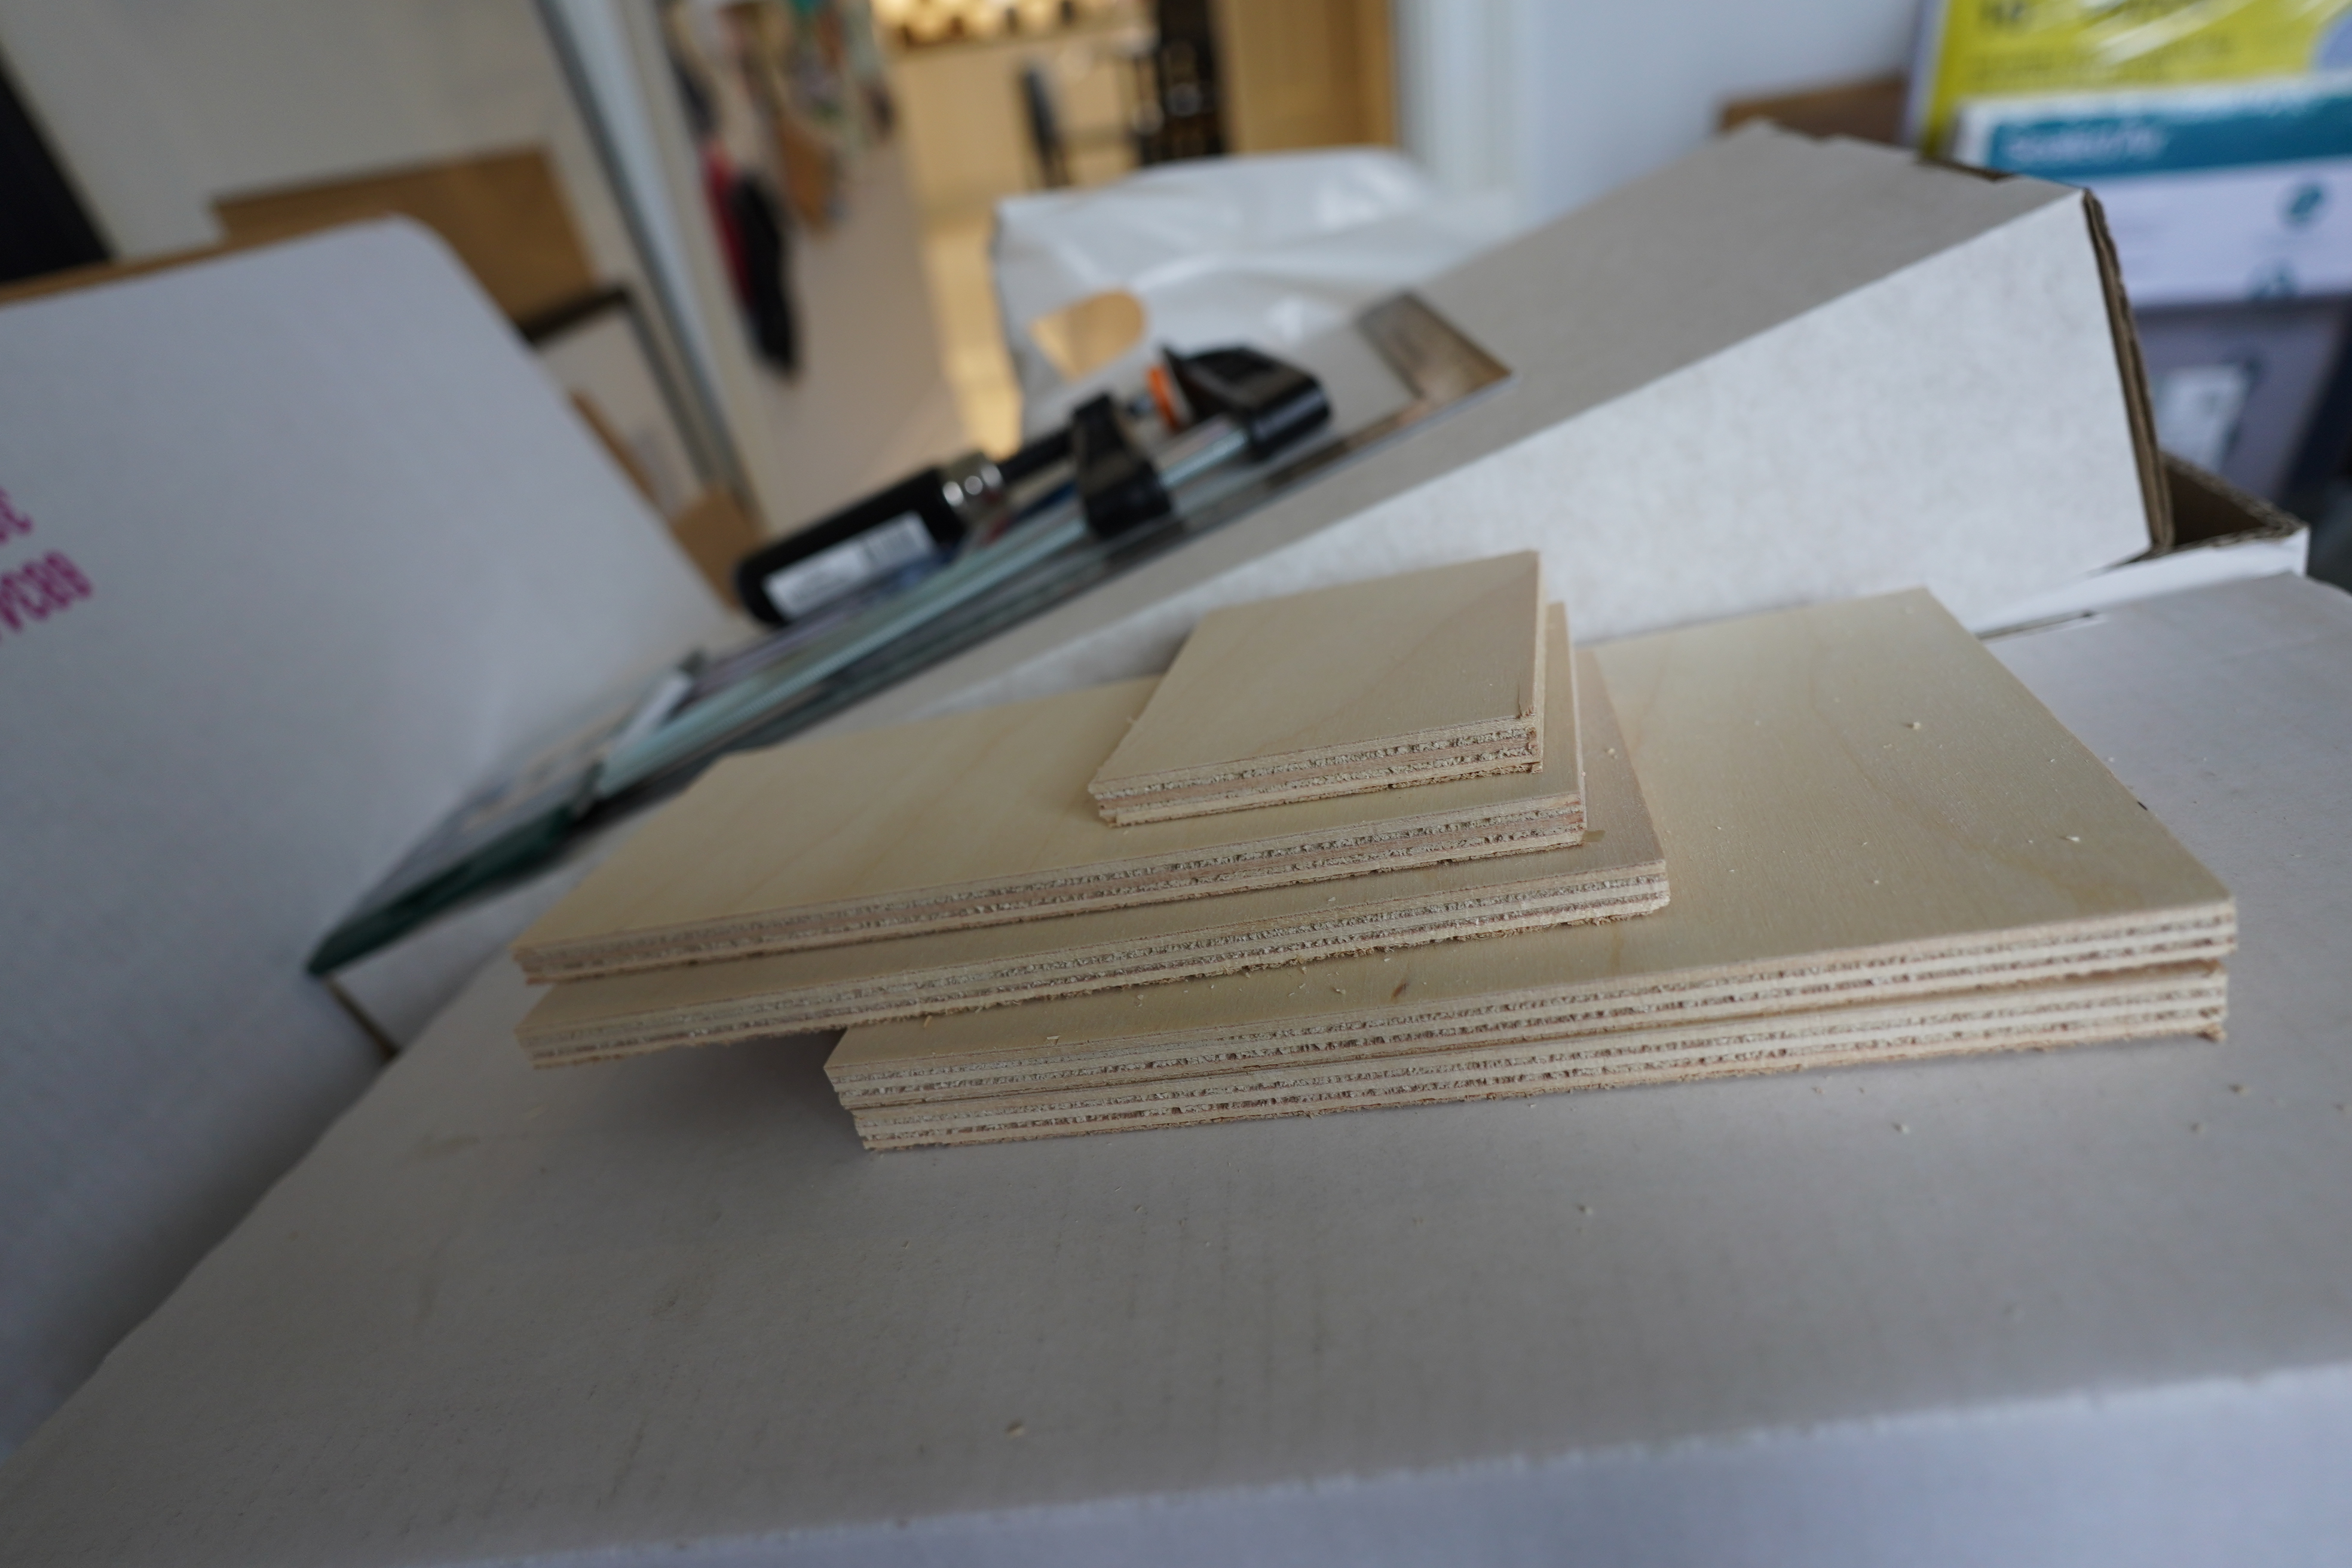
So there we are: Two sides, 200x125mm. Bottom and lid 200x85mm. Or… er… was the lid supposed to be 10mm shorter? Uhm… Oops, yes. Grr! OK, gotta cut 10mm off the lid.
But I want some funky feet for the box.
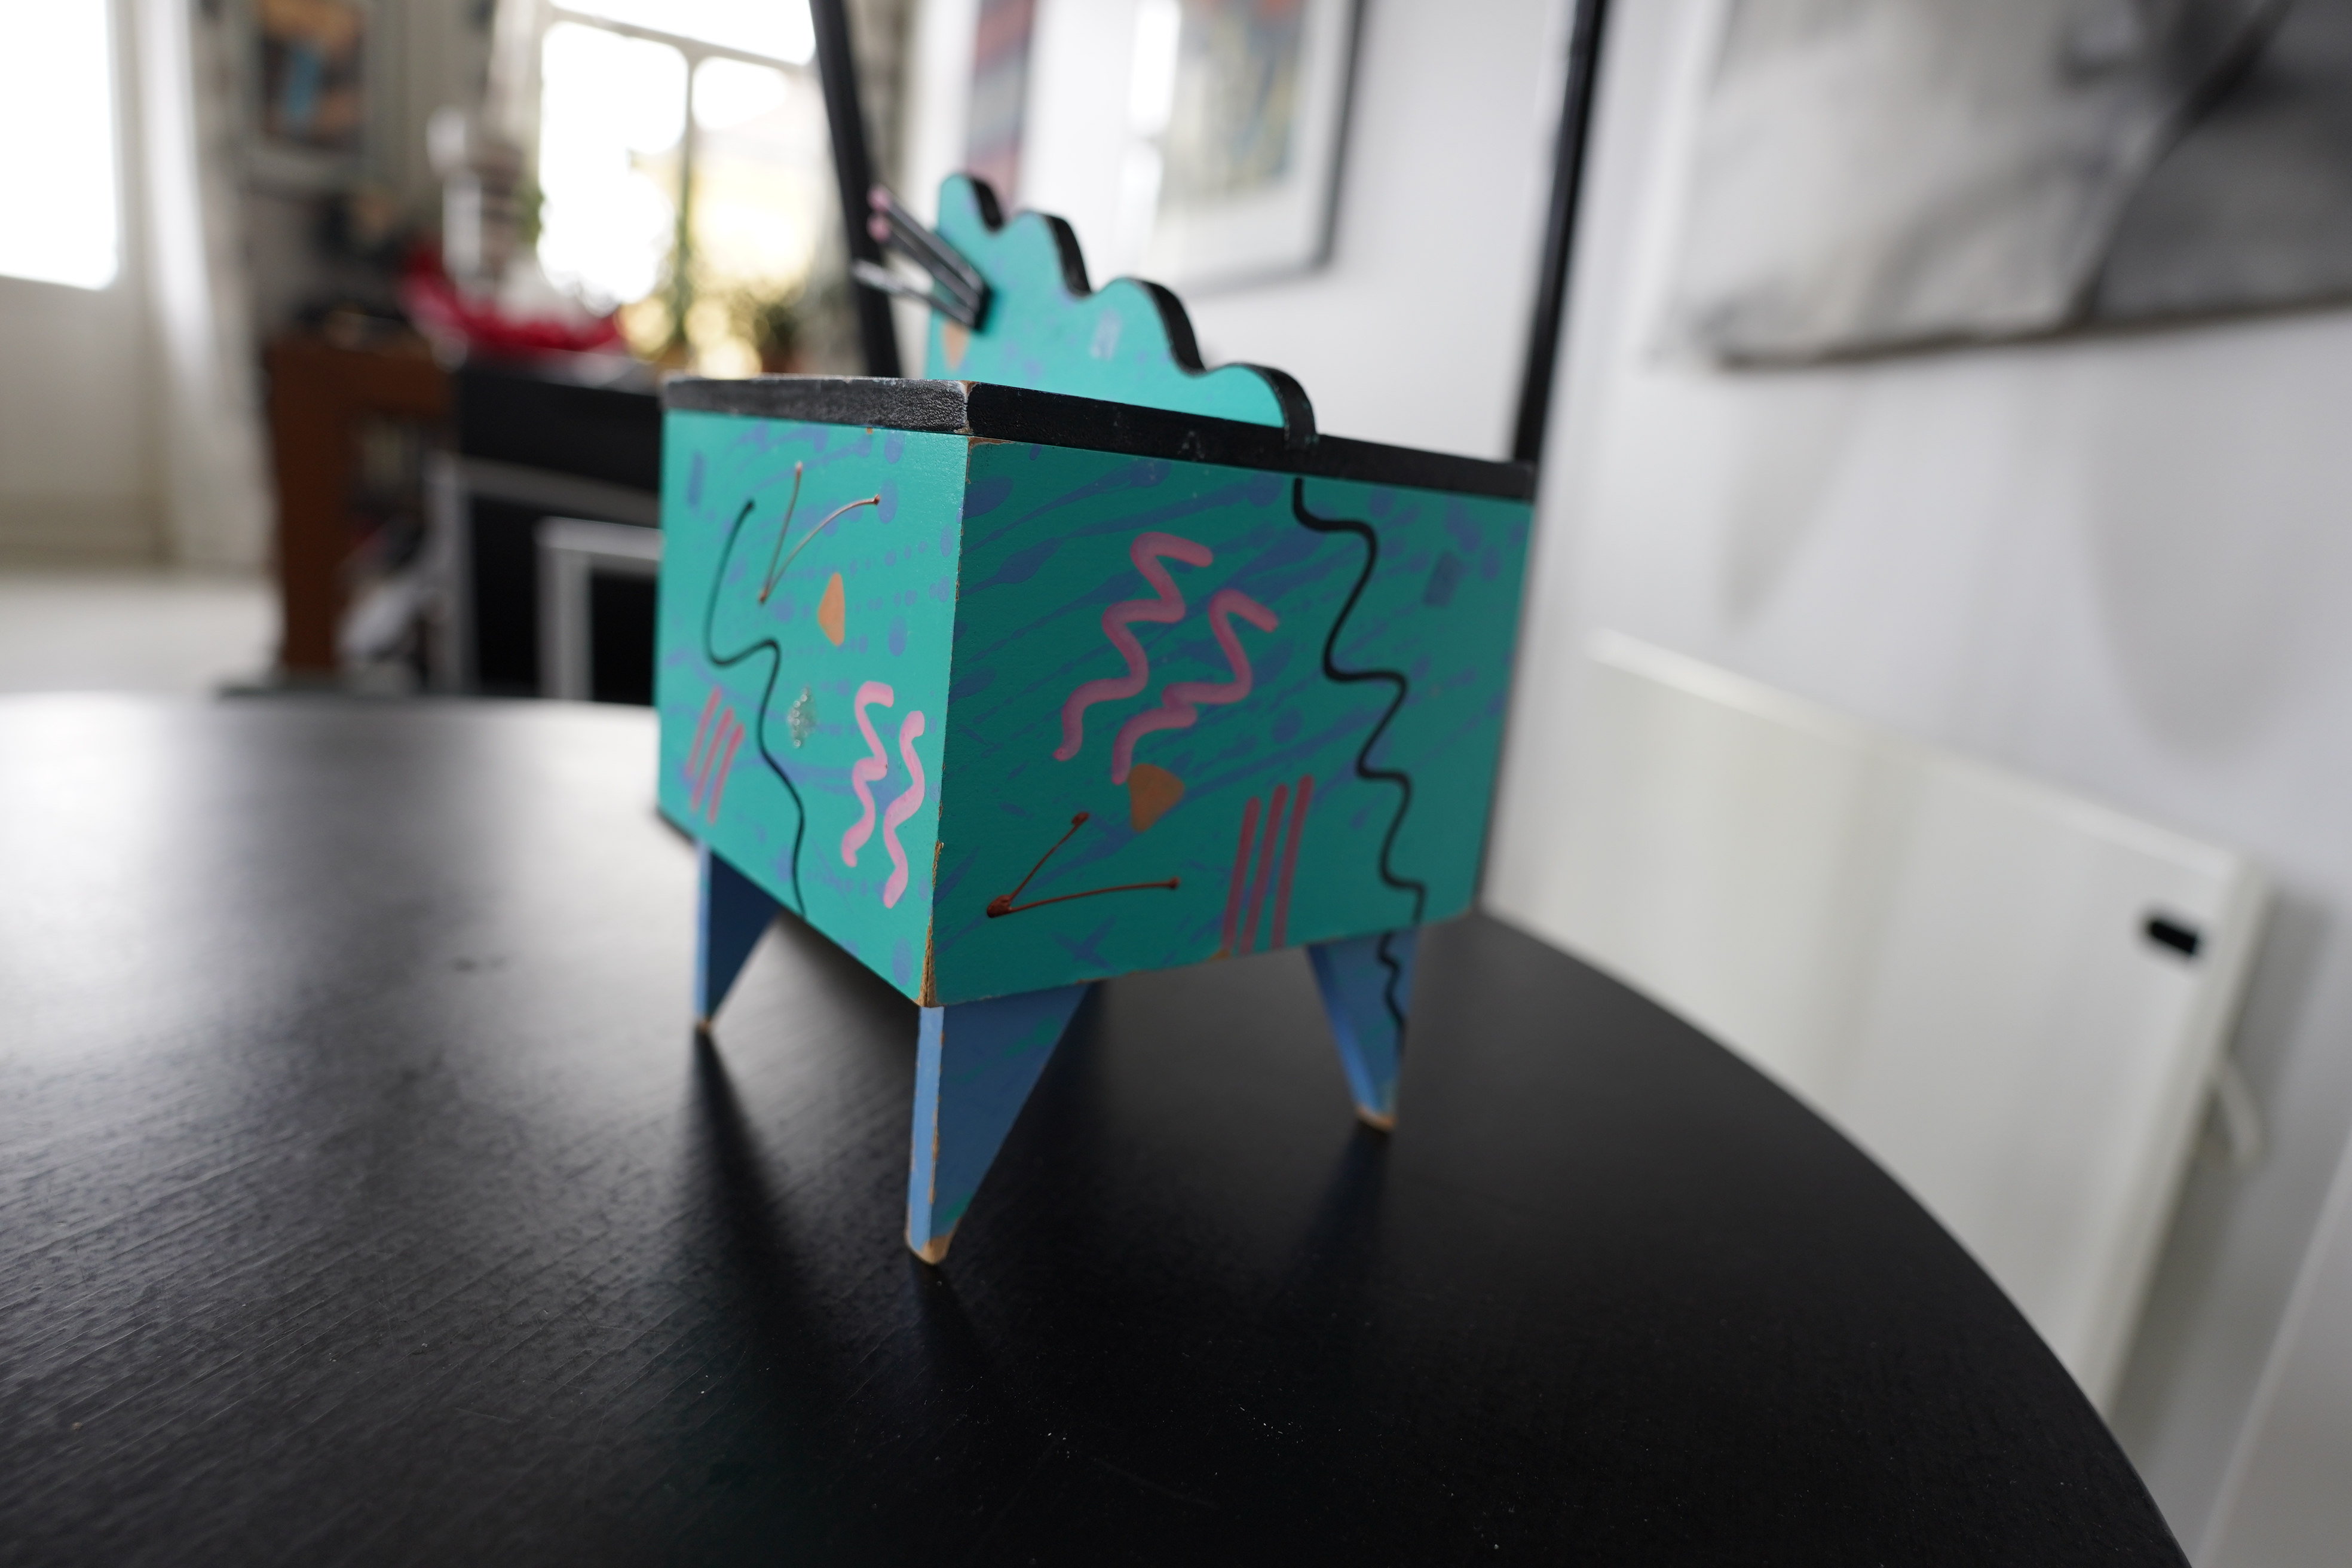
I’m inspired by the Hollie Fingold box I’ve got. It’s so funny. So I want some triangle feet.
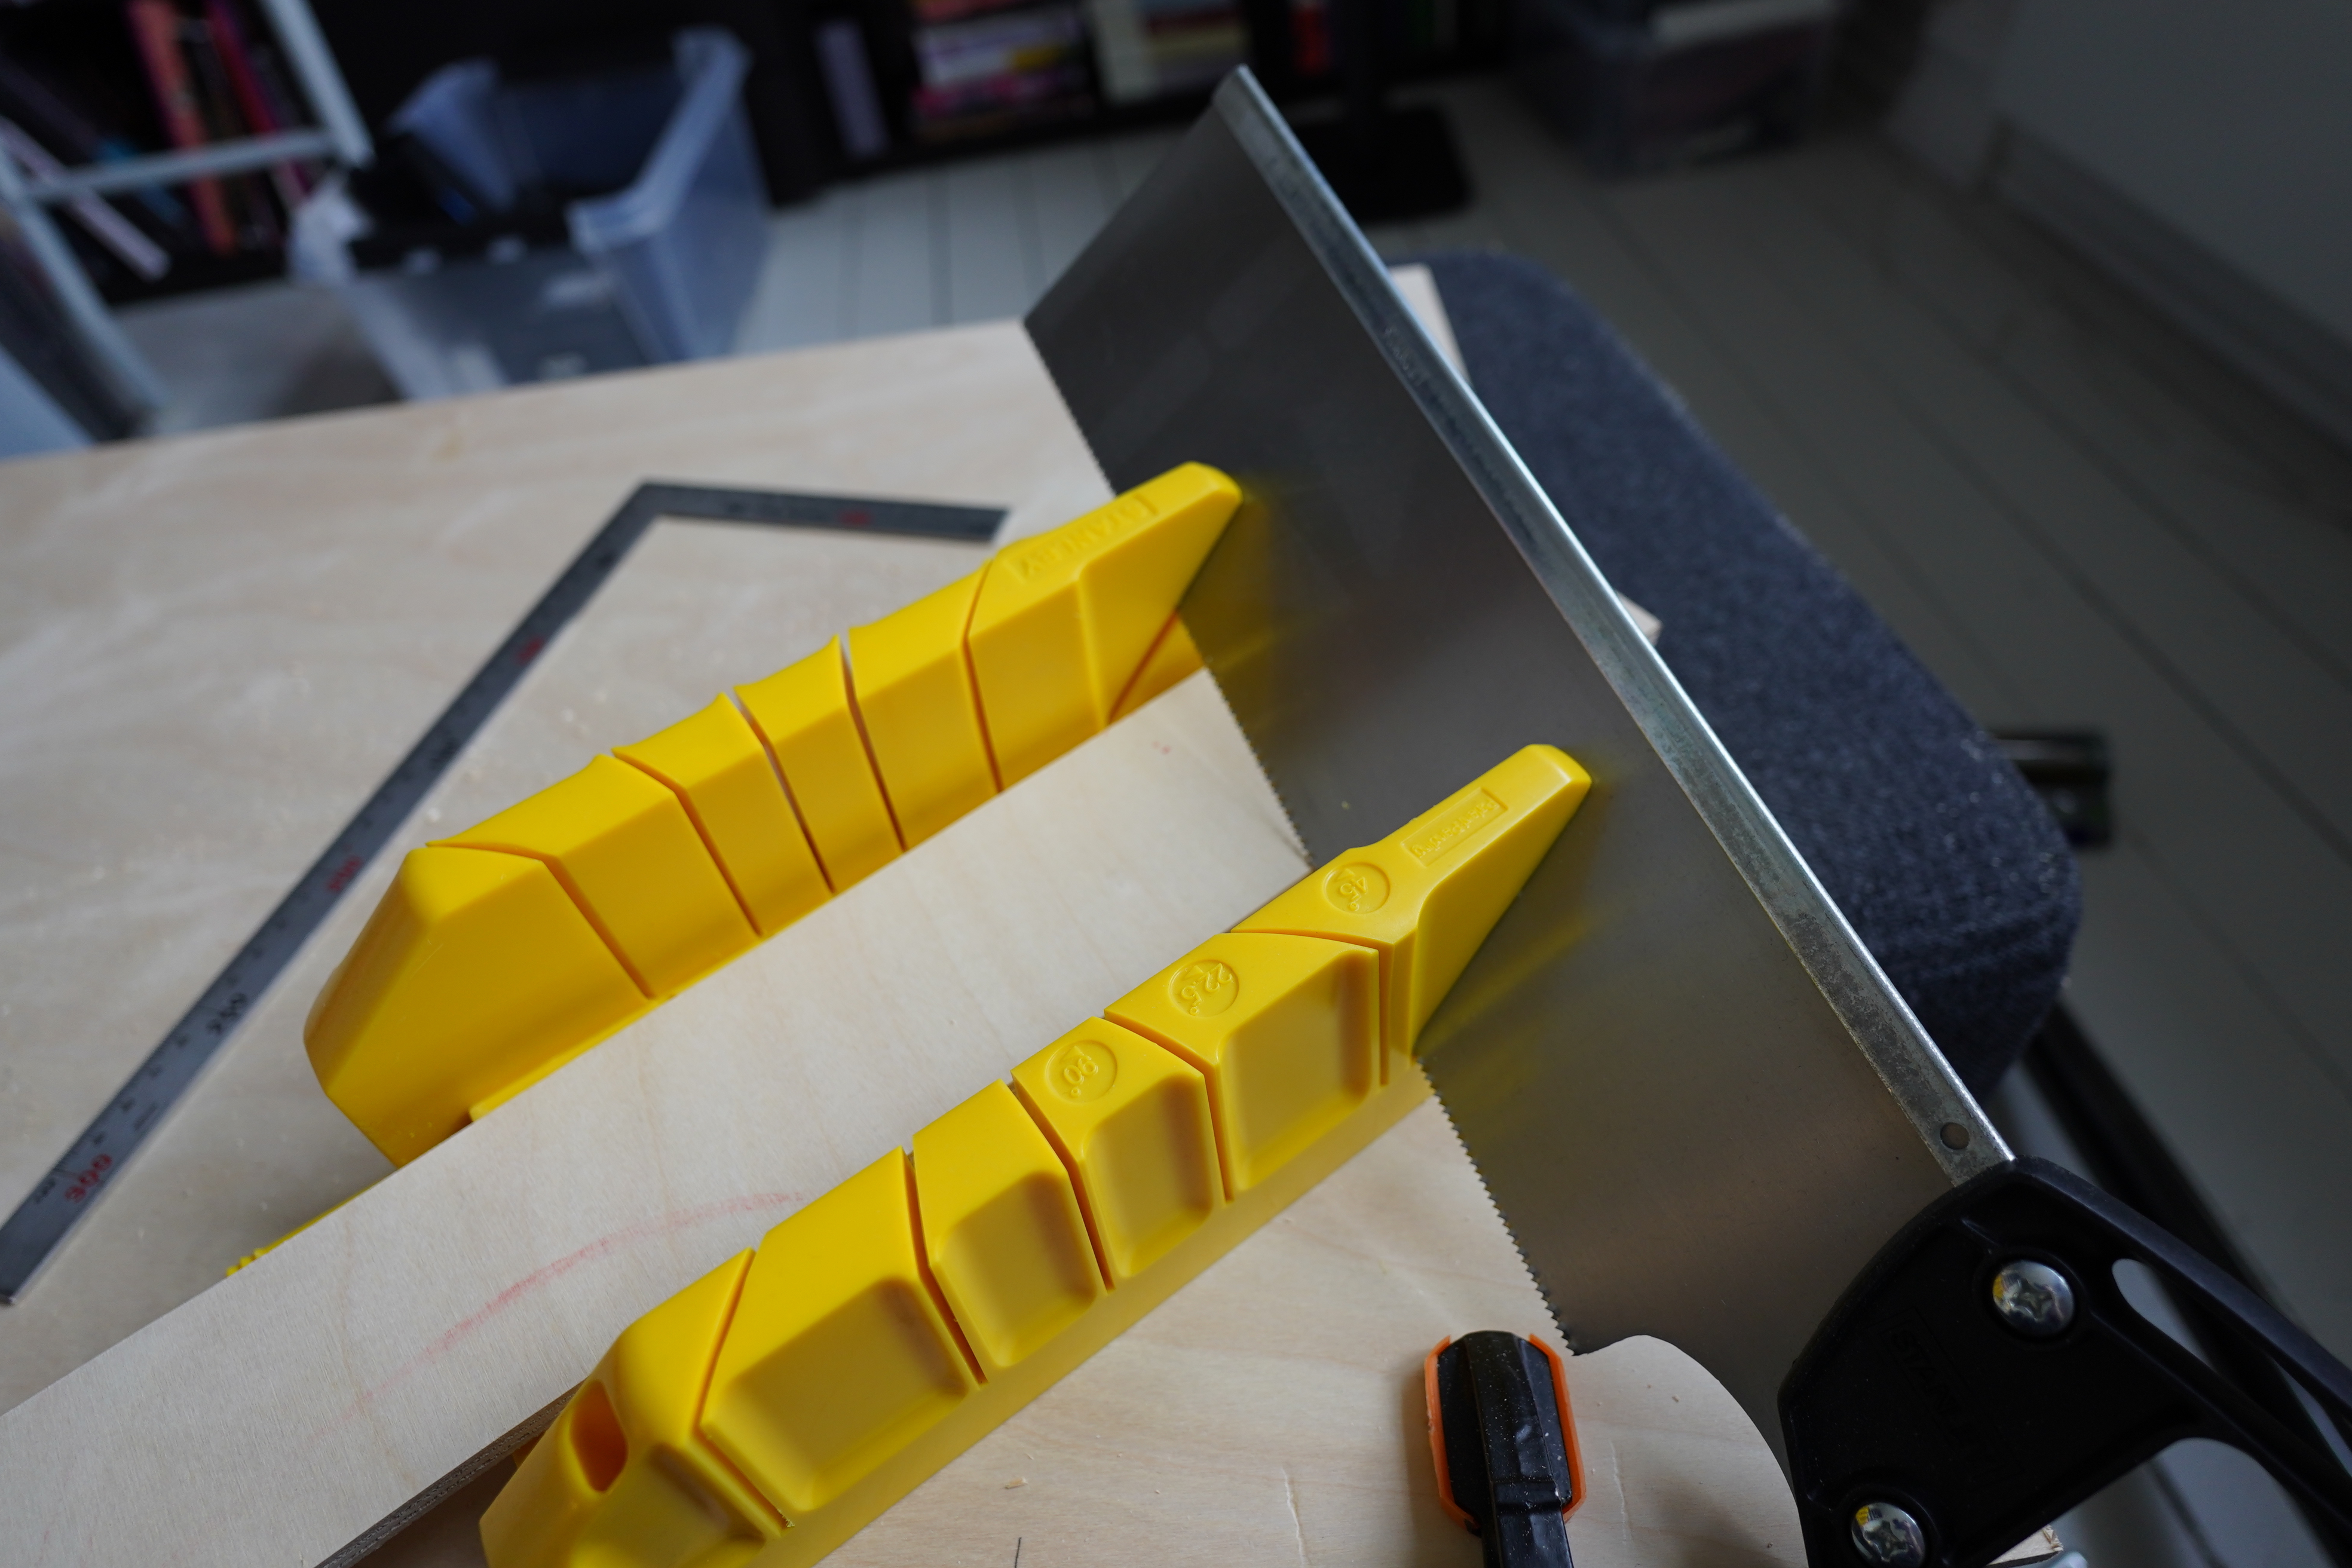
Oh, I’ve got this thing! It’s meant for cutting things at an angle… but… er… hm.
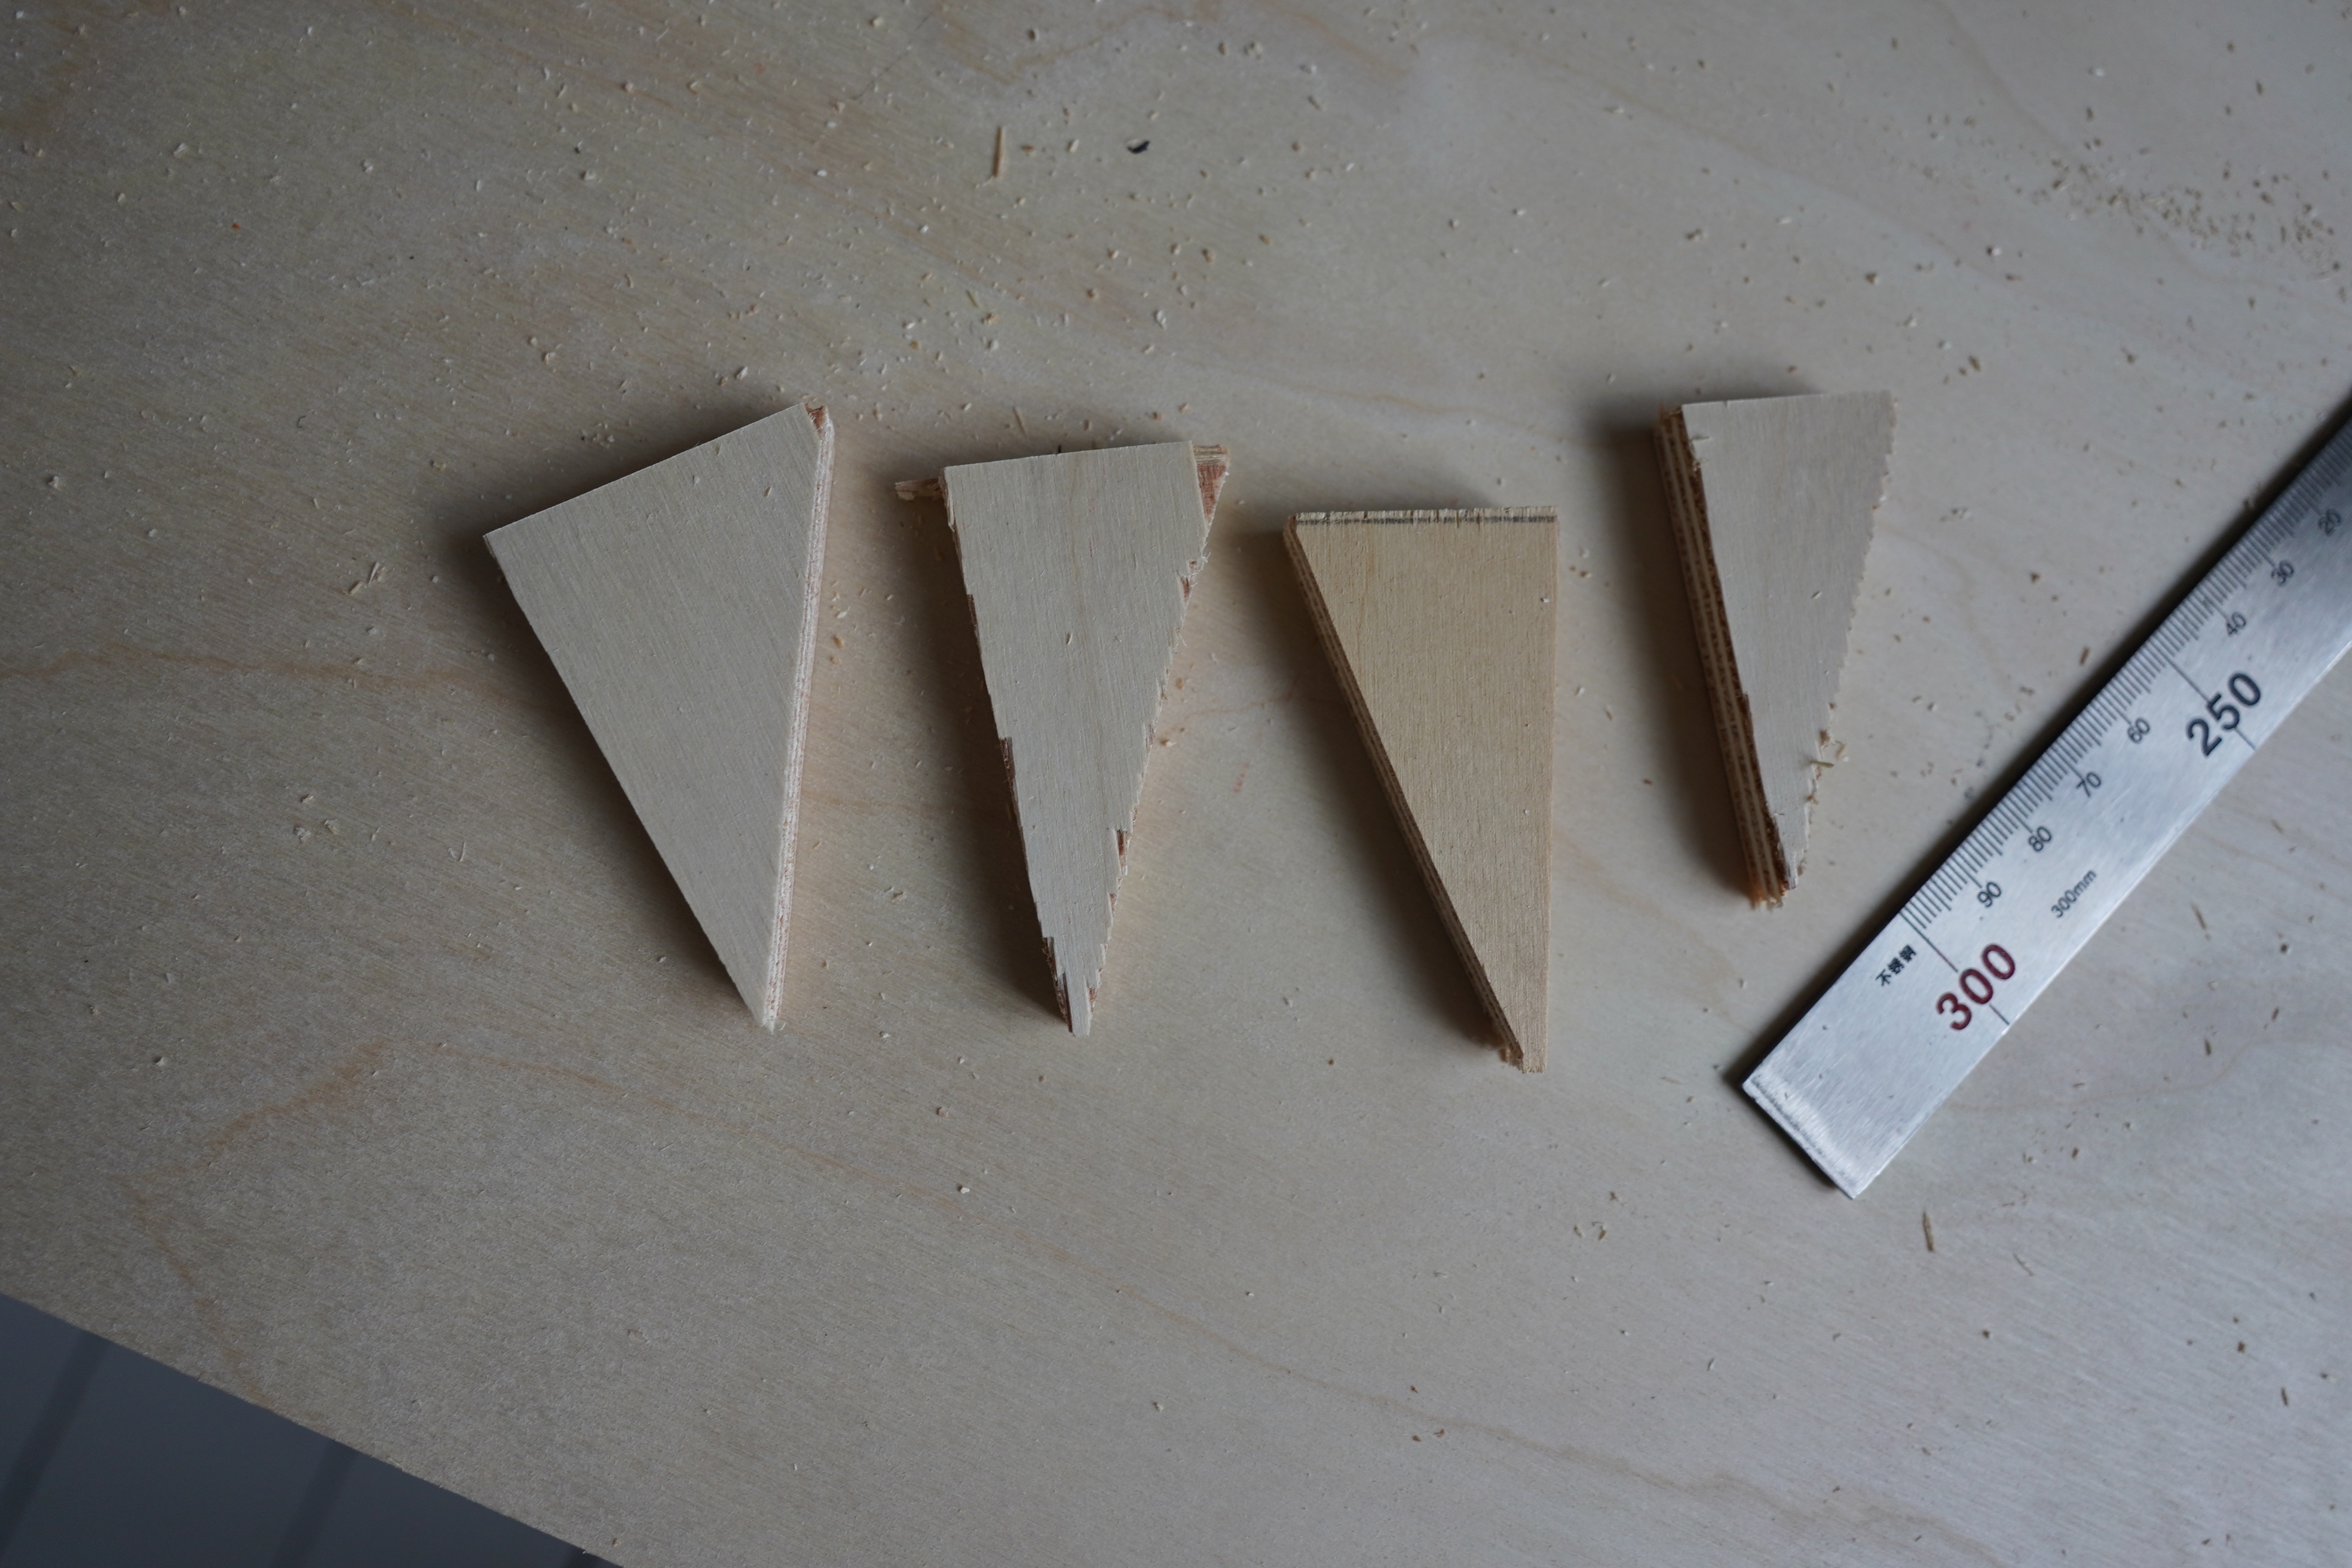
OK, I just cut some freehand: As long as they’re vaguely the same height, that’s fine, because I can just sand off the tips… or rather, I guess I’m adding some rubbery substance at the tips, anyway — Sugro or something — so I can get the feet to the same heights by adjusting the Sugro.
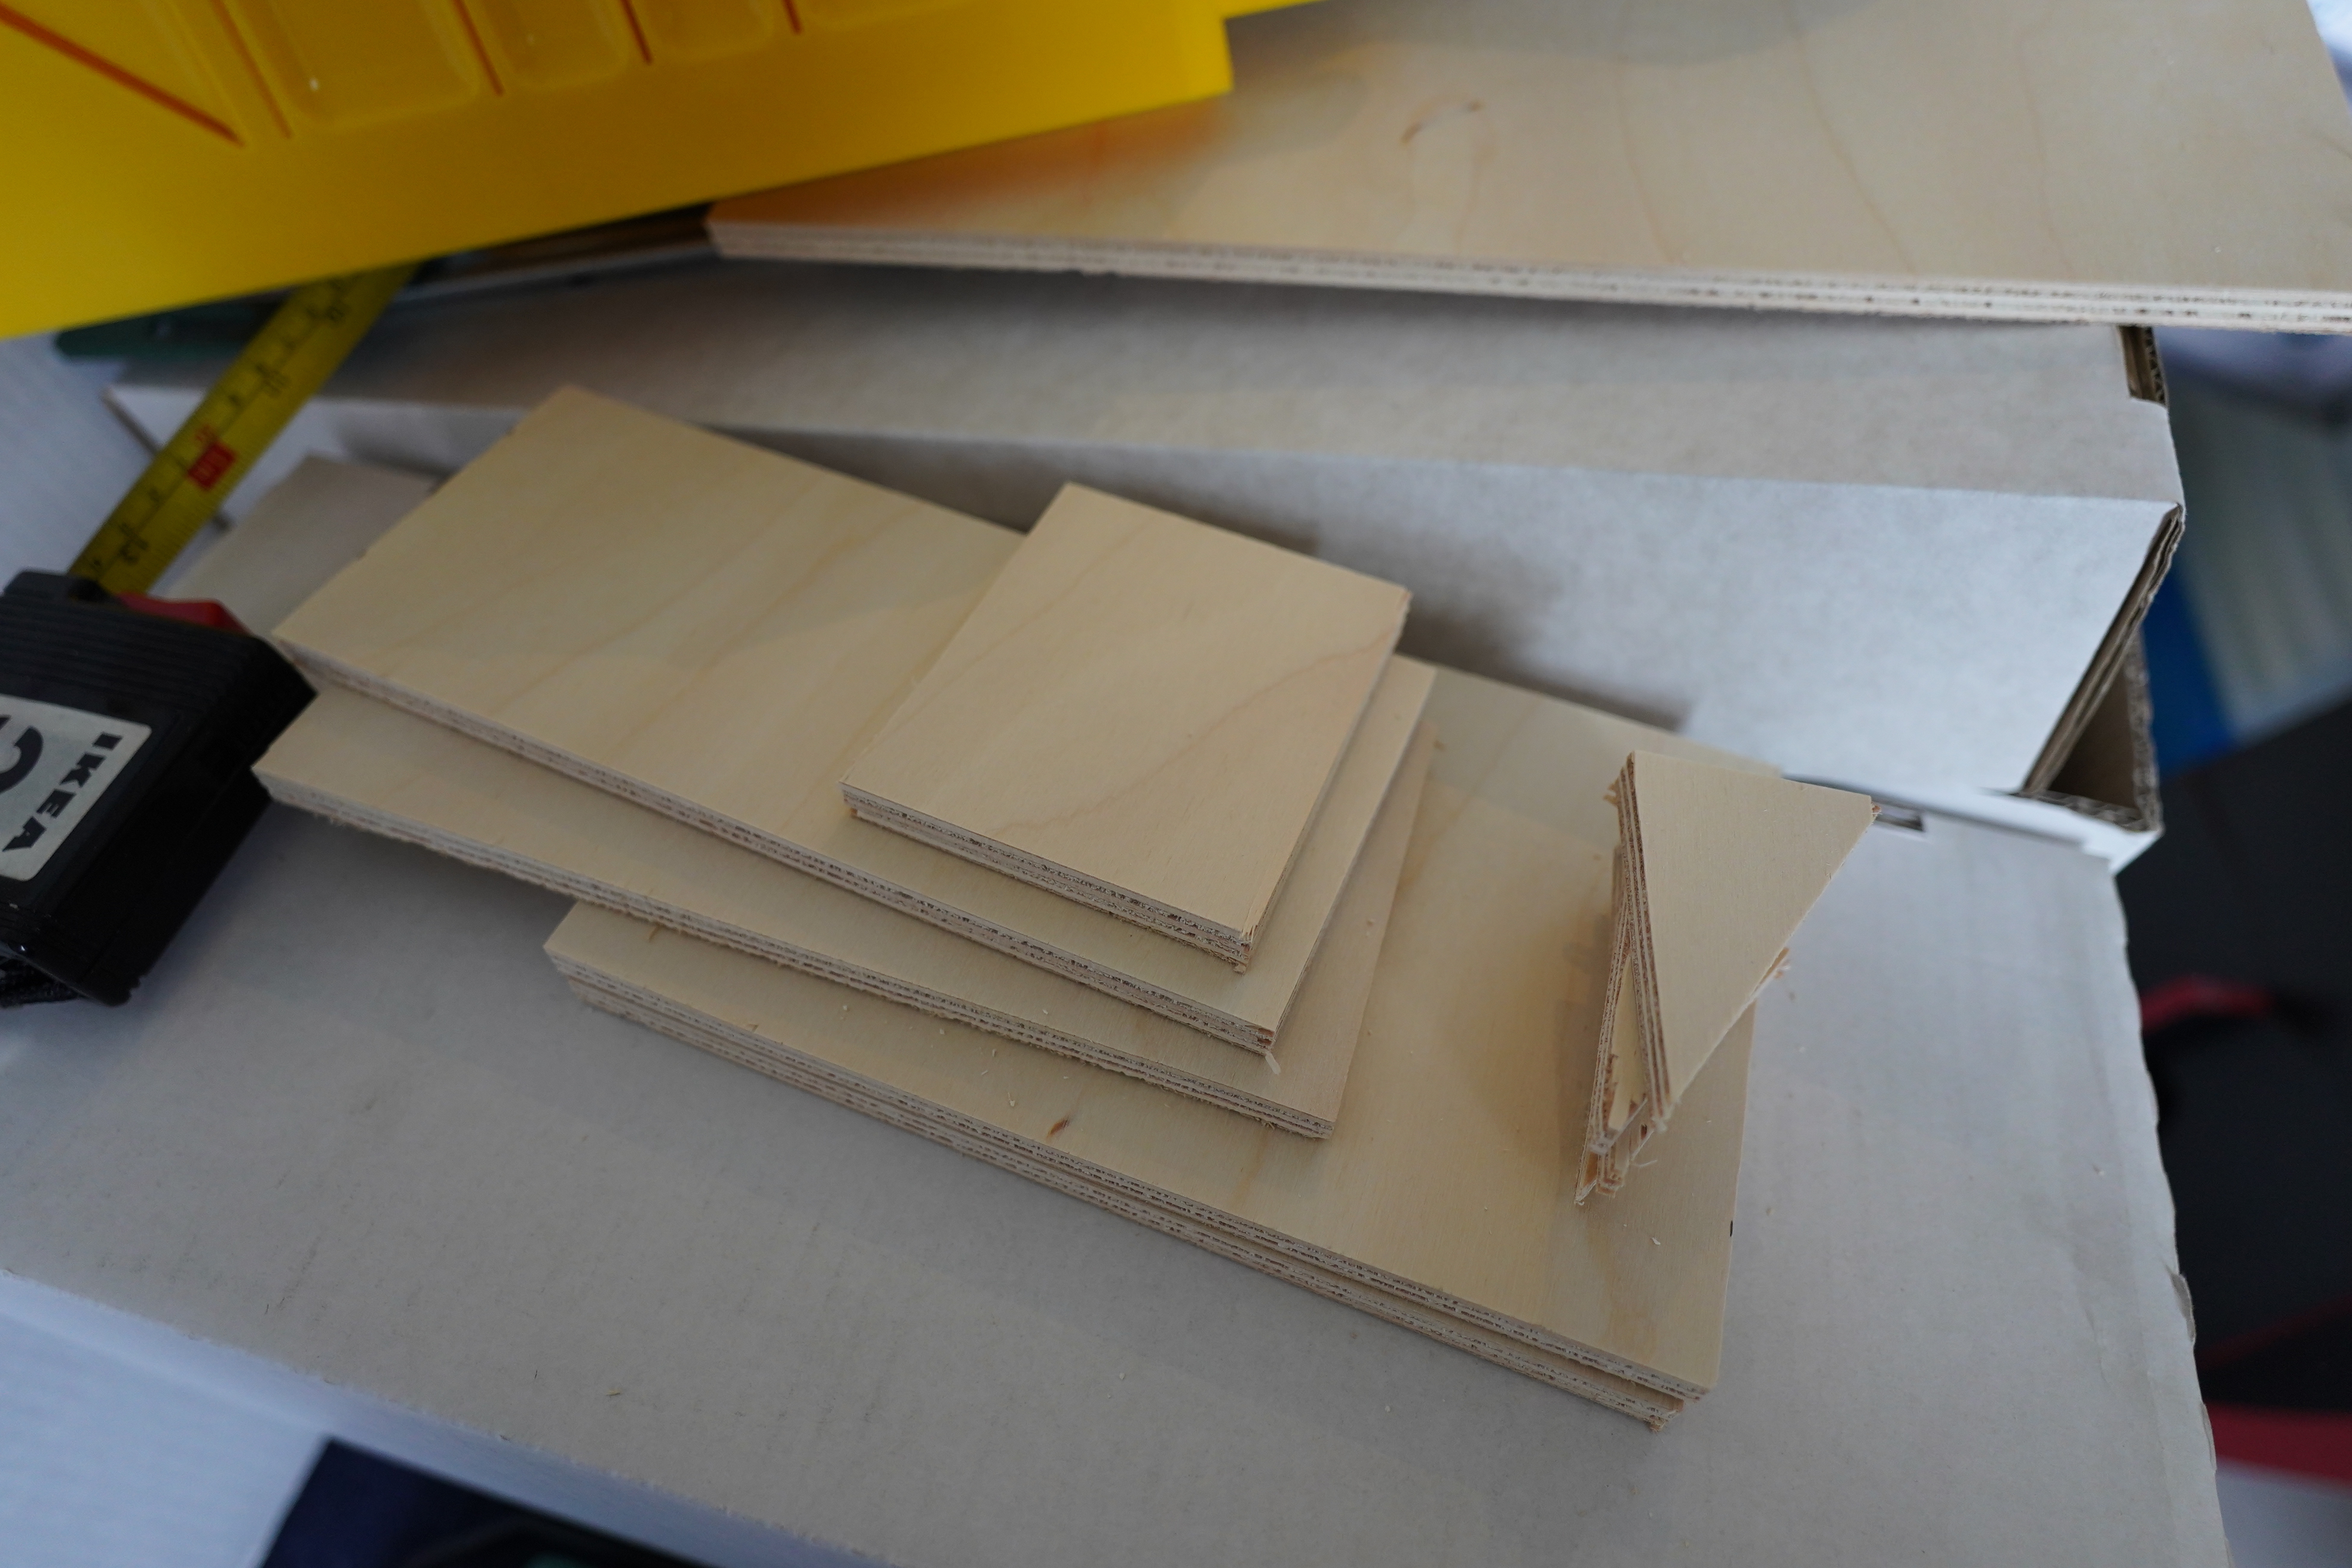
There! All wooden bits assembled! And I changed my mind on the lid length — I think it’d be amusing if it peeks out on the front top a bit. A jaunty hat lid or something.
(That it means that I don’t have to make another cut didn’t affect this decision at all! I’m not at all afraid of losing any fingers! *counts* Nine, that’s the normal number, I think? And using 1cm wood made cutting these things child’s play. Much less drama than jigsawing thicker wood.)
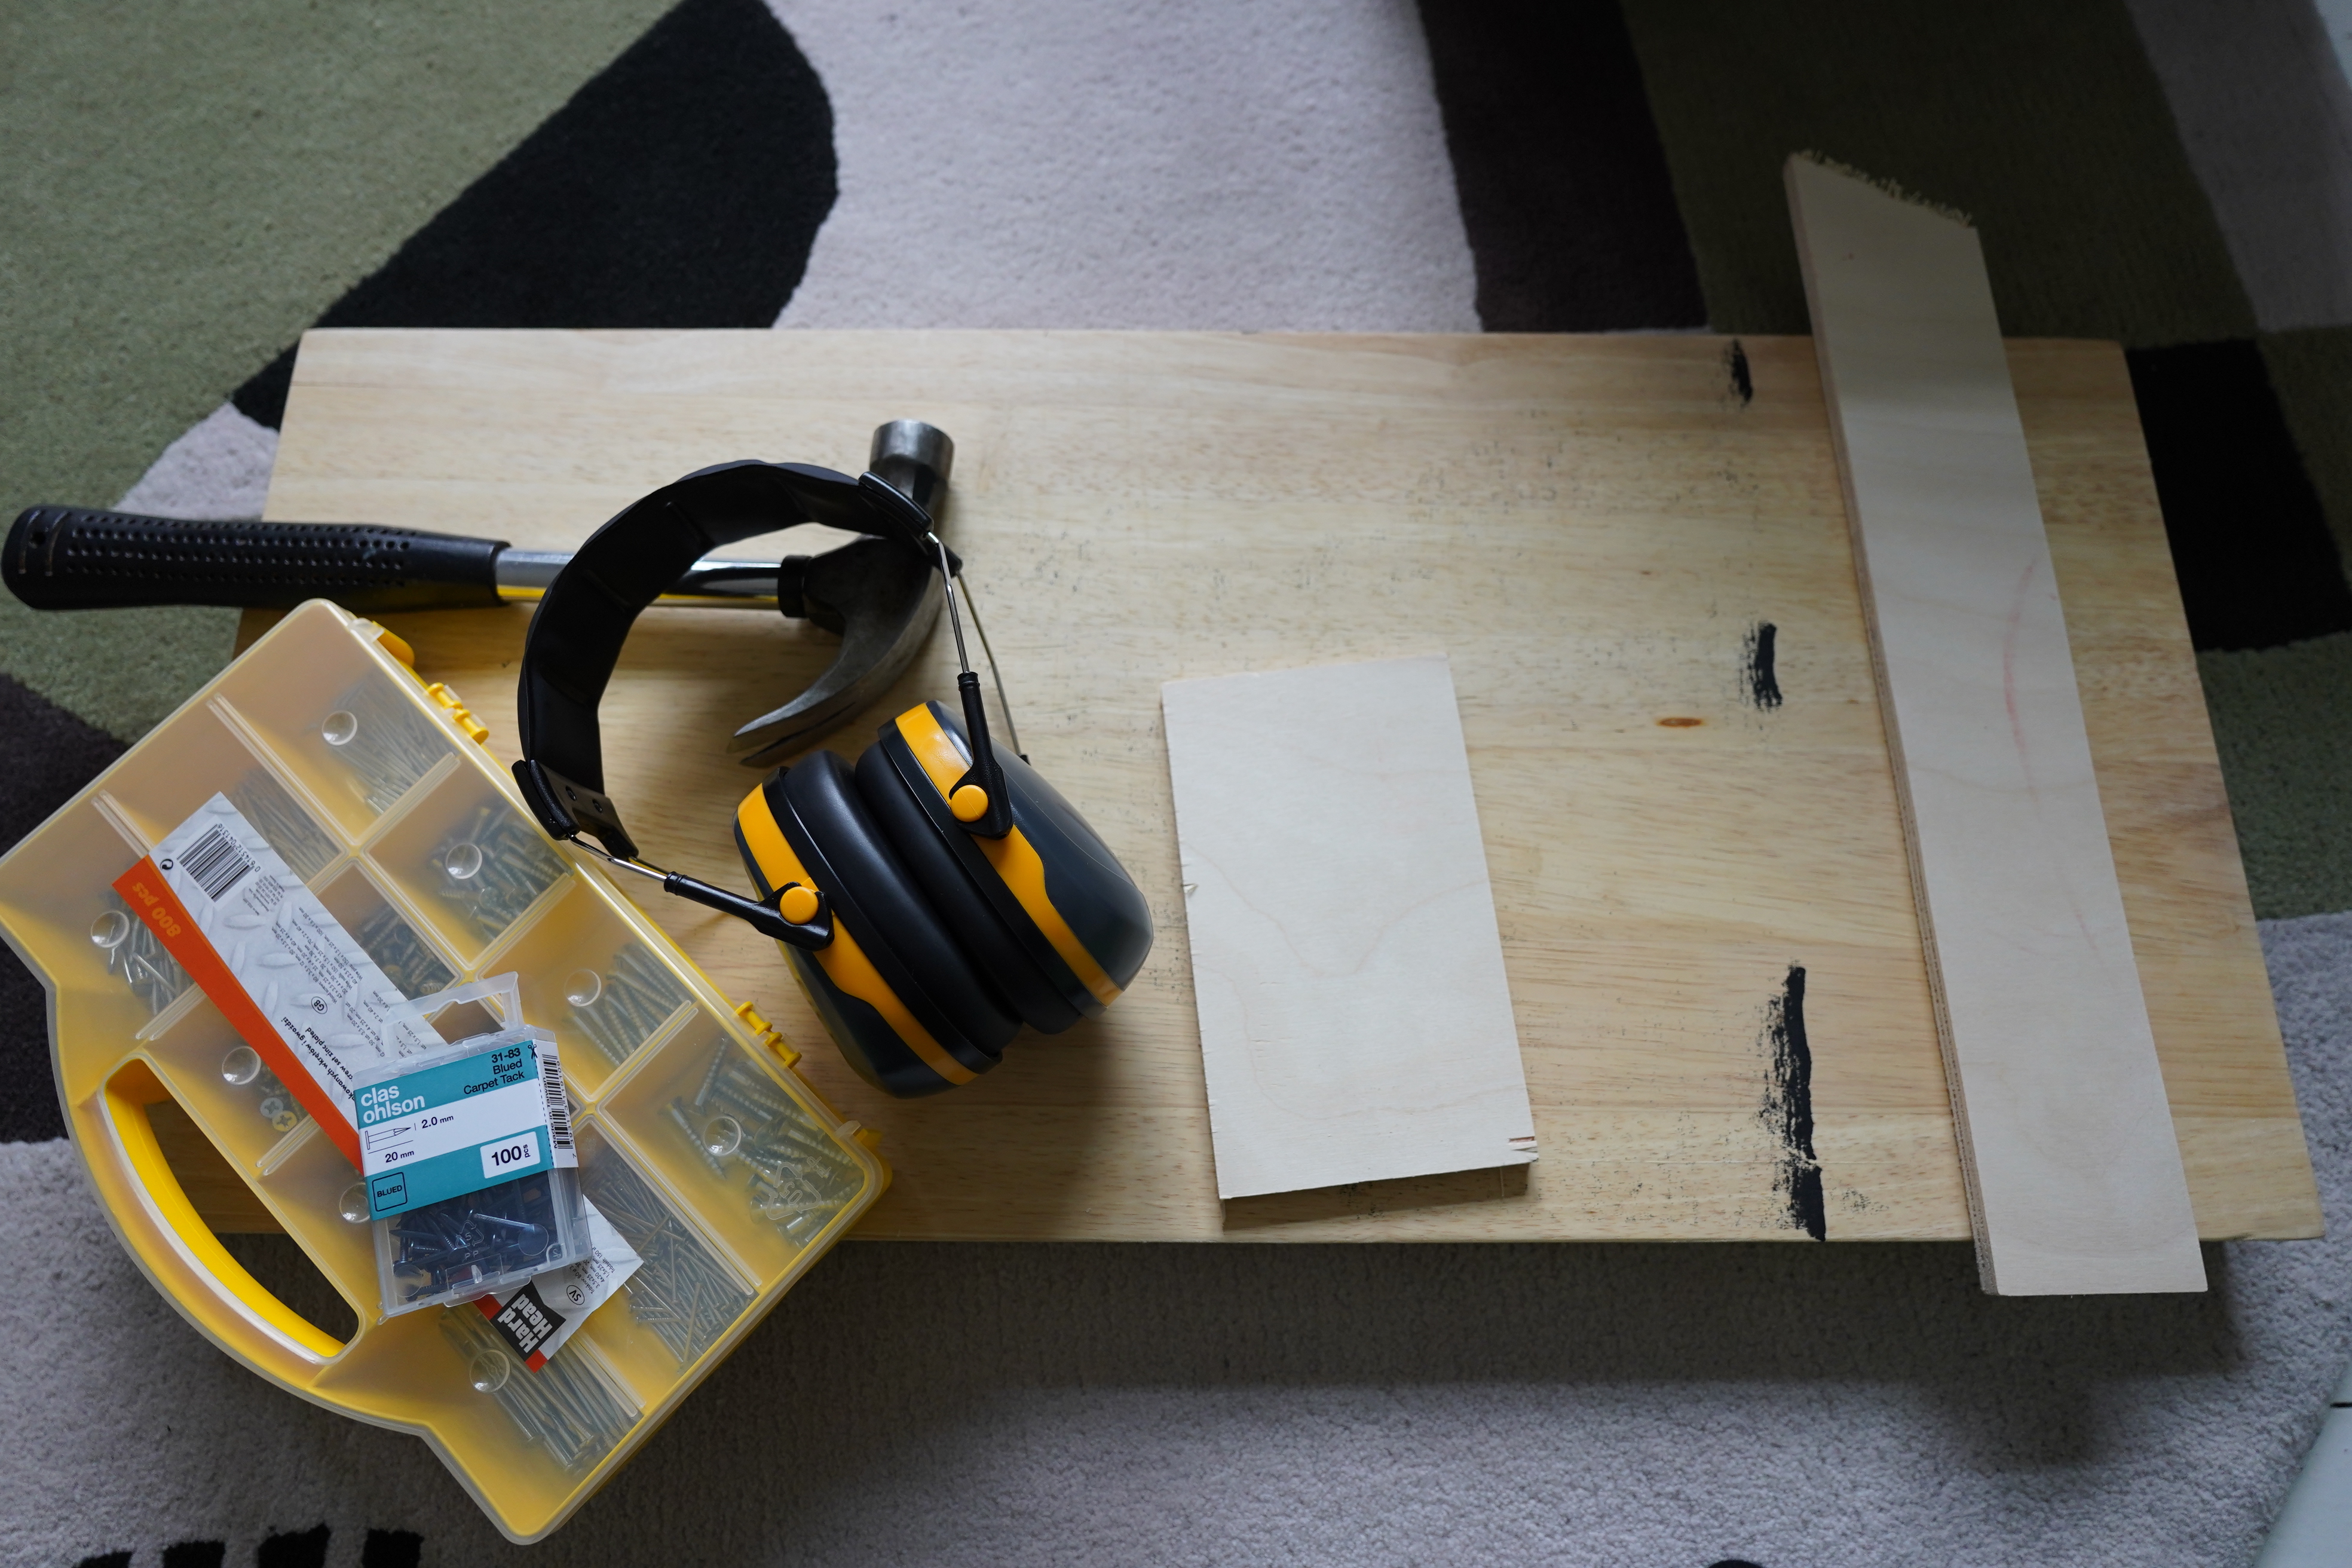
Now I just have to nail it all together.
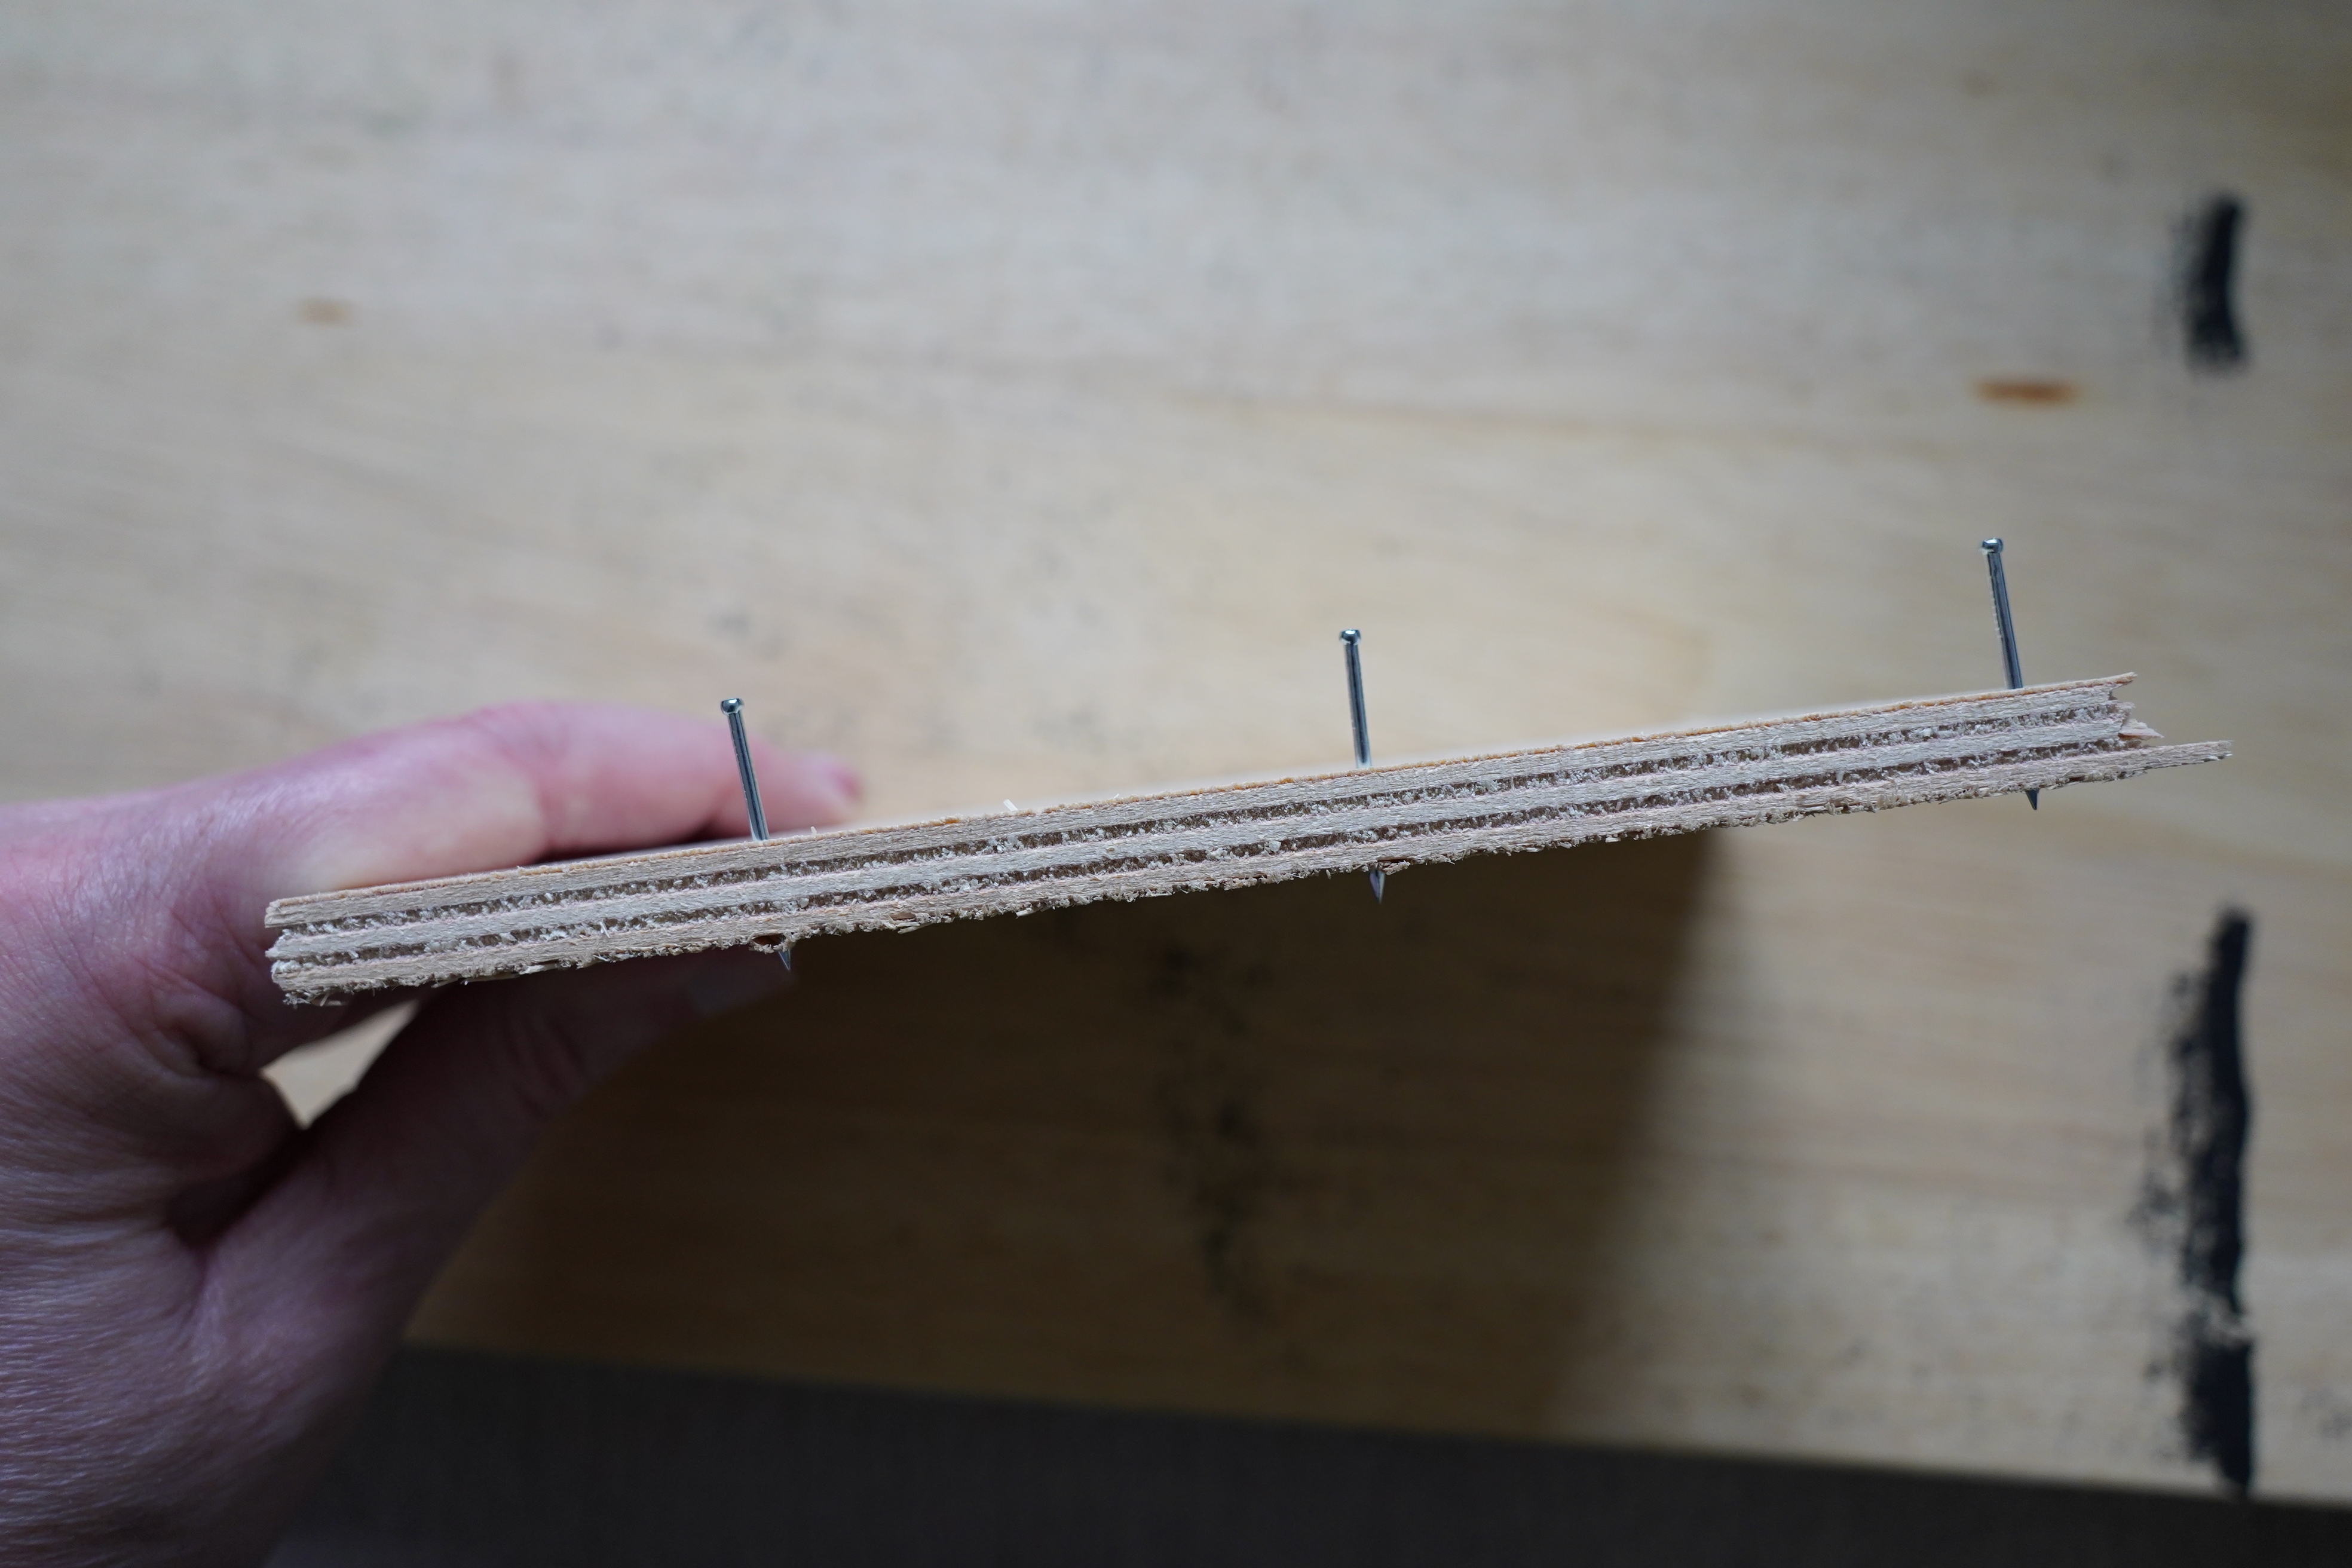
I was worried that the wood would splinter when I nailed in the nails, but nope — I’m doing a test run with some cutoff pieces to see whether this works at all.
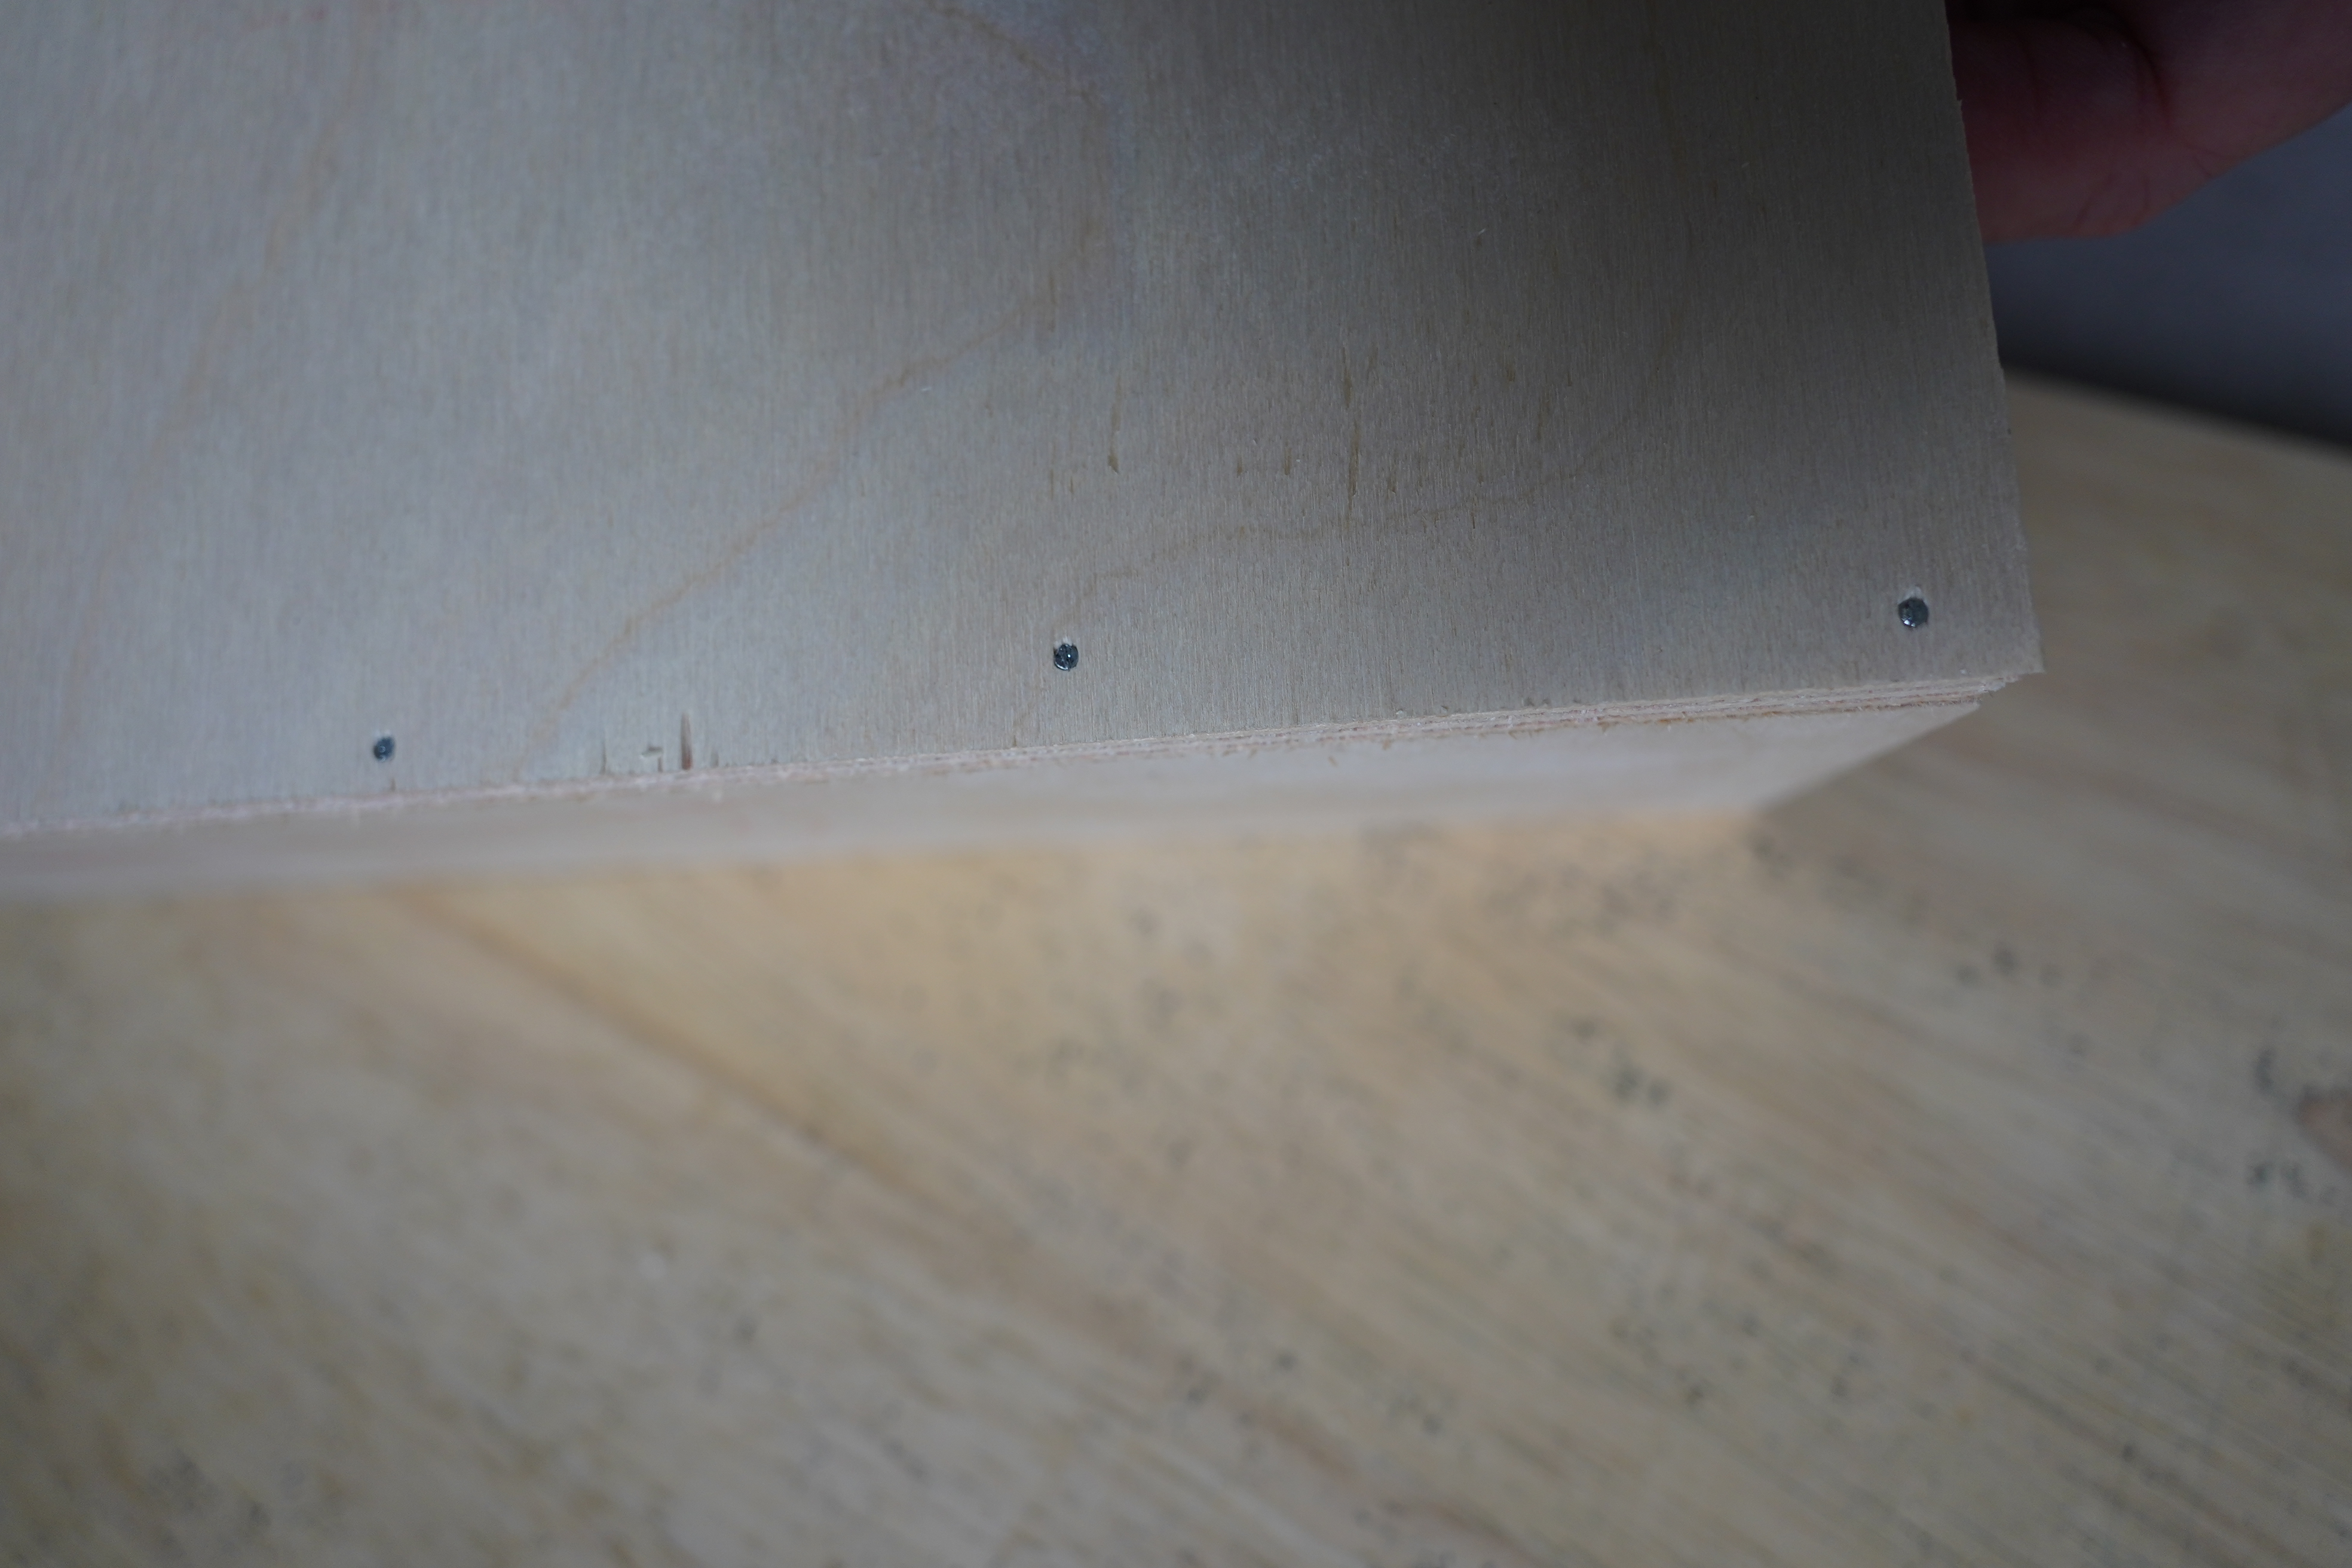
It’s all coming together nicely. The problem is keeping the nails going in straight: Since the wood is only 1cm wide, and these nails are 2.5cm, if I’m hitting things at a slight angle, they pop out of the wood on the other side.
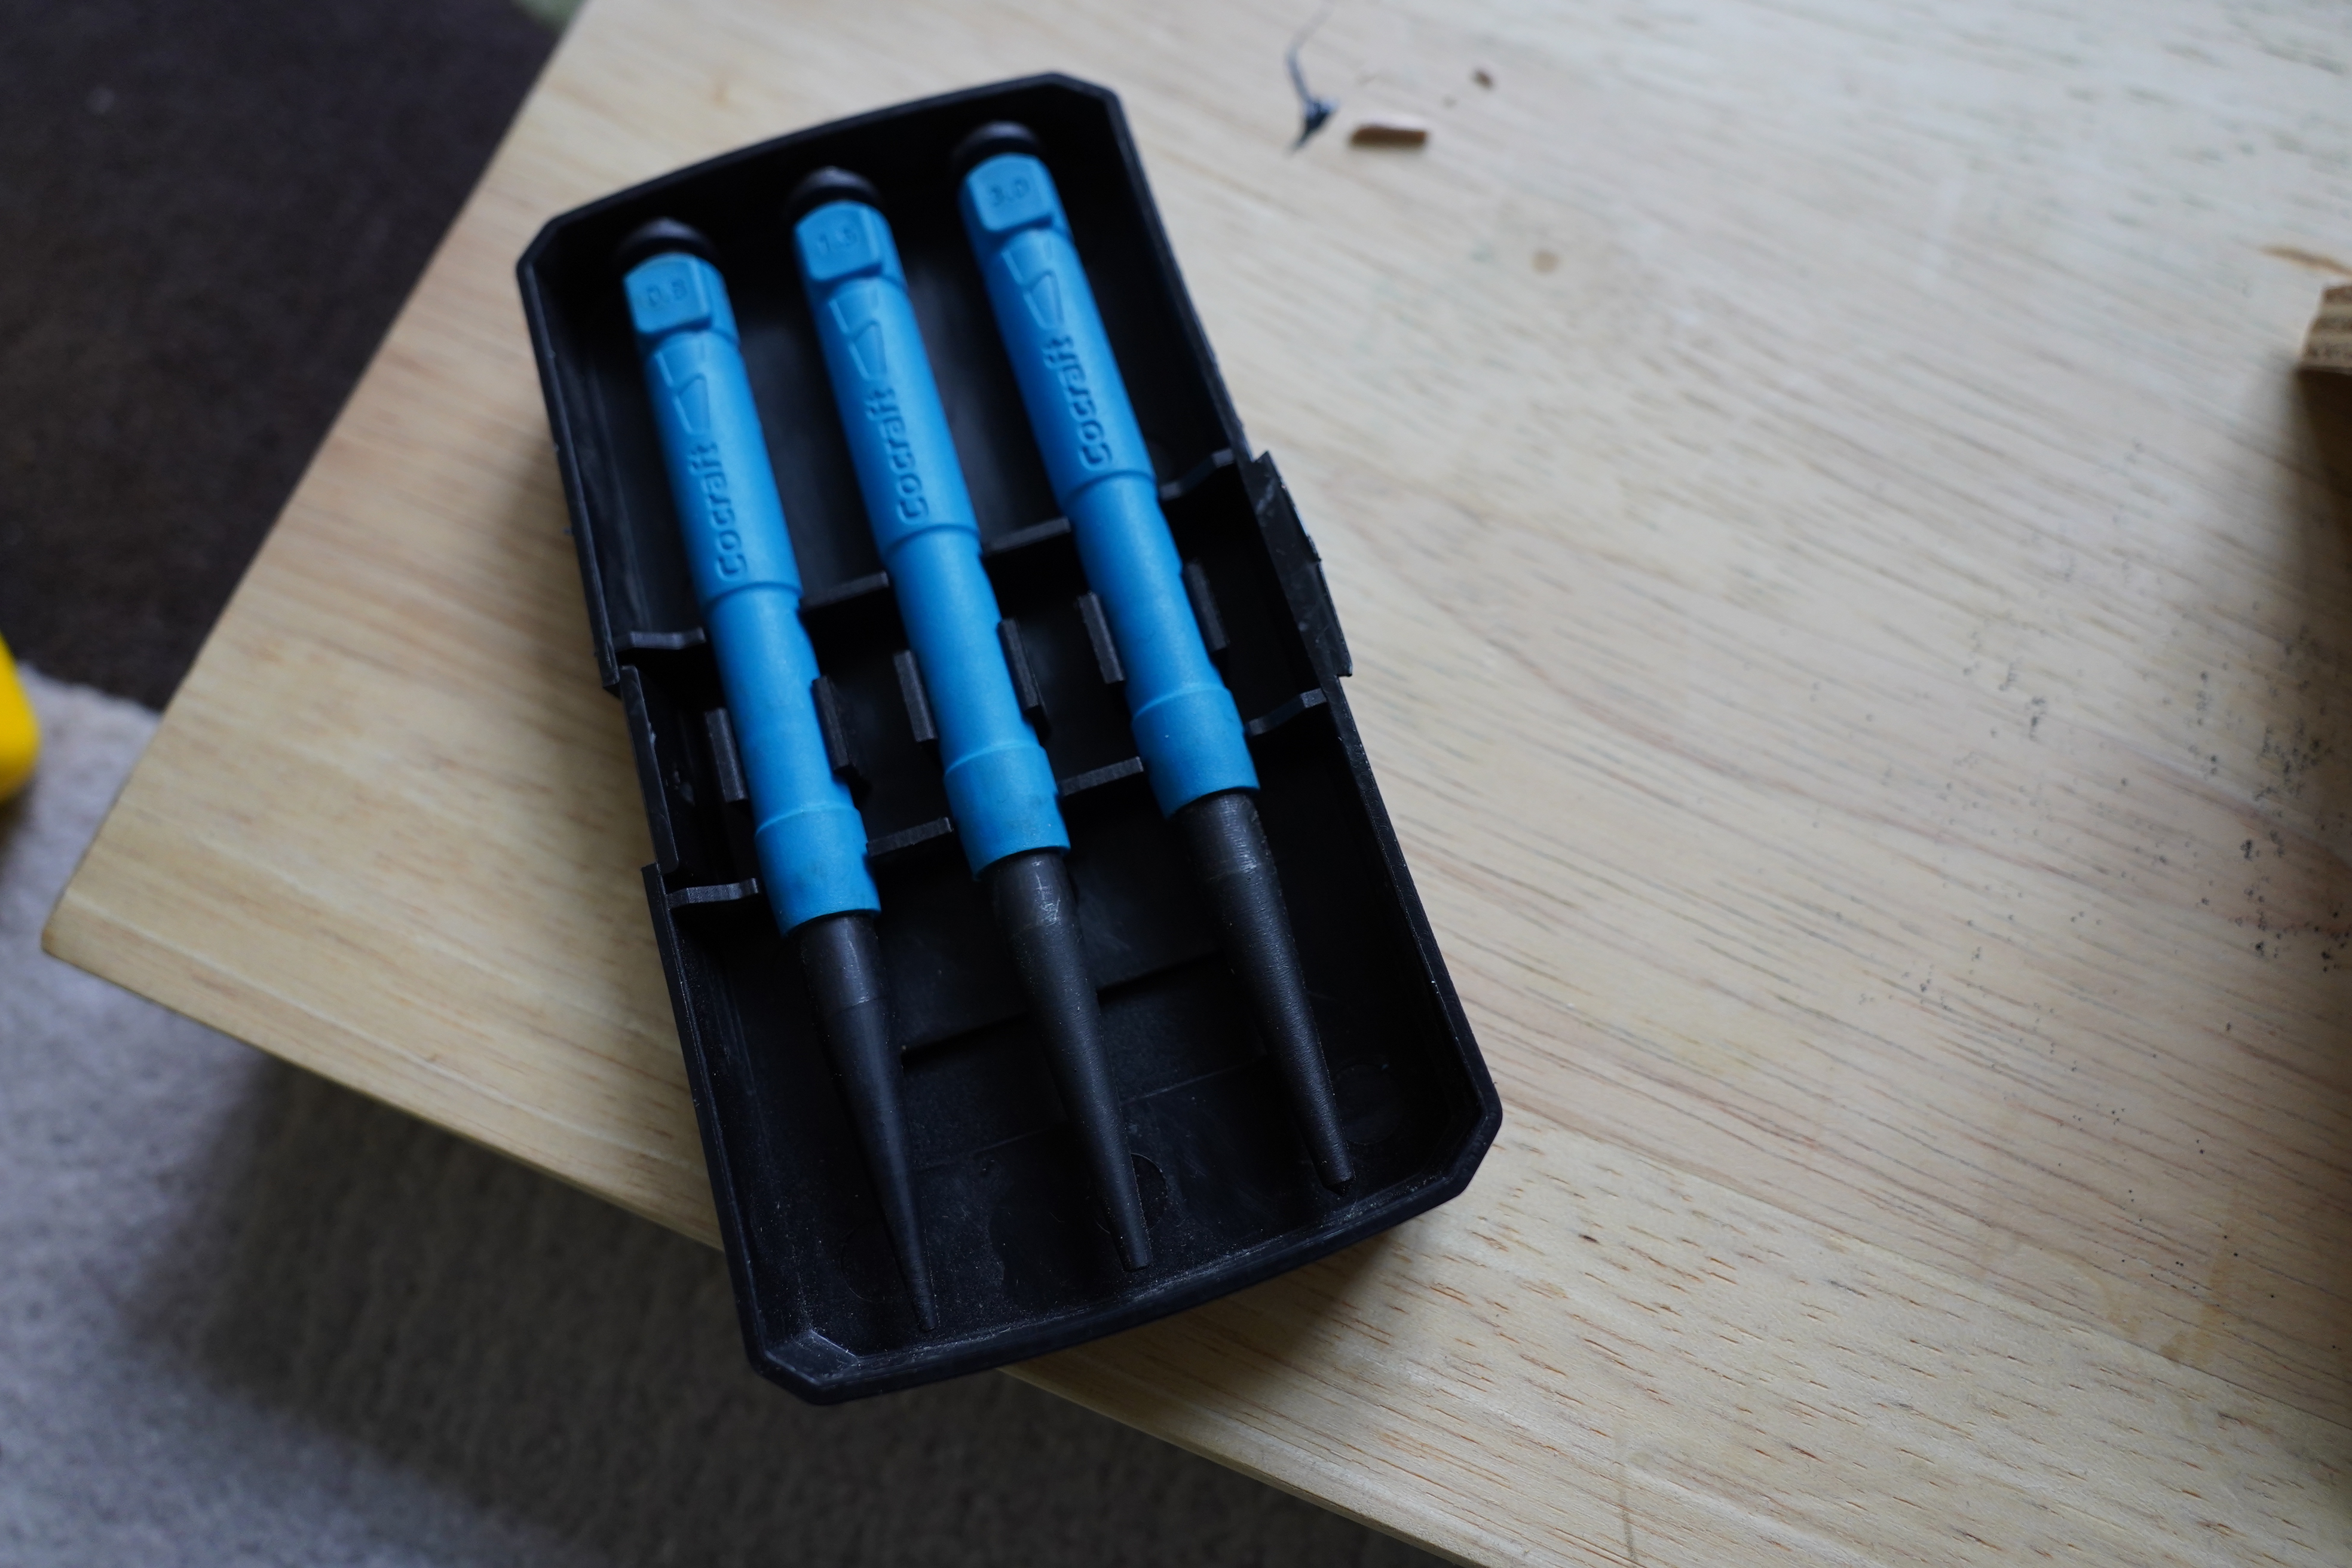
But here’s why using nails instead of screws make sense: Using finishing nails, I then use a nail punch to drive them further into the wood…
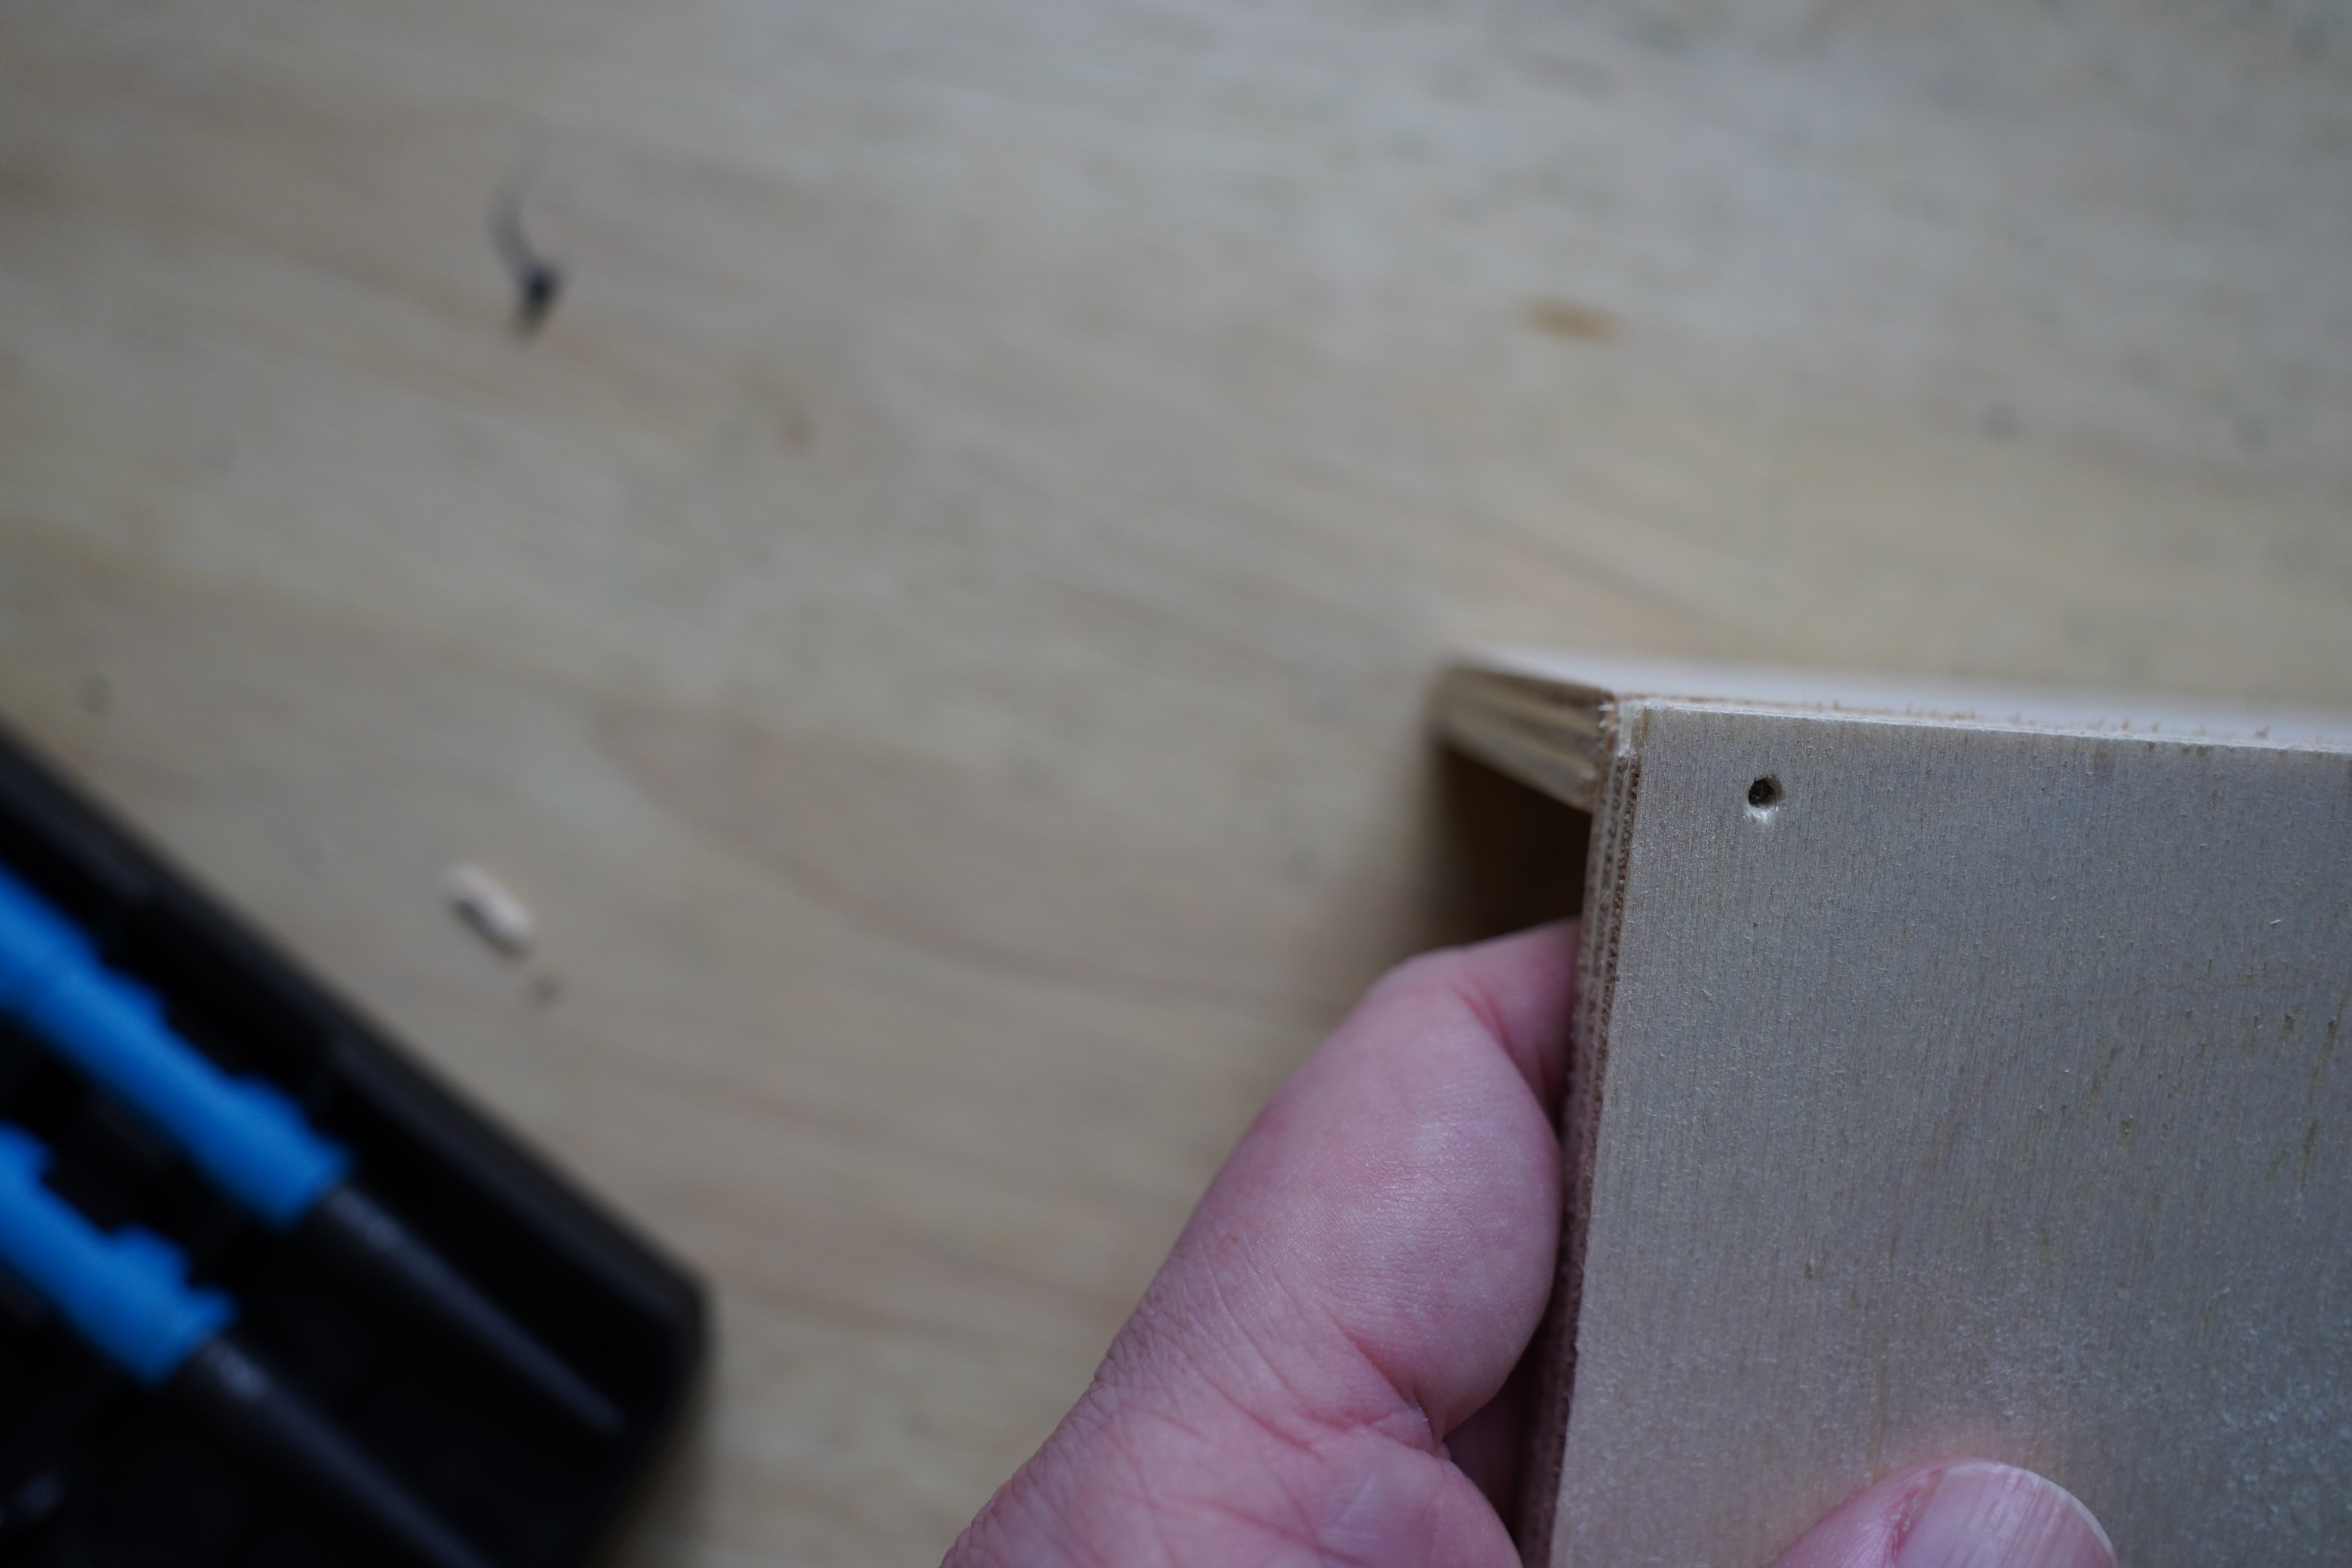
… so I can then use filler to completely hide the nails. Doing that with screws isn’t really possible.
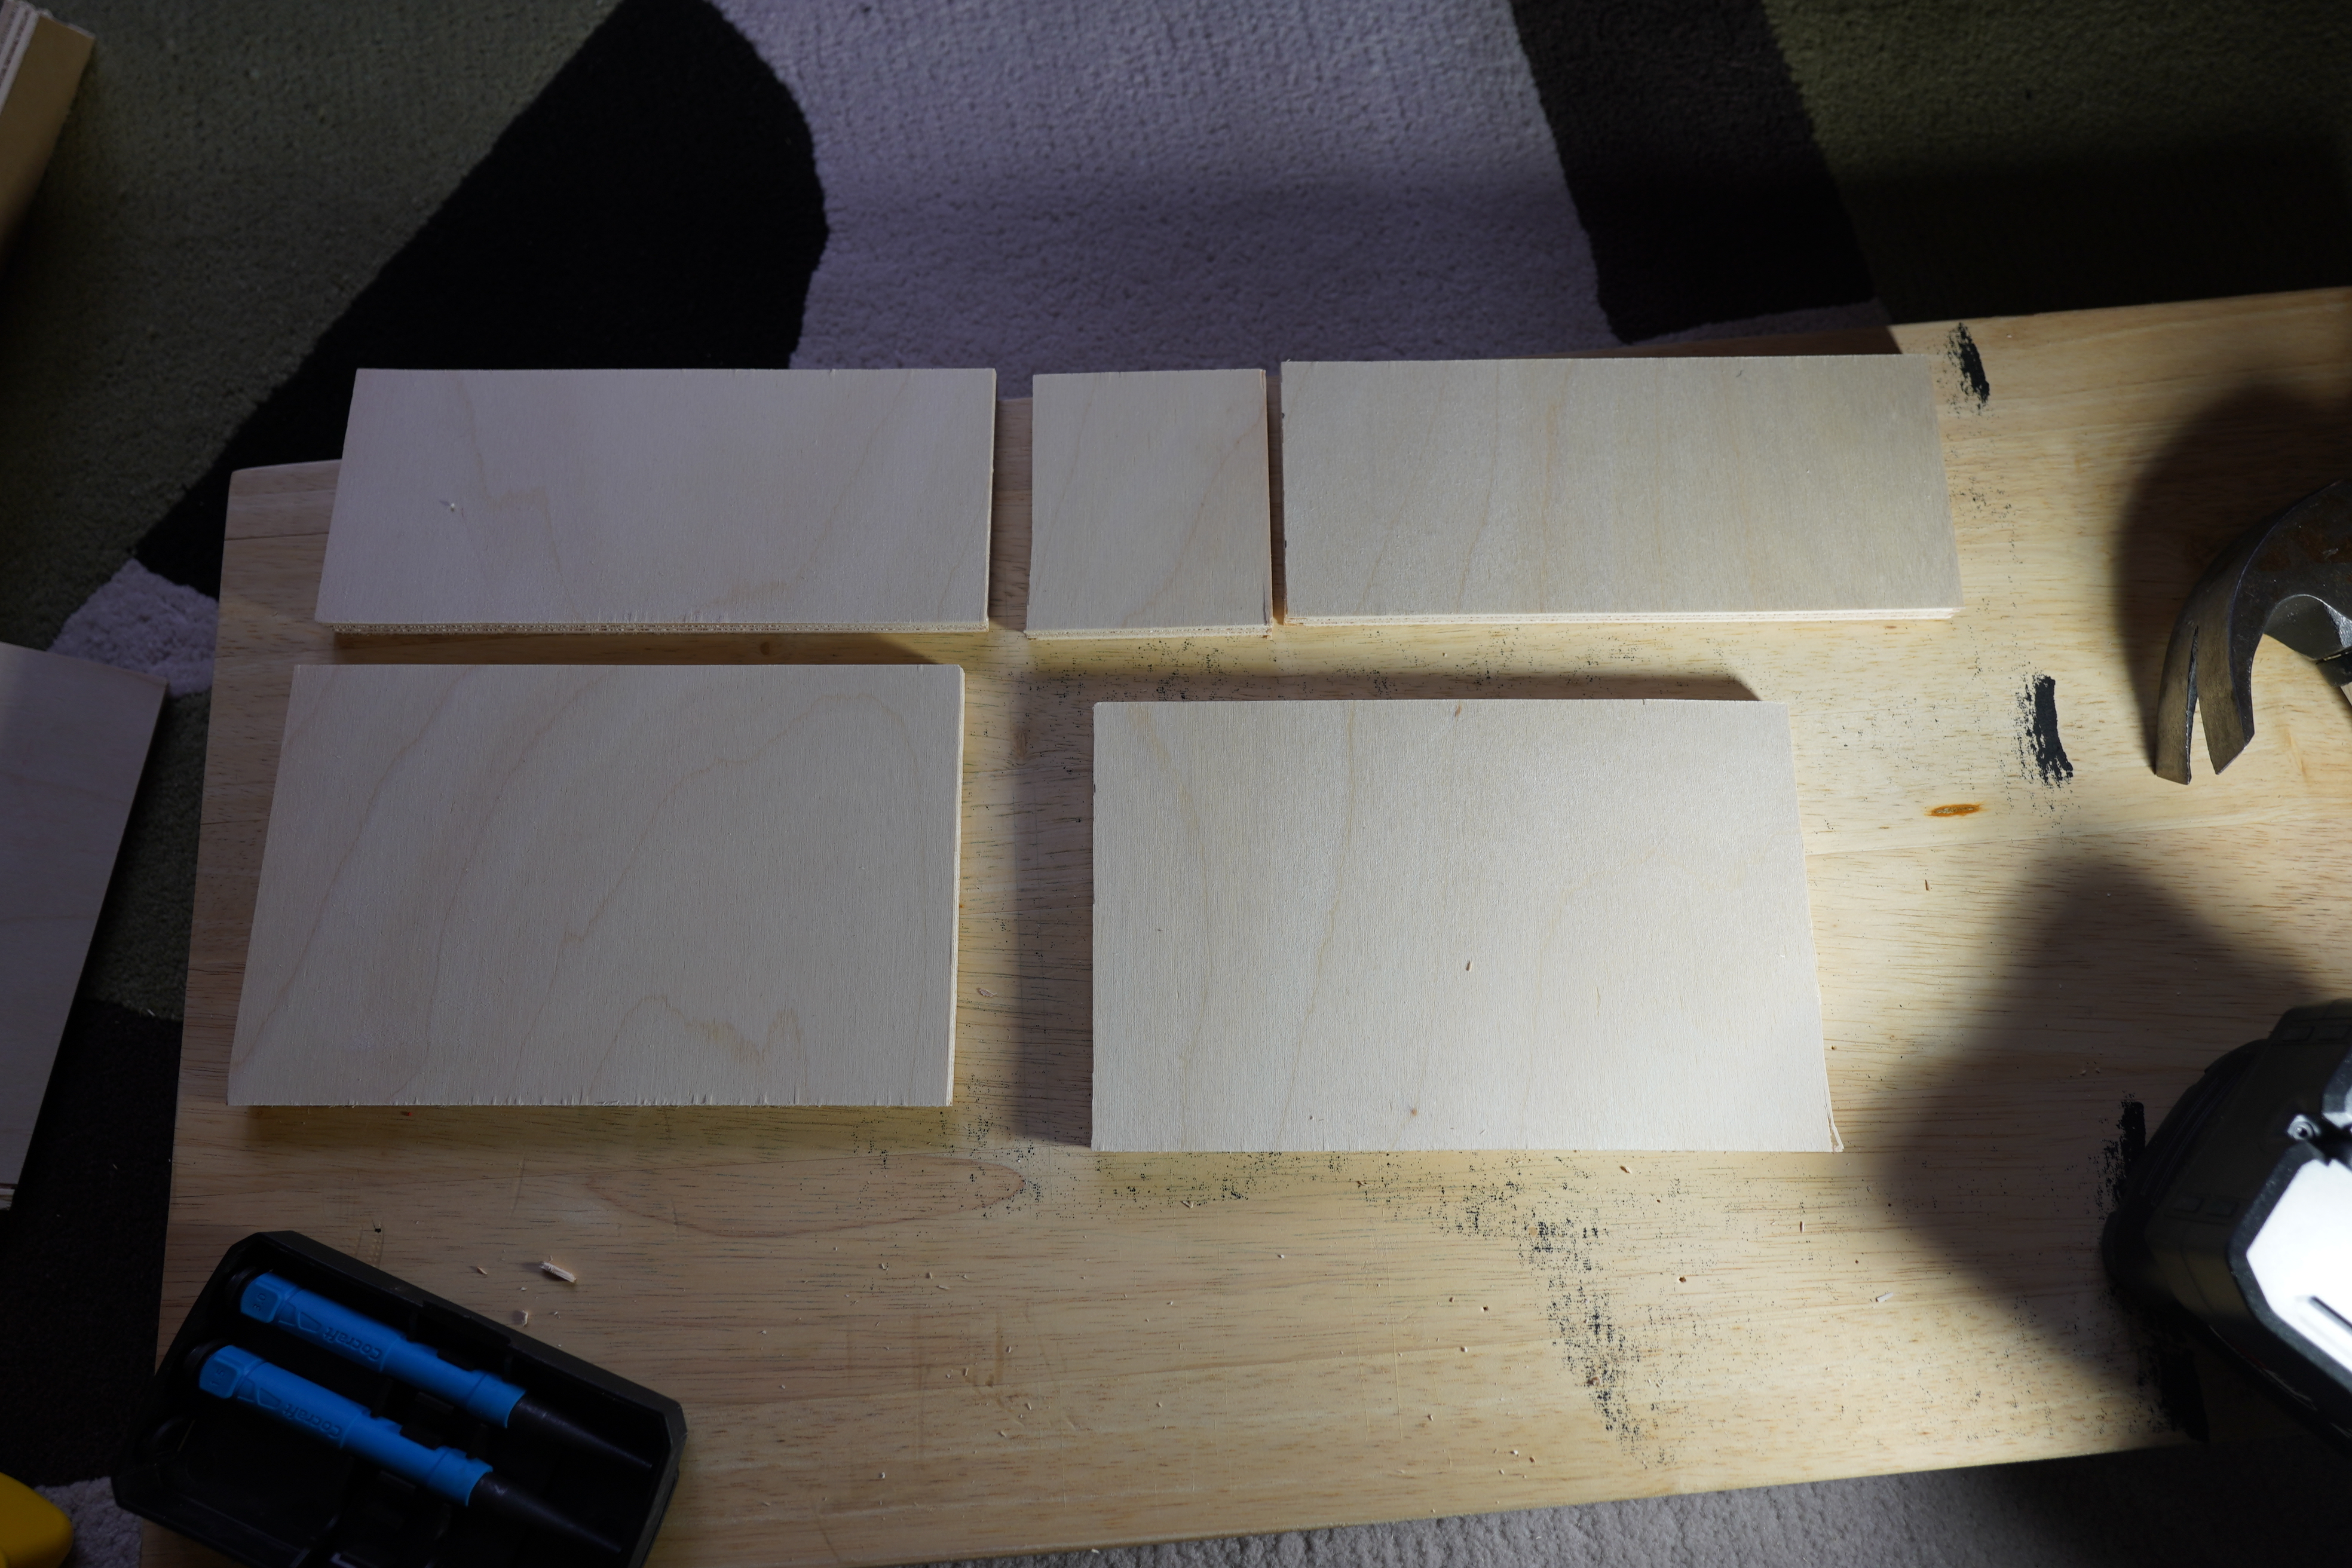
OK, time to start working for real. All bits assembled.
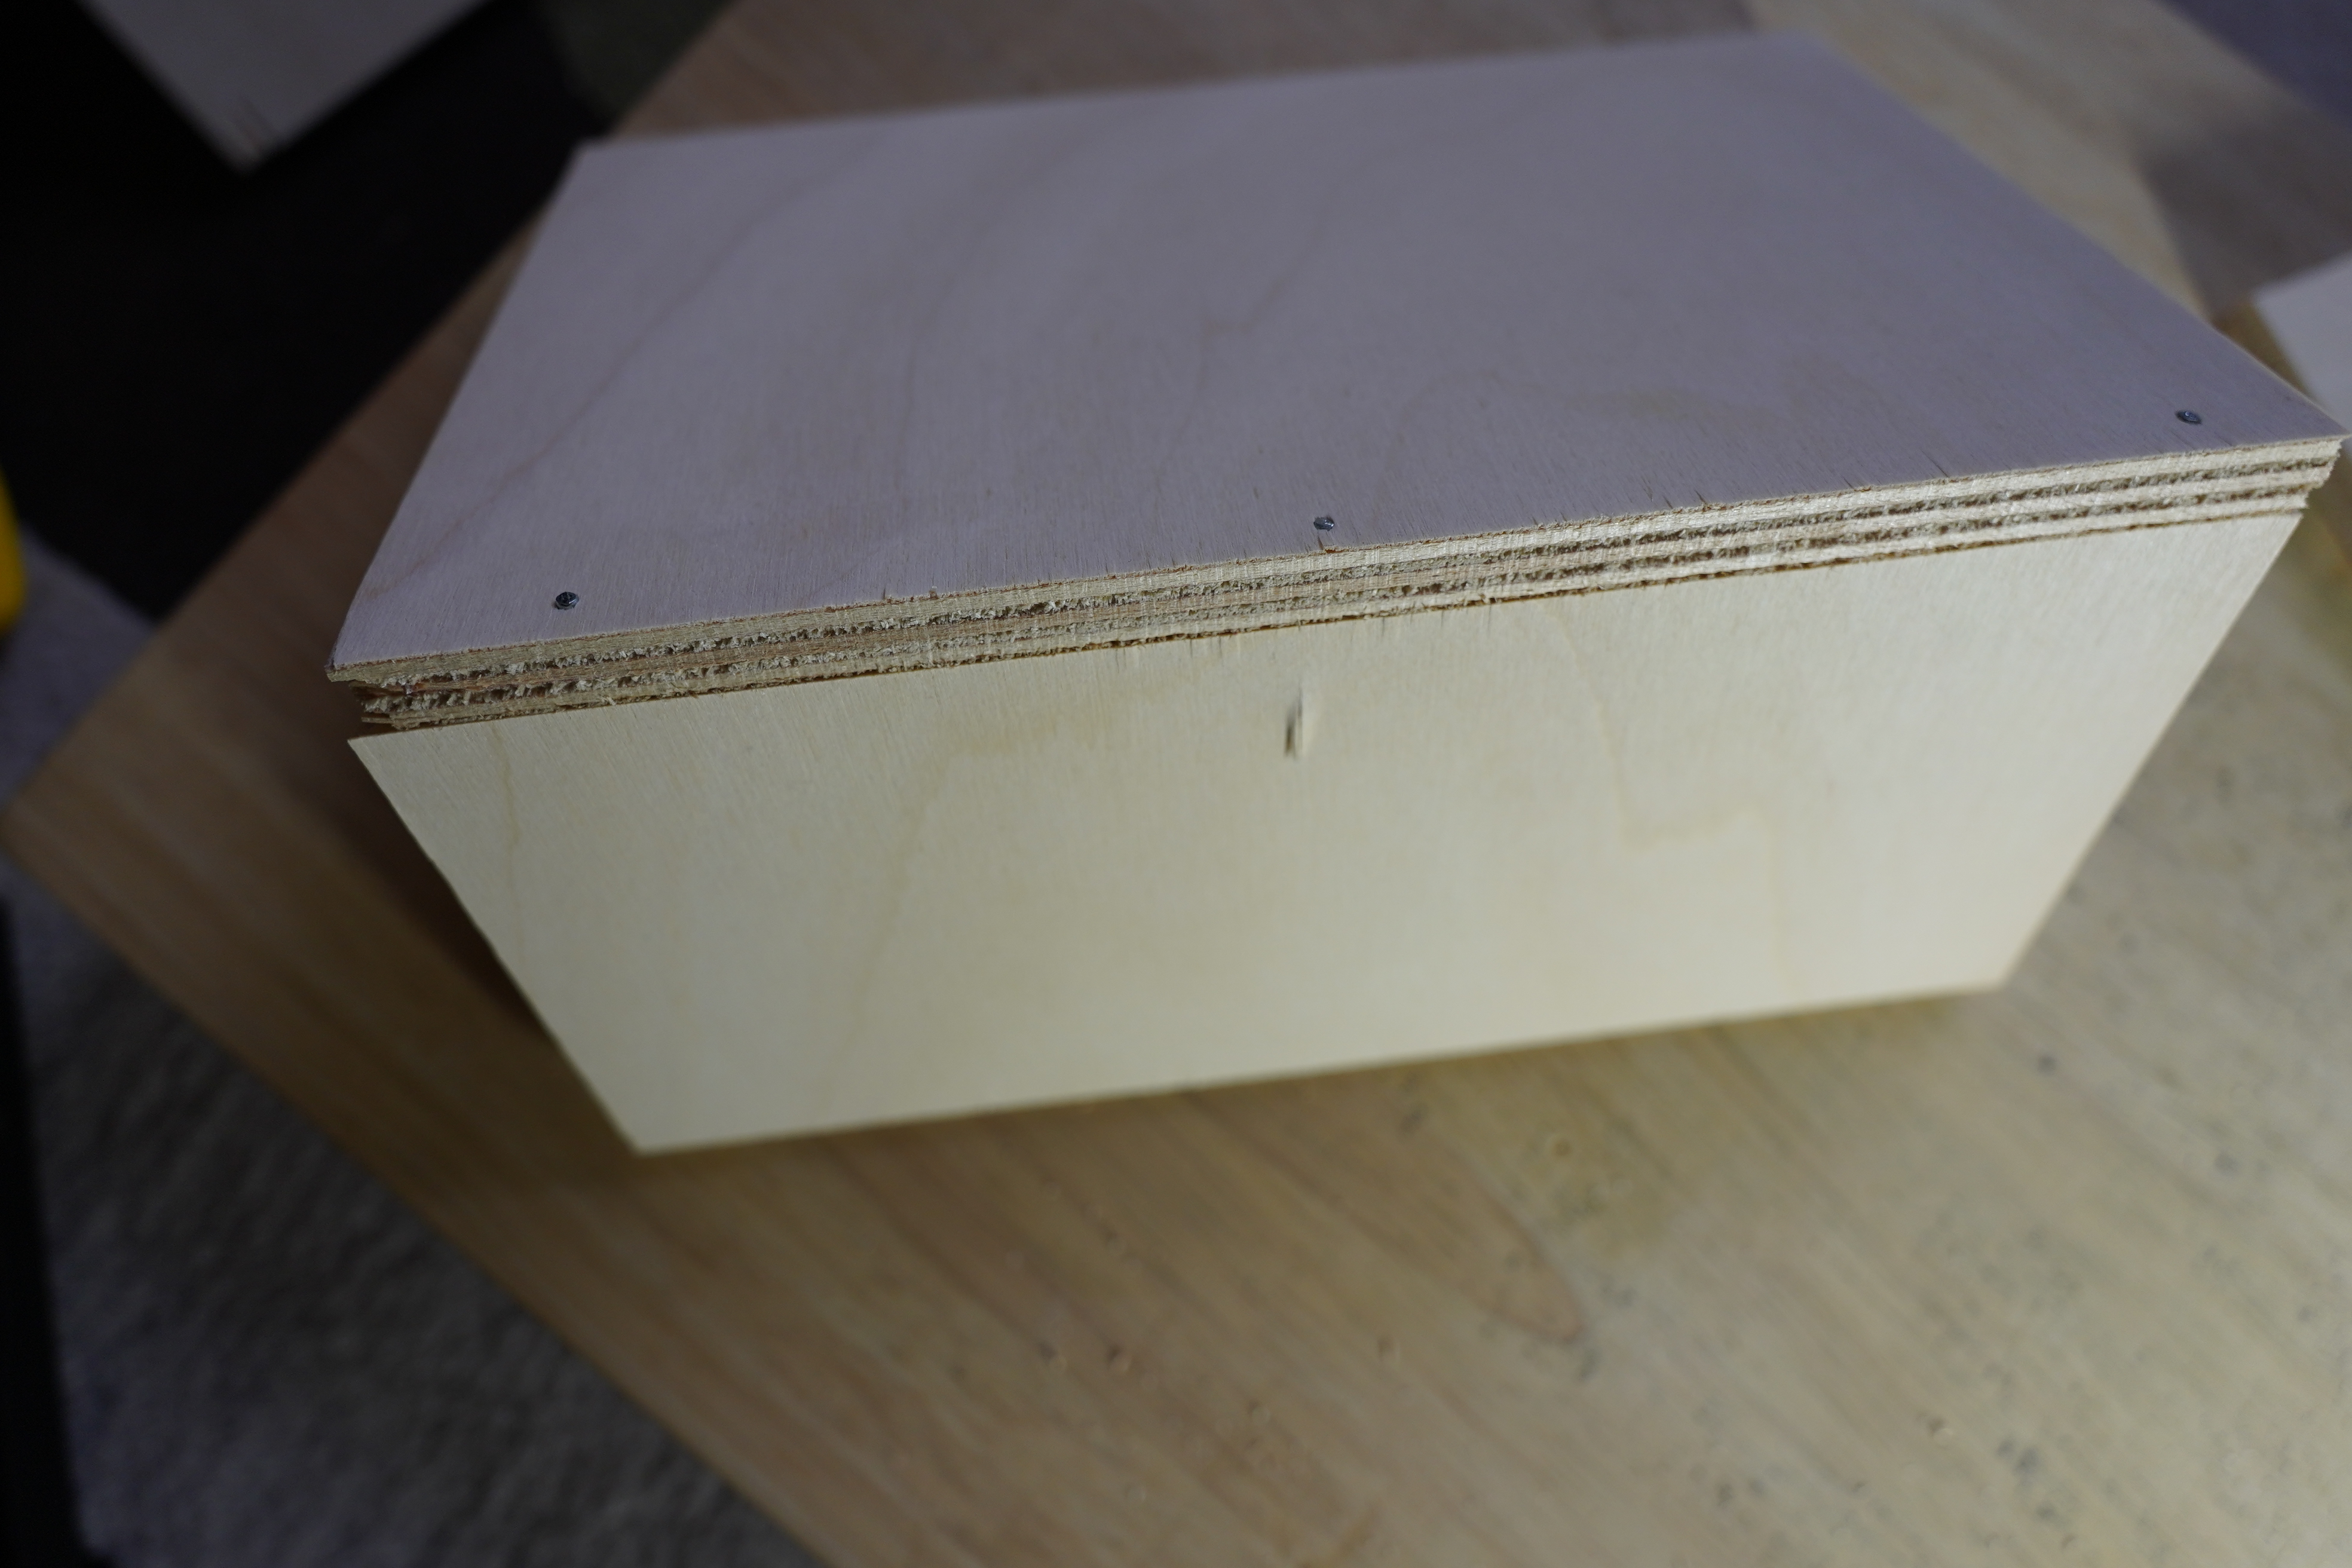
Bang bank bang and oops. Once again, a nail going in at an angle… *sigh* This happened three times during the mounting, and I had to pull the nails and do a new one for the worst ones. Is there a tool to guide or something? To guarantee 90 degree angles?
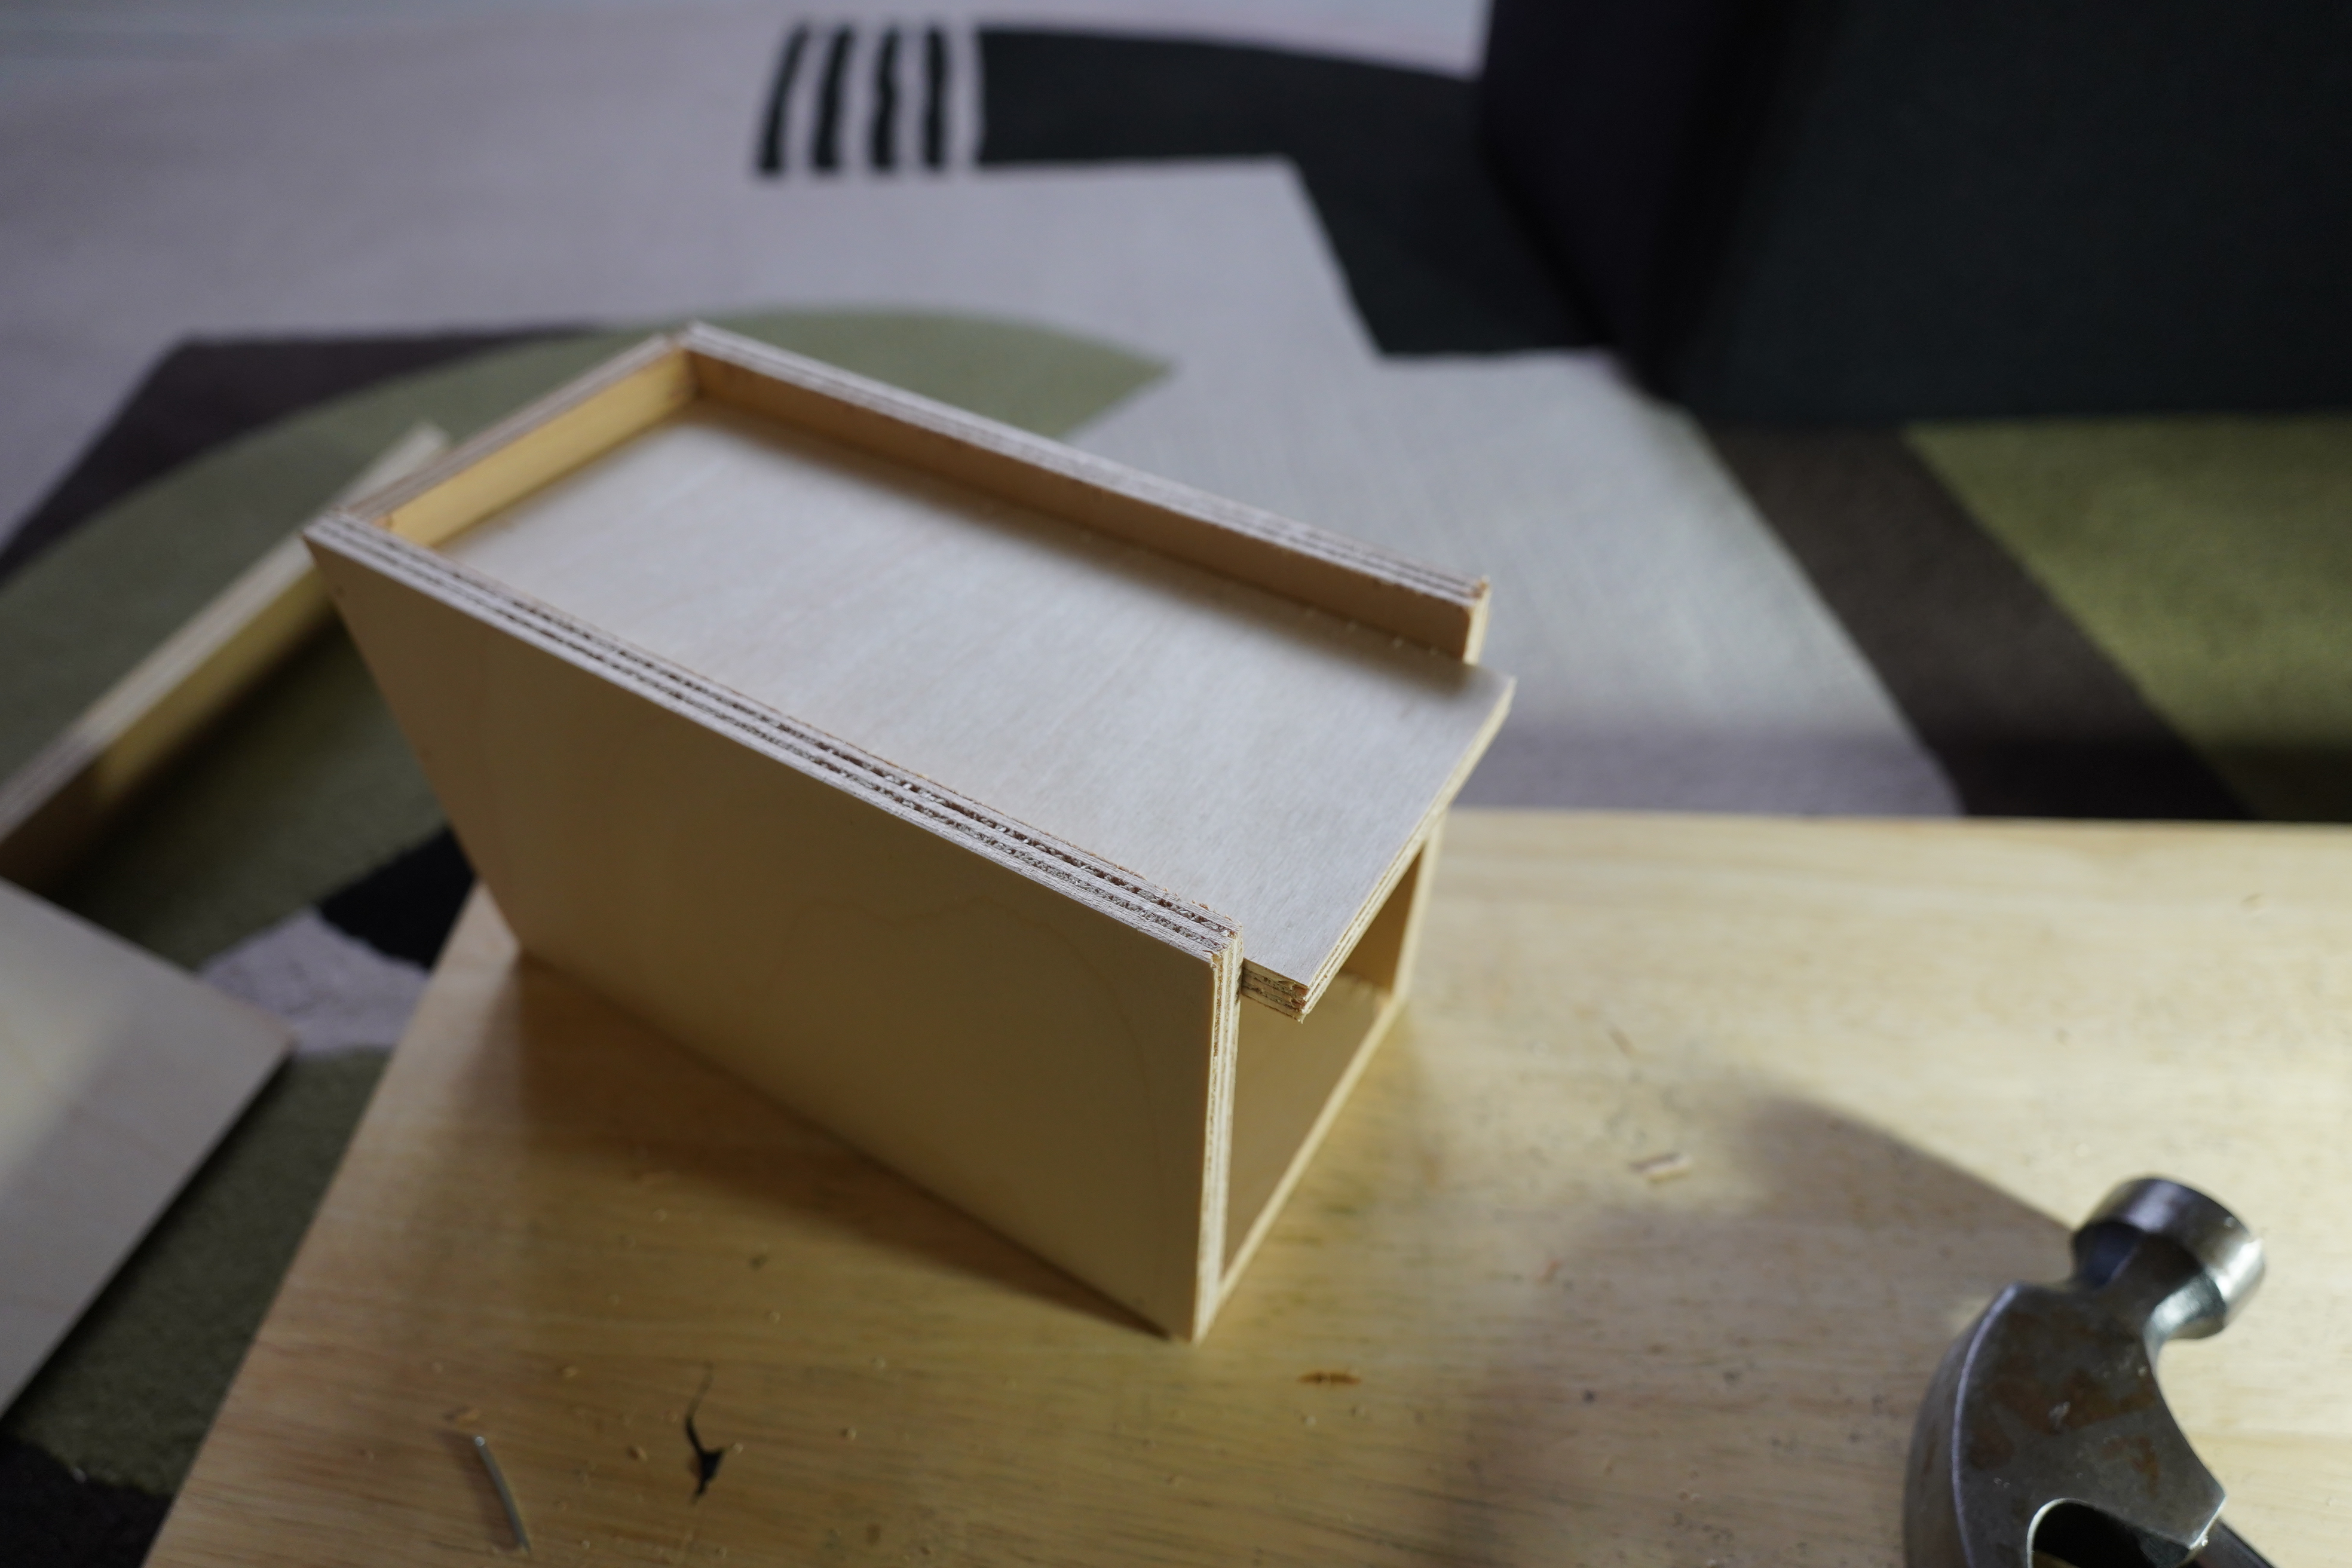
Tada!
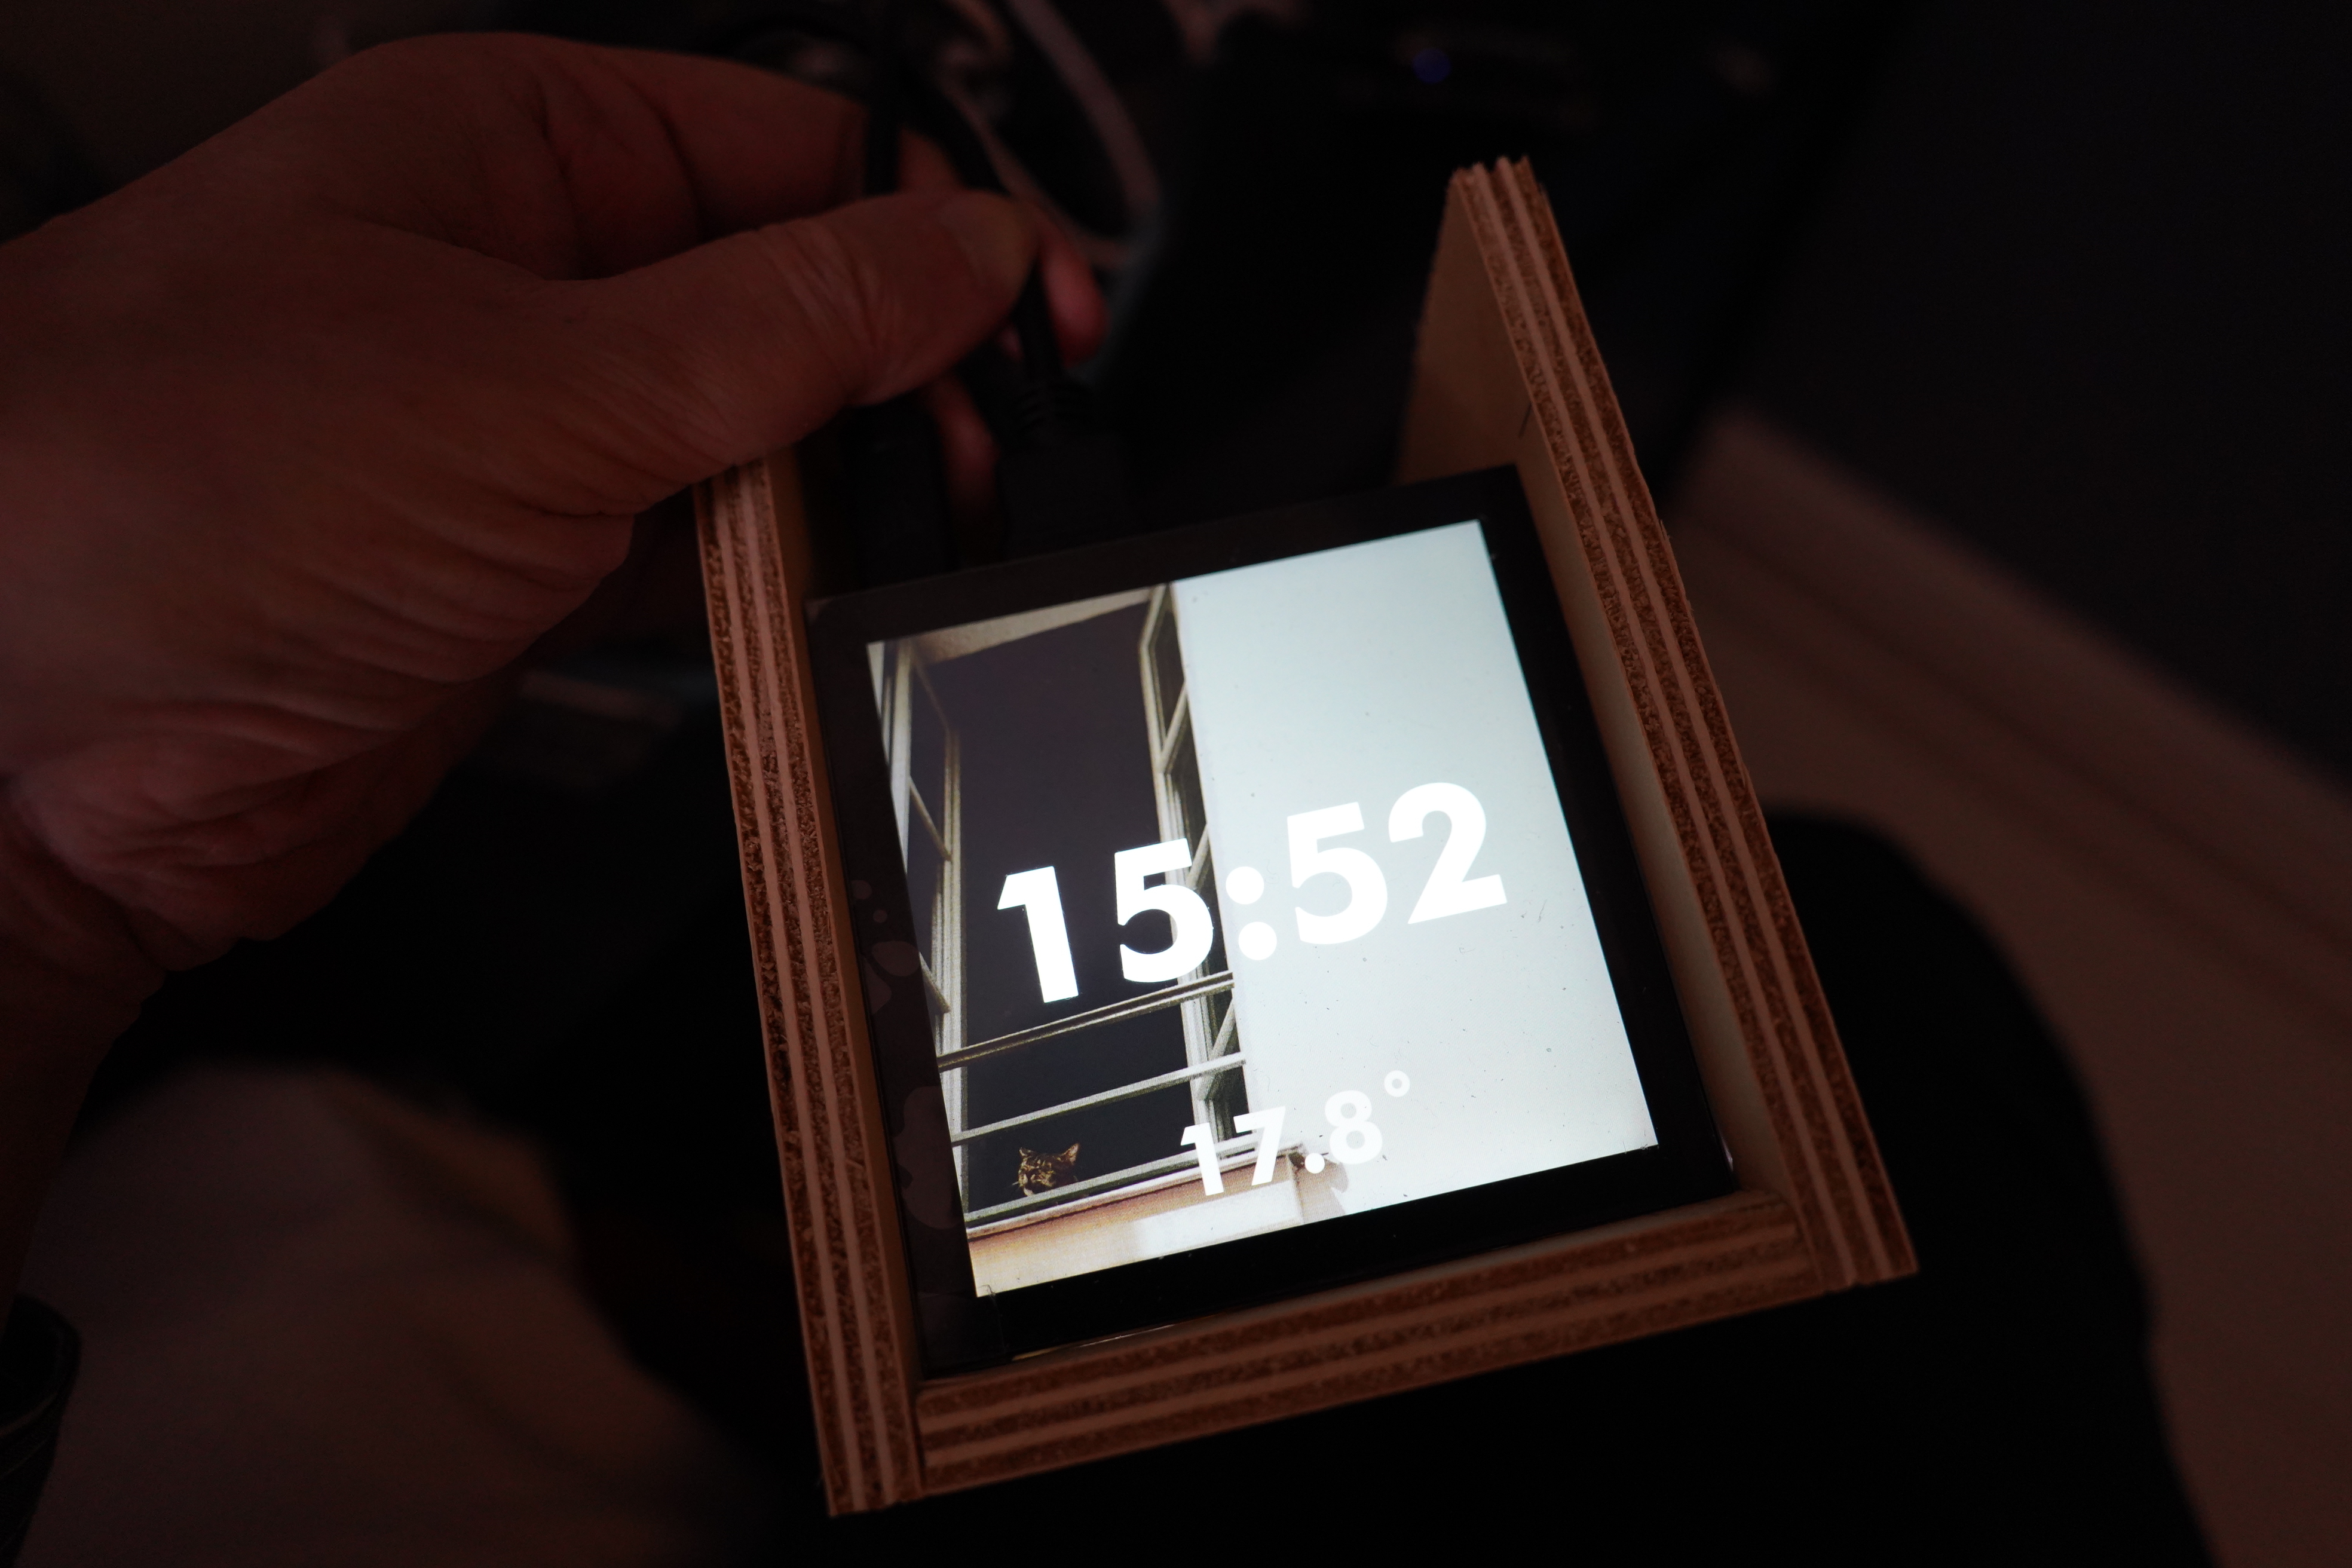
The screen fits! Wow!
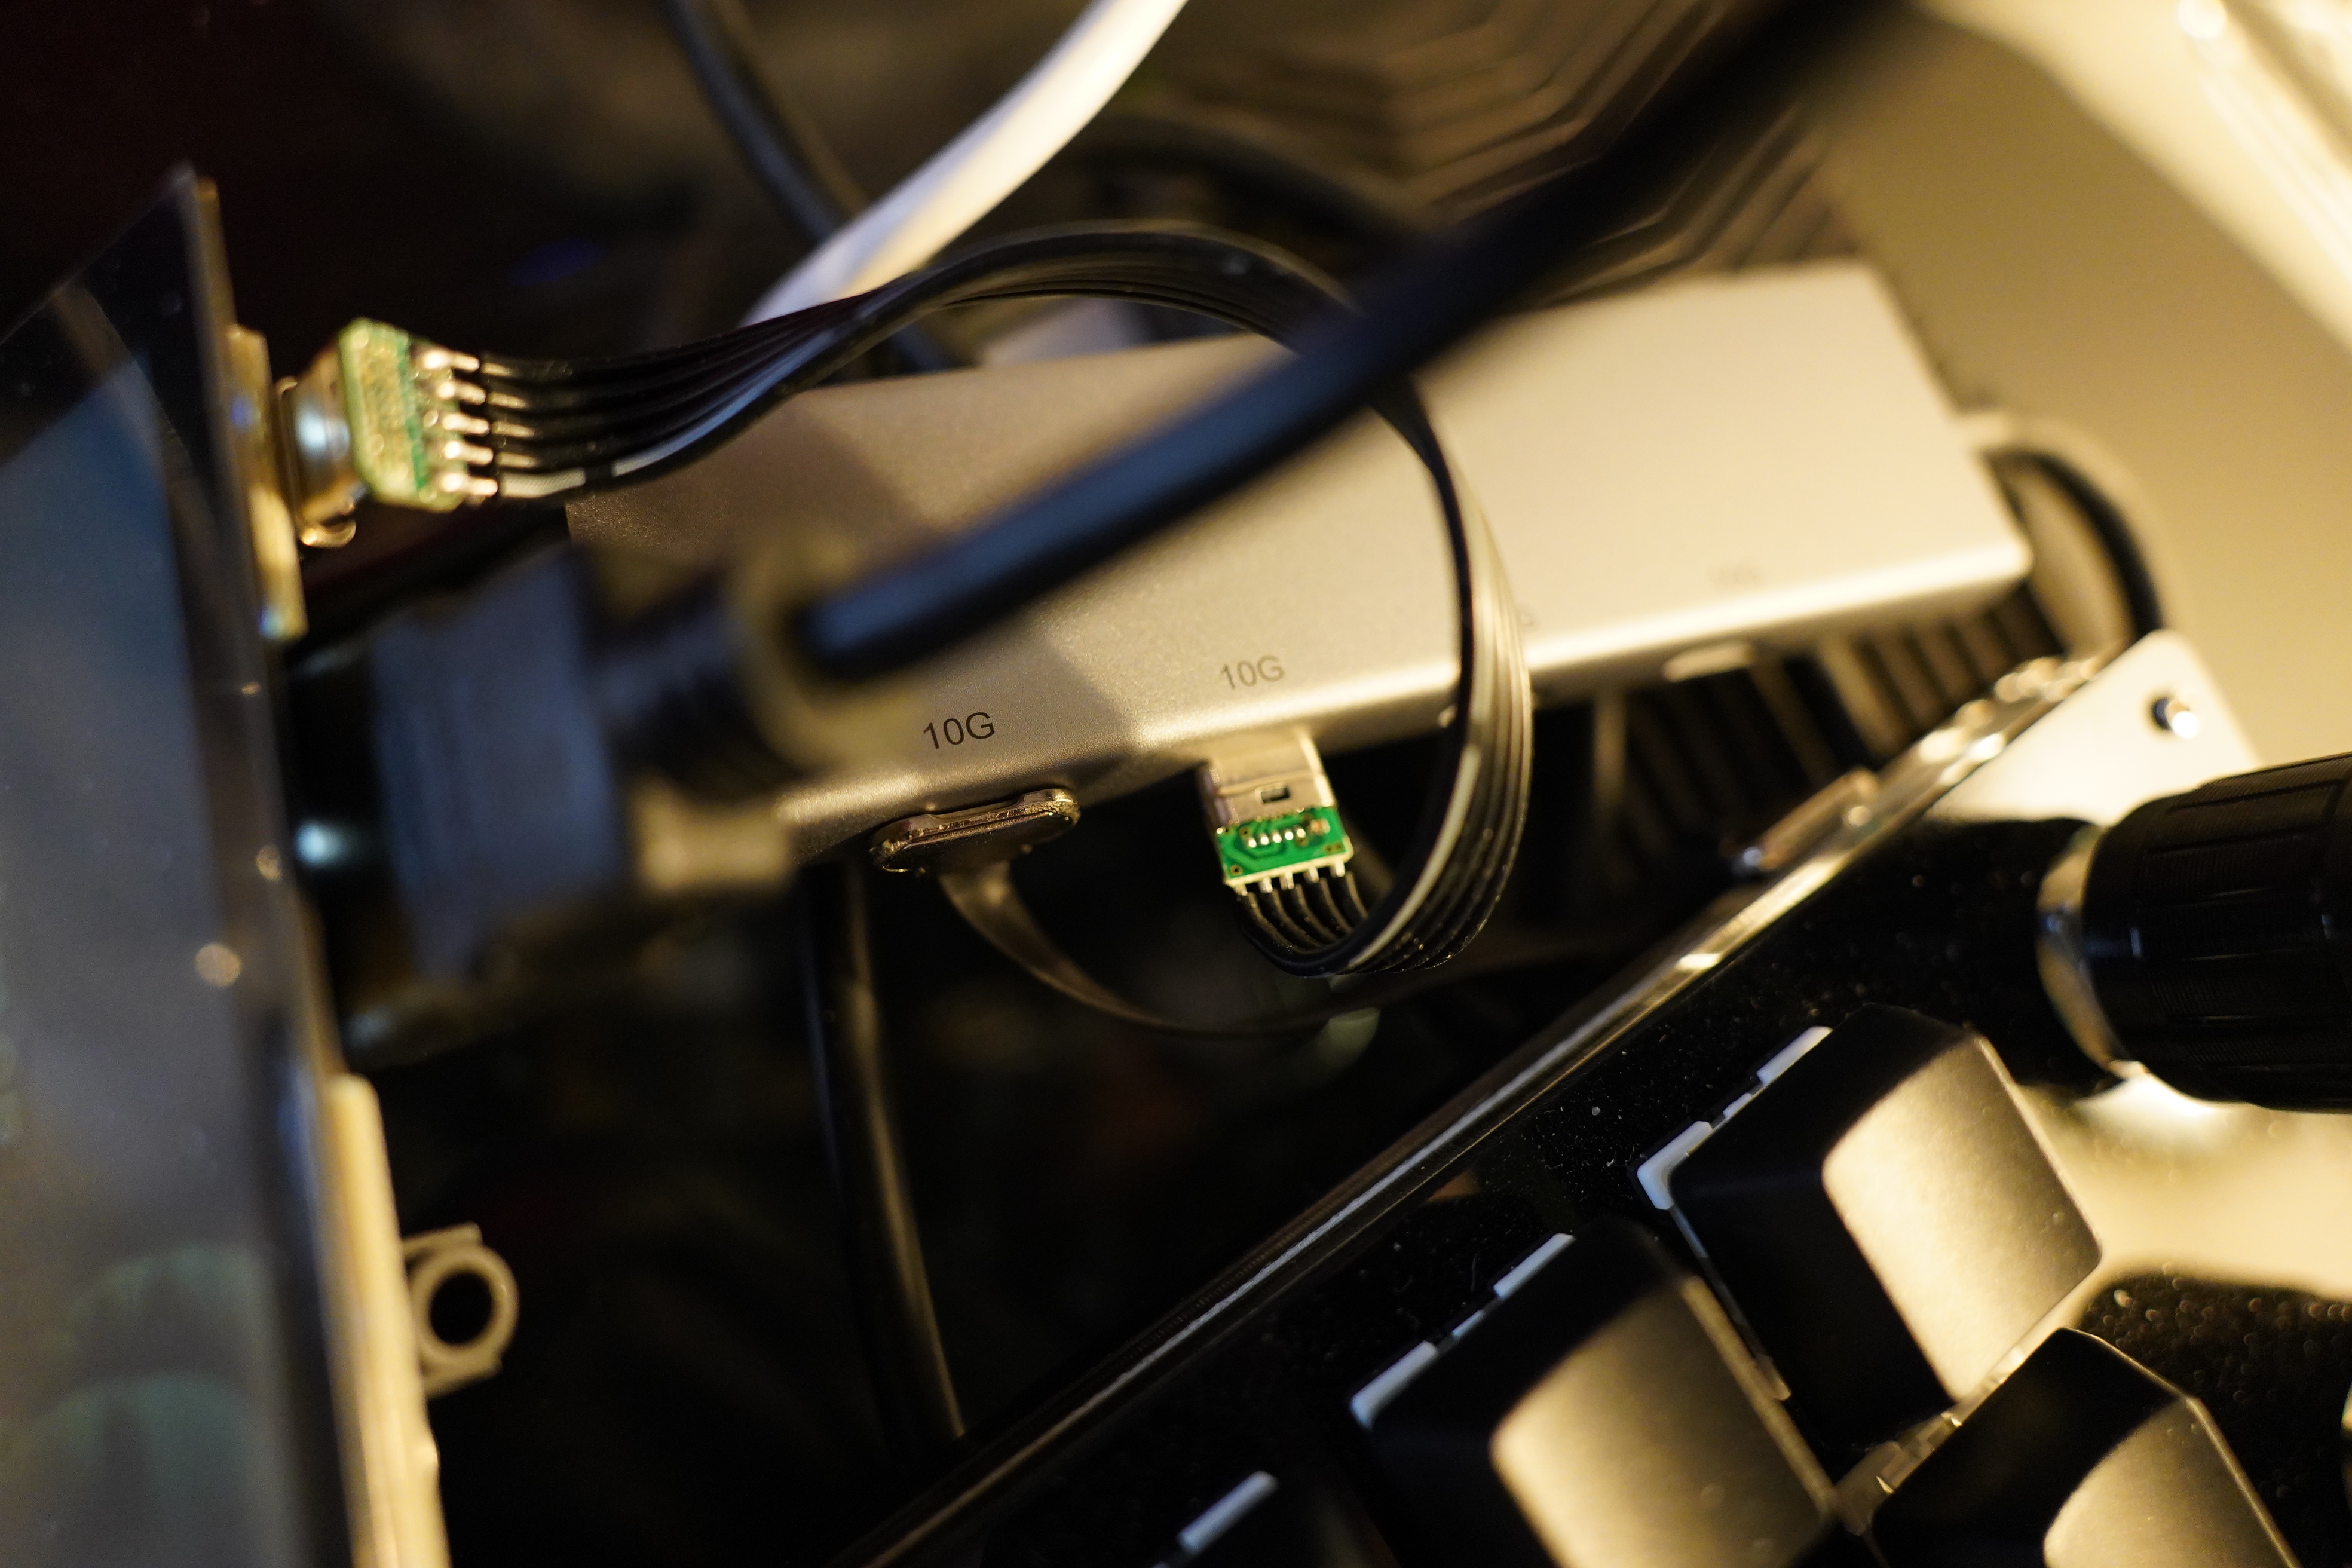
OK, time to swap out the cables I was using during the test run with production cables, which means thinner cables that are angled, for the most part. So I got some from AliExpress, and…
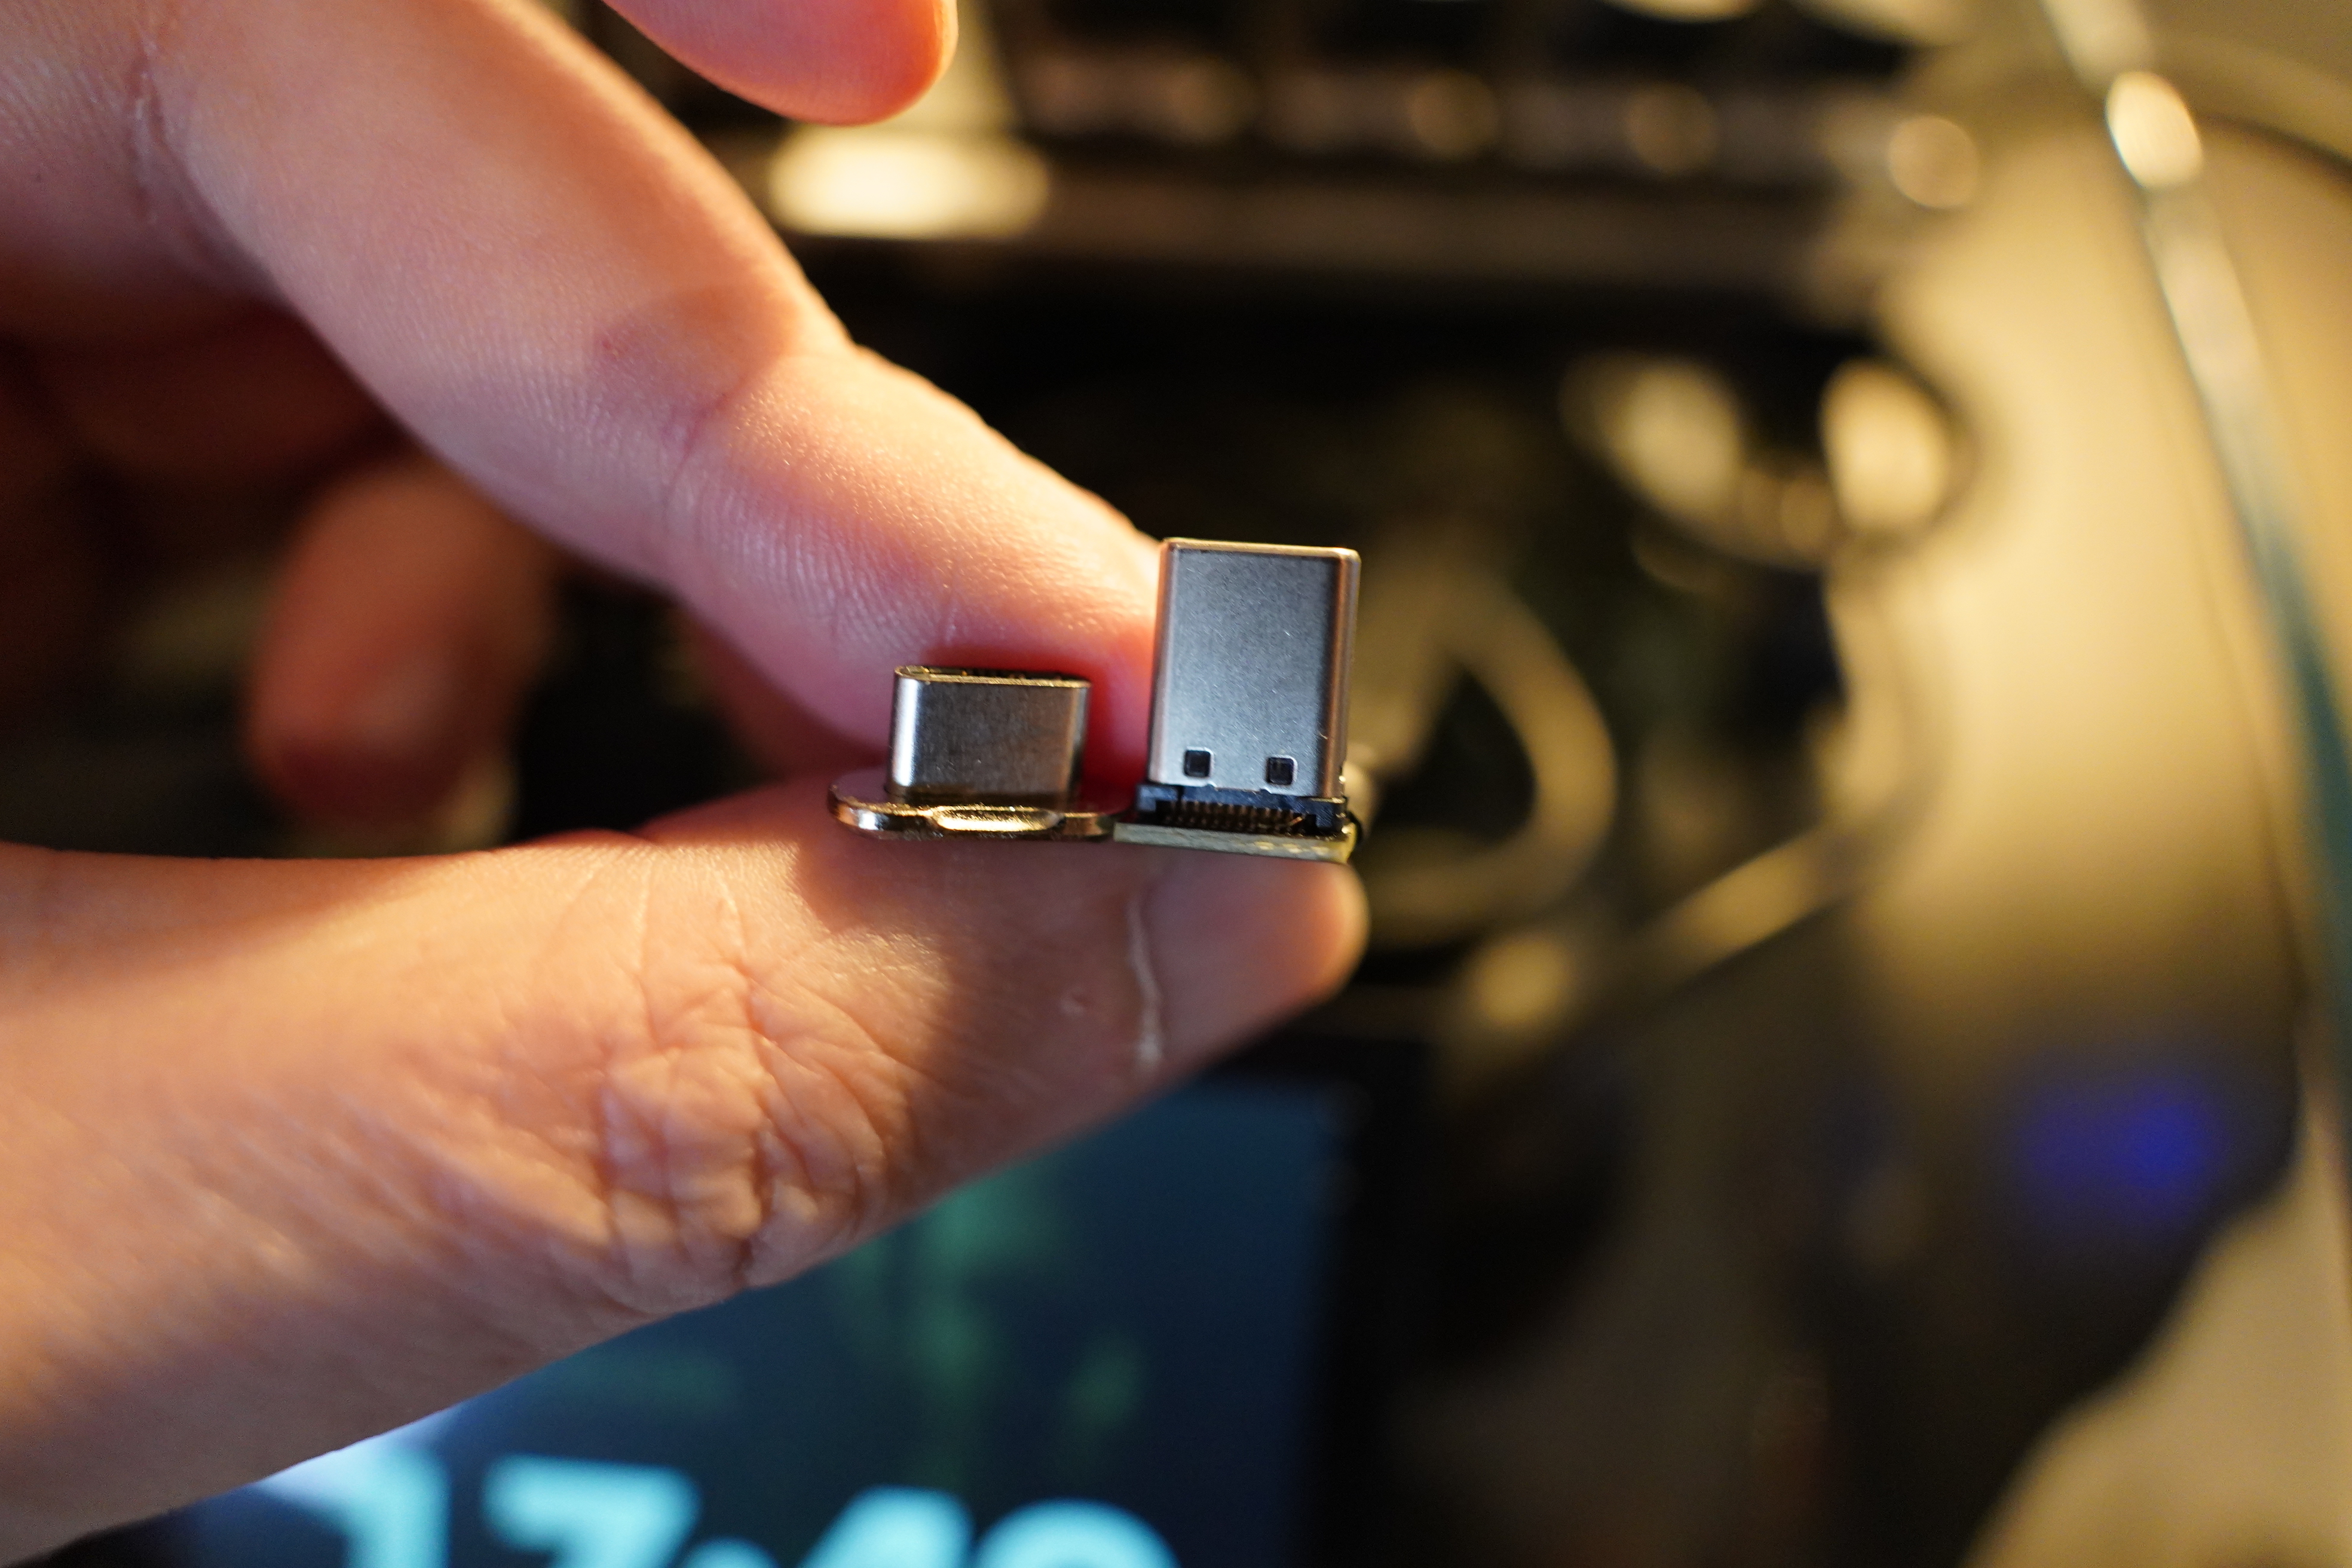
WTF. That’s two angled USB-C connectors, and one has a plug that’s more than twice as long as the other. So that’s one more measurement to take into consideration when trying to find cables that can do the job.
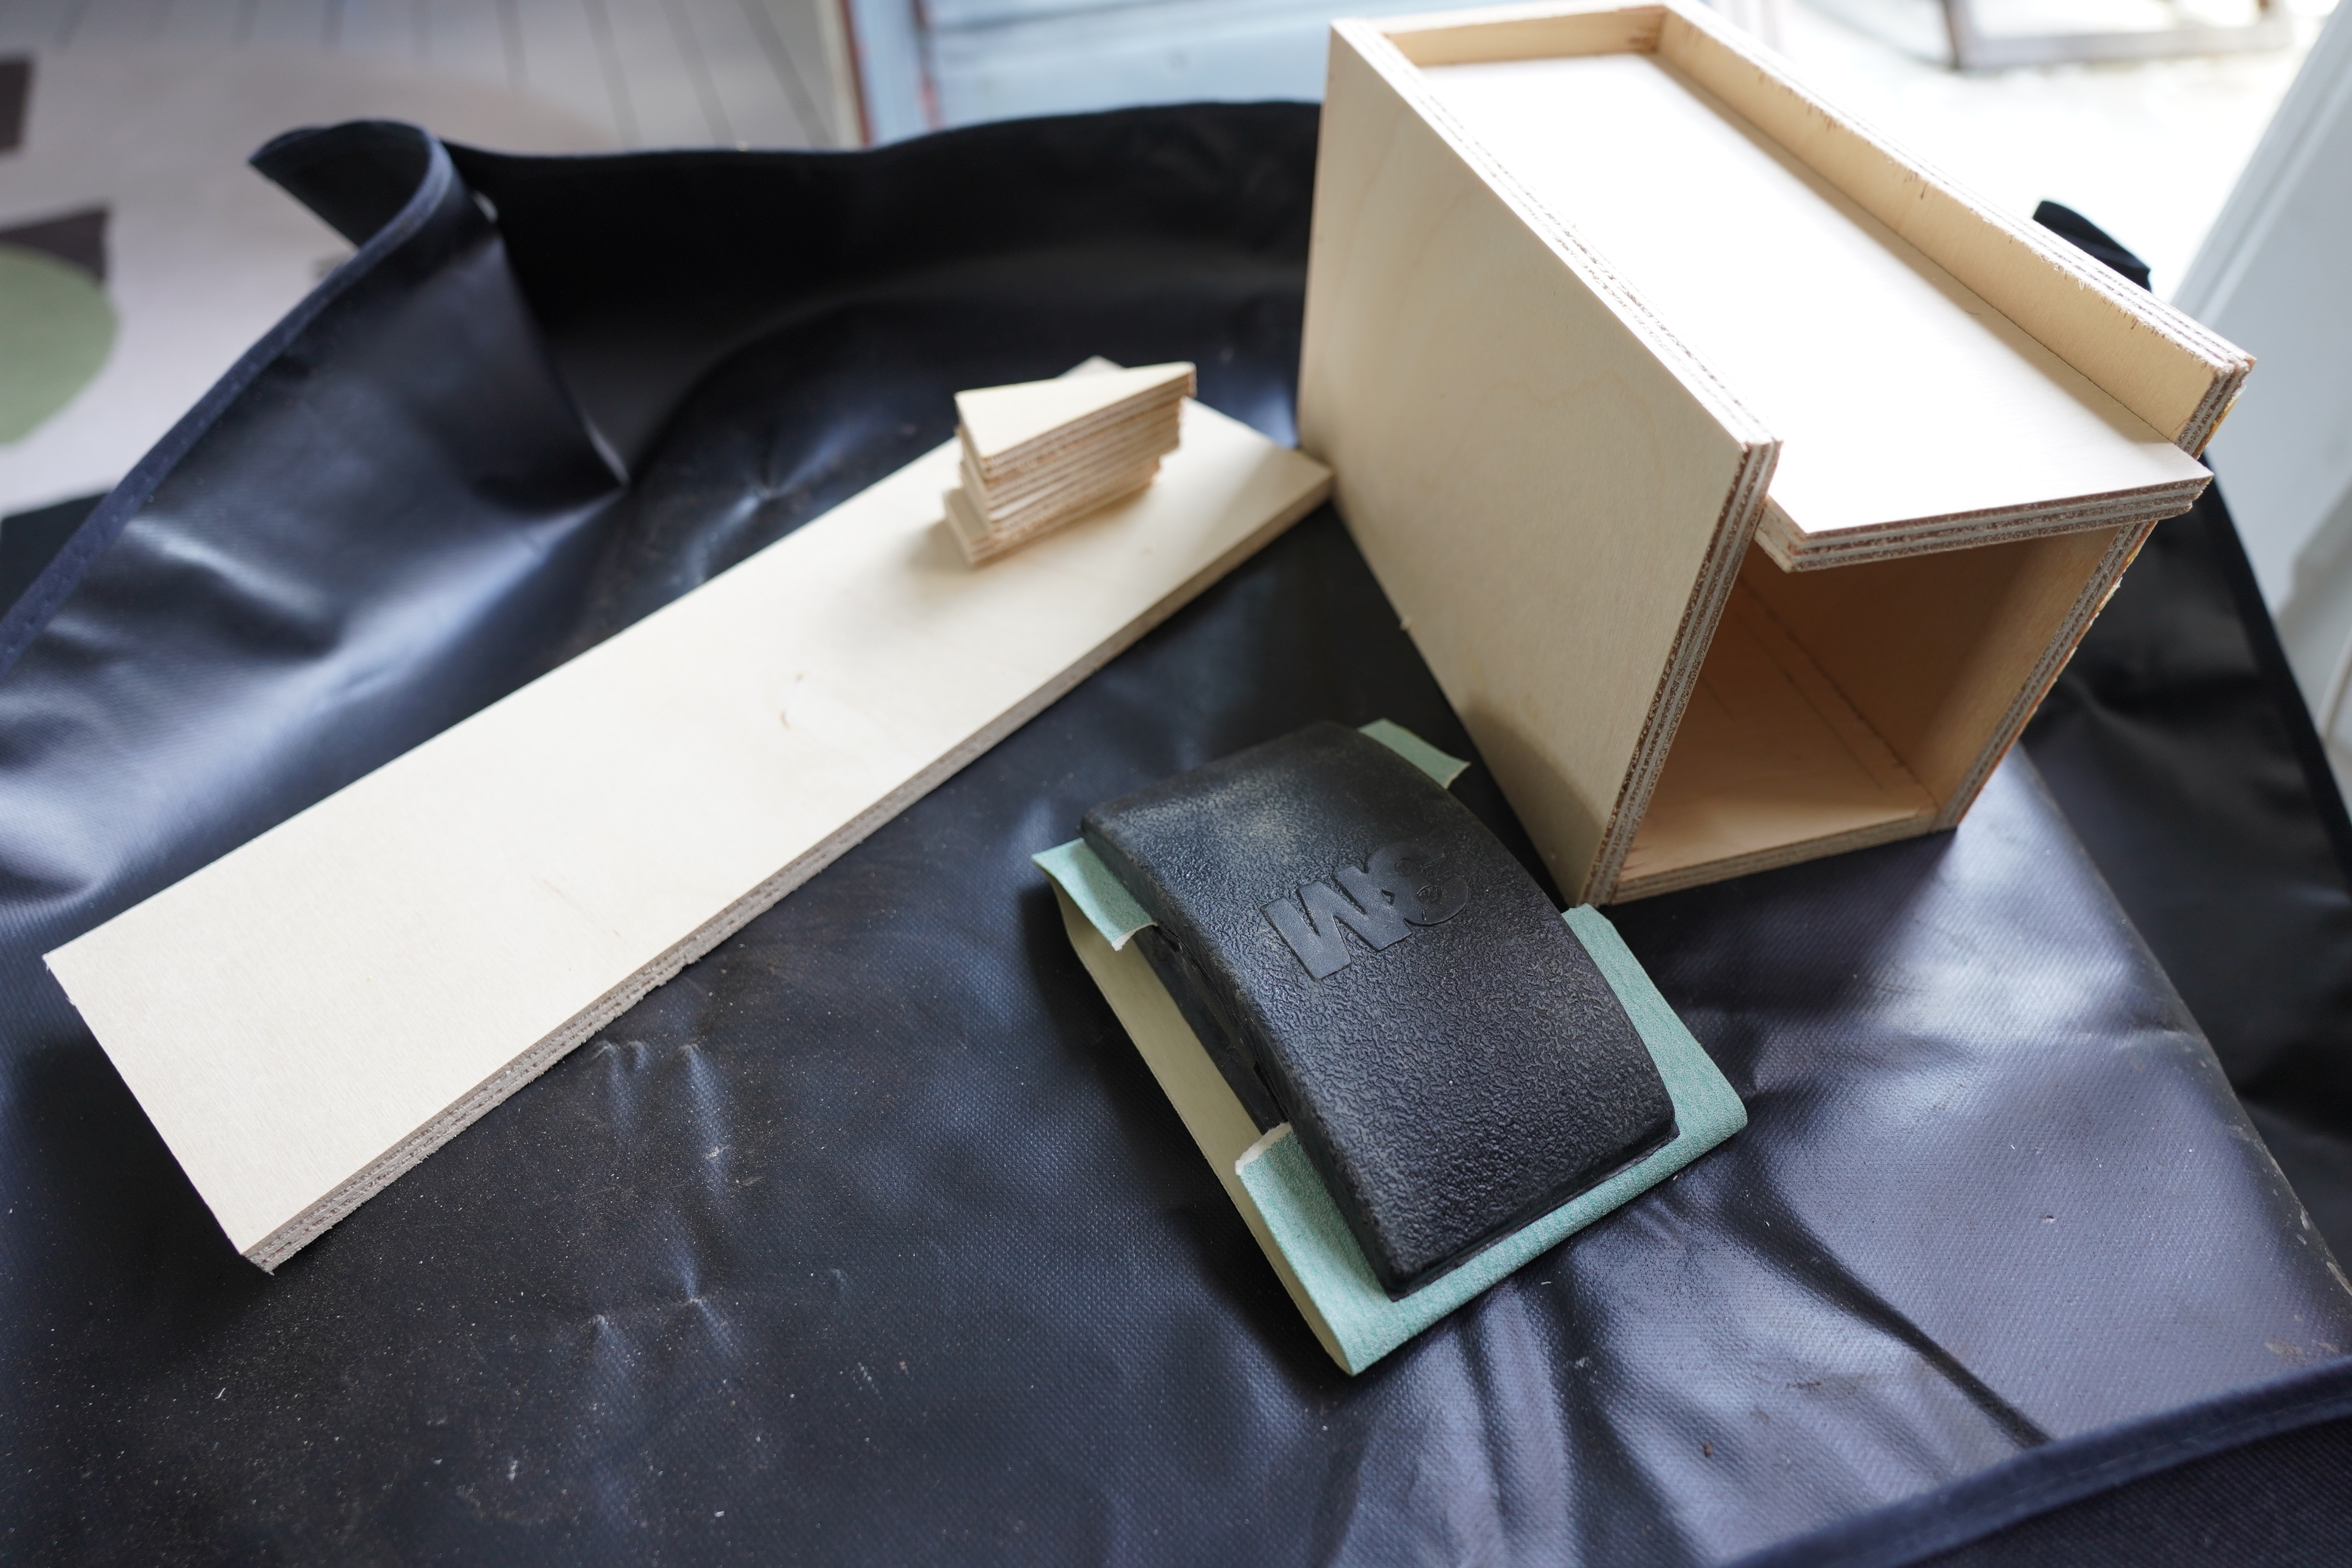
But while a new shipment of cables is winding its way from China, it’s time to do some sanding and painting and stuff.
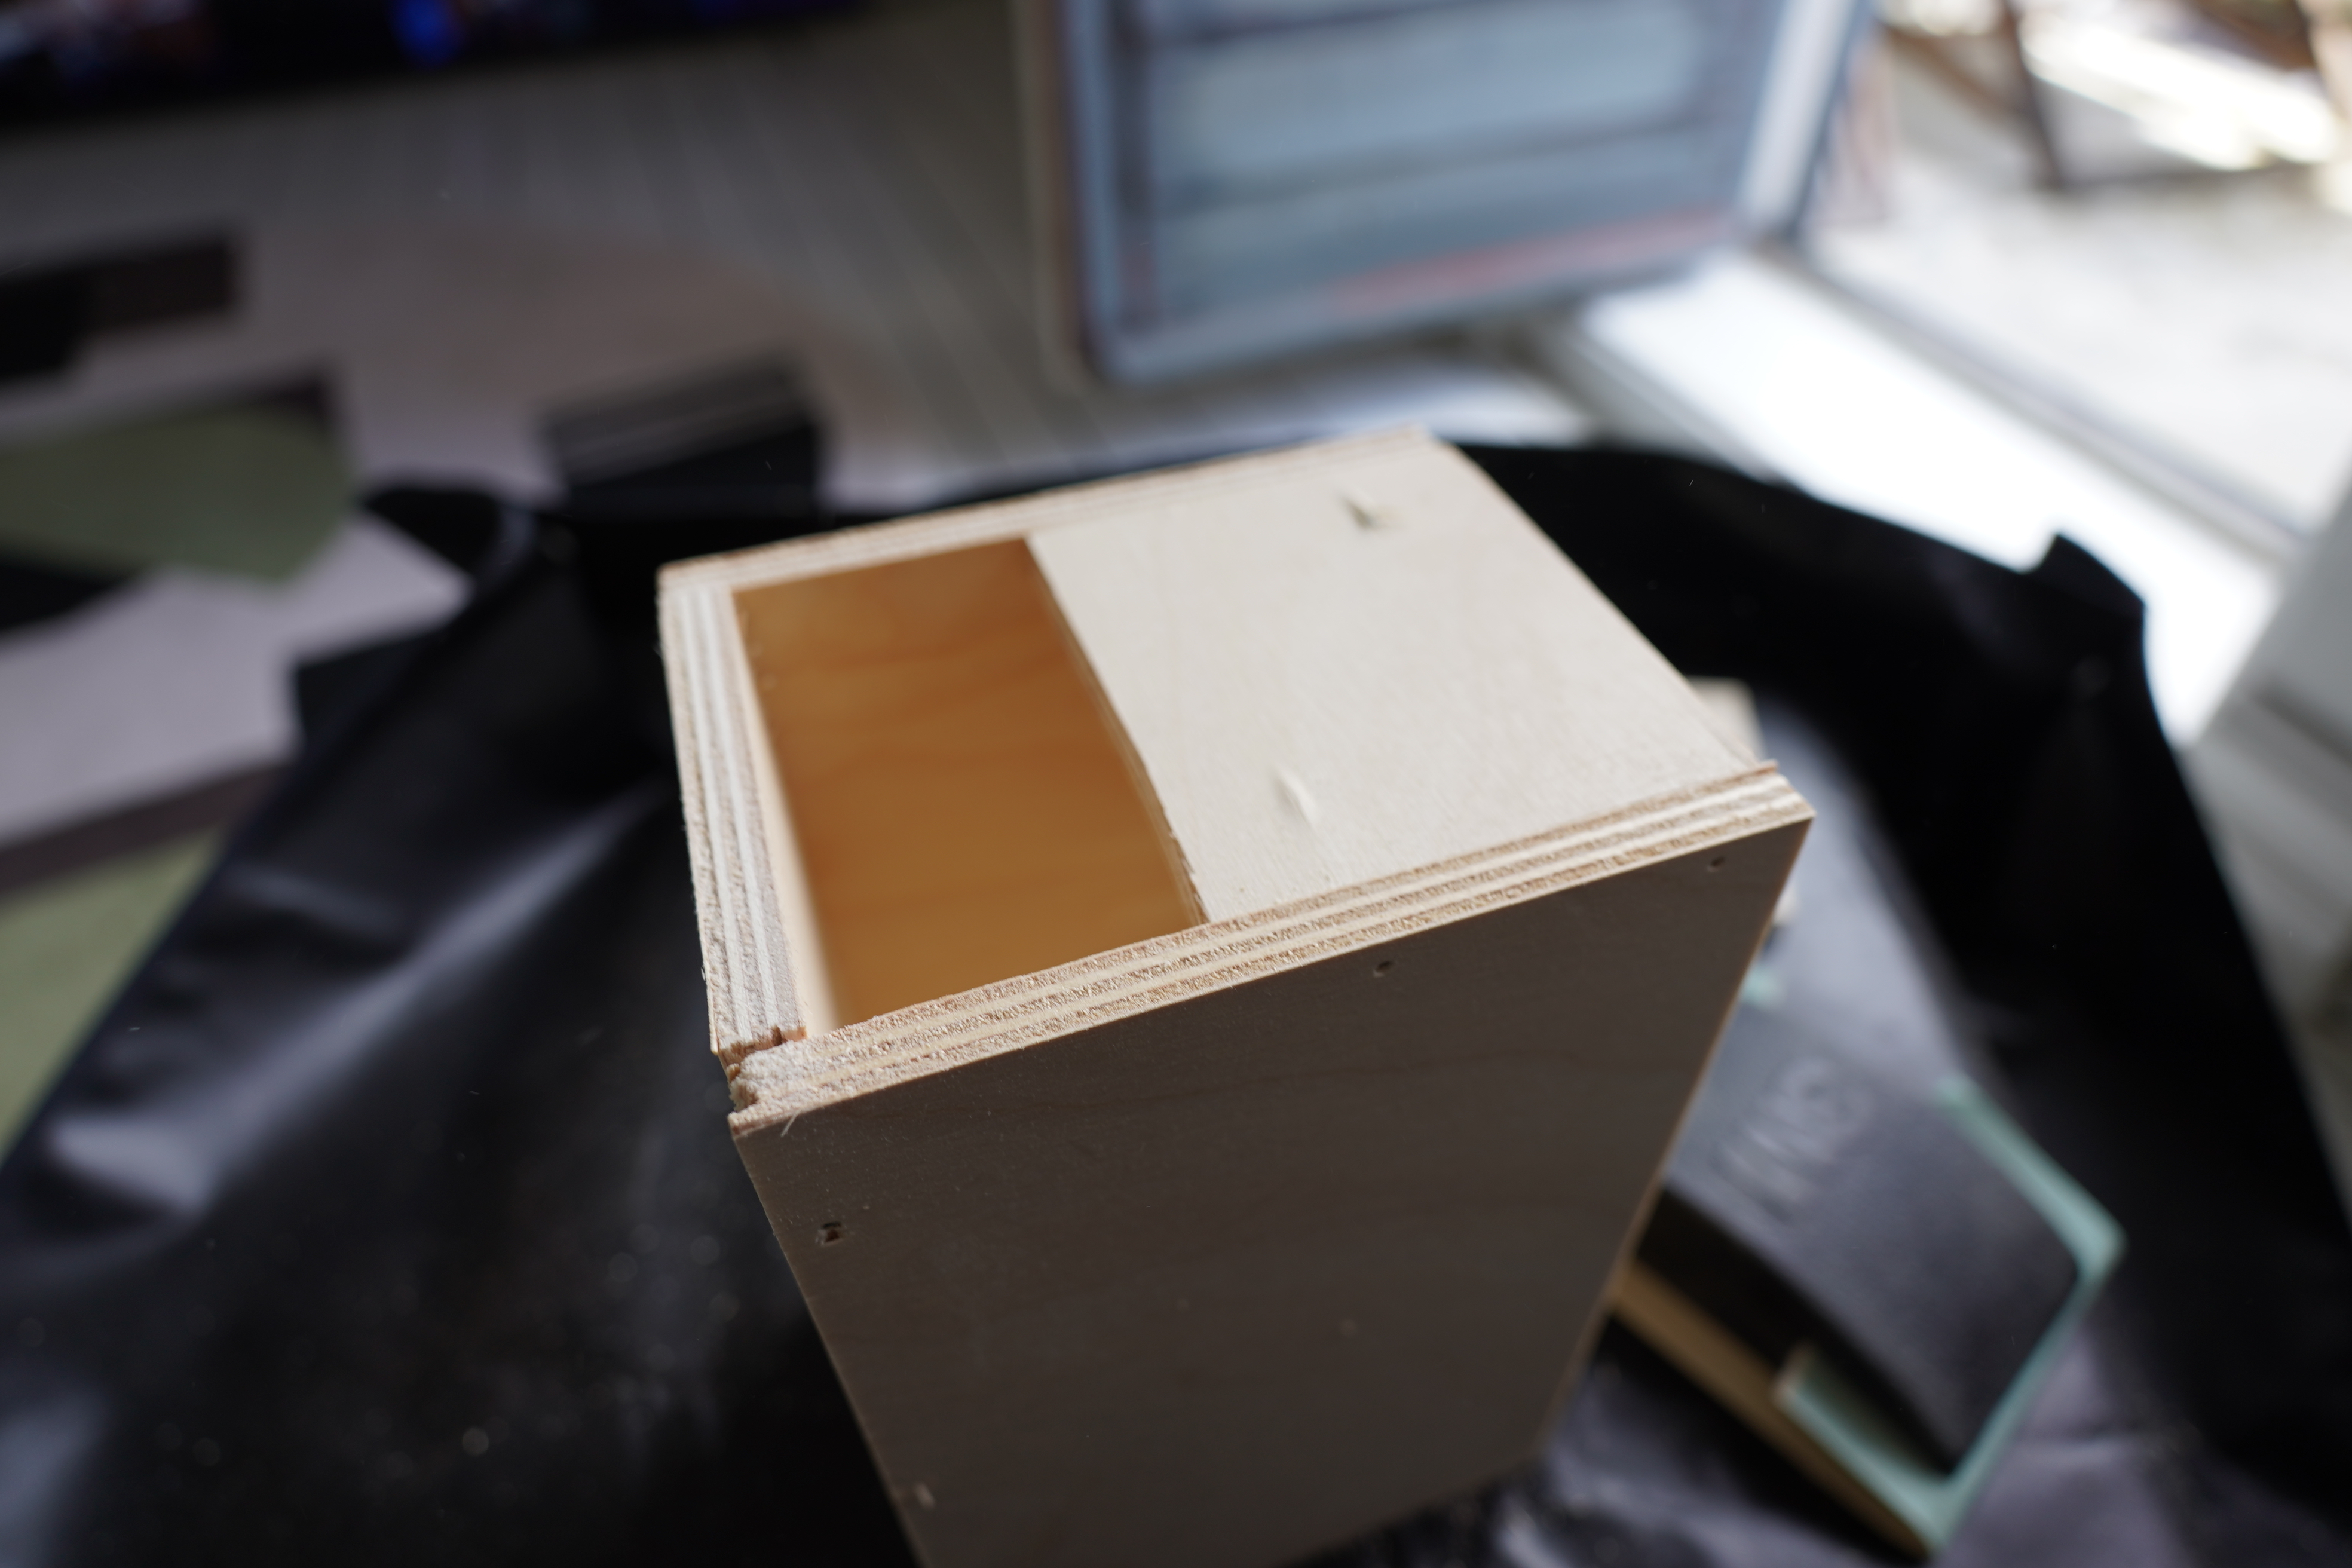
See? I messed up one of the corners during cutting, I think.
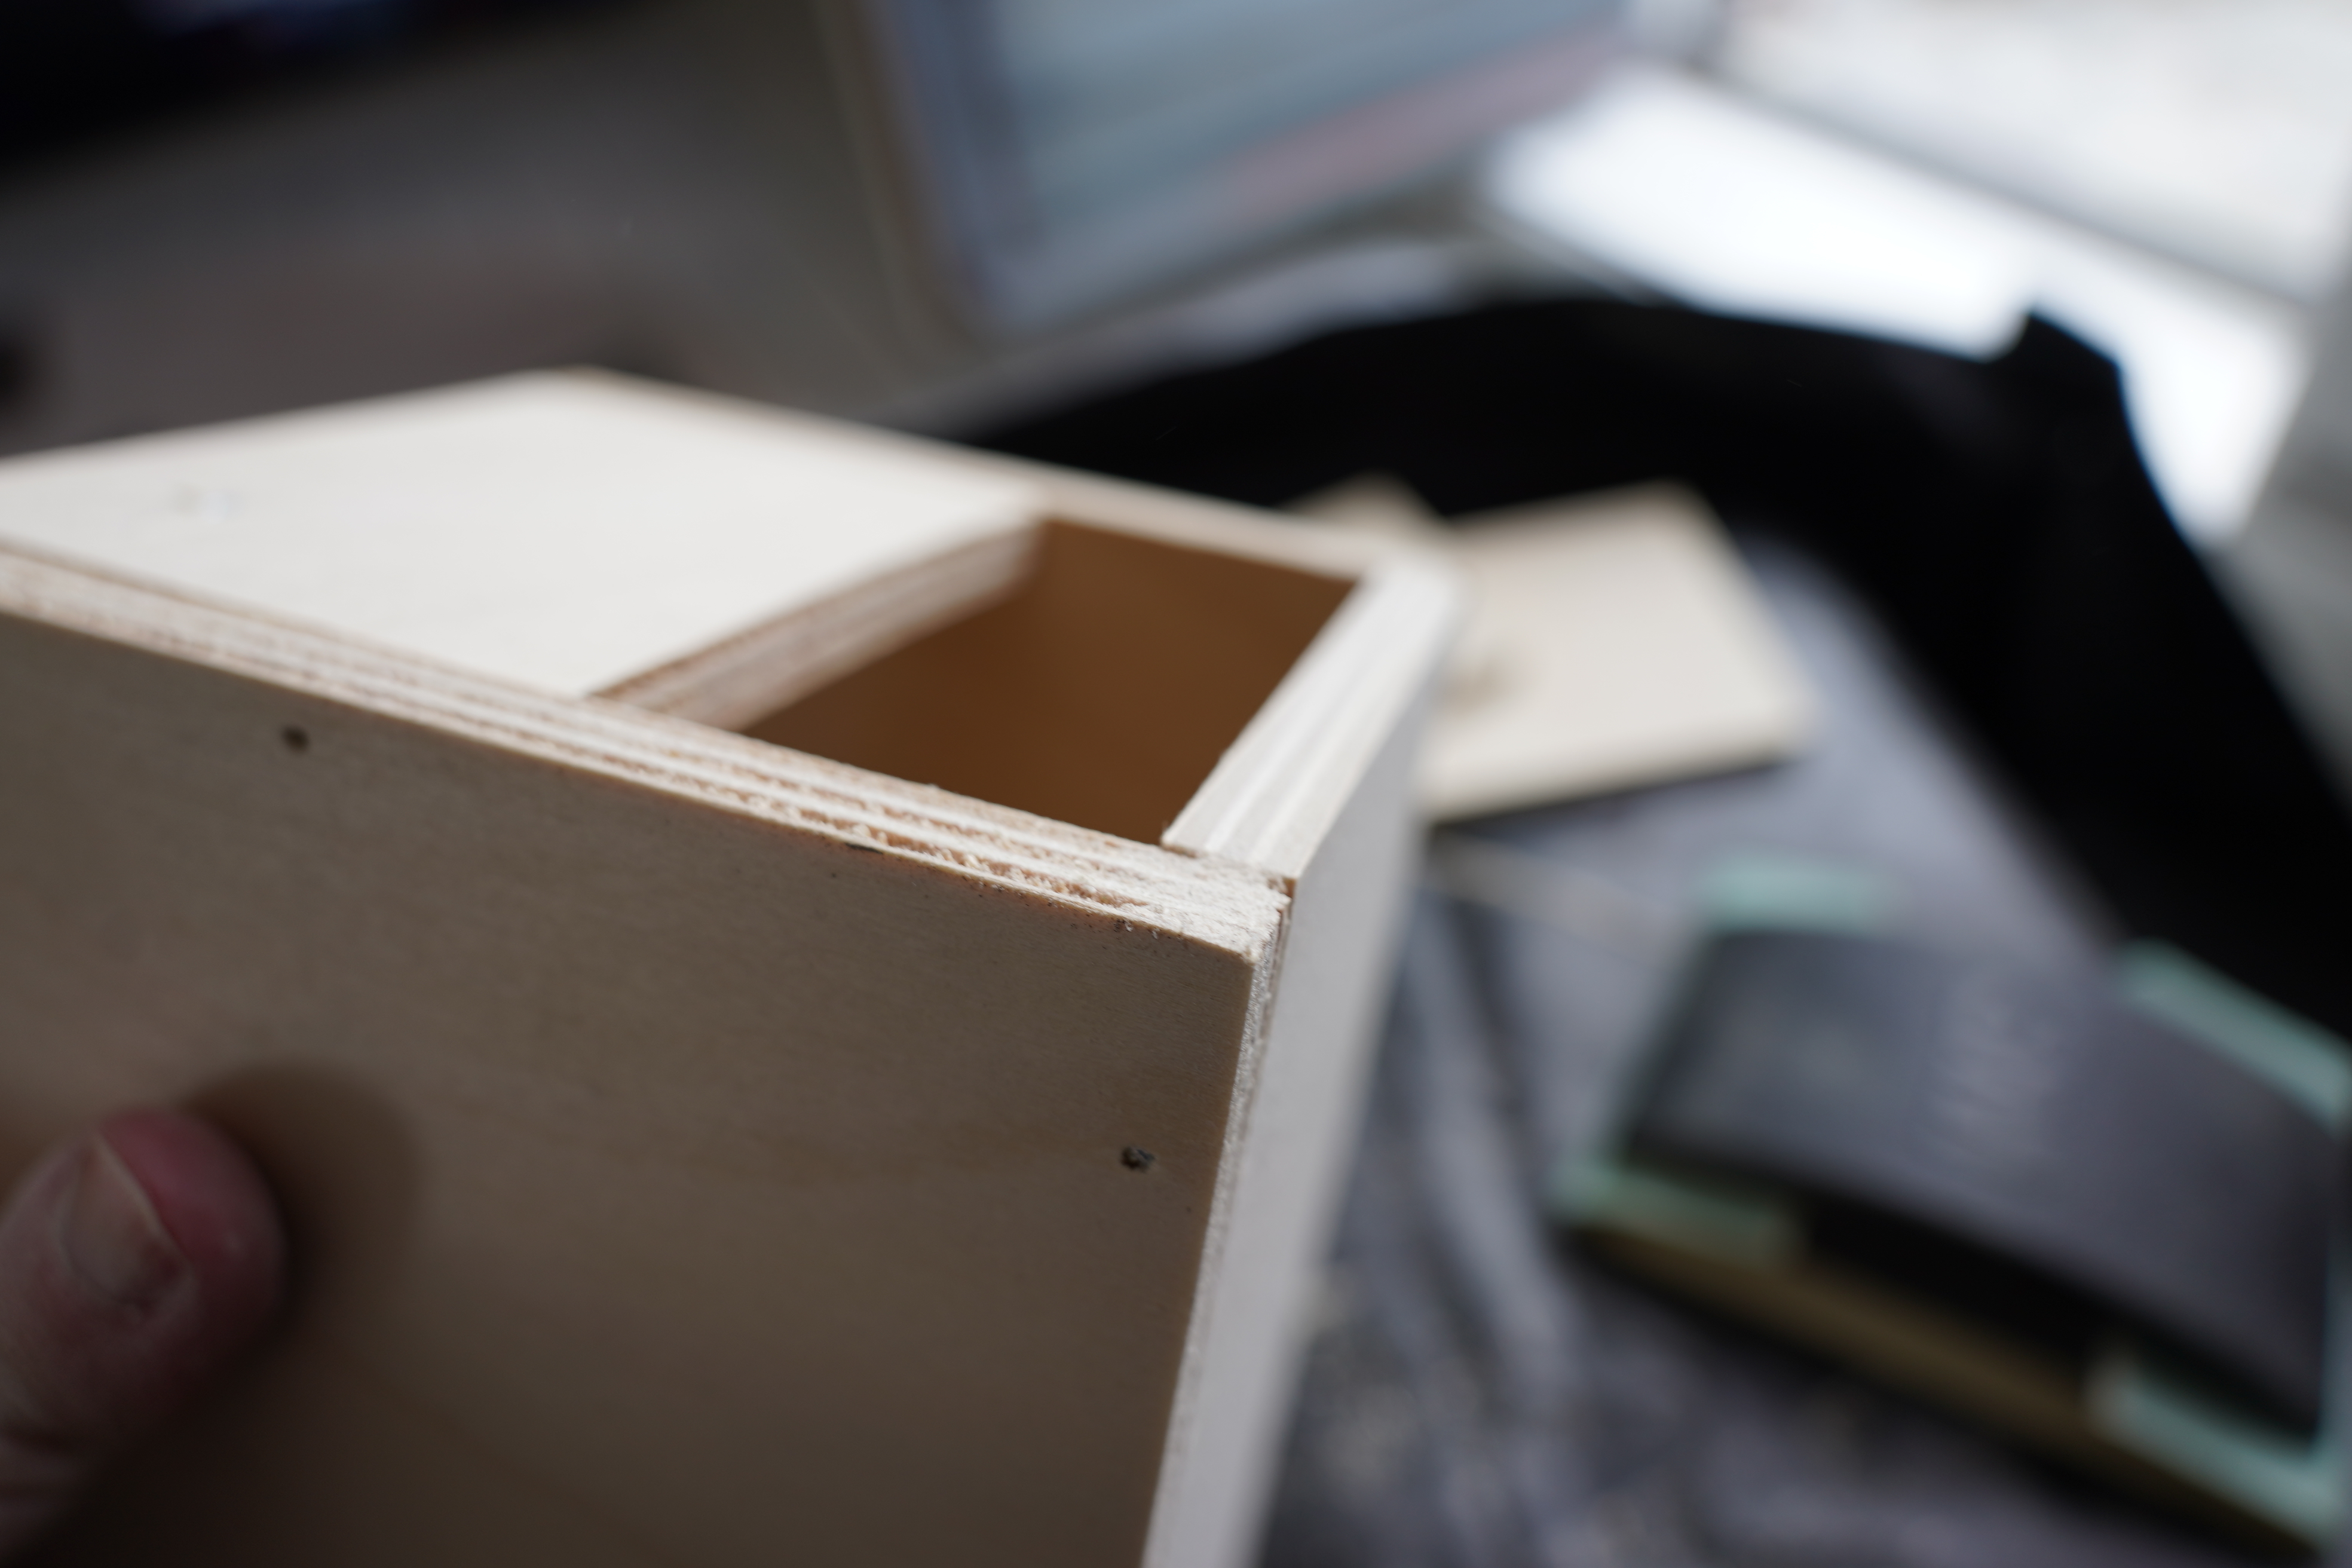
But a bit of sandpapering and it’s fine.
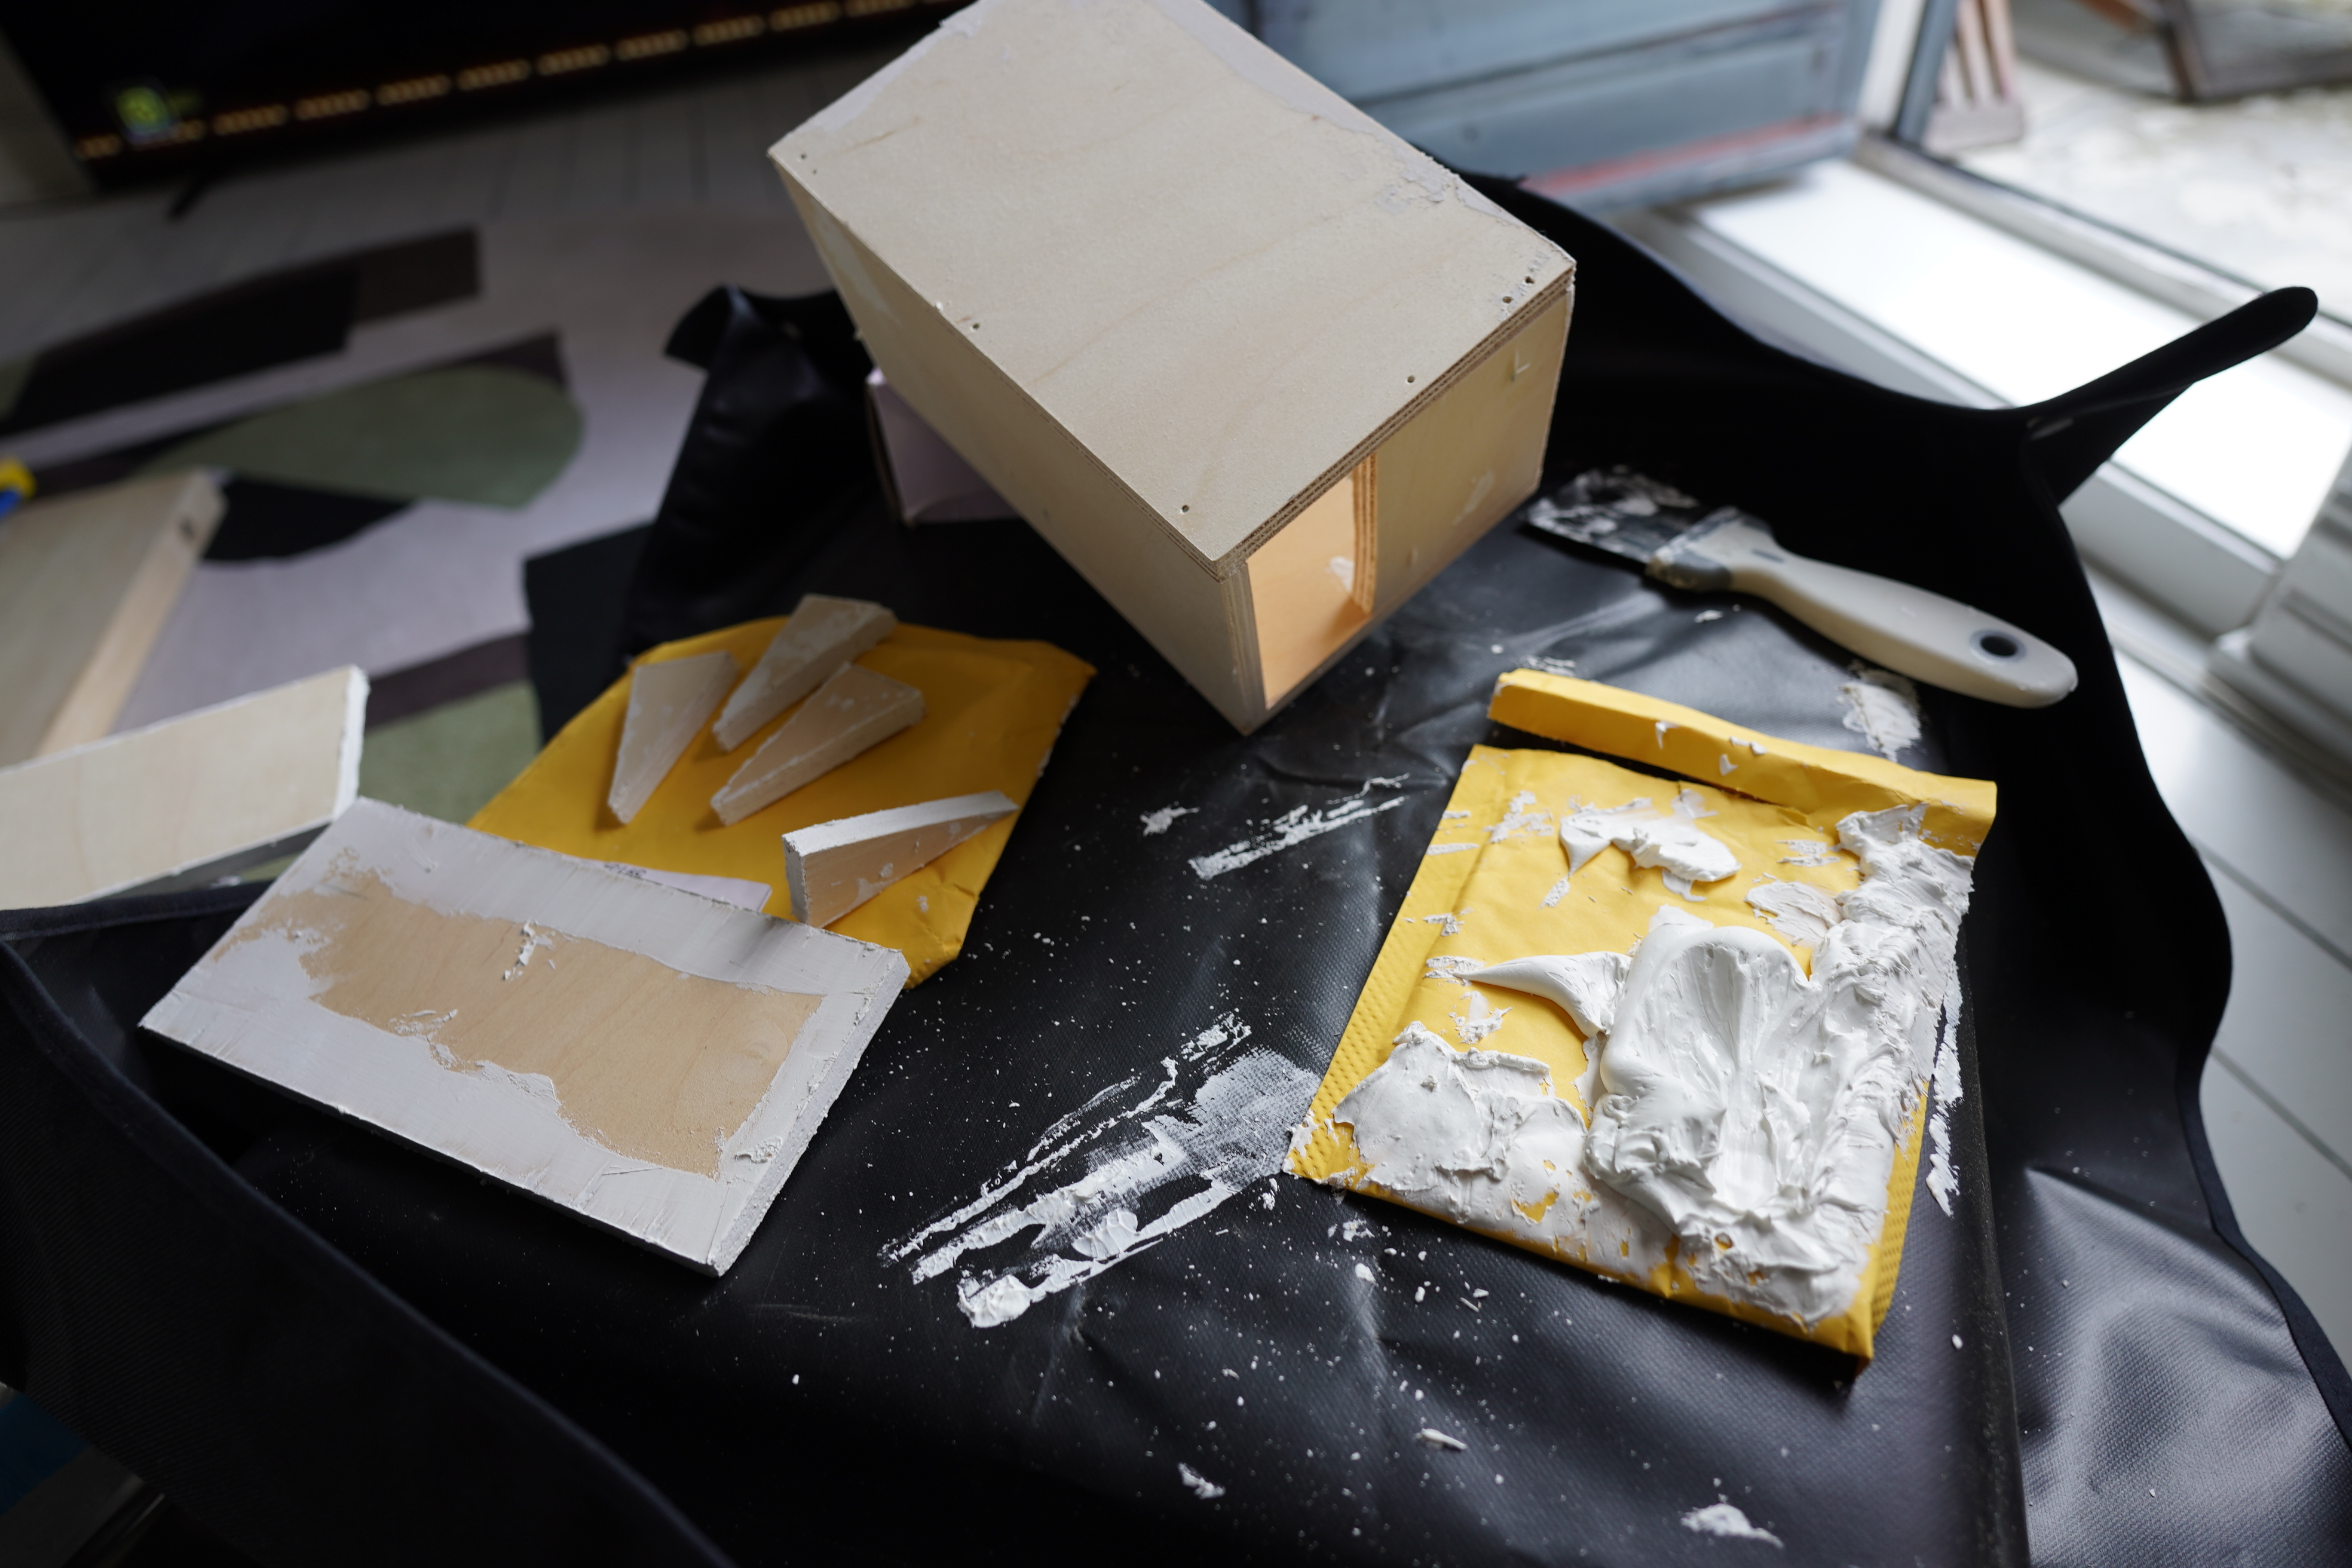
It’s spackling time!
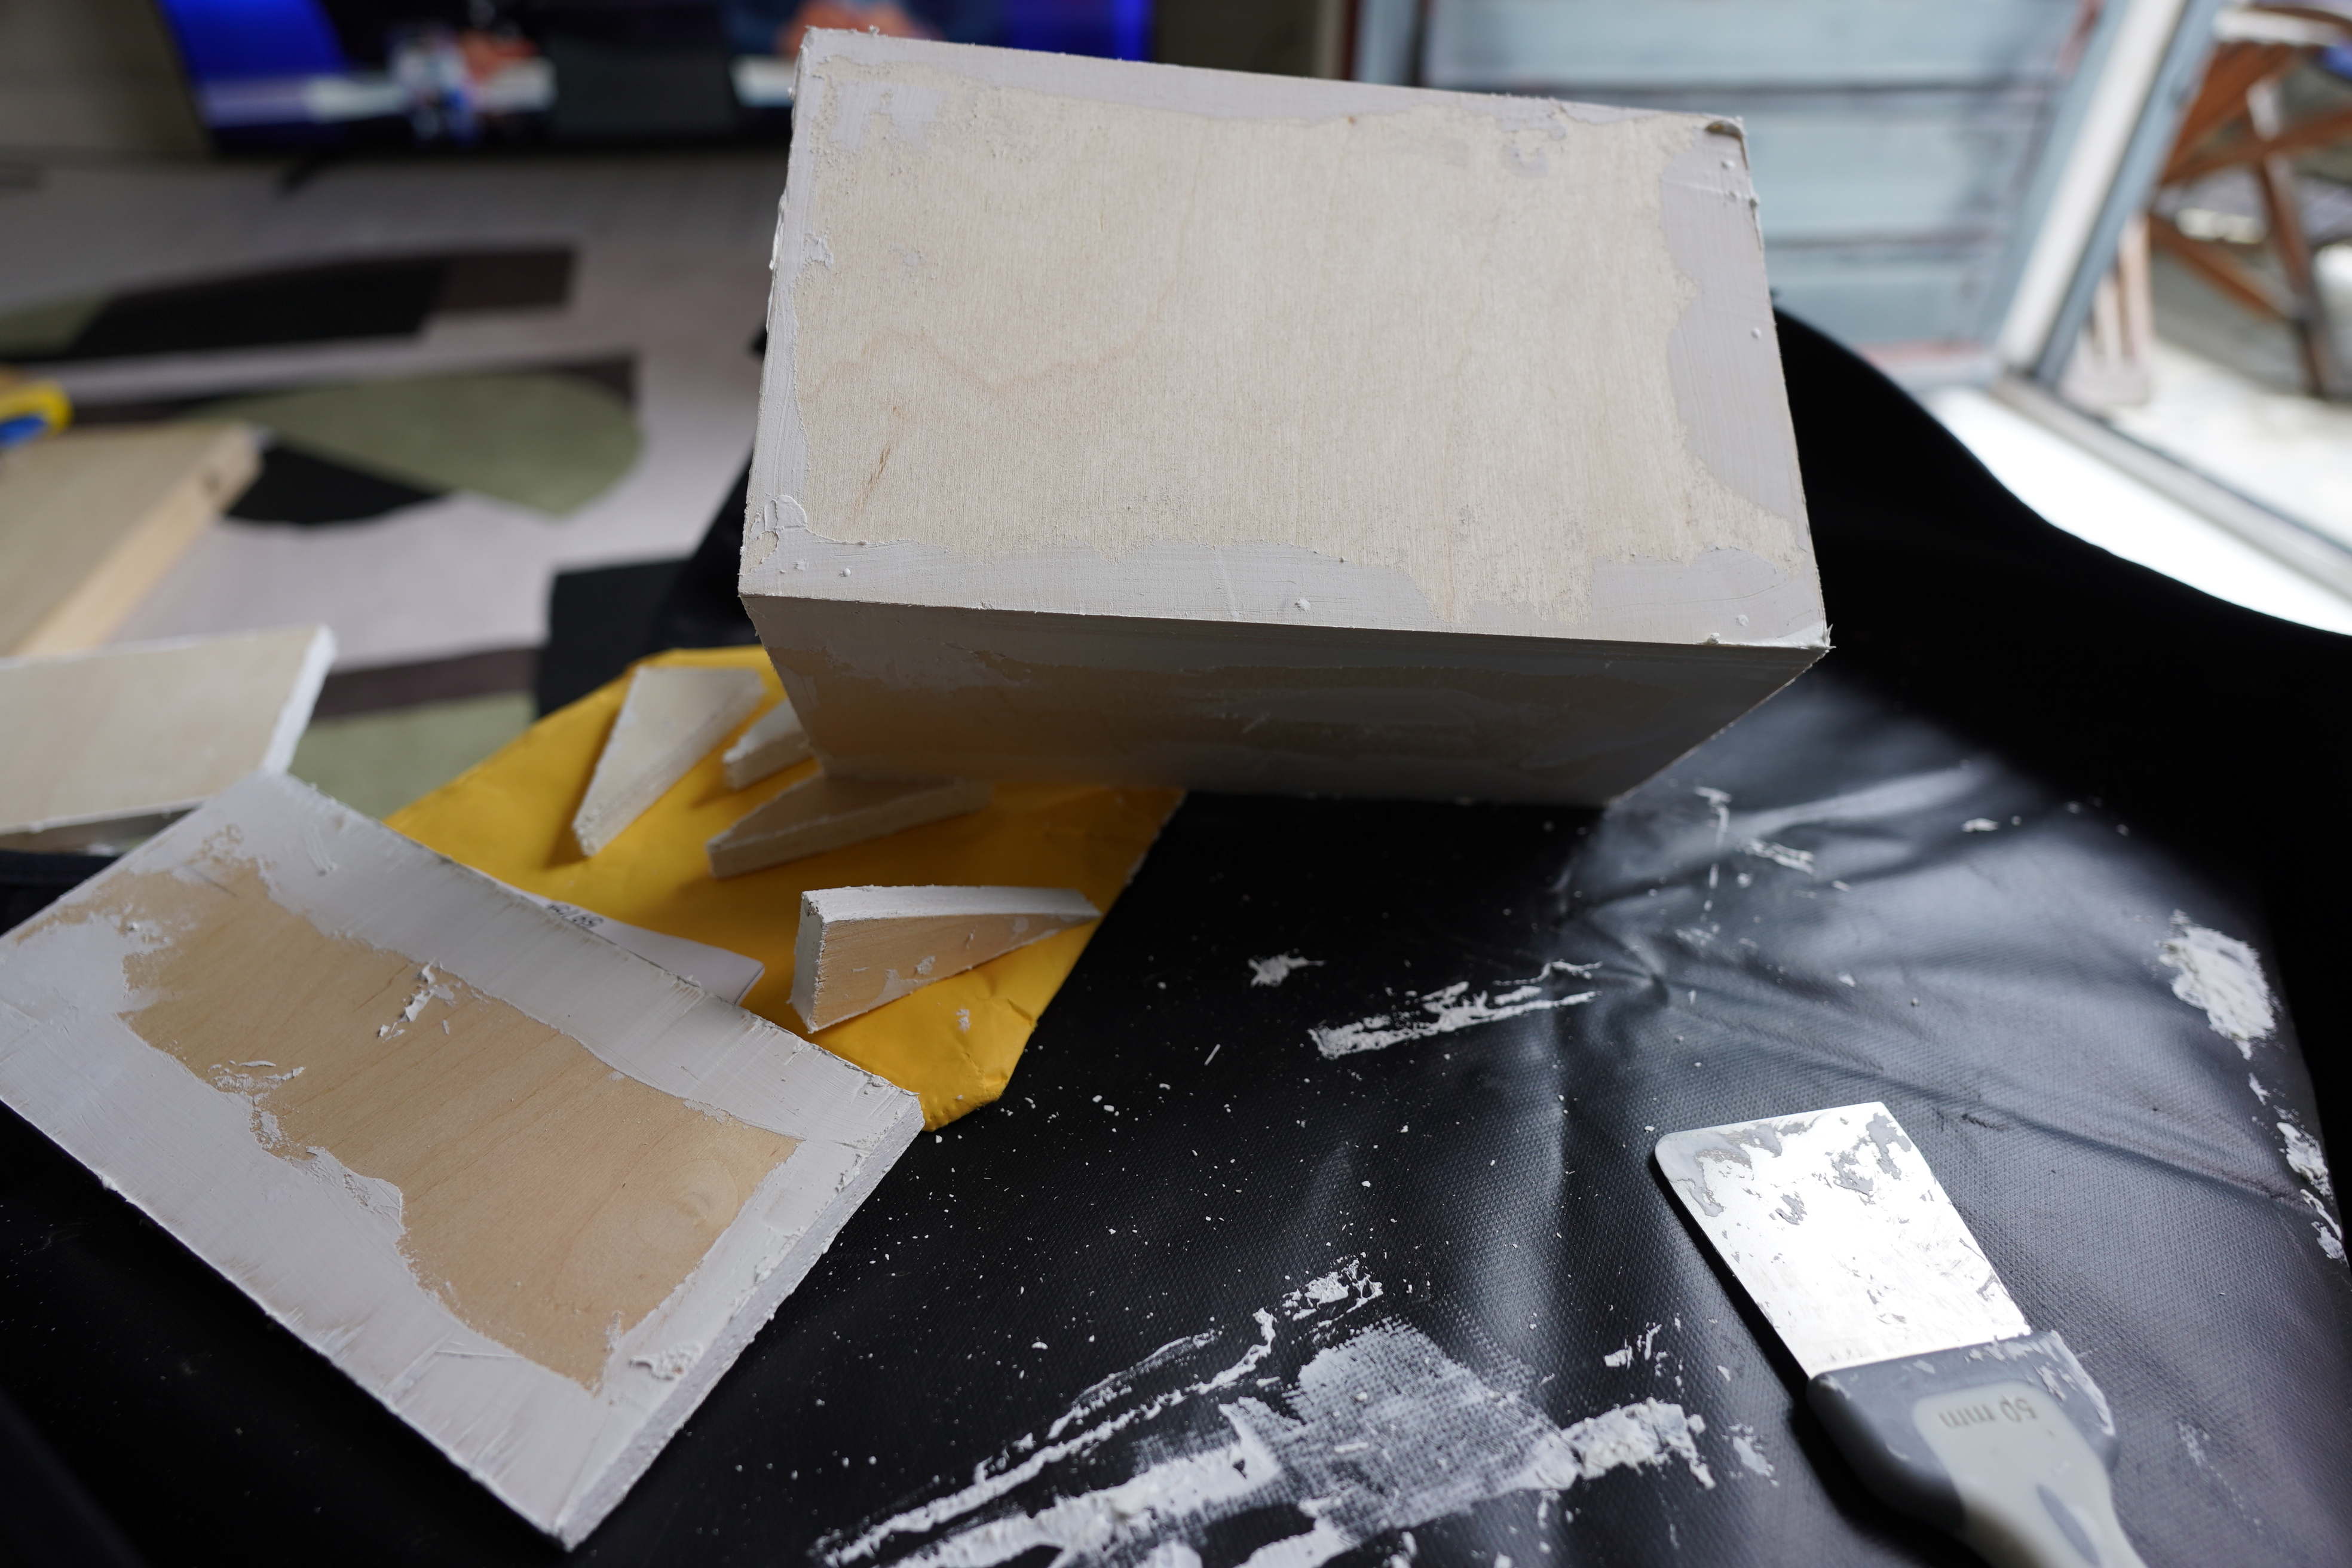
I need to spackle all the ends (to hide the composite nature of the wood), and of course all the nails and stuff.
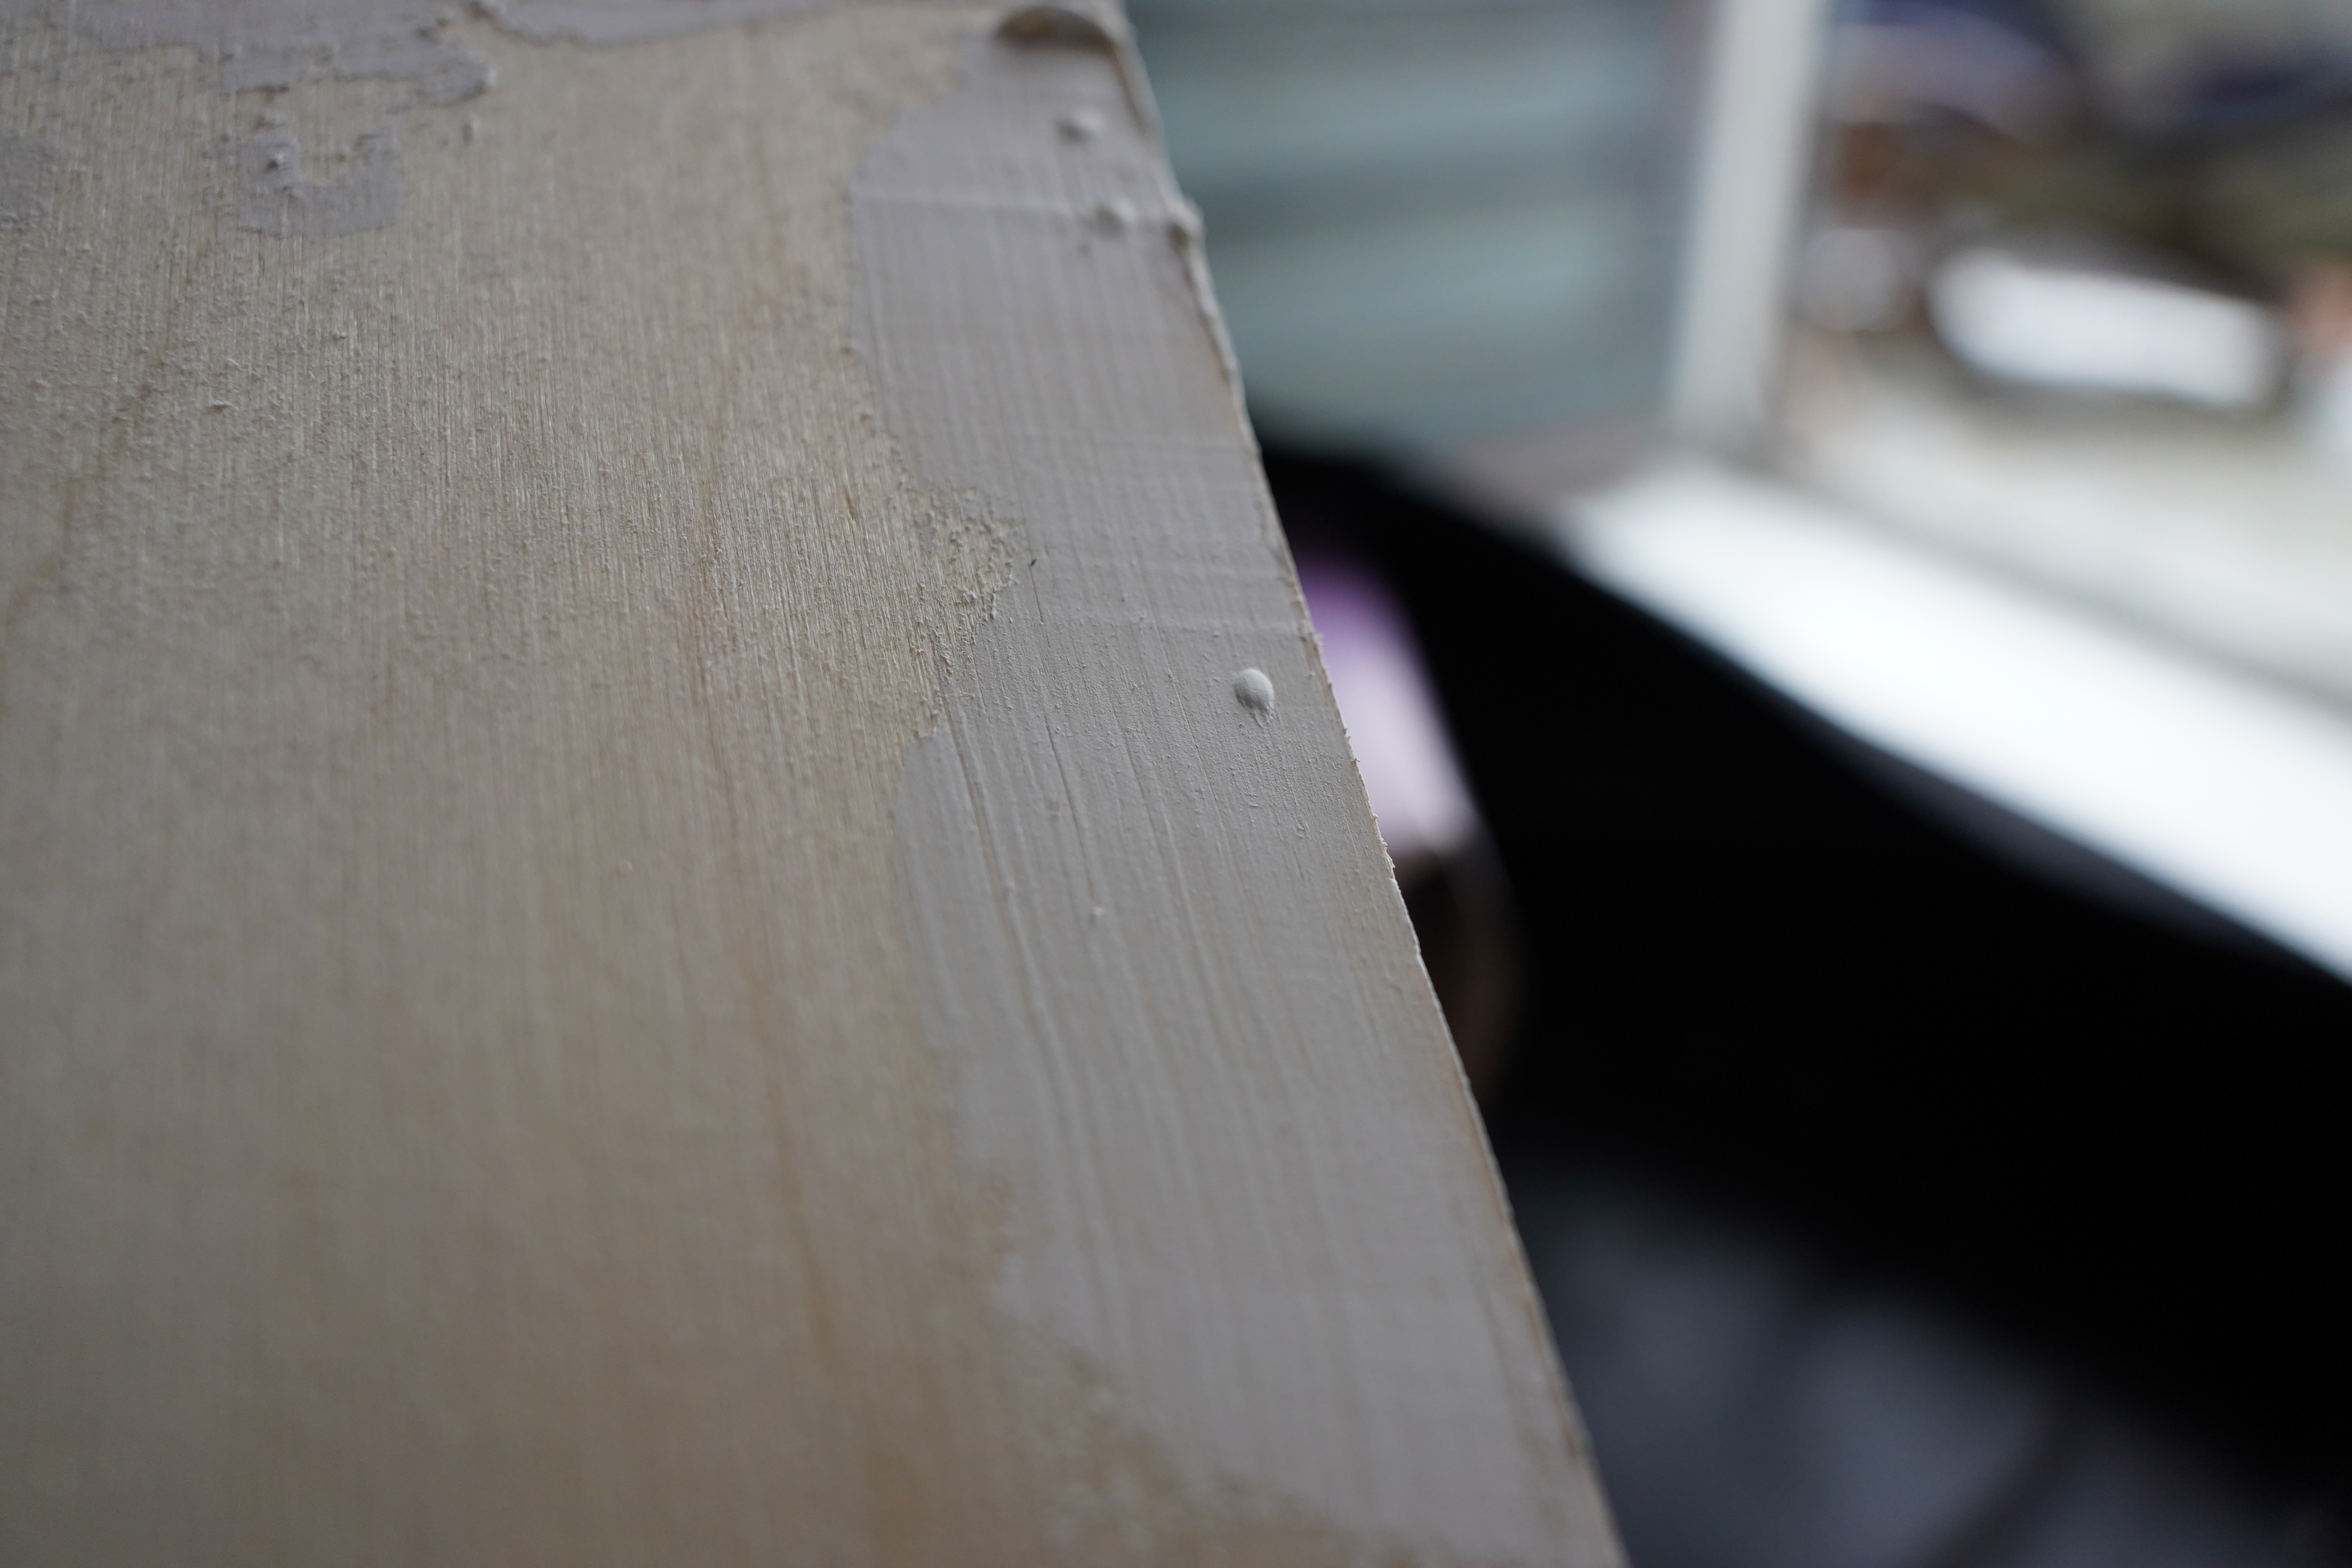
Annoying… need several turns with spackling and sanding…
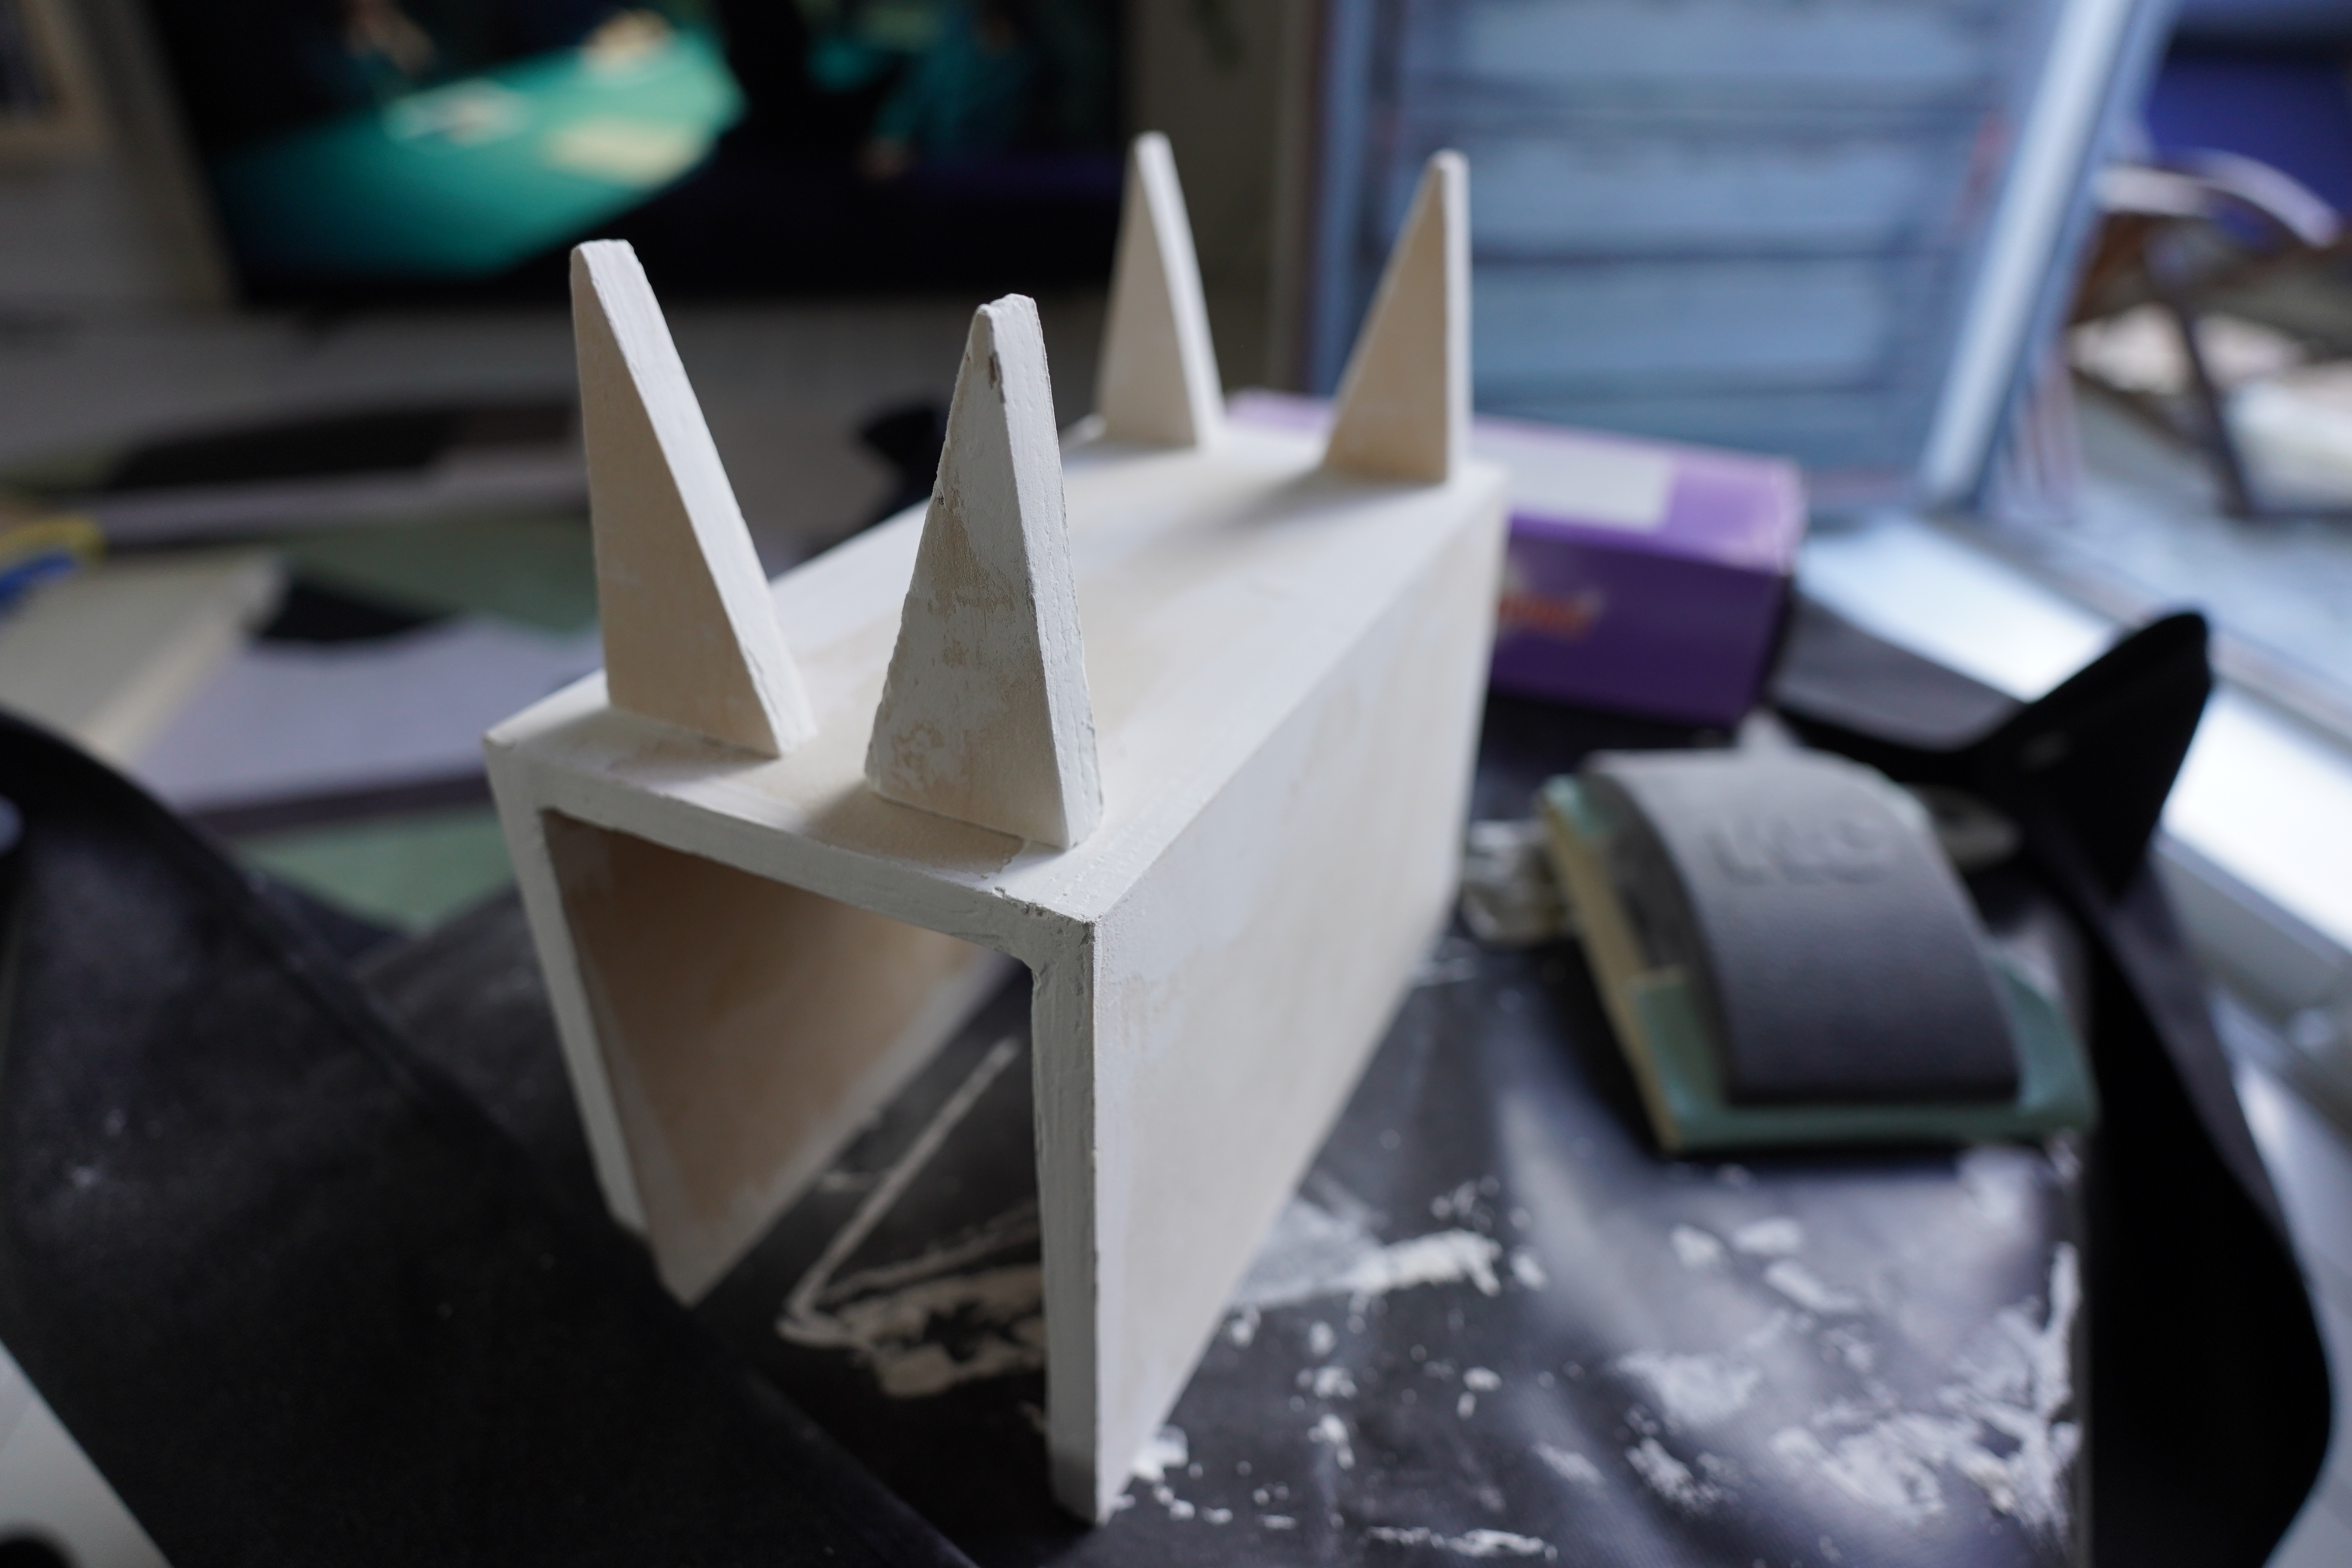
And then I’m just gluing on the feet using wood glue. I guess I could have nailed them in, too, but…
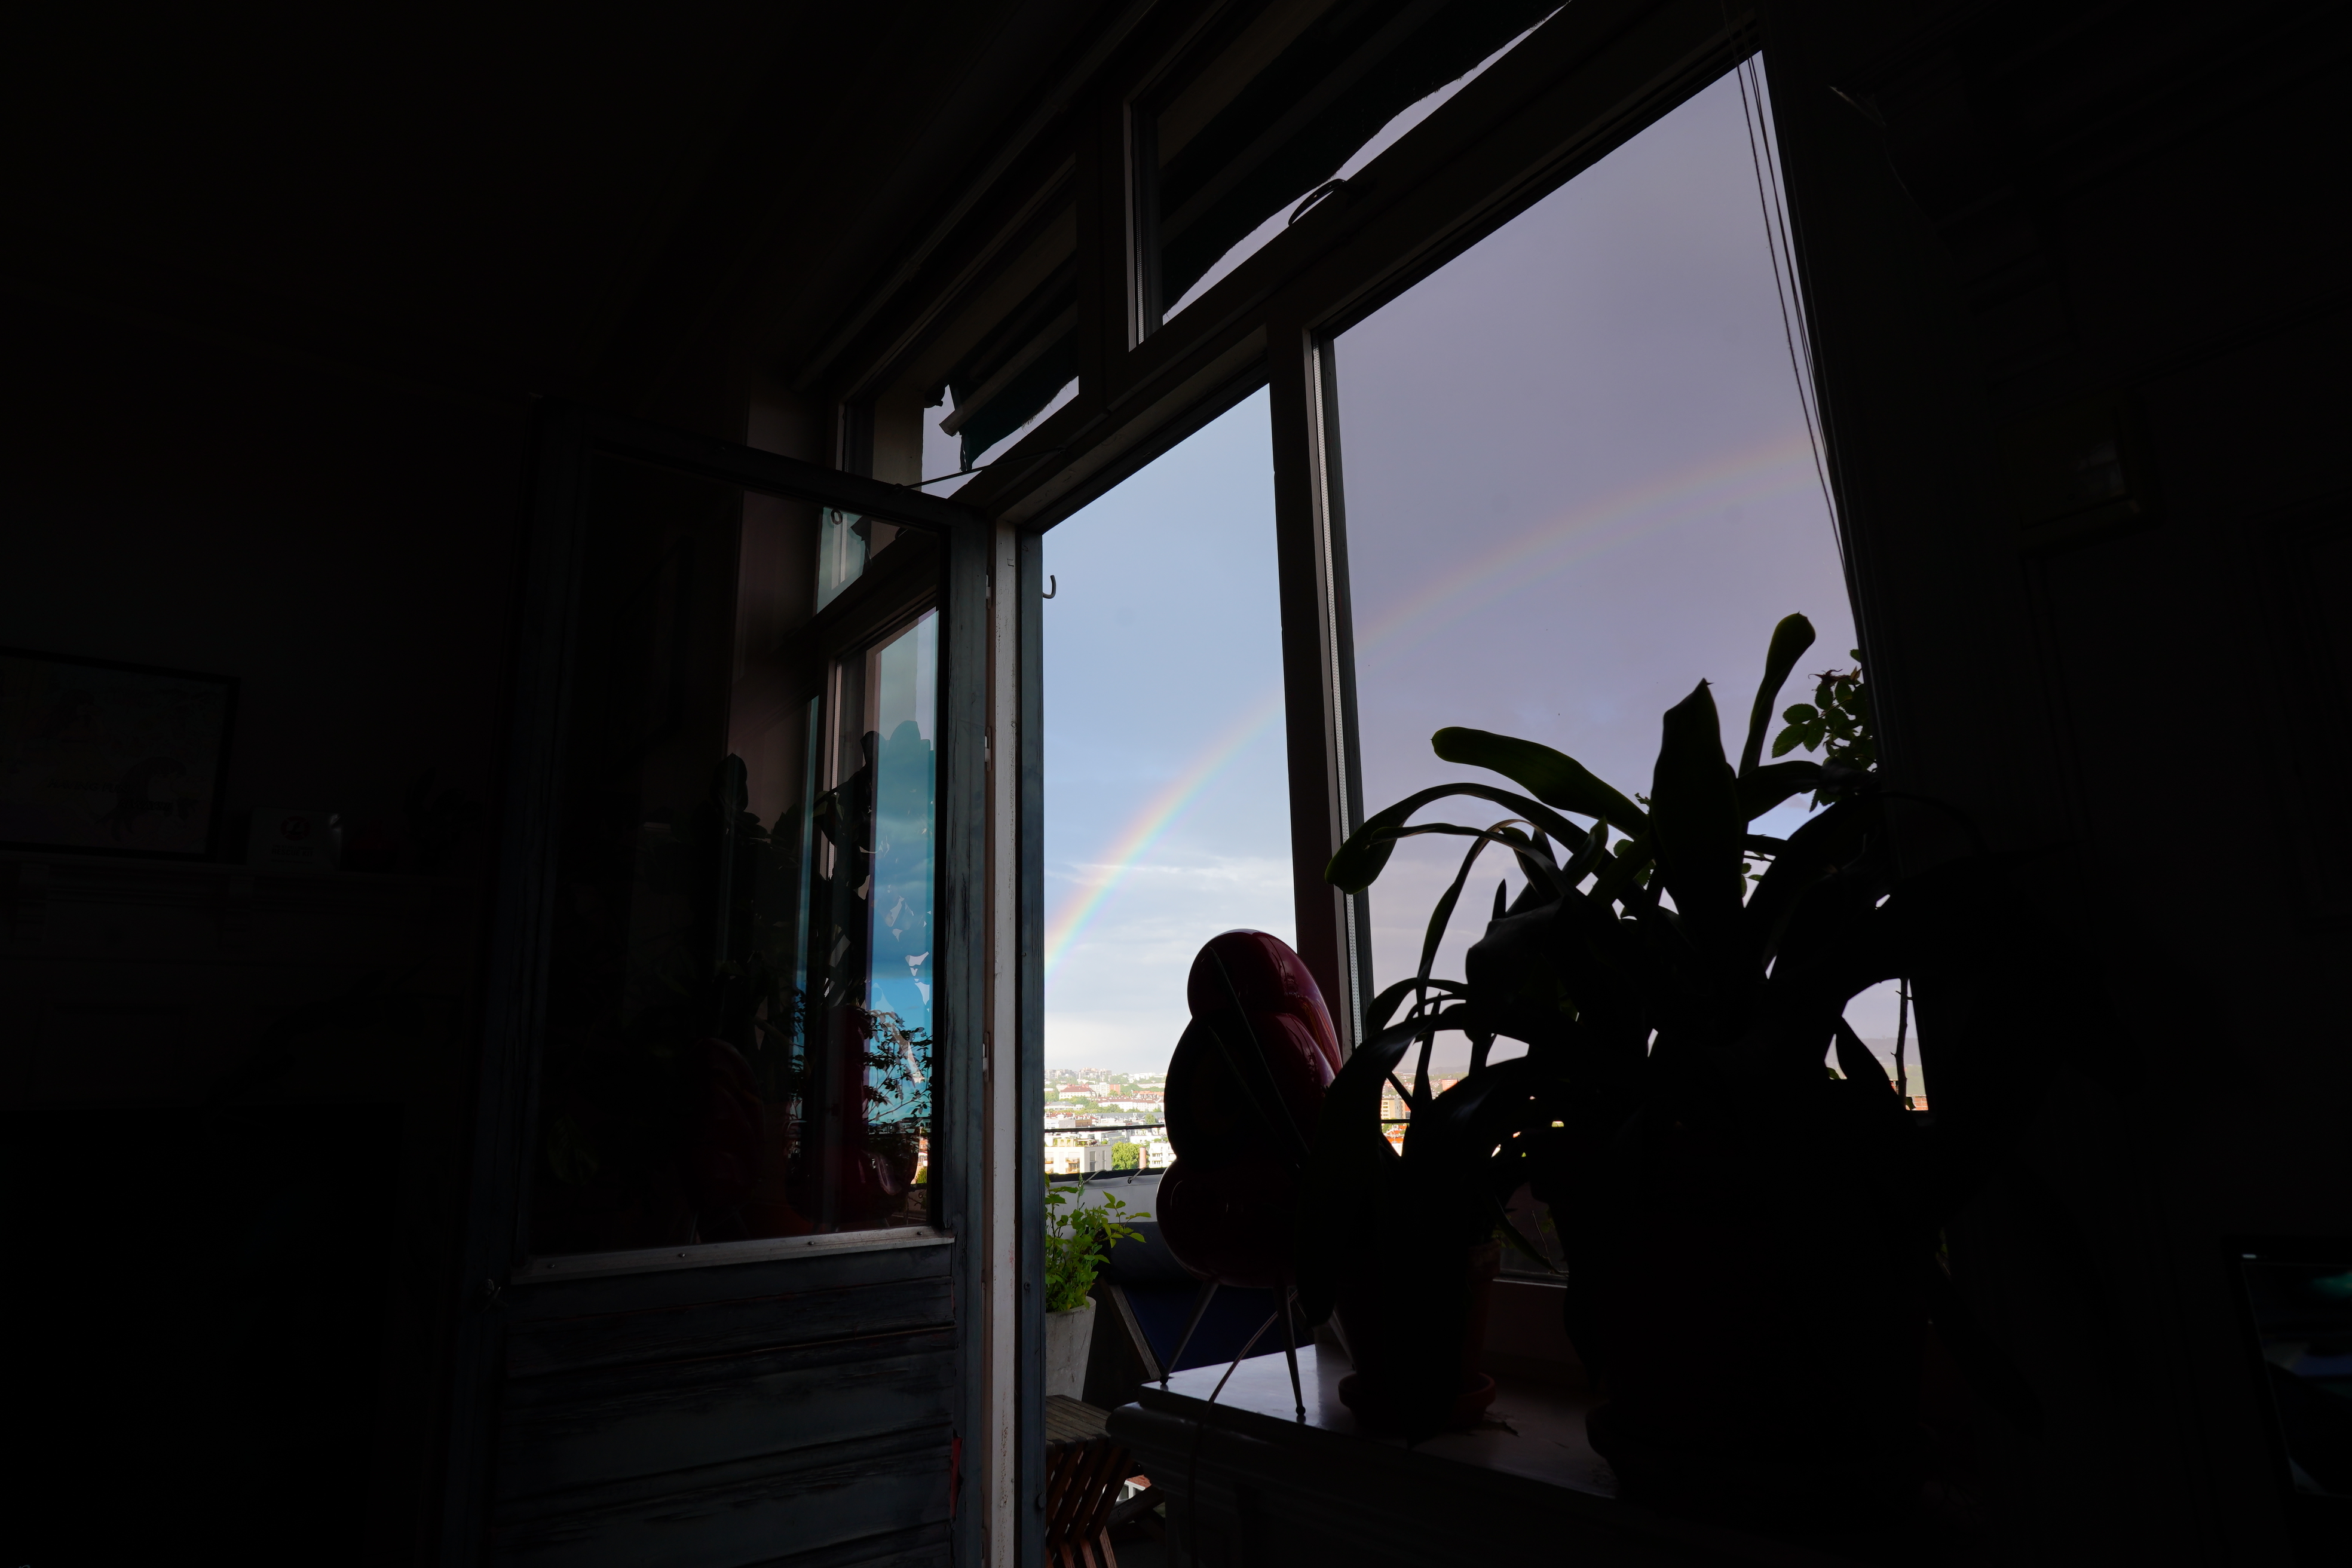
Hey what’s that outside the window.

Double rainbow! Or triple! Man. This alarm clock was born lucky or something.
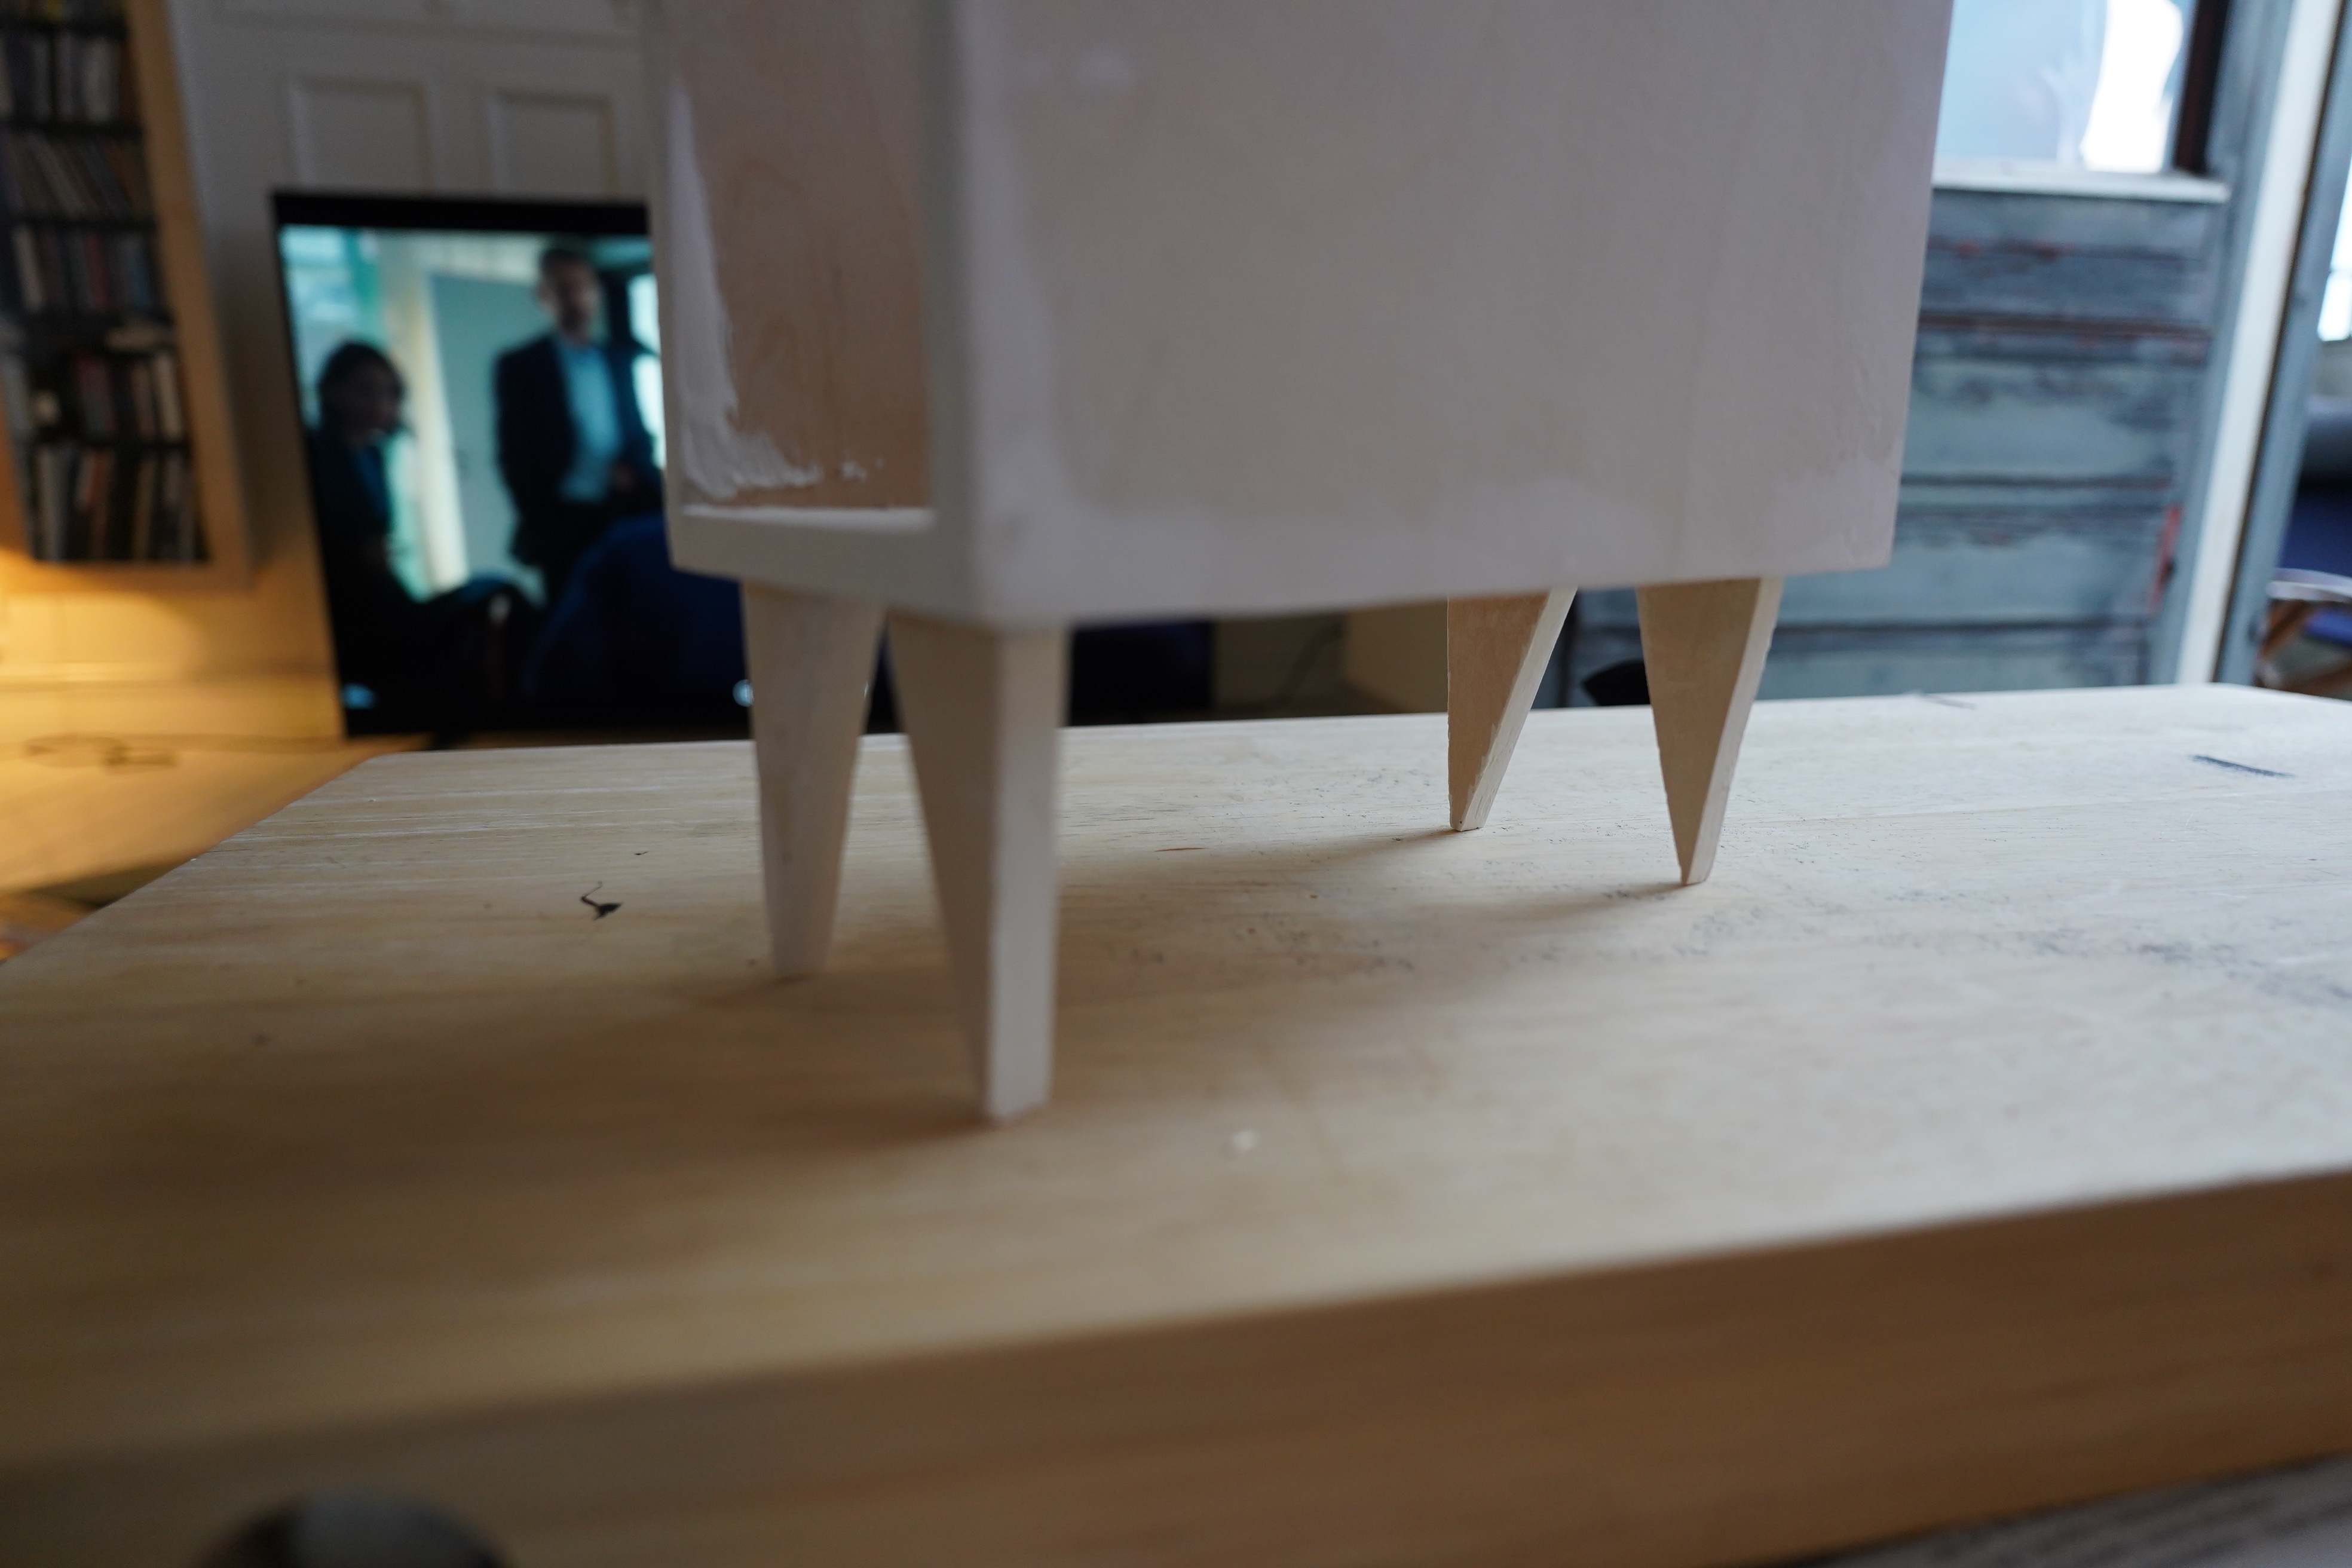
Three of the feet actually turned out exactly the same length, but one is sliightly too short. That’s a lot better than I had expected.
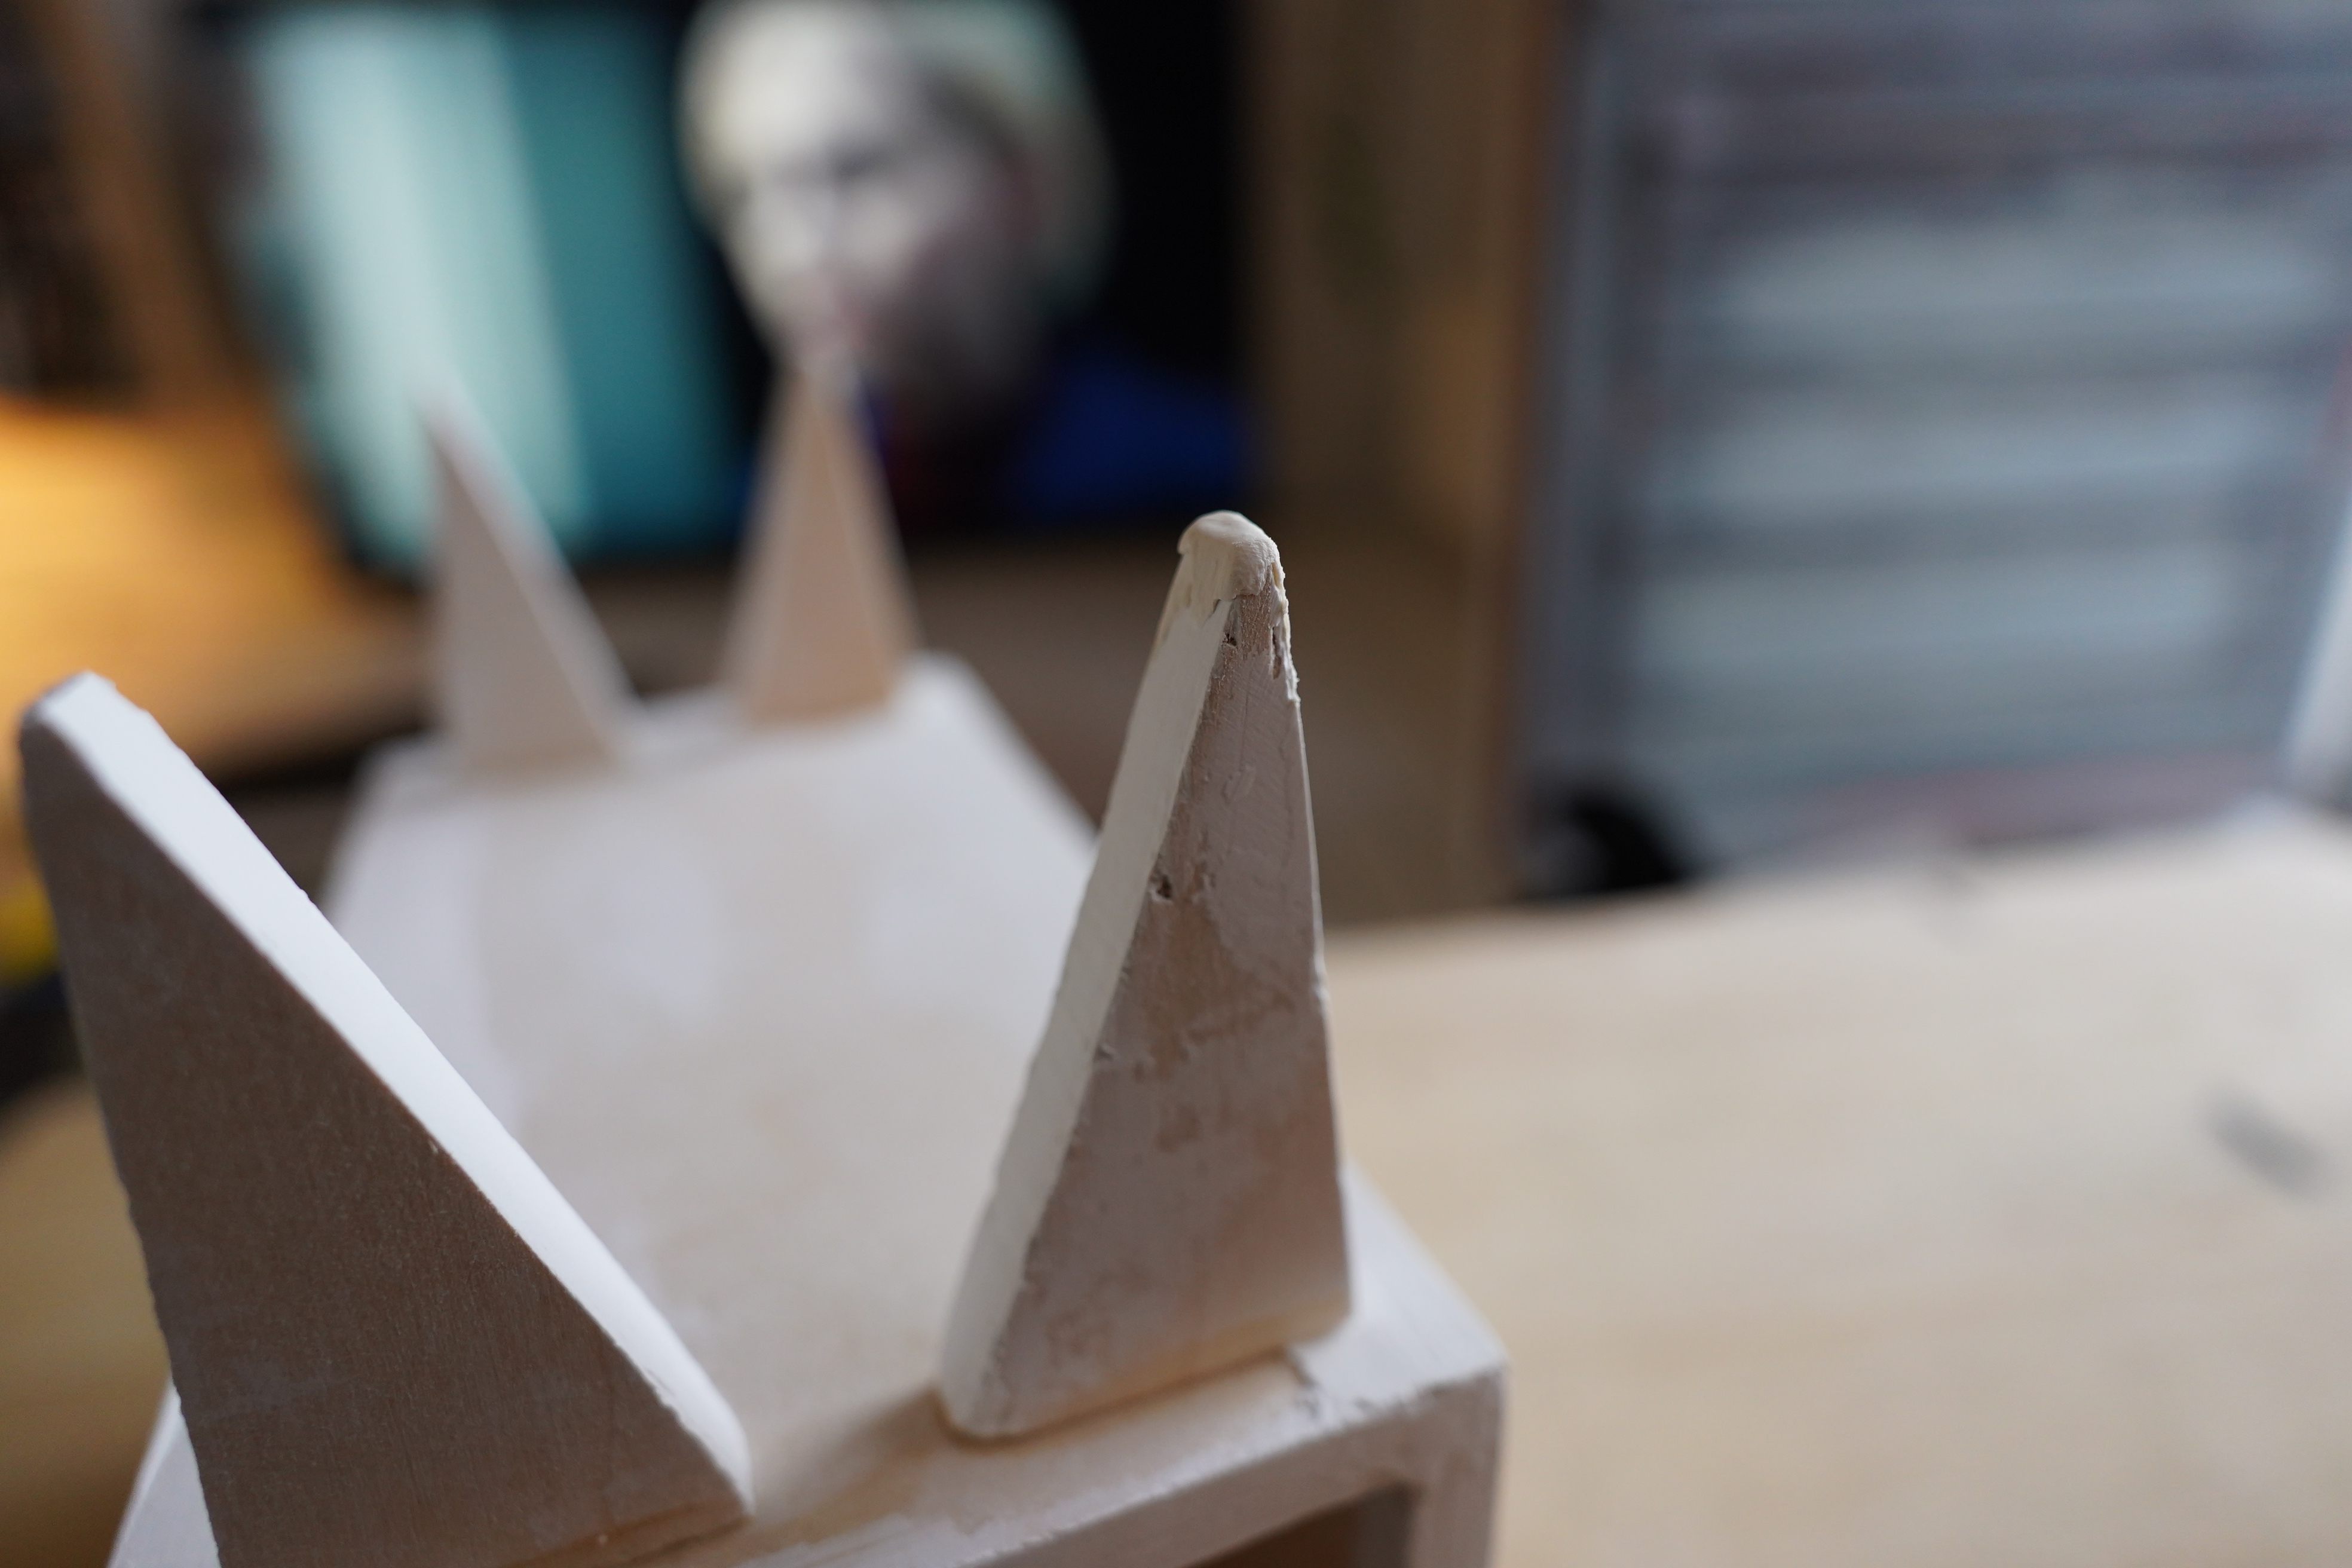
So I added some Sugru-like substance to the short leg… and man, that Sugro knock-off from Locktite just isn’t as good. For one, it sticks to your fingers like crazy — I had to do the “OUT DAMNED SPOT” for like five minutes to make the gunk part ways with my hands. Yuck.
Damn monopolists — Sugru was so good, but then all the big companies launched similar products, so now you can’t find Sugru in shops. You just find the inferior knock-offs.
Oh, I see that Tesa has bought Sugru now? Well, they’re a big company — why can’t they make the shops carry it?
Grrr.
Then after doing two coats of primer and two coats of paint… it turns out that the lid is now too big! D’oh! I didn’t take into account the millimeters added by the spackle, primer and paint… So now I have to plane off some millimeters.
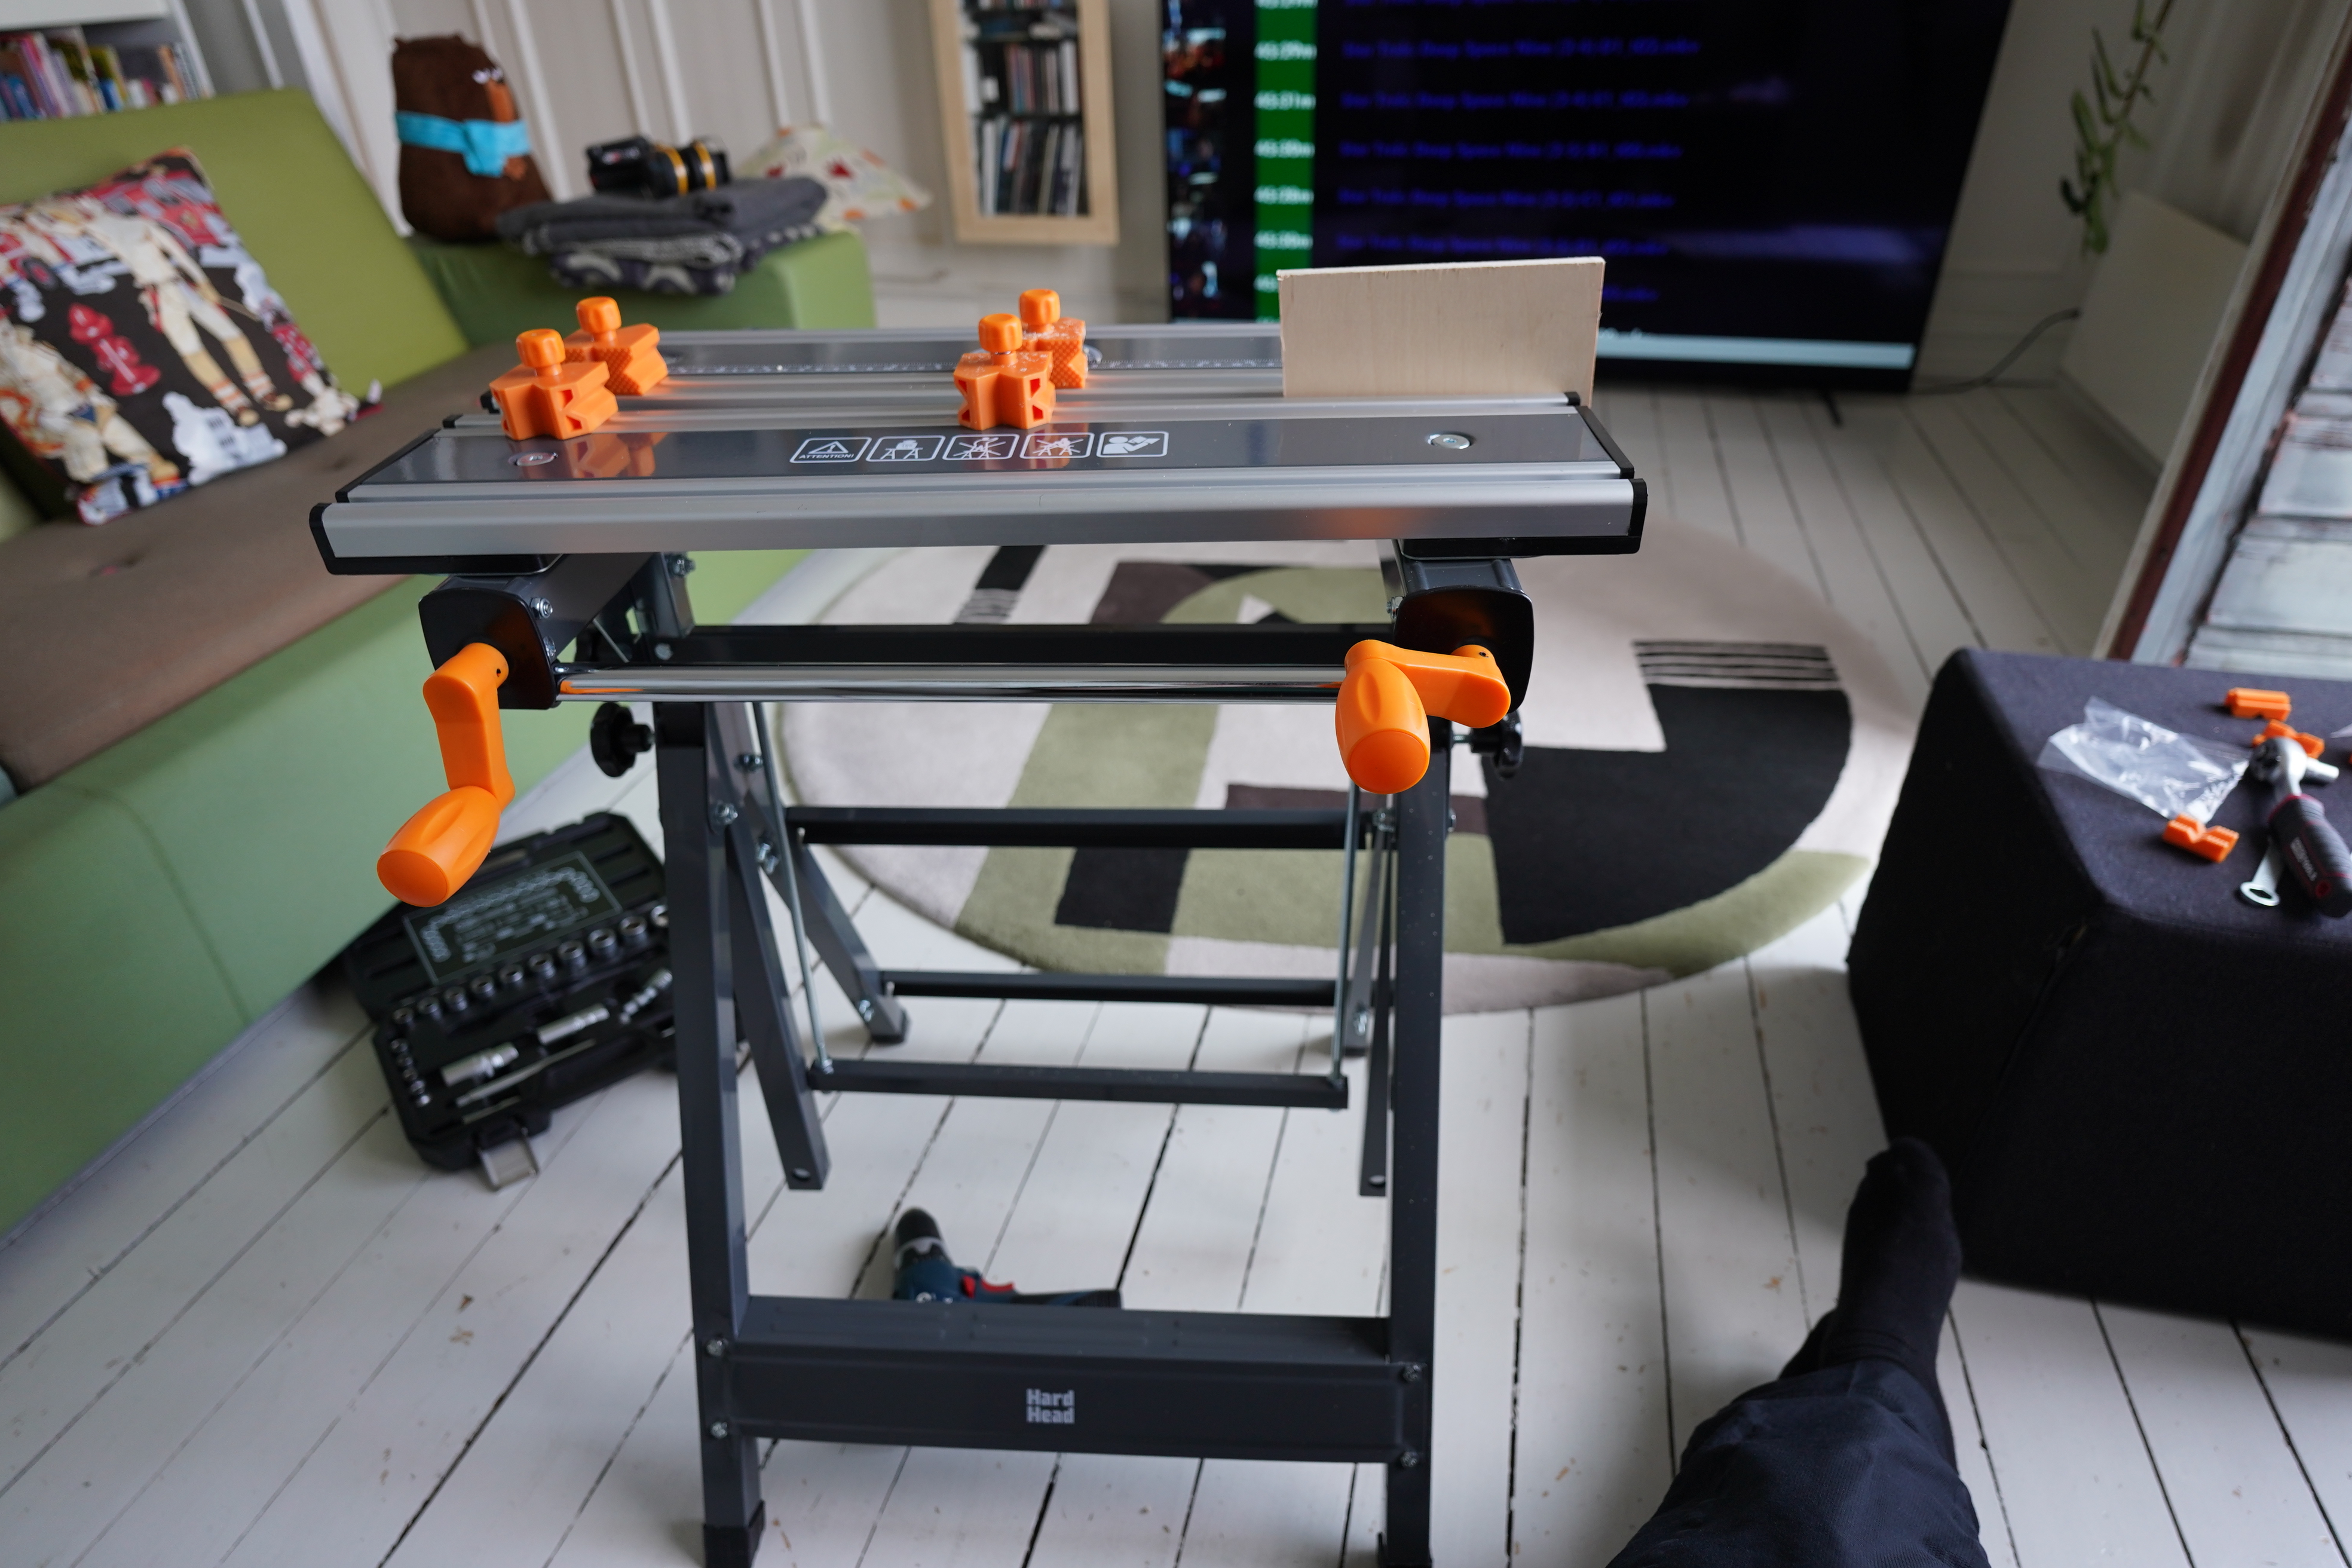
Oops! I went shopping again. And bought this thing.
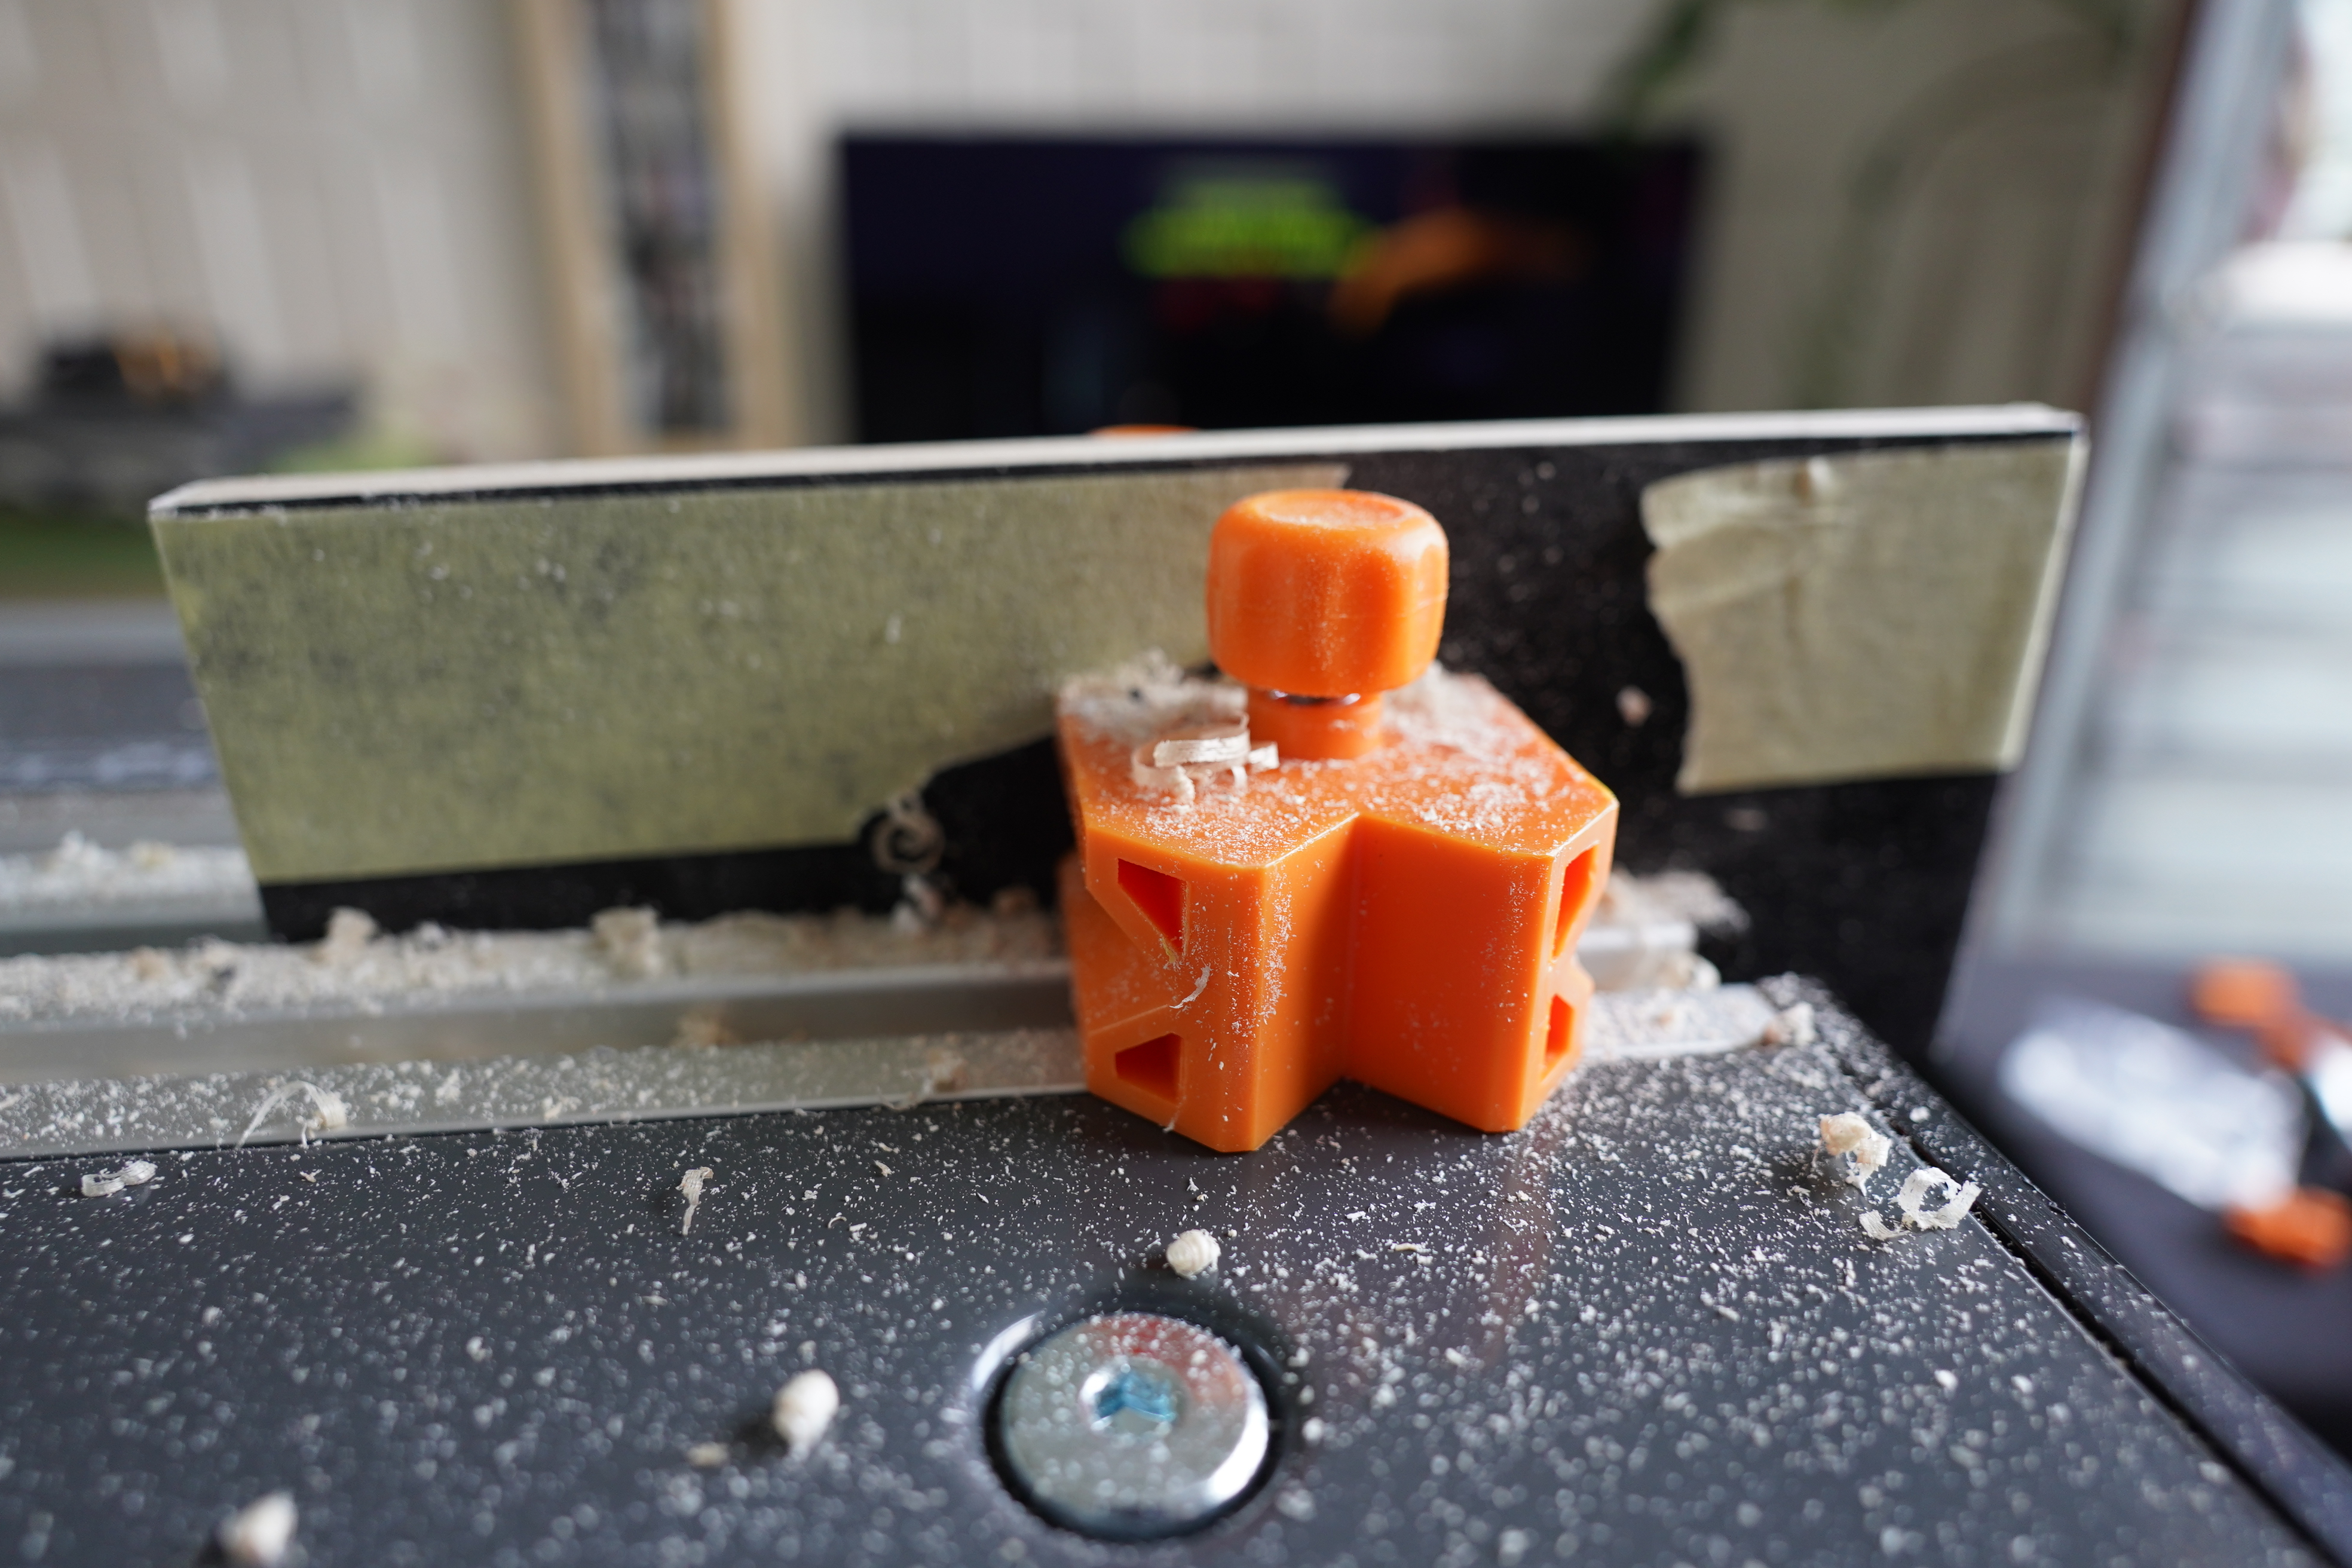
It’s works! Got the lid a few millimeters narrower and now it fits again.
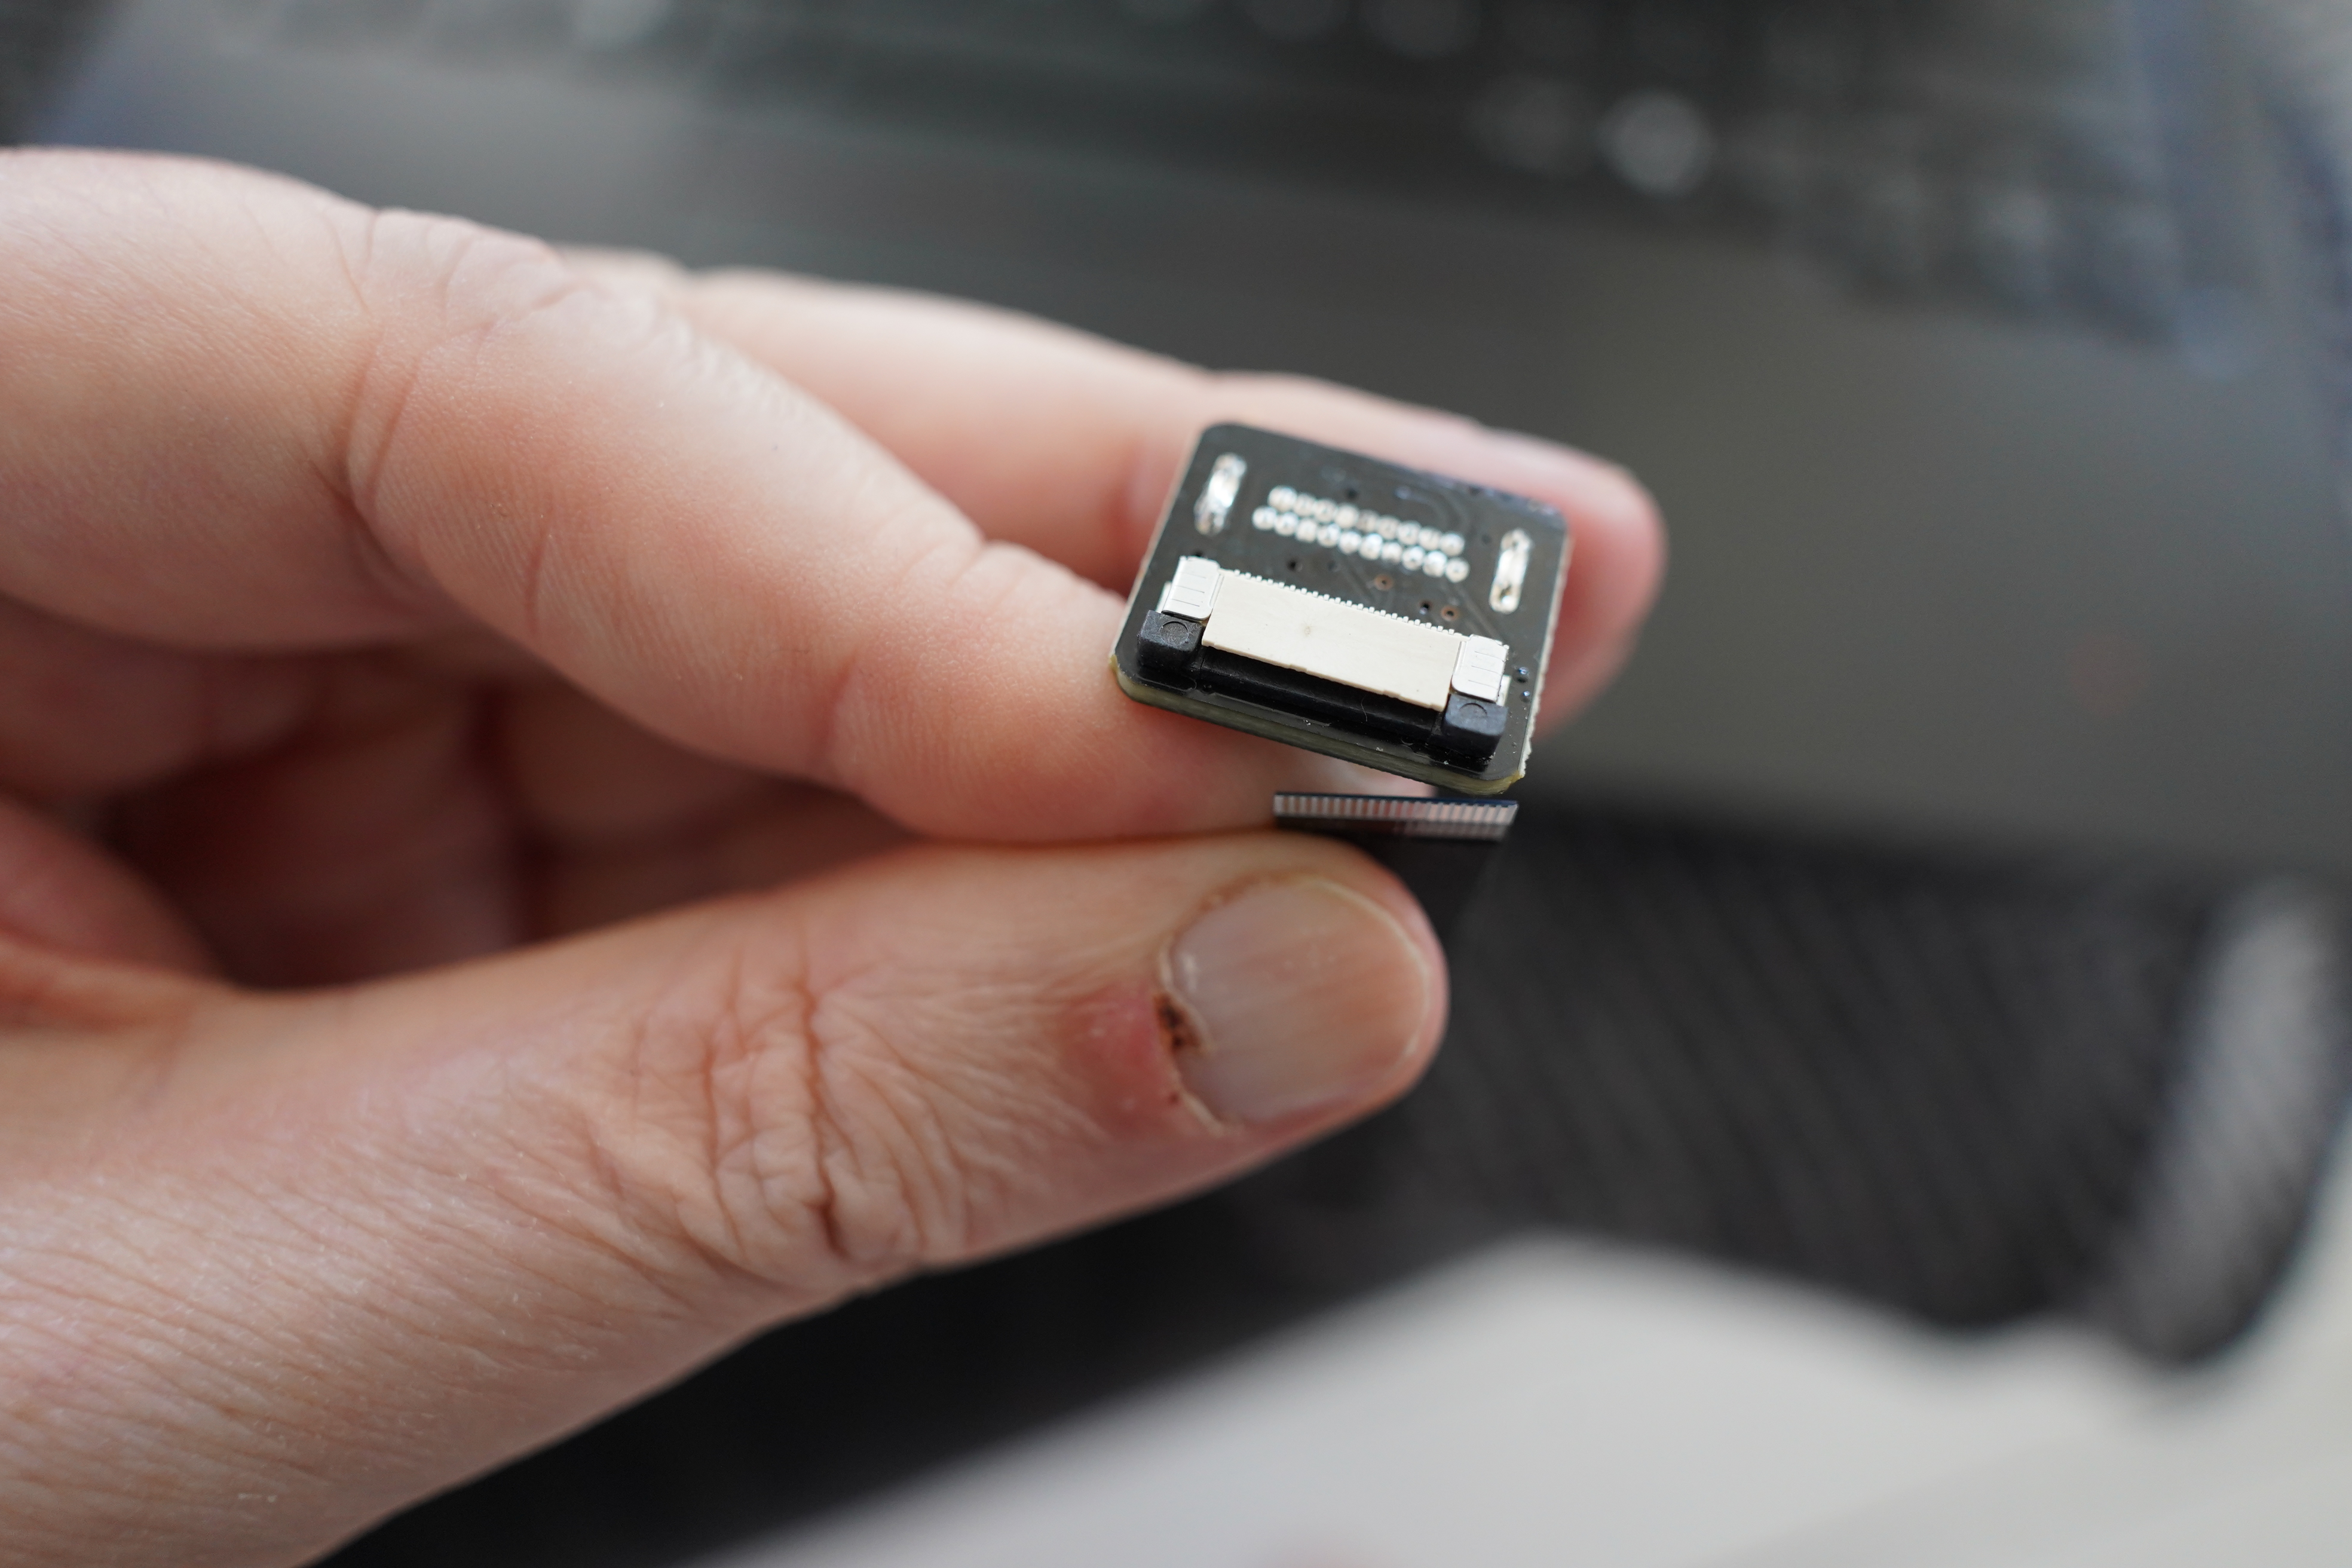
OK, more cables arrived from China… but how does this HDMI connector work anyway? Do you just flip the white thing up?
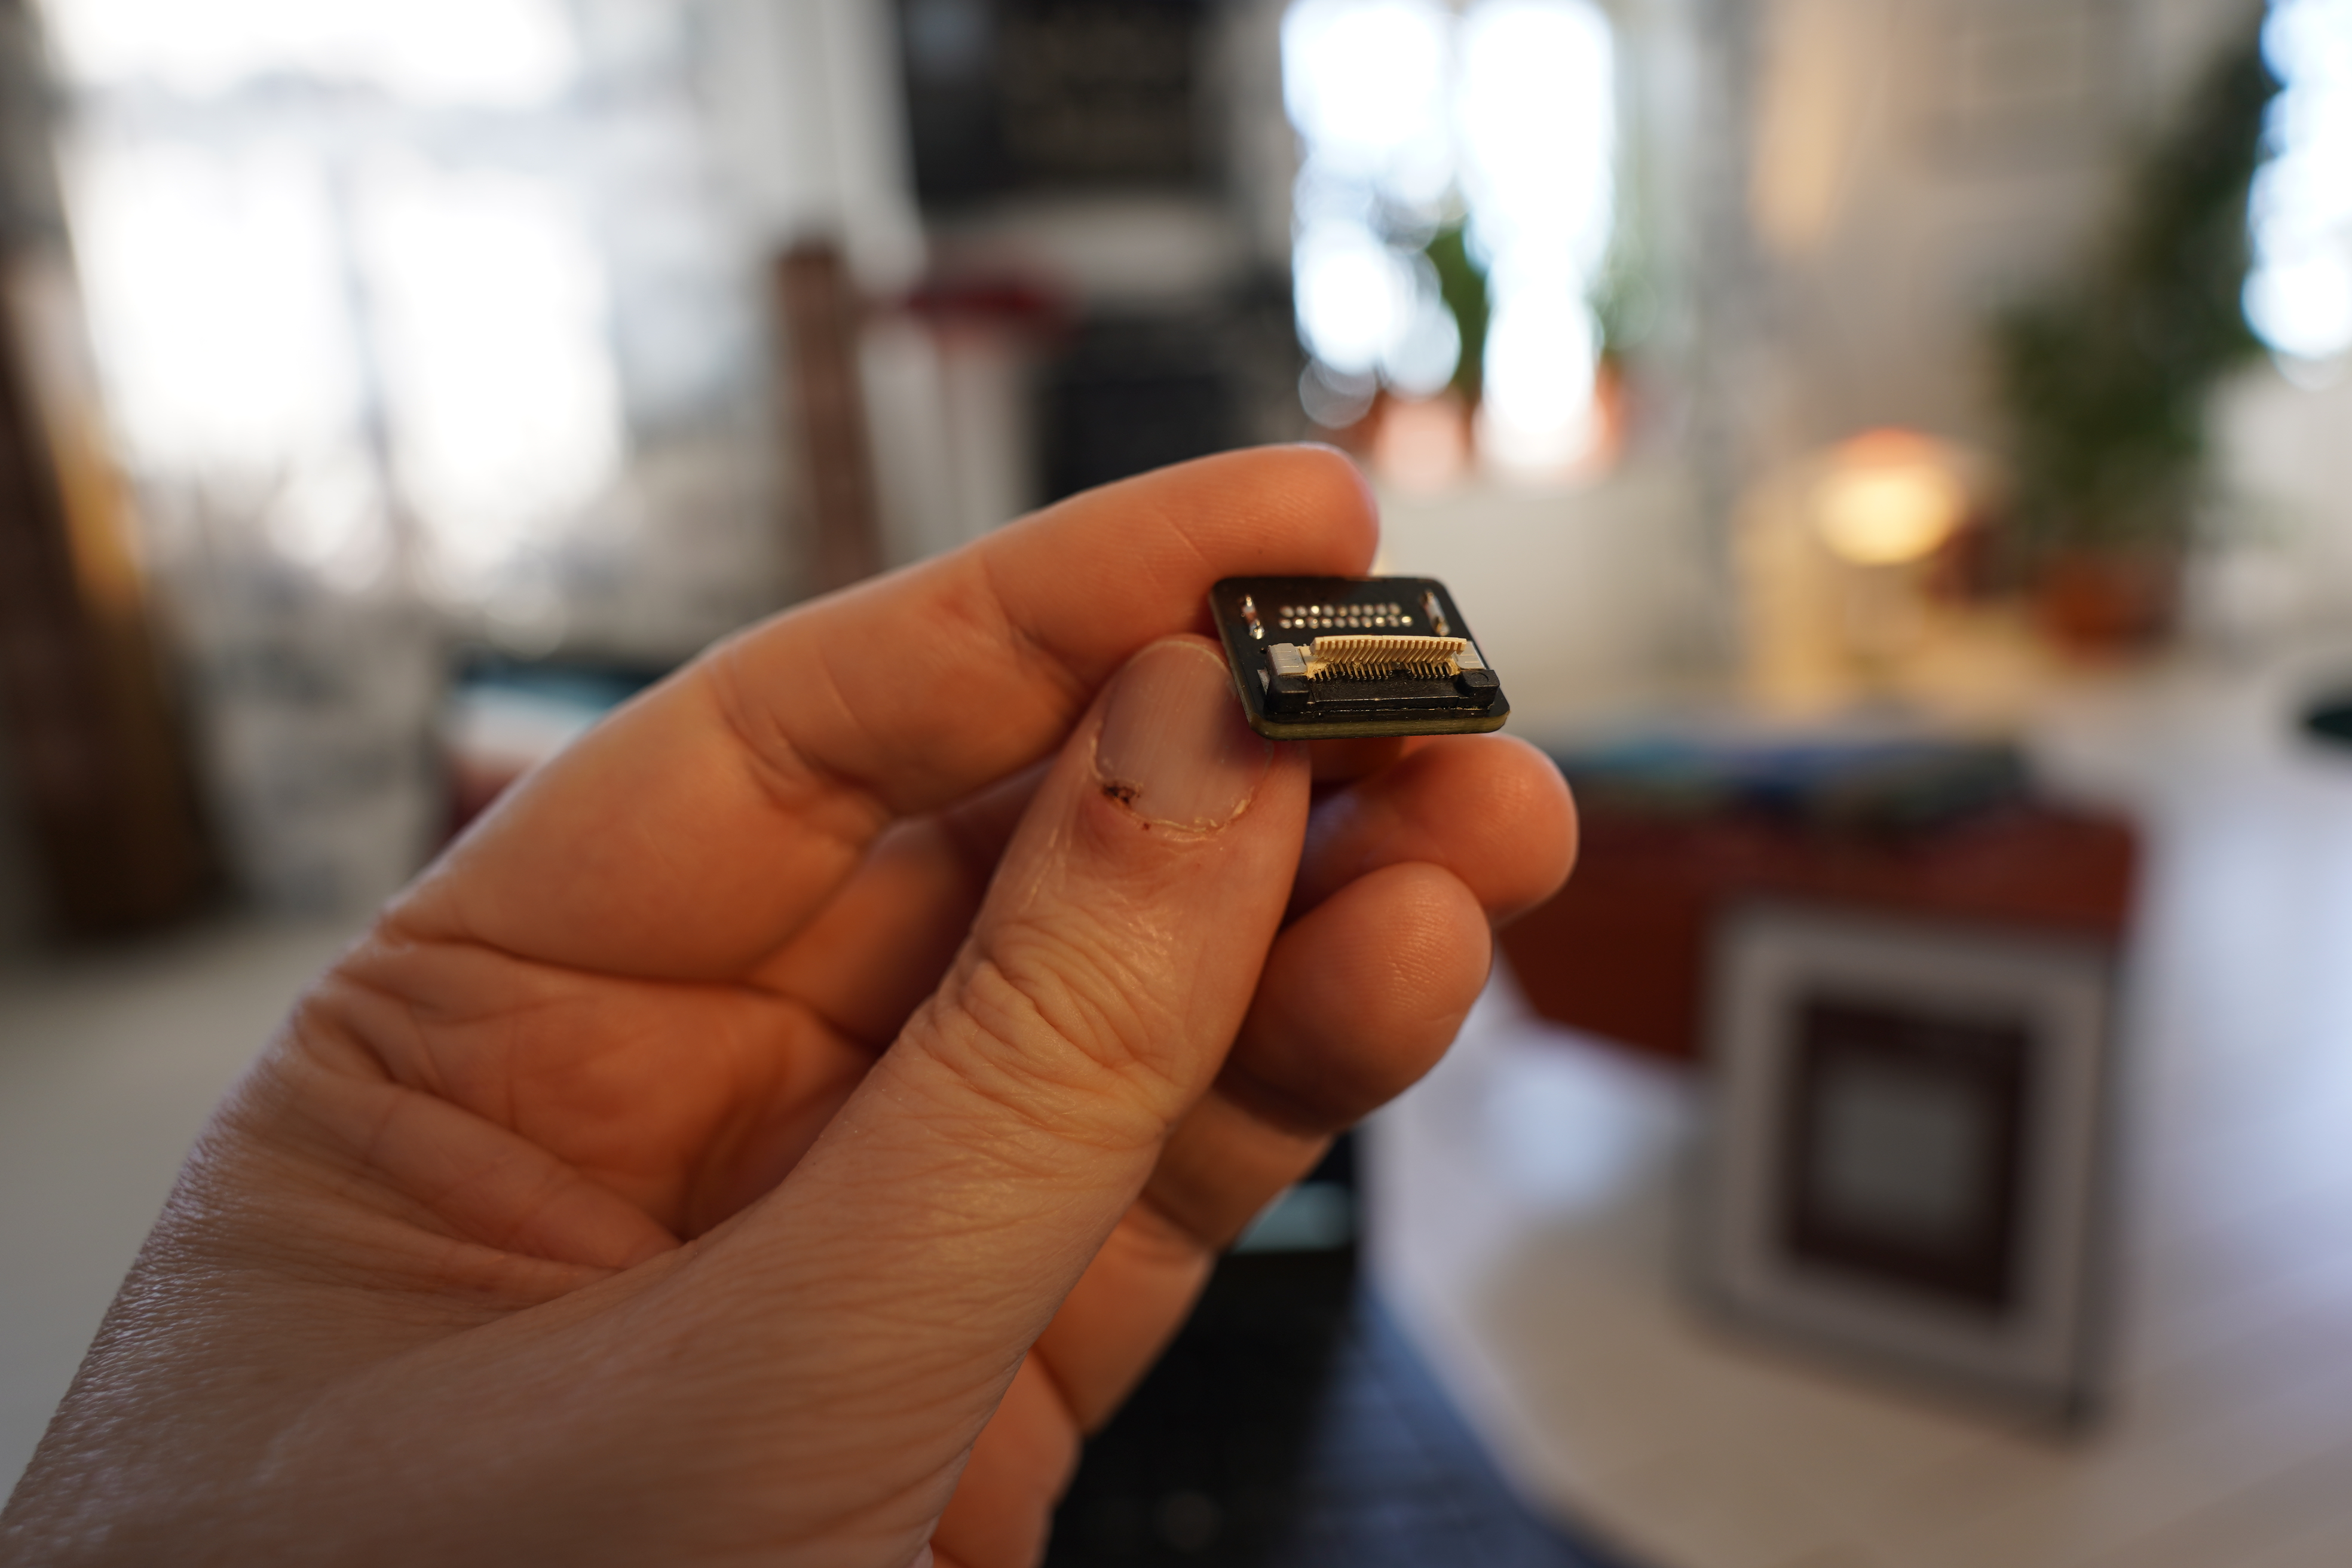
OOPS. Nope. *sigh* The black things slide out instead. Oh well, I guess I gotta order more stuff from China.

I painted the clock black, because my inclination is to always paint things black. But I wasn’t careful enough when letting the box dry, and it bonded to some surface and now I have more to fix.
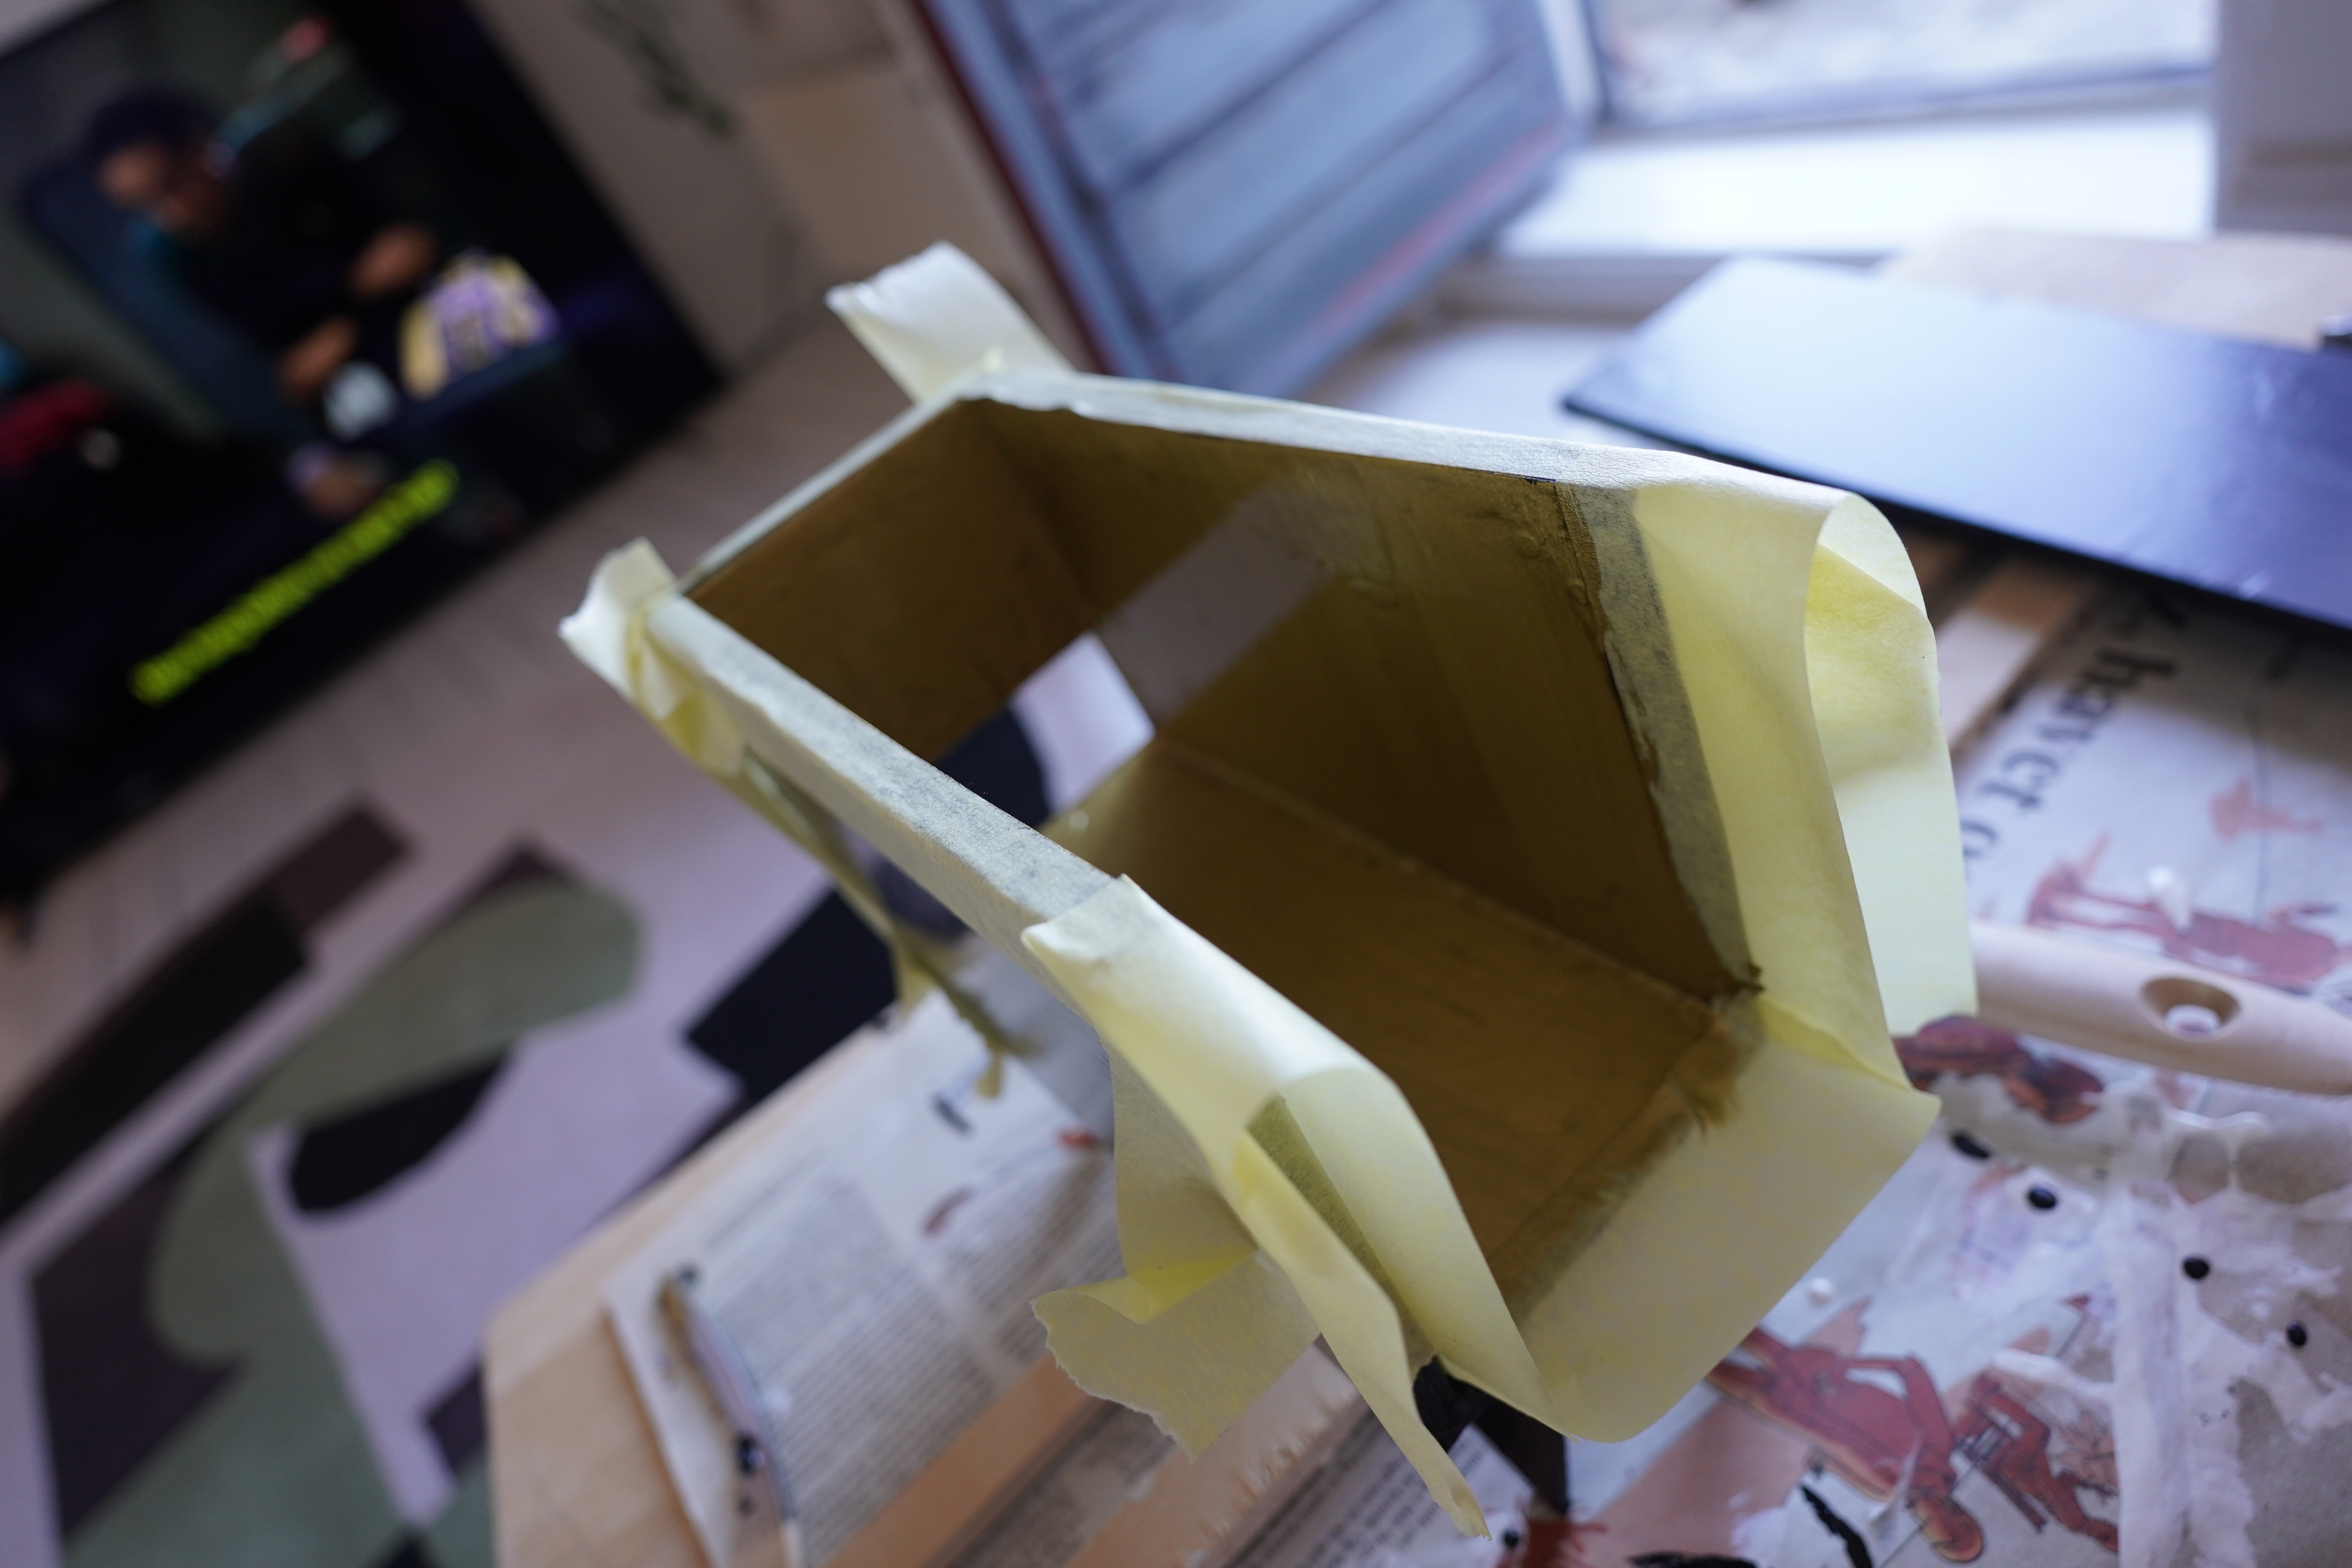
But back to that Hollie Fingold box — I was going to do something fun and whimsical for a change, right? So how about painting it gold on the inside? I mean, you can only see a bit of gold when it’s finished, but some poking up will be whimsical?
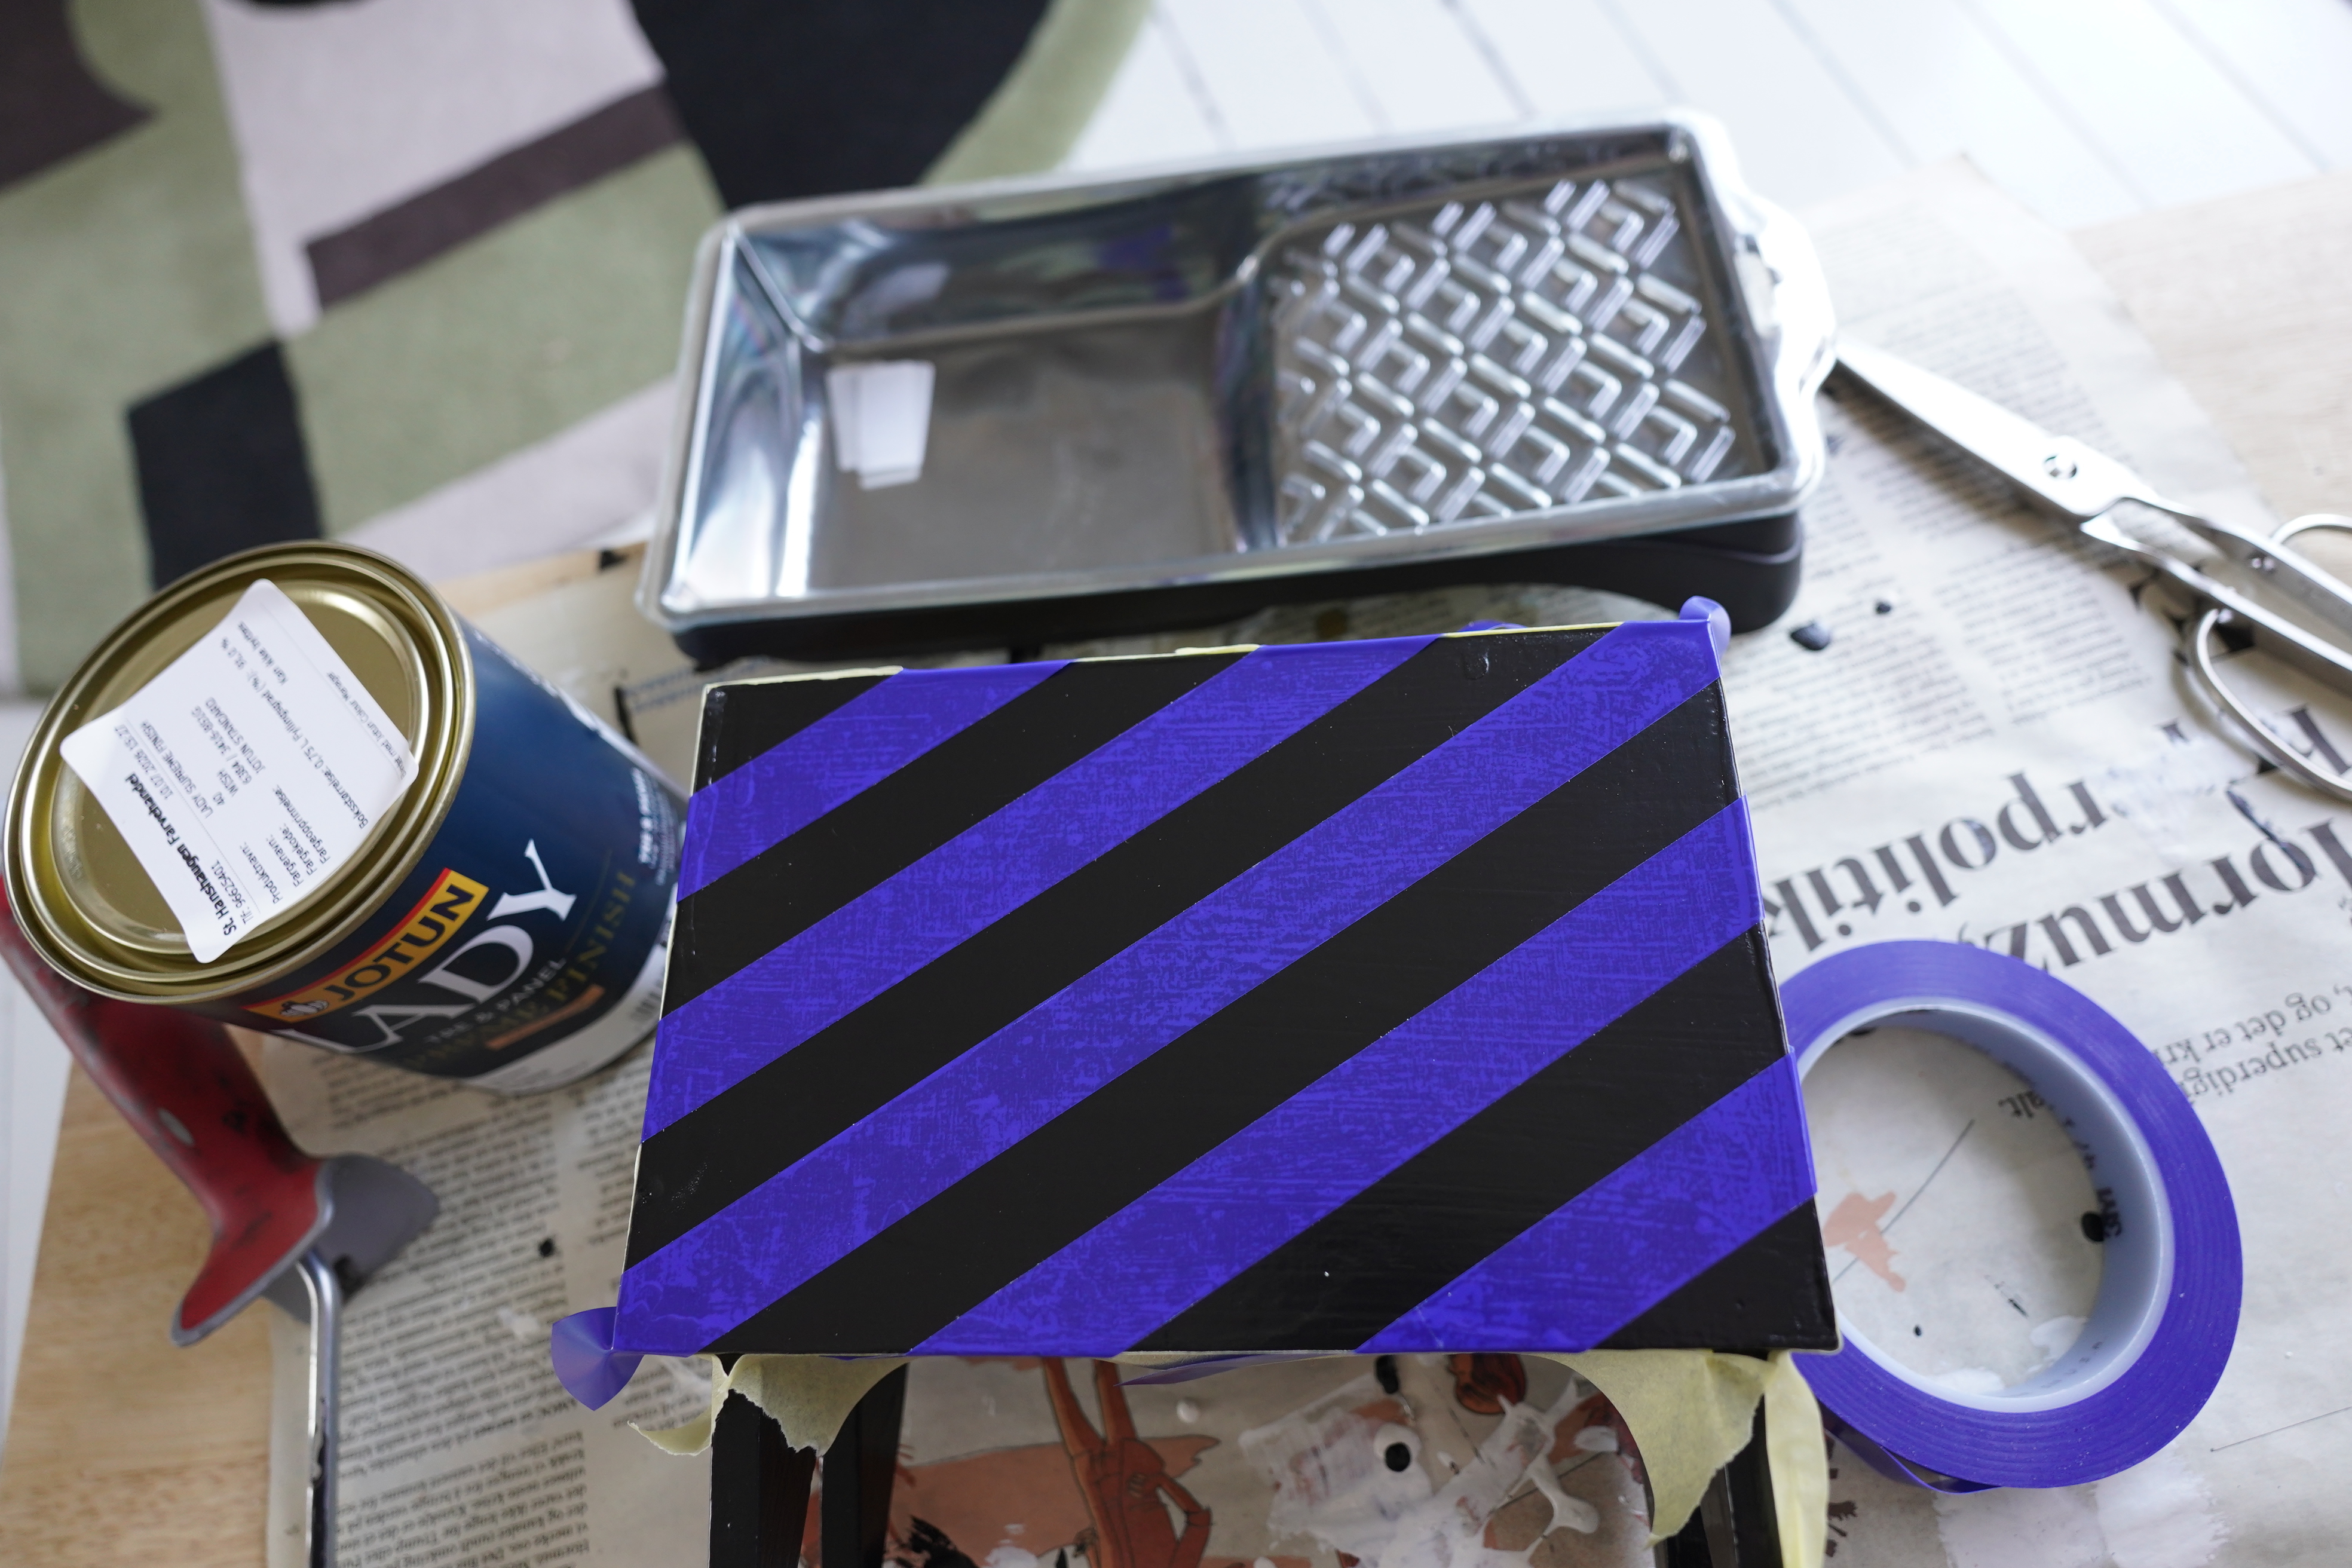
And… are lines whimsical?
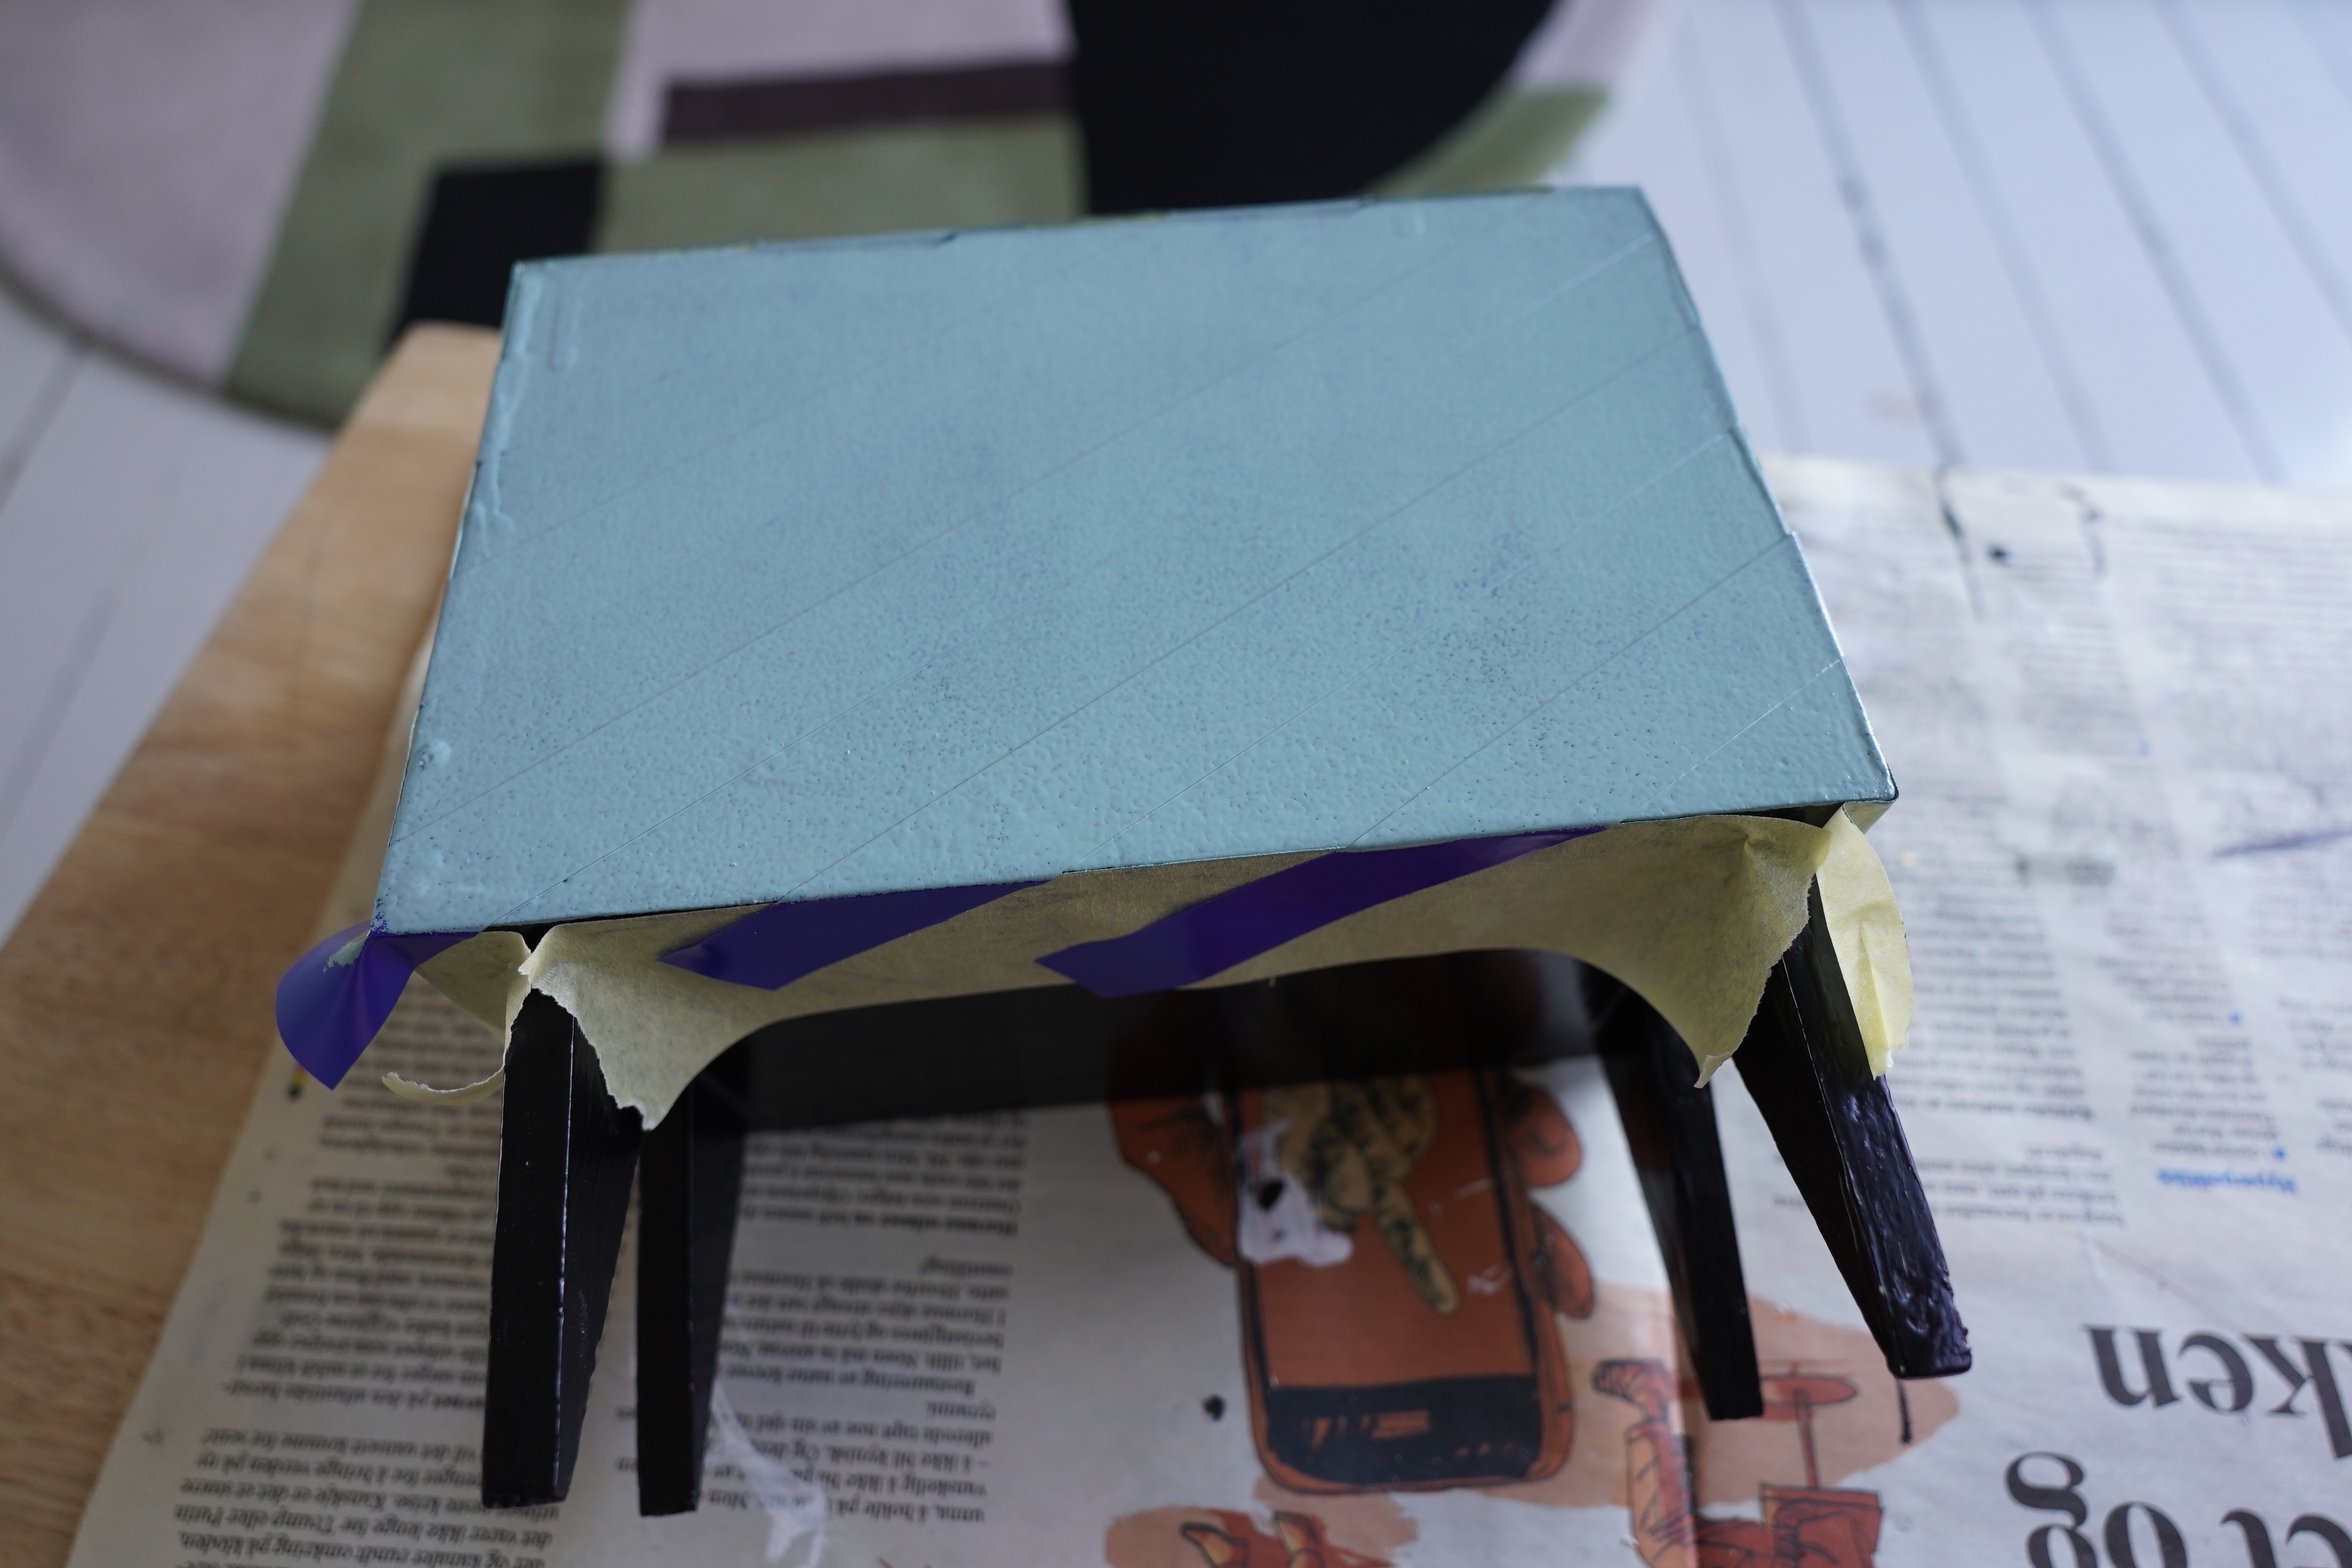
They better be!
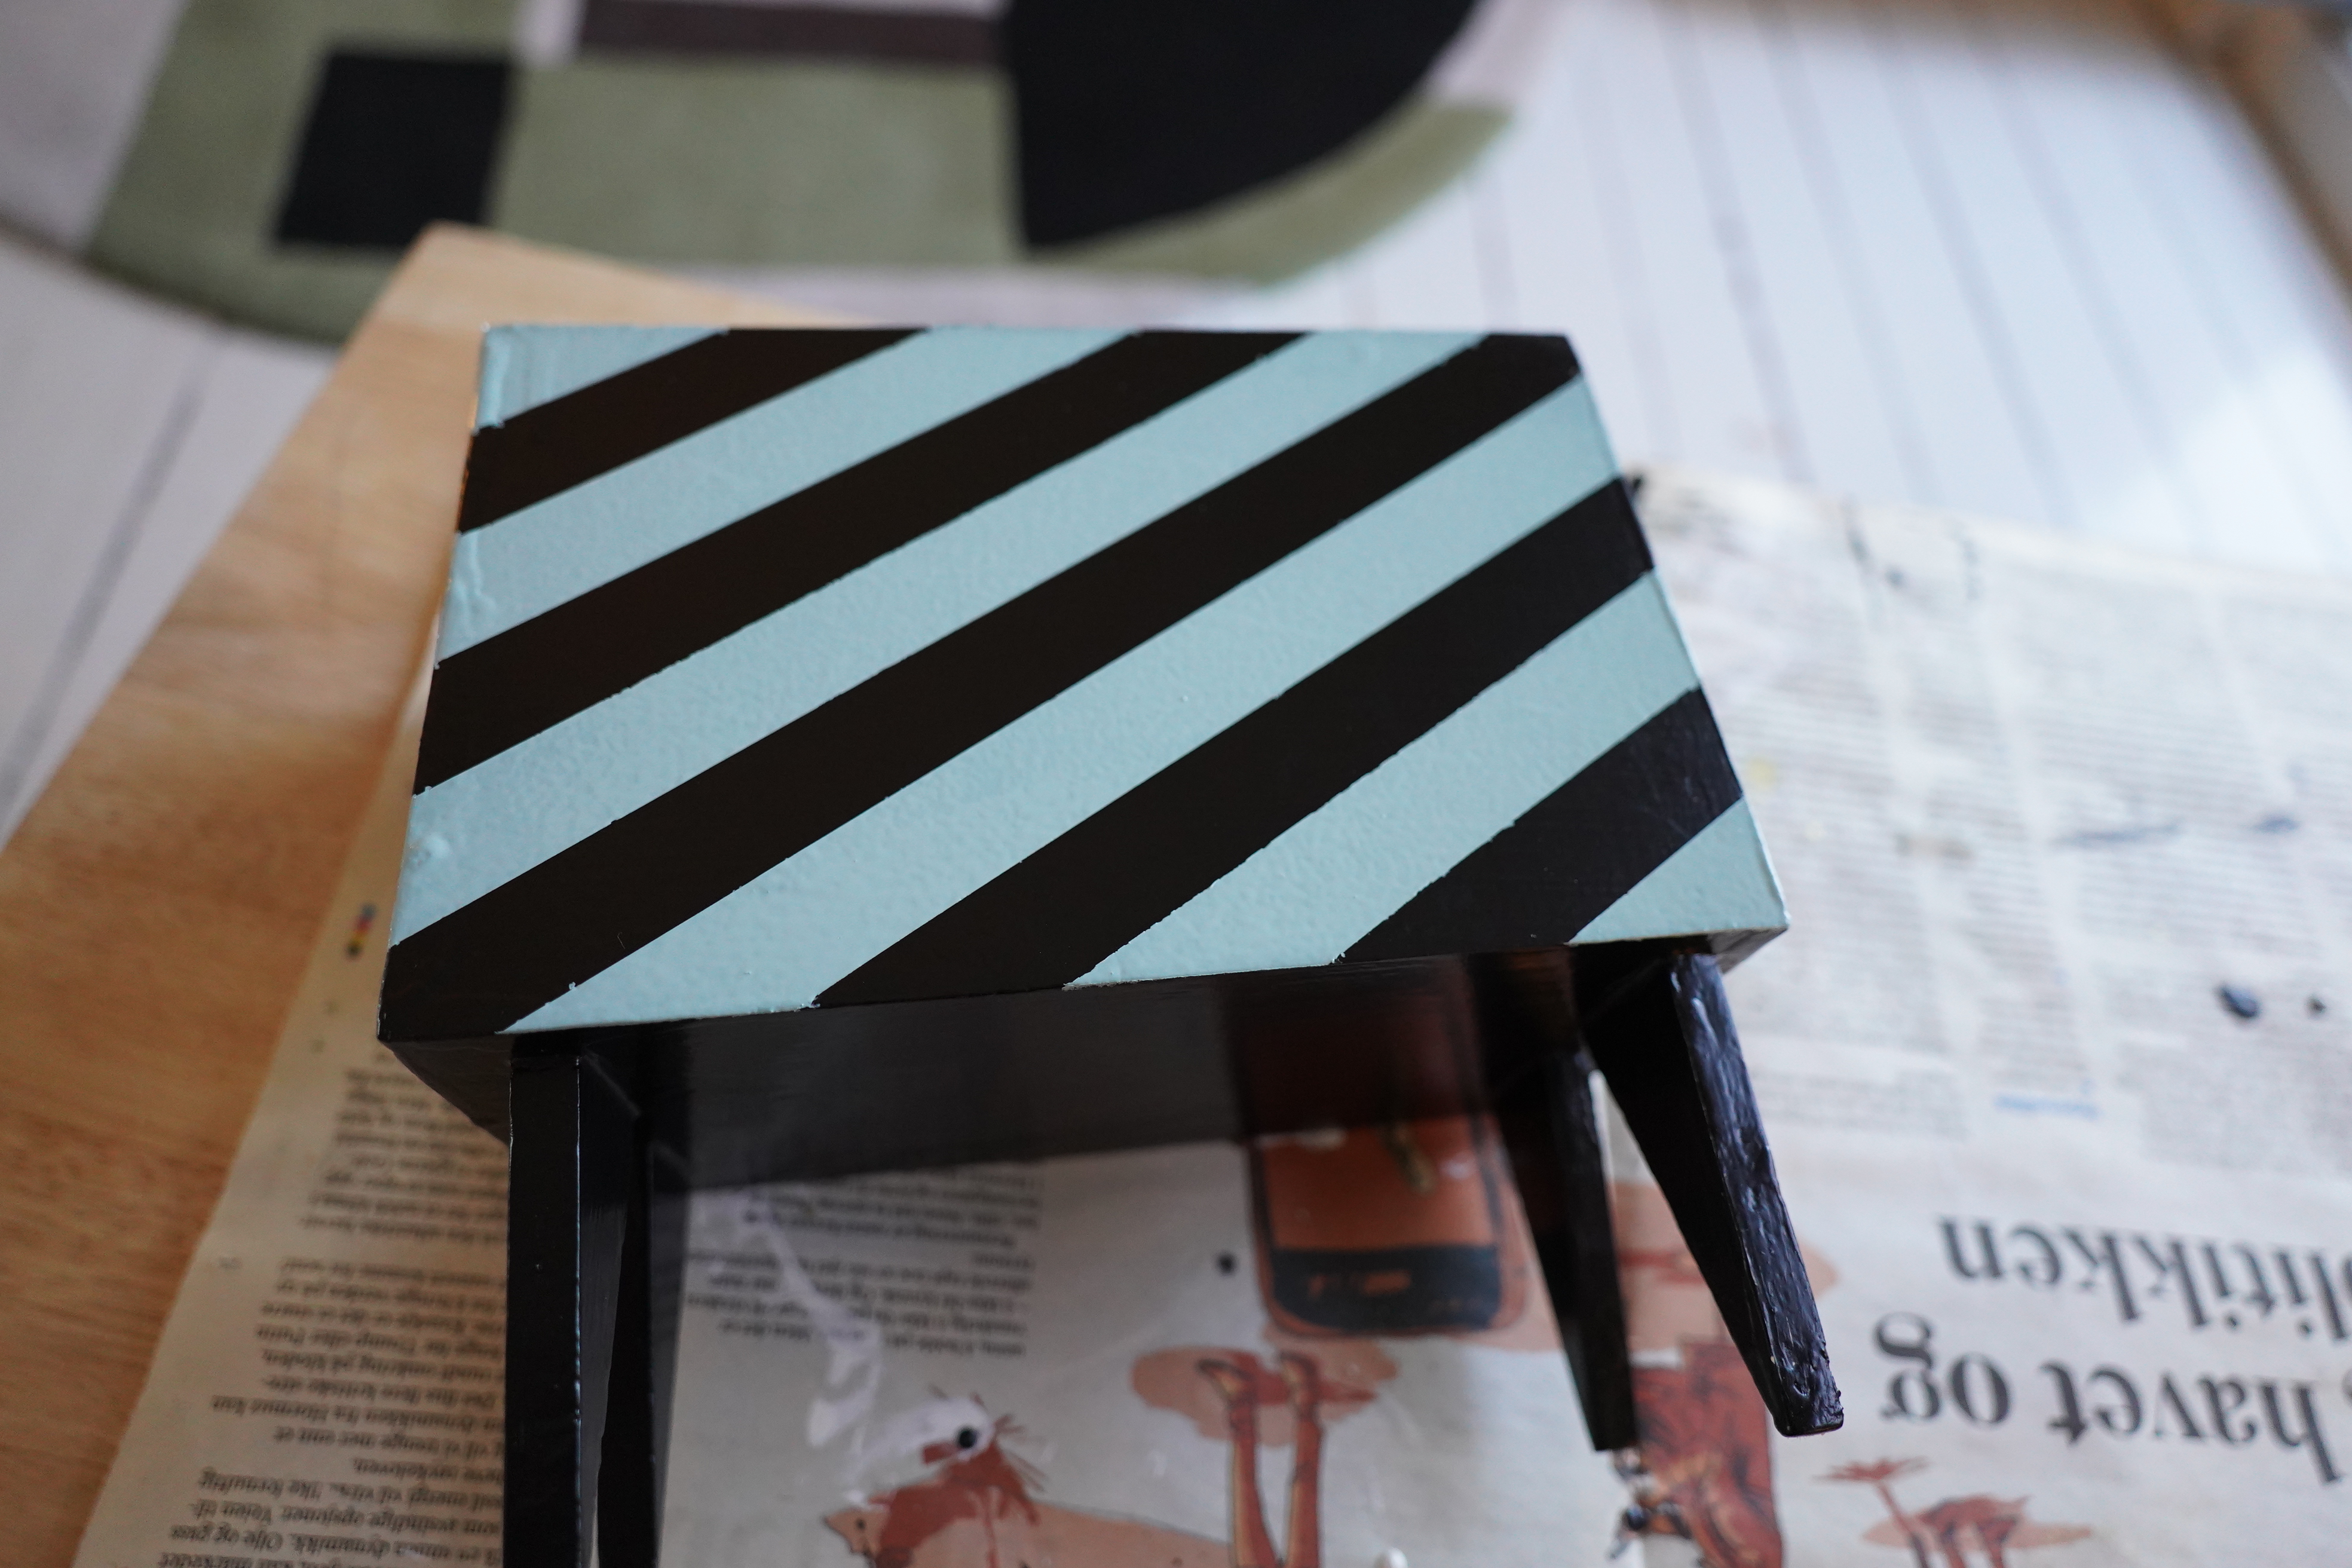
Tada! Plenty whimsical. In an orderly fashion.
And then it’s the moment of truth. Does the screen still fit after all this painting?
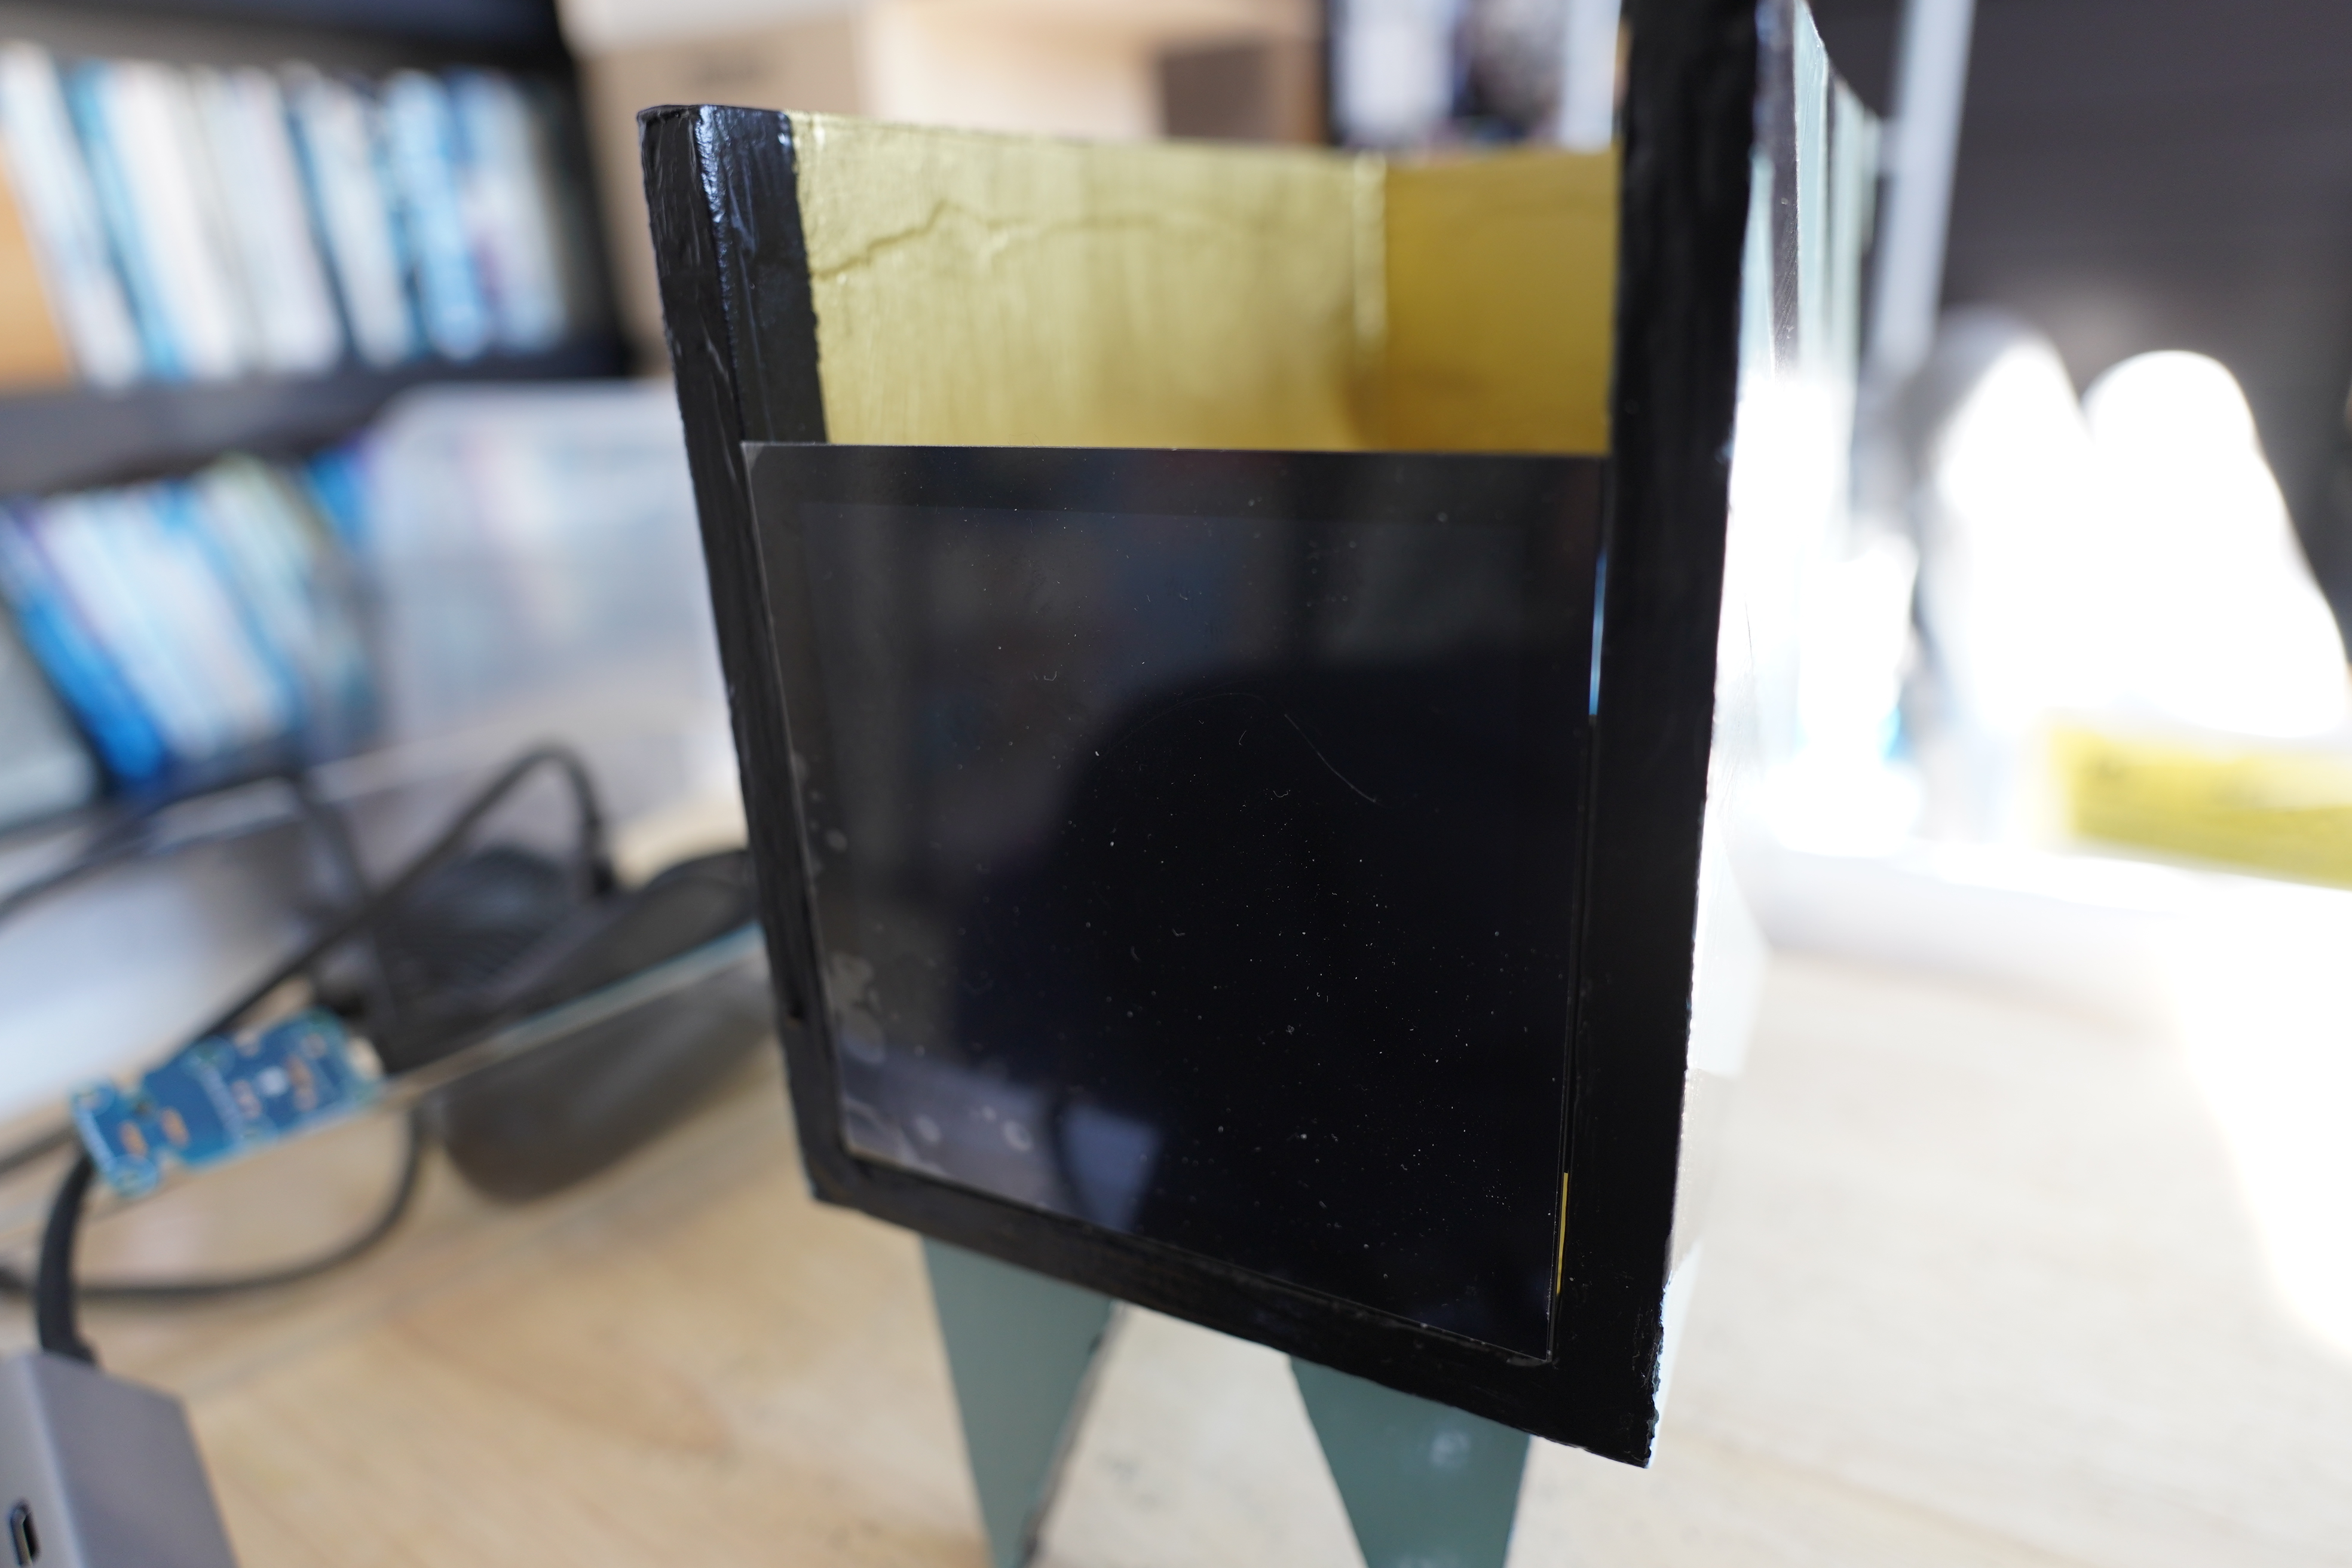
YES! It’s totally snug — I was going to mount it into the box with some Sugro or something (there really aren’t any good options), but it fits so precisely that I don’t think I have to do anything?
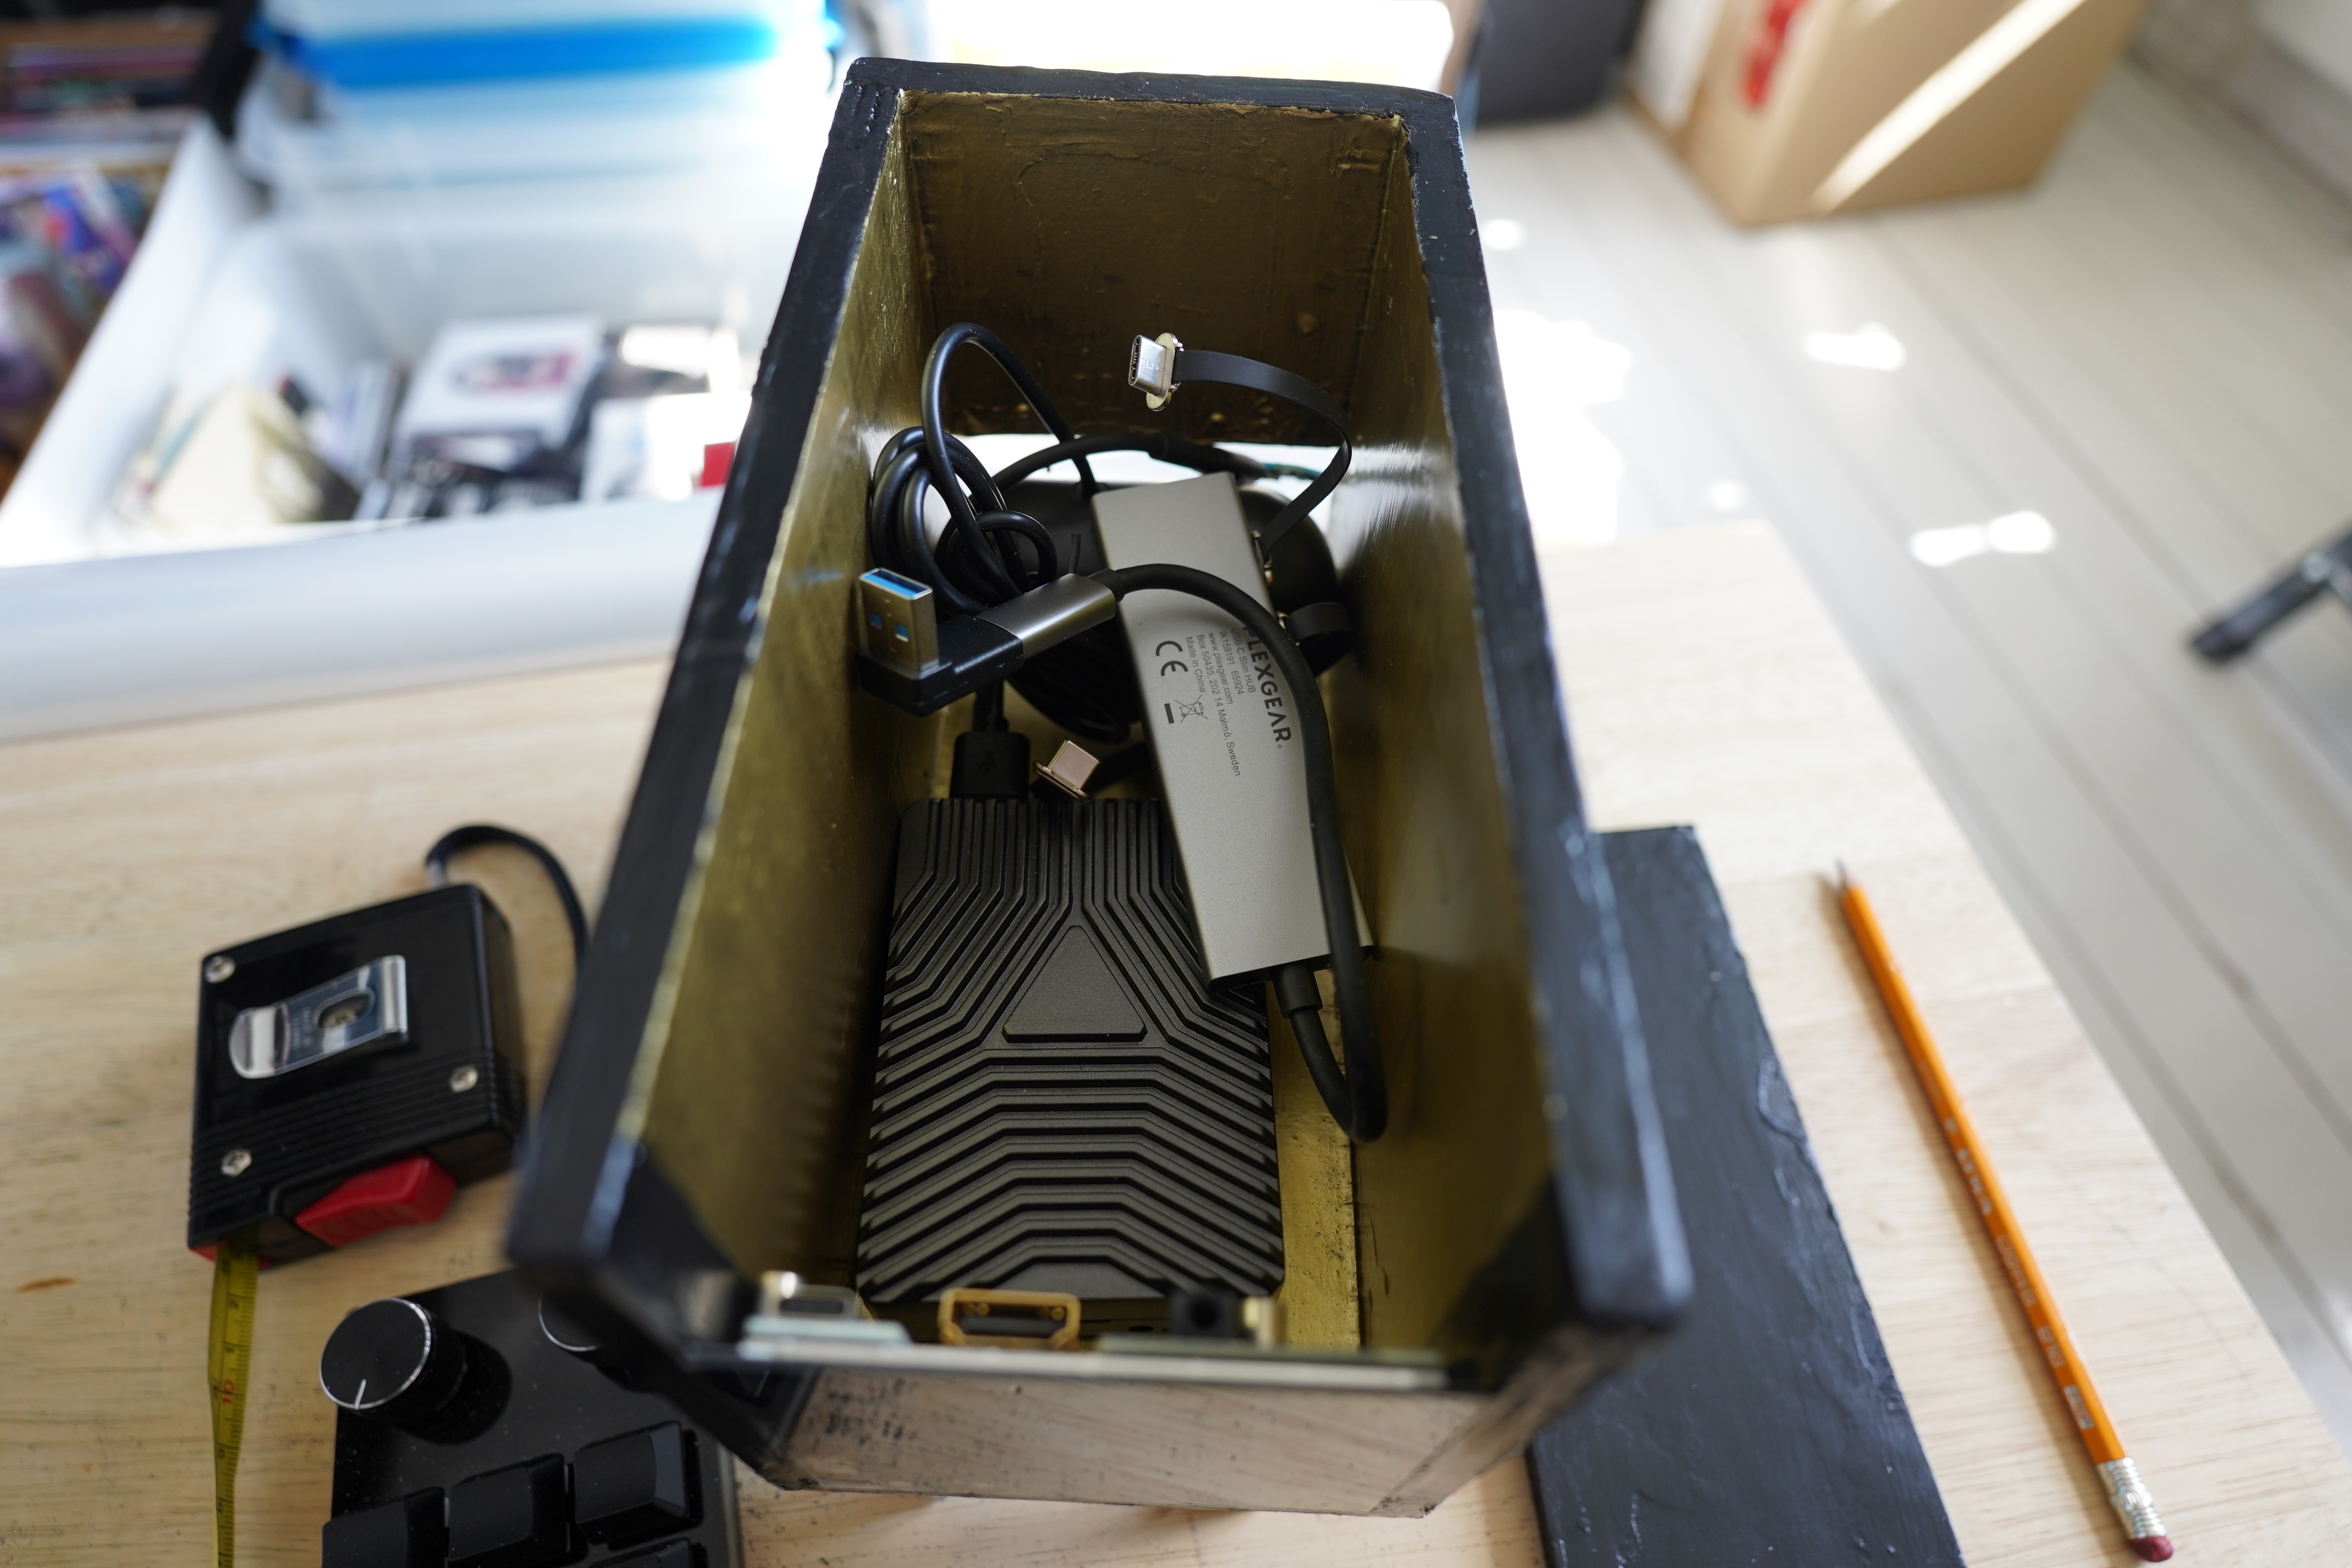
Everything fits! *phew* So it’s time to put the lid on the clock. I was wondering how to do that — very few things work well with wood this thin.
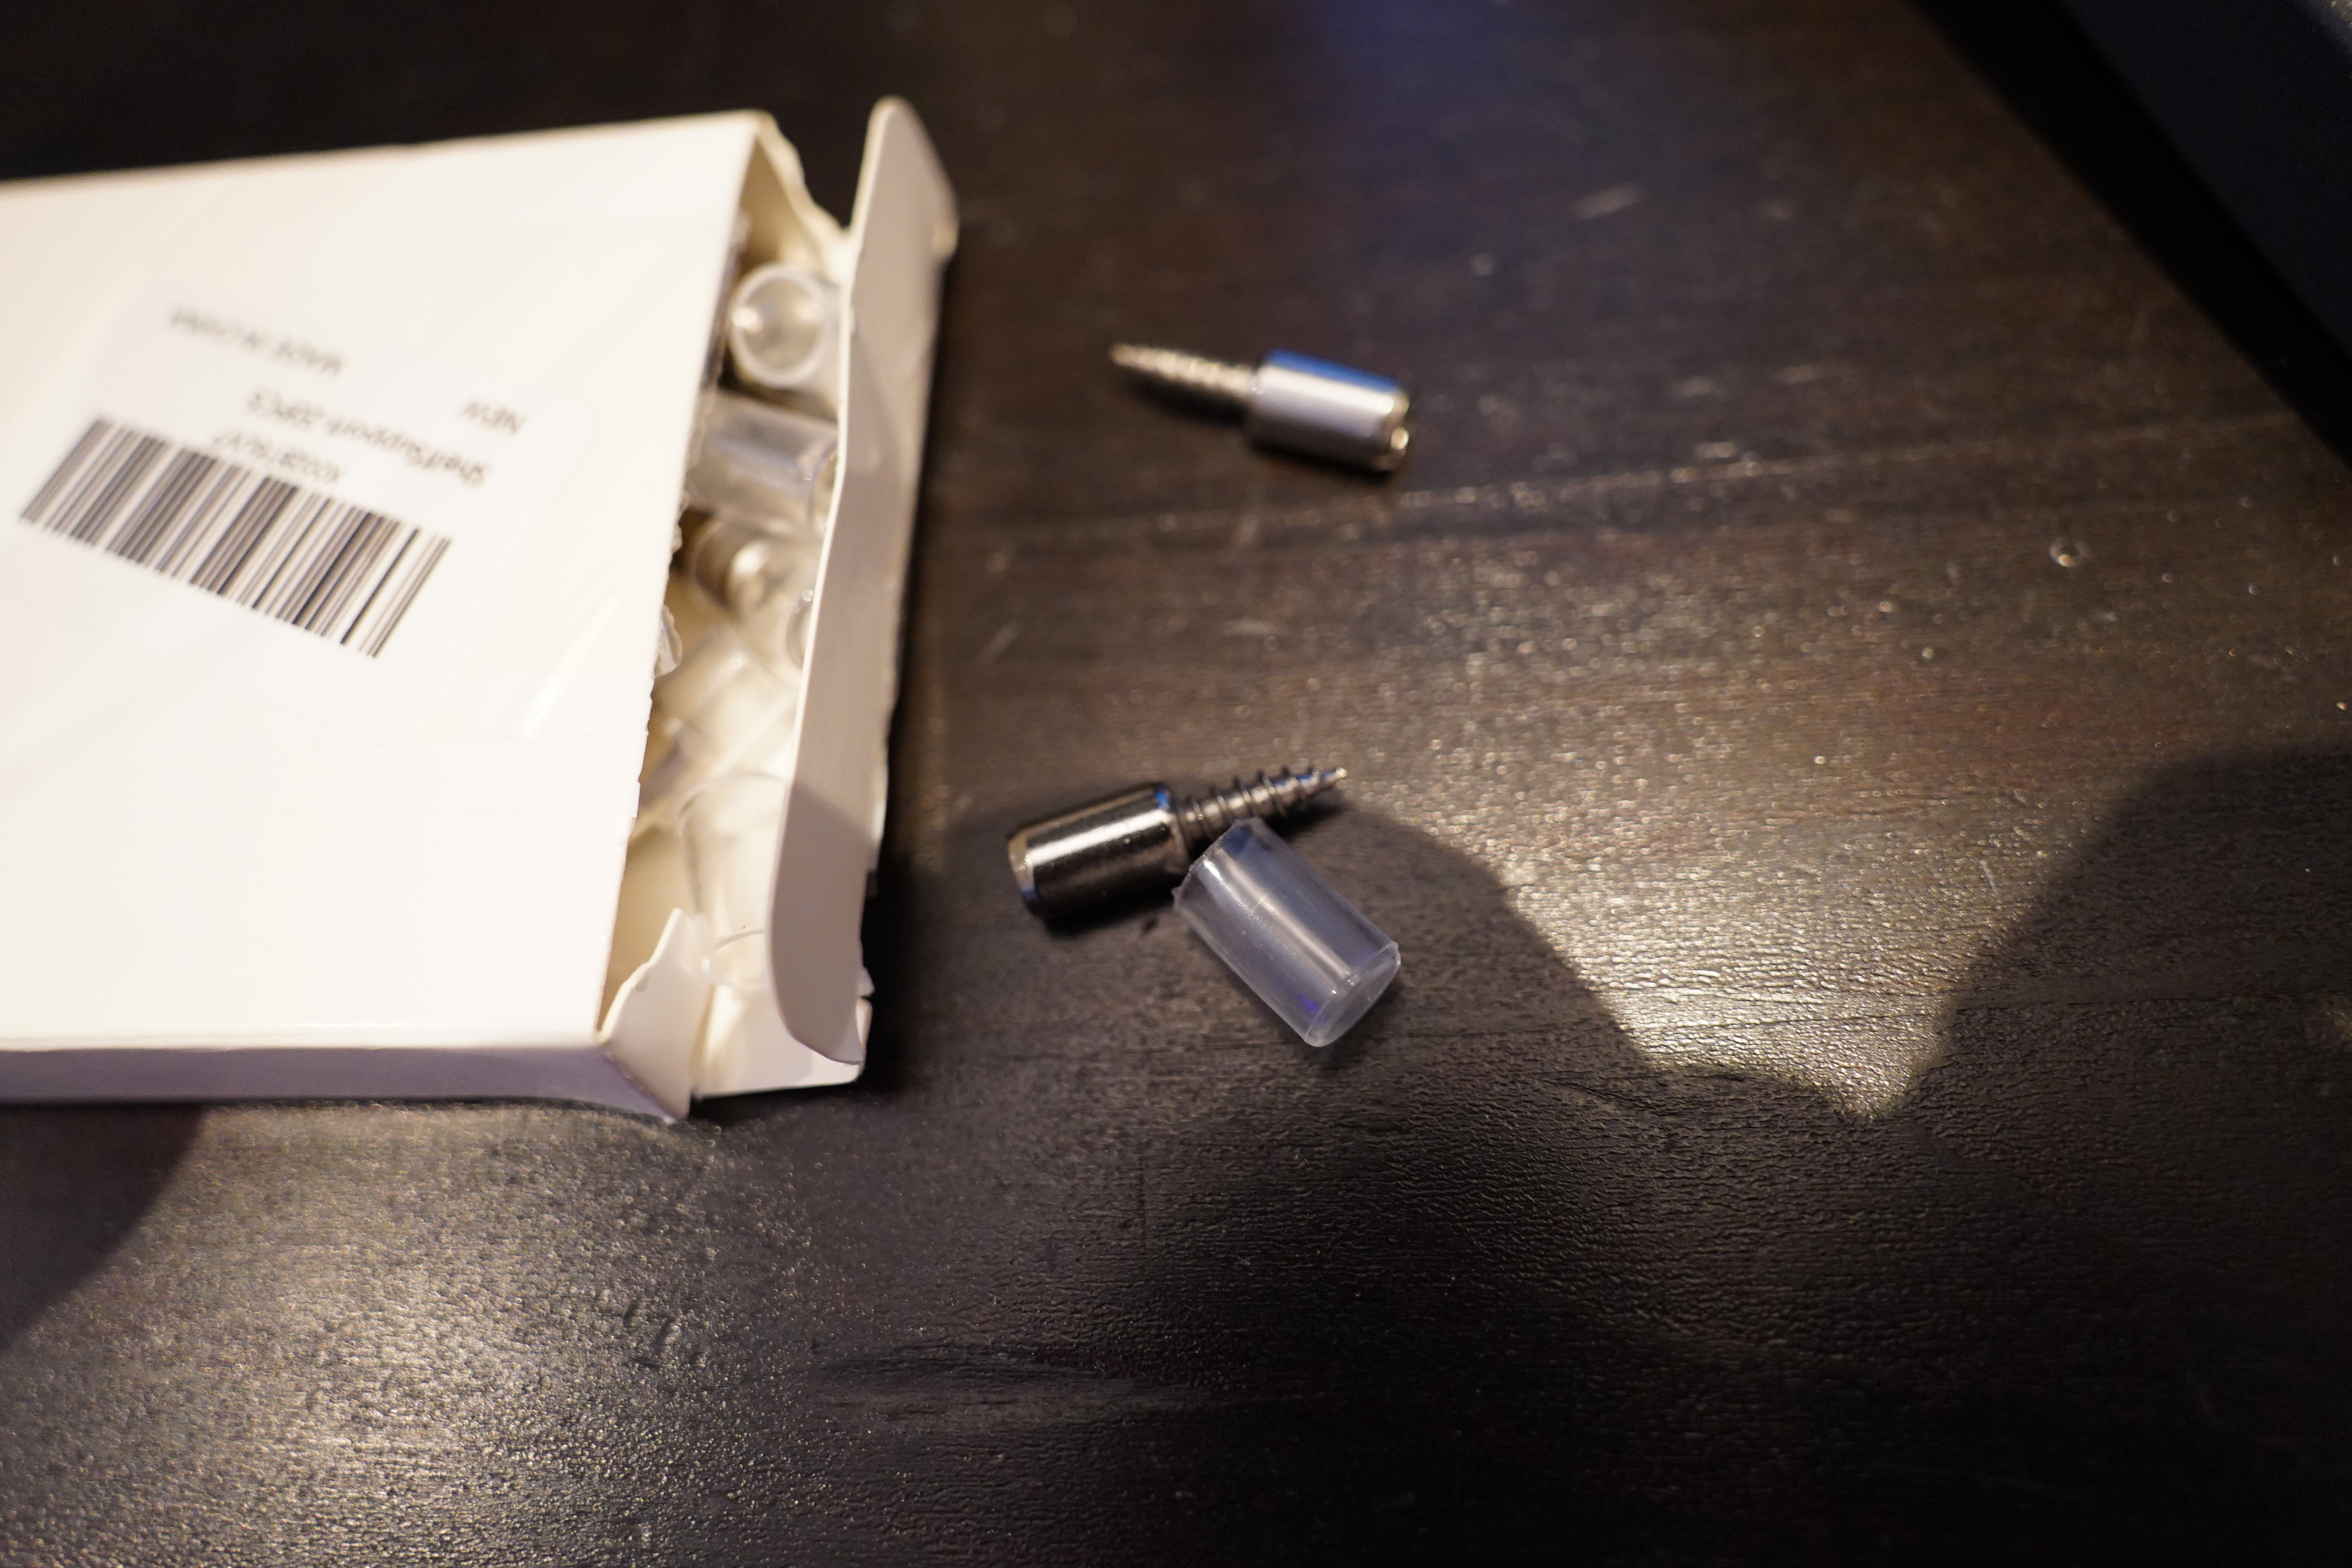
Like, I got these shelf rests, but the screws here are both too long and too thick — it would totally splinter the wood.
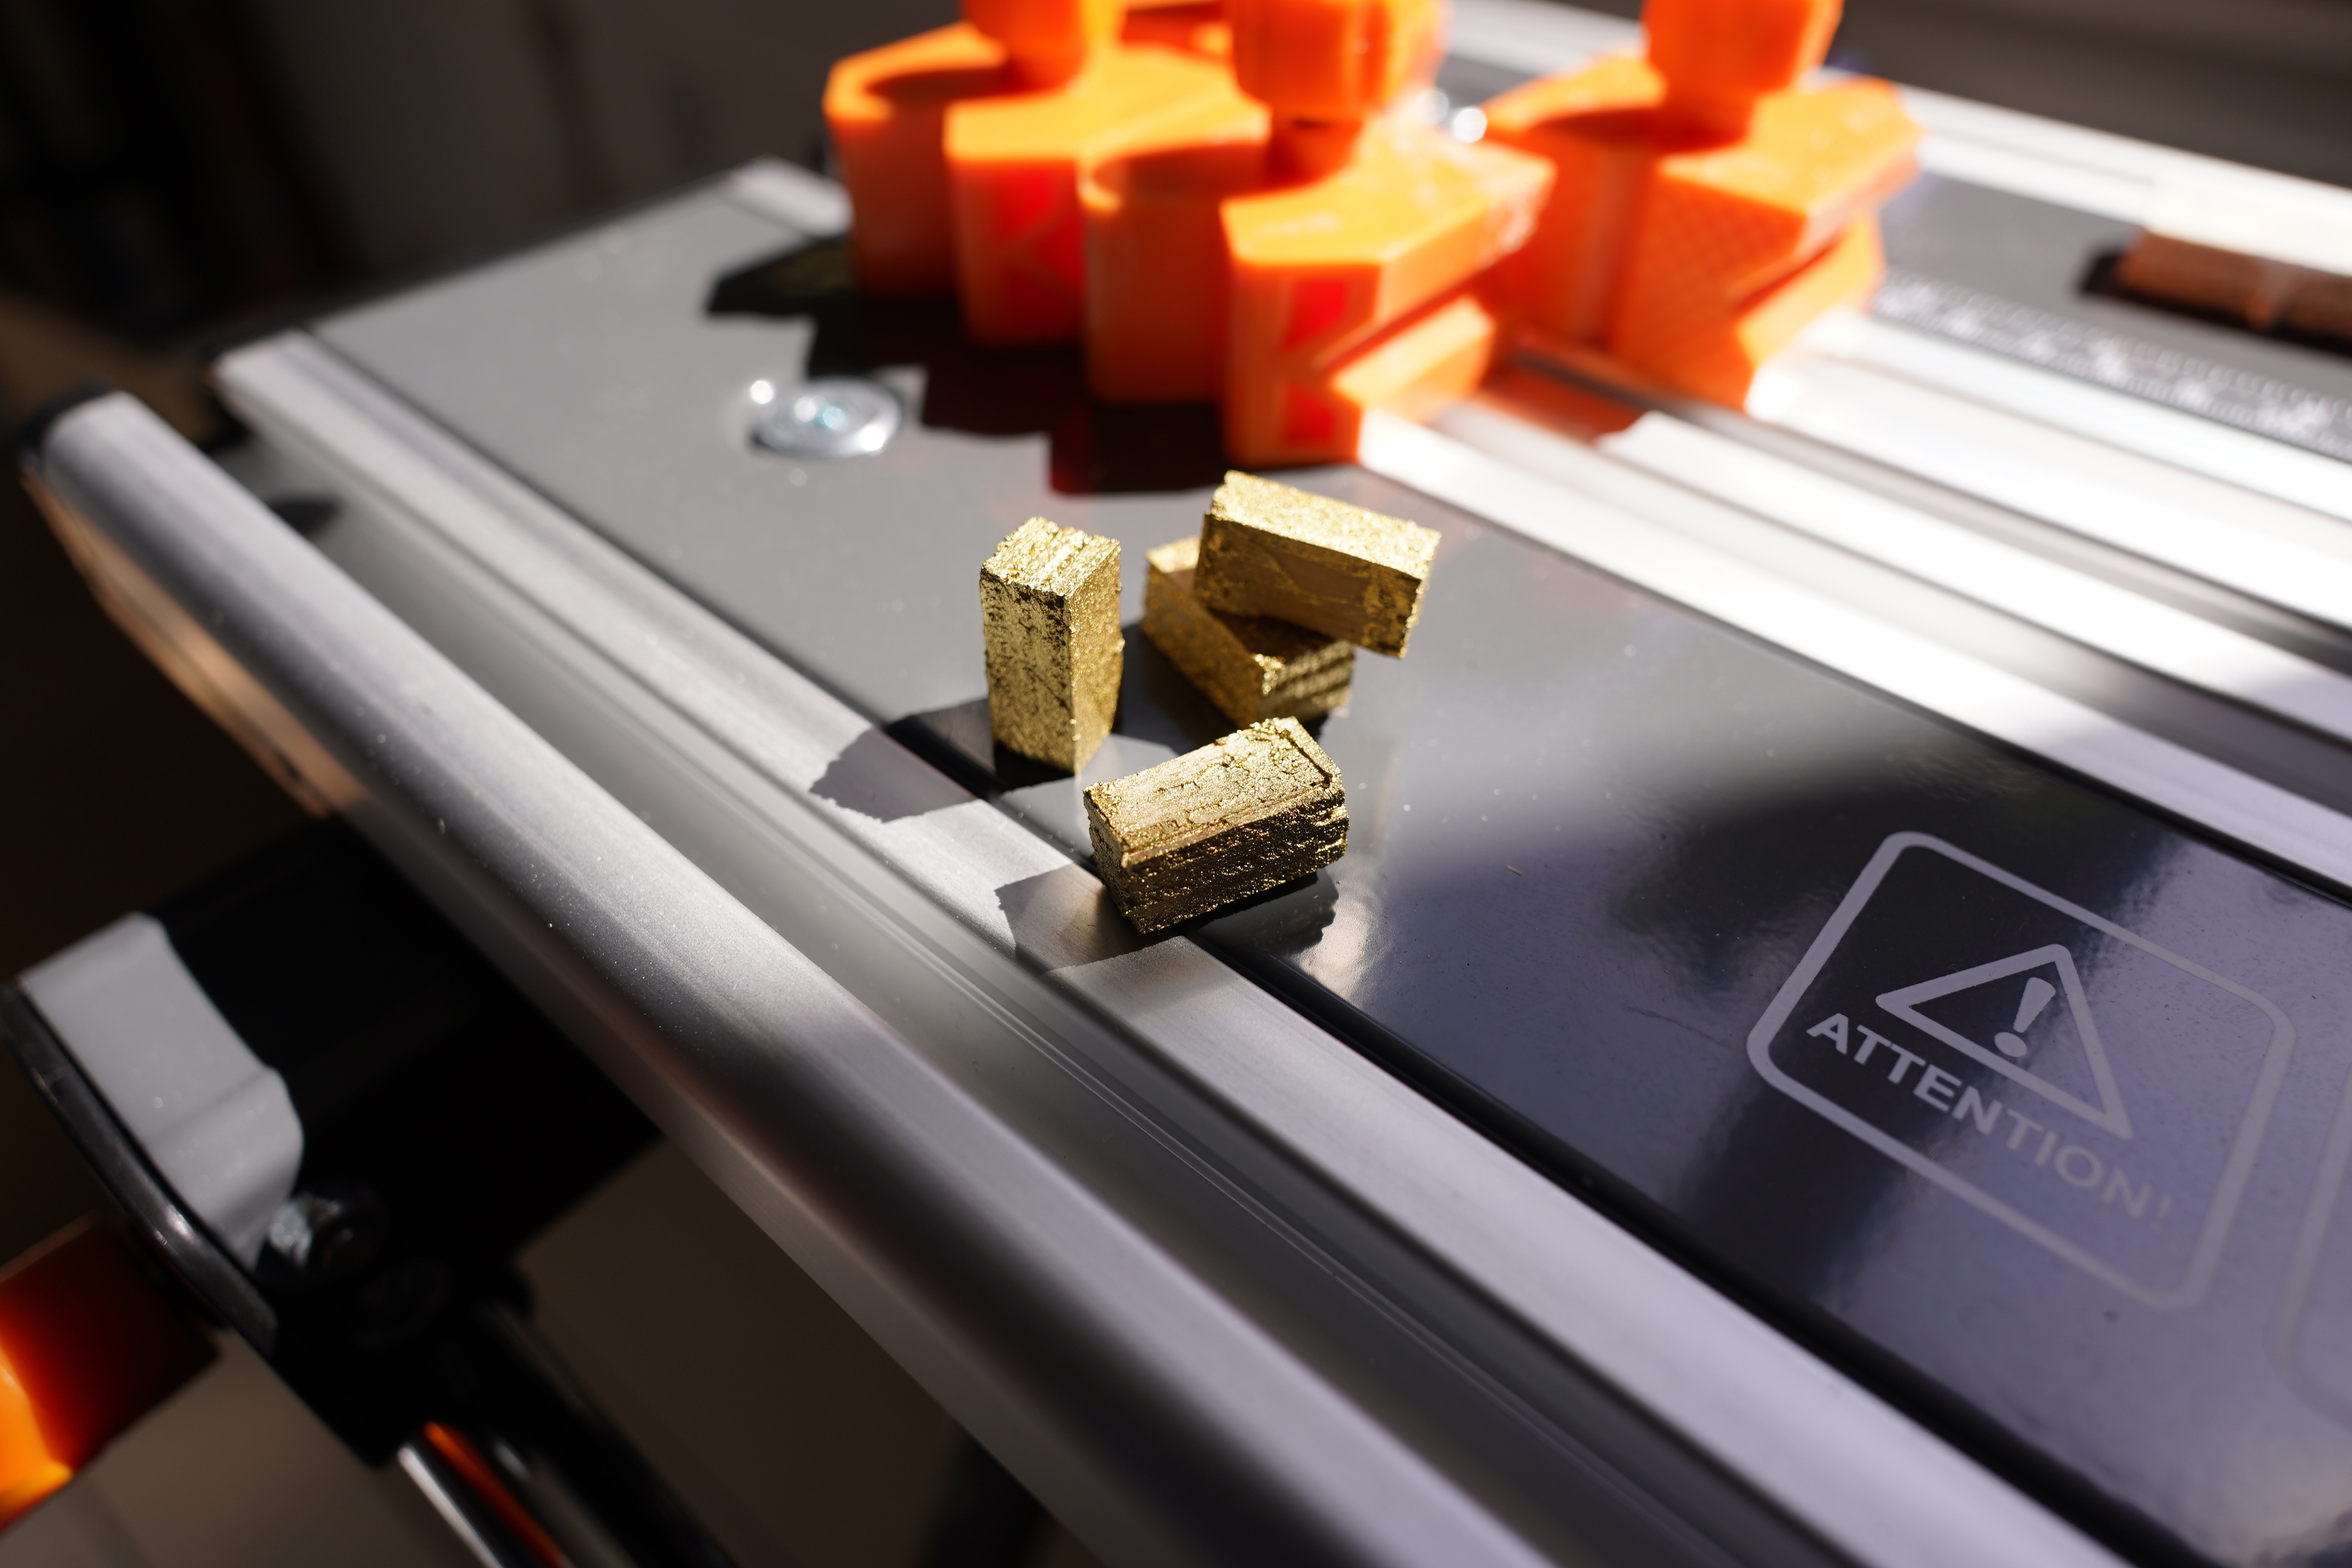
So I cut some bits off and painted them gold, and then I could glue them to the walls and then let the lid rest on them? Two problems: If they aren’t totally the right height, the lid is going to be wobbly when I’m using the numpad. And if the glue isn’t strong enough, they’re going to fall off when I’m typing.
Ideally I would screw them in, but I’d have to do that from the inside. Possible, but… I could also use a nail on them, but I’d have to do that from the outside, and then redo the entire paint job. *sigh*
But… what about a hinge?
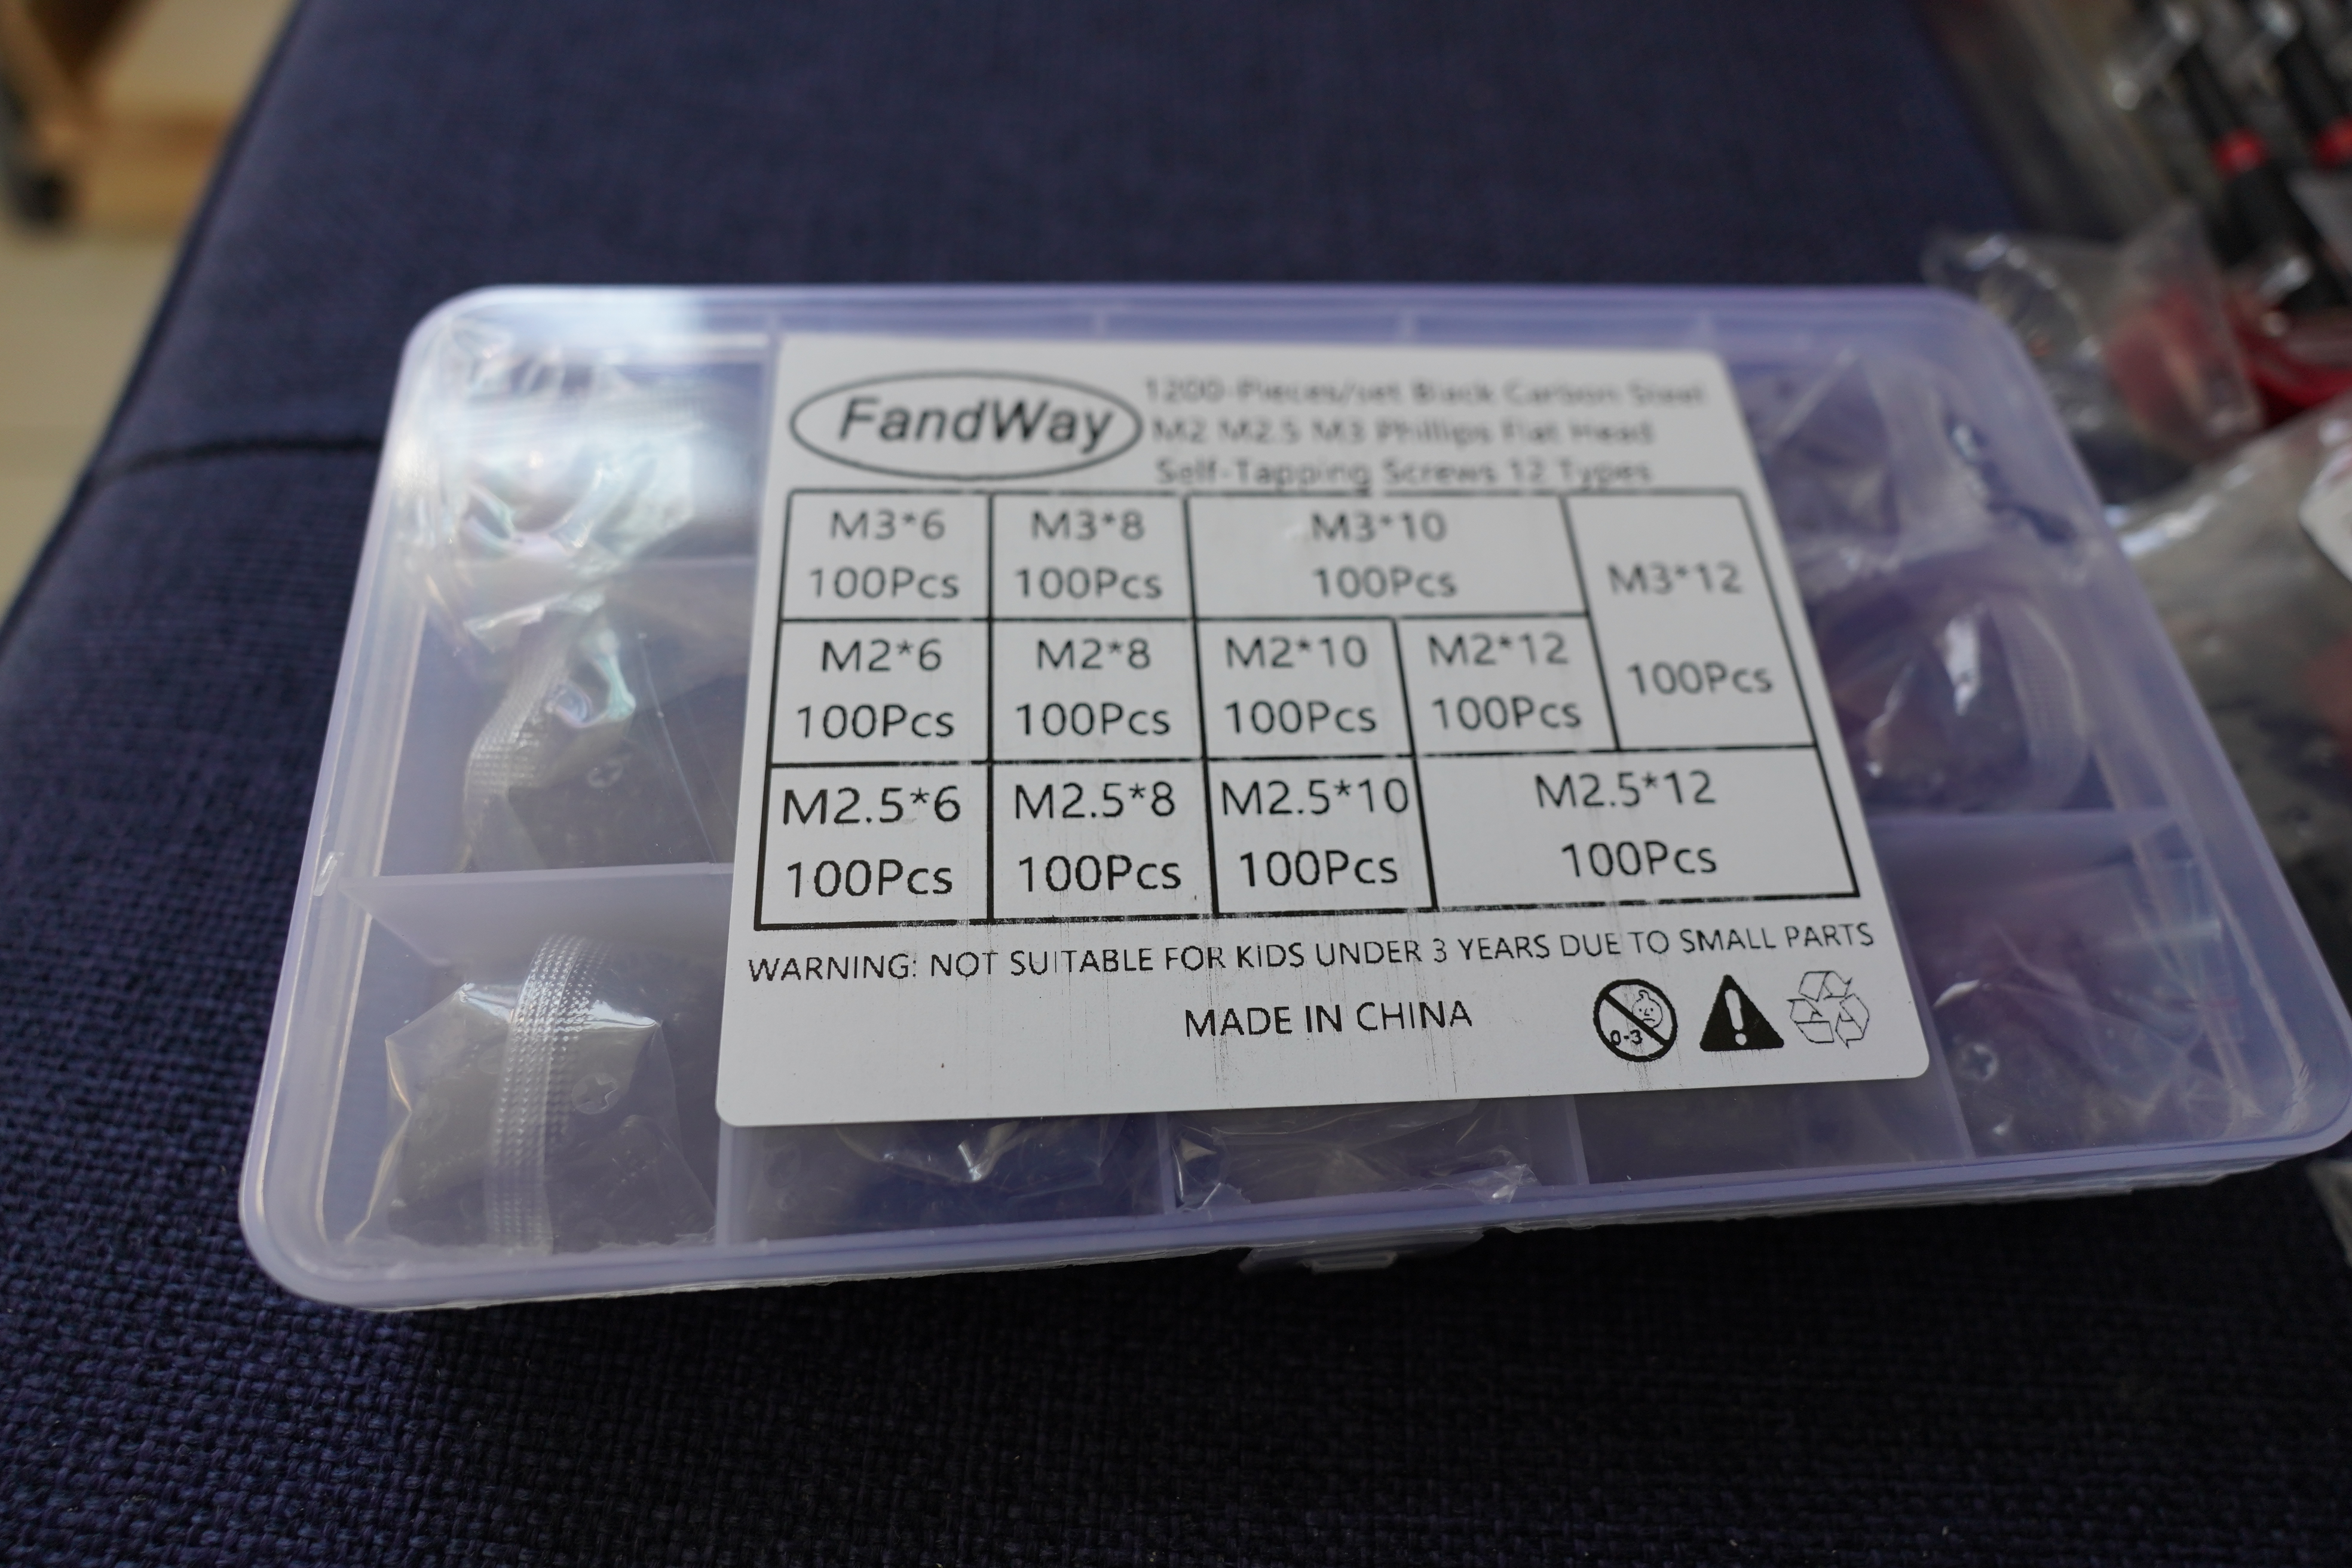
Finding screws that are short and thin enough locally turned out to be difficult, so I ordered this set. 1200 parts! Whoho!
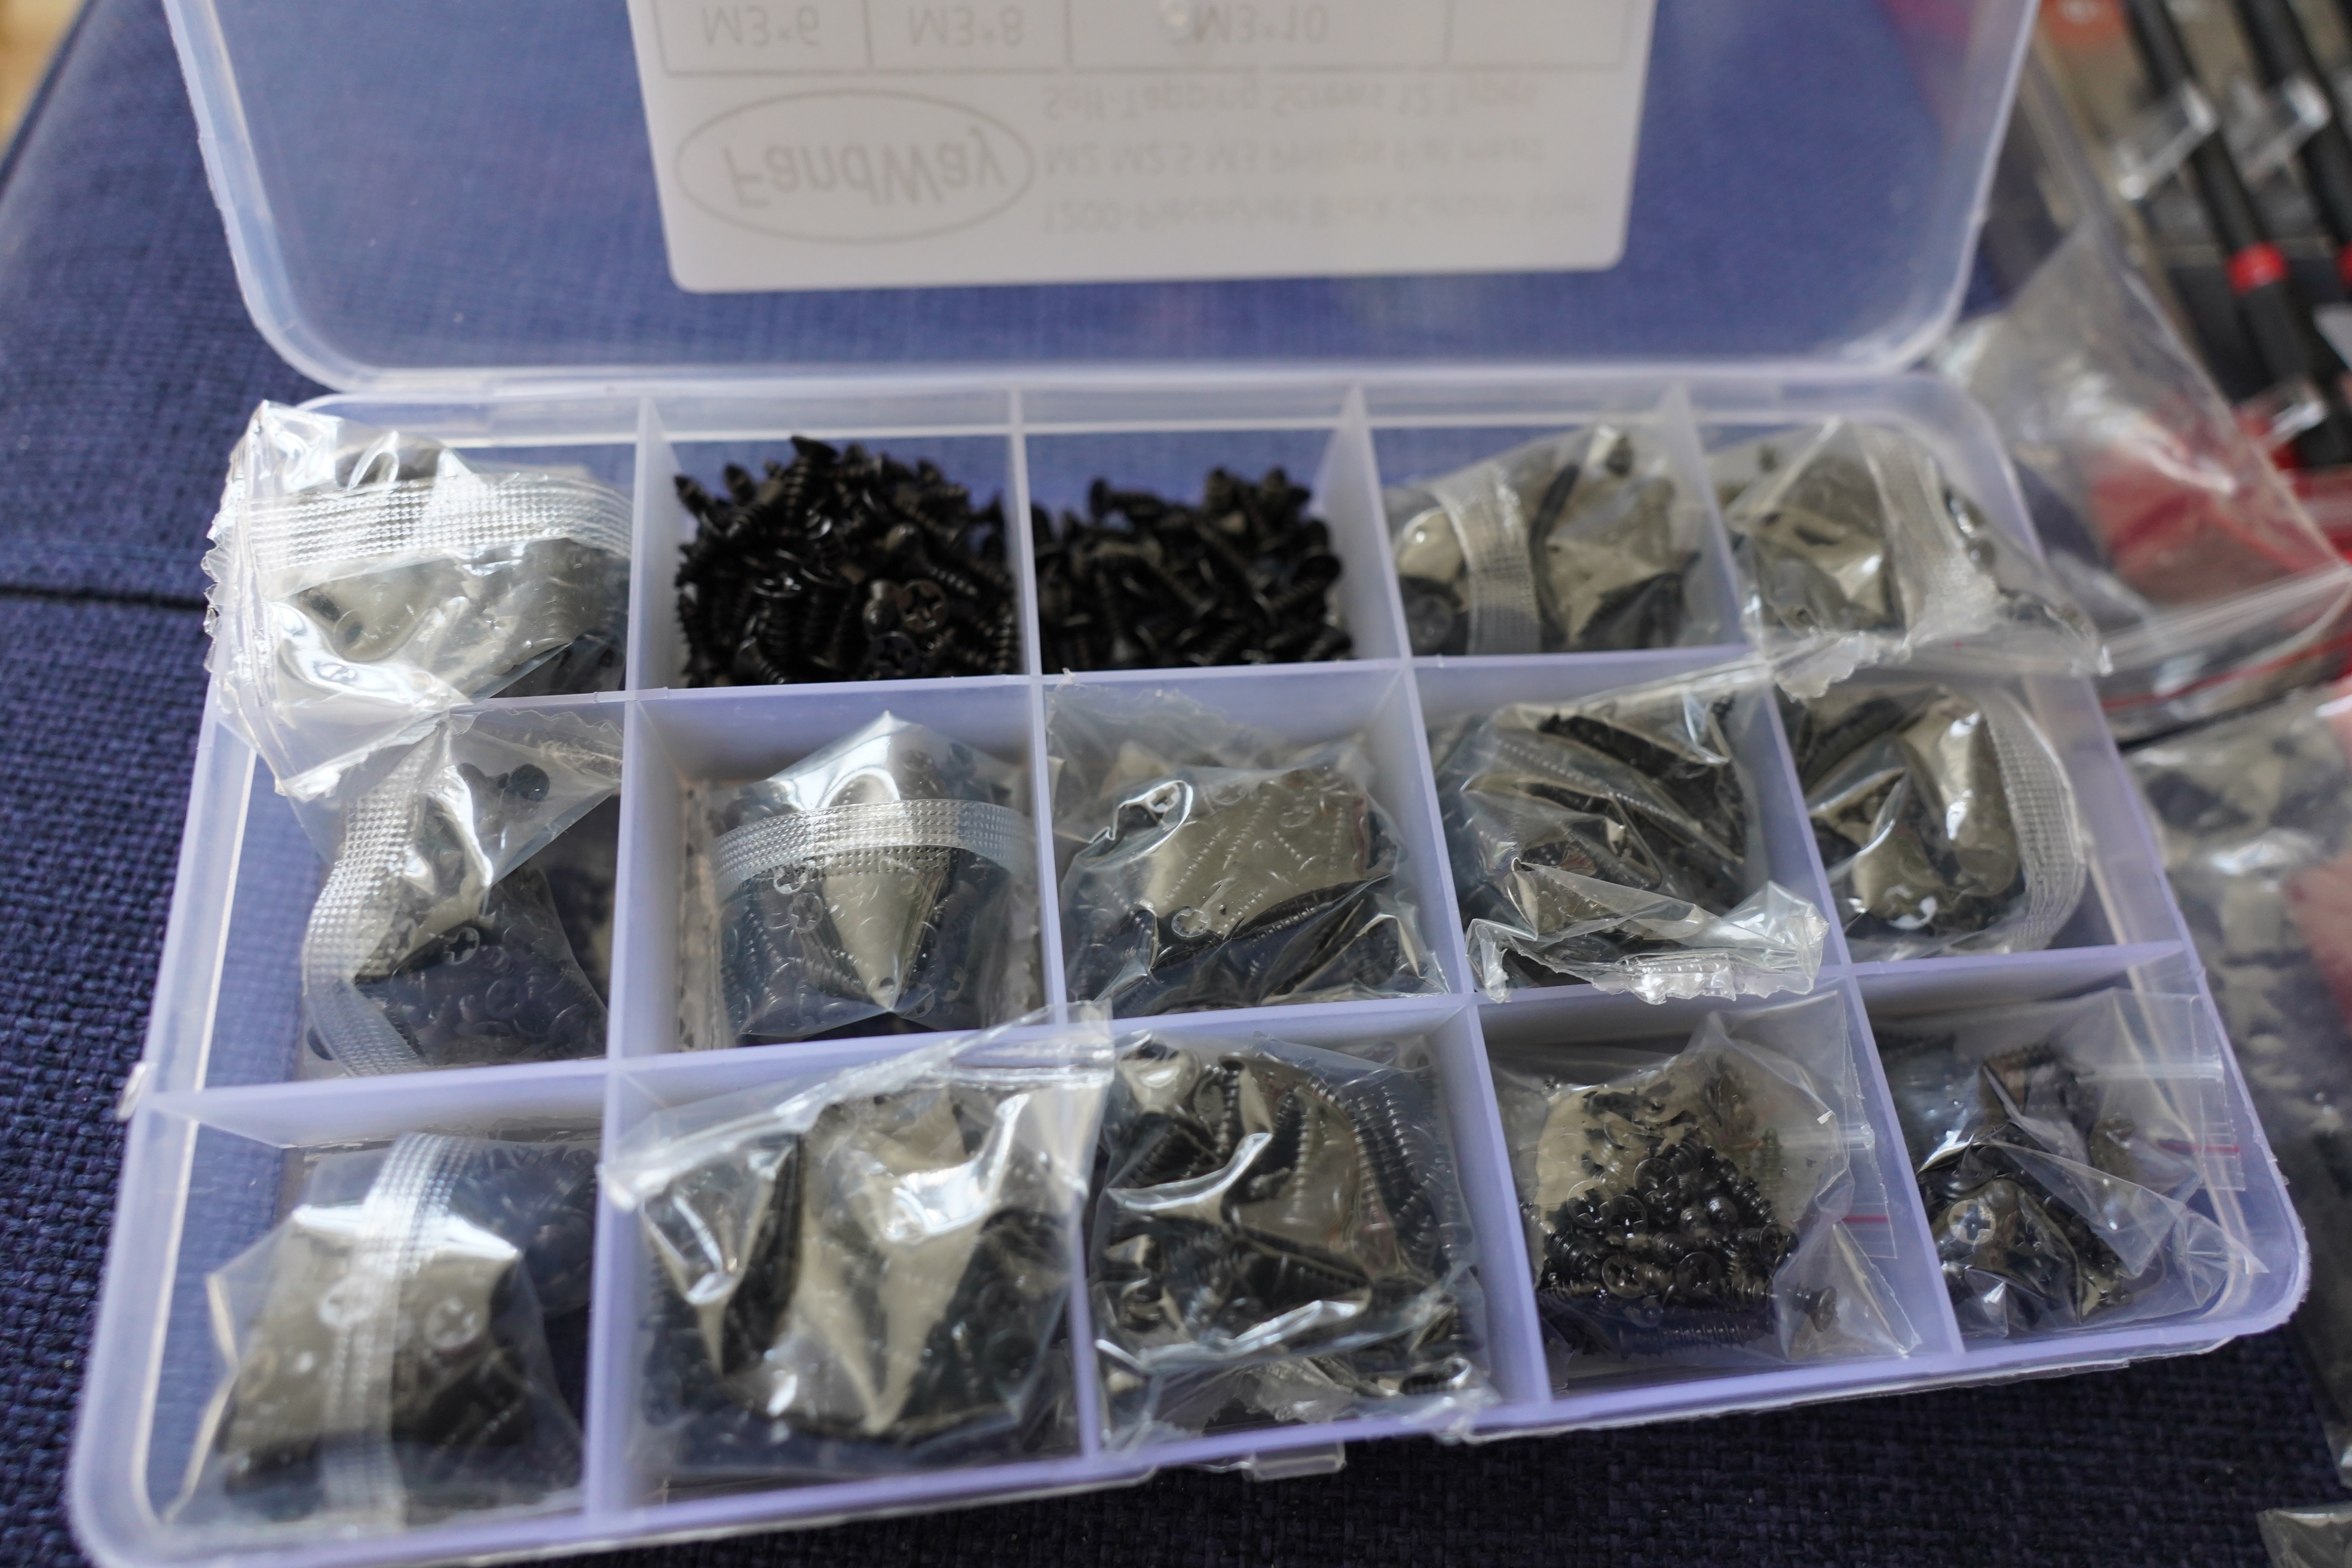
Look at all these tiny screws… just what I need.
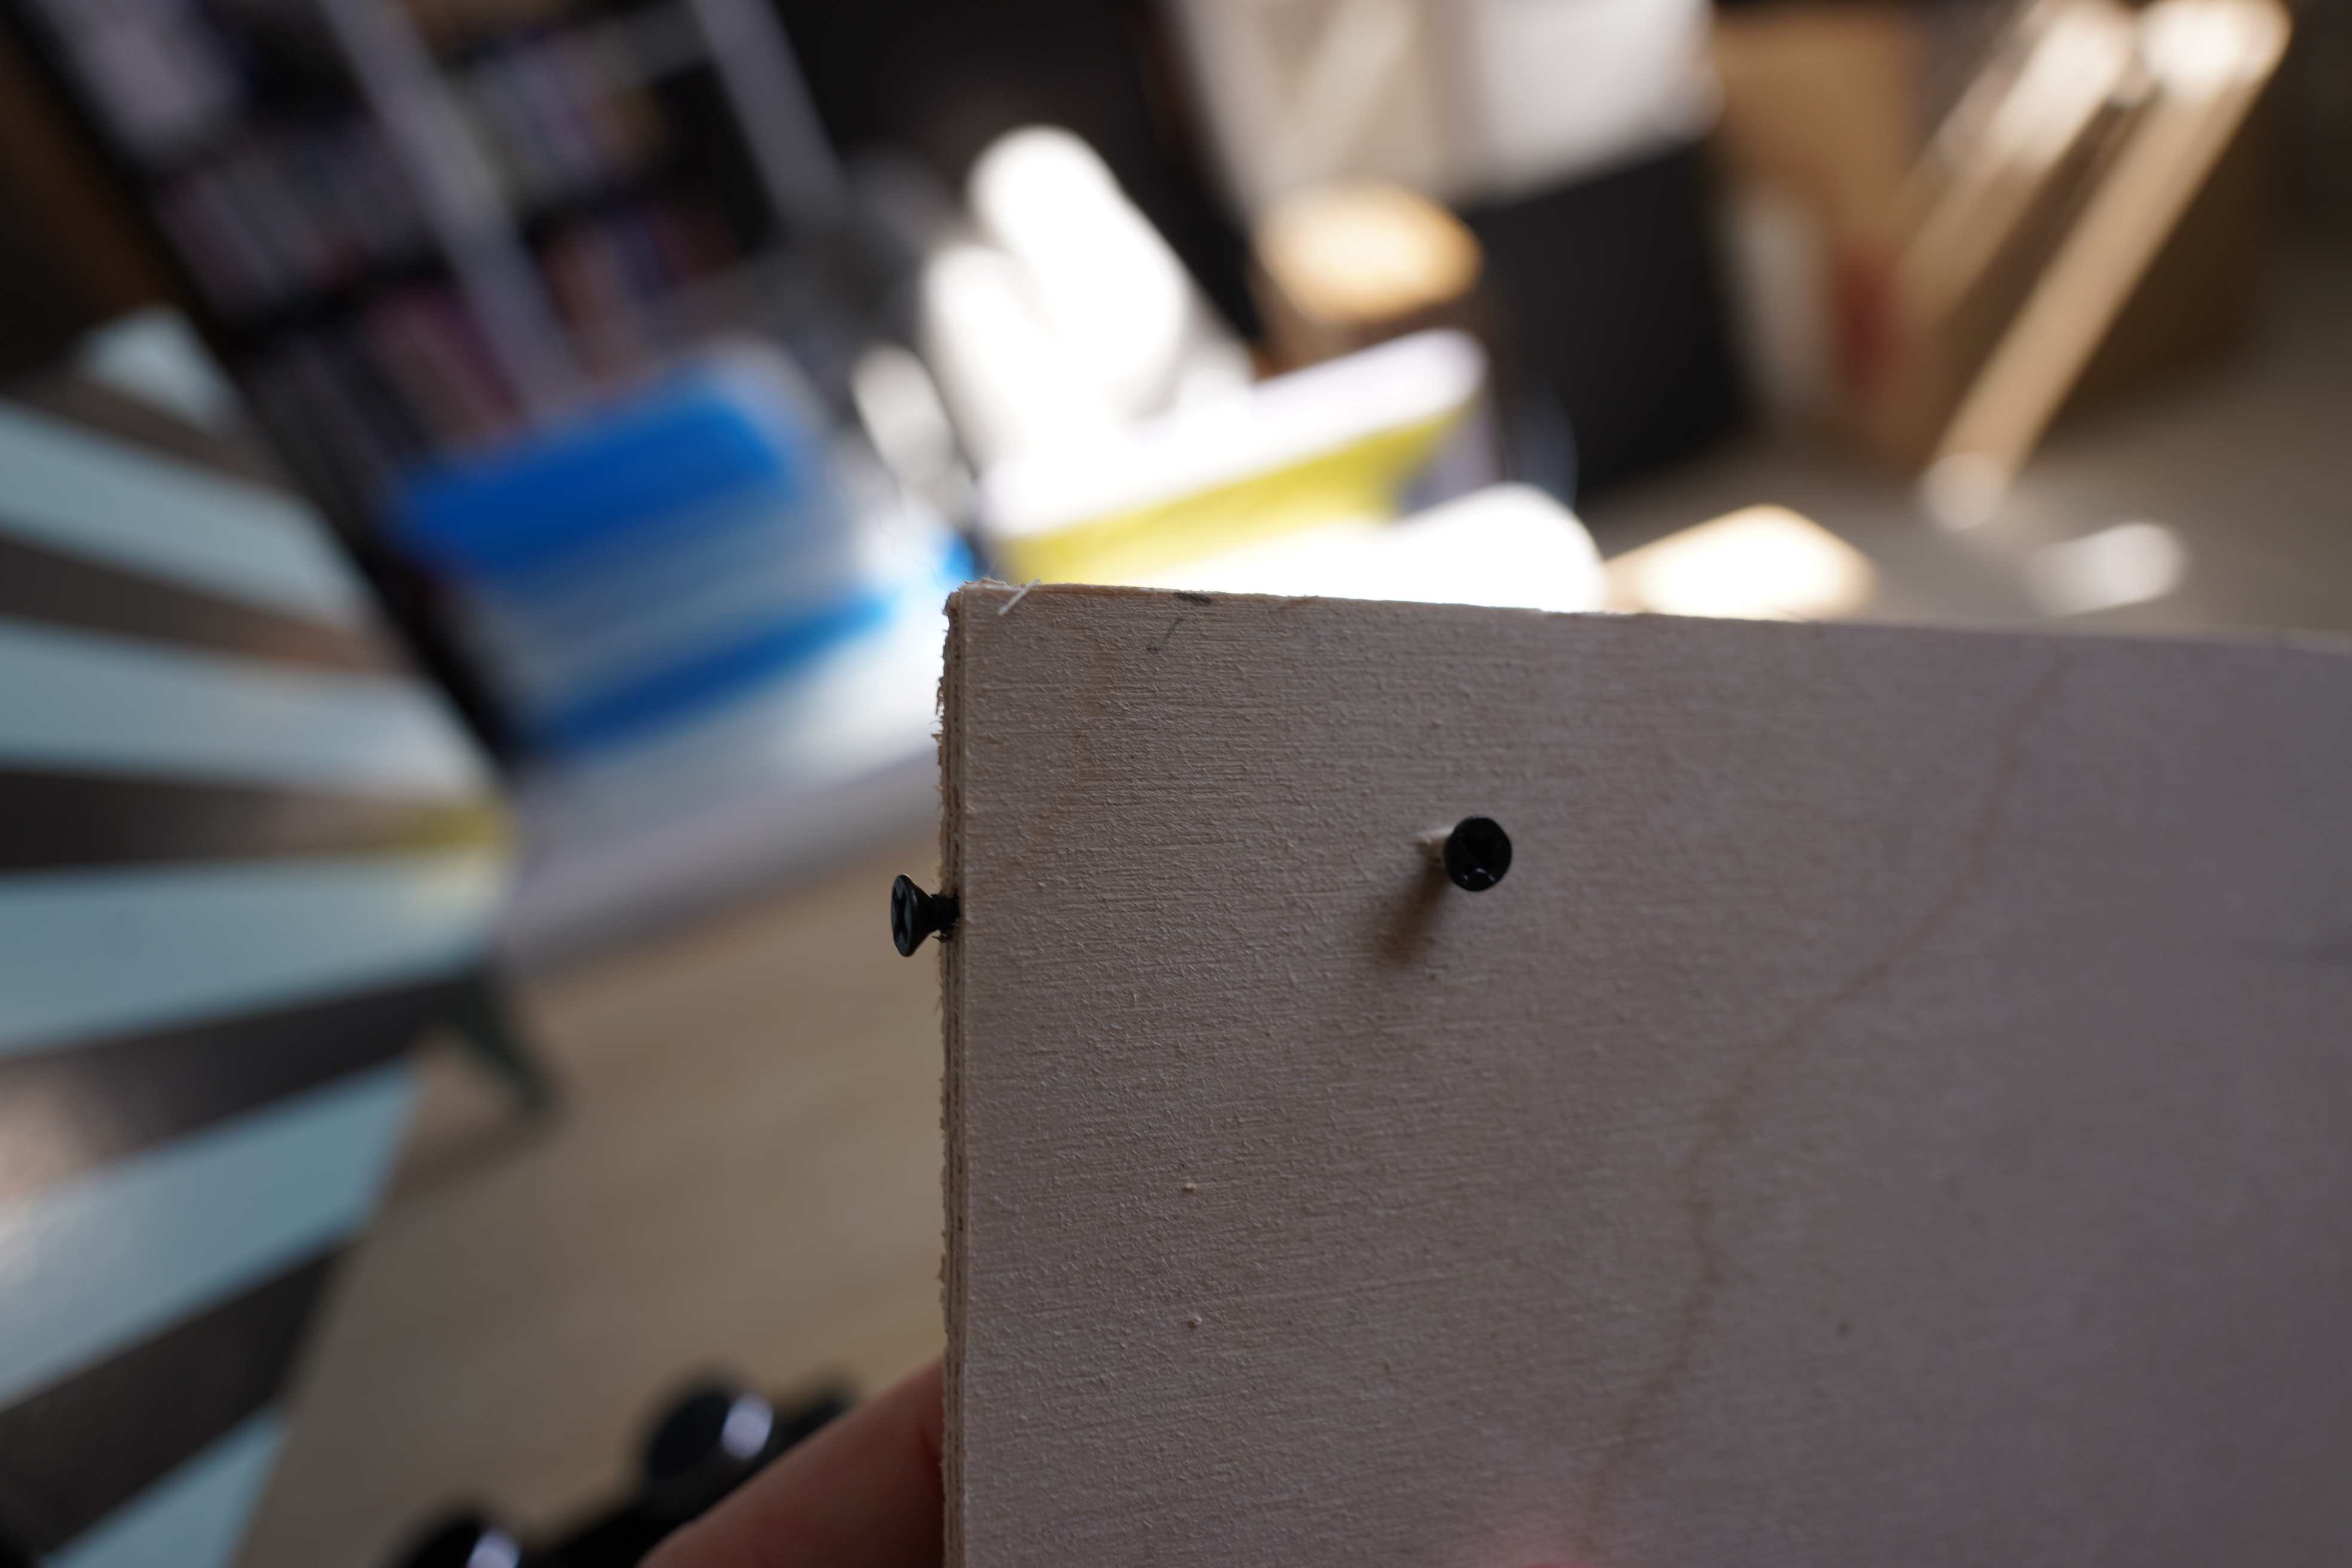
OK, test screwing — do these splinter the wood? Nope.
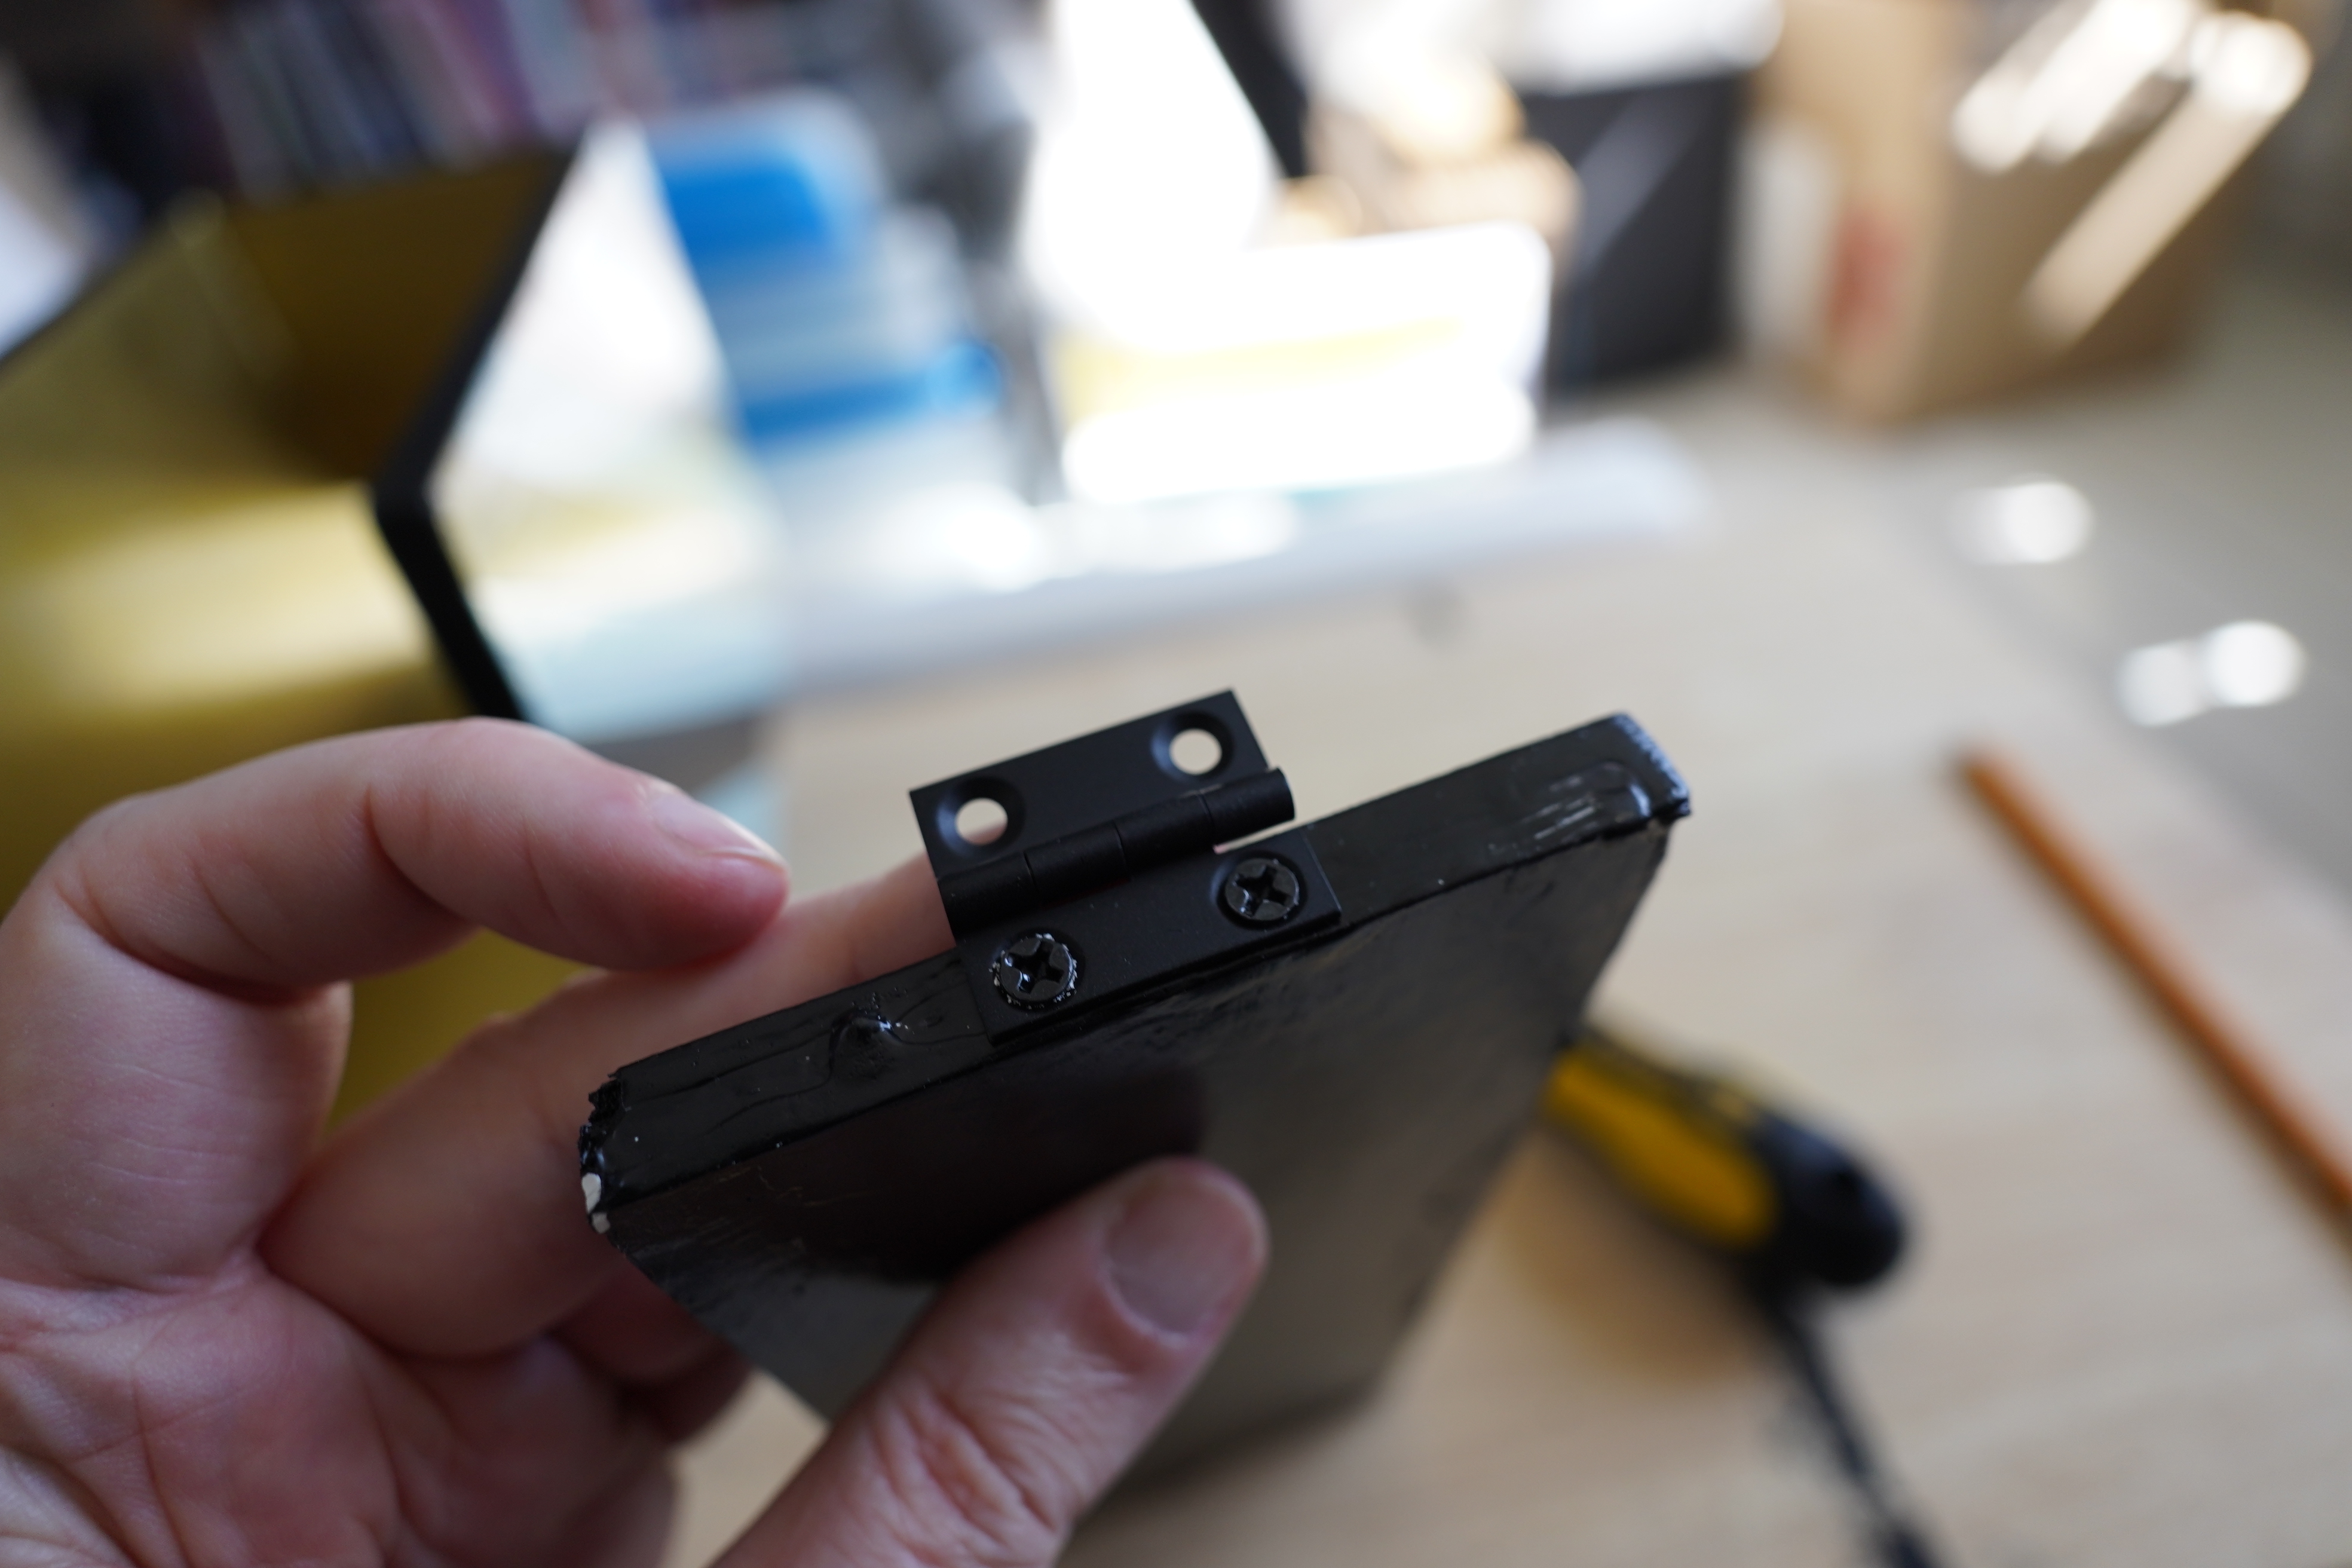
And I also managed to find hinges that are small enough. There’s a huge variety of hinges out there, but (of course) 99.7% are geared towards real solid things, and are inappropriate here. But these are less than 1cm wide, and so perfect. The screws that were included were too long, of course, but I had my set now.
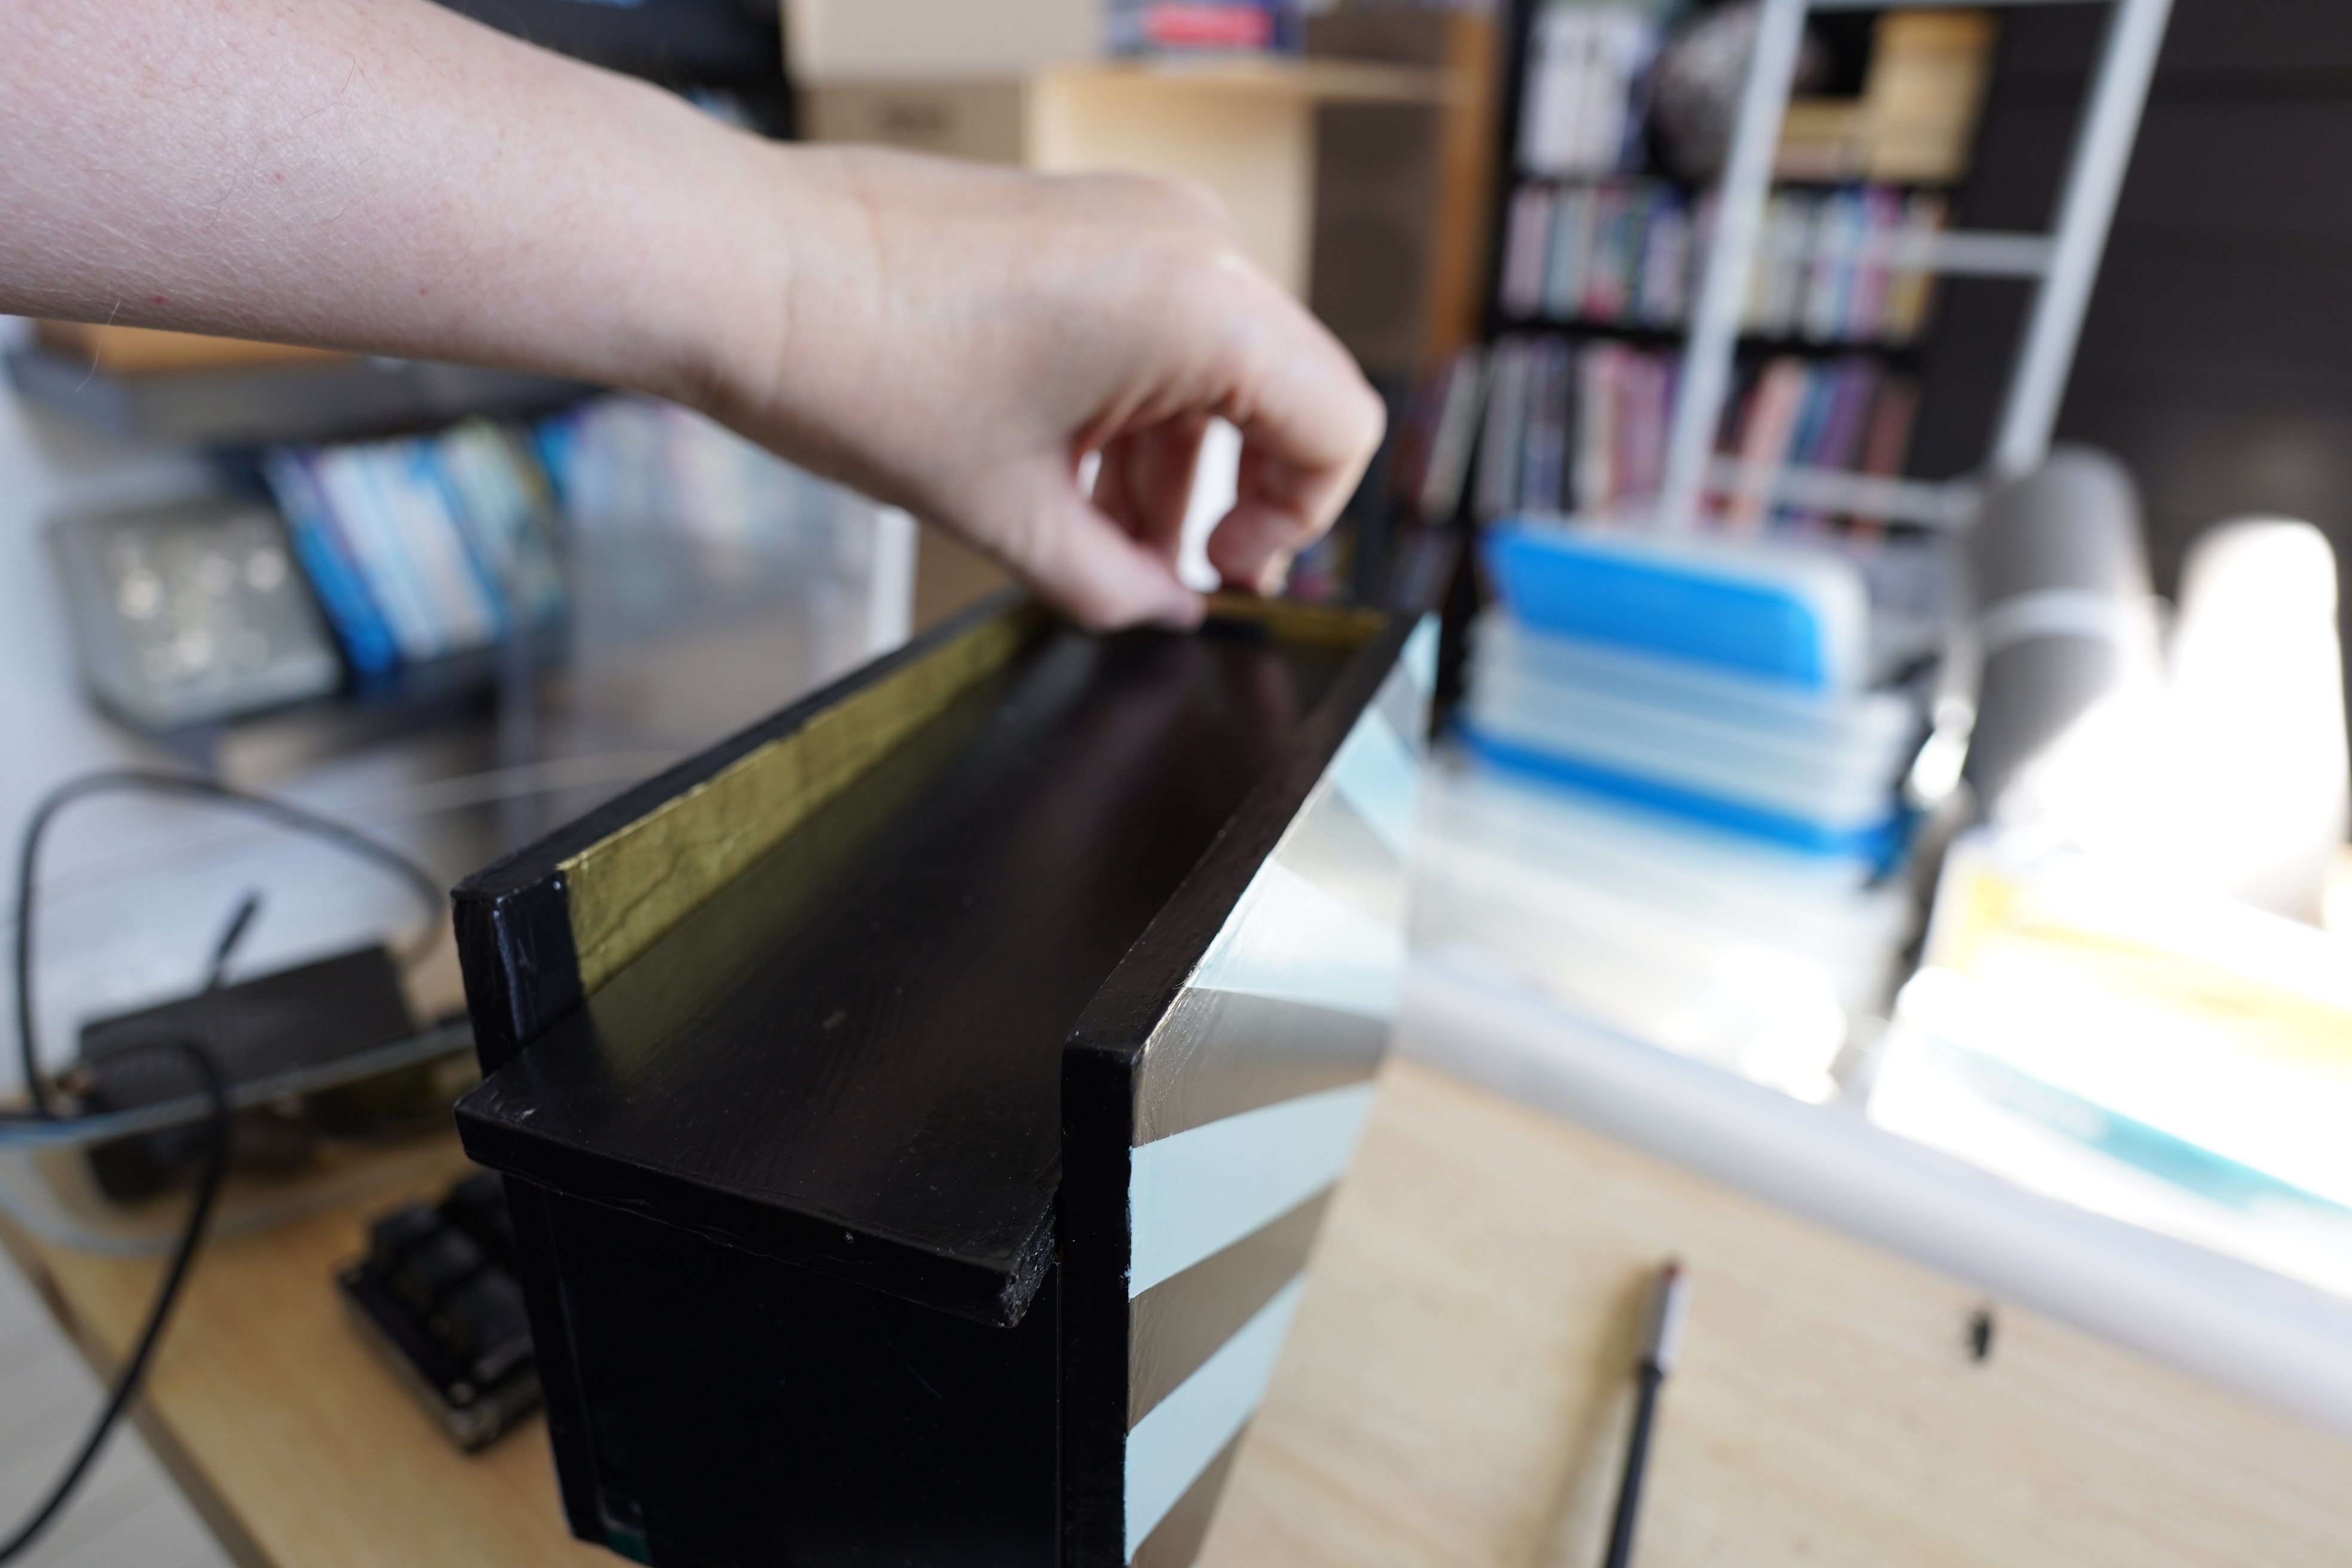
Huh… would it be fun to mount the lid this jaunty way?
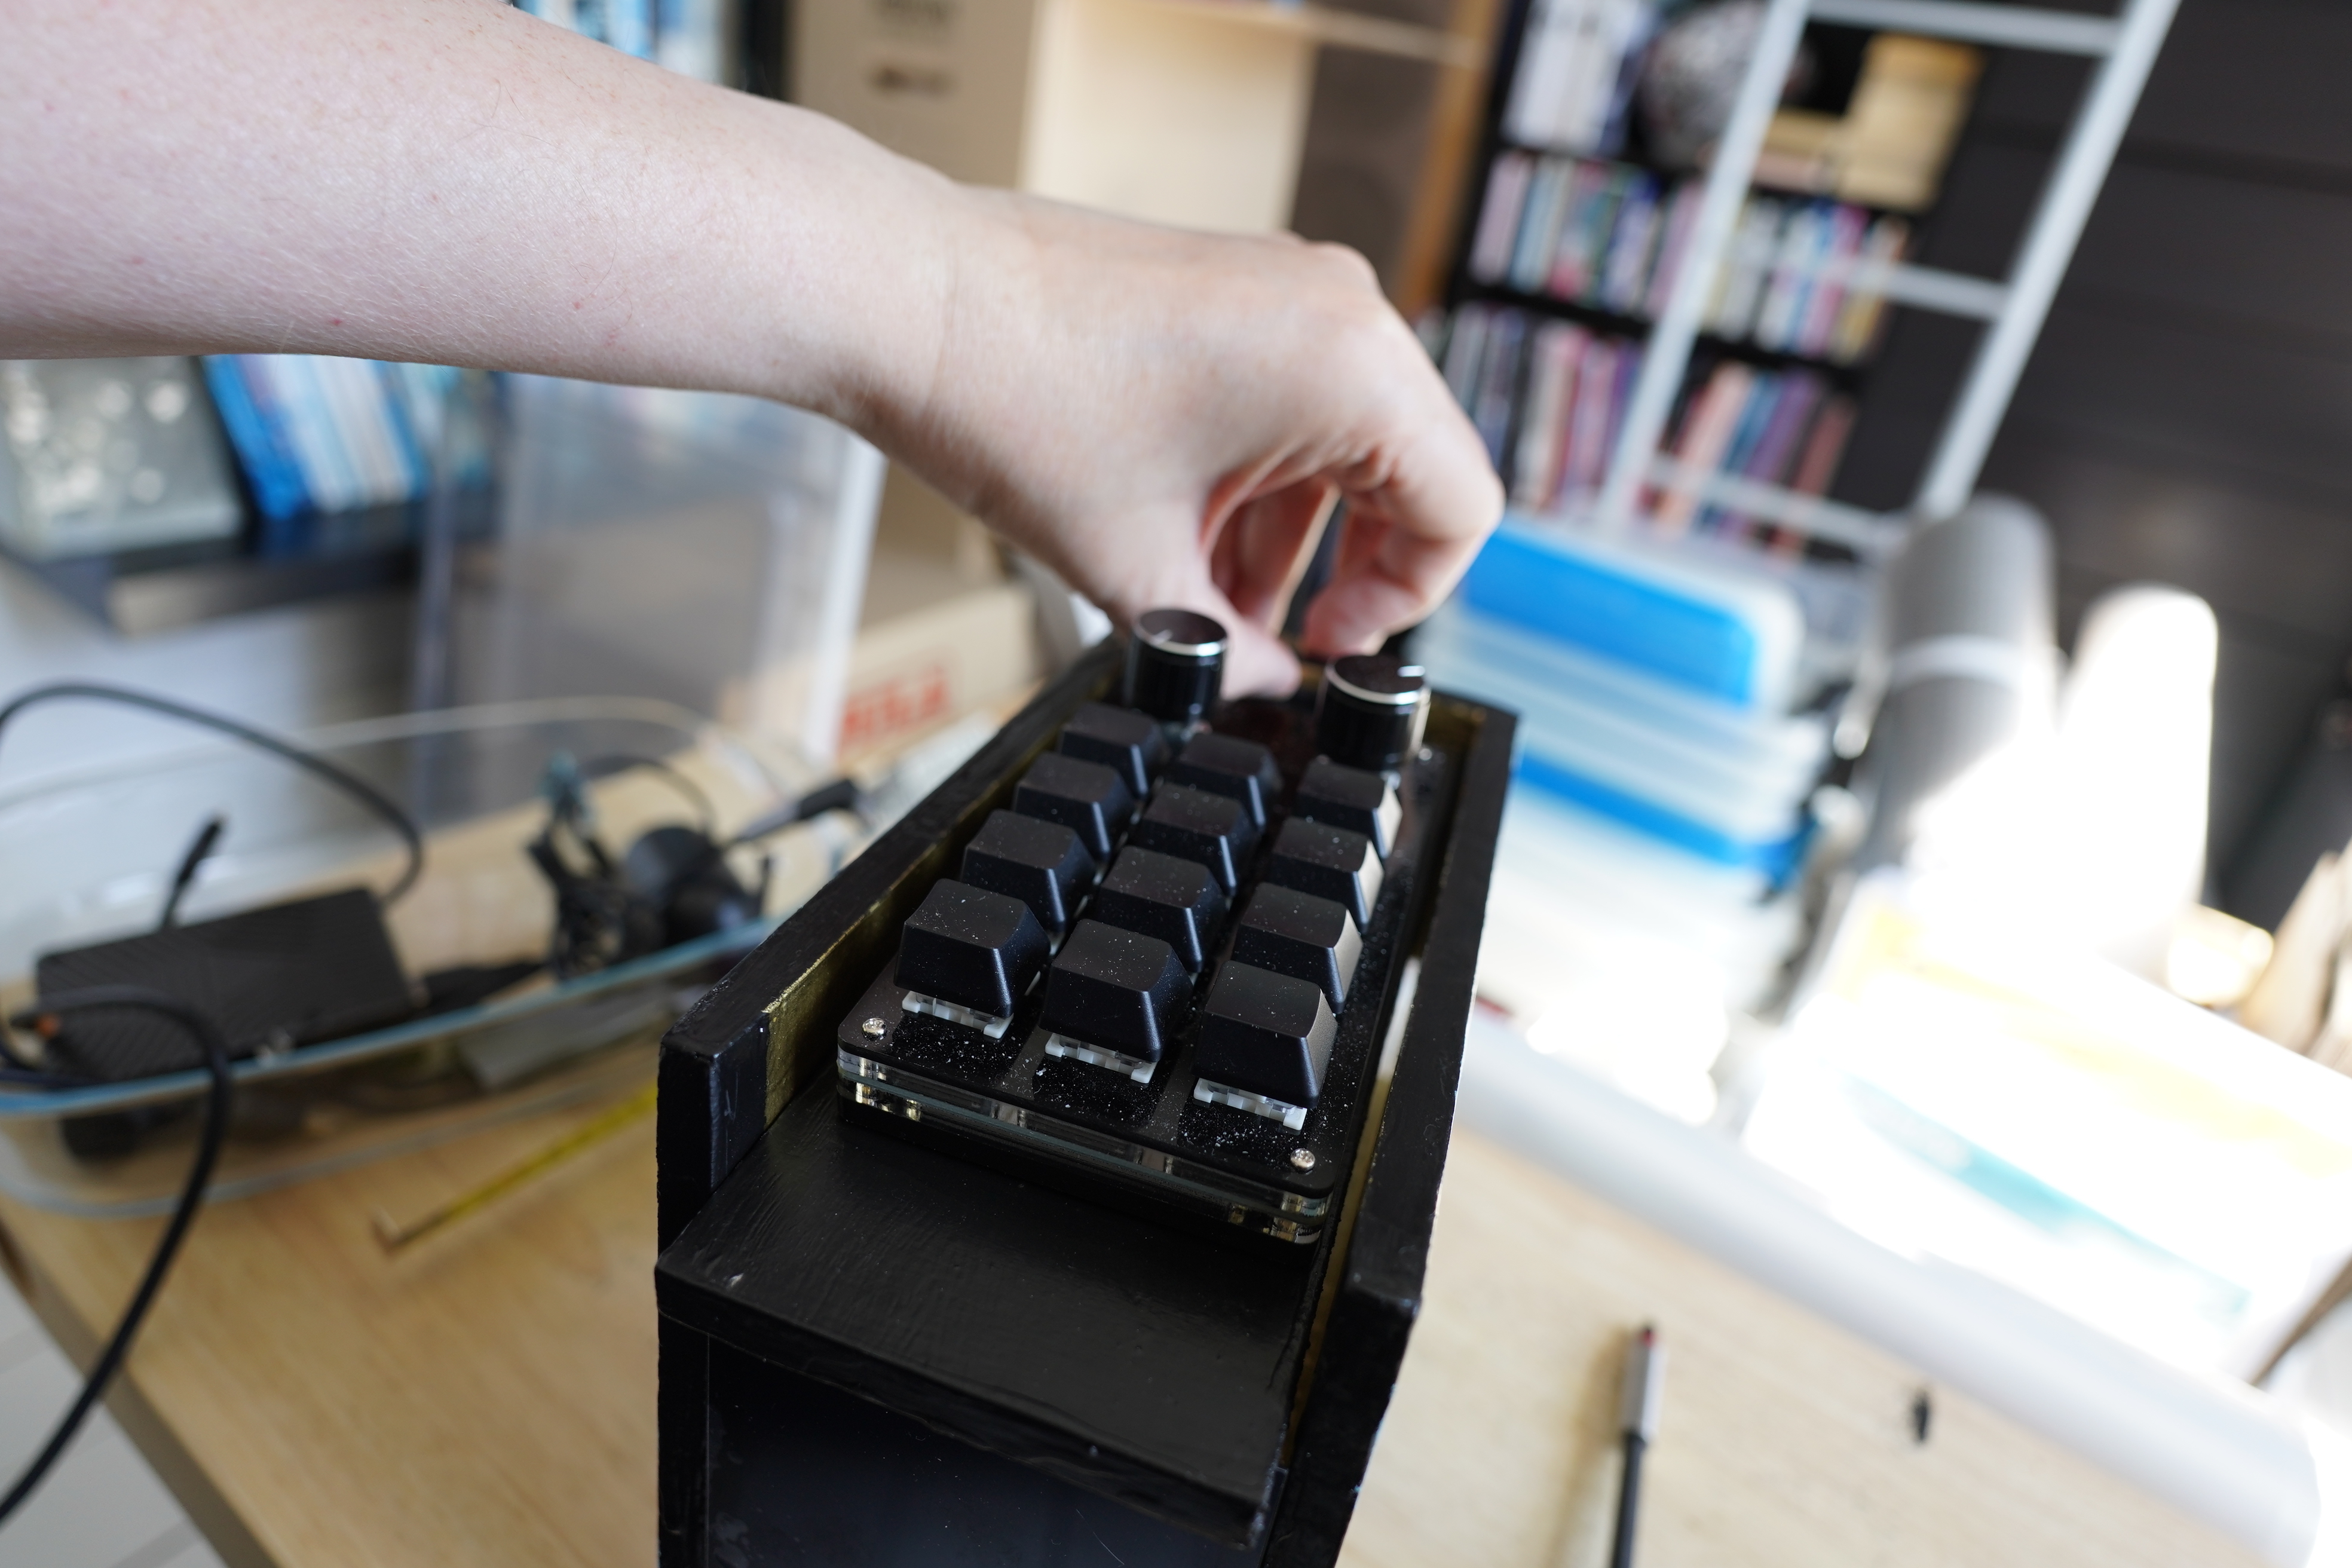
That is, have the numpad be on a slight incline? Might make it easier to type… But… nah…
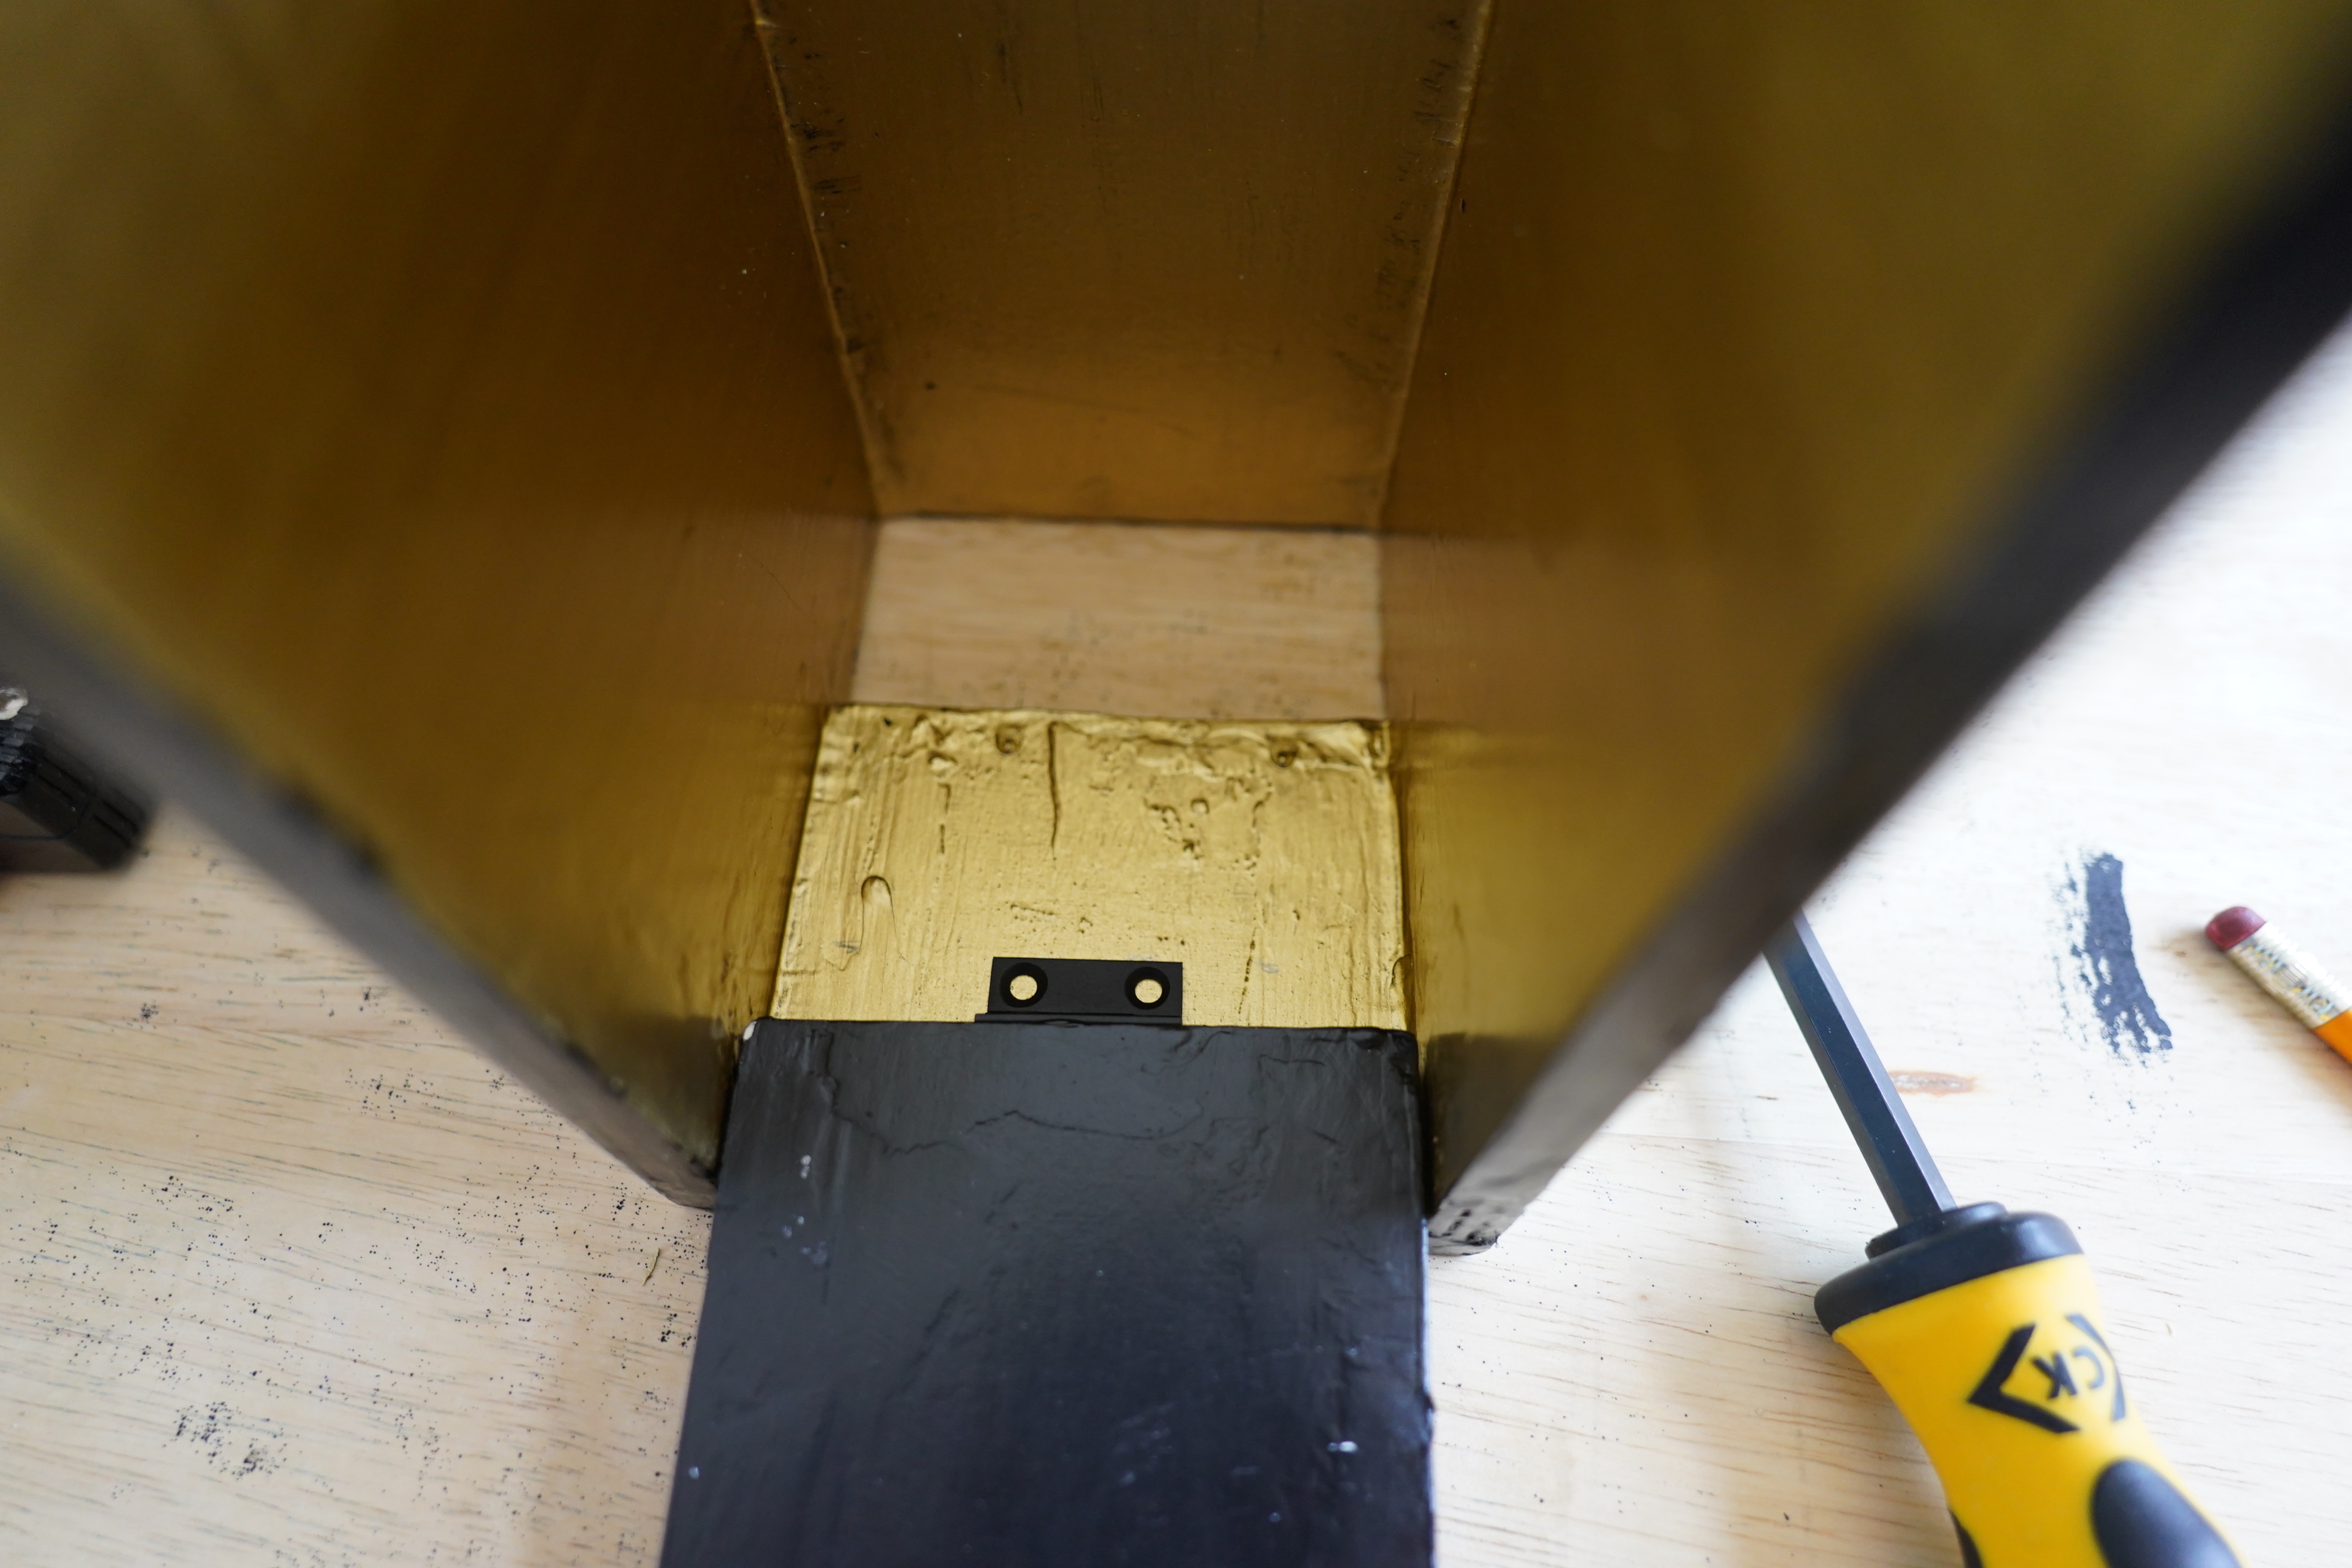
I thought it would be fiddly to mount the lid, but it turned out to be incredibly easy.
(Also note masterful paint job. I’m a master painter.)
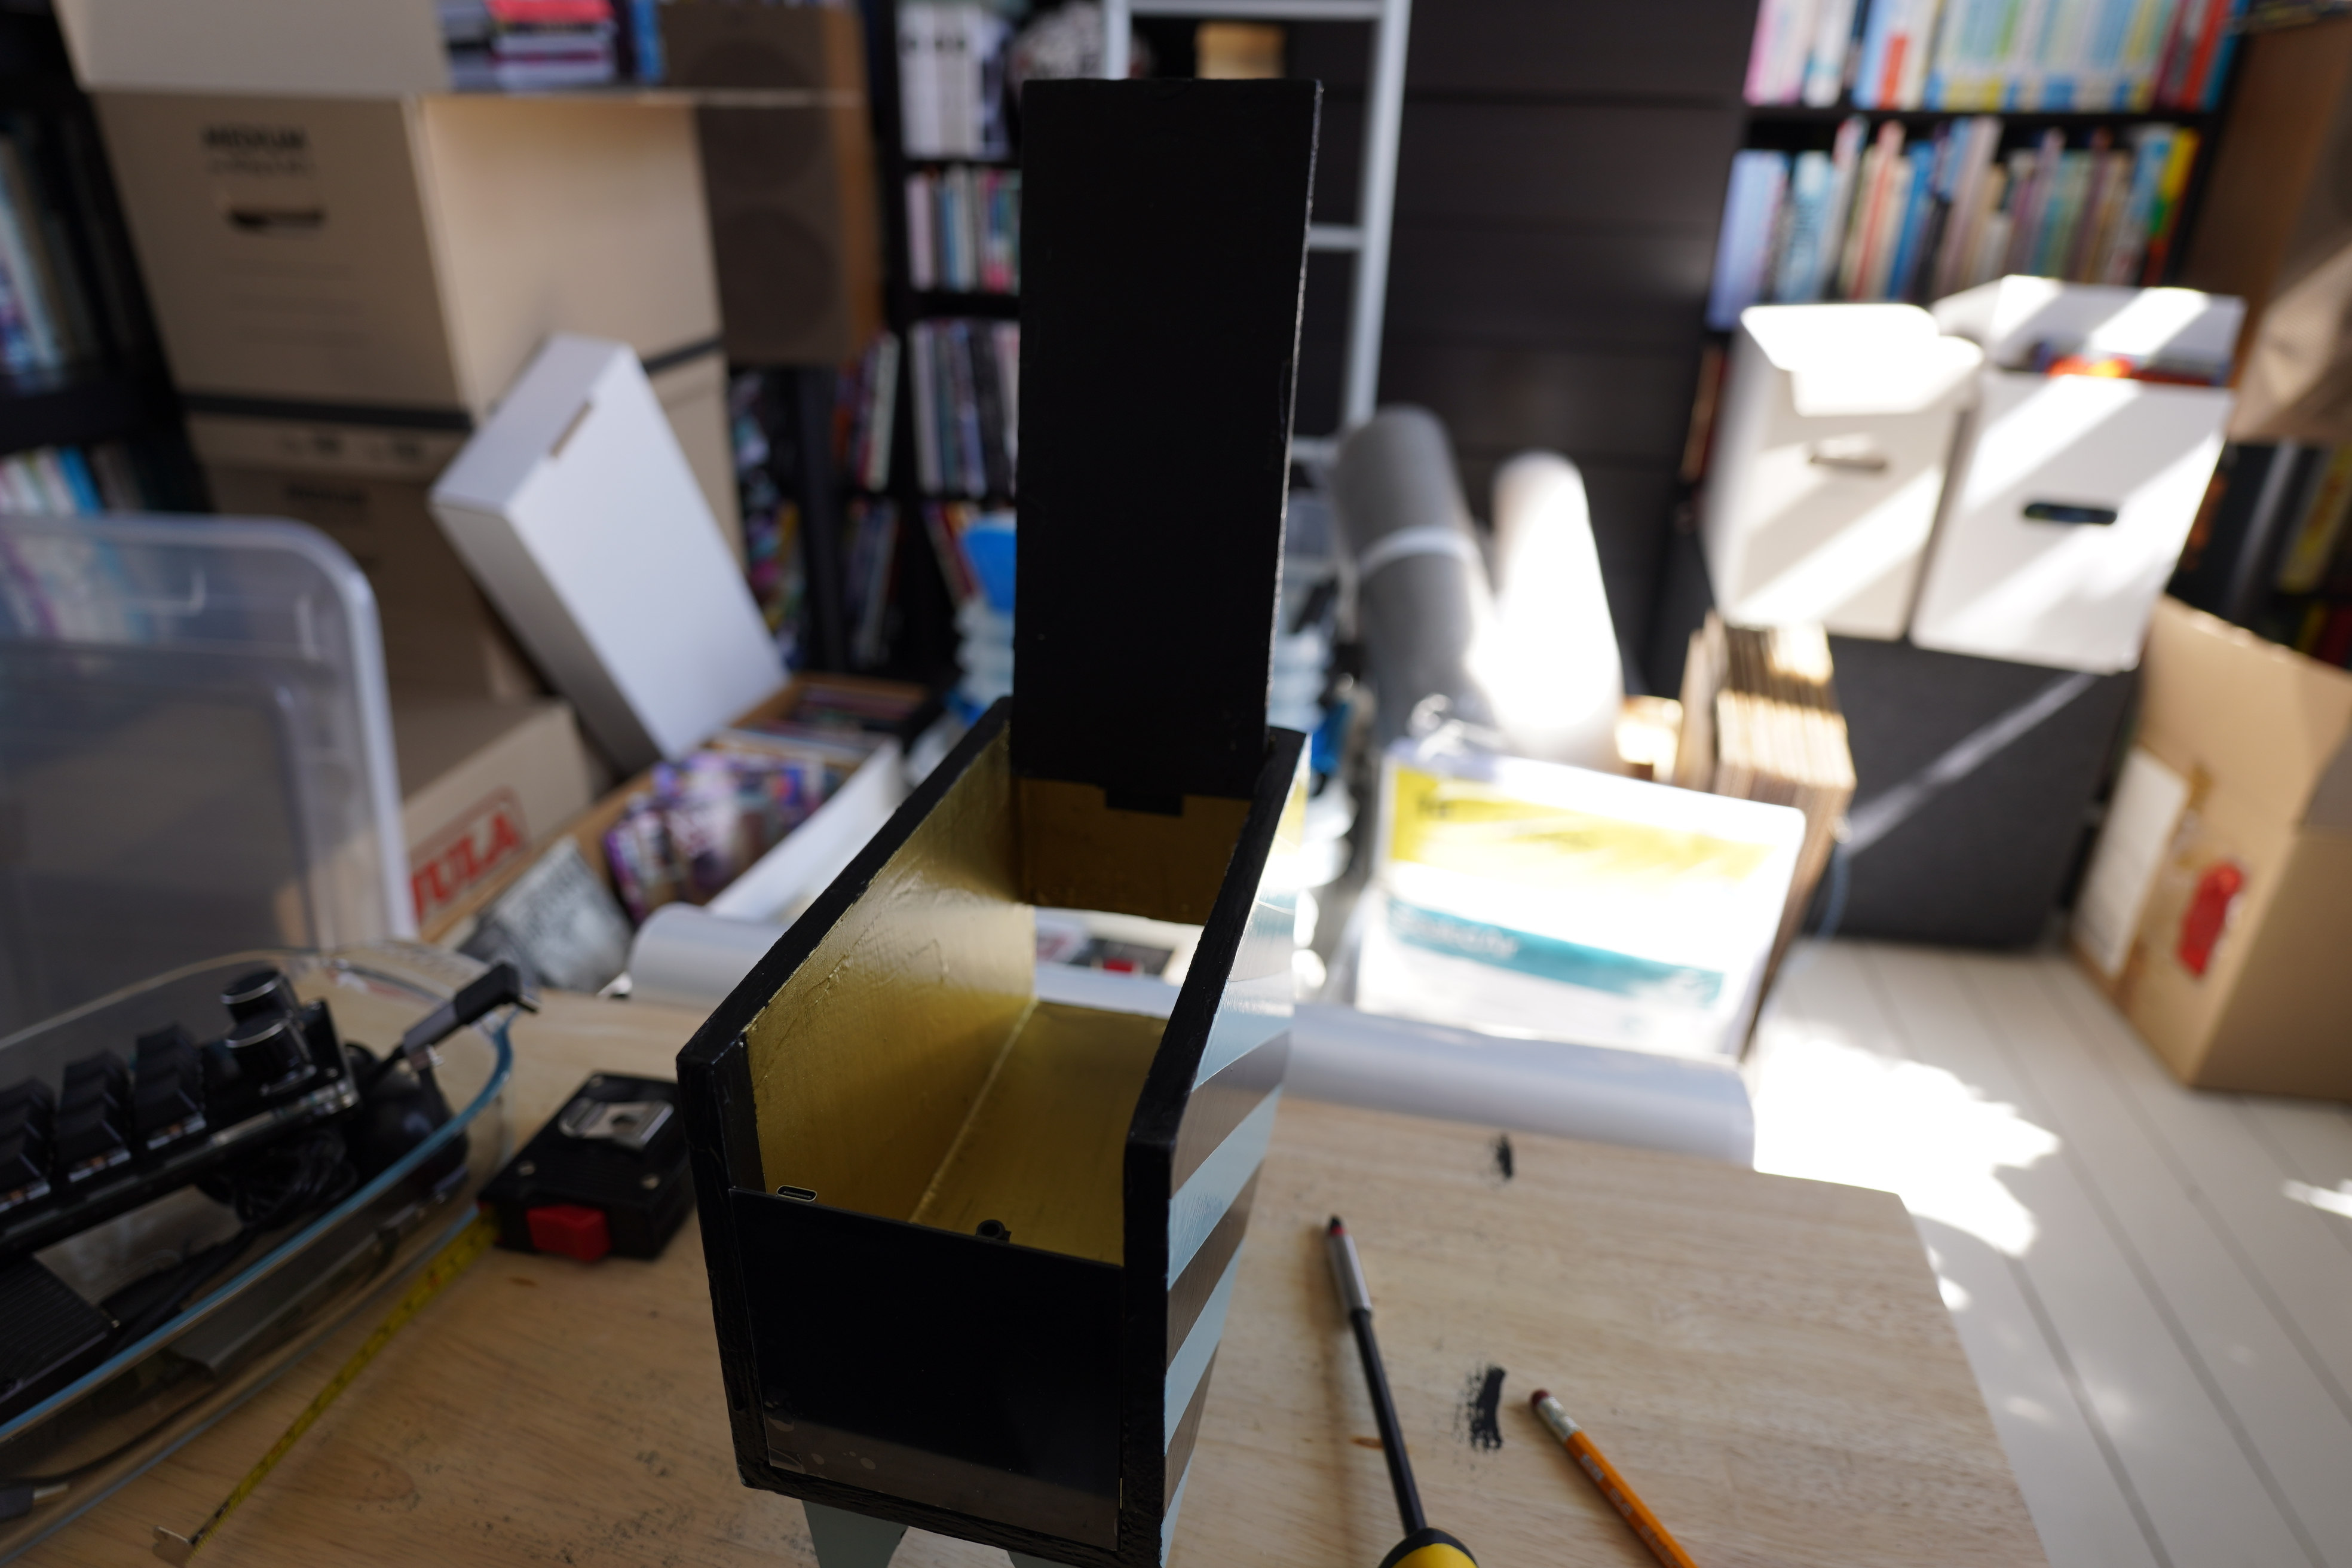
Tada!
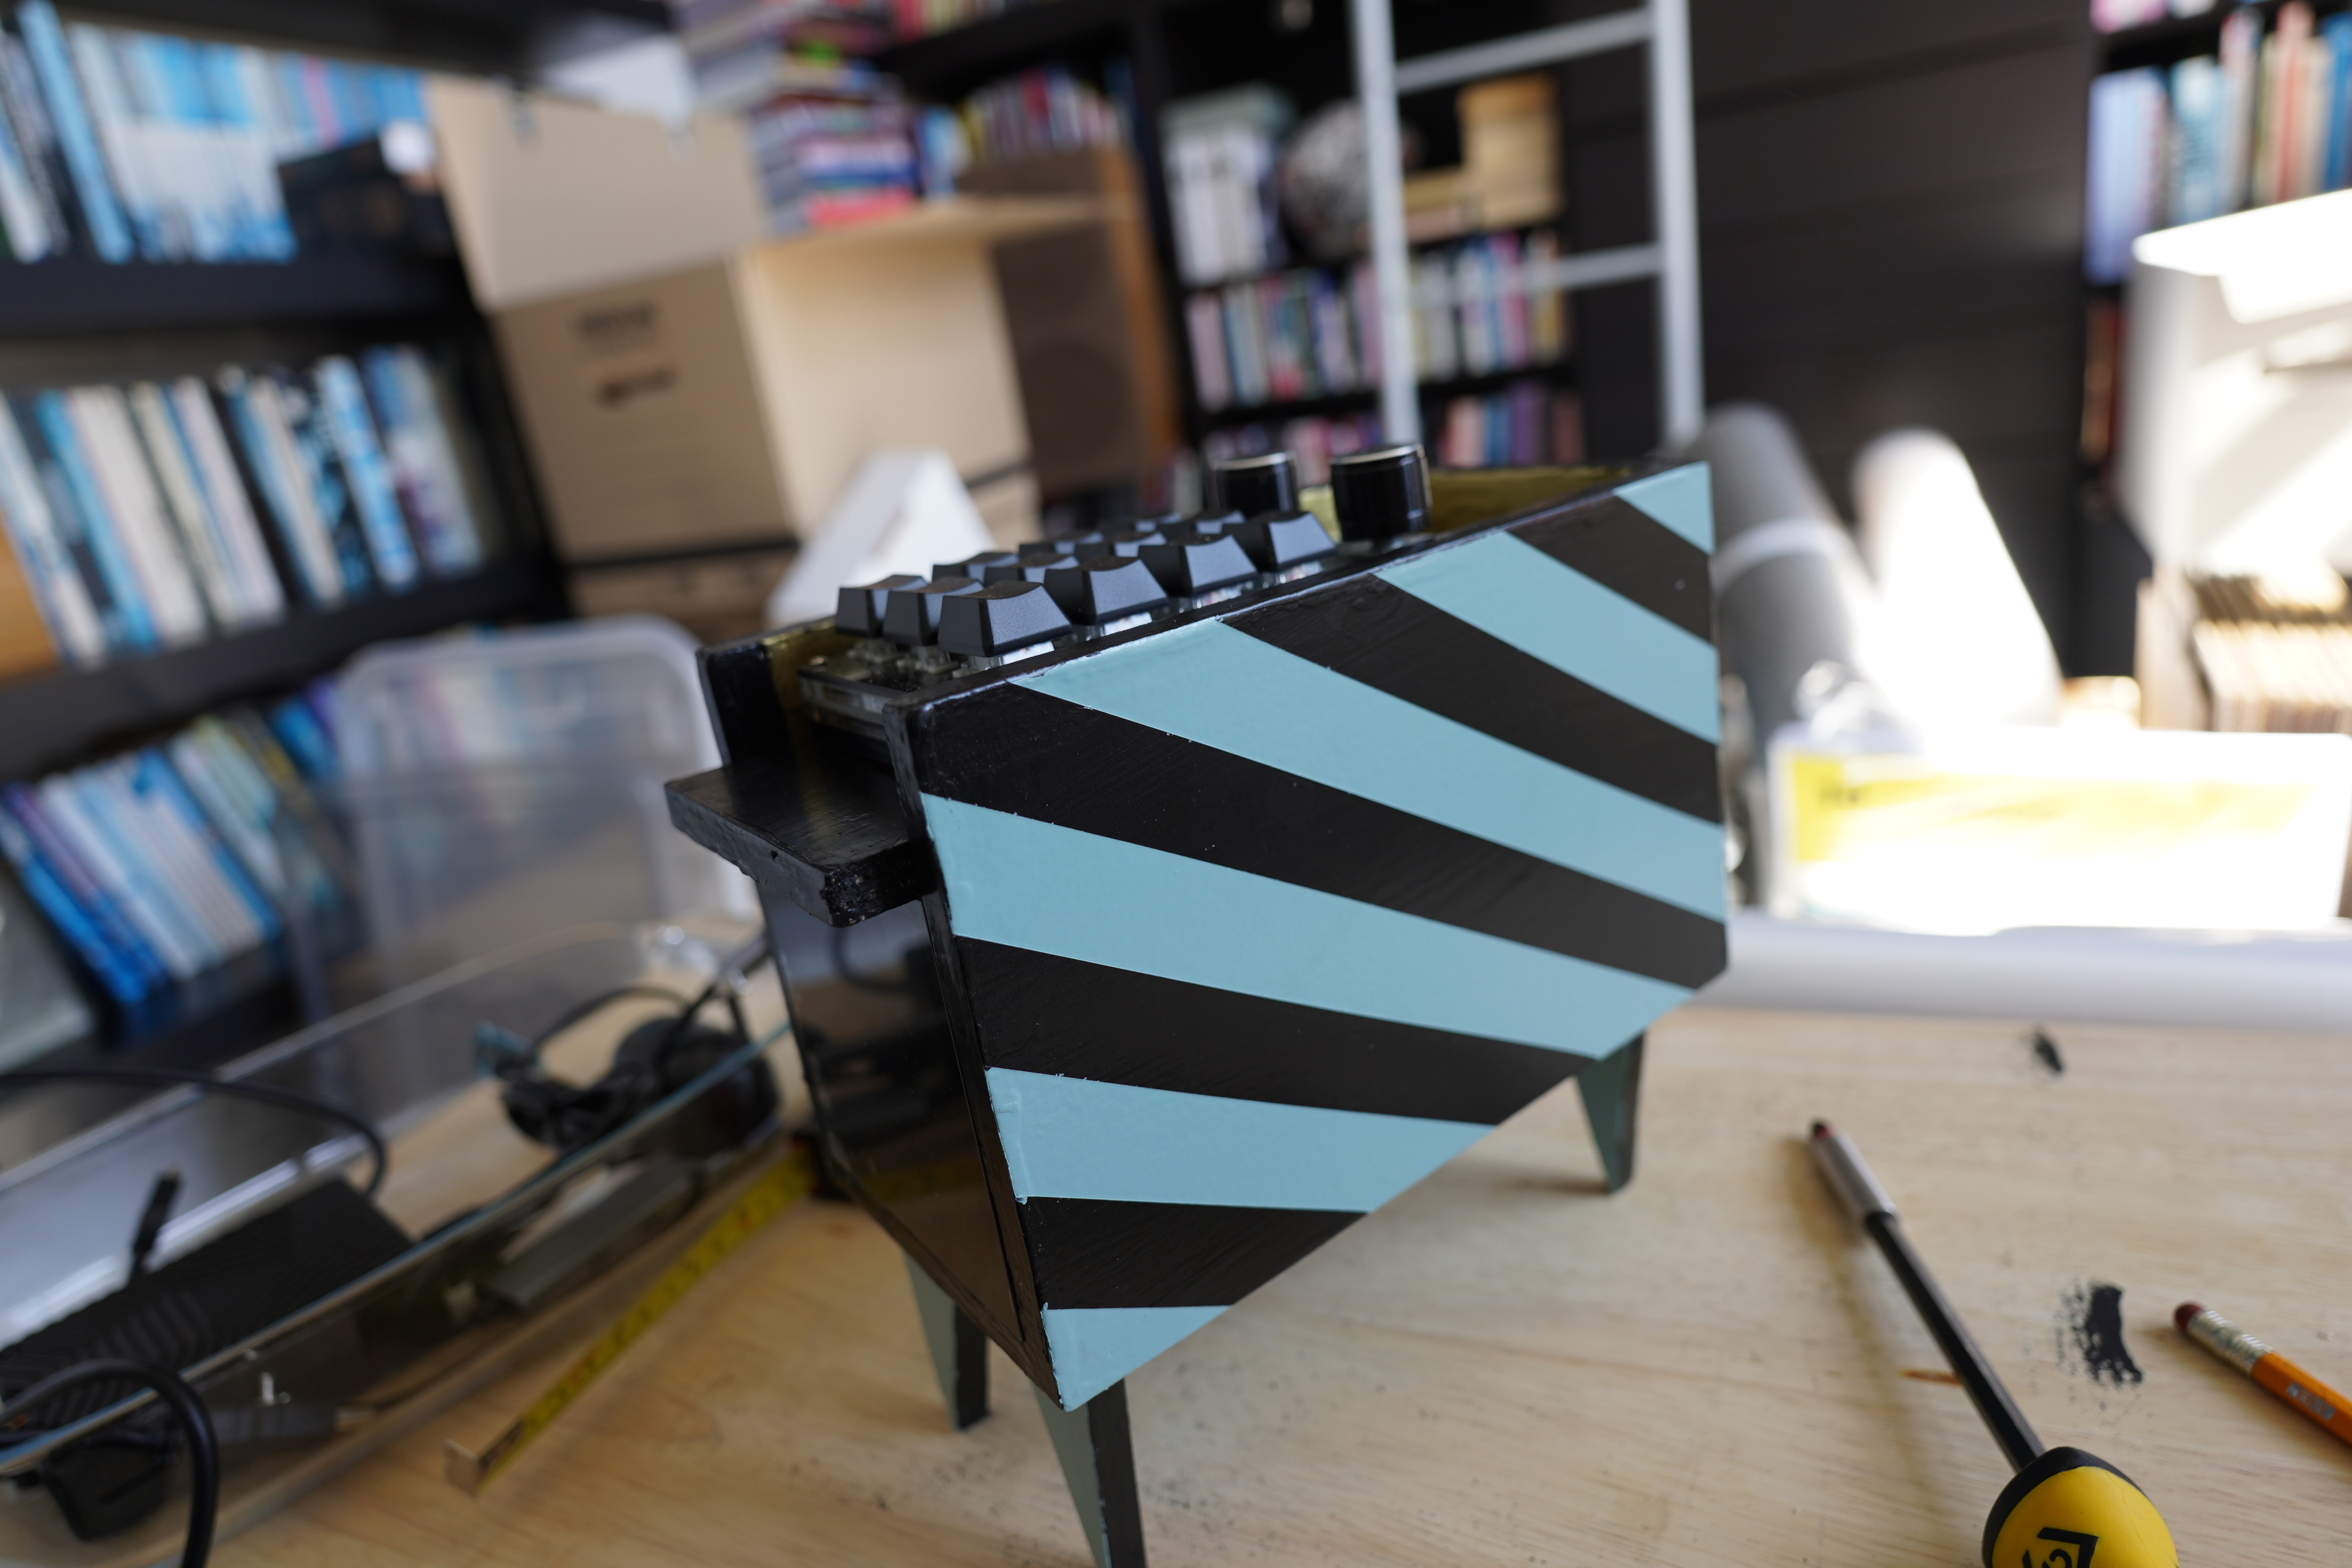
Yes. The concept works!
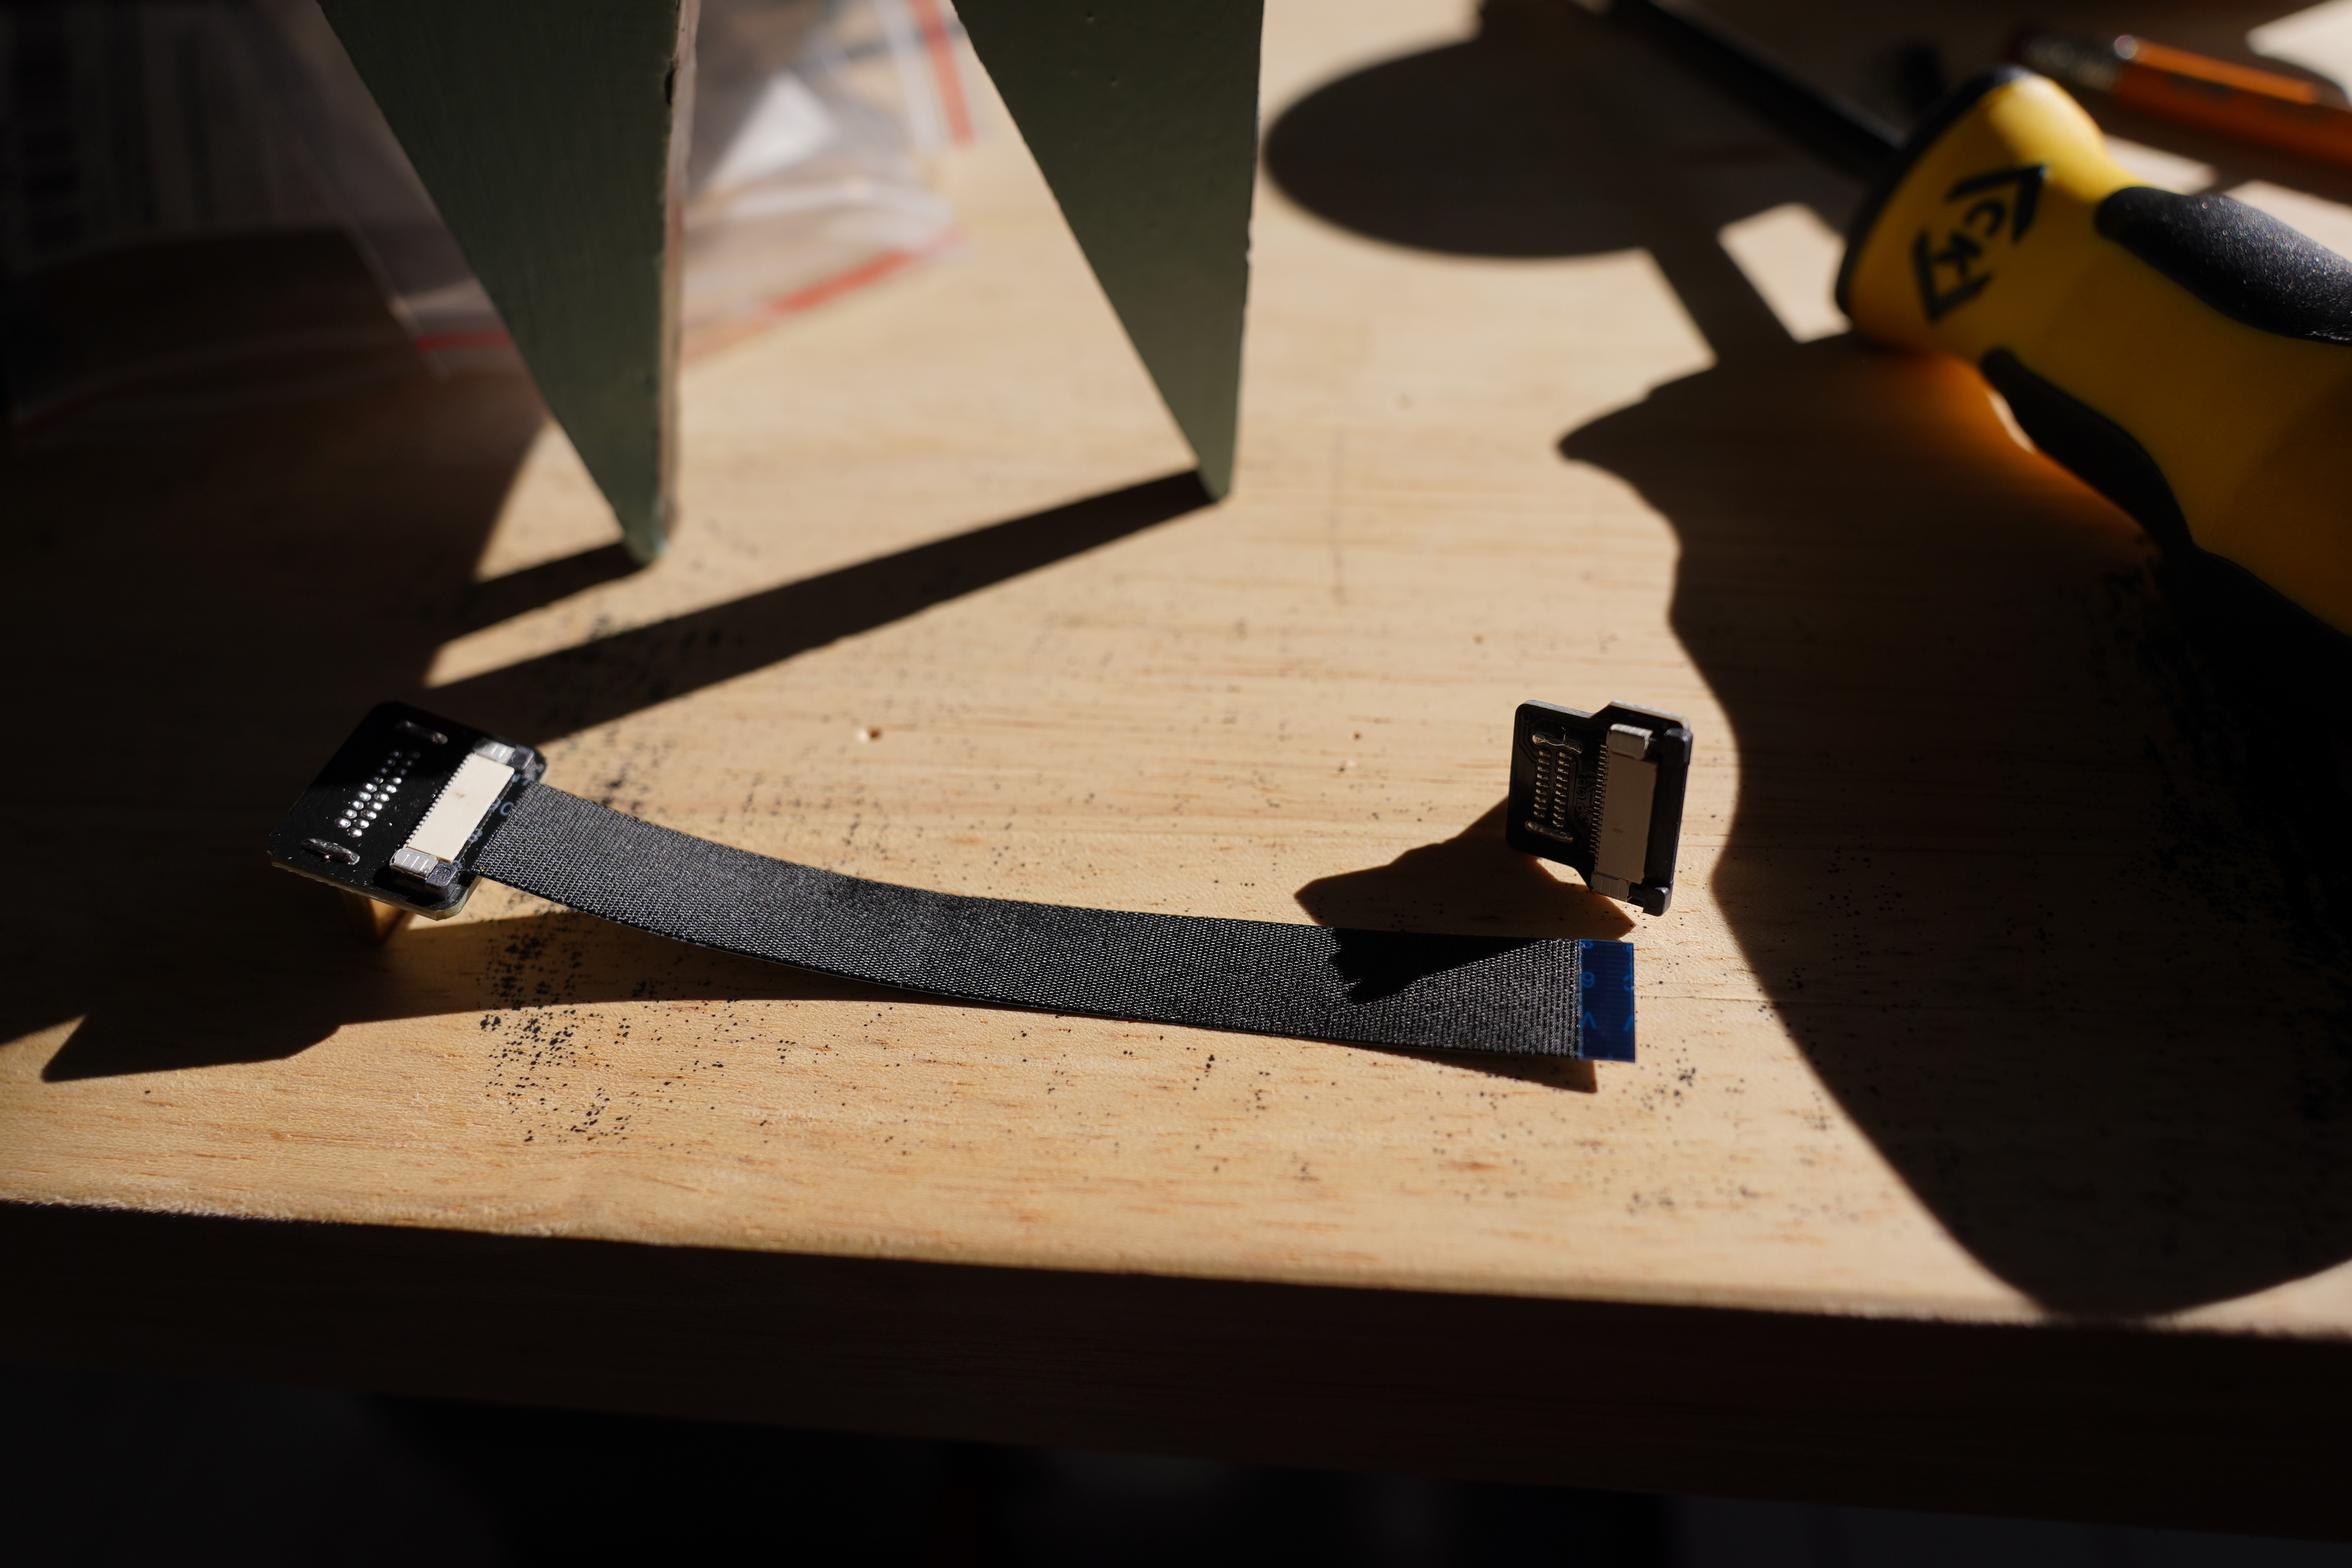
And the cables arrived from China this morning. And this time around I managed to assemble them without destroying them.
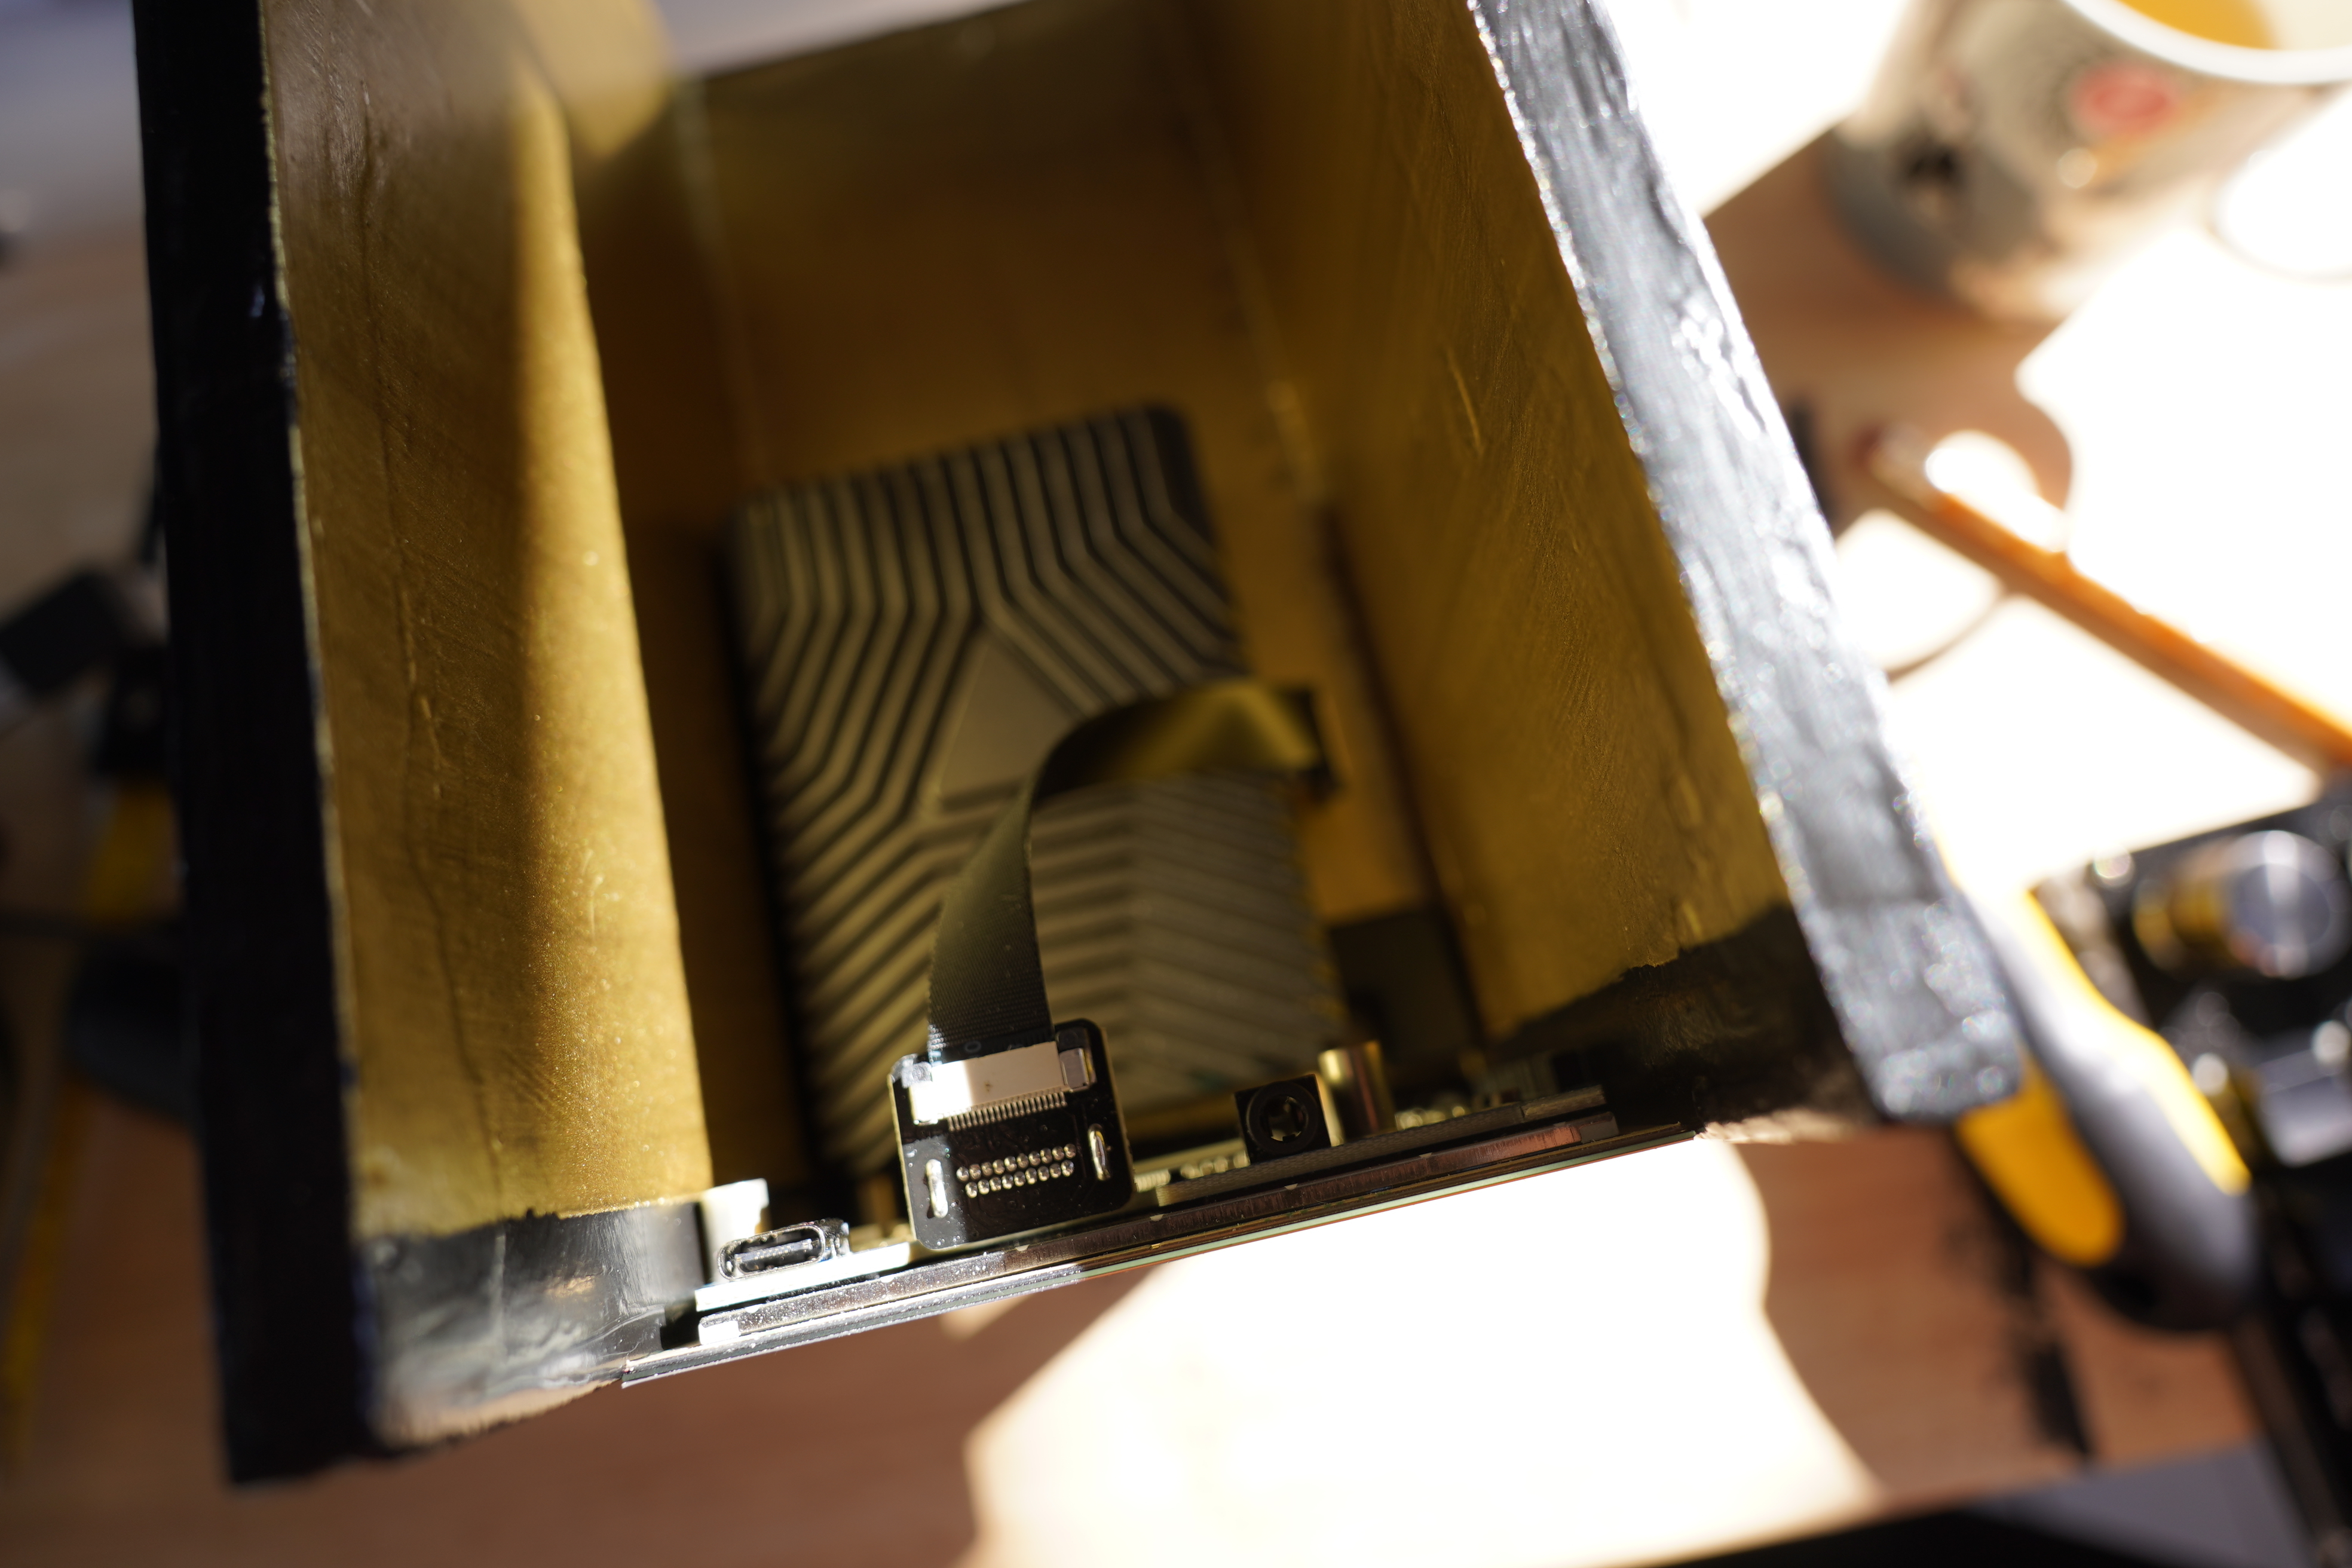
So connecting from the screen to the Pi… but, er, like, I had gotten the Micro HDMI side angled the wrong way. Even after re-checking five times before ordering. Gah! But it’s OK; I can just have the Pi the other way around.
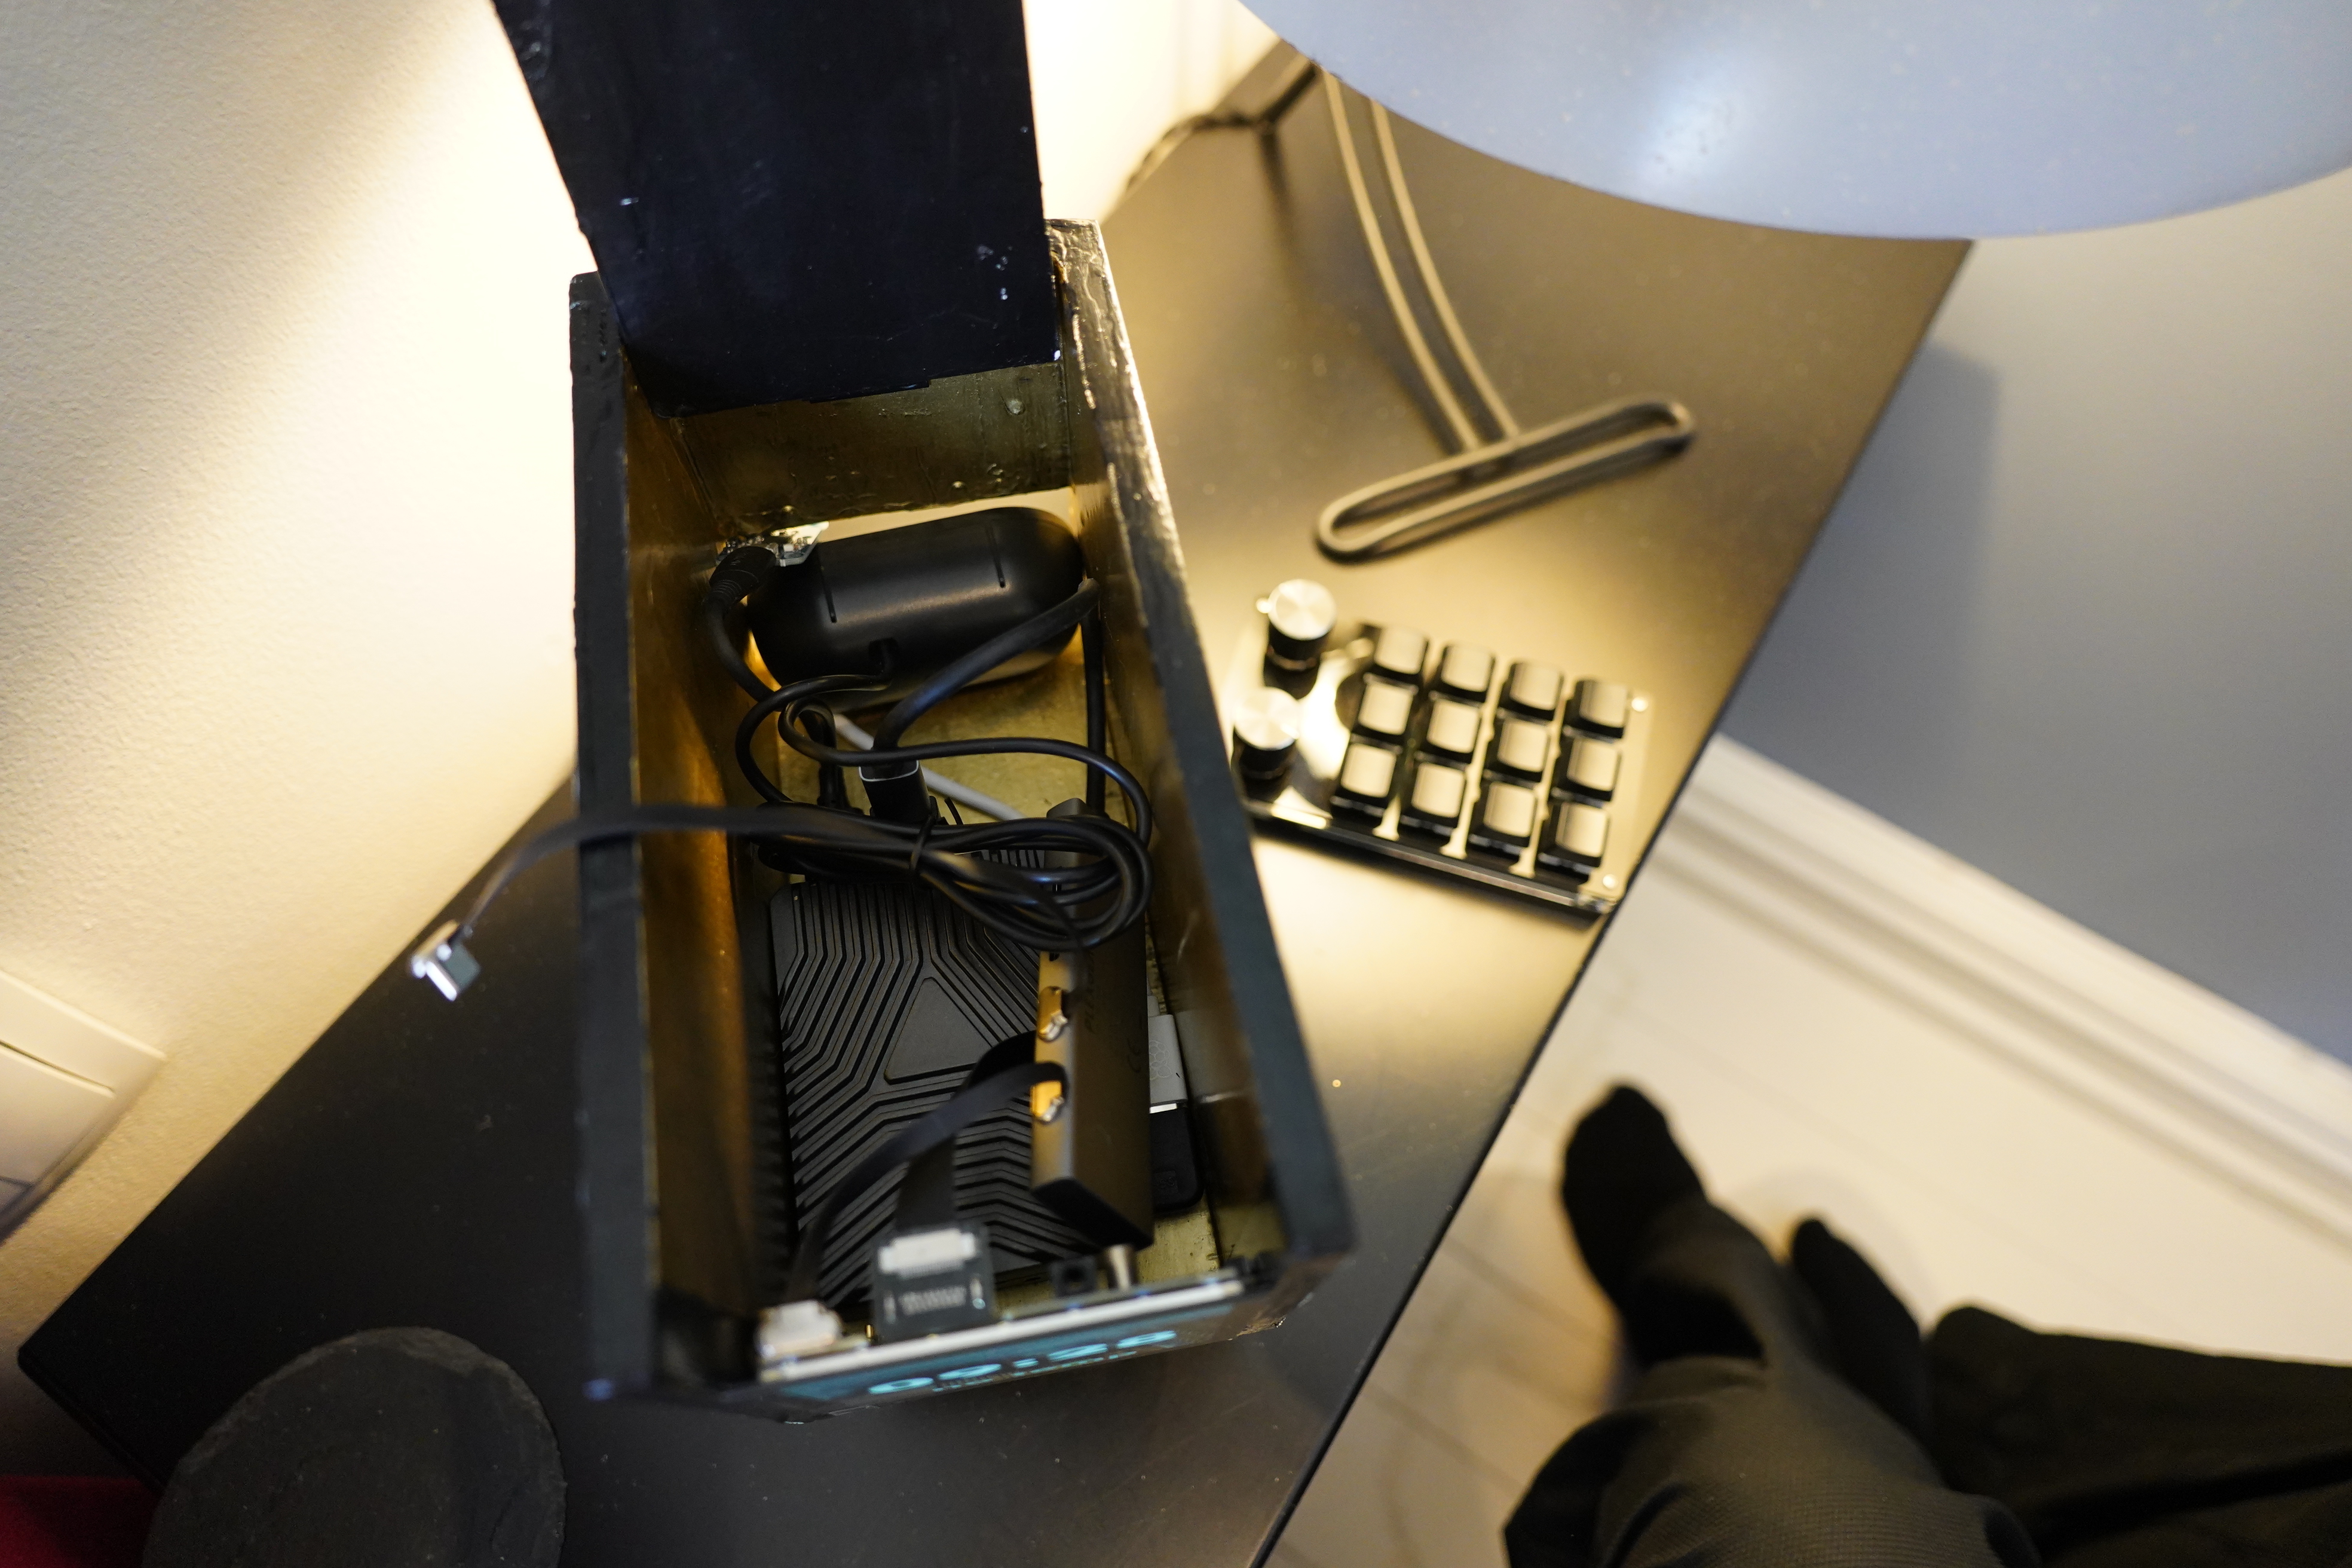
Jamming all the bits in there…
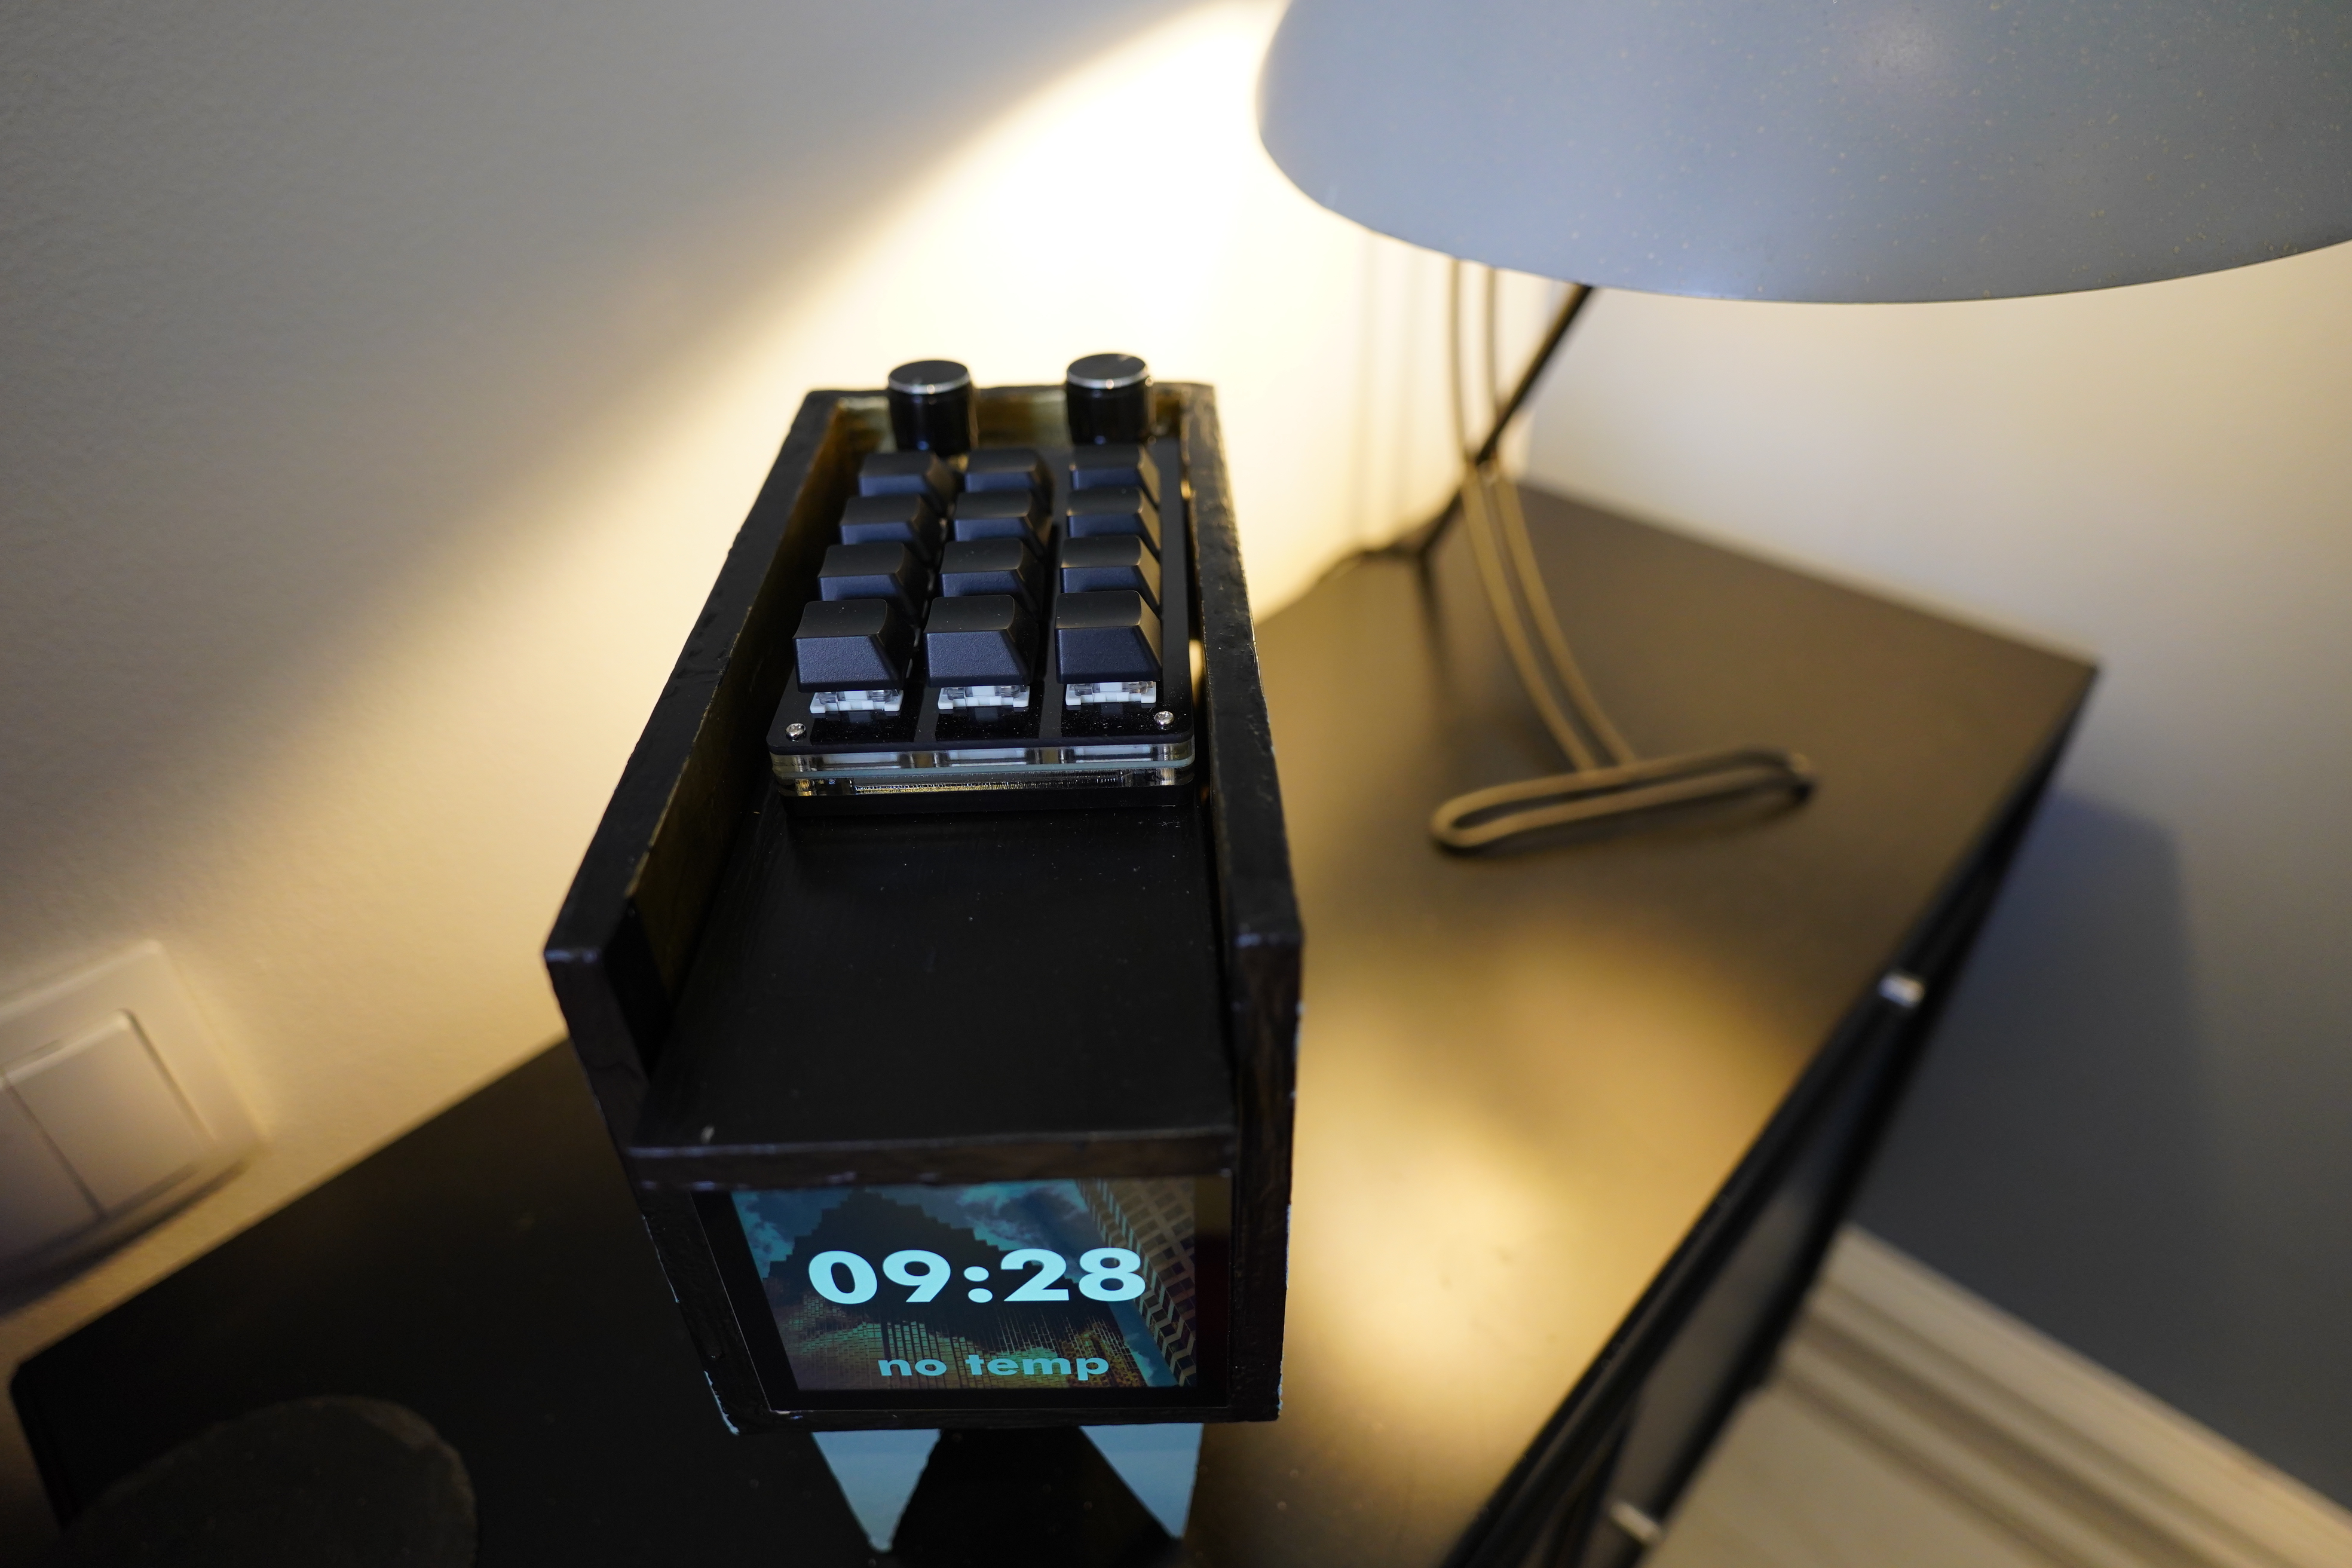
It works!
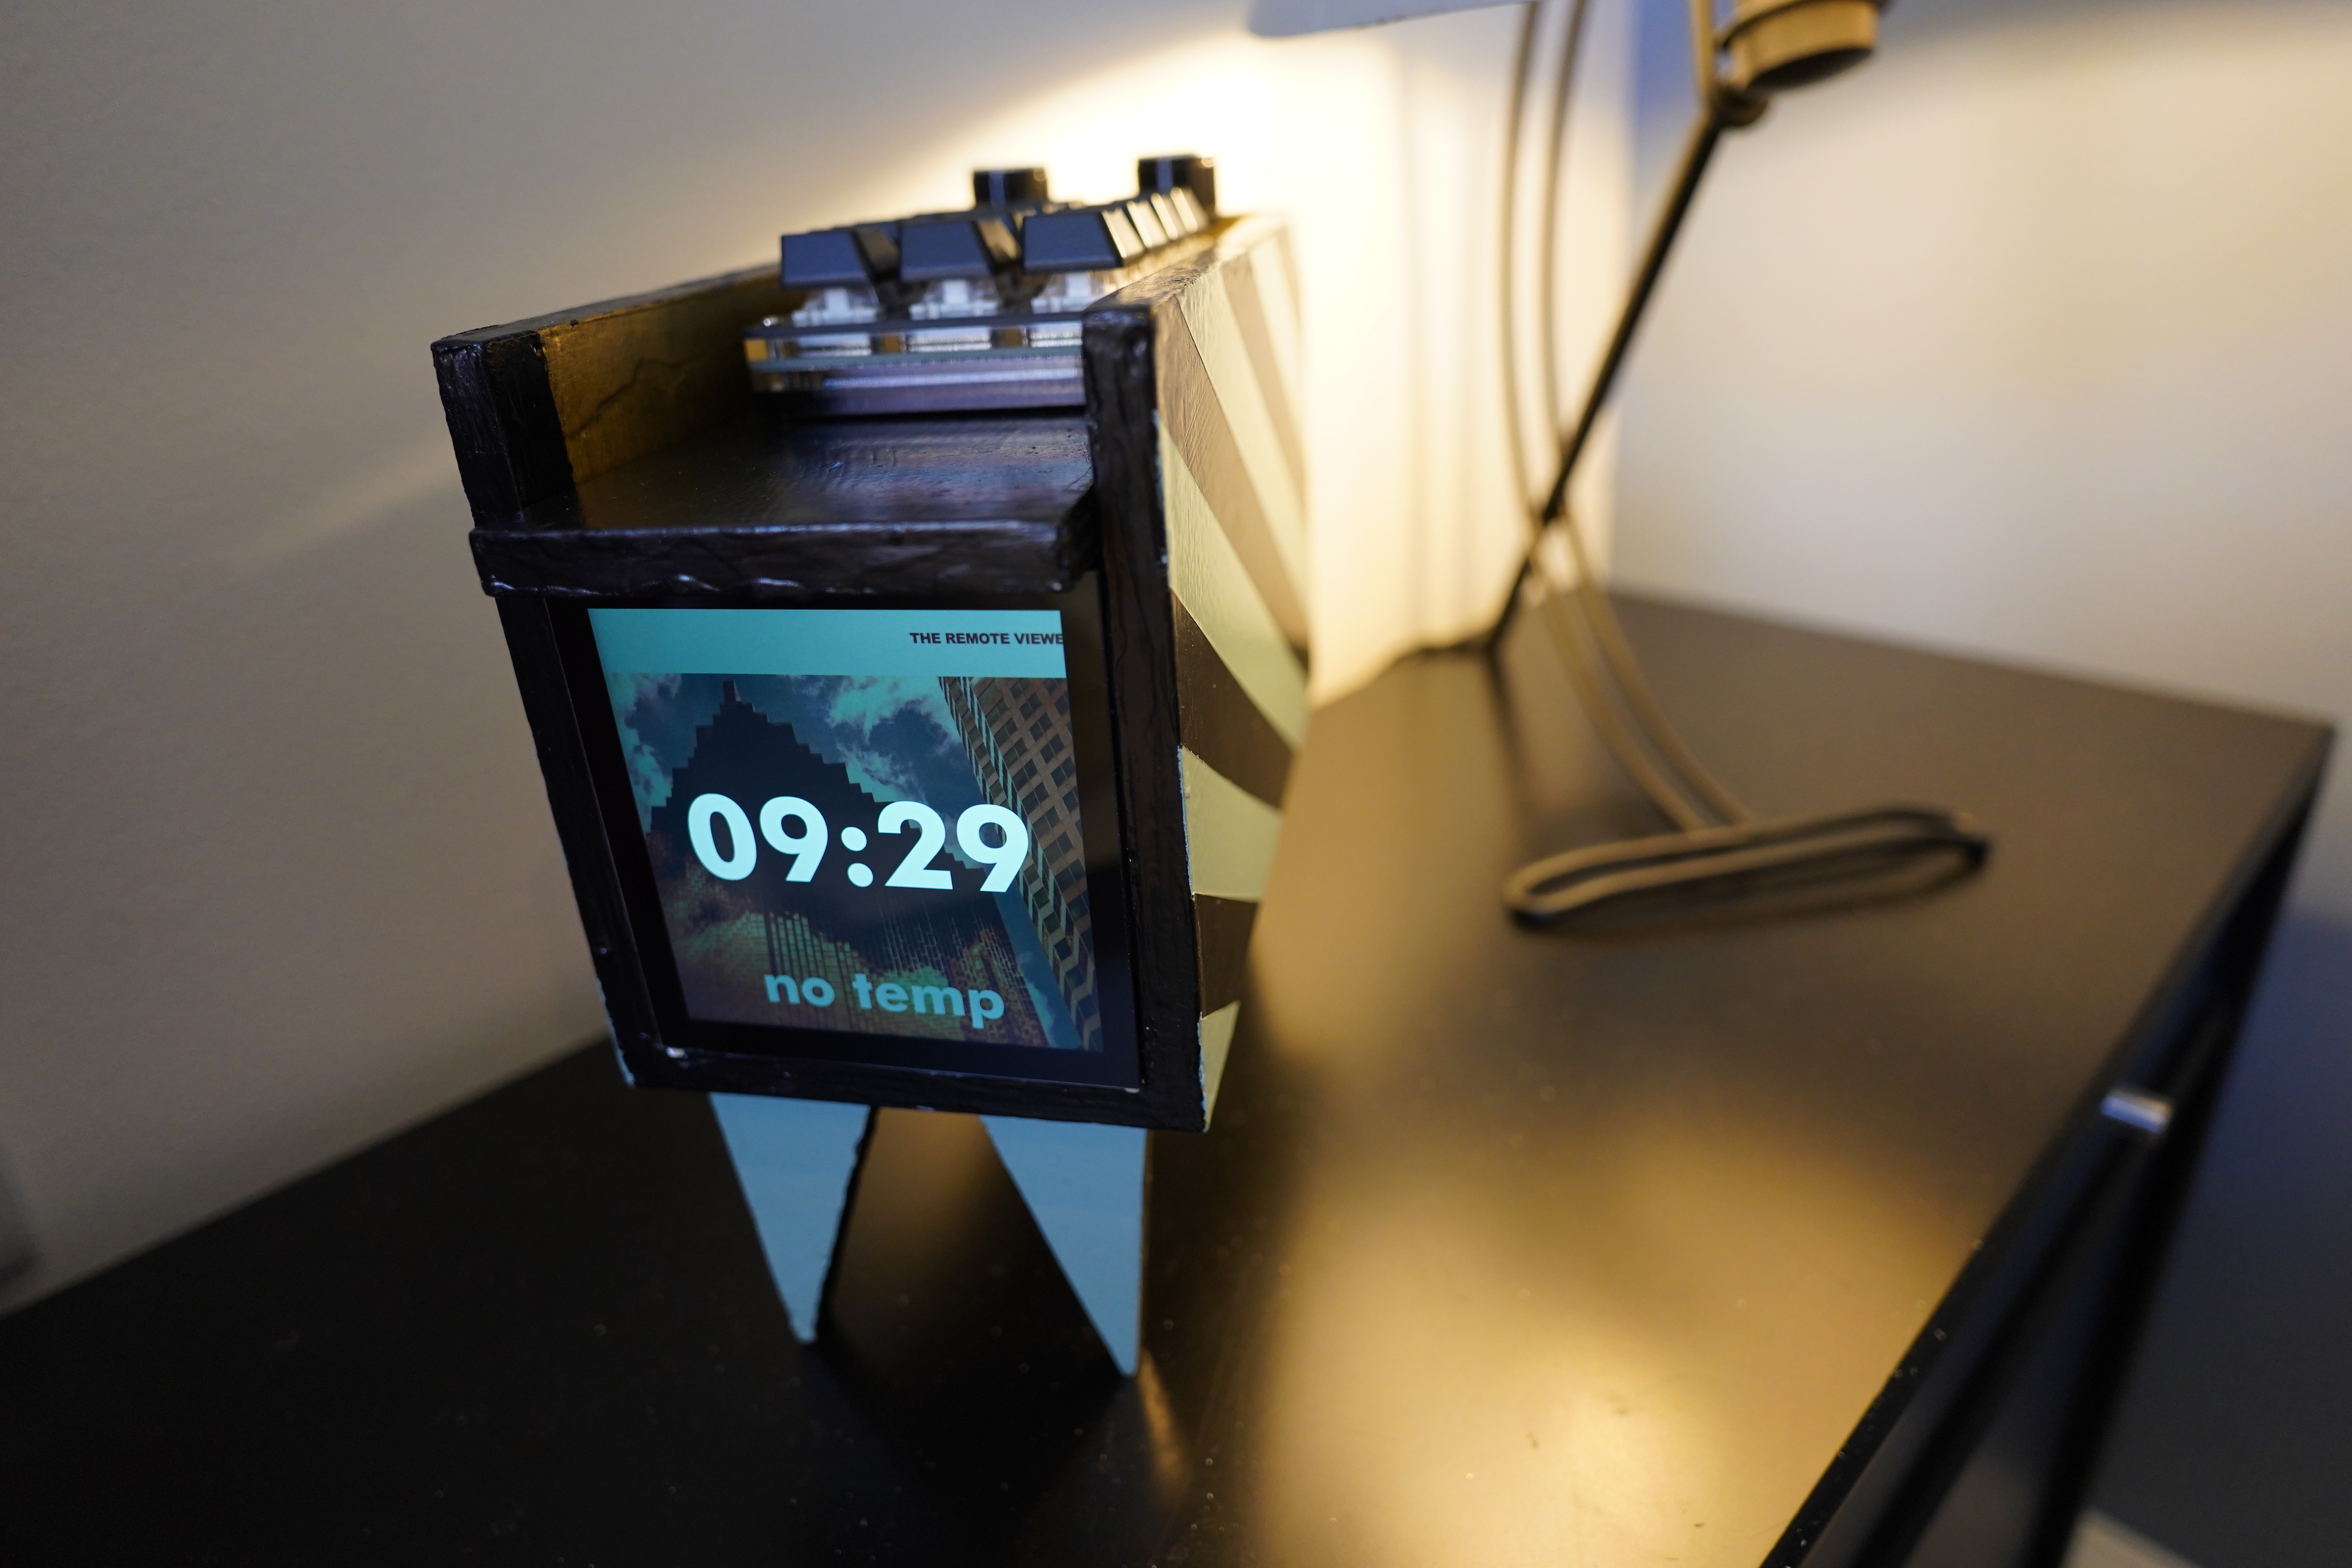
And it seems solid and stable enough — I can tap away at the numpad without any wobbling.
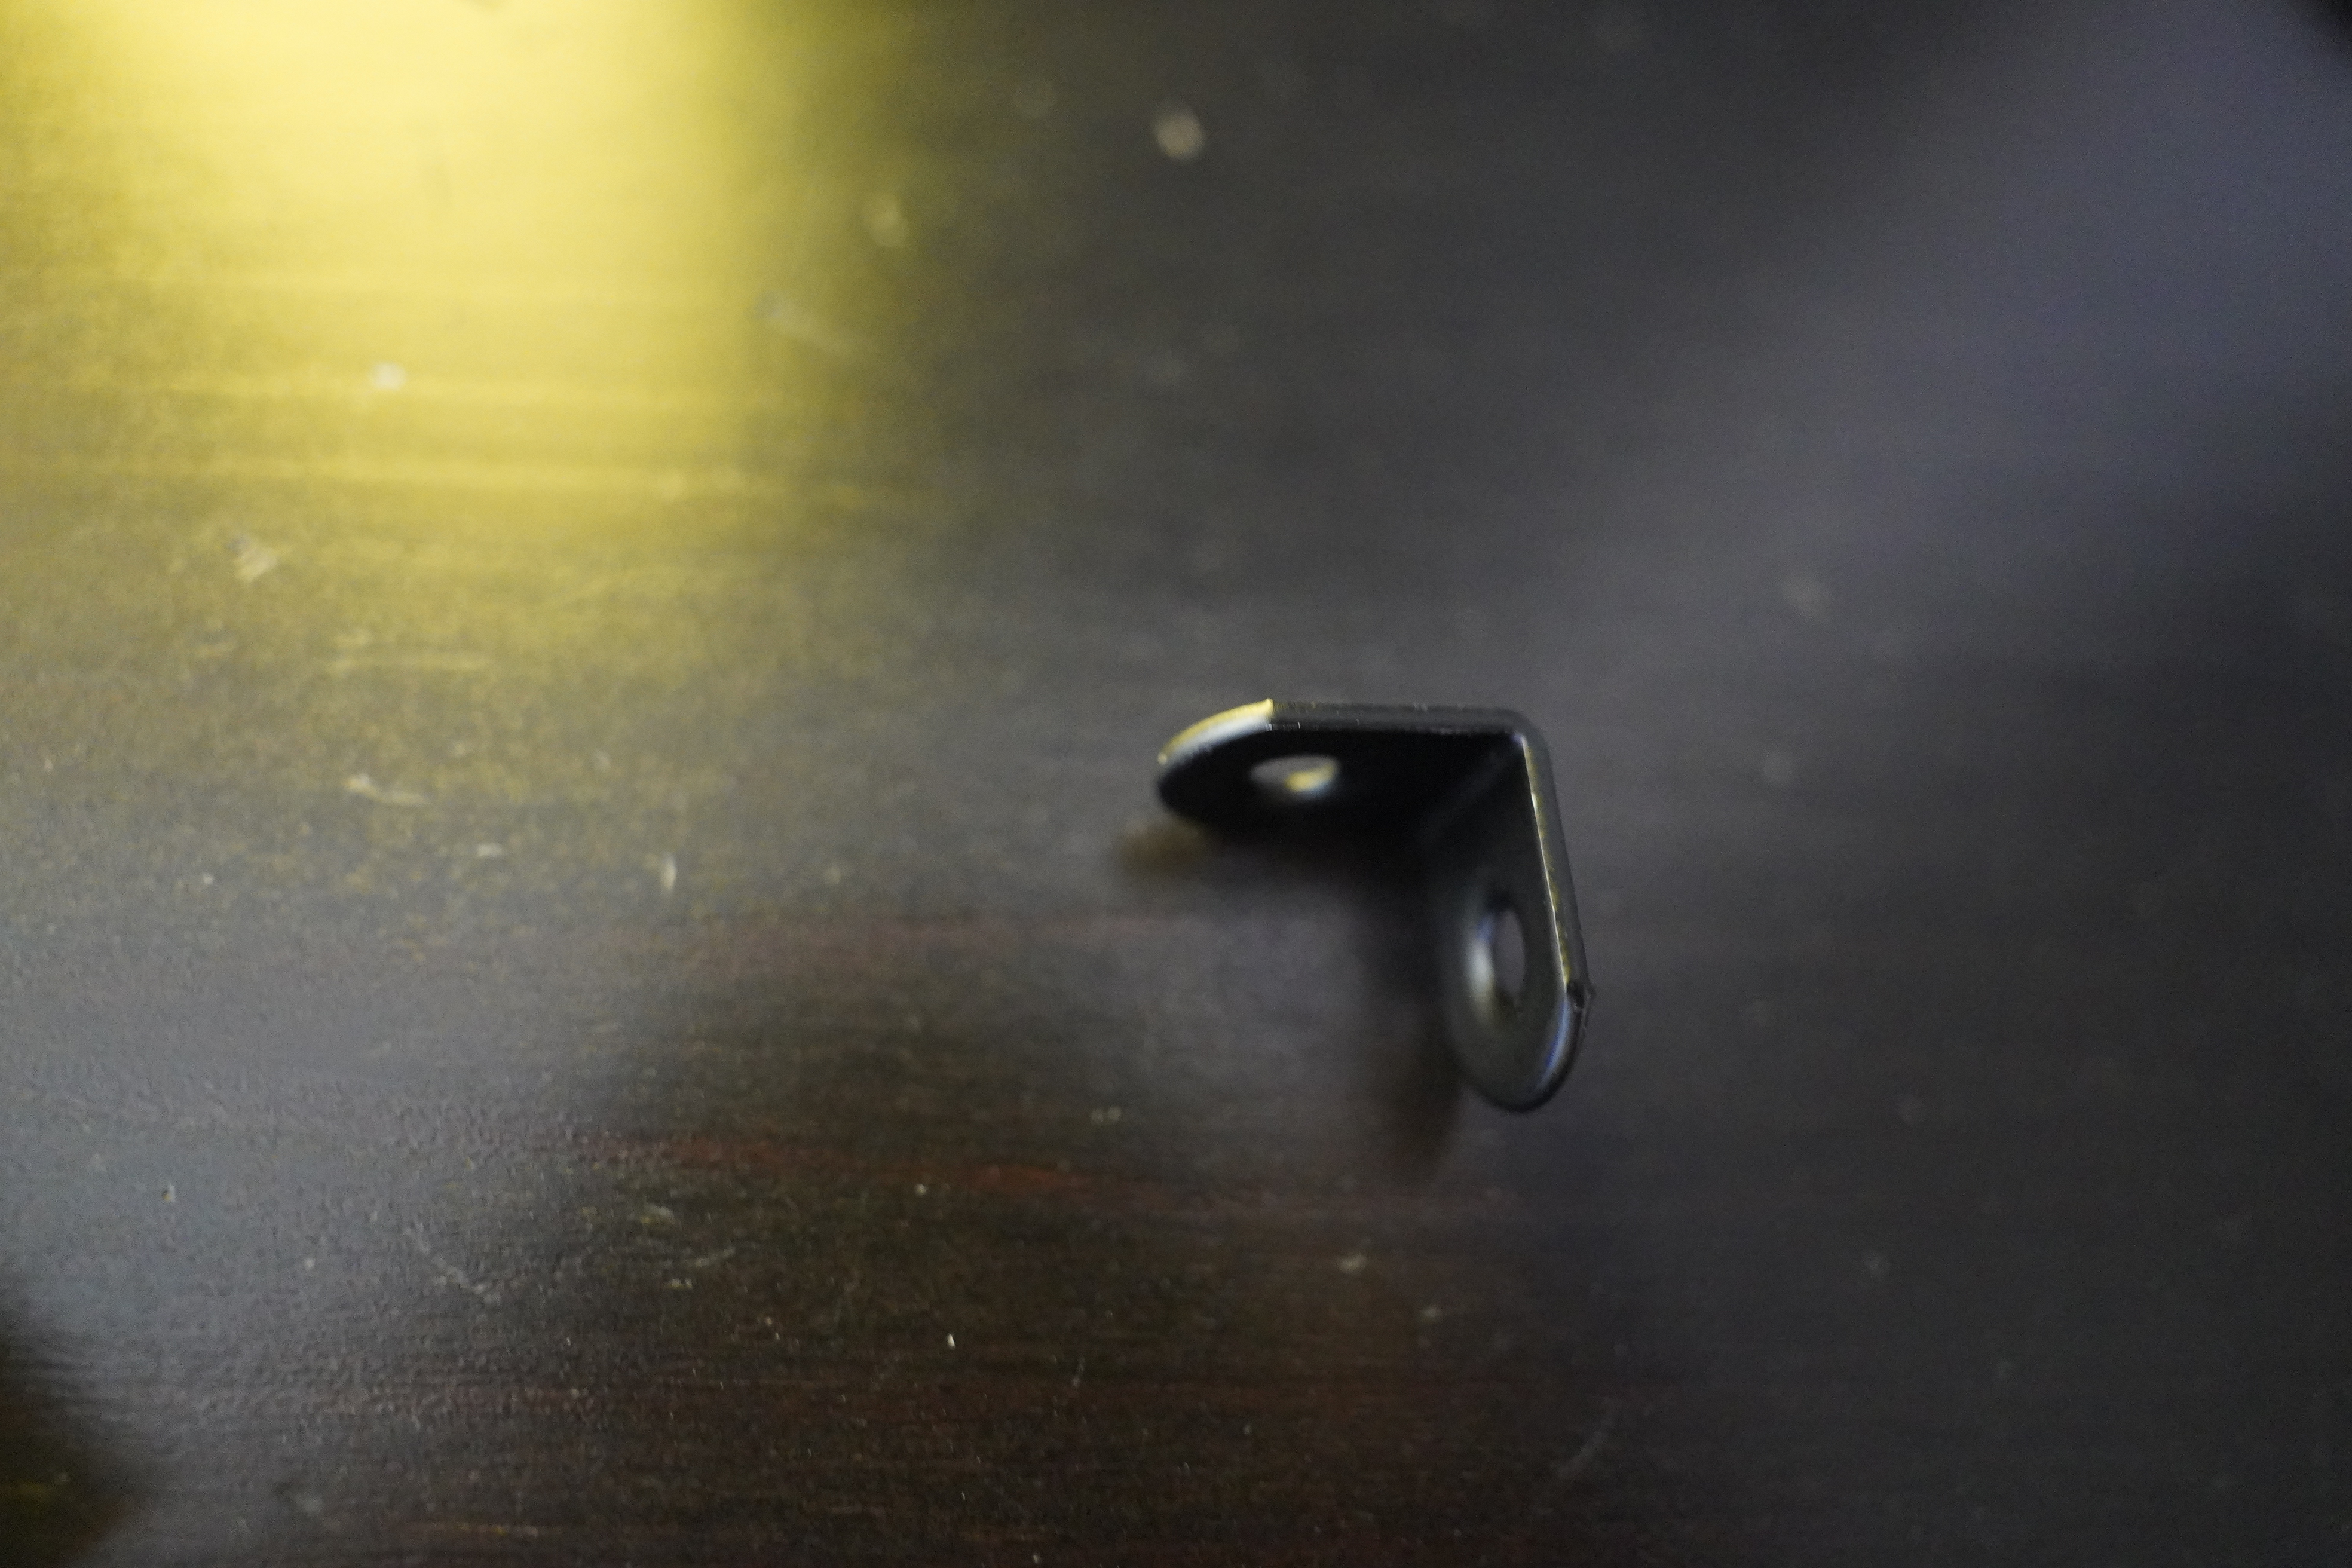
I also got a package of these in the mail today… What was I going to use these for? The lid? Hm… No! Now I remember — I was going to use them to fasten the screen: Screw them into the wood and then slide the screen down on them. But that’s not necessary, it turns out, and it wouldn’t have worked, anyway — they’re only 1mm thick, but that’s still too thick. I would have had to have taken that into account (is that the correct tense?) when sawing.
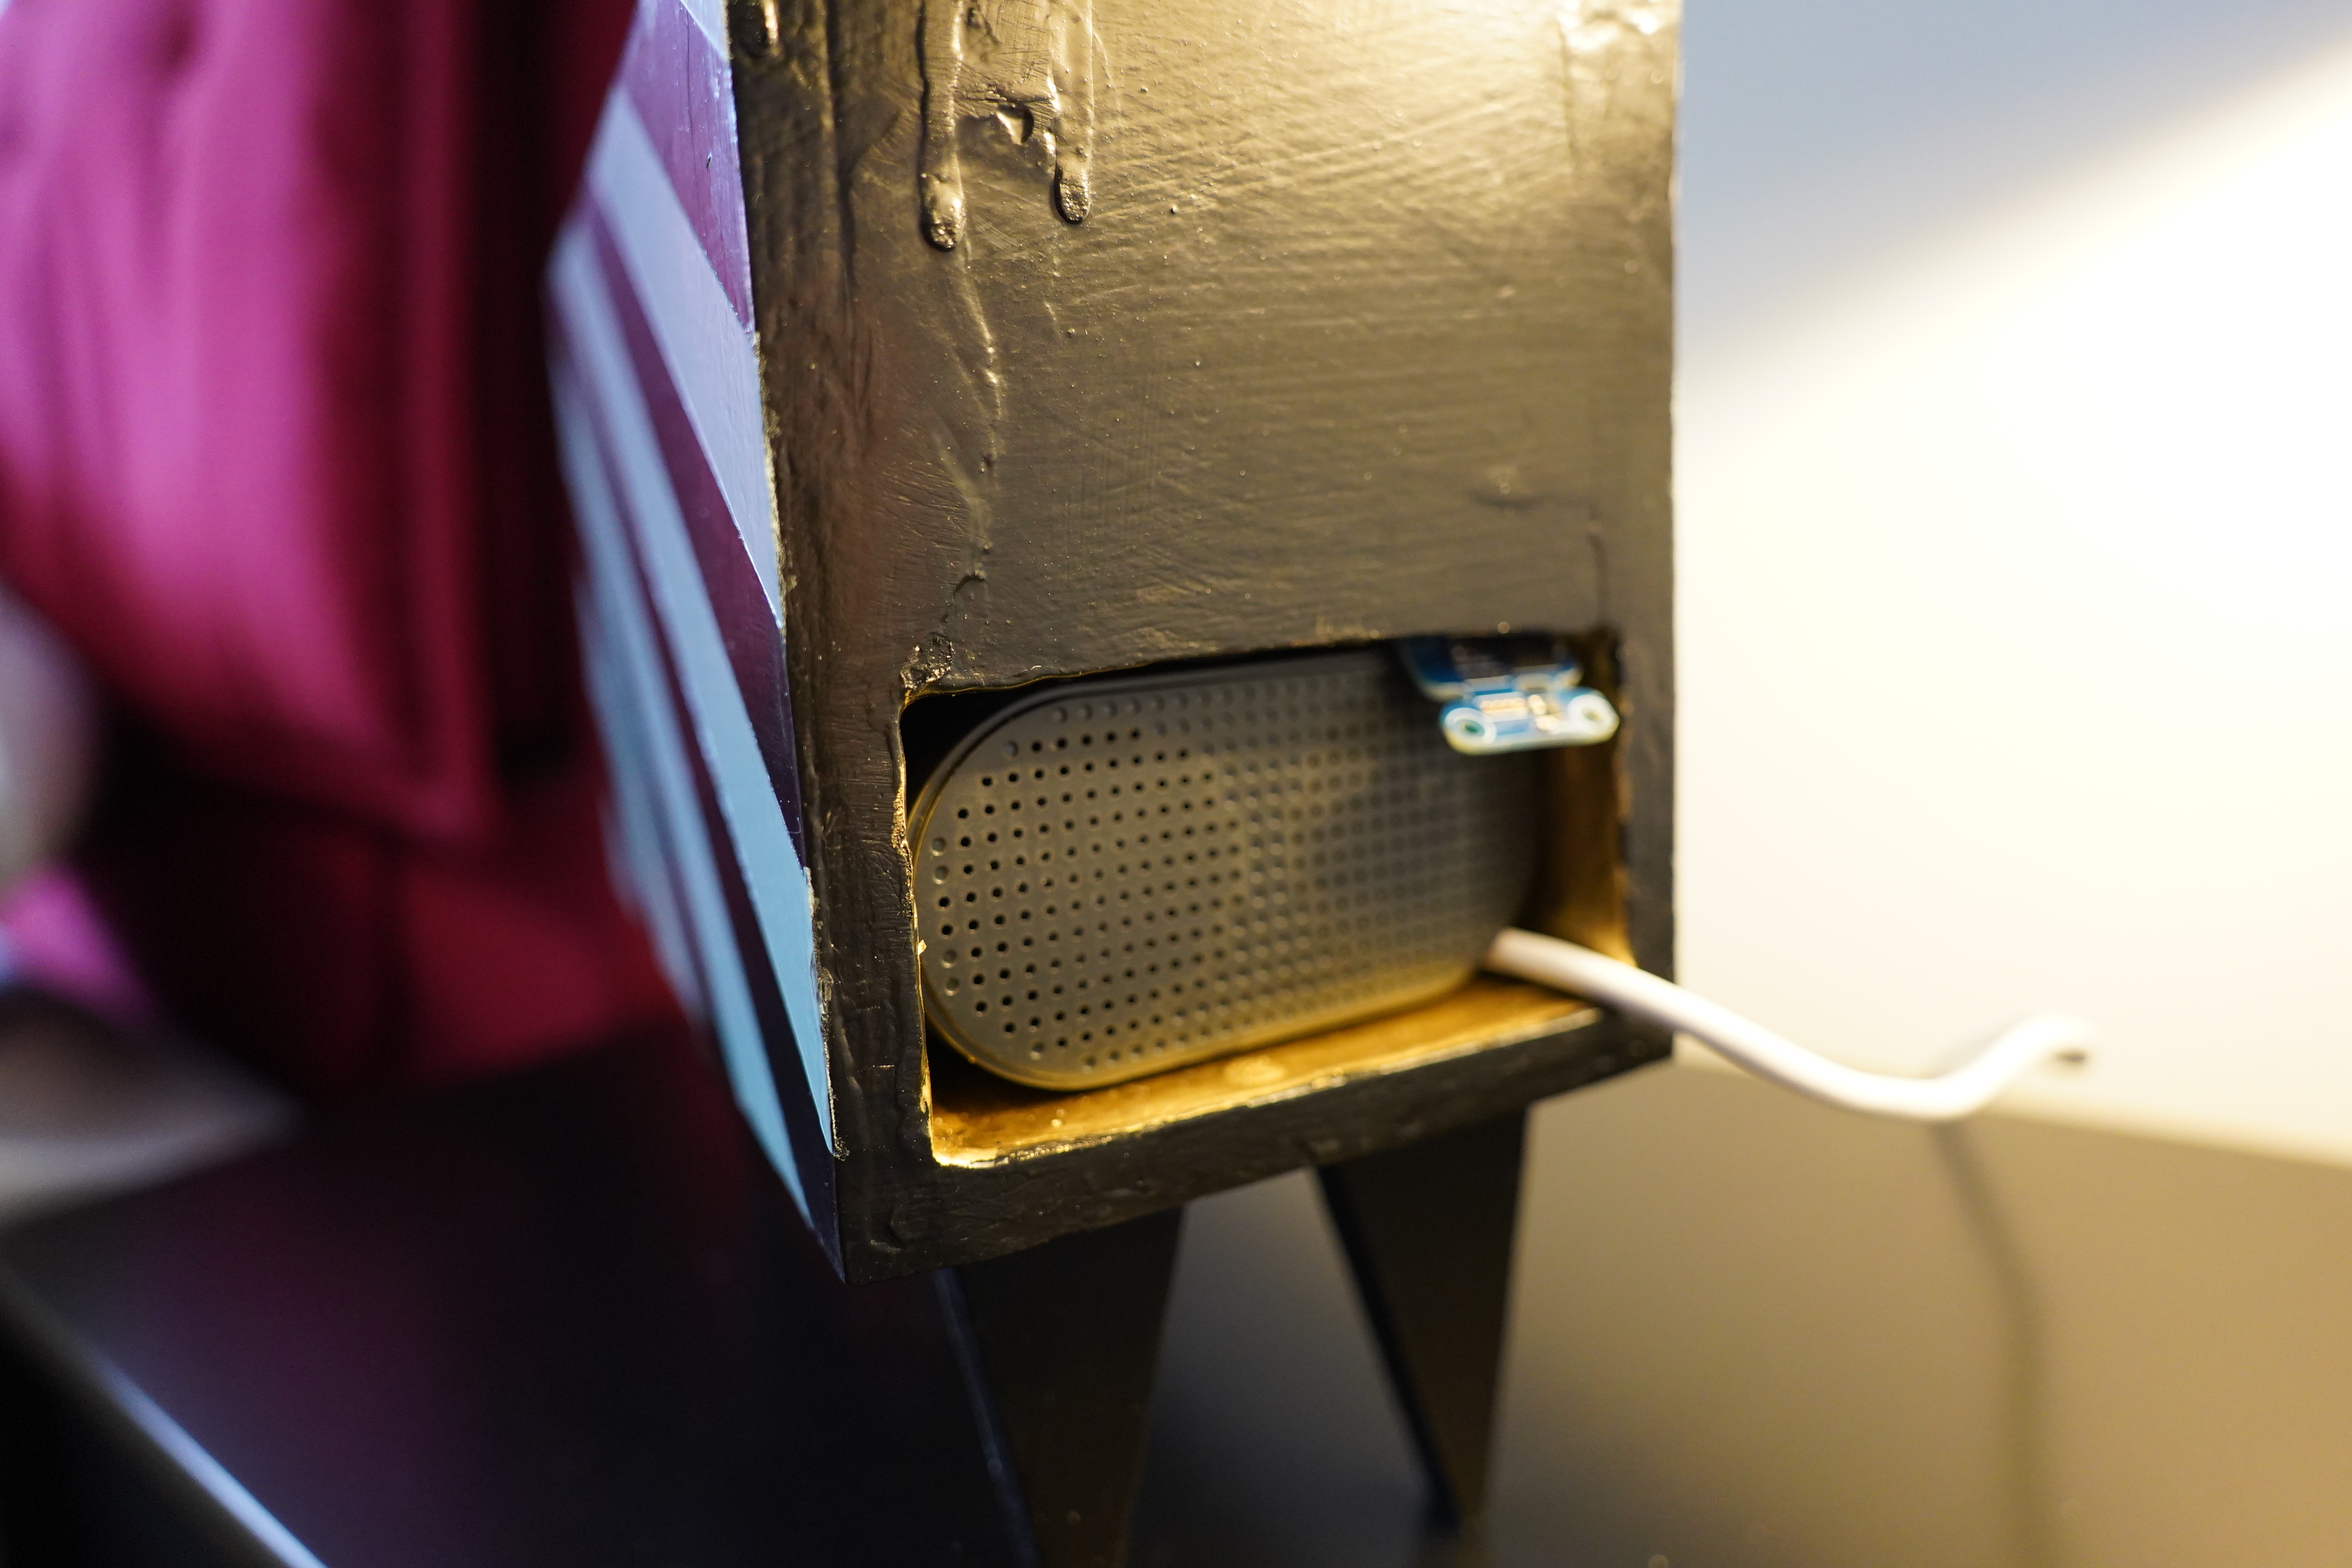
Oops, how did that running black paint happen? I thought I was more careful about sanding those mishaps away…
Anyway, this is the back of the clock — I cut out a bit for the speaker. That’s probably not necessary — it would be loud enough anyway. But what the hey. And it’s lucky that the speaker is exactly the same width as the screen, eh?
And that’s the light sensor poking out at the top. It’s possible to break off the tip there (where the sensor is) and then do some wiring between the main part and the sensor, but… I don’t wanna go soldiering.
And the power cable: I was going to drill a hole in the side of the box and just plug it in that way, but because the Micro HDMI was angled the wrong way, that’s not possible. But I could get a new Micro HDMI plug… I dunno. Either works, really.
Time for a test drive:
It works! The numpad is clicky and nice, and the menu interface for Other Functions feels very intuitive with the dial knob.
Lessons learned:
1) I have to get better at painting. Too many blobs.
c) I need a better work station for stuff like this — I’ve been working off of random pieces of furniture, which really isn’t a good idea when using a jigsaw and stuff:
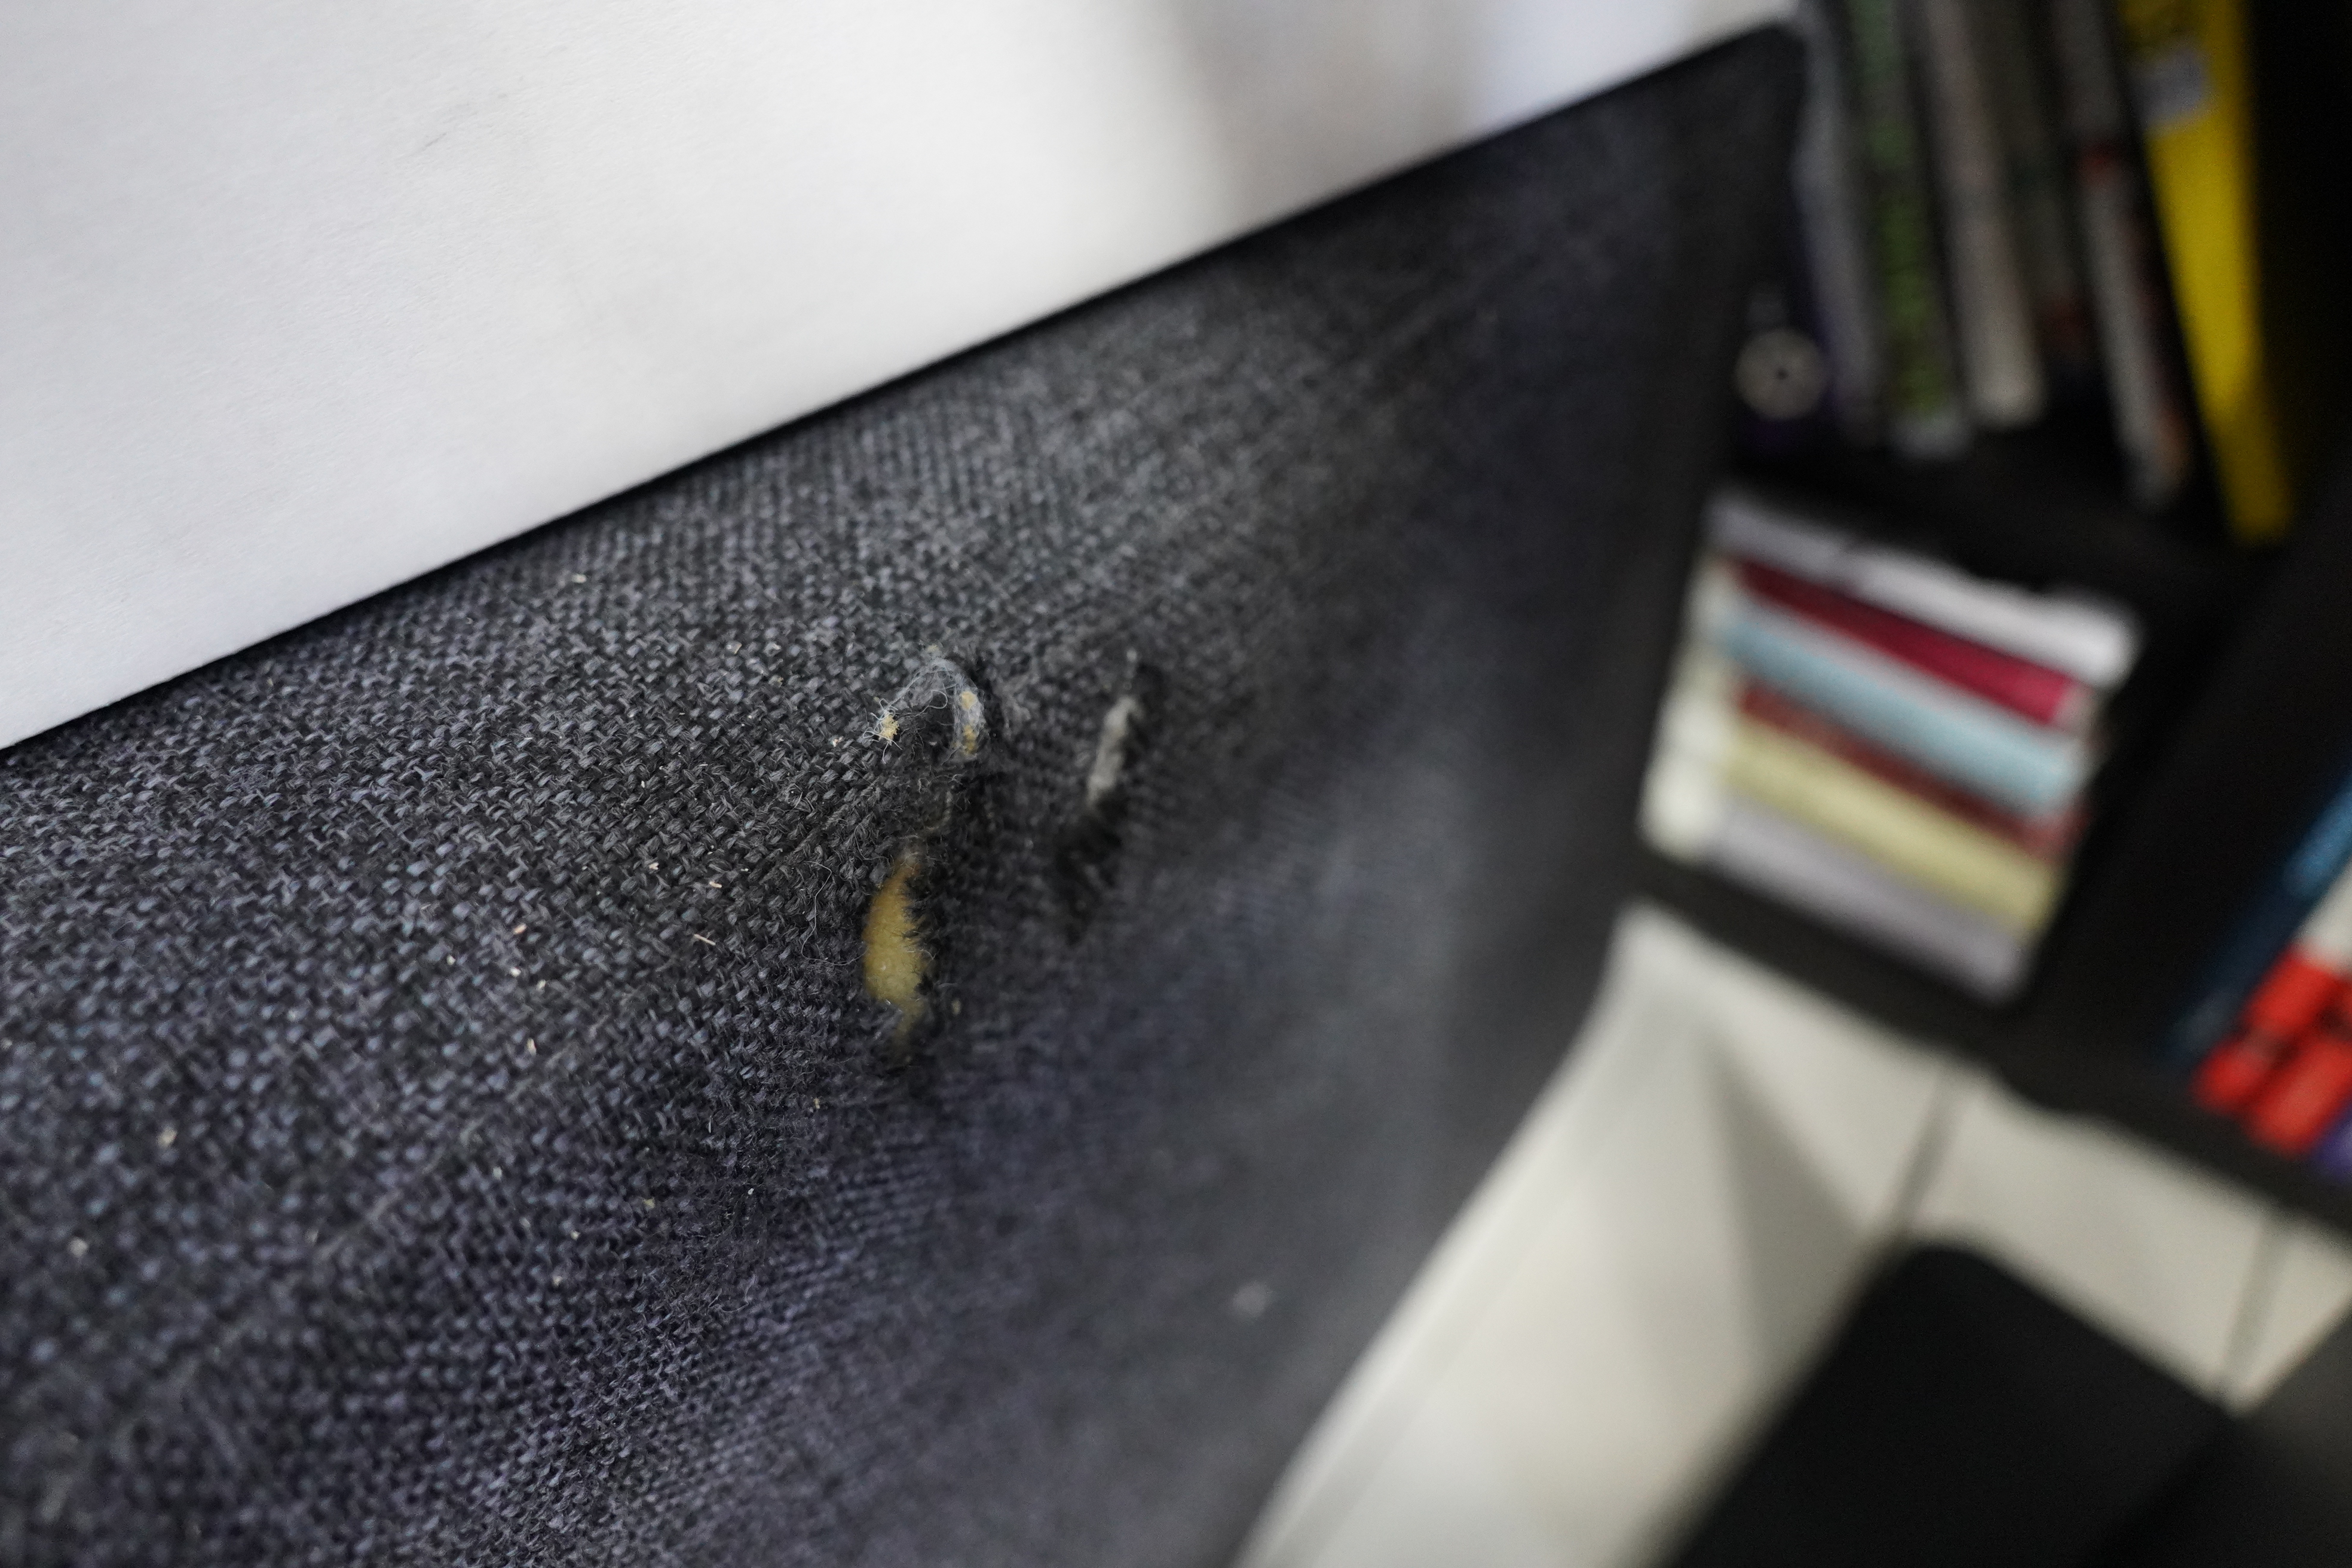
XIV) There’s a bunch of fun tools one can buy to make woodworking more fun.
Oh yeah… I forgot about the light sensor. The sensor works fine, and I’m using it to make everything on the screen dimmer. That works, but it really would be better if I could actually control the backlights, because even a totally black IPS screens emit a lot of light.
But I can’t see any screens of this size that allows controlling the backlights, so… I mean, OLED would be better, except for the burn-in — which would be extreme with a static display like this.
Anyway, I hereby declare alarm clock victory! It’s a build that my thirteen year old self would have been proud to have done!
Time to write a kernel driver to support the backlight on the screen.
If I understand correctly, these Waveshare screens just don’t support backlight control at all, so there’s nothing to be done.
I should have looked at the official documentation for this screen. To control the backlights, you have to do some soldering.
Just set the yocto-light luminosity setting to zero, and no more blinking light.