Street Music #1-6 edited by Mark Burbey.

Street Music is a somewhat unusual anthology. It’s mainly the vehicle for the “Street Music” serial, which takes up something between a third and a half of each issue, and which is written by the editor, Mark Burbey, and drawn by Bili Turner. Neither of them could be said to be veterans in comics at this point, and neither produced a significant body of work in comics after Street Music.
What makes the anthology odd is that a number of what might be considered “back up” features, perhaps, are done by people who either were really well known already, or who would go on to be, er, stars: Carol Tyler, Richard Sala, Mark Martin, Chester Brown…
So what’s it all about?
Realness.
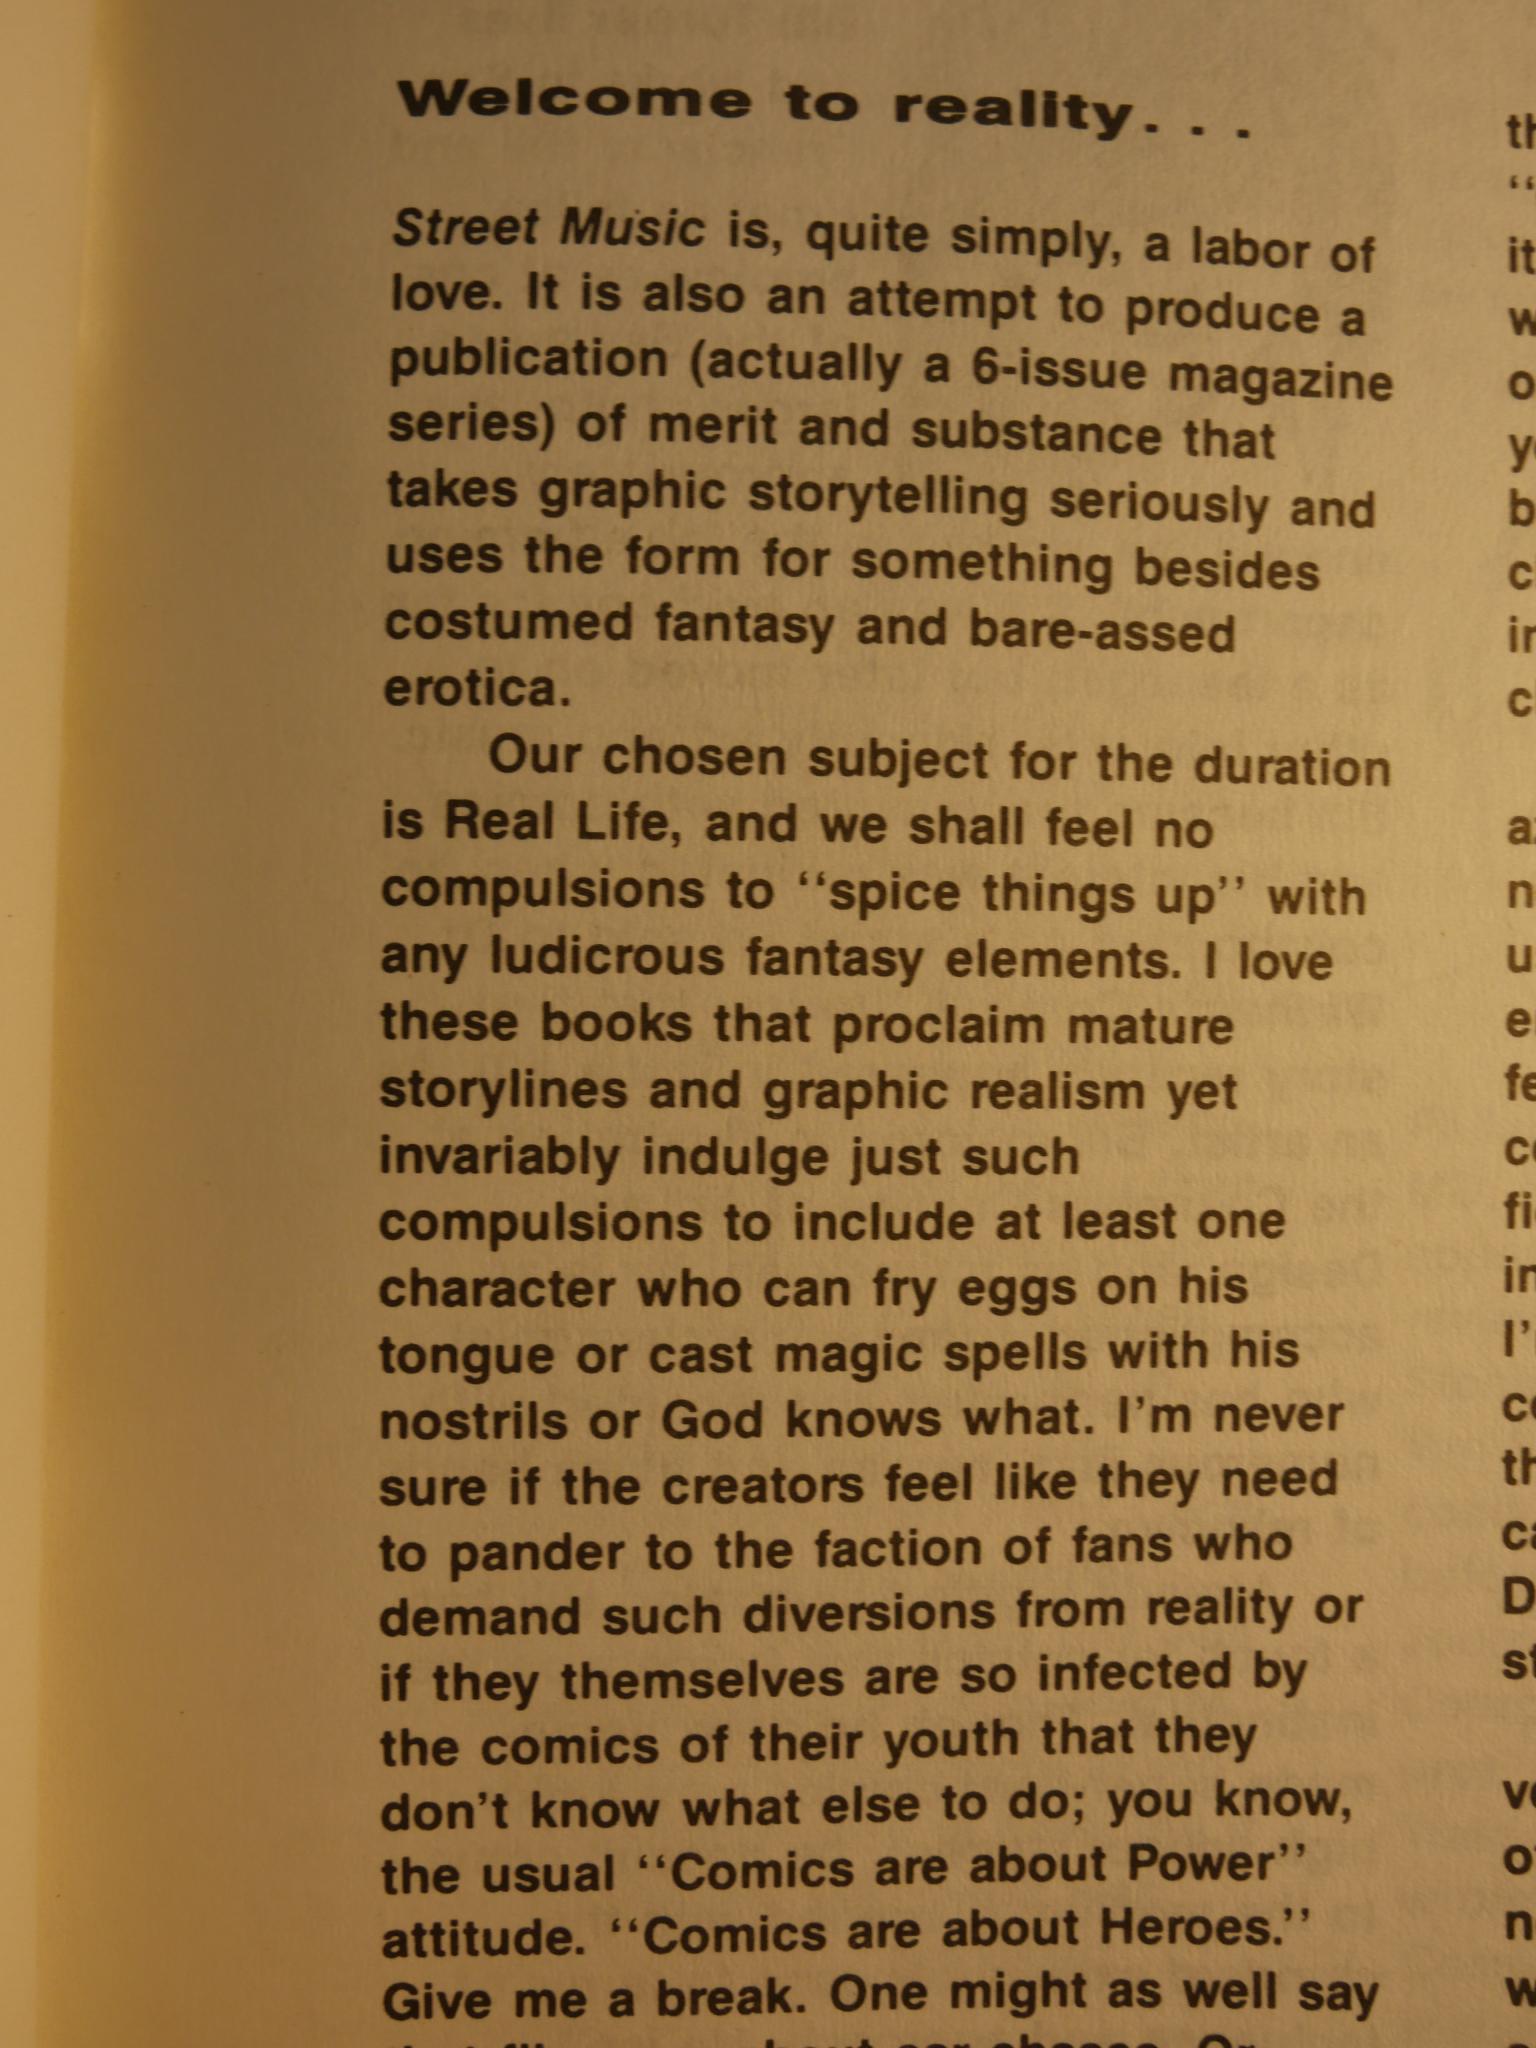
Burbey’s first editorial is somewhat reactive. He has more to say about those yucky super hero comics than what he finds positive about realism in comics. That’s totally fair, and especially in the late 80s. But what is realism for Burbey, though?
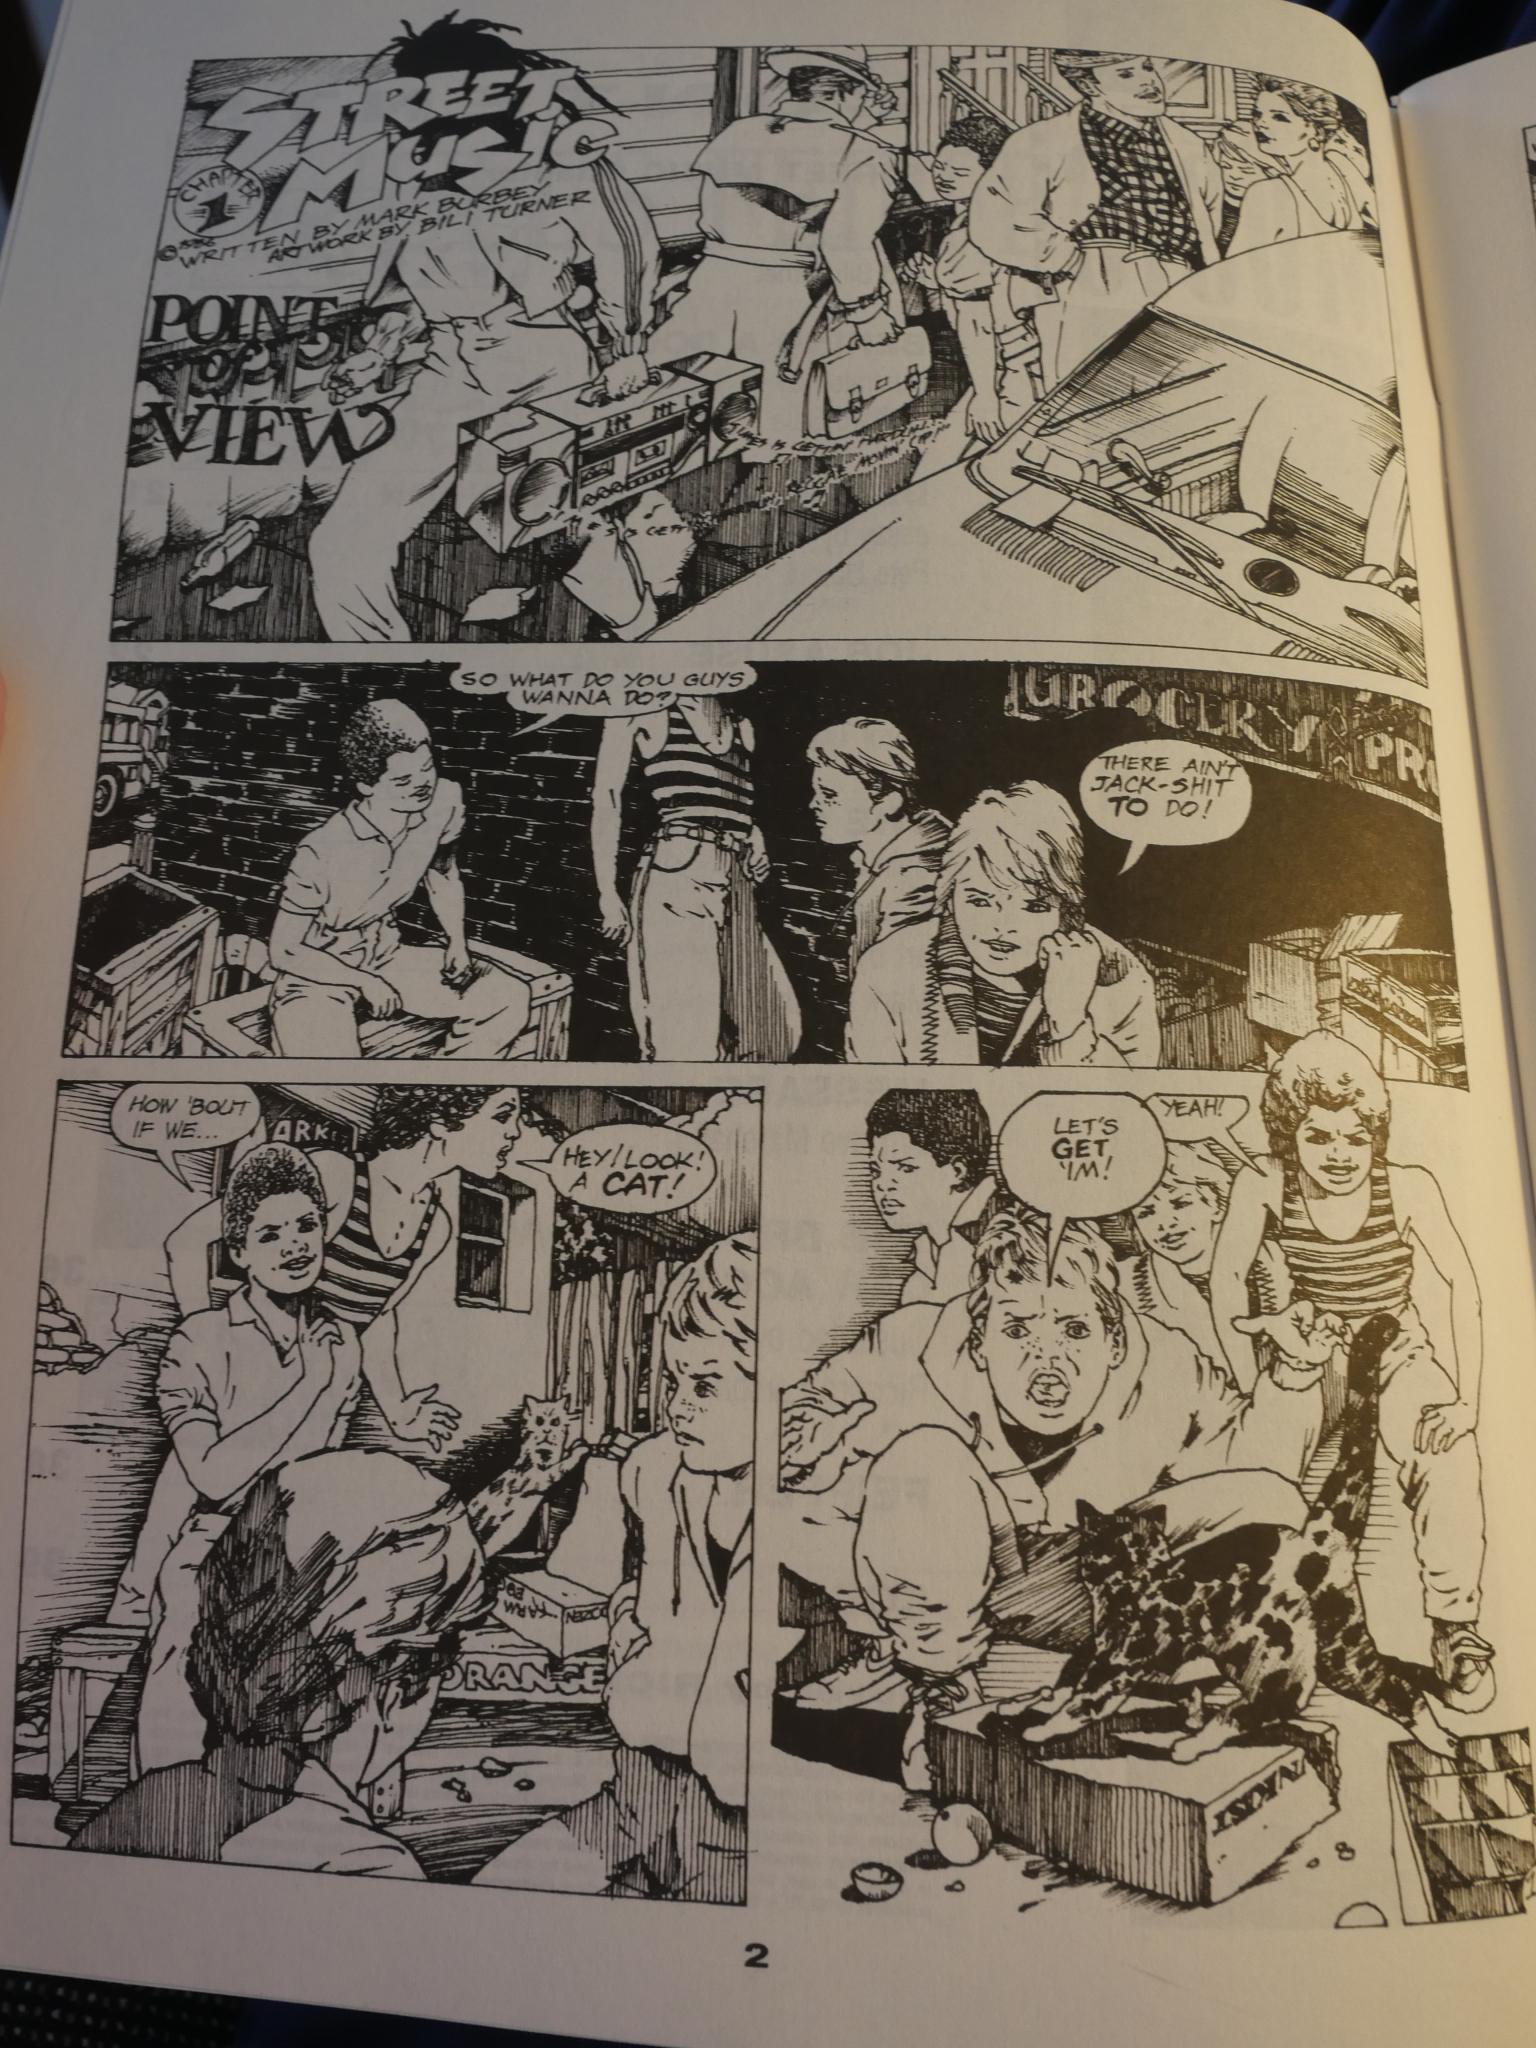
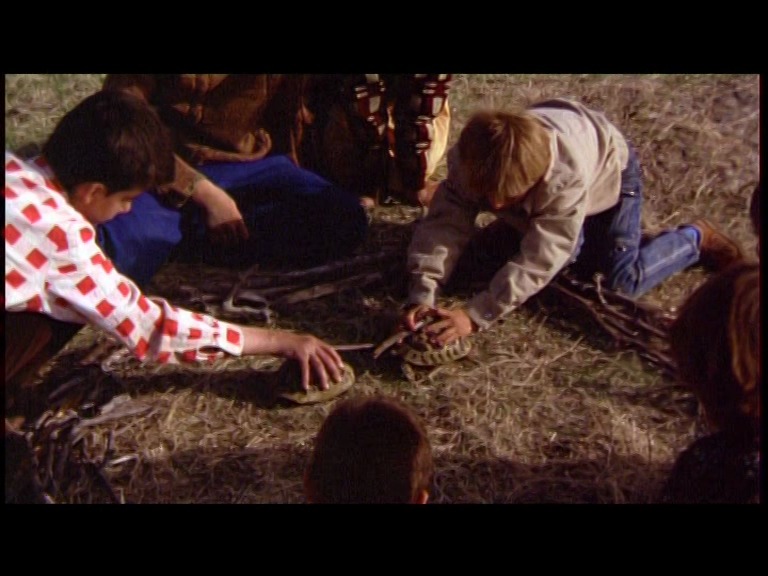
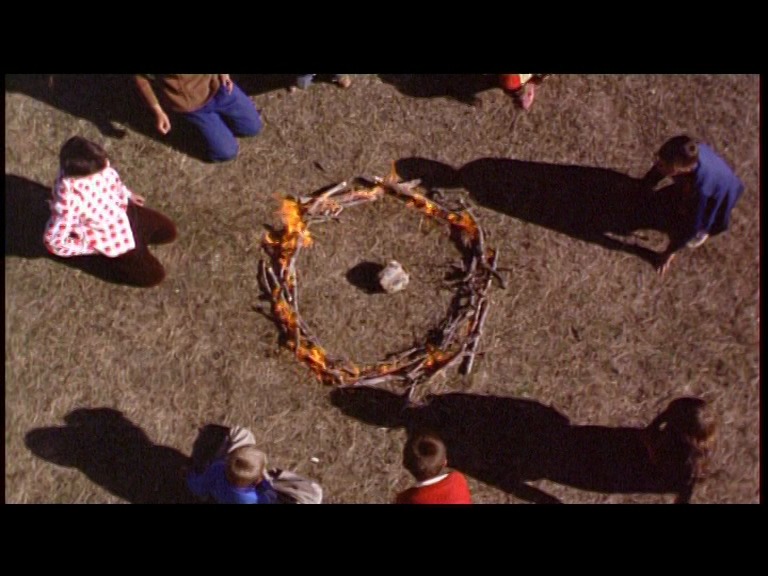
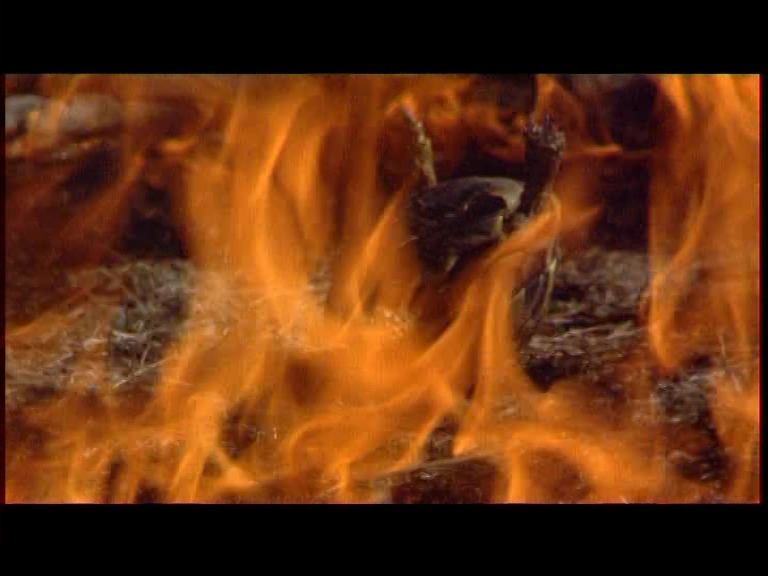
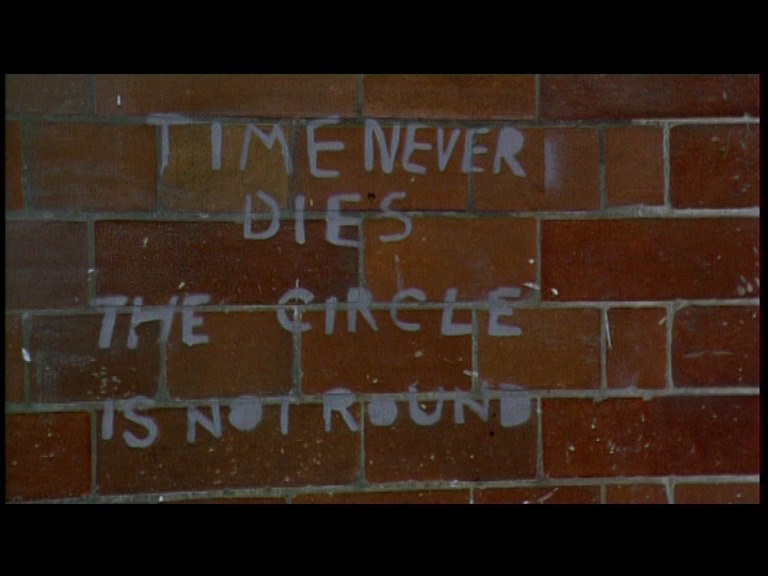
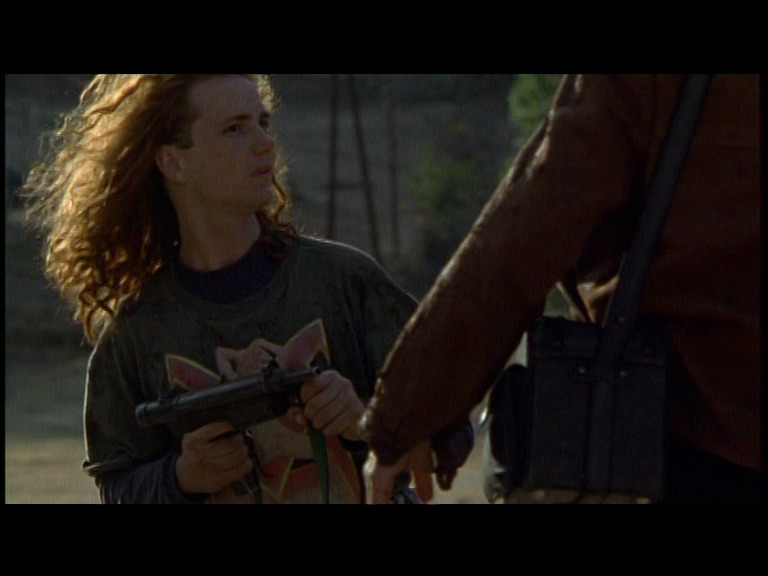
Here’s the first page from the first part of the “Street Music” serial, and it sets the tone. Realism is having conflict in every single scene. So on a typical afternoon, the bad kids want to torture a cat and the nice kid doesn’t want to, and drama ensues.
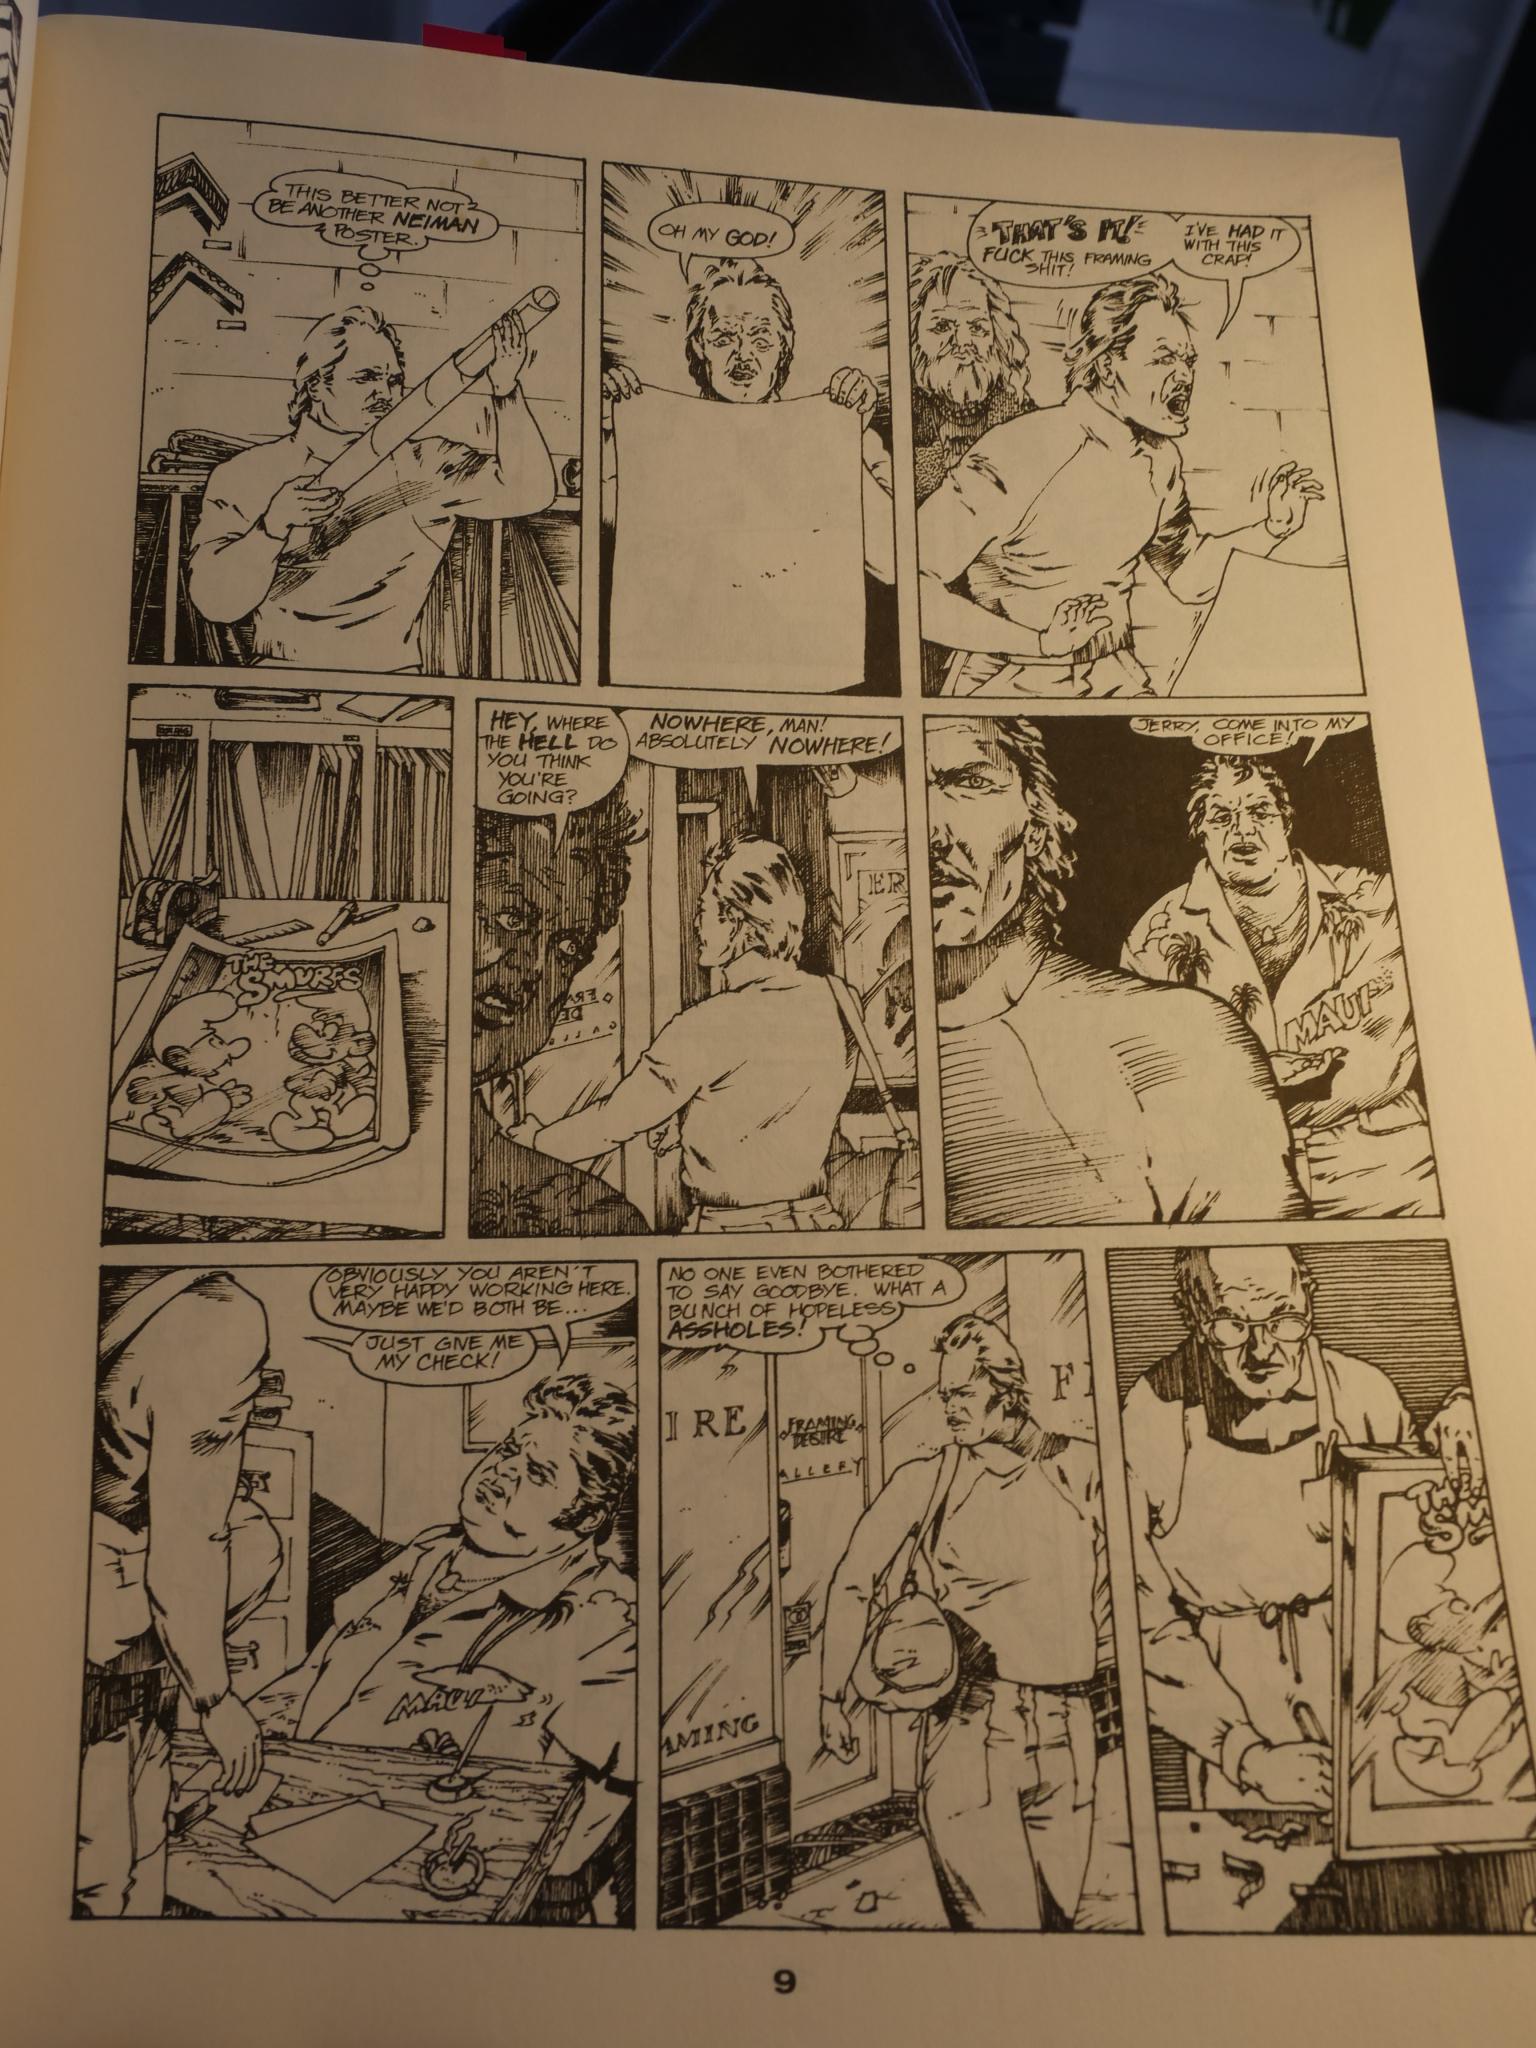
So much drama! Framing a Smurfs print is the thing that drives our protagonist here over the edge, quitting his framing job. It’s not that depicting conflict is bad, but it’s in virtually every scene. It made me wonder whether Burbey had read that “How to Write a Damn Good Novel: A Step-by-Step No Nonsense Guide to Dramatic Storytelling” by James Frey just before starting to write. His main idea is that every scene (every scene) should have both a primary and a secondary conflict. Otherwise that scene is boring and a waste.
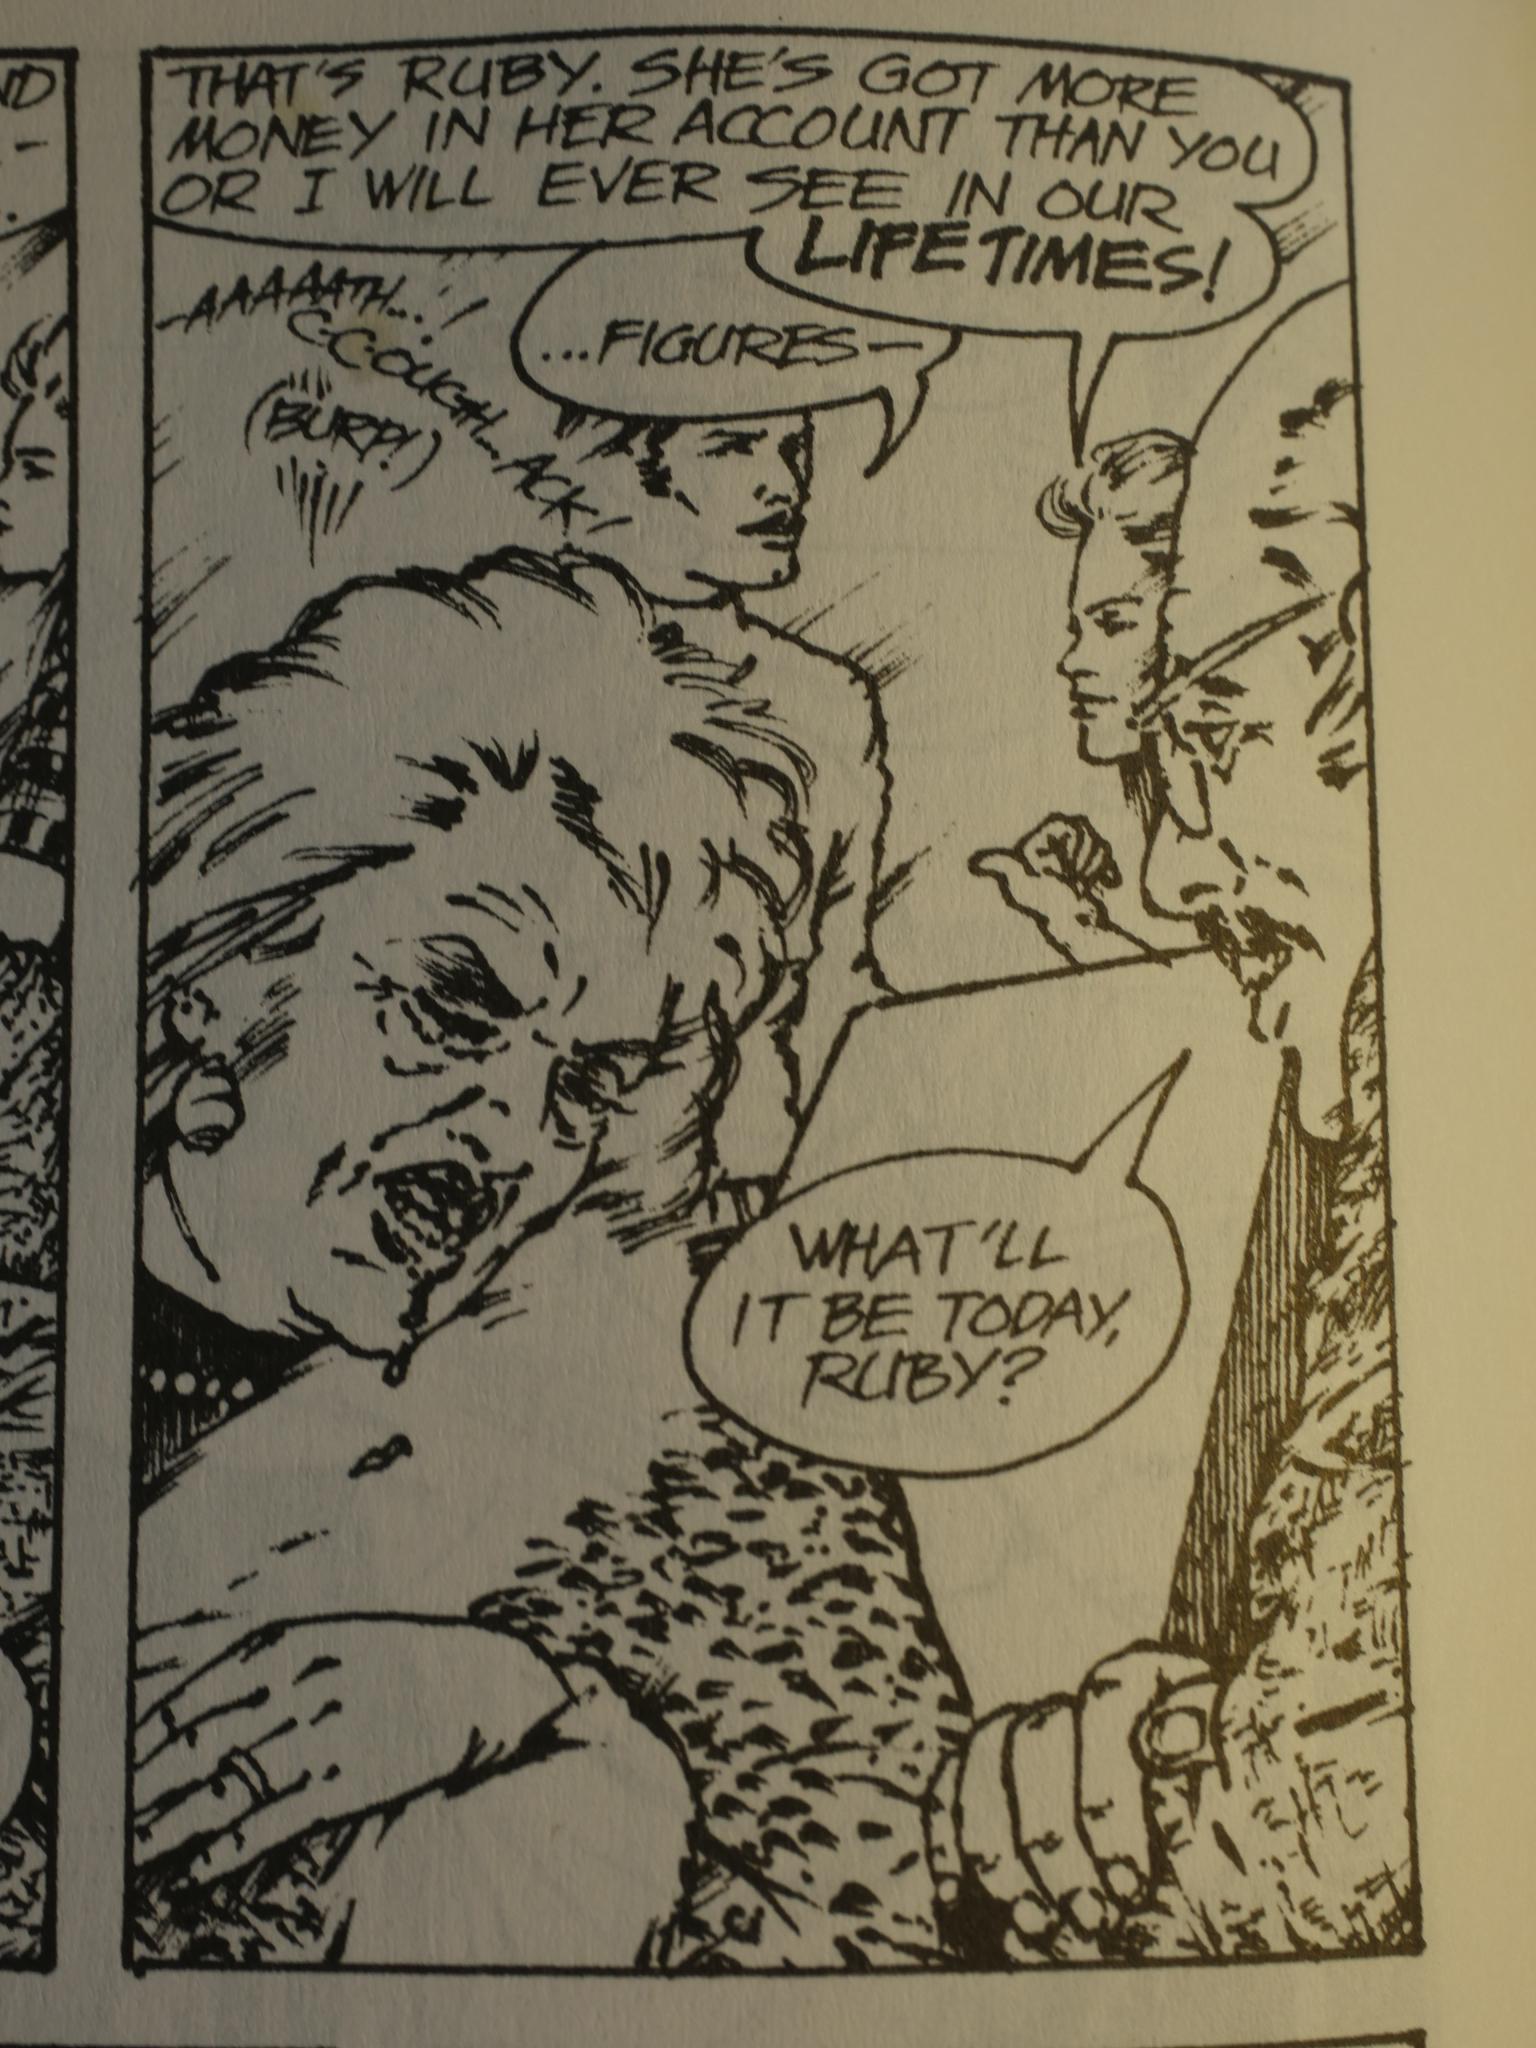
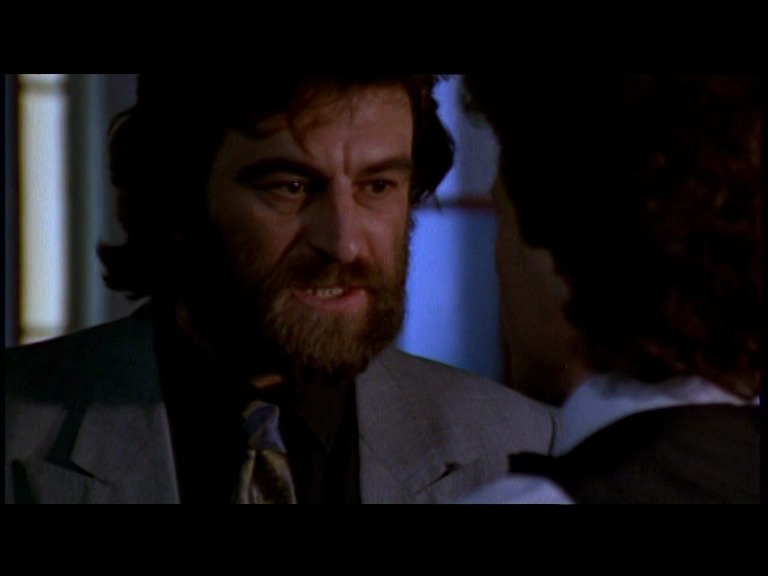
Working in banking, this scene totally horrified me. Somebody working for a bank blabbing to a customer about how much money another customer has? Where are my pearls! I need something to clutch! *swooning*
*smelling salts*
That better. Richard Sala illustrates a short little story by Burbey, and it works wonderfully. Sala’s characters are even weirder when he’s doing art for a normal, mundane story than for his own, weird stories. Love it.
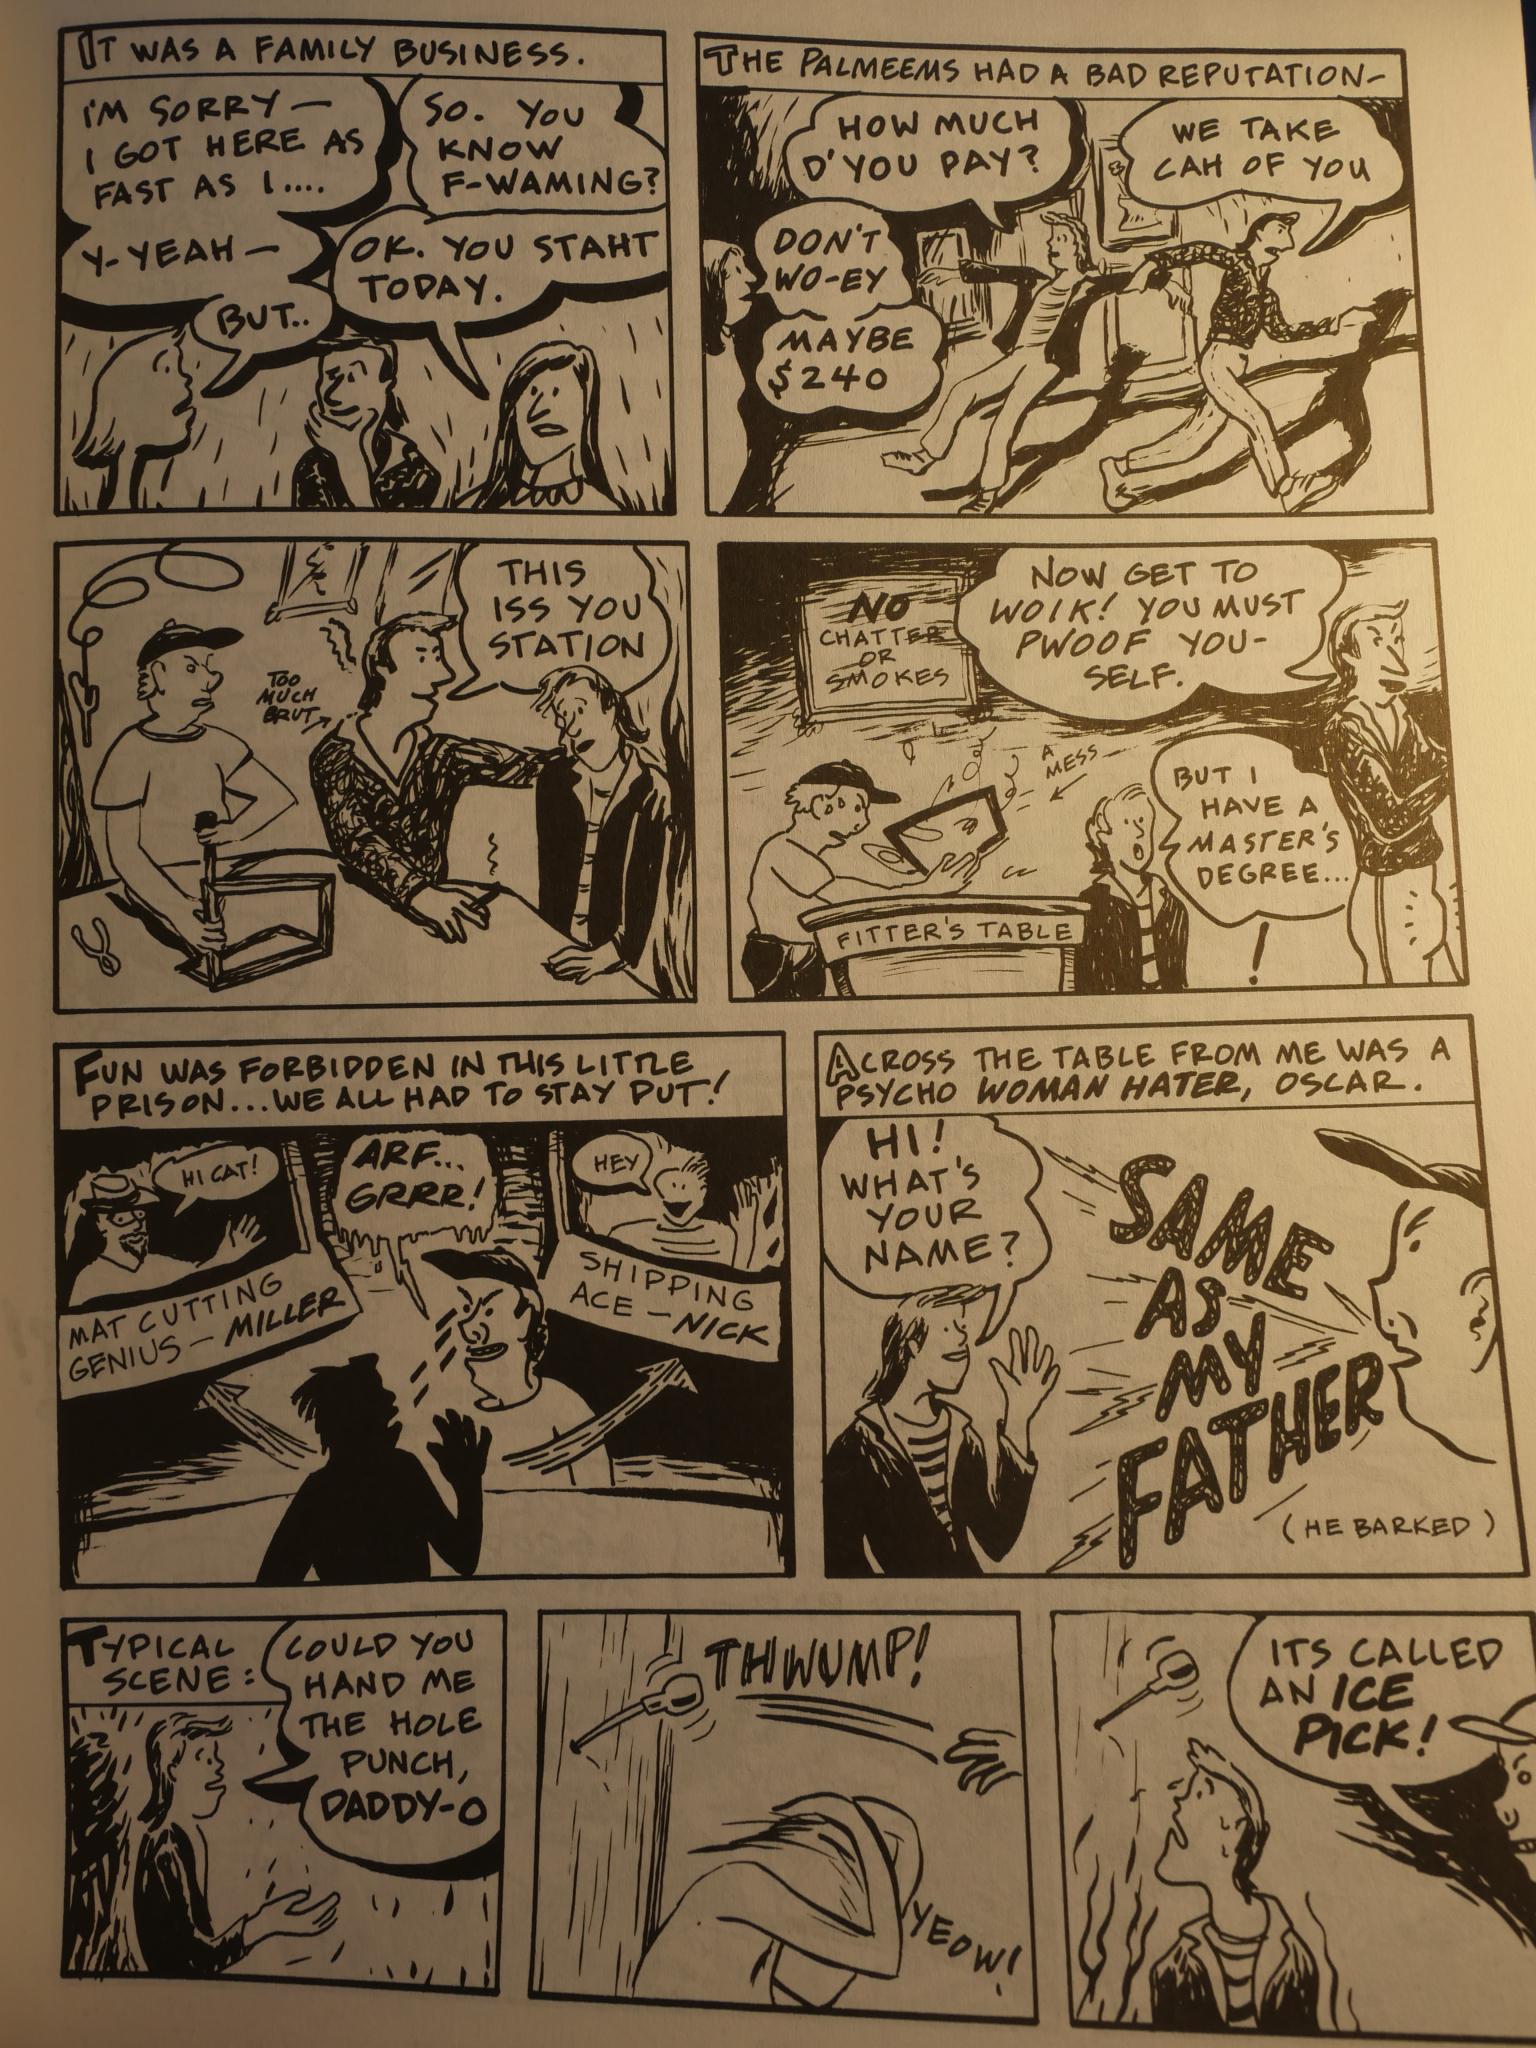
And I also adore Carol Tyler’s stories. There’s one in just about every issue of Street Music, and they’re all funny and interesting and wonderfully drawn. Here she is working in the framing business, which is something of a theme in this anthology. (I believe all her stories were collected in the Job Thing collection a few years later, and it’s highly recommended.)
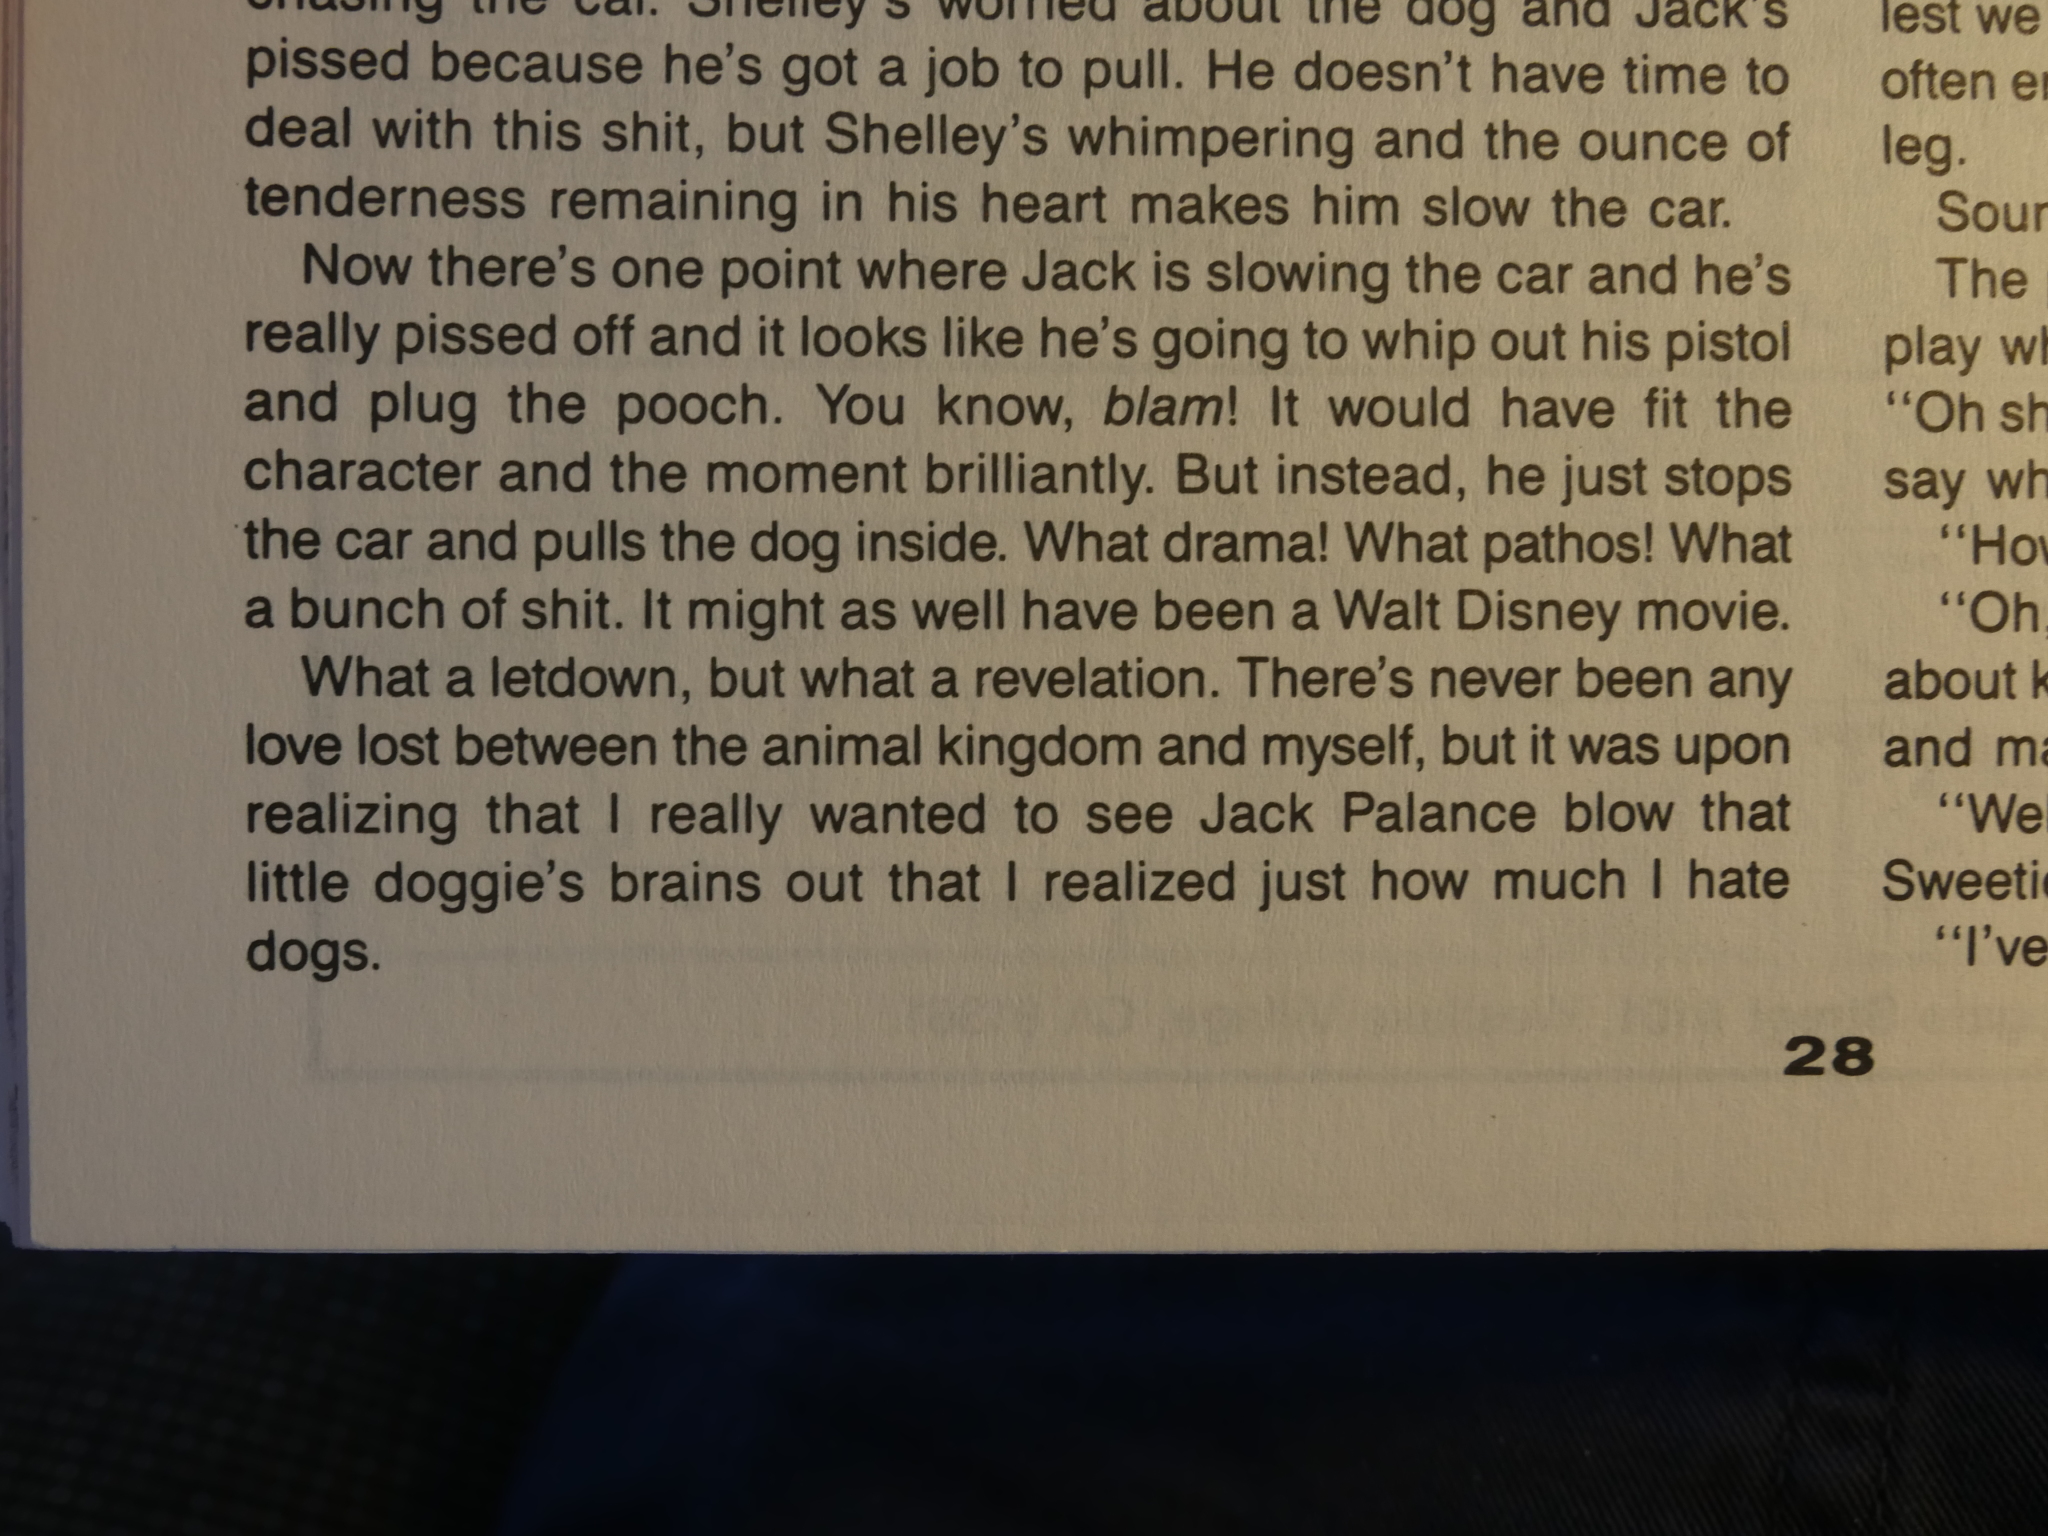
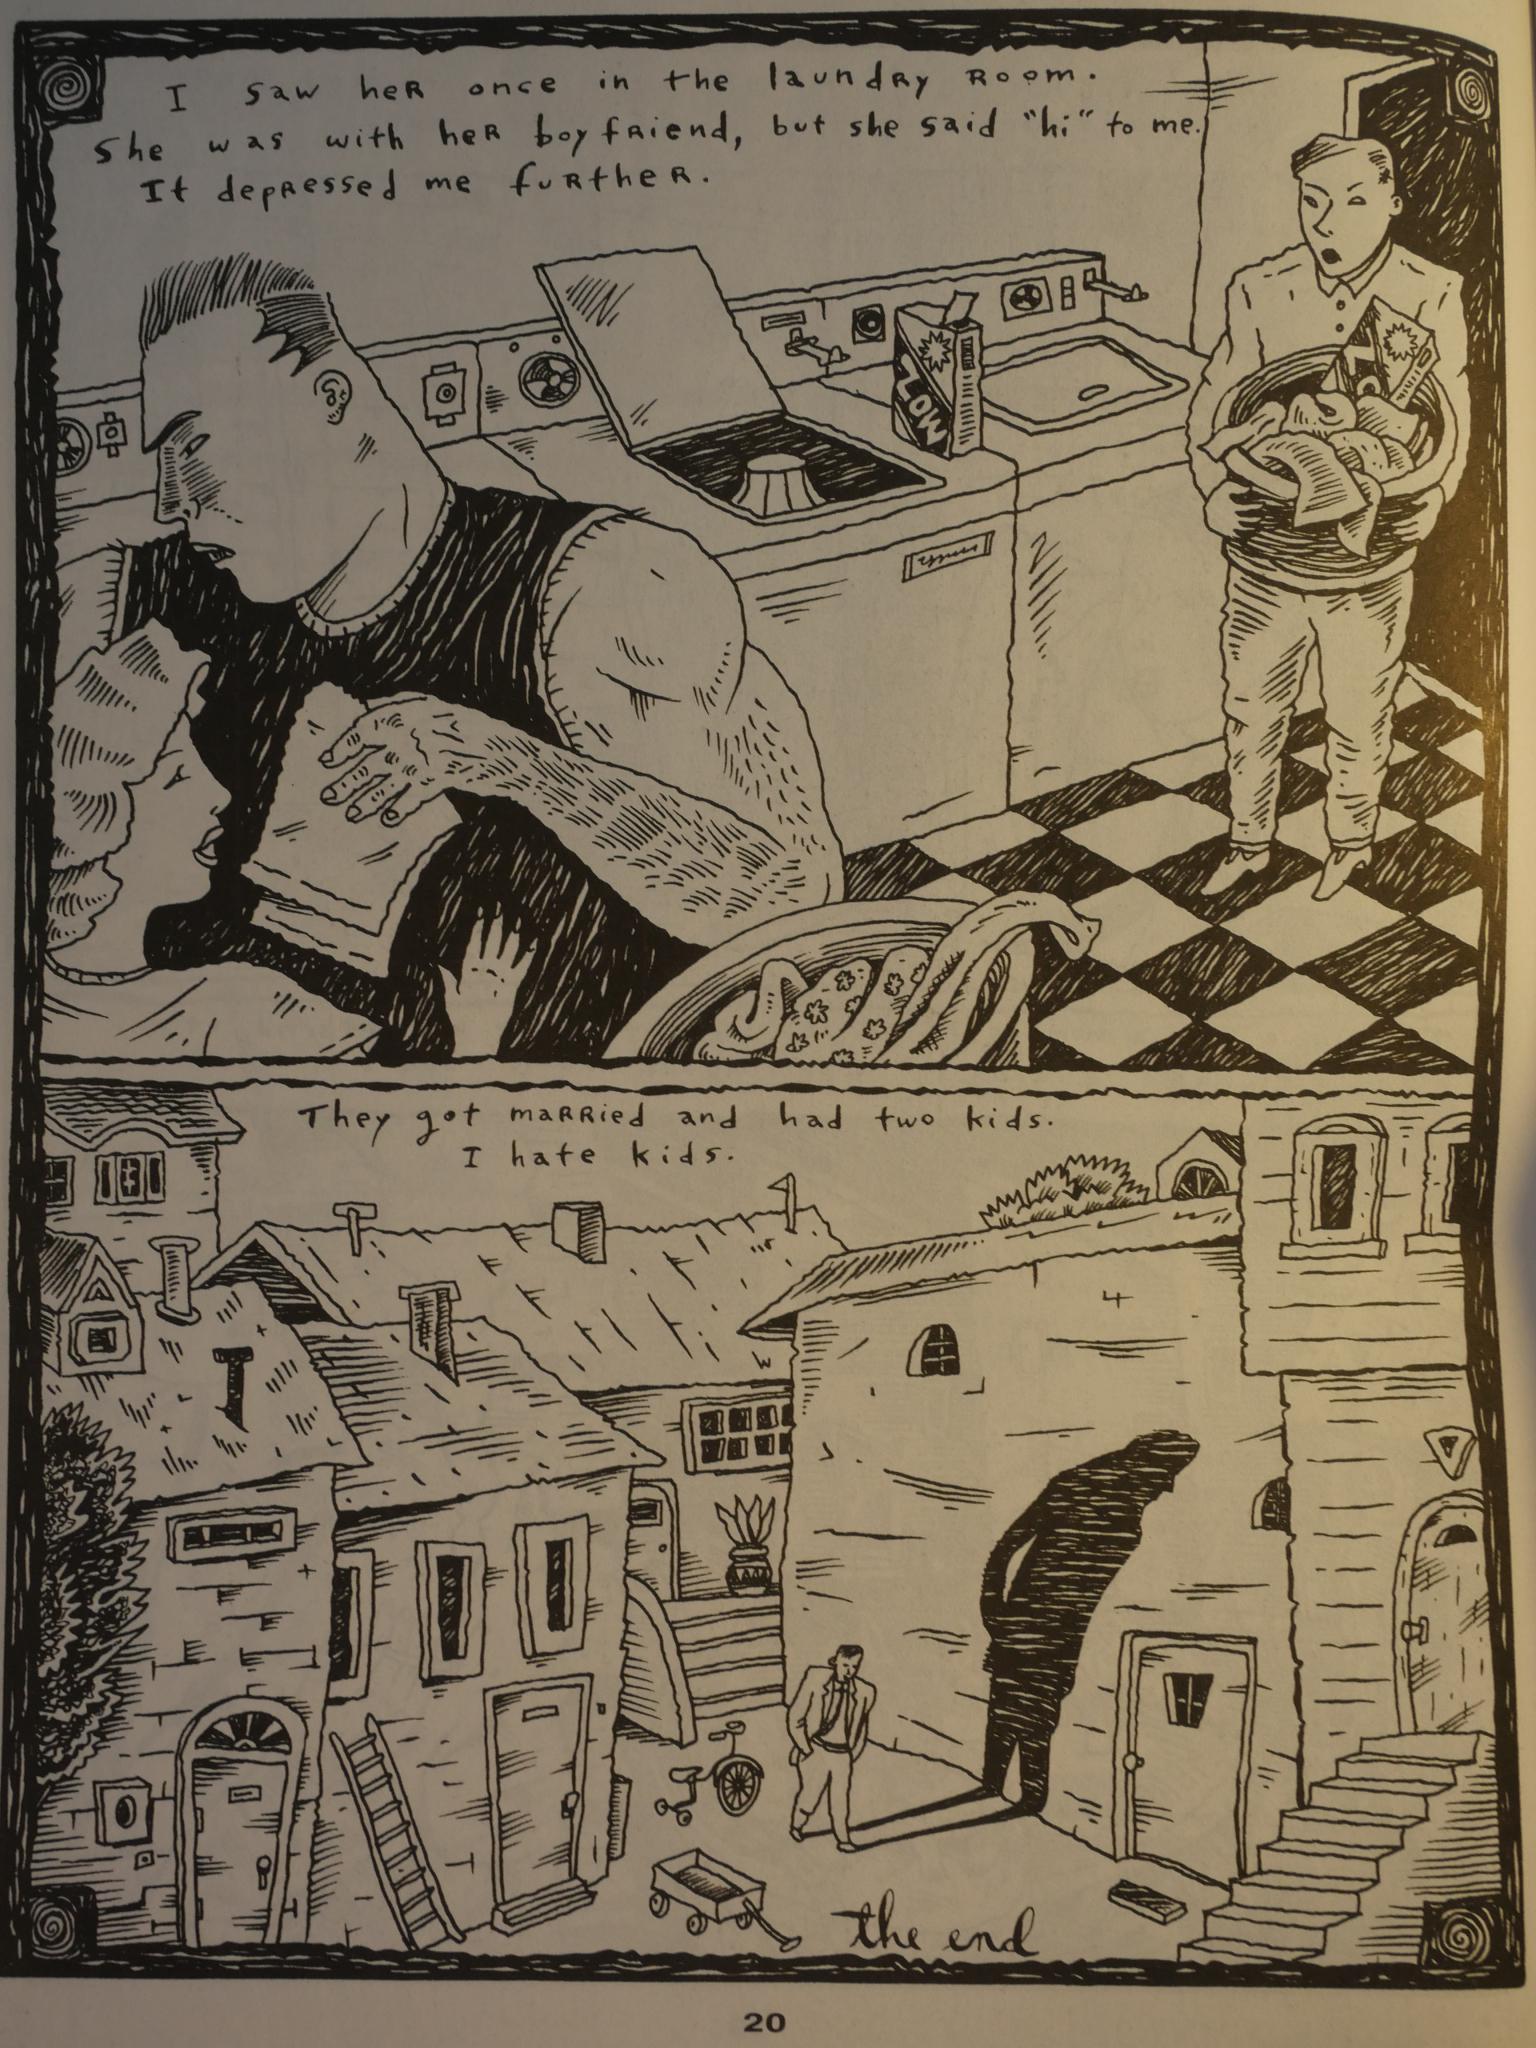
Every issue also has a few text pieces. This one is by Michael Now and it’s about how dogs are awful.

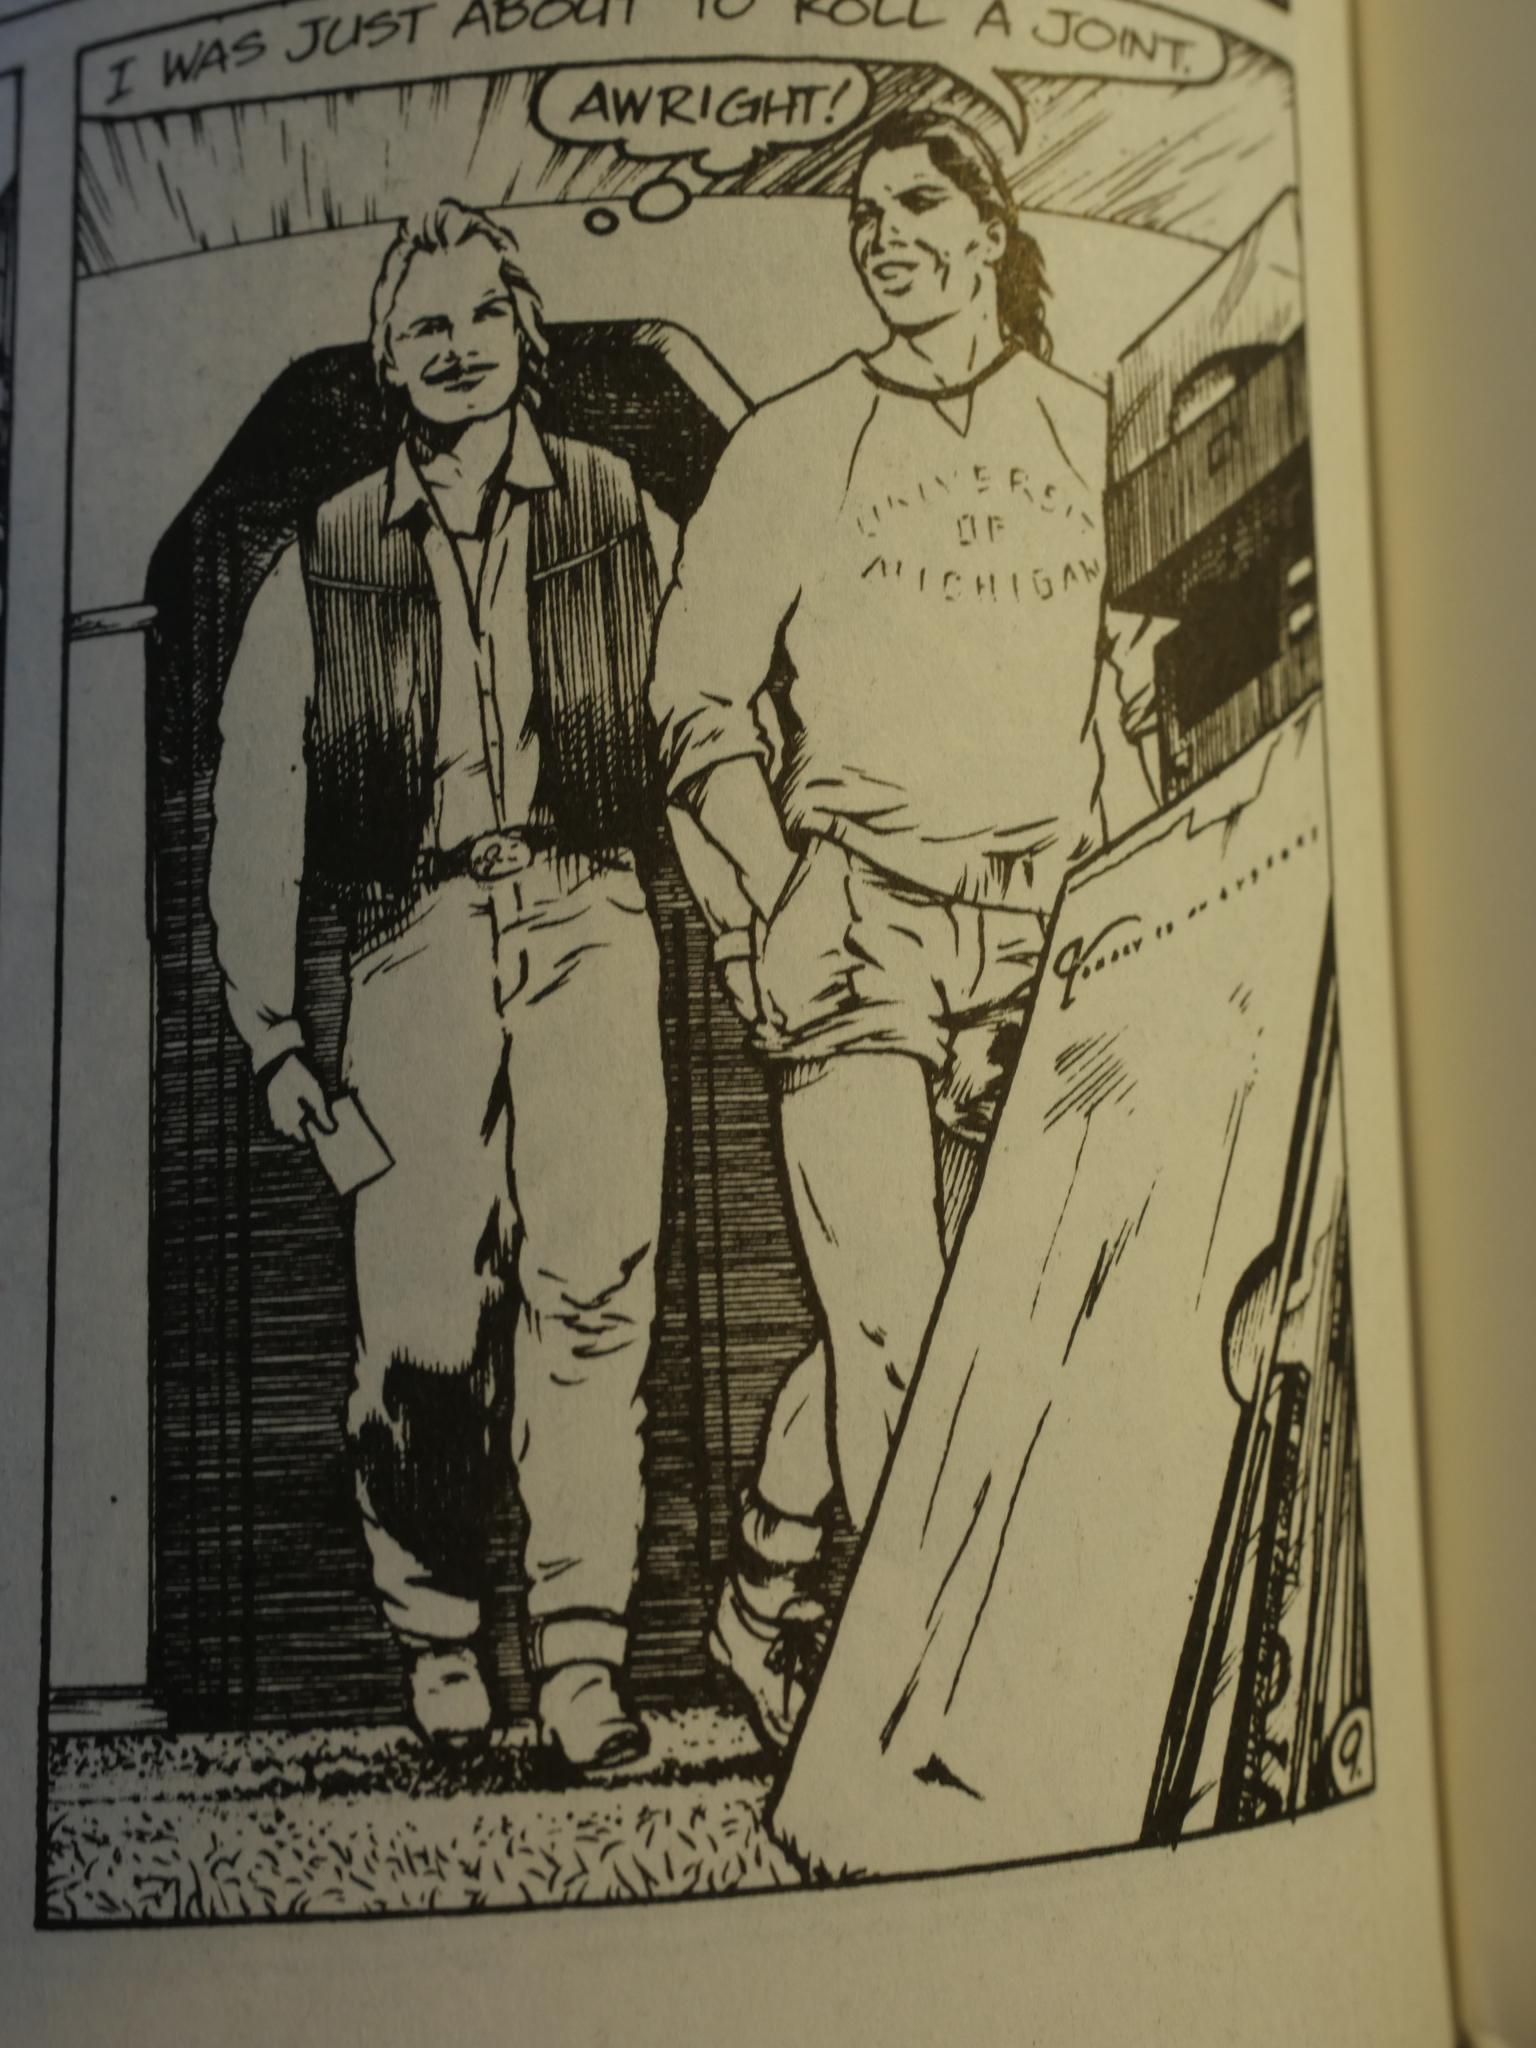
One other problem with the main serial (apart from the So Much Drama bit) is Bili Turner’s inconsistent artwork. Things seldom seem to fit together. Is that a very tiny car? Is the driver’s body supposed to poke out underneath the car? Or is there no motor under that hood, but instead a place to extend your feet? And why is the standing woman’s head so high and narrow?
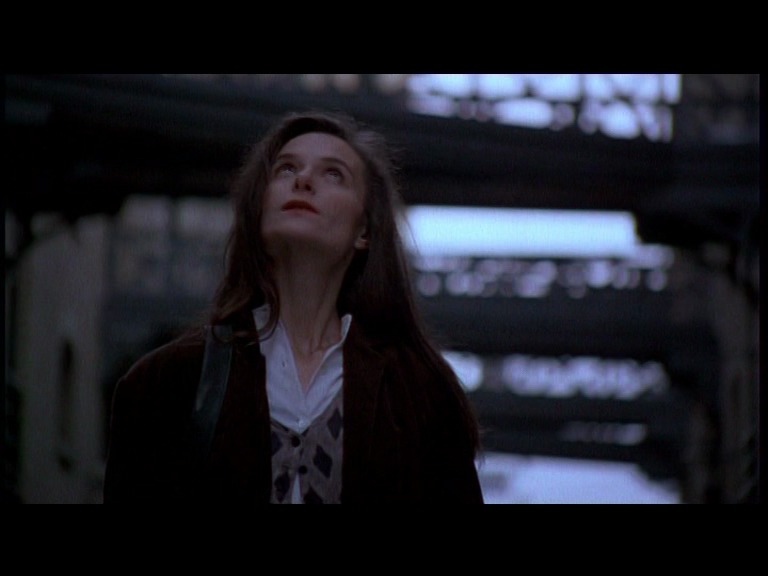
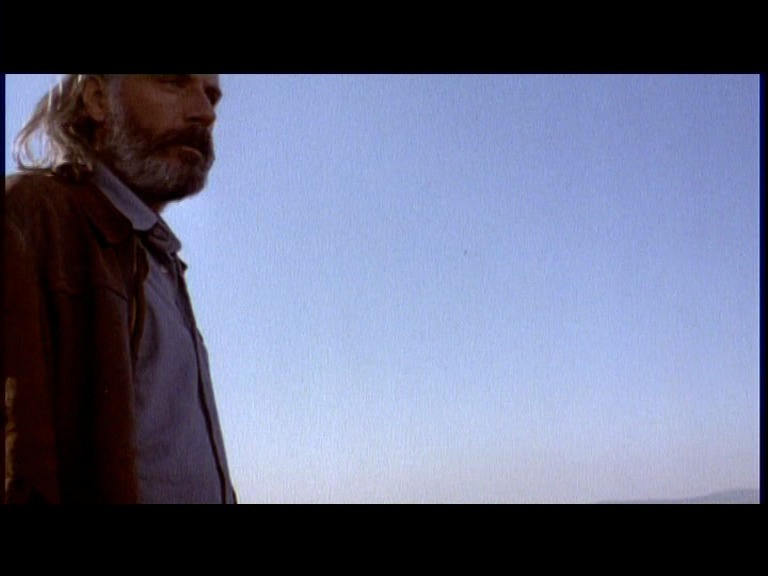
And then the very next panel:

Gorgeous.
Despite the flaws in the main serial, it does work. I mean, I did care about the characters, and I was interested in what happened. I found it to be an enjoyable read, and quite touching.
And such good taste in music! That’s the sleeve of the 4AD compilation “Lonely is an Eyesore”.
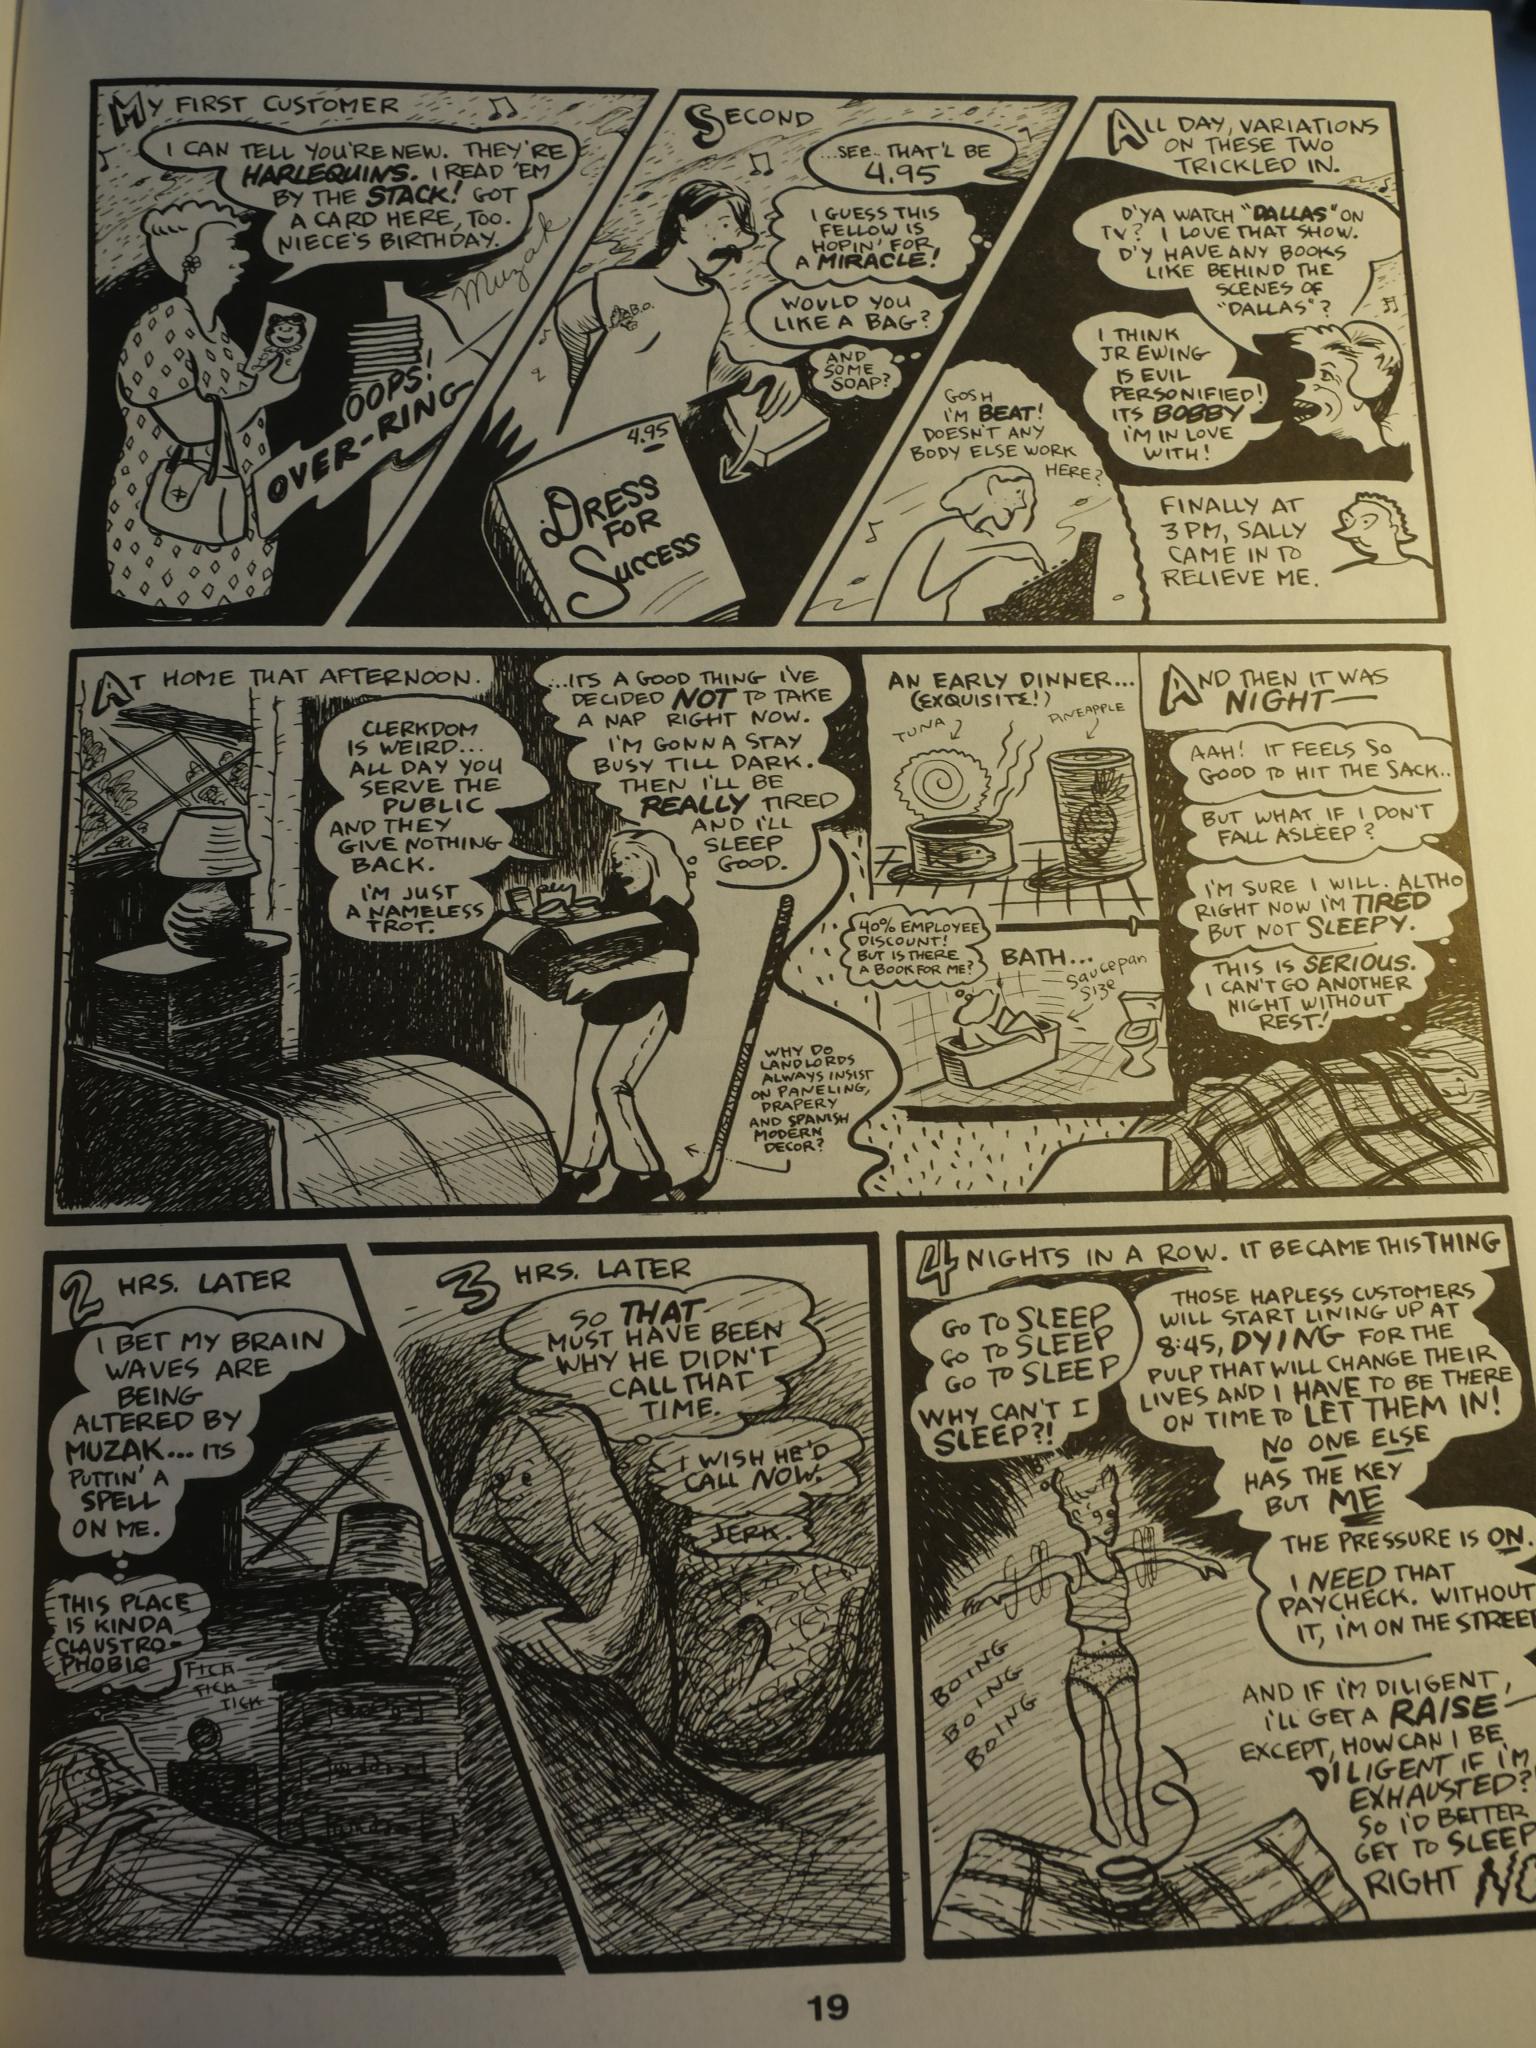
Meanwhile, Carol Tyler continues with her stories about various jobs. I found this one about working in a book store in the boondocks particularly funny. And her artworks just continues getting better.
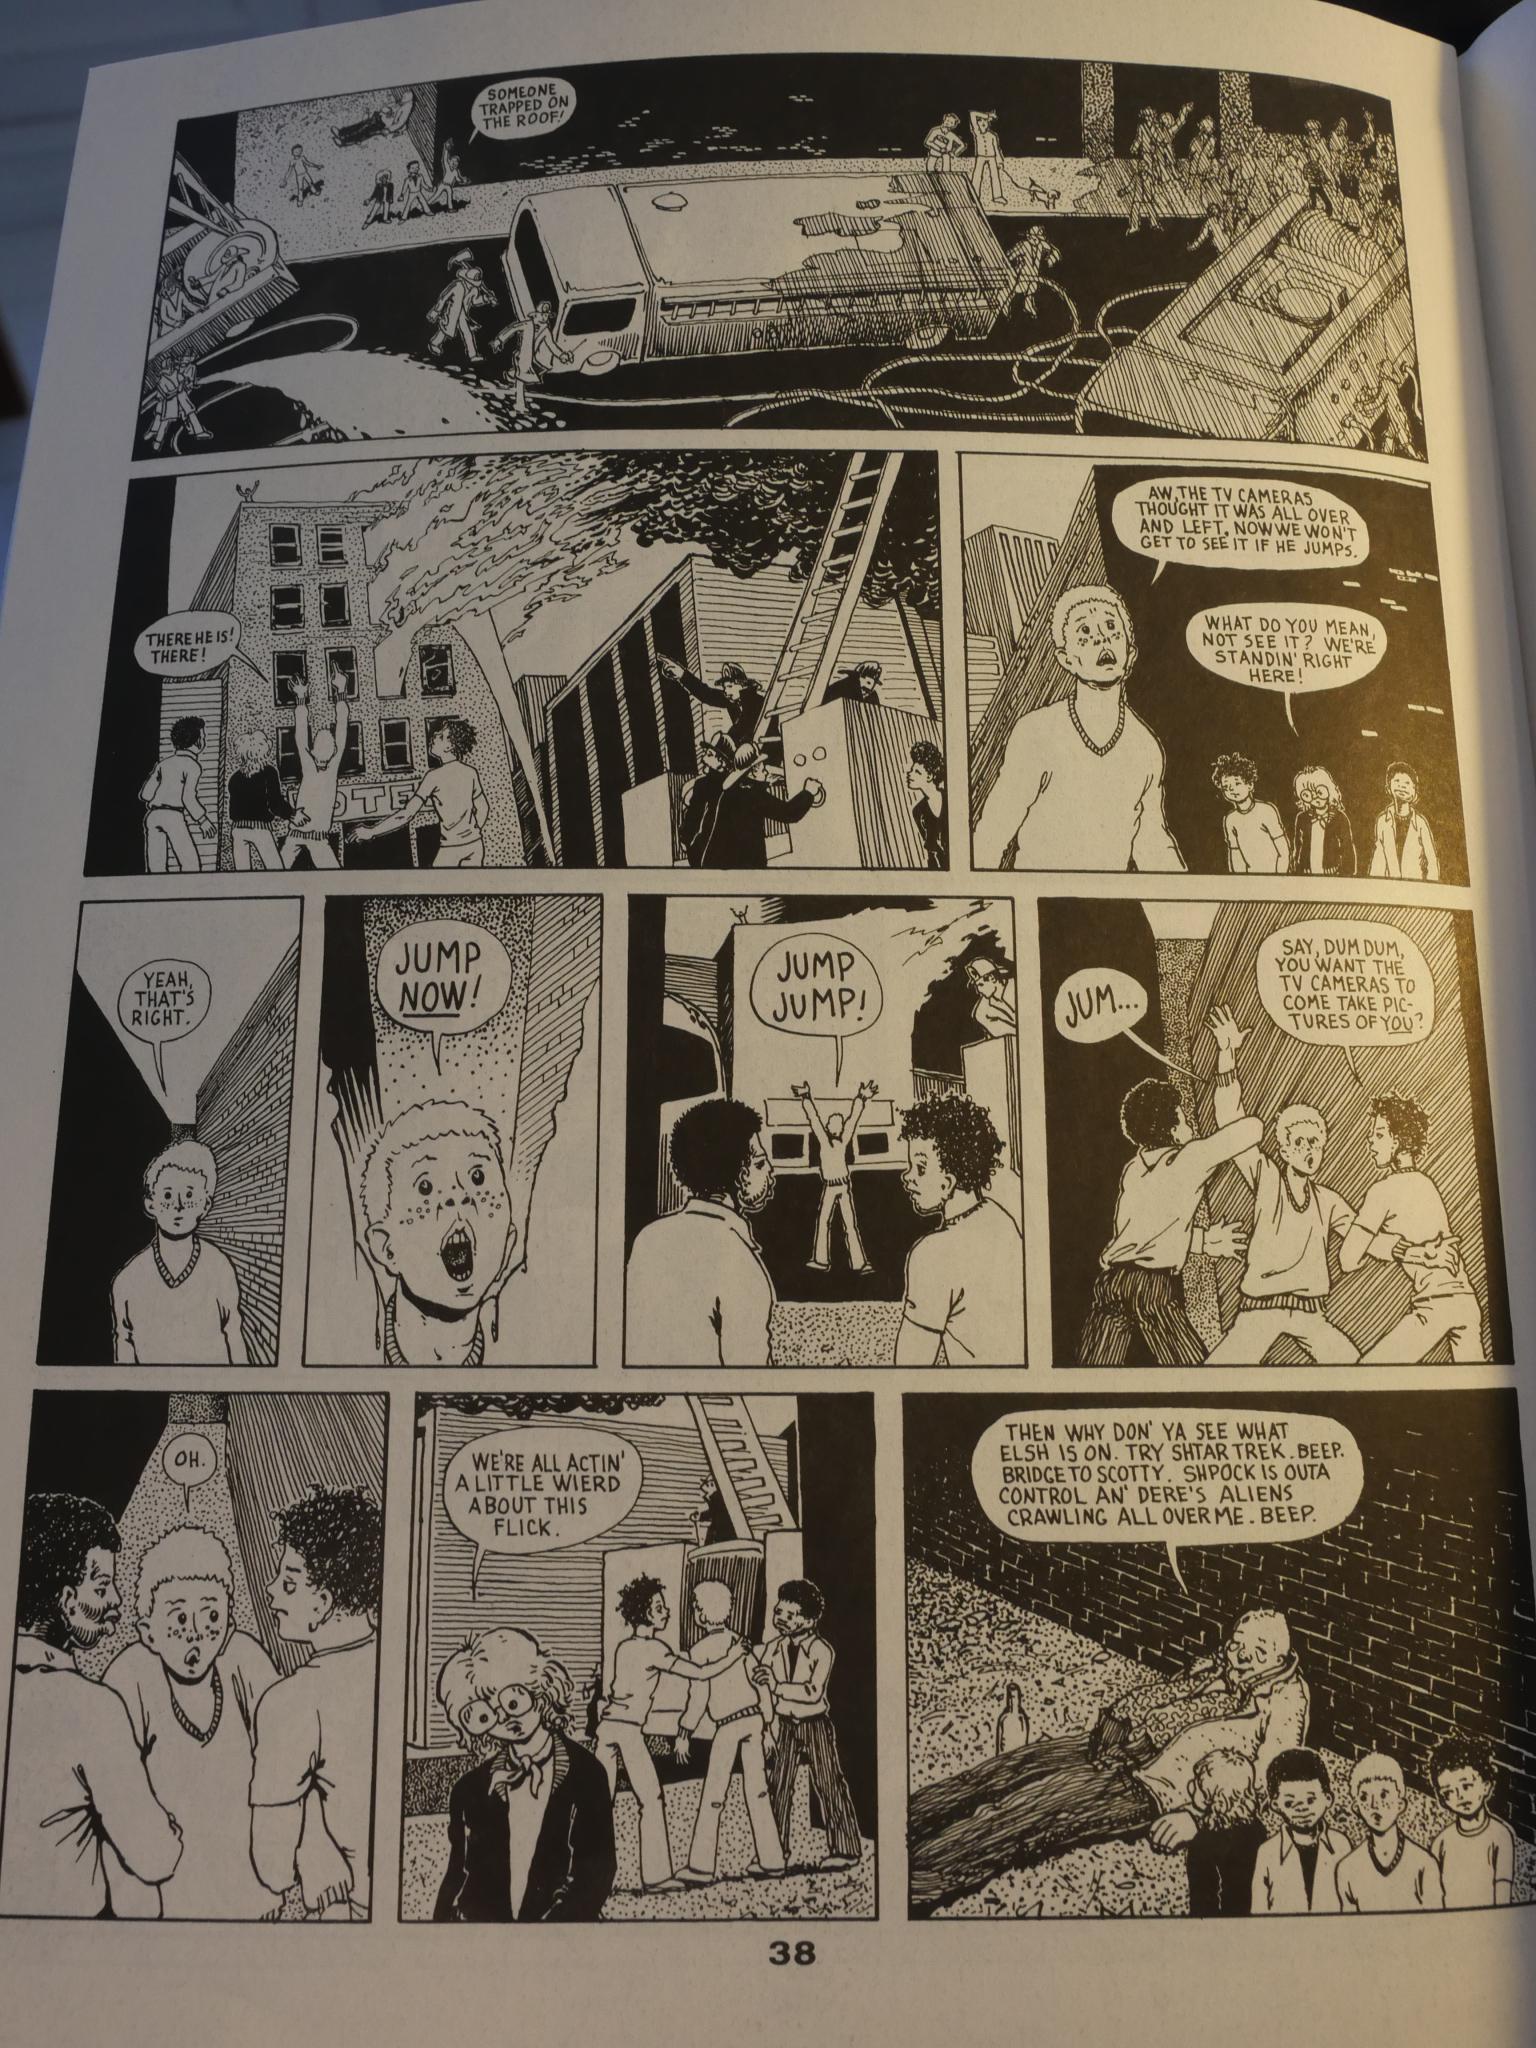
While being kinda “undergroundey”, the only underground artist to appear in Street Music is Guy Colwell, most famous for his Inner City Romance comics from the early 70s. It does fit in with the theme of the anthology very well.

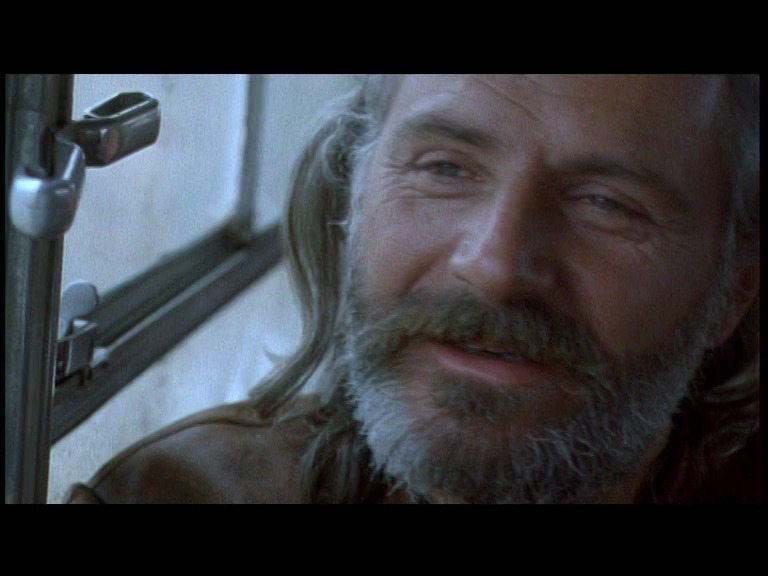
Issue four has a really lovely cover by Chester Brown that refers to this piece by Burbey and Dave Marshall:
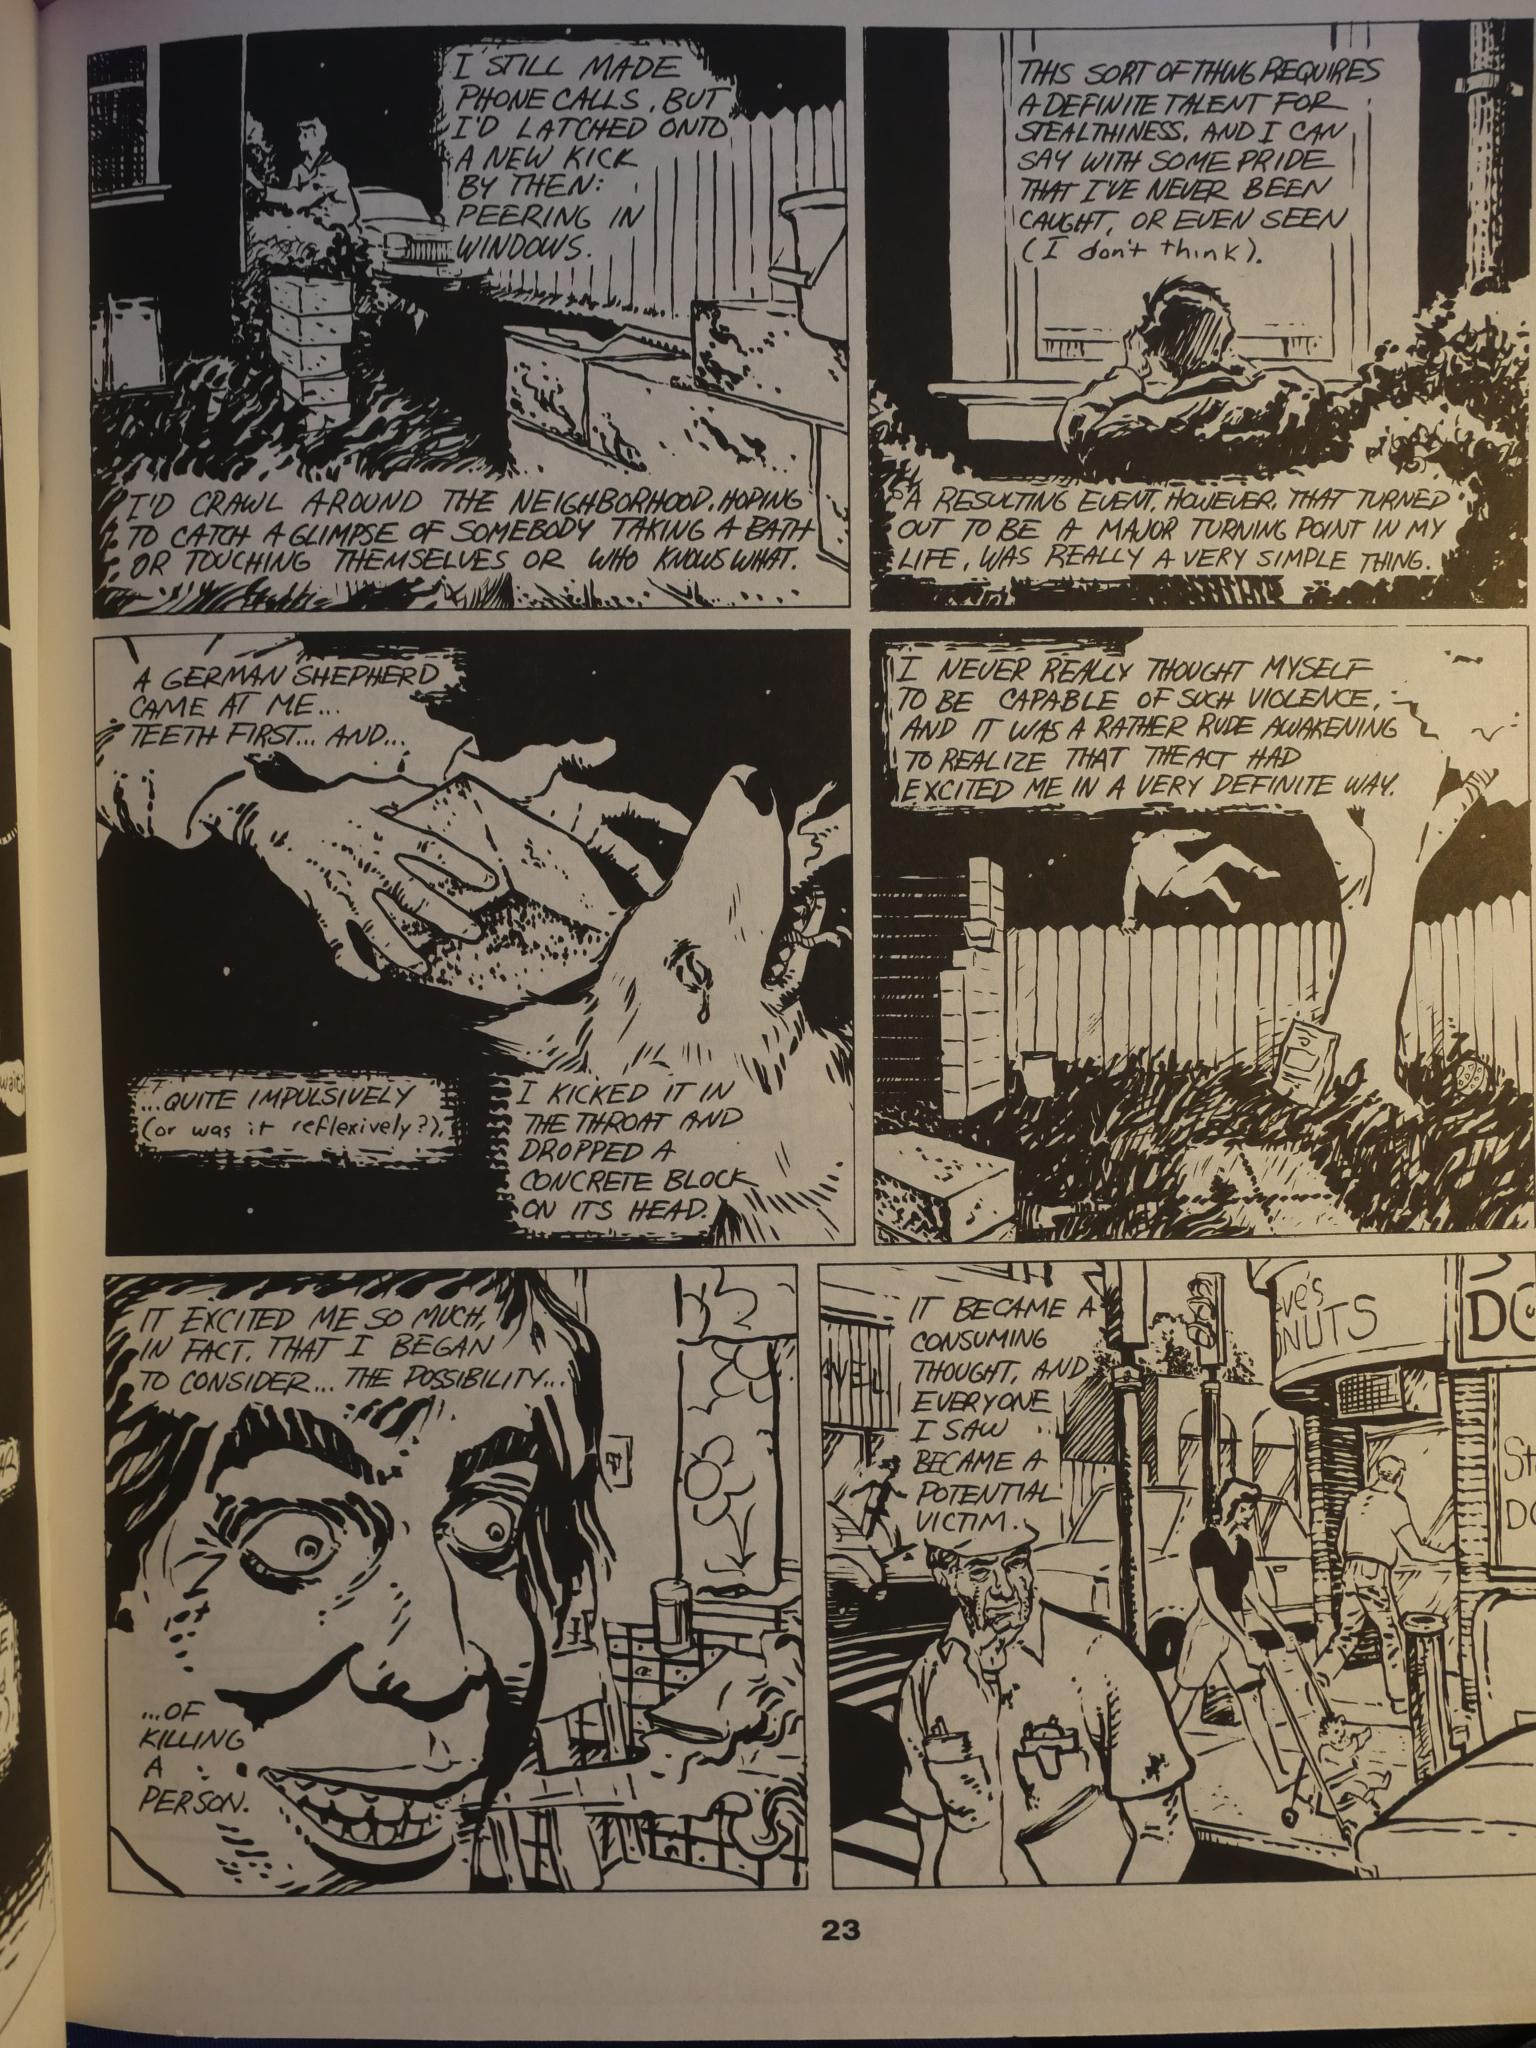
Which is a story originally written for the horror anthology Taboo, but which was rejected because it wasn’t horror-ey enough. It’s about a serial killer and how he got to be that way, and I don’t need to hum more bars: You already know all the details without reading this story. So, less real than just a recap of all the cliches you know about serial killers. It’s still a pretty powerful and horrific story.
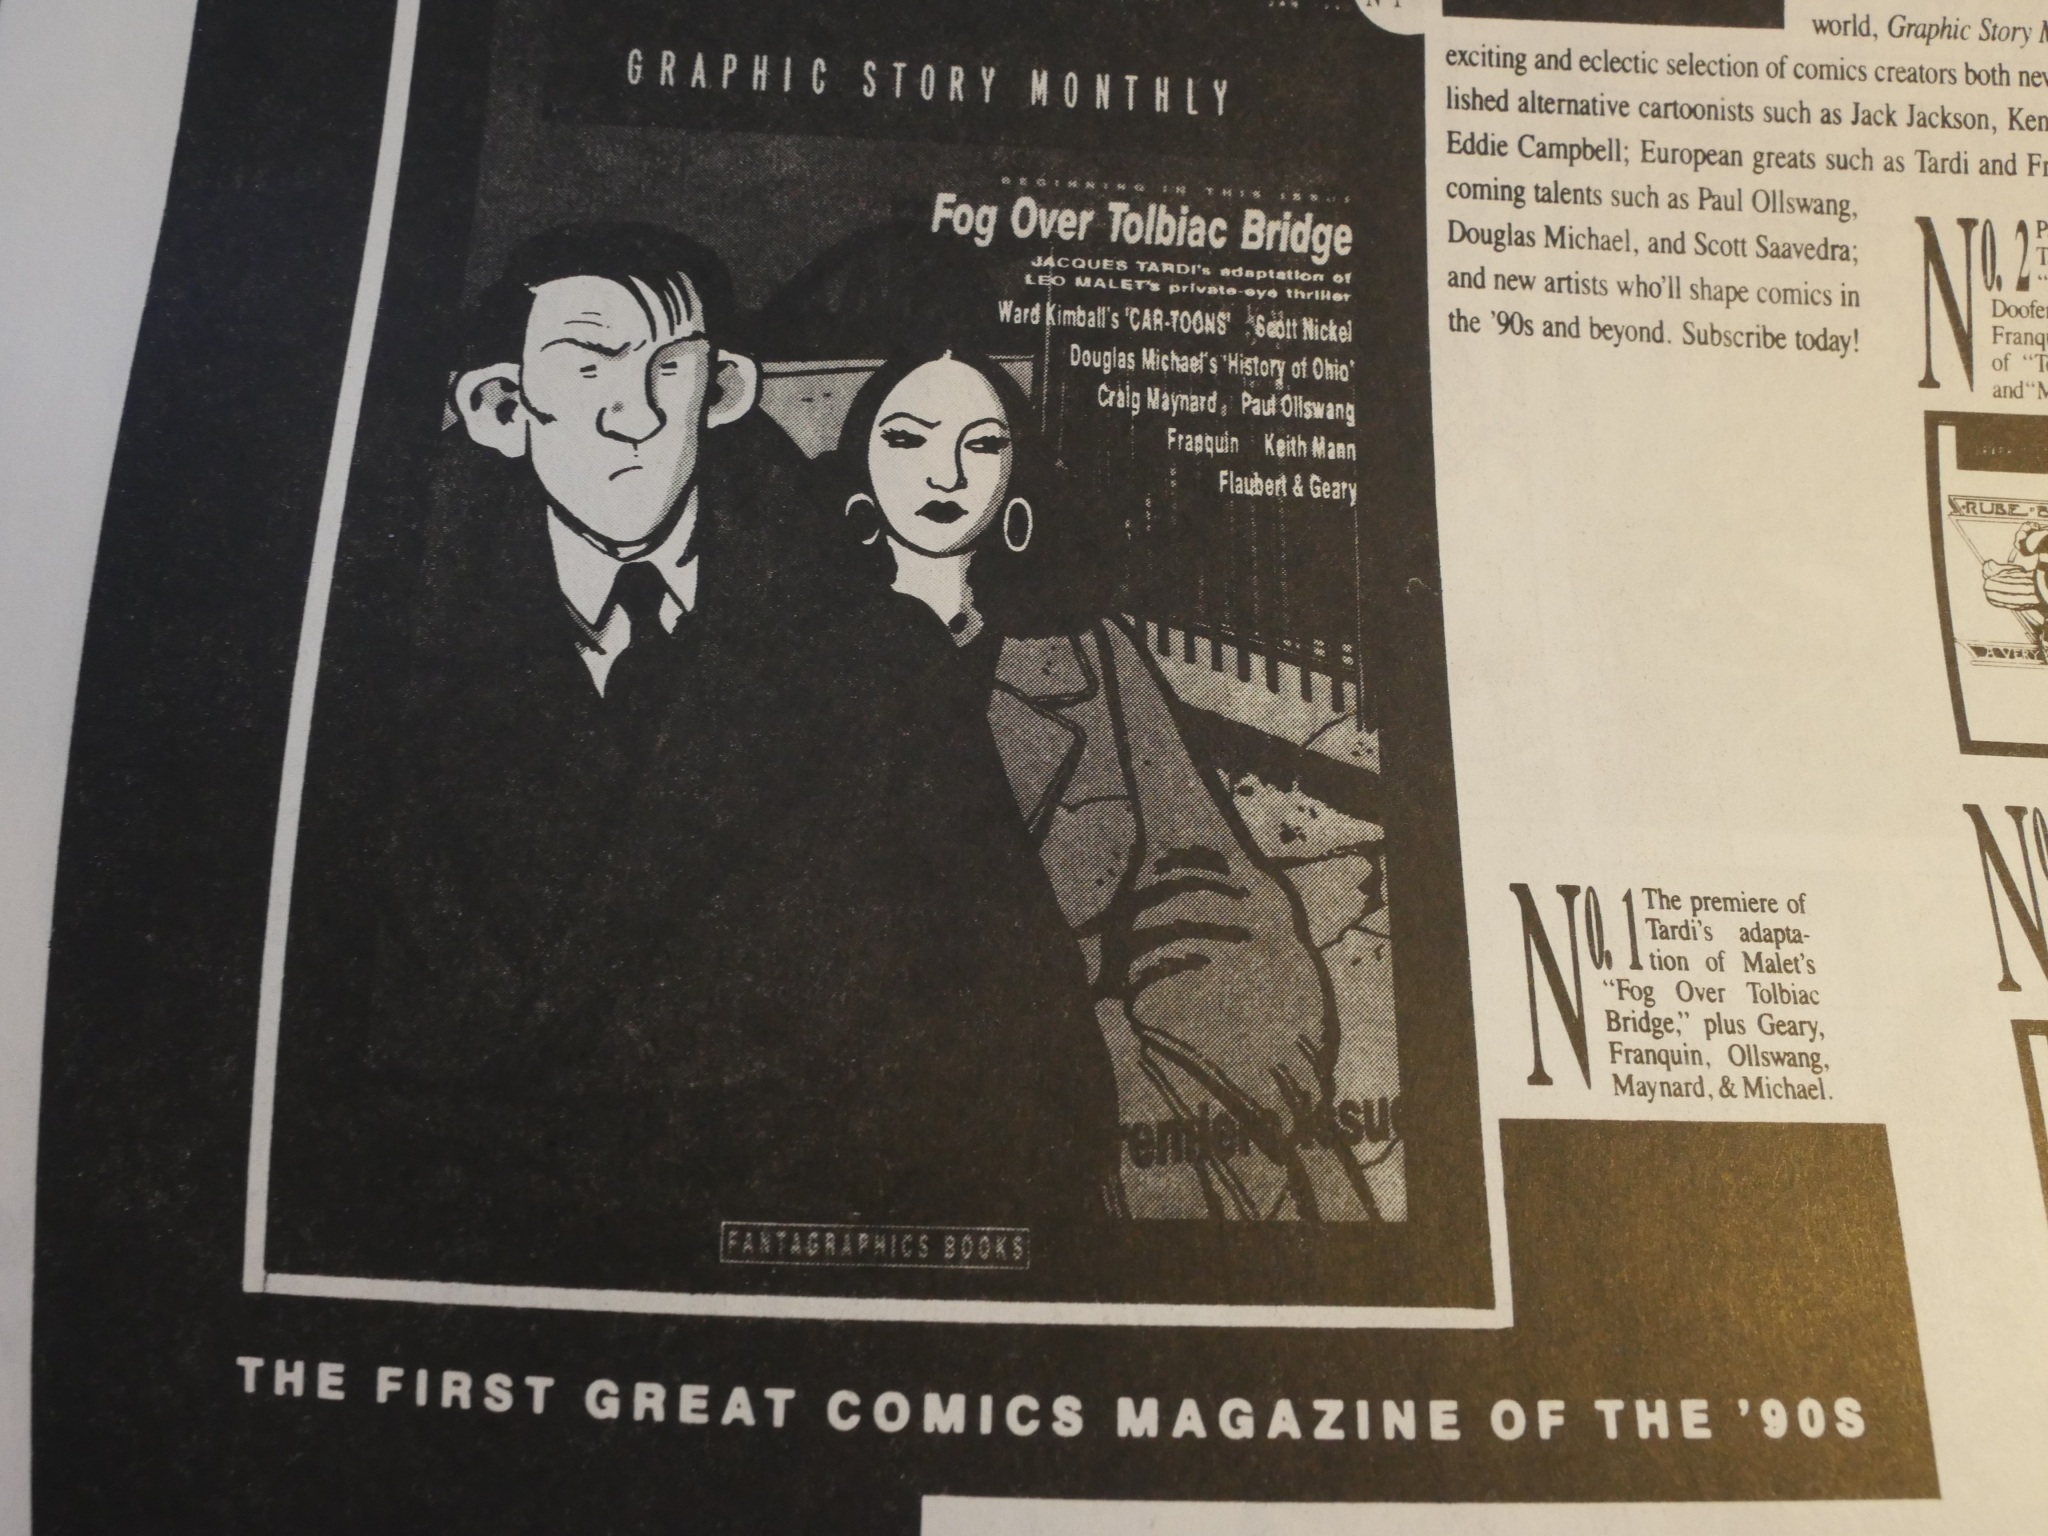
I just had to excerpt this in-house ad for Graphic Story Monthly. “The first great comics magazine of the ’90s.” And the ad ran in the December 89 issue of Street Music, so the Fantagraphics people were probably correct.
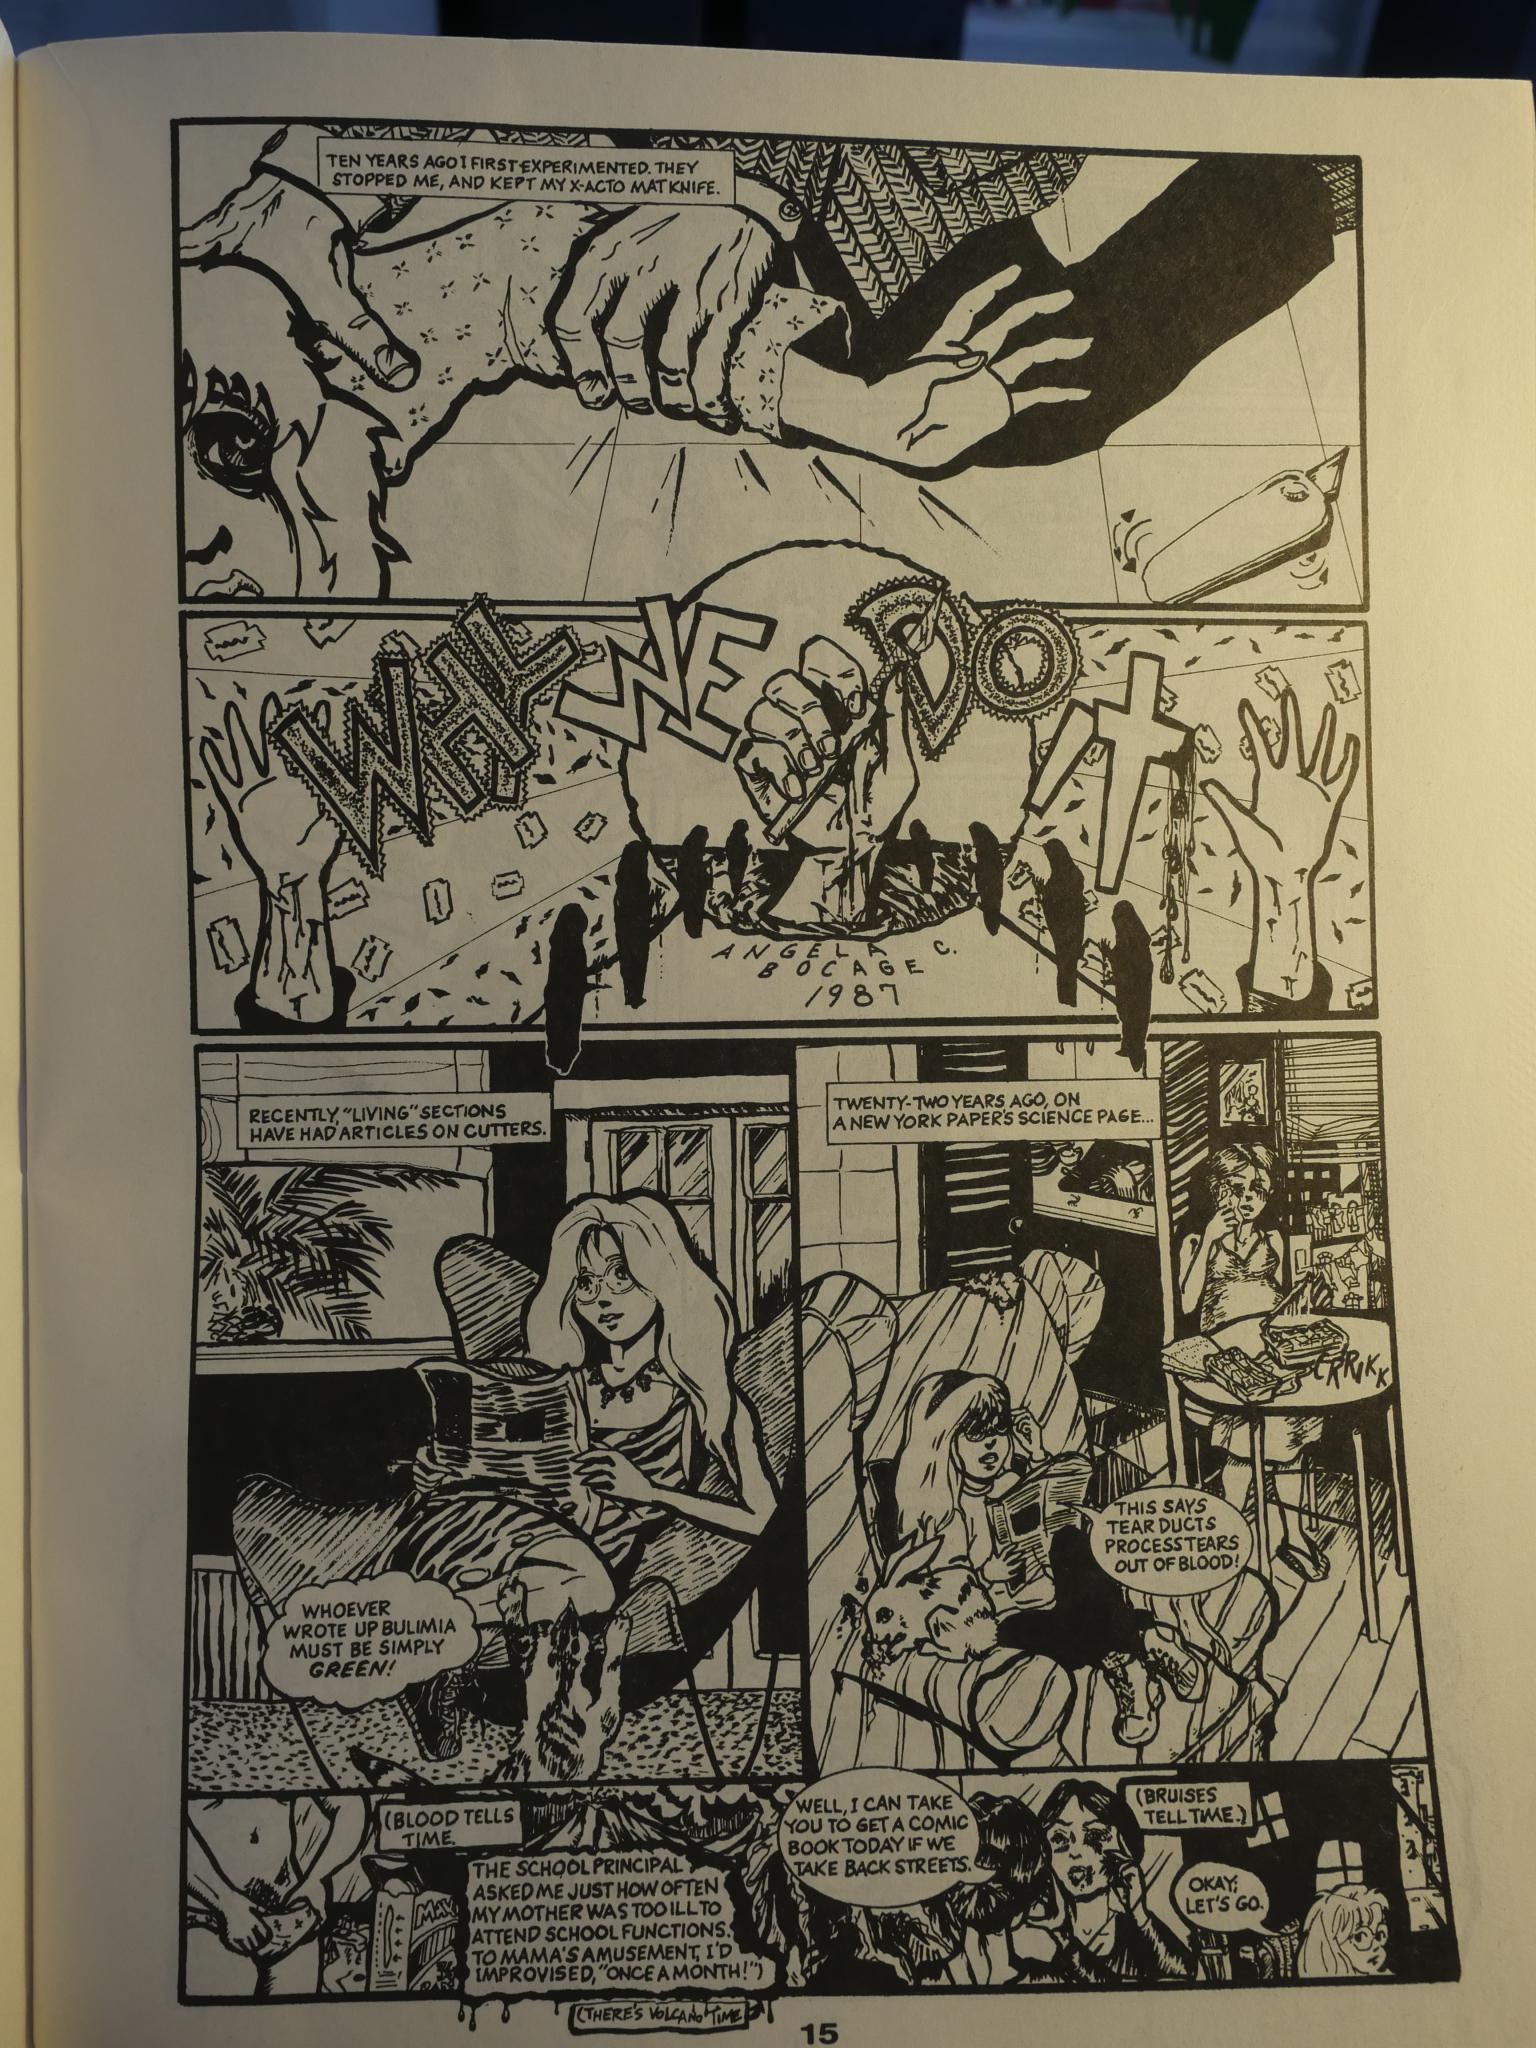
This issue also features the first of two very powerful stories by Angela Bocage, about growing up, abuse and cutting. It’s quite high on the “eeek” scale. And wonderful scratchy art.
So that’s it: Street Music, the anthology. I found re-reading it to be a pleasant surprise. I remember I really loved it when I was a teenager, what with its mix of touching drama (the main serial) and shocking reality (from pieces like the Bocage ones). While I’ve grown up to be way too critical and grouchy, I think it’s a really successful book. The different parts make for a satisfying whole.
This post is part of the Fantagraphics Floppies series.