Spoiler pic above — don’t look at it unless you want to see how this epic turns out.
OOPS
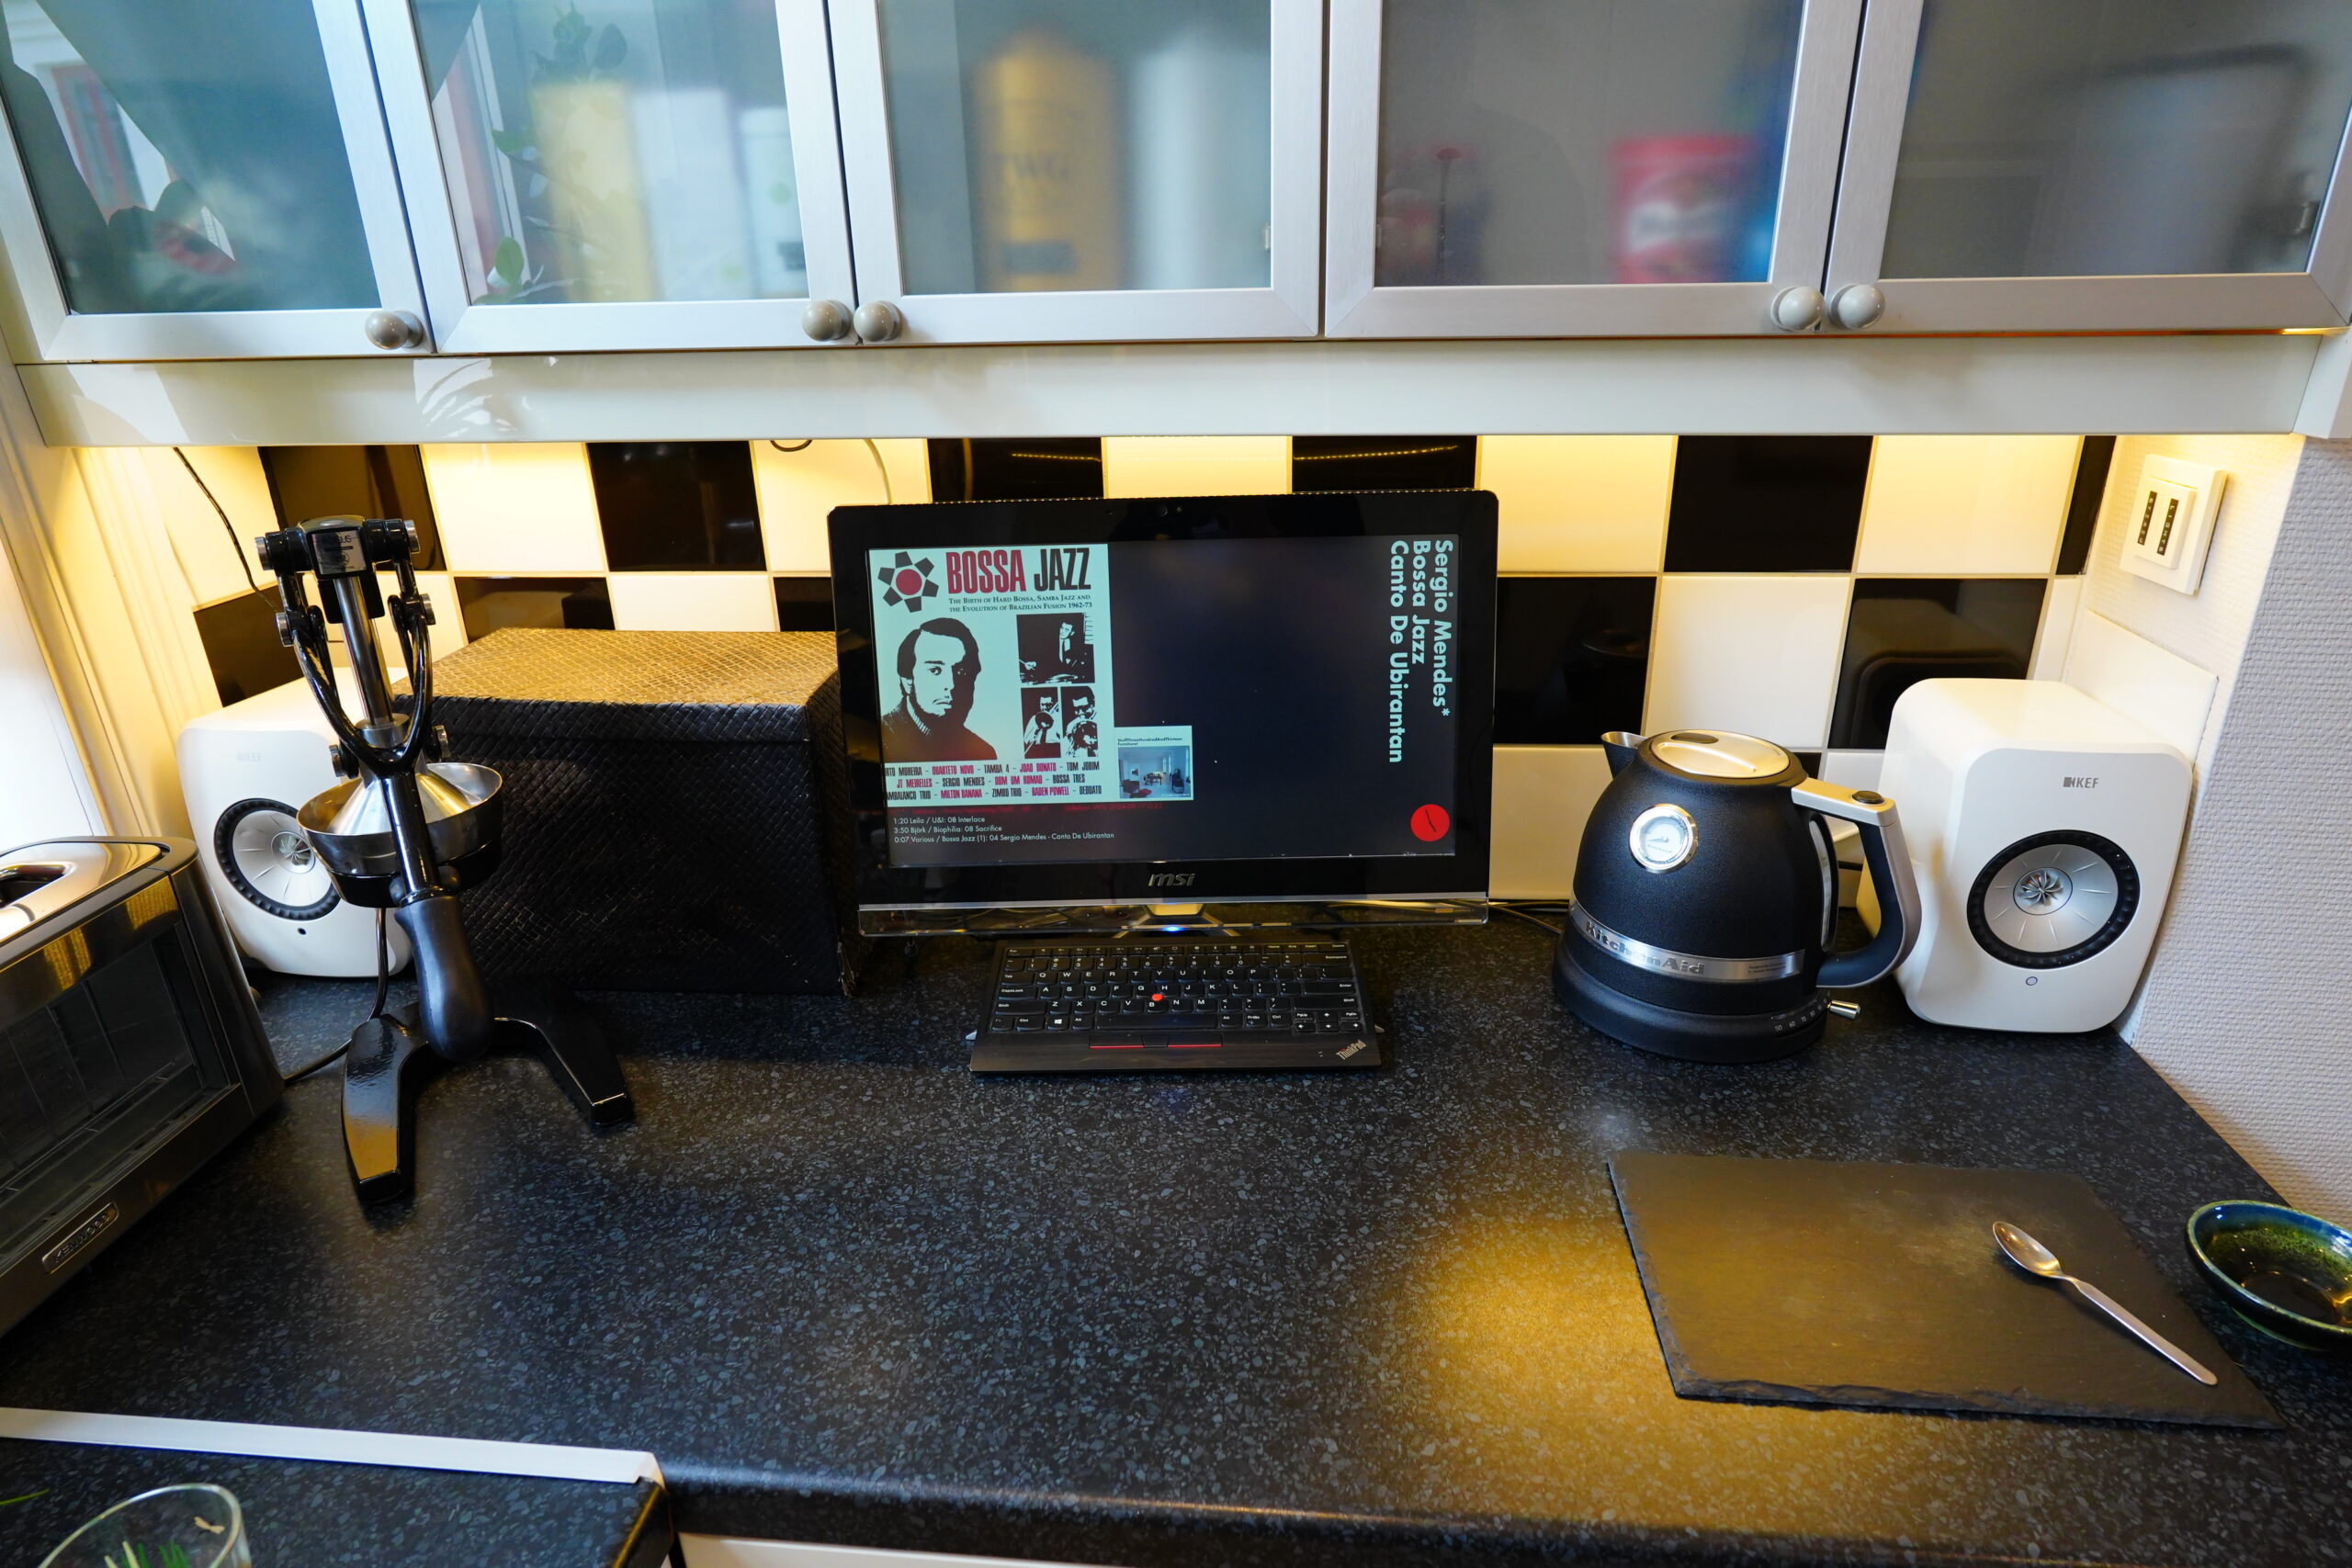
Anyway, I’ve had an all-in-one computer sitting on a kitchen counter for over a decade. It hasn’t been the same one, because it’s broken down at least once, but basically the same size, because I thought I would be using it to watch TV while cooking, or possibly looking up recipes and stuff.
So it has a (wireless) keyboard, and is kinda bulky, with a big external power pad (cleverly hidden in the box next to it).
But as it turns out, I never use it for anything but playing mixtapes while I’m eating breakfast, really.
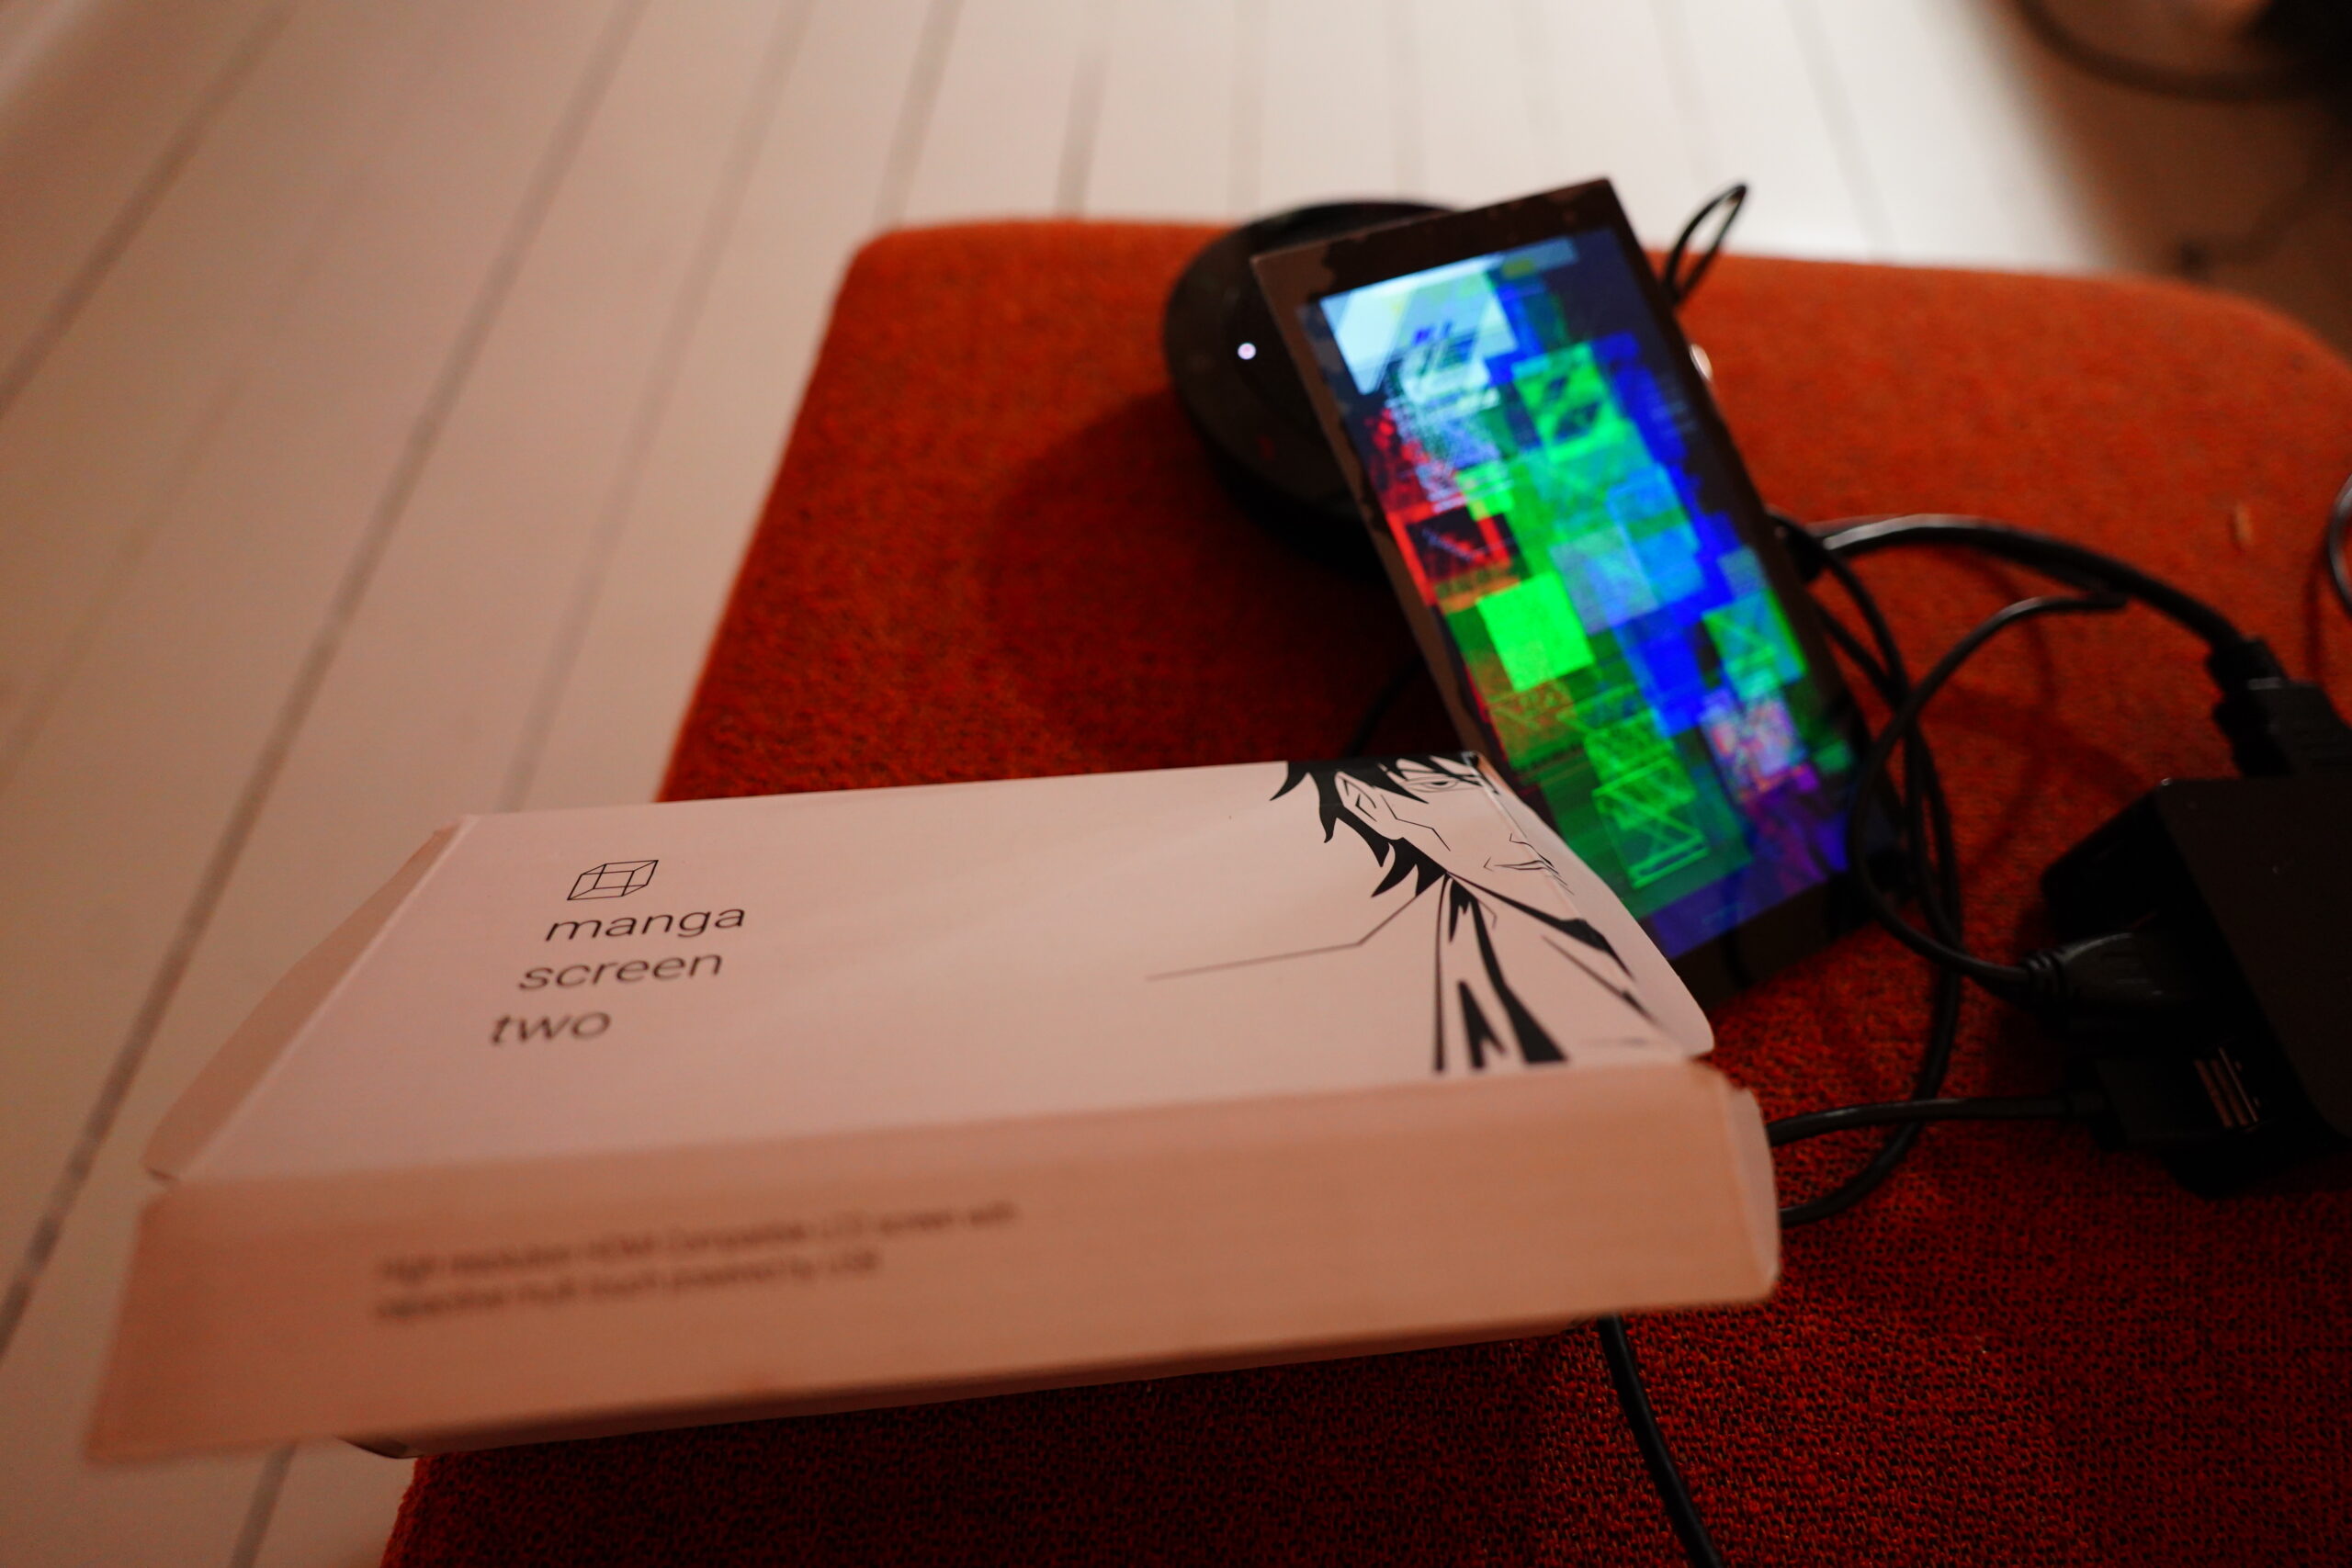
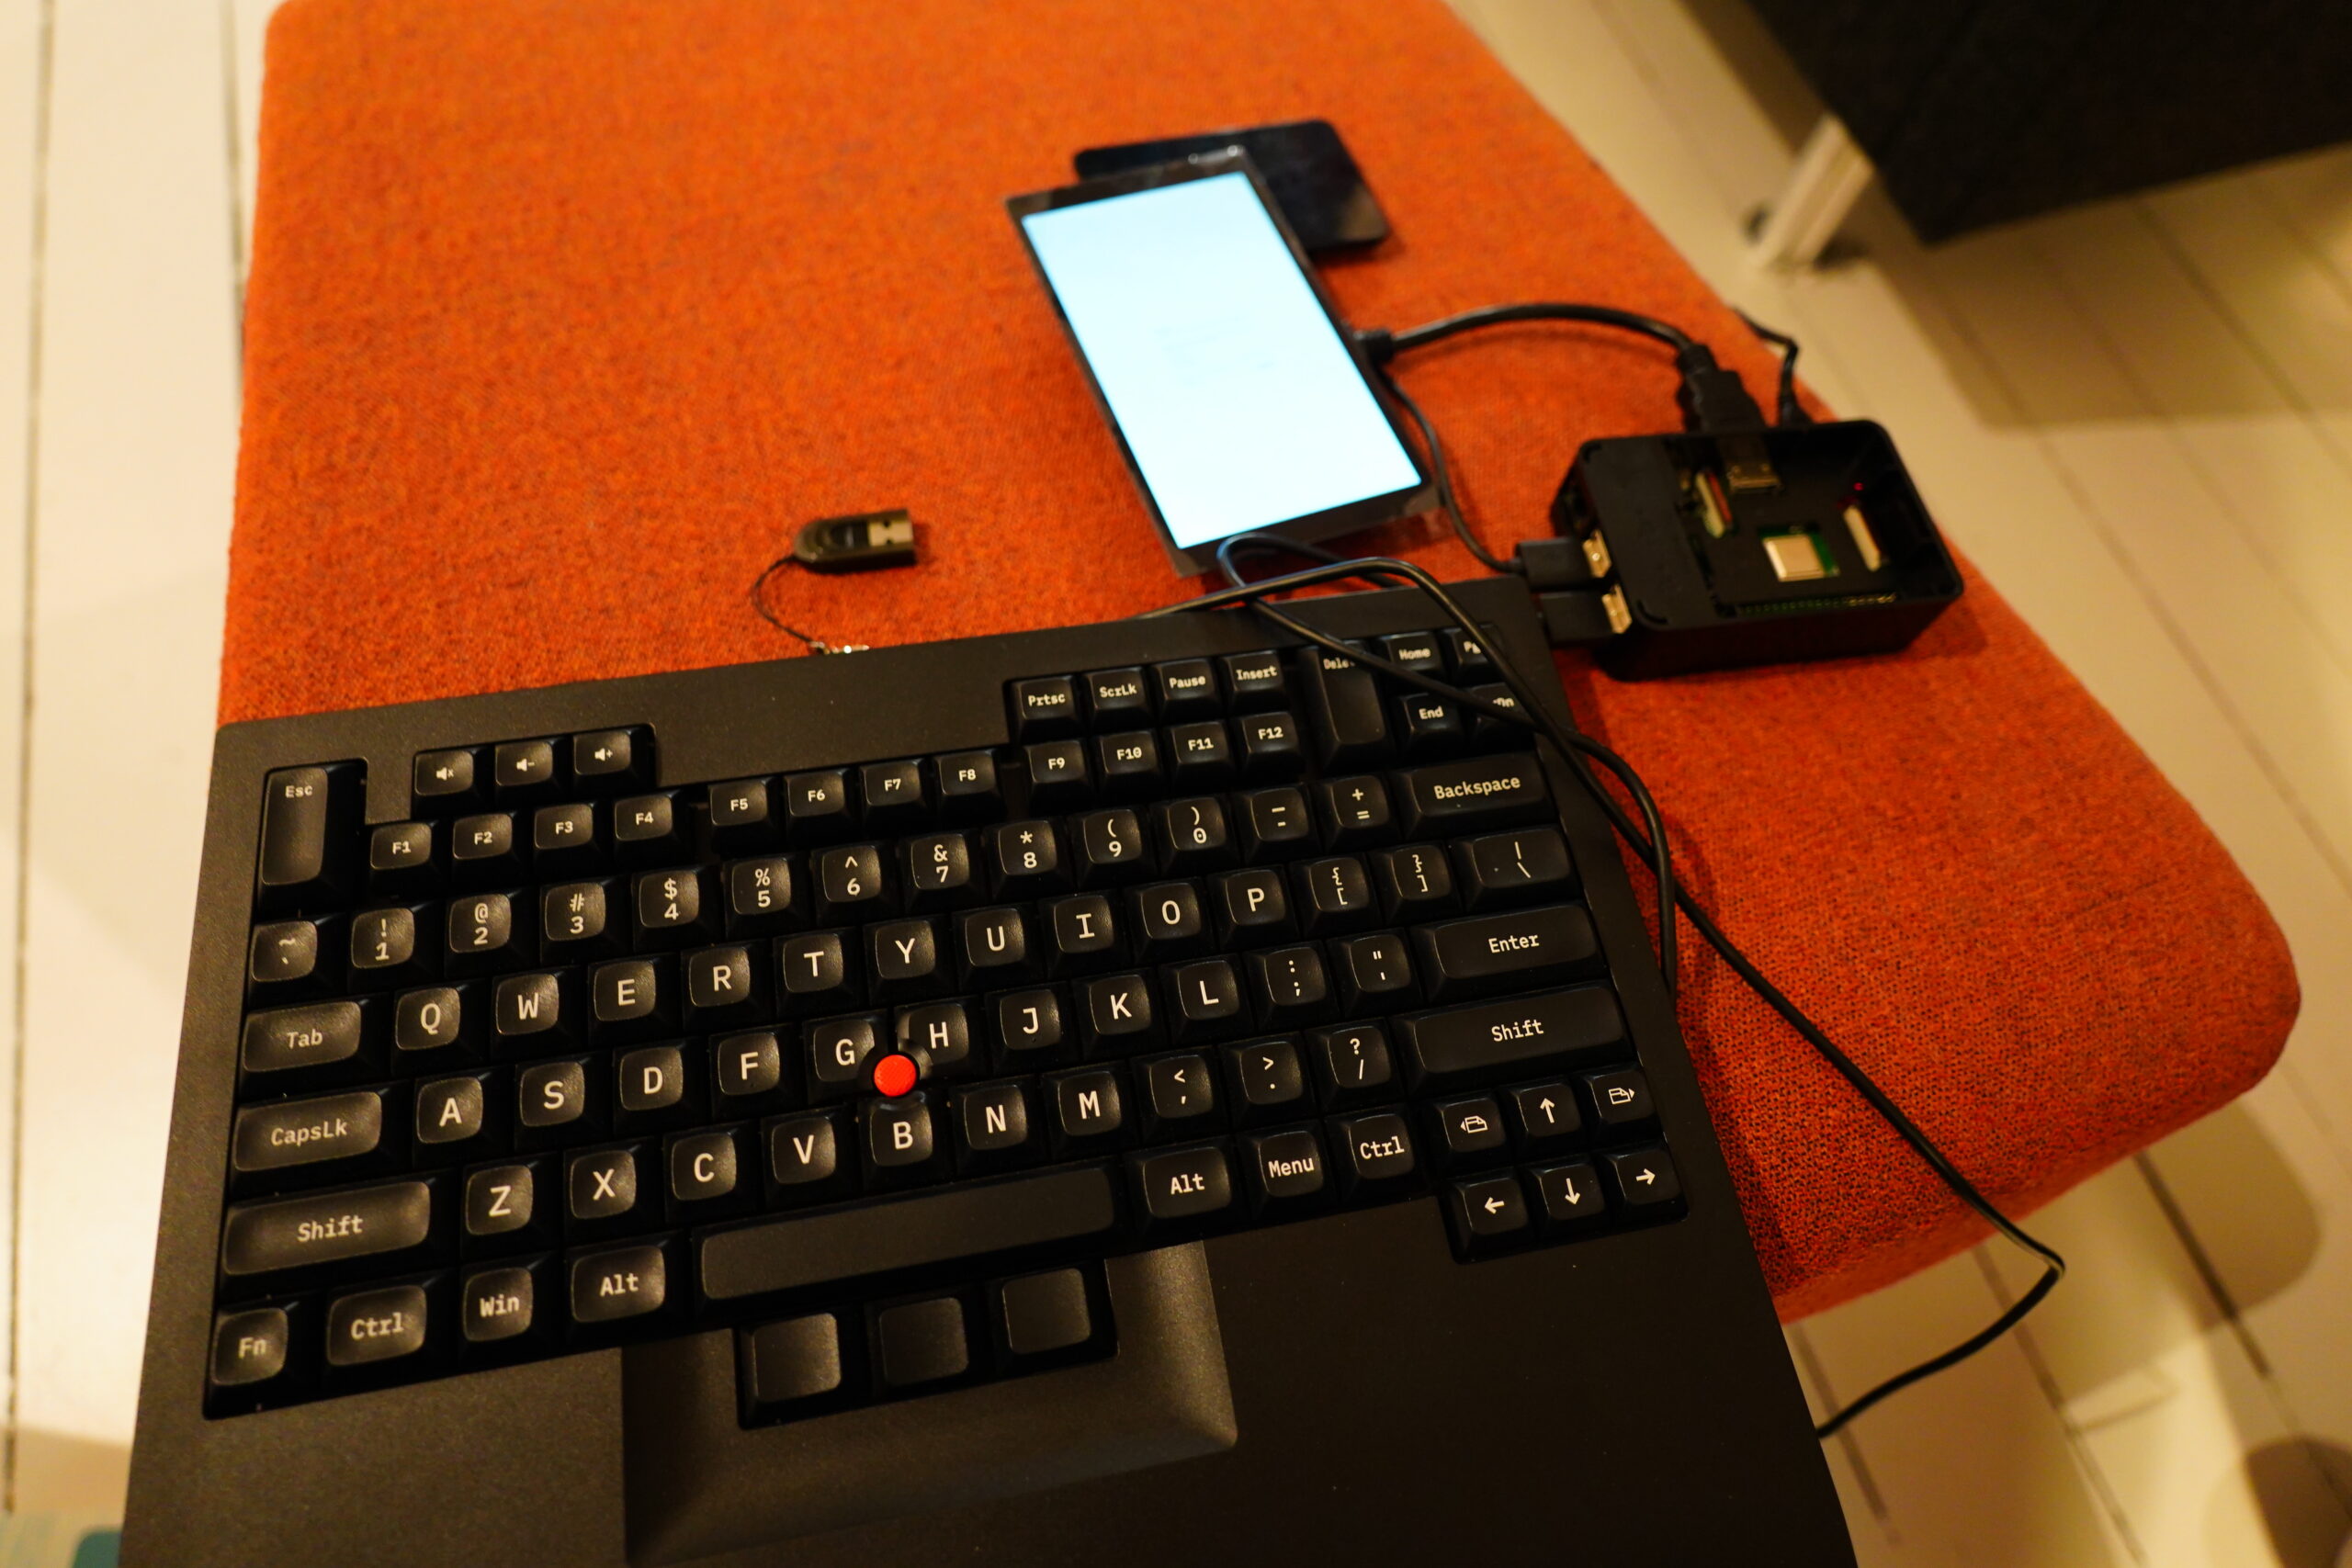
I was rooting through a box of various bits and bobs, and I found this 6″ HDMI screen I’d bought at least six years ago, but had never used for anything.
And I started wondering — perhaps I could just radically shrink the kitchen music player setup? I mean, the only inputs it needs is “pause”, “volume up” and “volume down”. I don’t need any keyboard, really, because it’s just playing mixtapes, one after another.
Of course, there’s plenty of small screens these days, even fun round ones, so I don’t really need to use this specific screen, but why not?
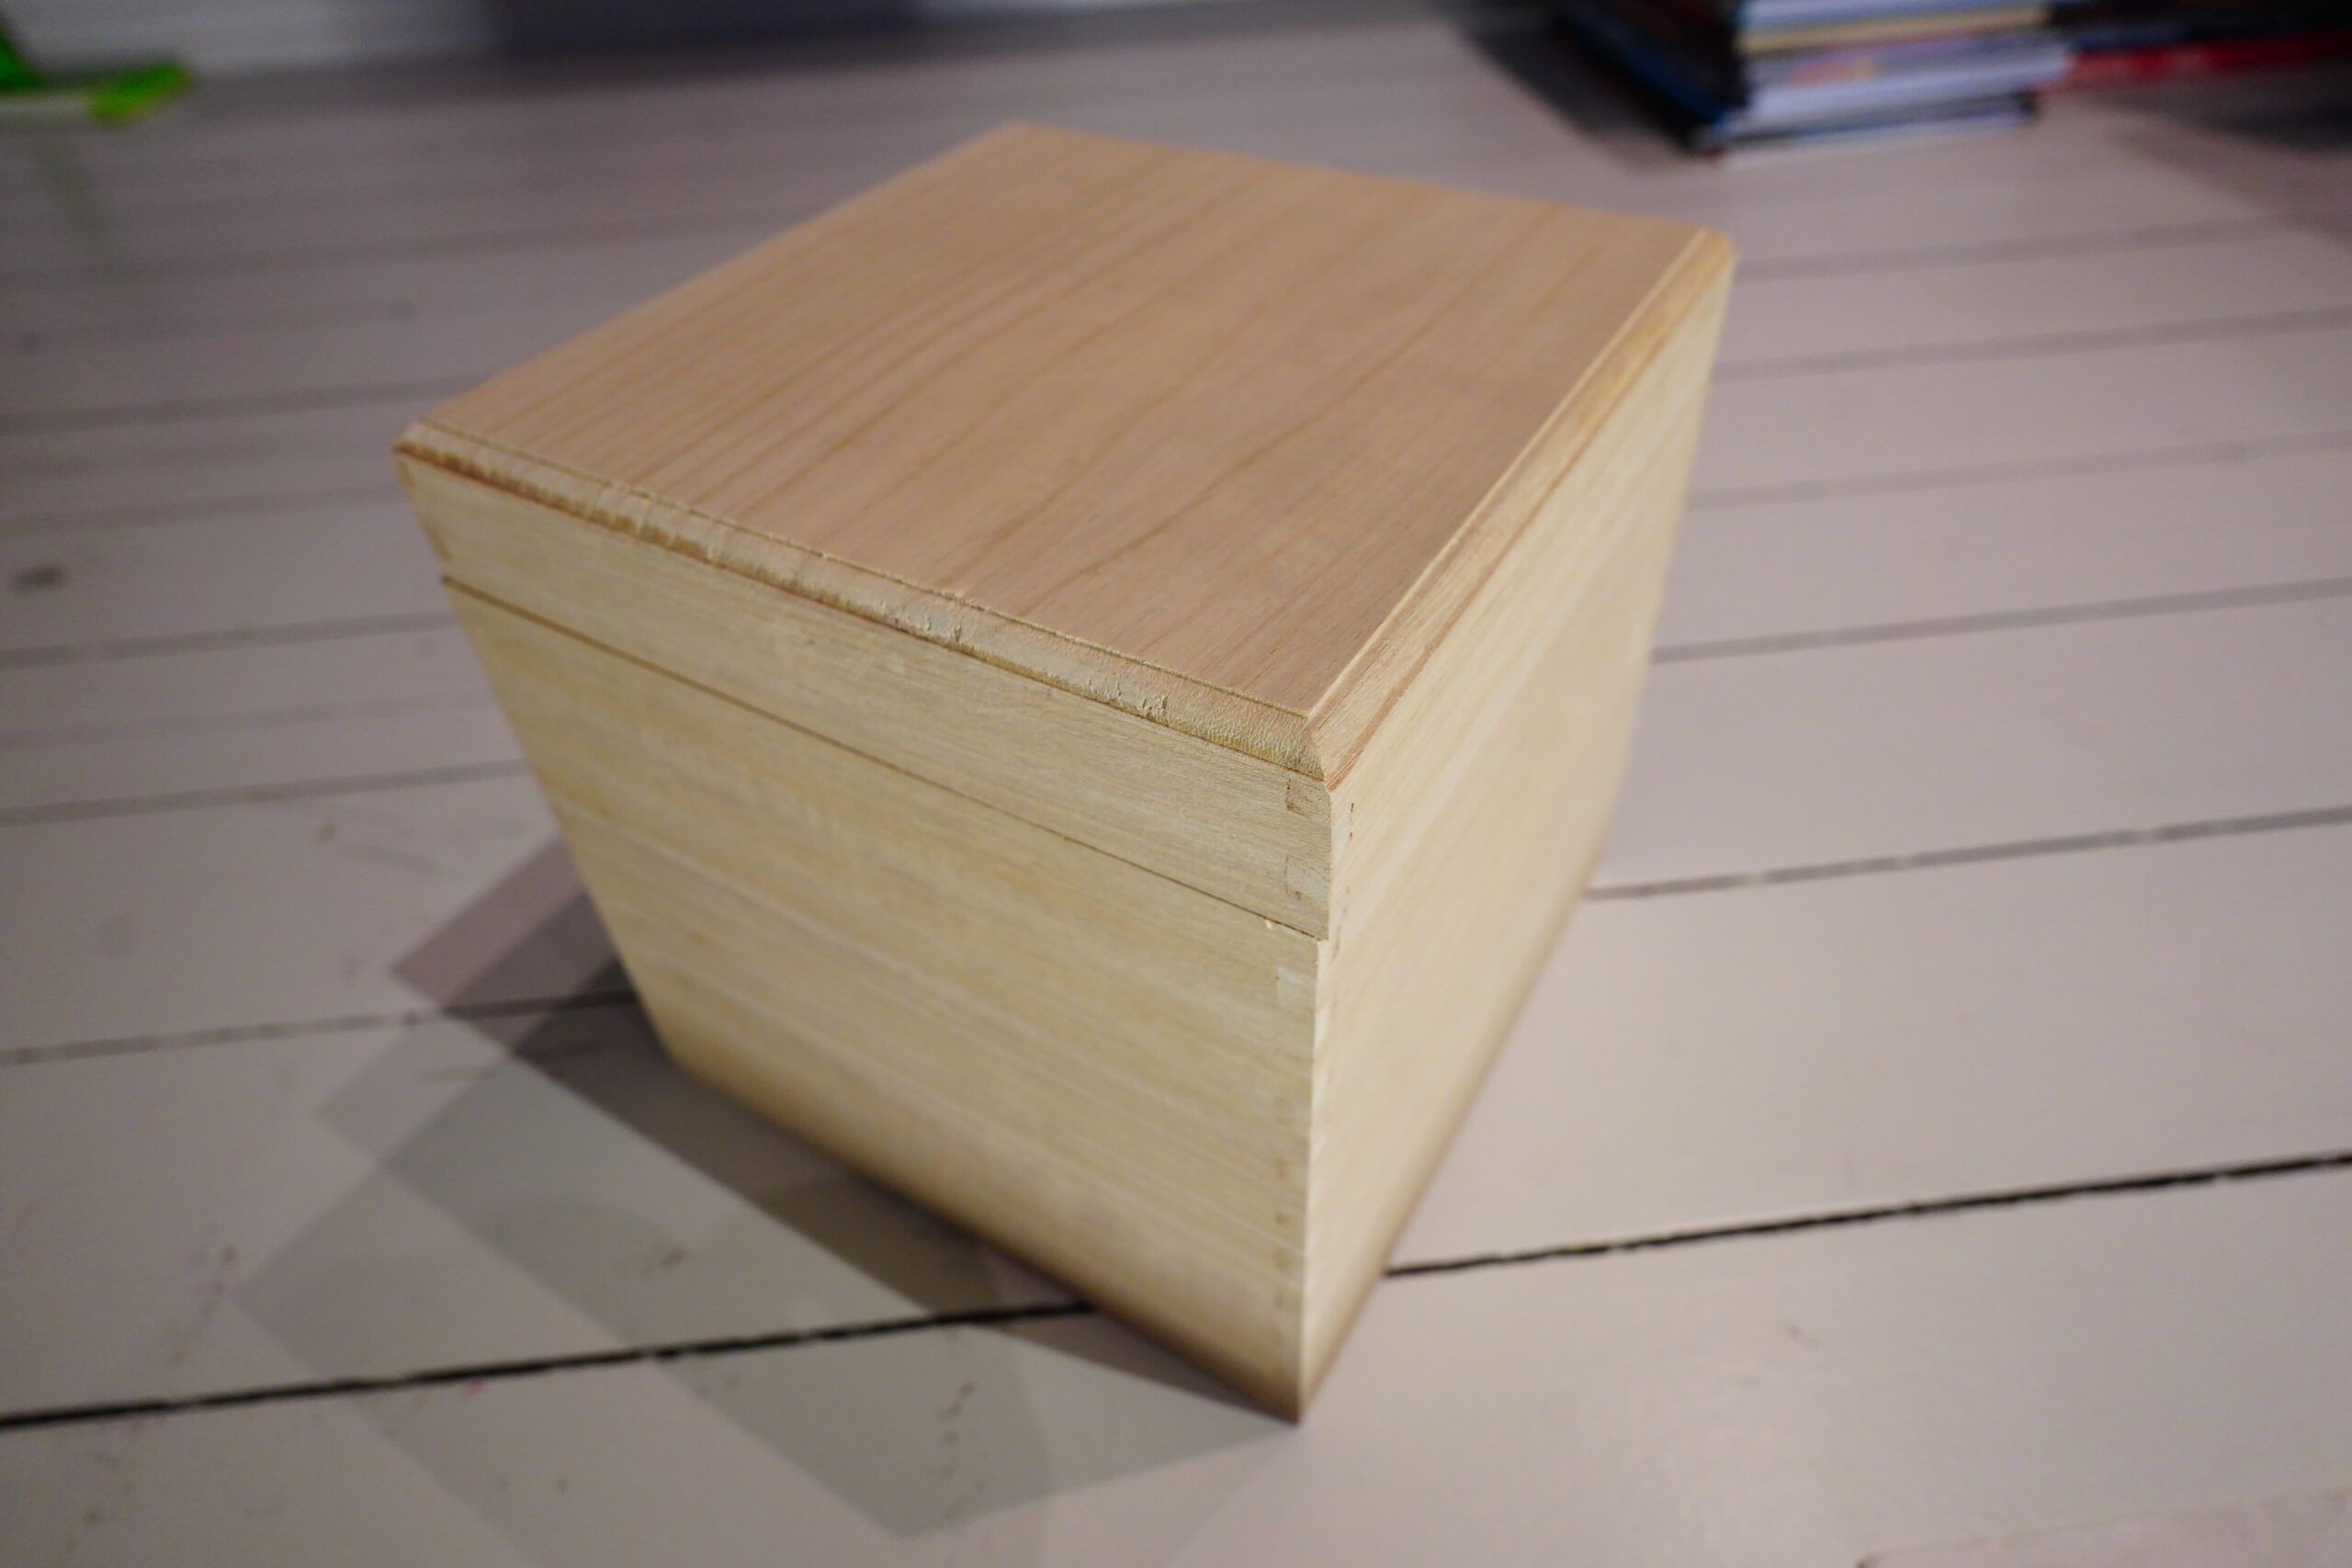
But what should the setup look like? I could use my impressive carpentry skills (ahem) and make a box… or I could buy something like this wooden box, cut a few holes for wiring and the screen and stuff, and stash a Raspberry Pi inside? Well, sounds like a fun project, I think?
And I even had a Raspberry Pi 3B+ in the same box! I had originally thought I’d use a Raspberry Pi Zero 2 W, but I need to connect at least three USB things to the Pi (touch screen, volume knob and Tellstick dongle), so I’d have to use a USB hub… Using a Pi 3 seems like it’s going to be less fiddly.
(Banana for scale.)
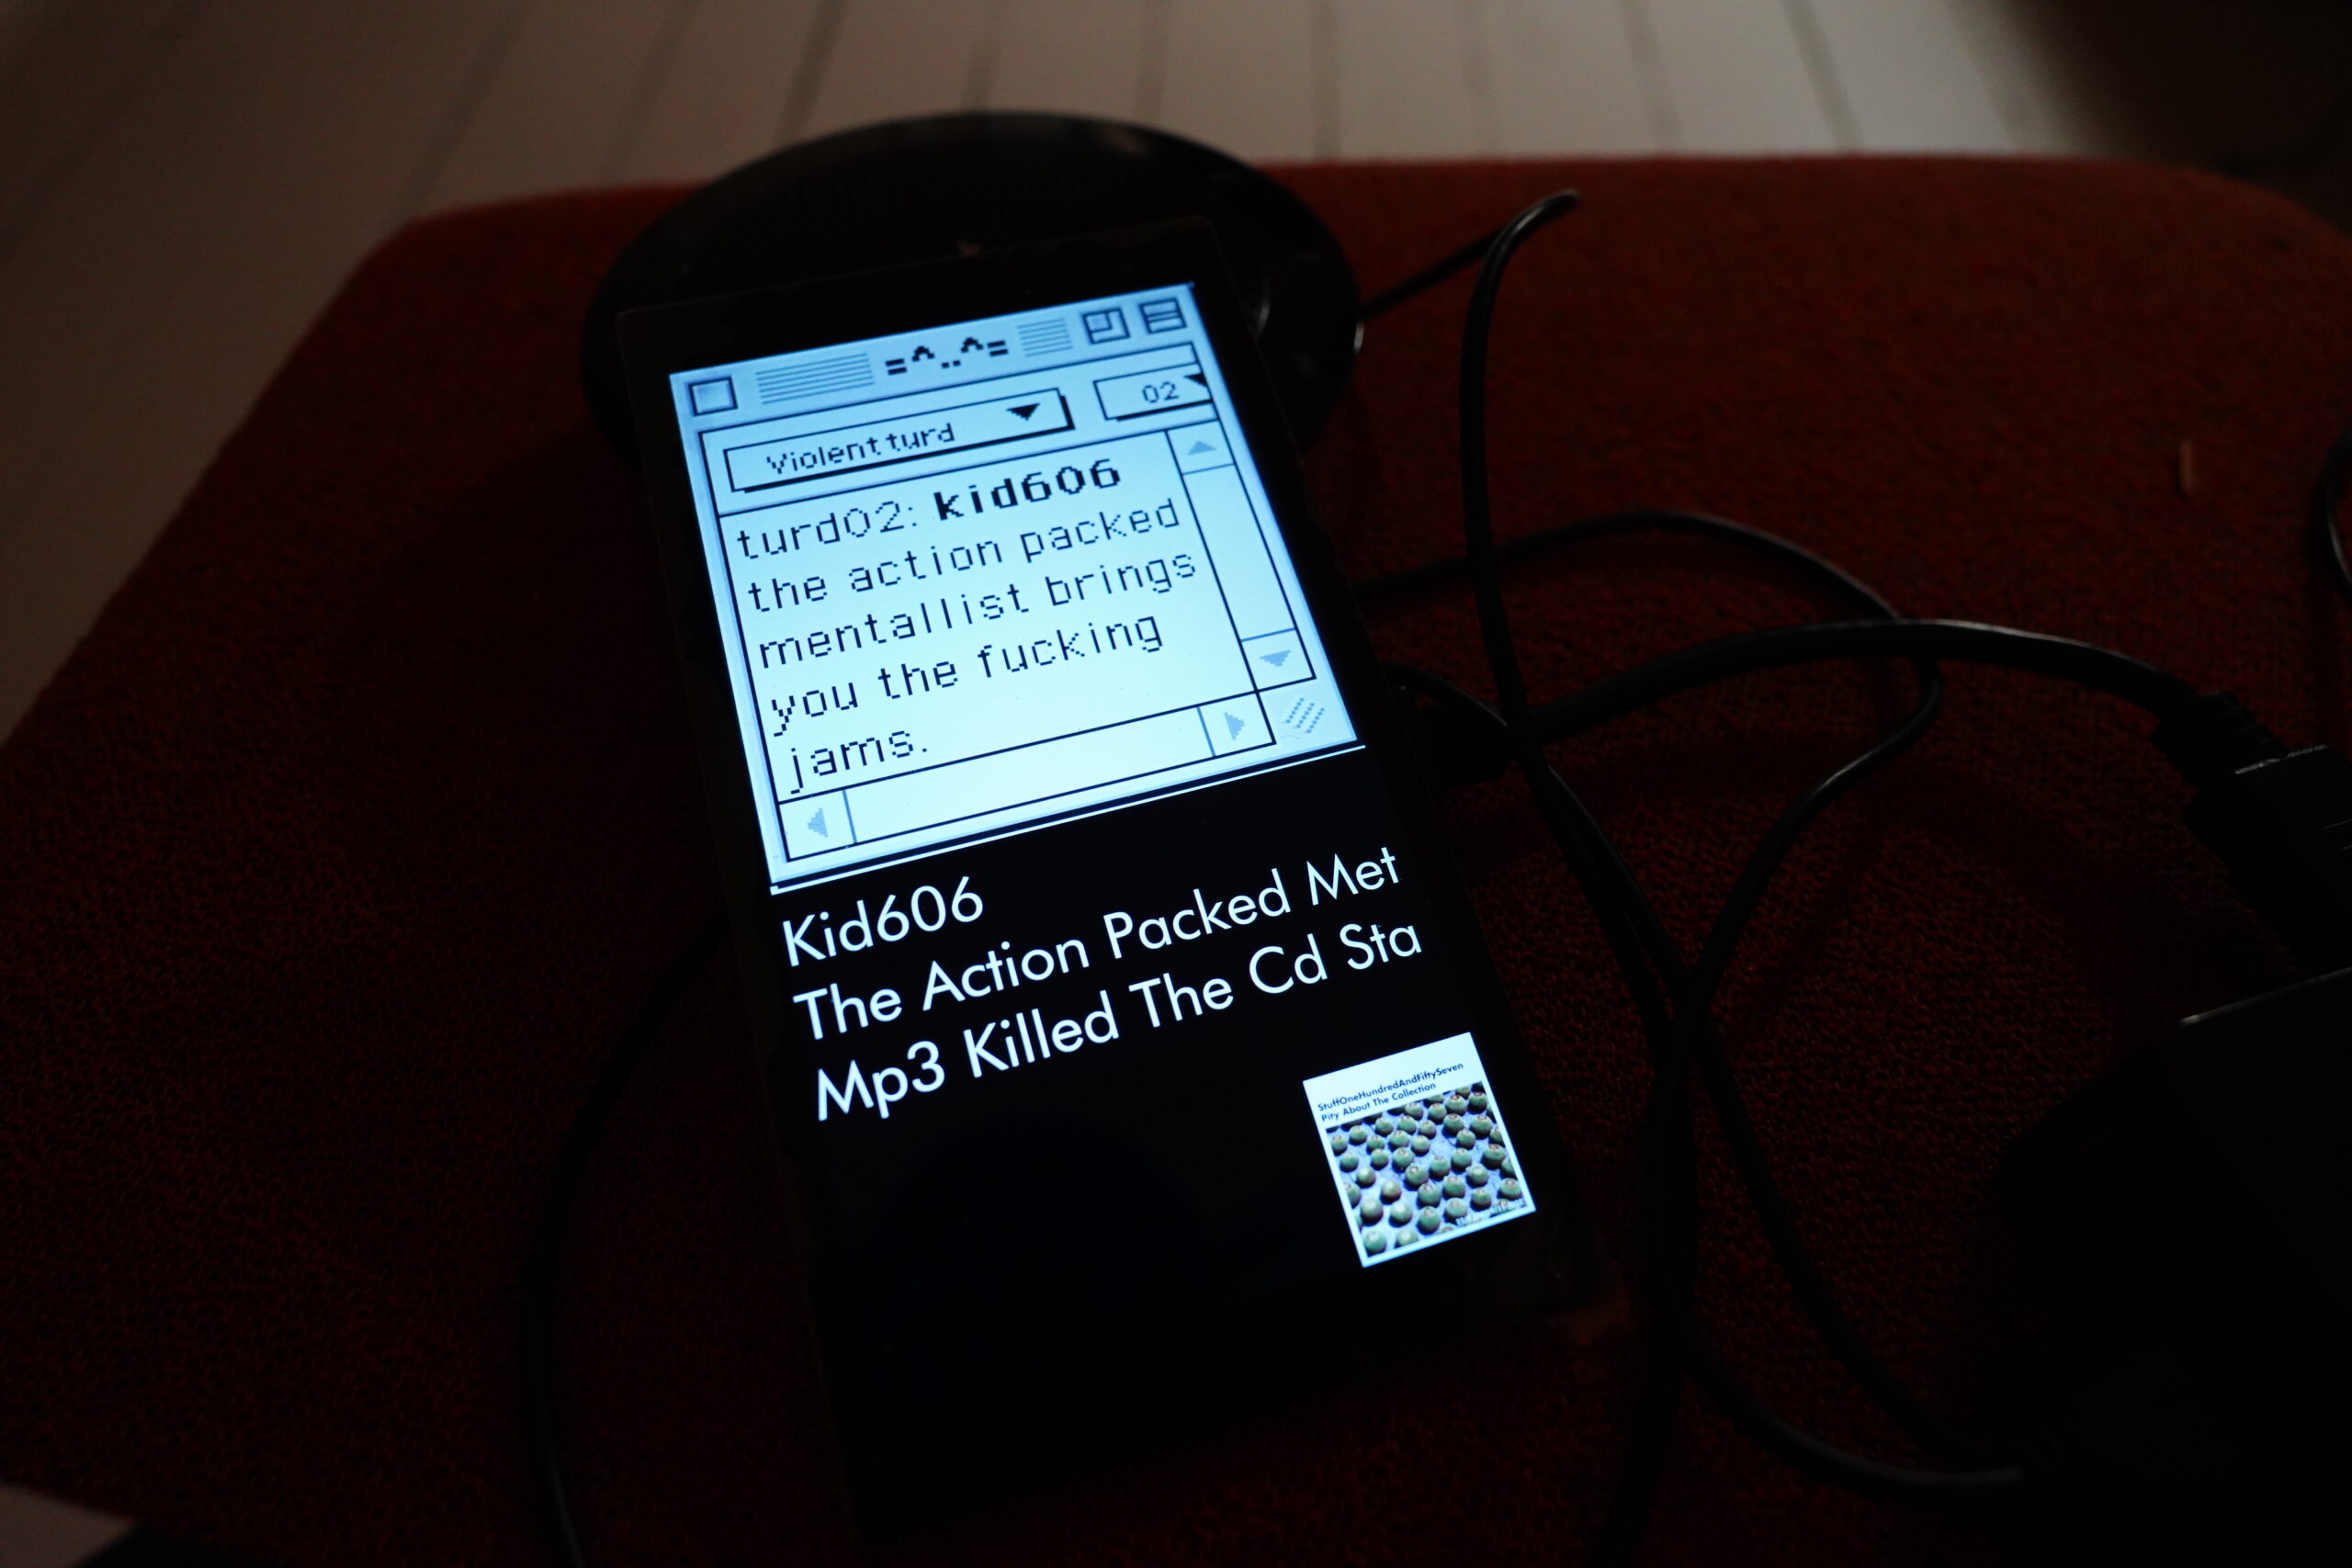
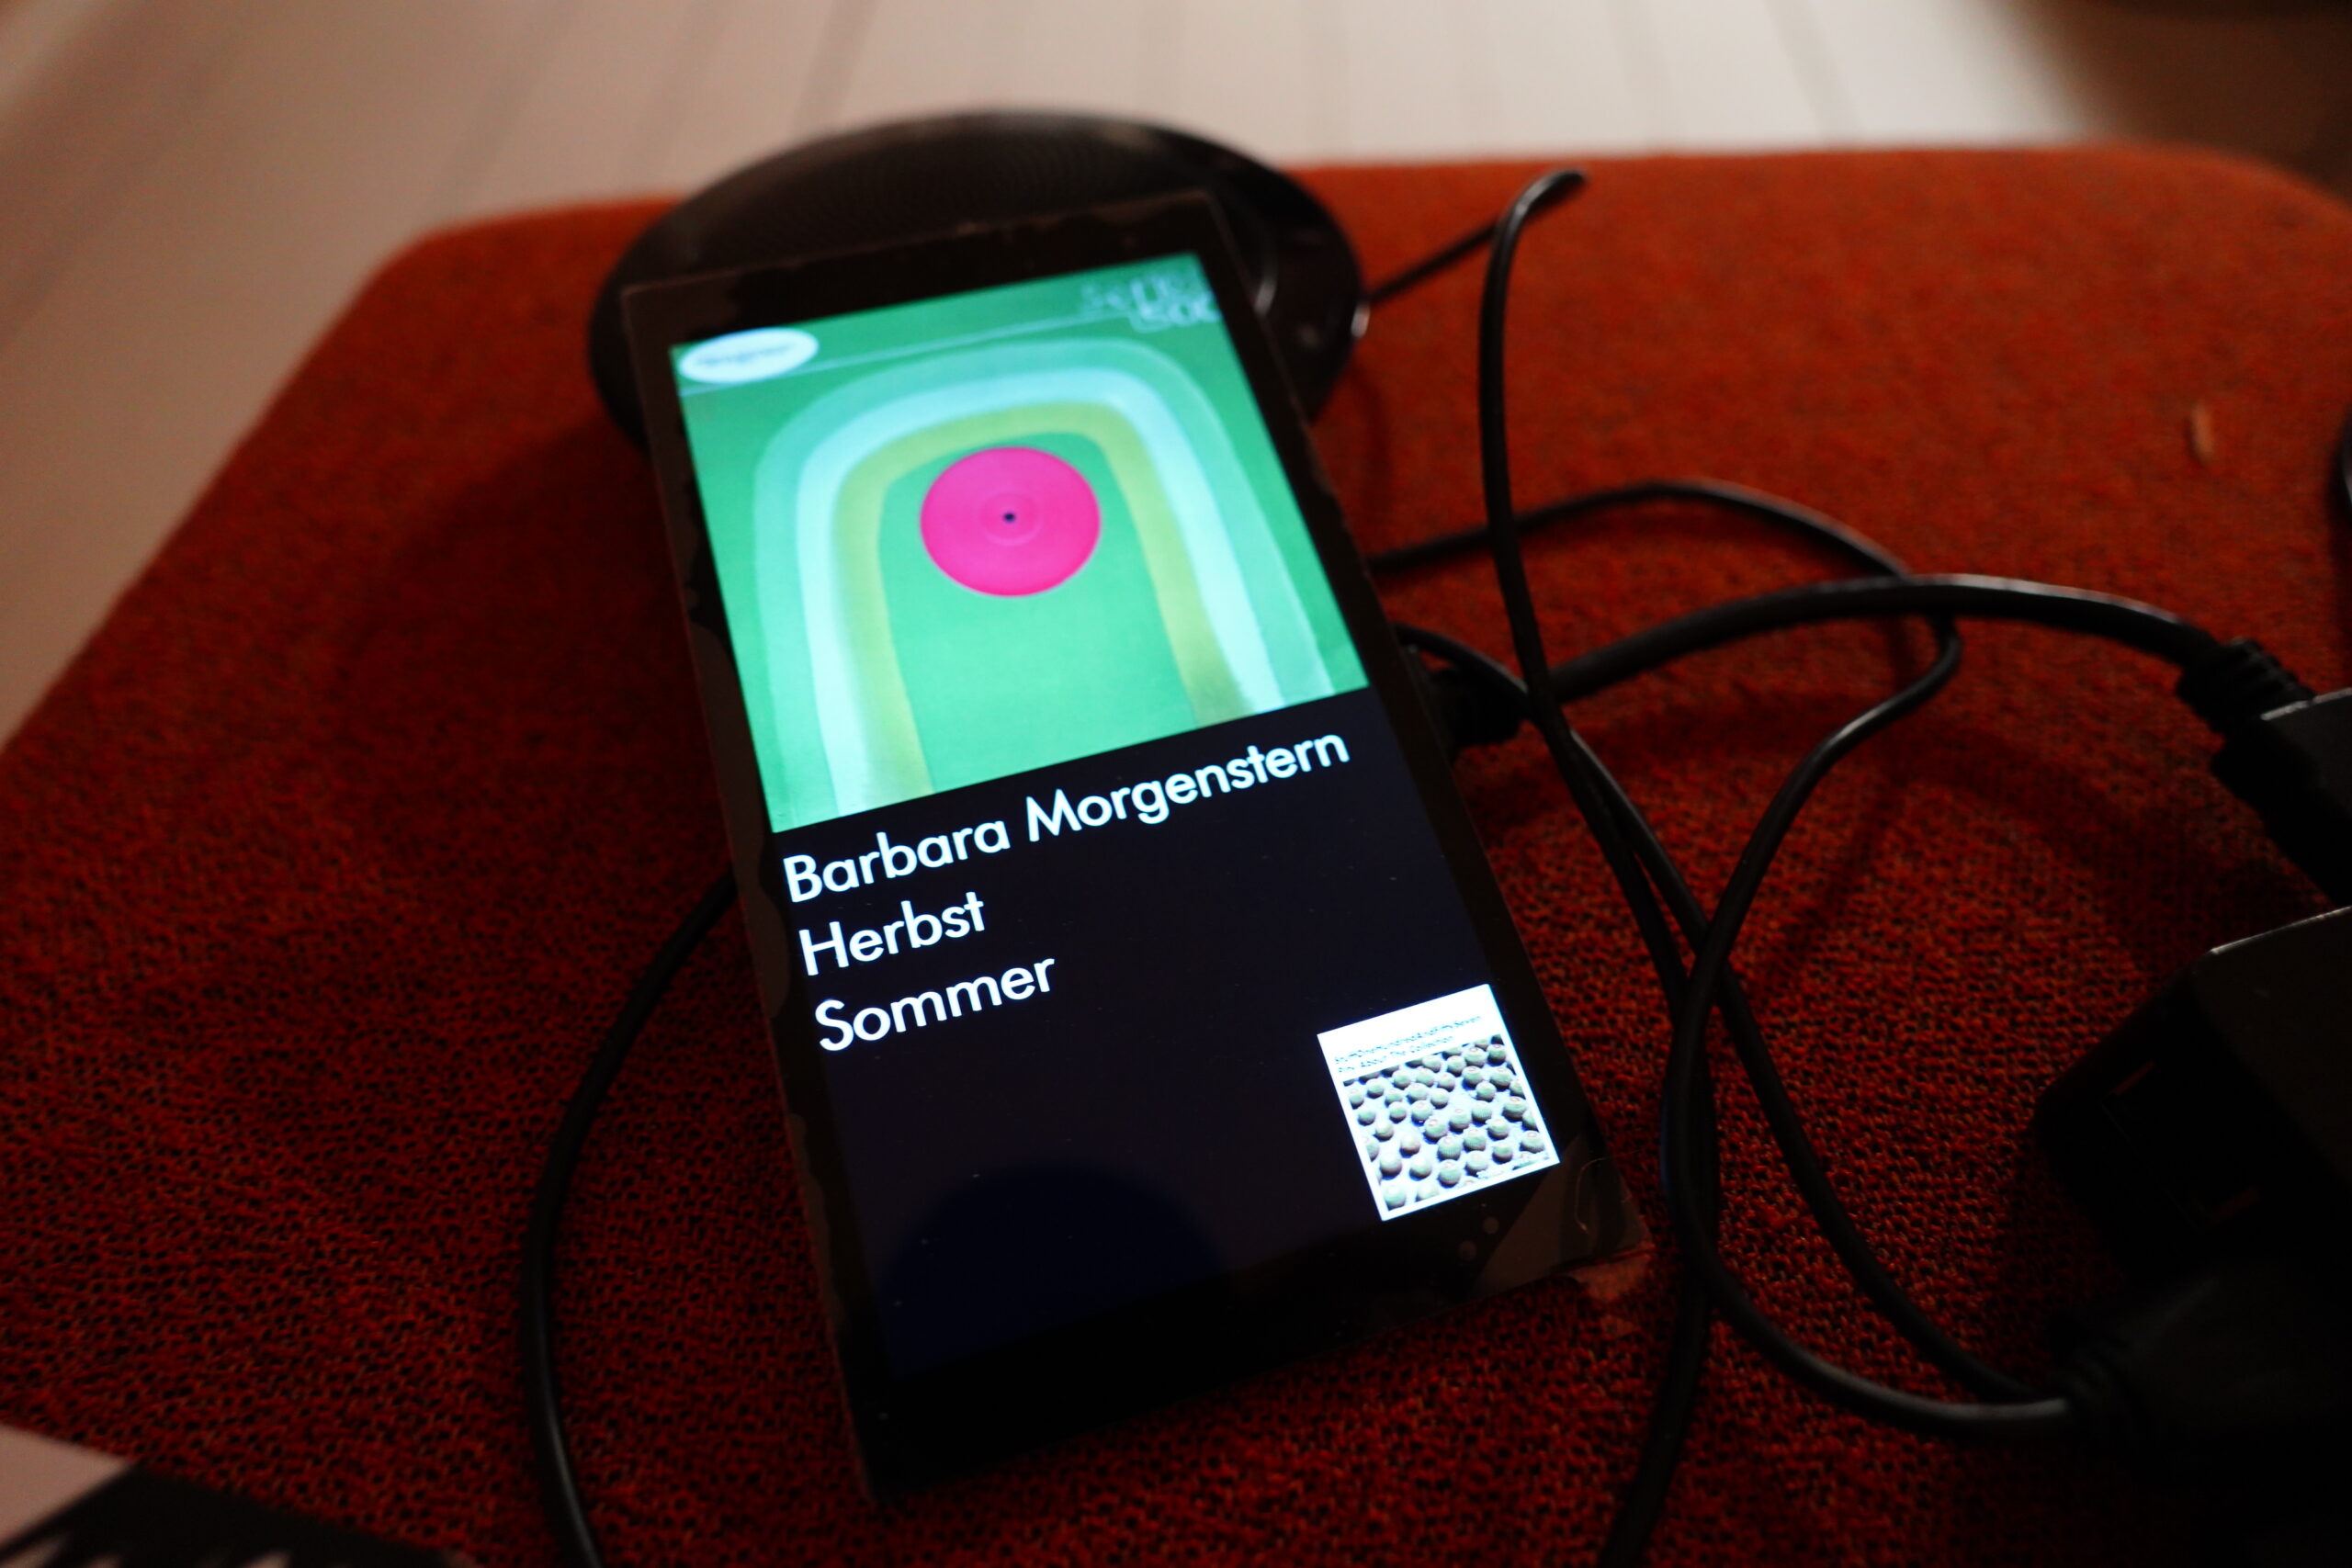
Installing Raspberry Pi Desktop is trivial, and then it starts an Emacs that controls the mixtape playing, which again runs mpg123.
And to my shock, mpg123 stutters when playing. Even if there’s nothing else going on! I disabled pipewire so that it’s just playing straight to ALSA, and playing straight from RAM disk. Still some stuttering. I replaced the crappy SD card with a less crappy one — yes, still stuttering.
Disk /dev/sdb: 29.81 GiB, 32010928128 bytes, 62521344 sectors
Device     Boot   Start      End  Sectors  Size Id Type
/dev/sdb1          8192  1056767  1048576  512M  c W95 FAT32 (LBA)
/dev/sdb2       1056768 62521343 61464576 29.3G 83 Linux

Disk /dev/sdc: 29.72 GiB, 31914983424 bytes, 62333952 sectors

Device     Boot   Start      End  Sectors  Size Id Type
/dev/sdc1          8192  1056767  1048576  512M  c W95 FAT32 (LBA)
/dev/sdc2       1056768 62521343 61464576 29.3G 83 Linux
By the way, how annoying is it that “32GB” cards have different sizes, eh? I was just going to cat the one card to the other, but the first card was vaguely bigger, so the file system ended up corrupted. So I had to shrink the file system on the first SD card before I could cat it over…
Anyway, but if I switch swap off, and renice the mpg123 to -20, it seems to work?
Still, it’s kinda shocking… I didn’t think that a Raspberry Pi 3 would be this underpowered…
Still, I seems to be glitch free now? If not, I’ll have to upgrade to a Raspberry Pi 4.
And the screen seems pretty good! It’s a touch screen, too, but I don’t think I’m actually going to use the touch for anything? Perhaps something’ll occur to me…
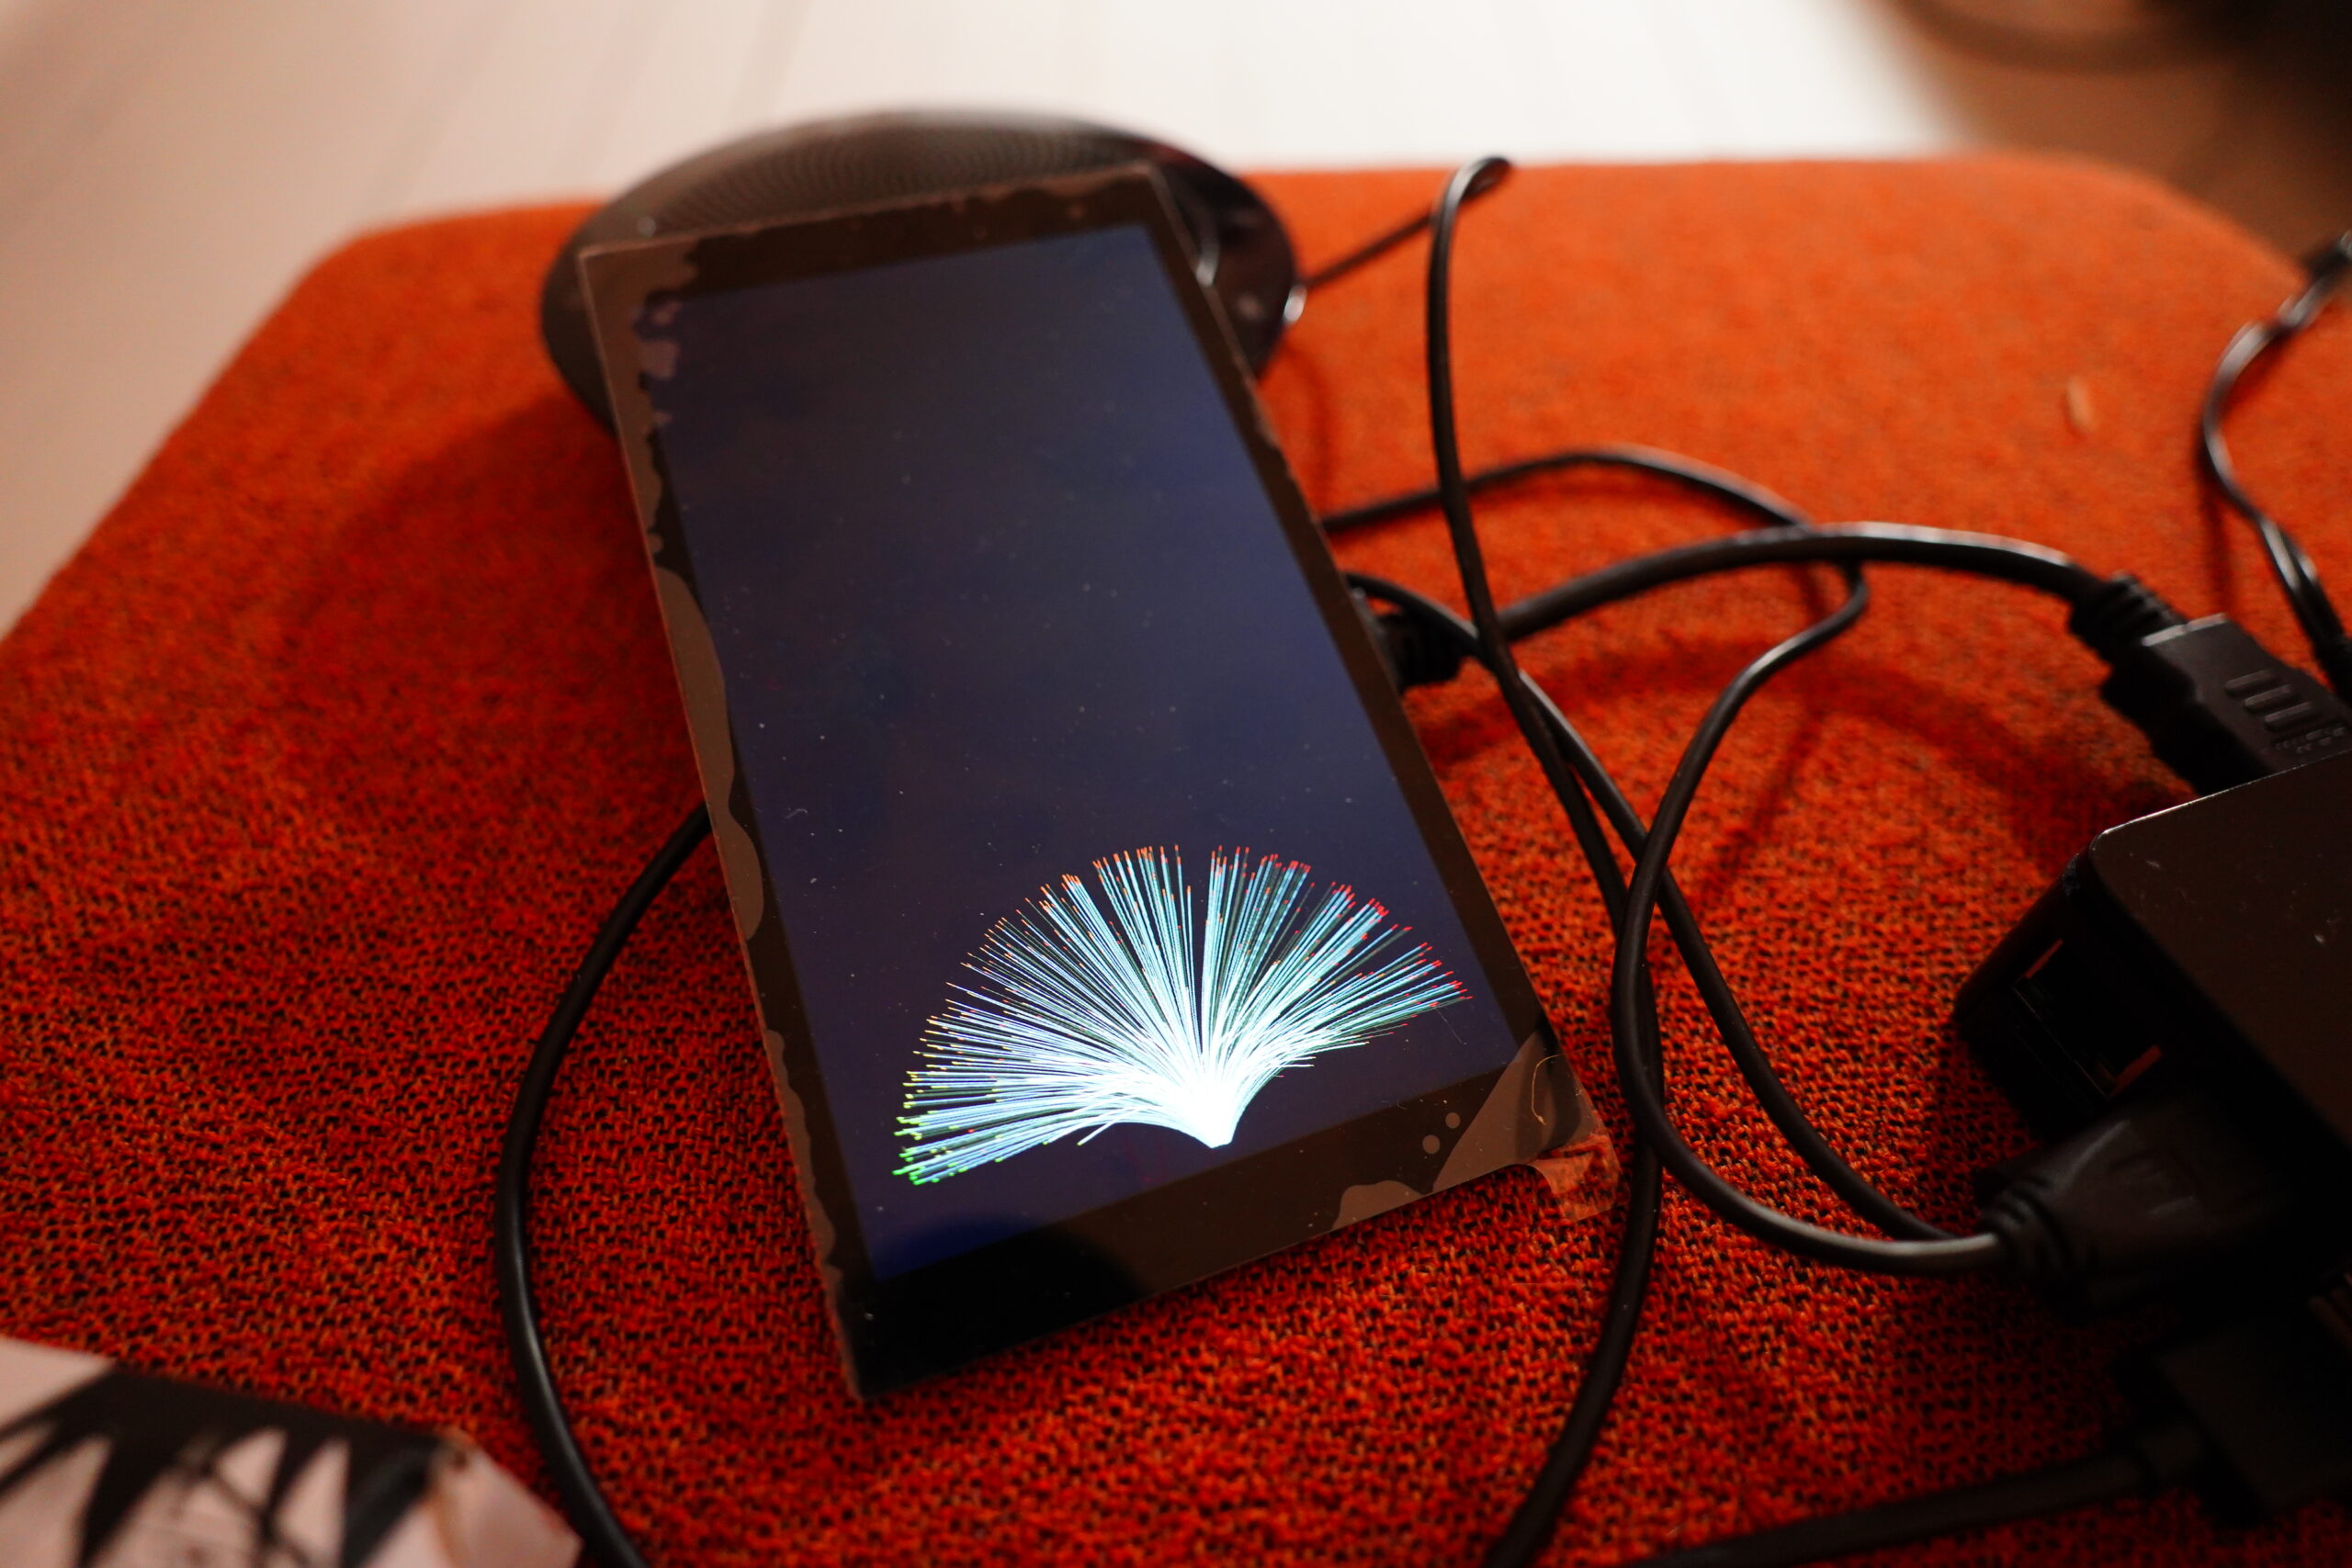
Hm… and perhaps I should run xscreensaver on it? It’s not OLED, so the screen probably doesn’t need saving, but perhaps it’ll be fun. (I don’t really enjoy xscreensaver demos on large screens, but perhaps on a small screen like this, it’ll be stylish.)
[time passes]
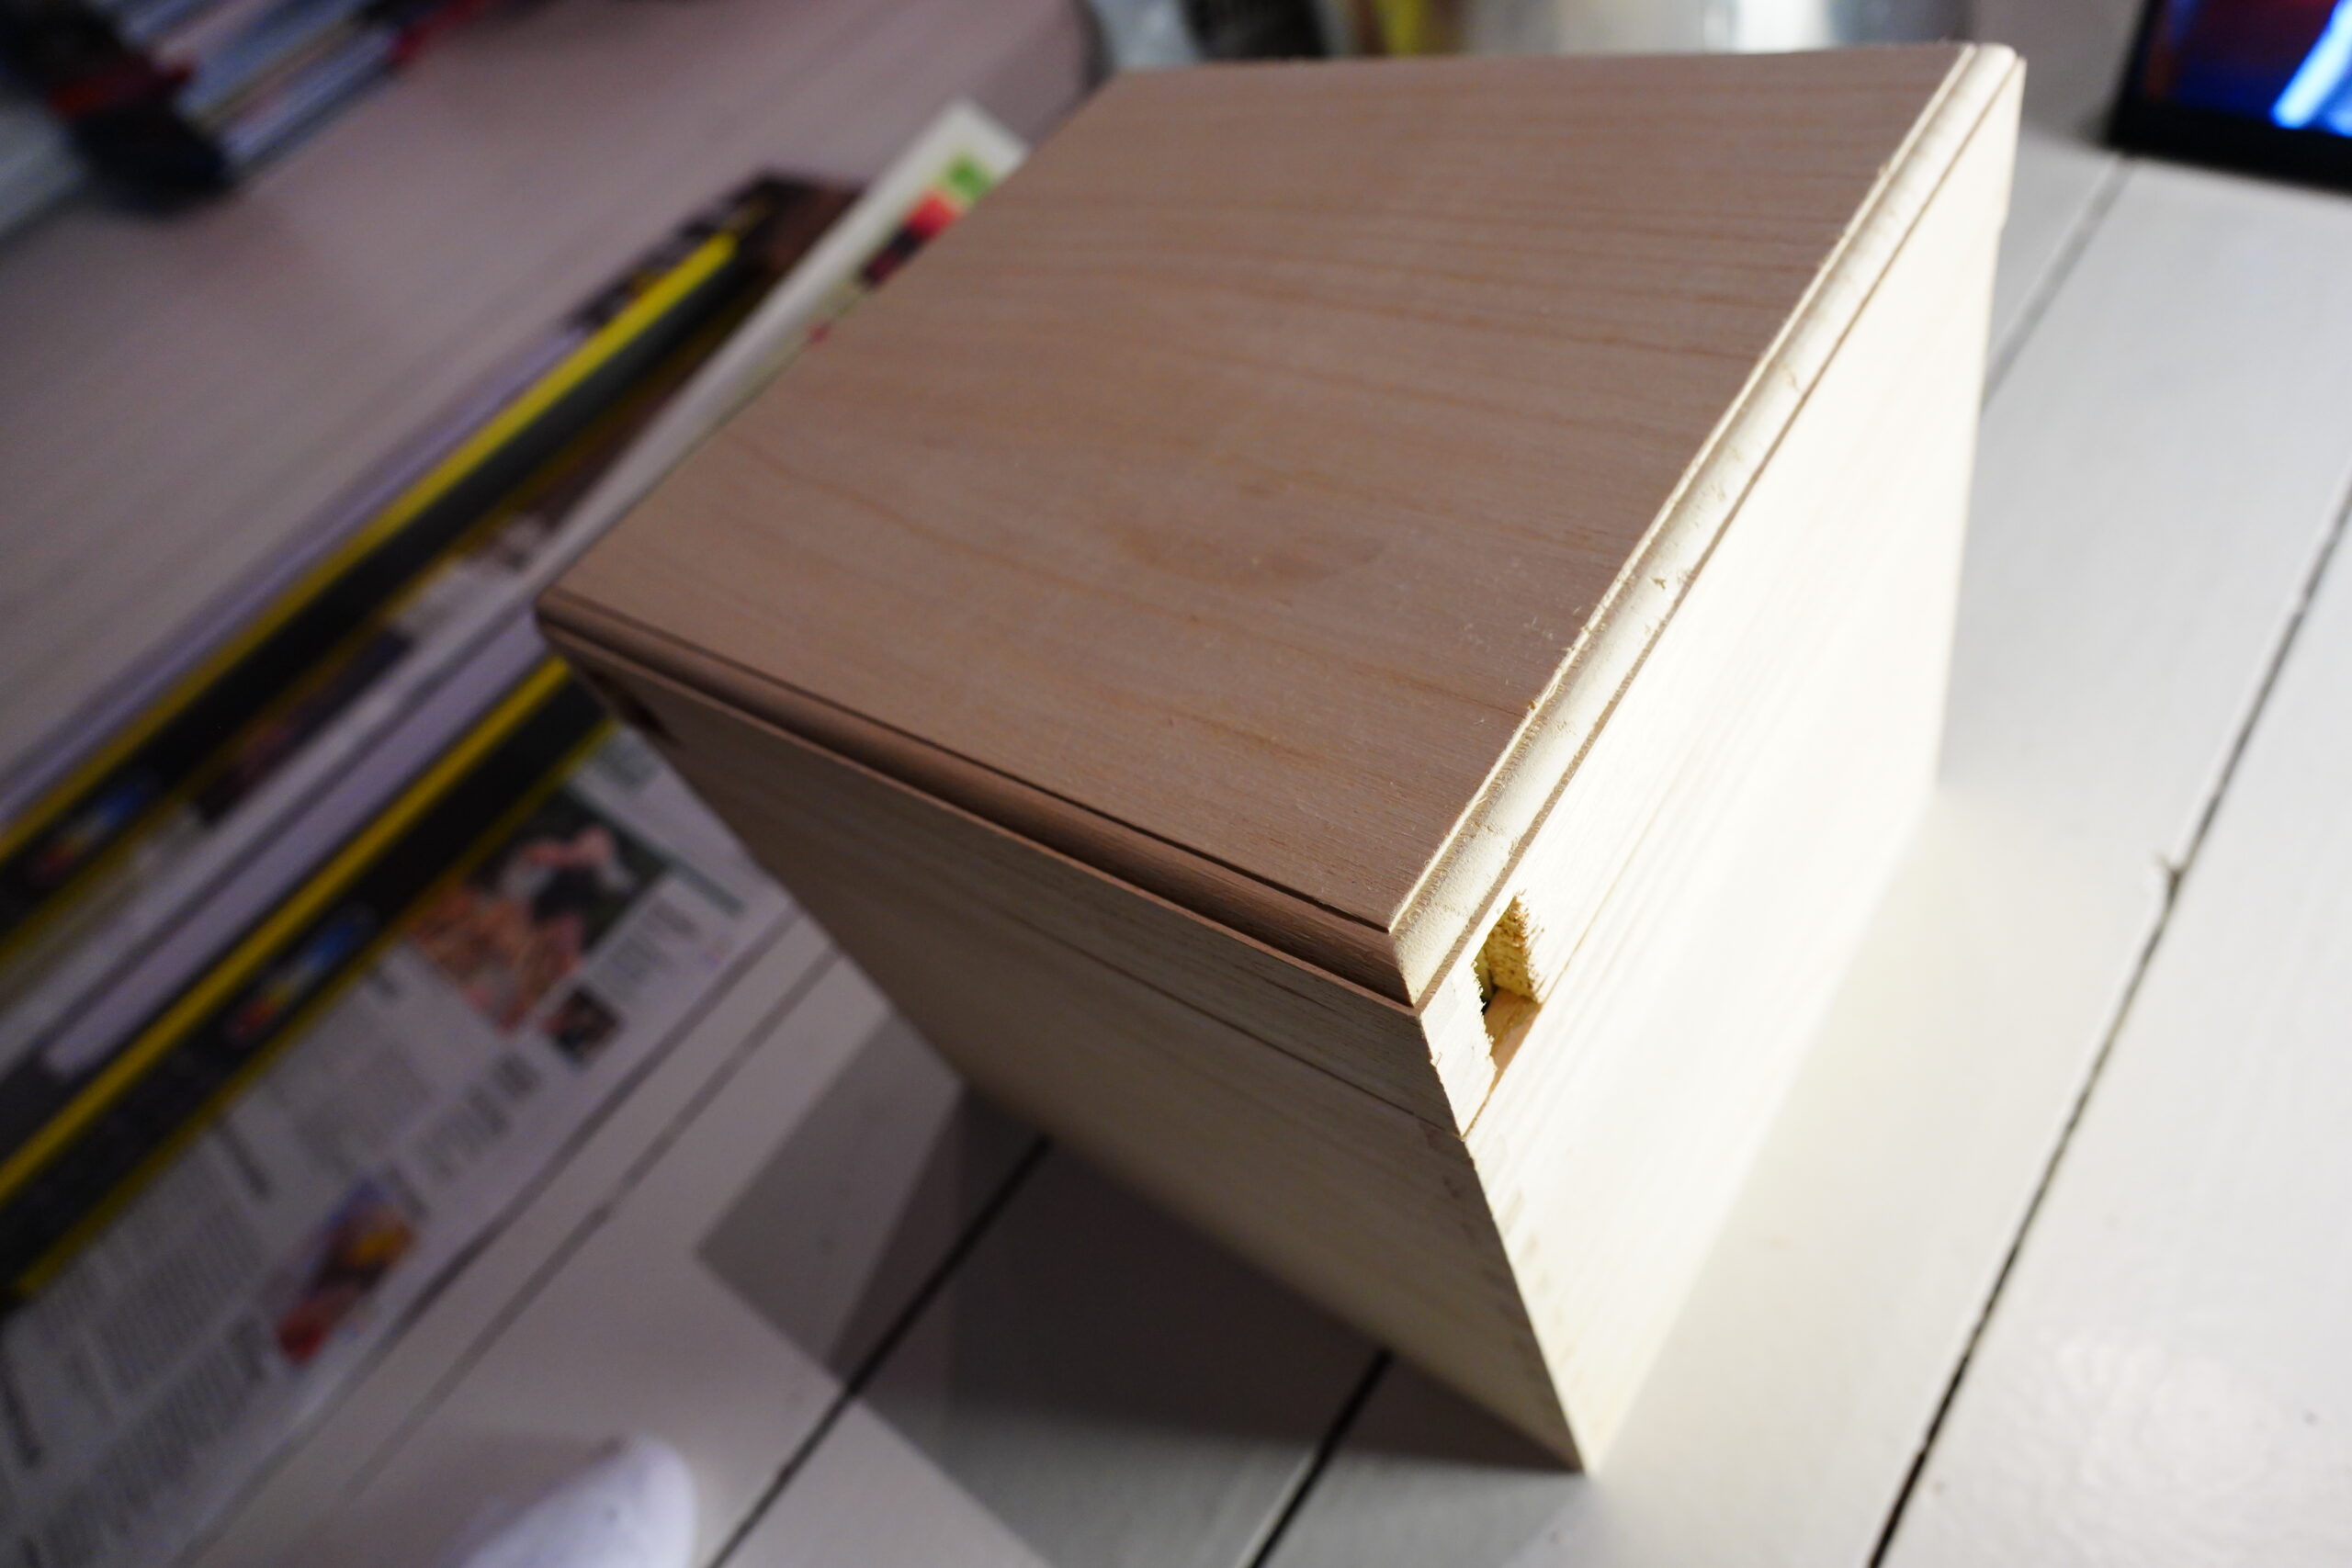
I haven’t gotten all the bits for the control unit, but I’ve got two boxes — the other one is just going to have a bunch of electric stuff inside.
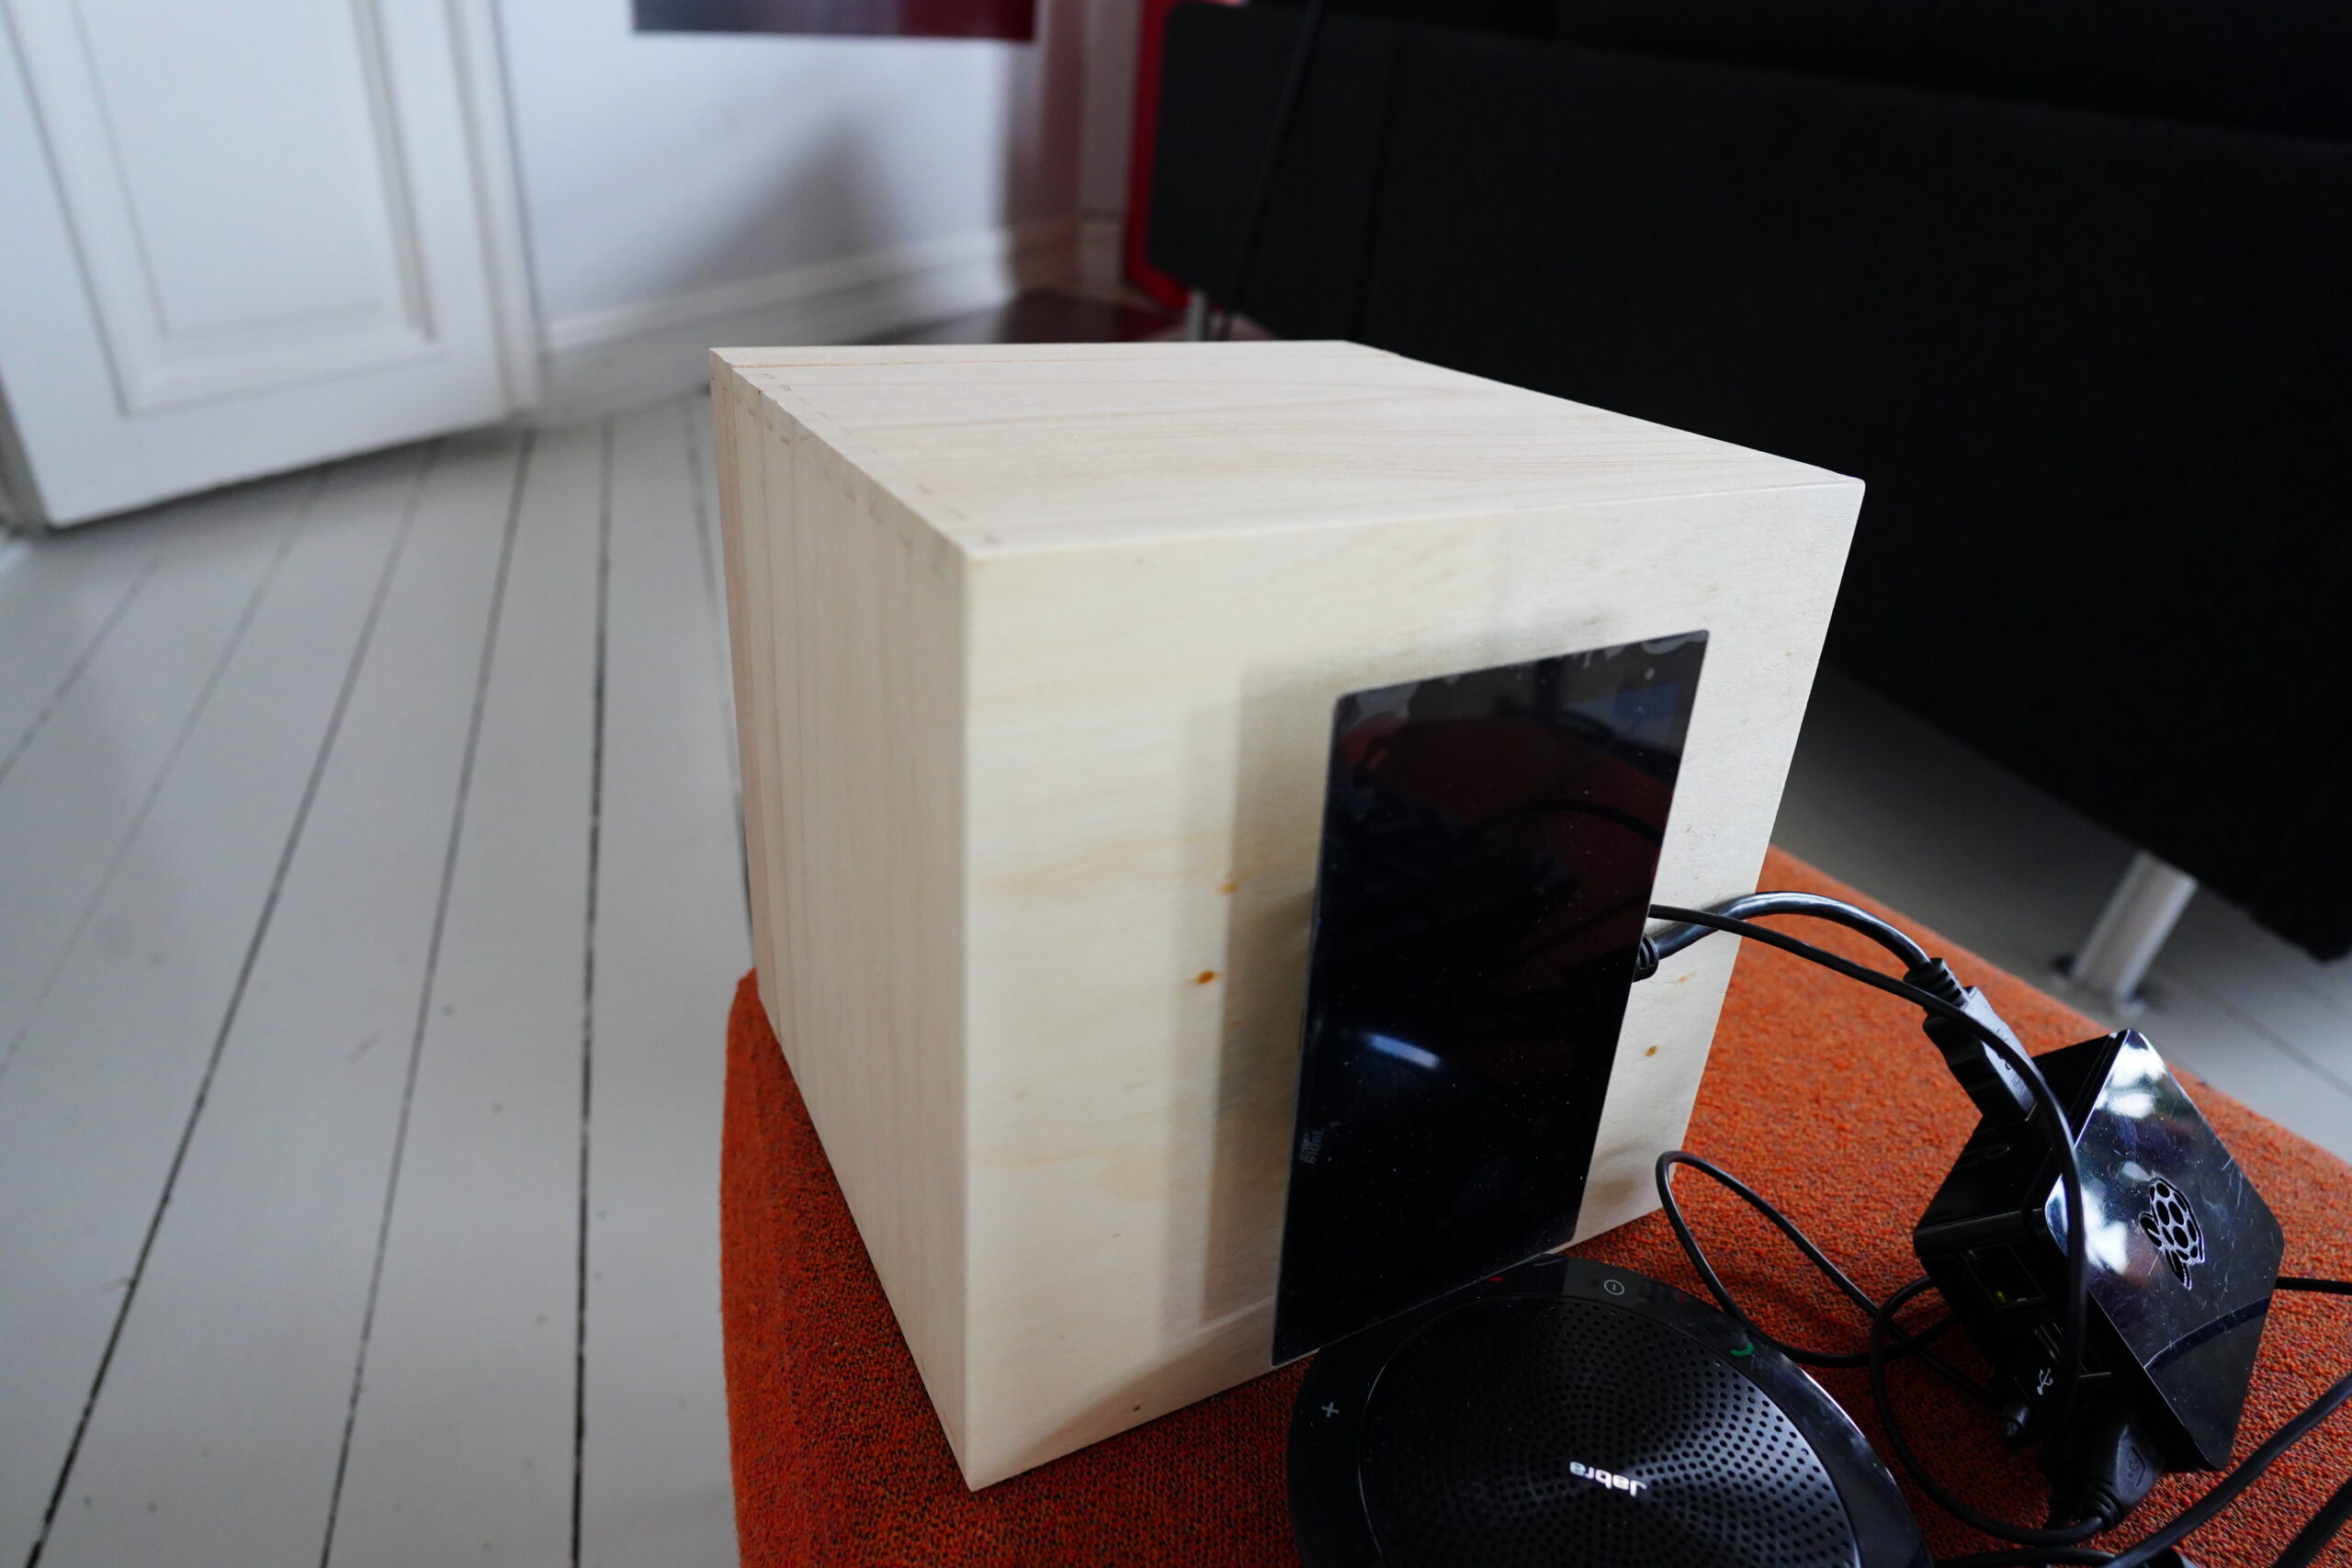
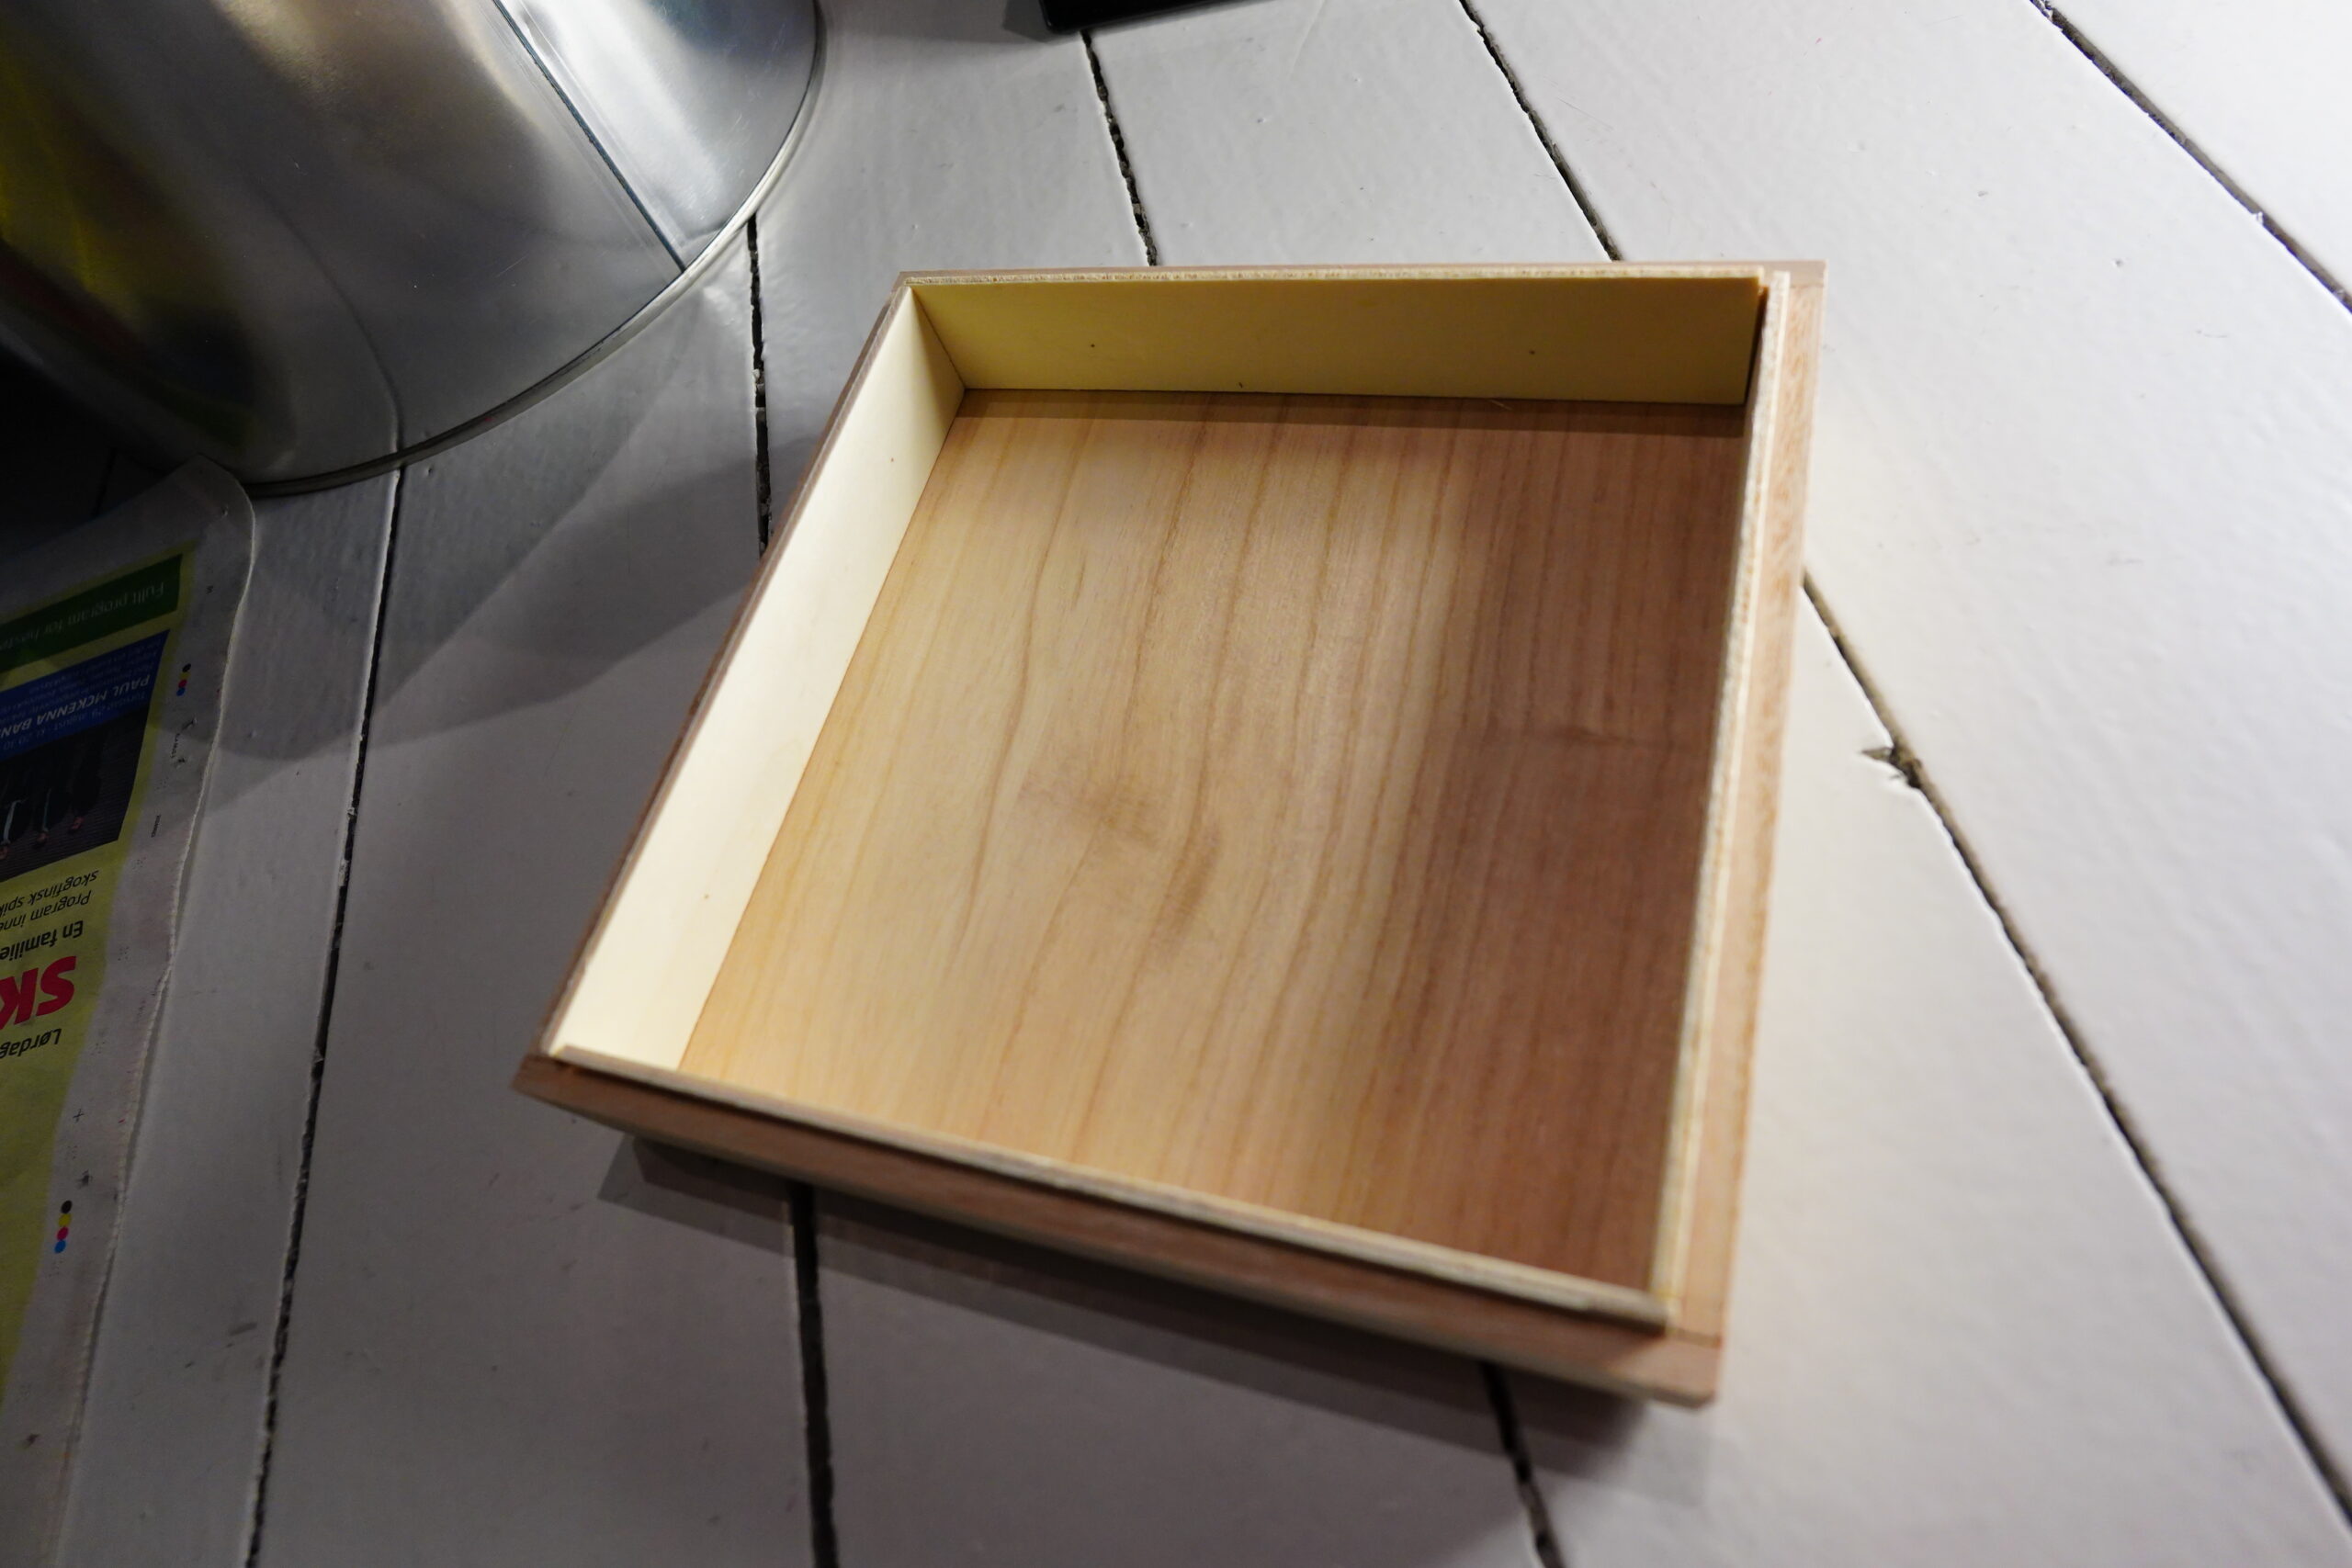
Looks like basically the correct size.
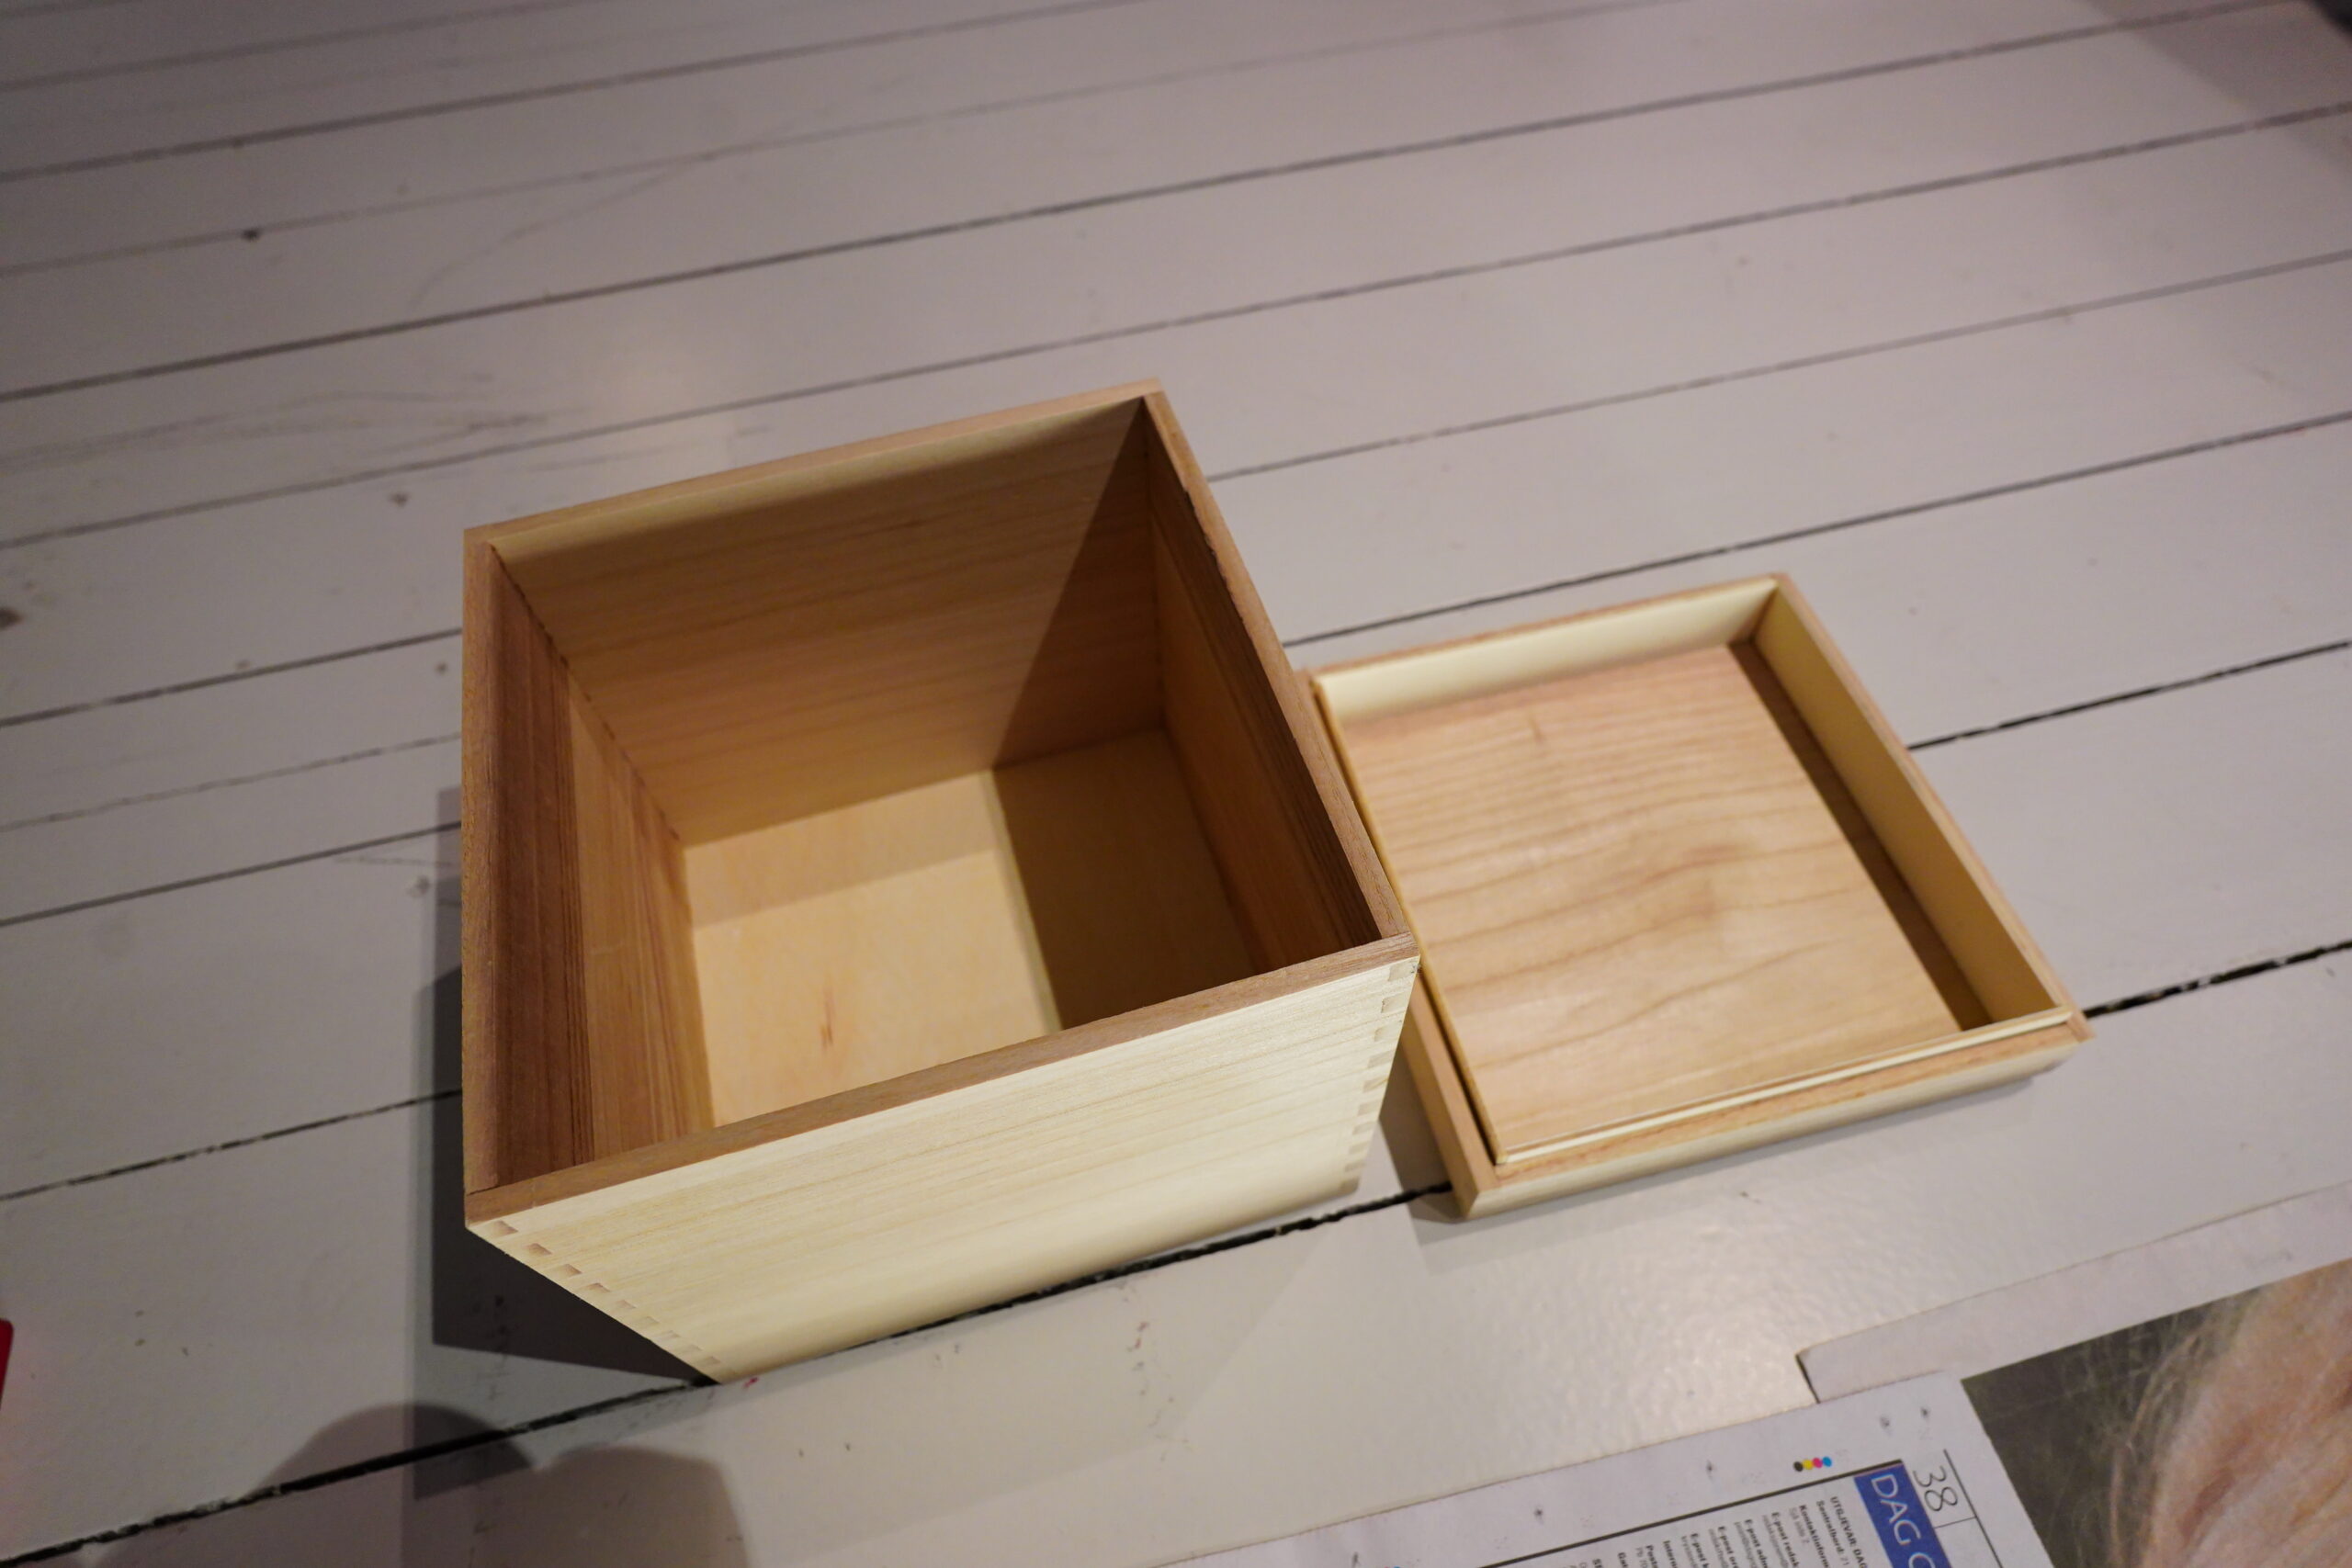
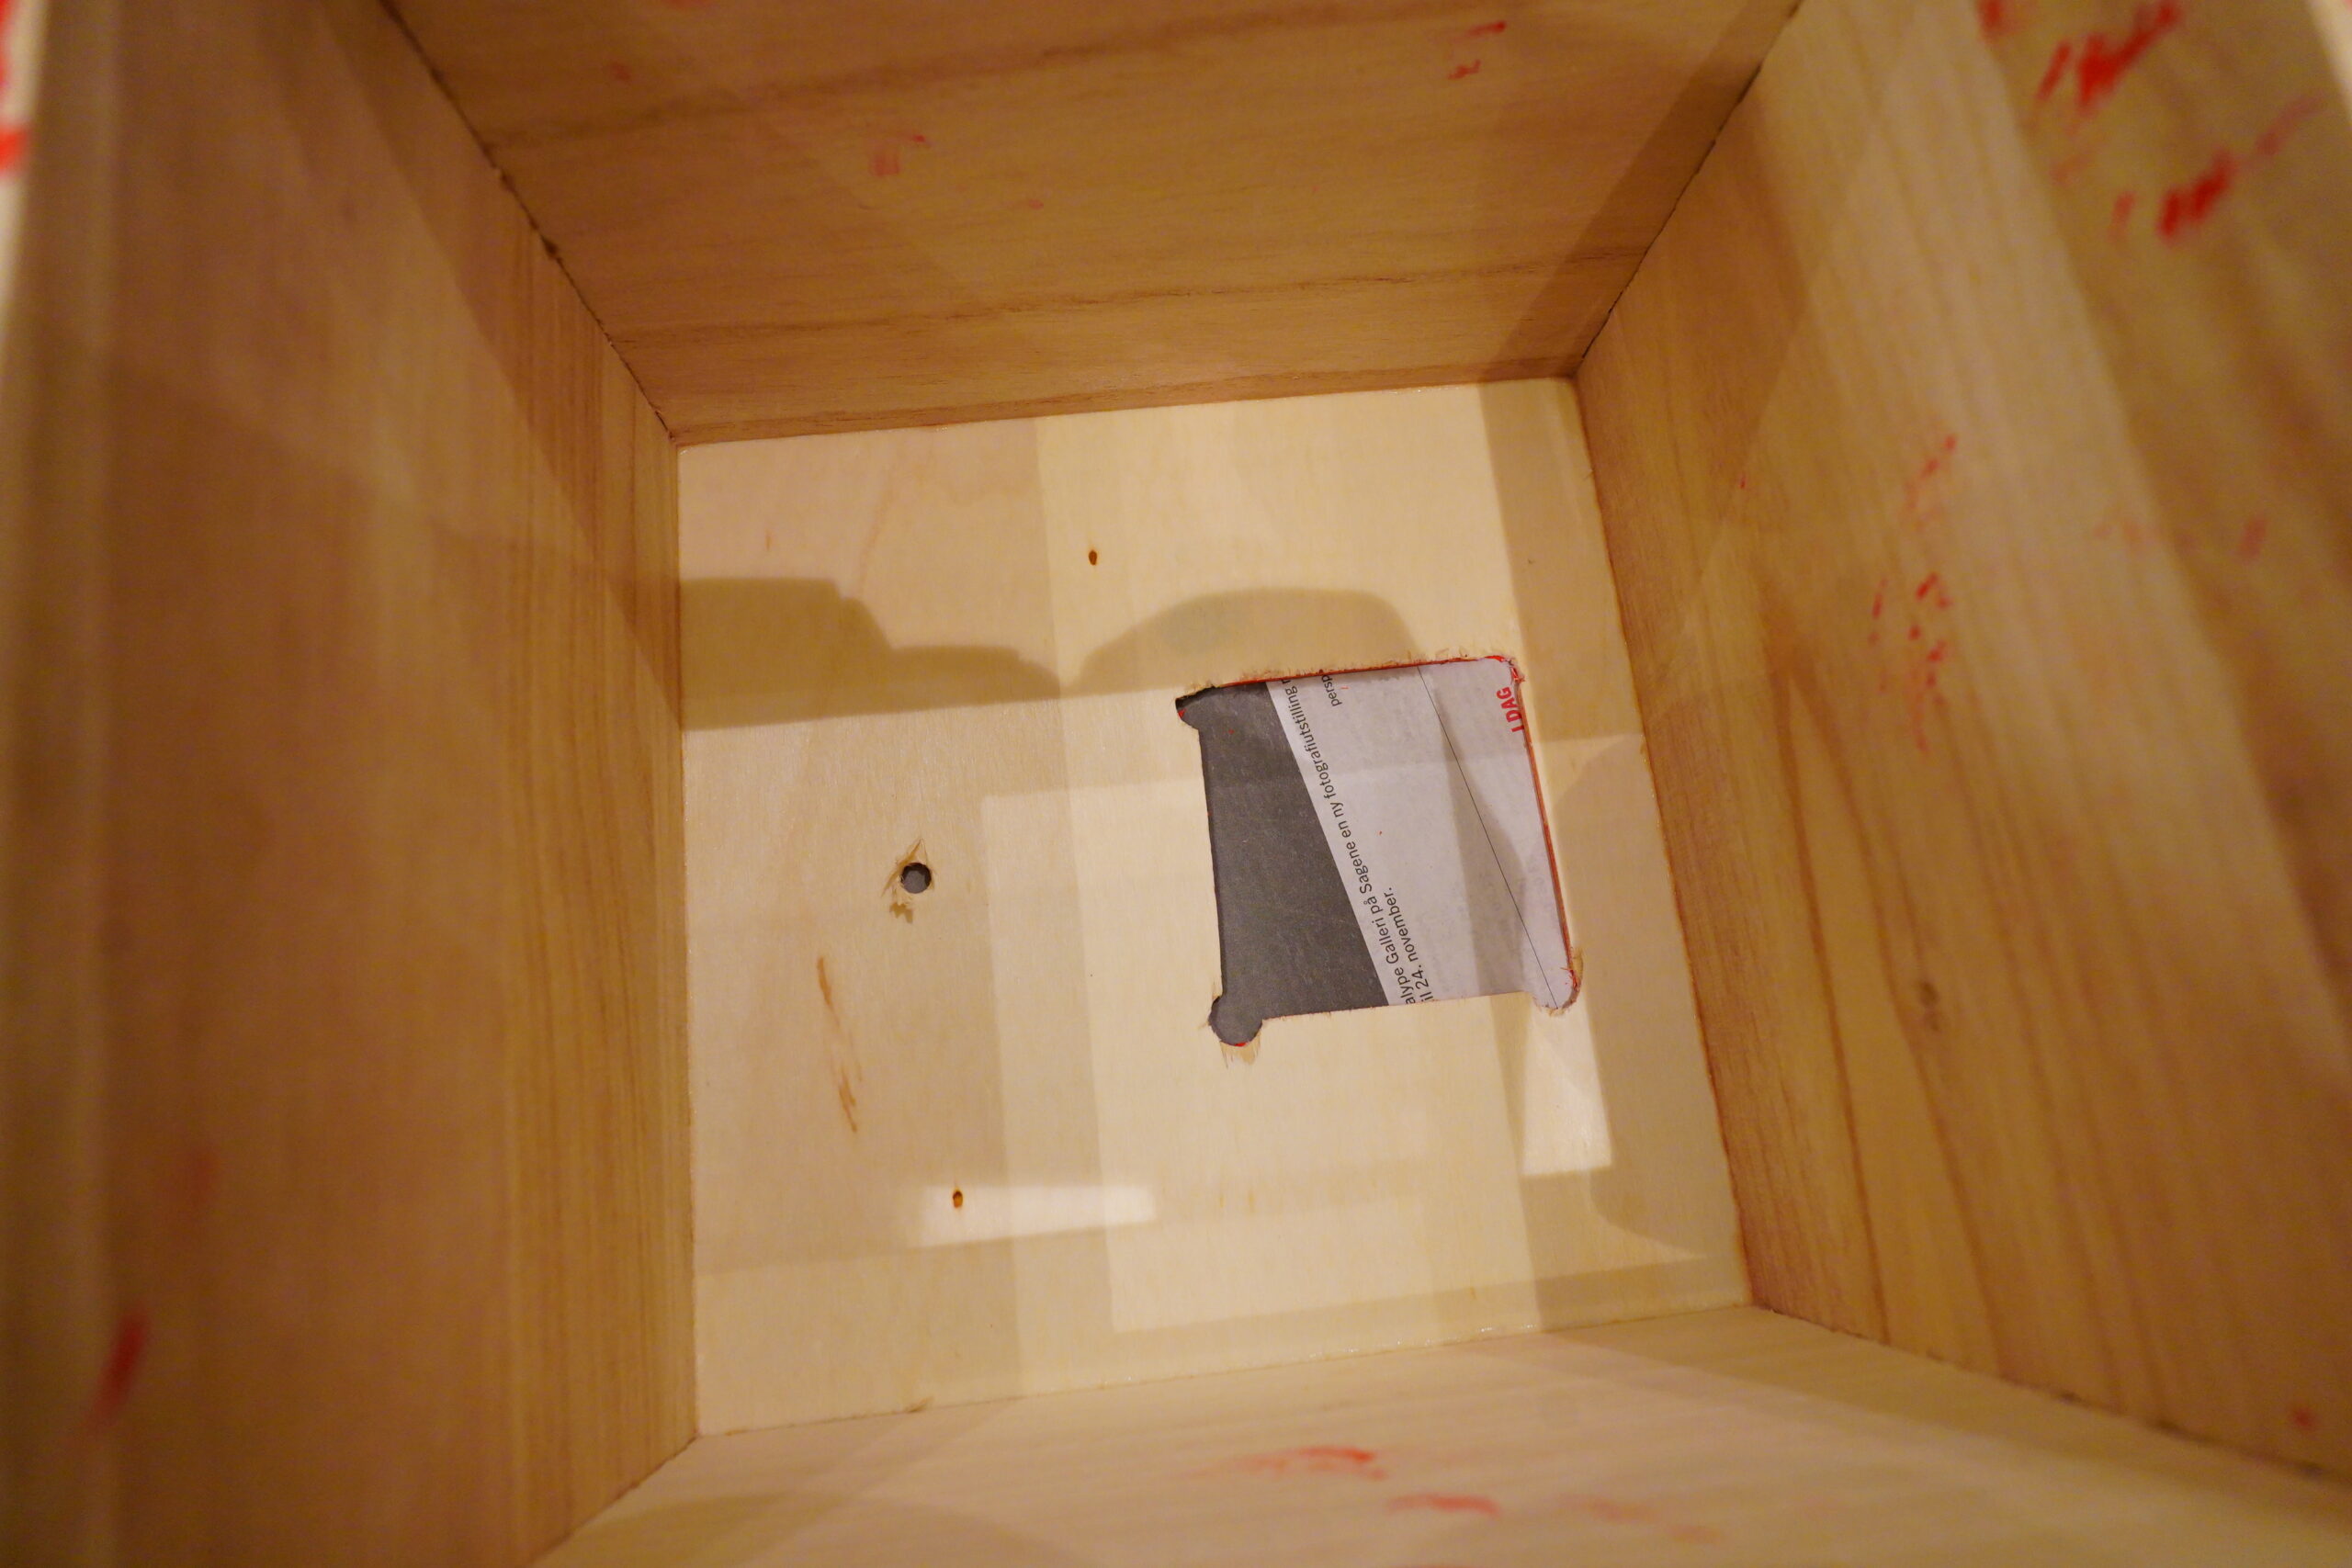
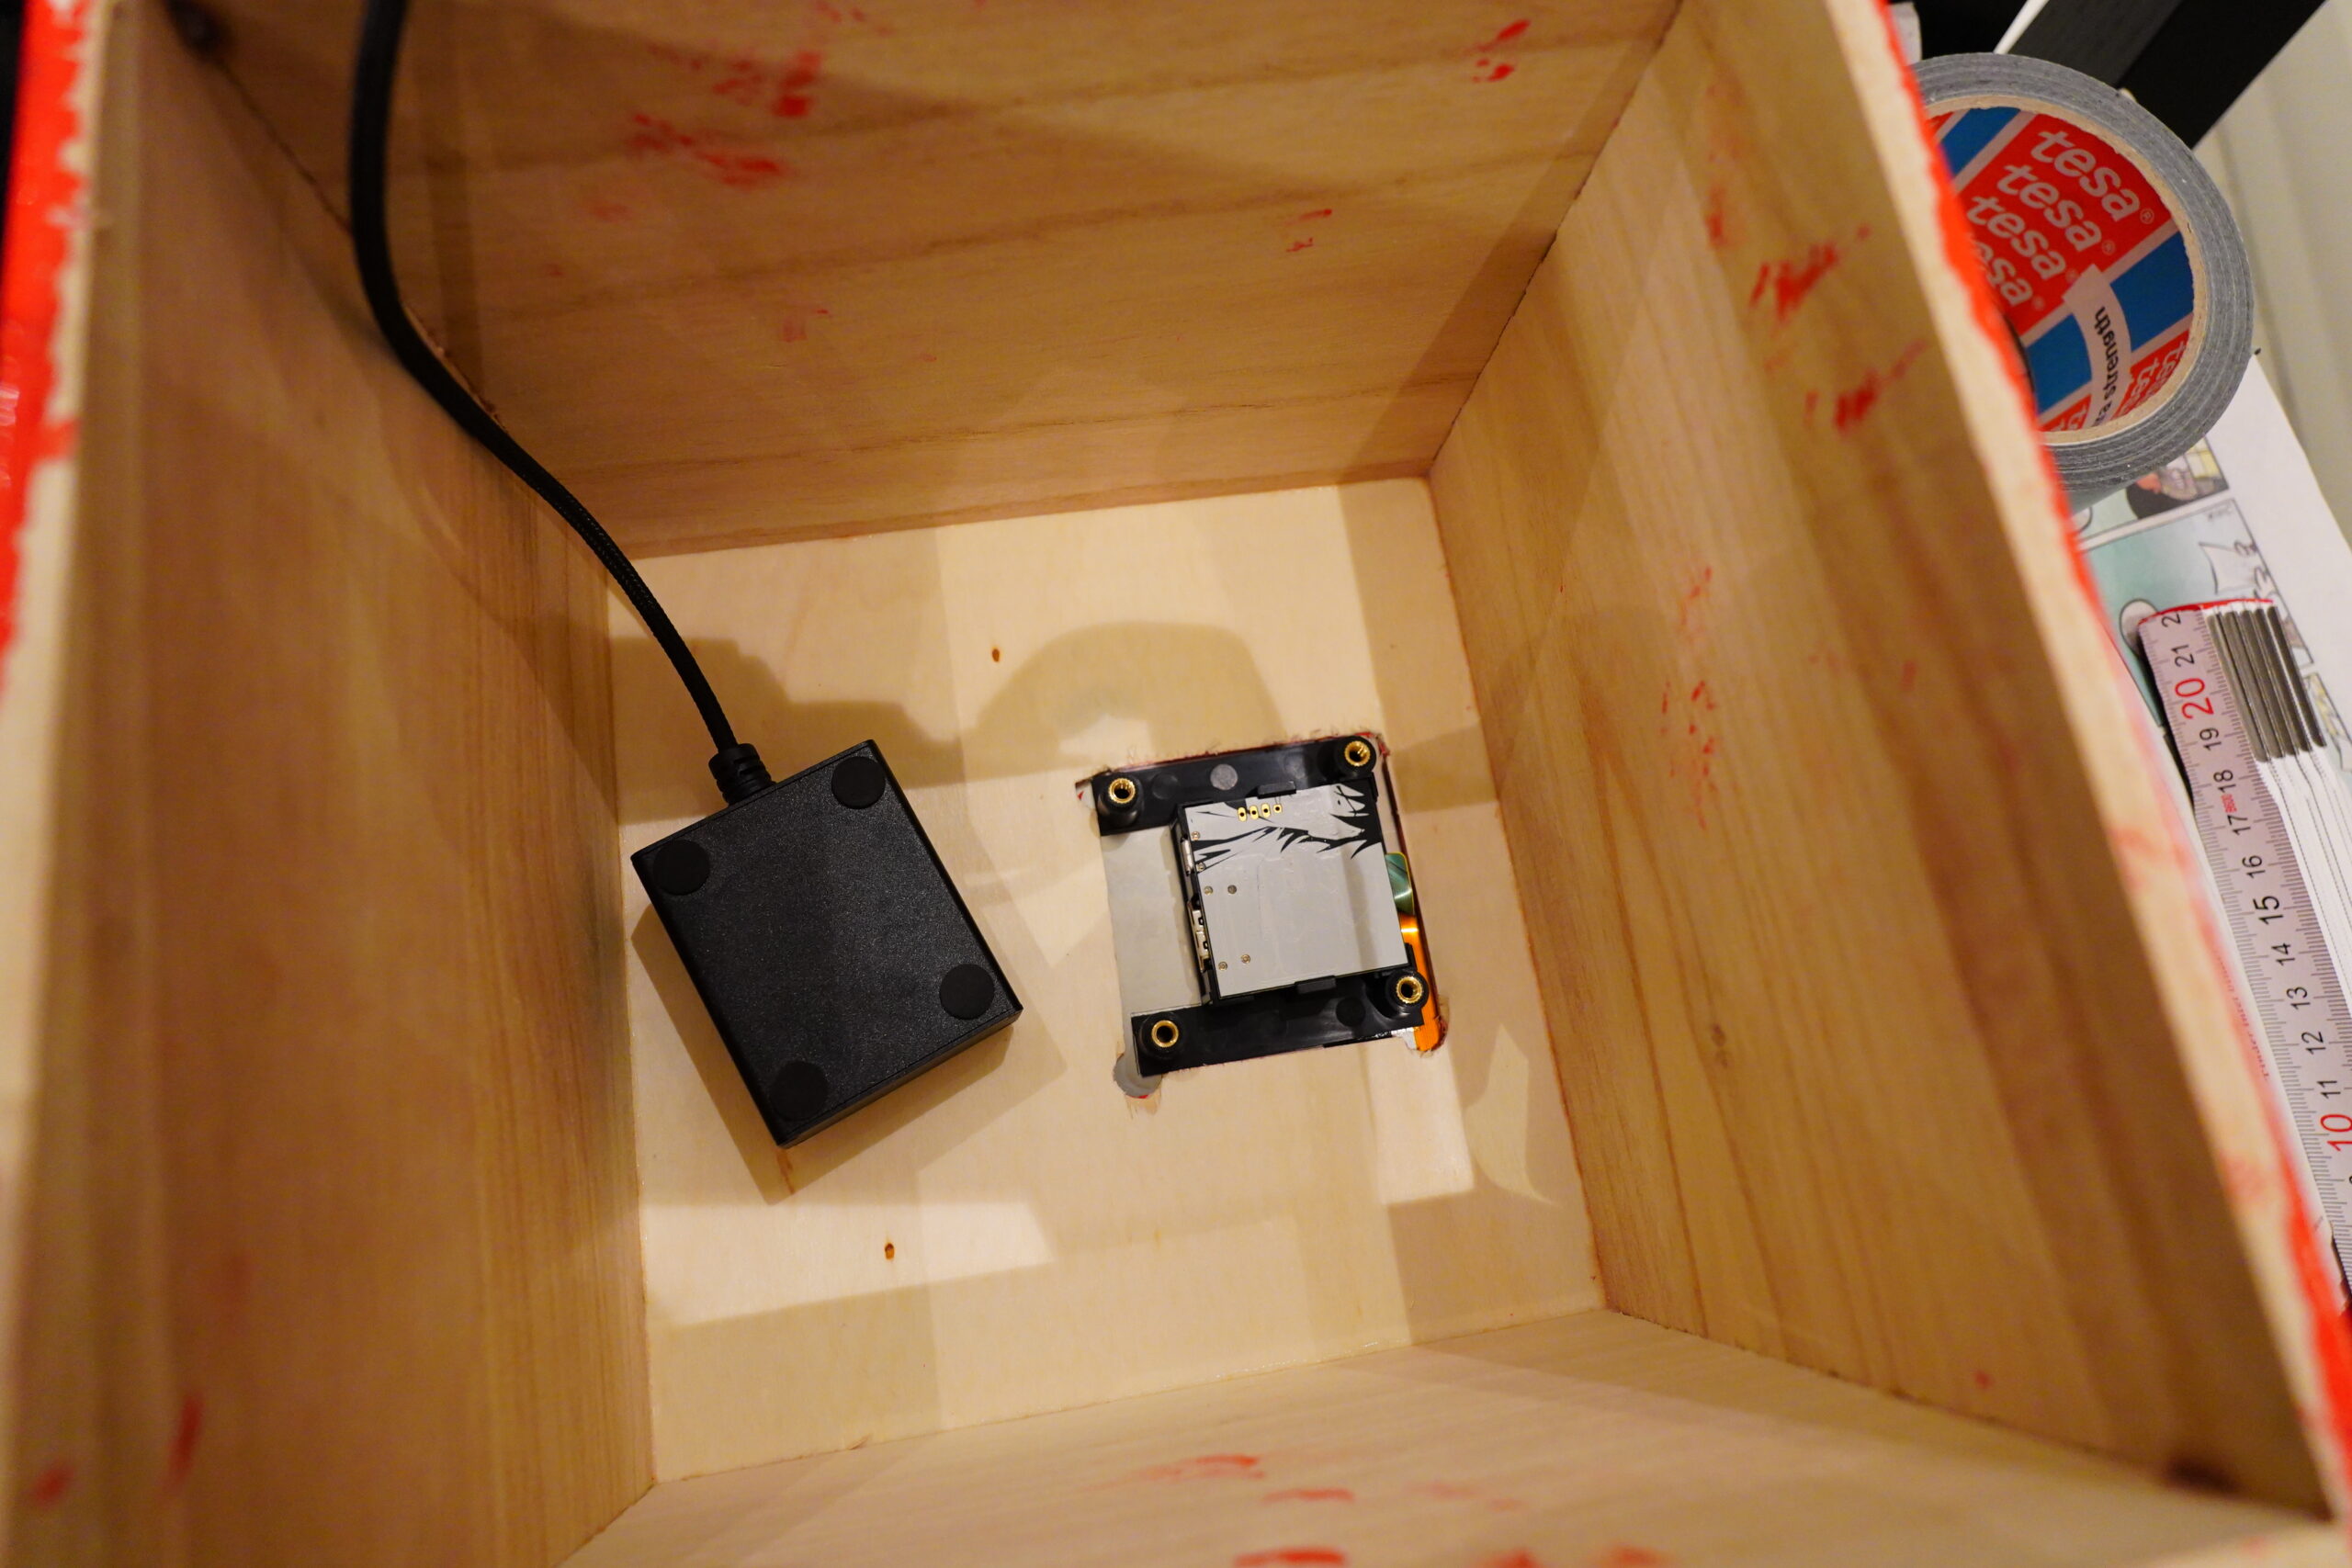
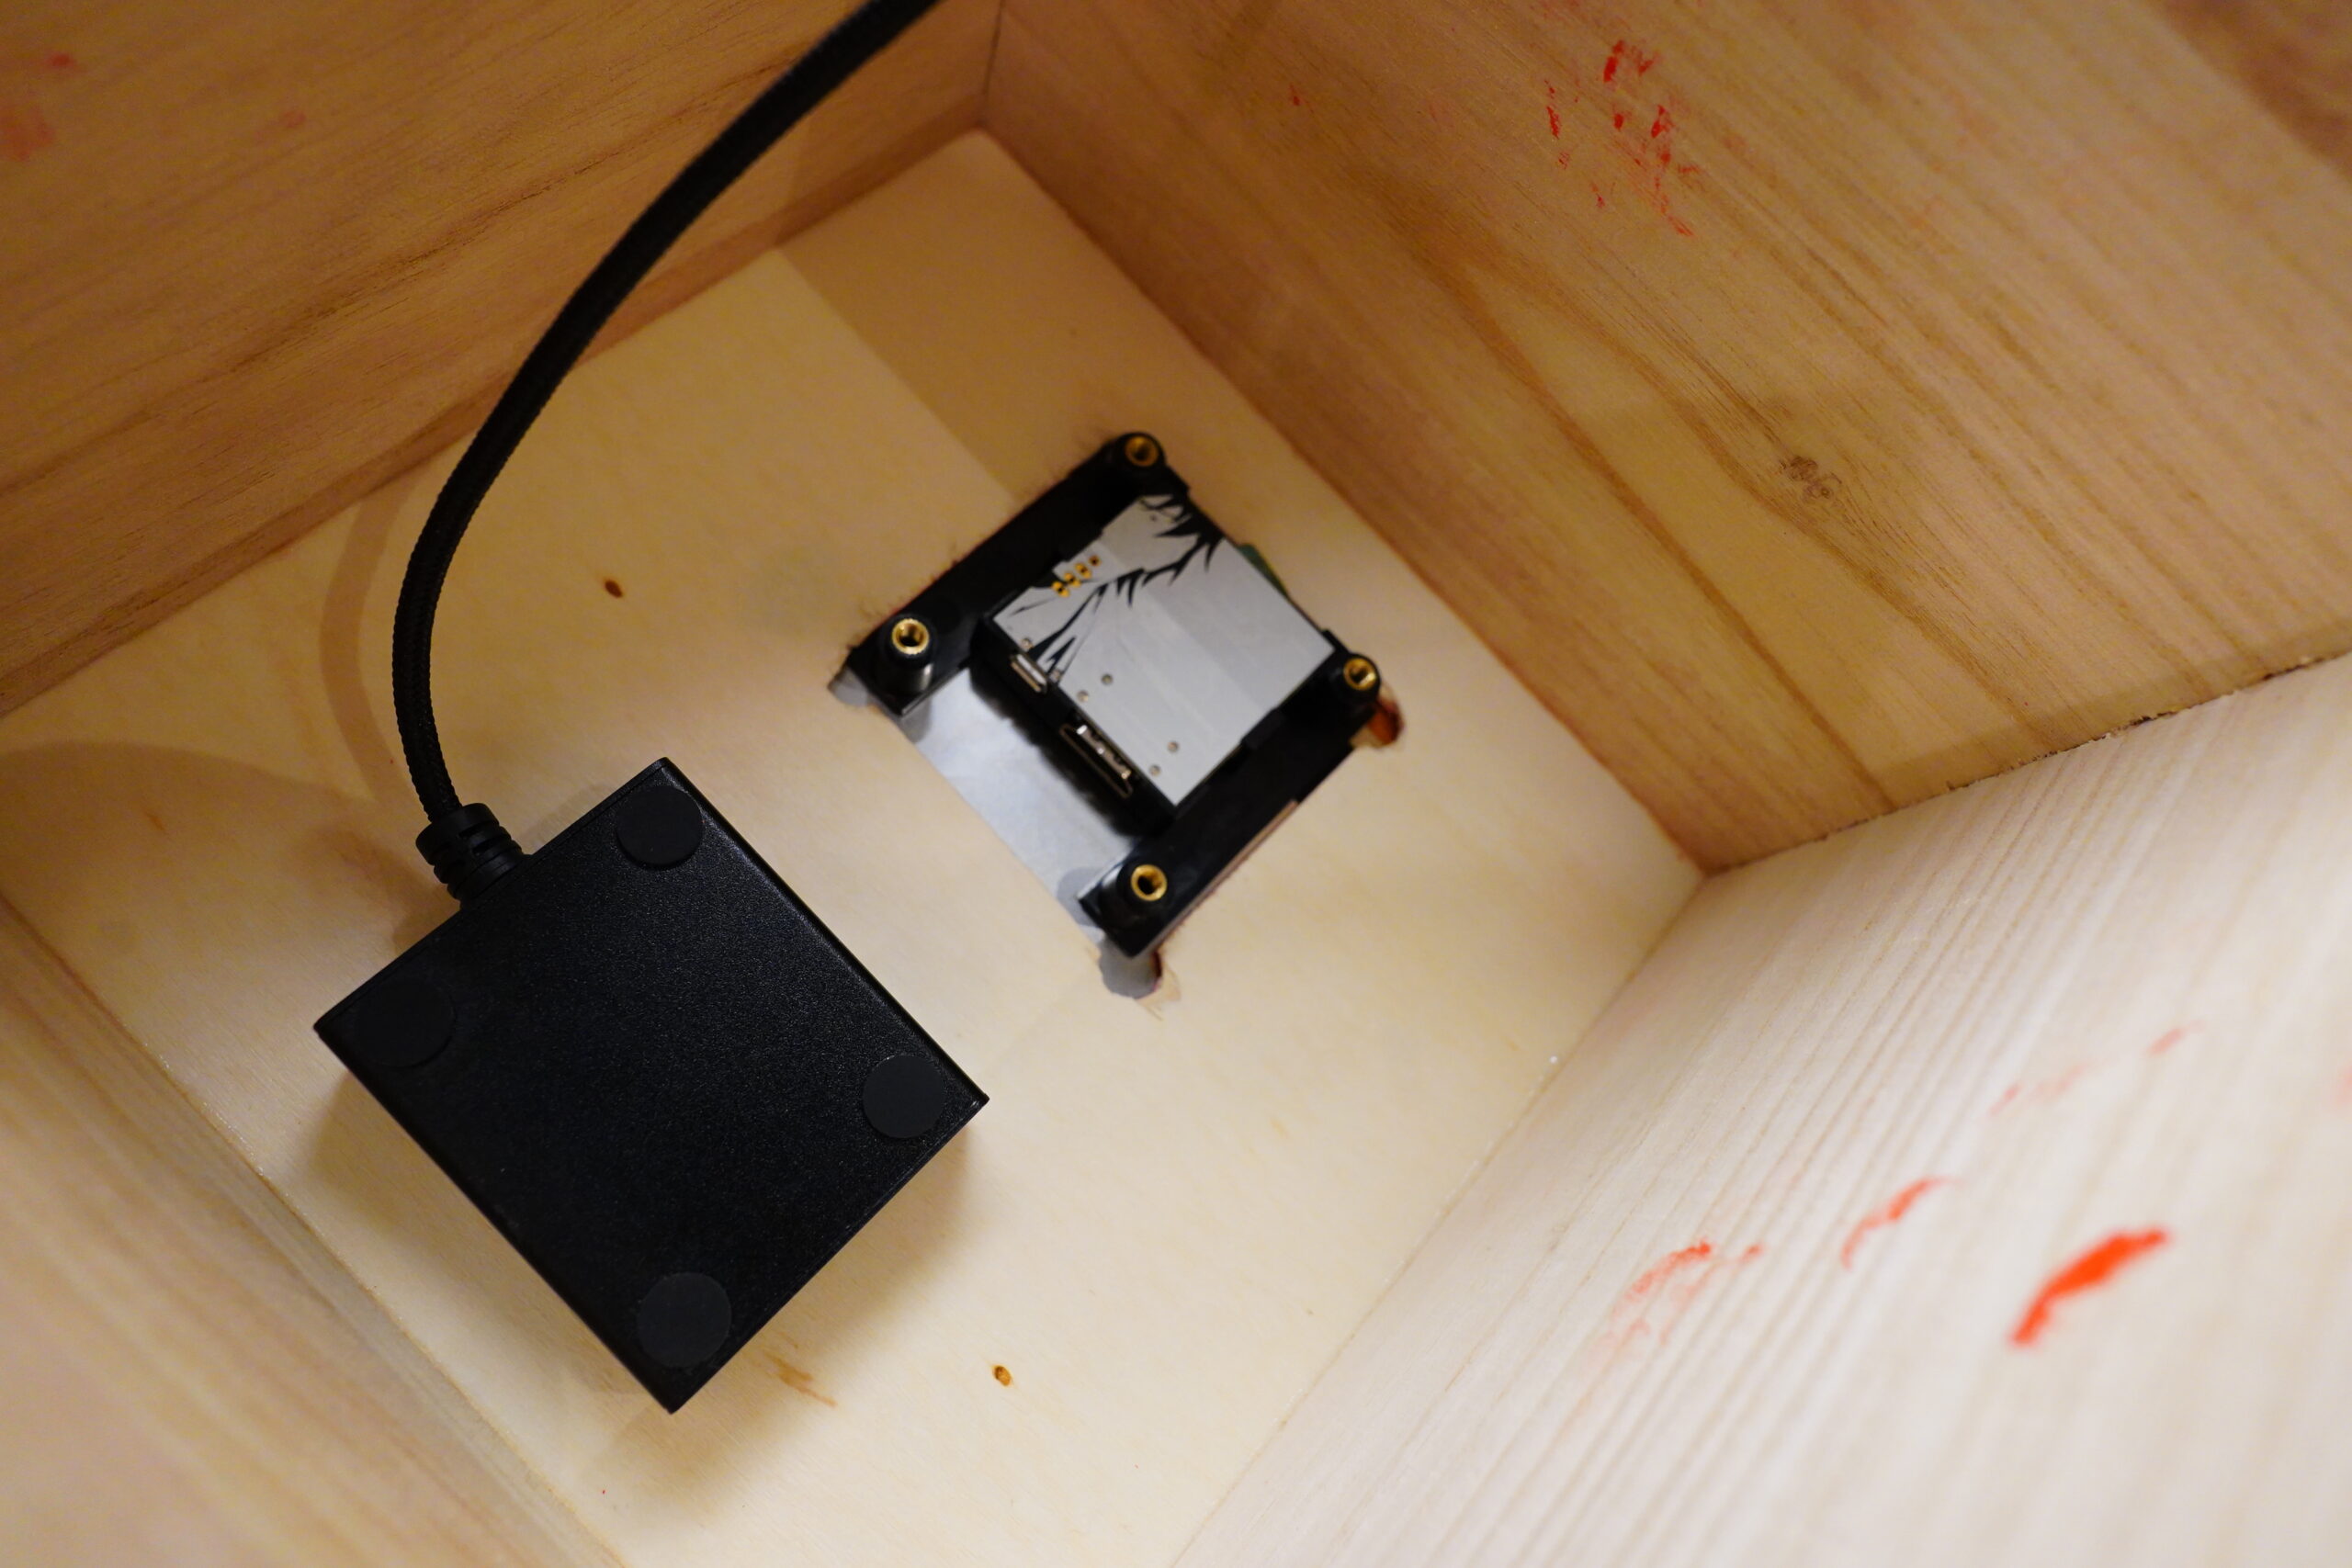
So I just need to cut some holes in it for wires, and the wires are going to be at the back of the box.
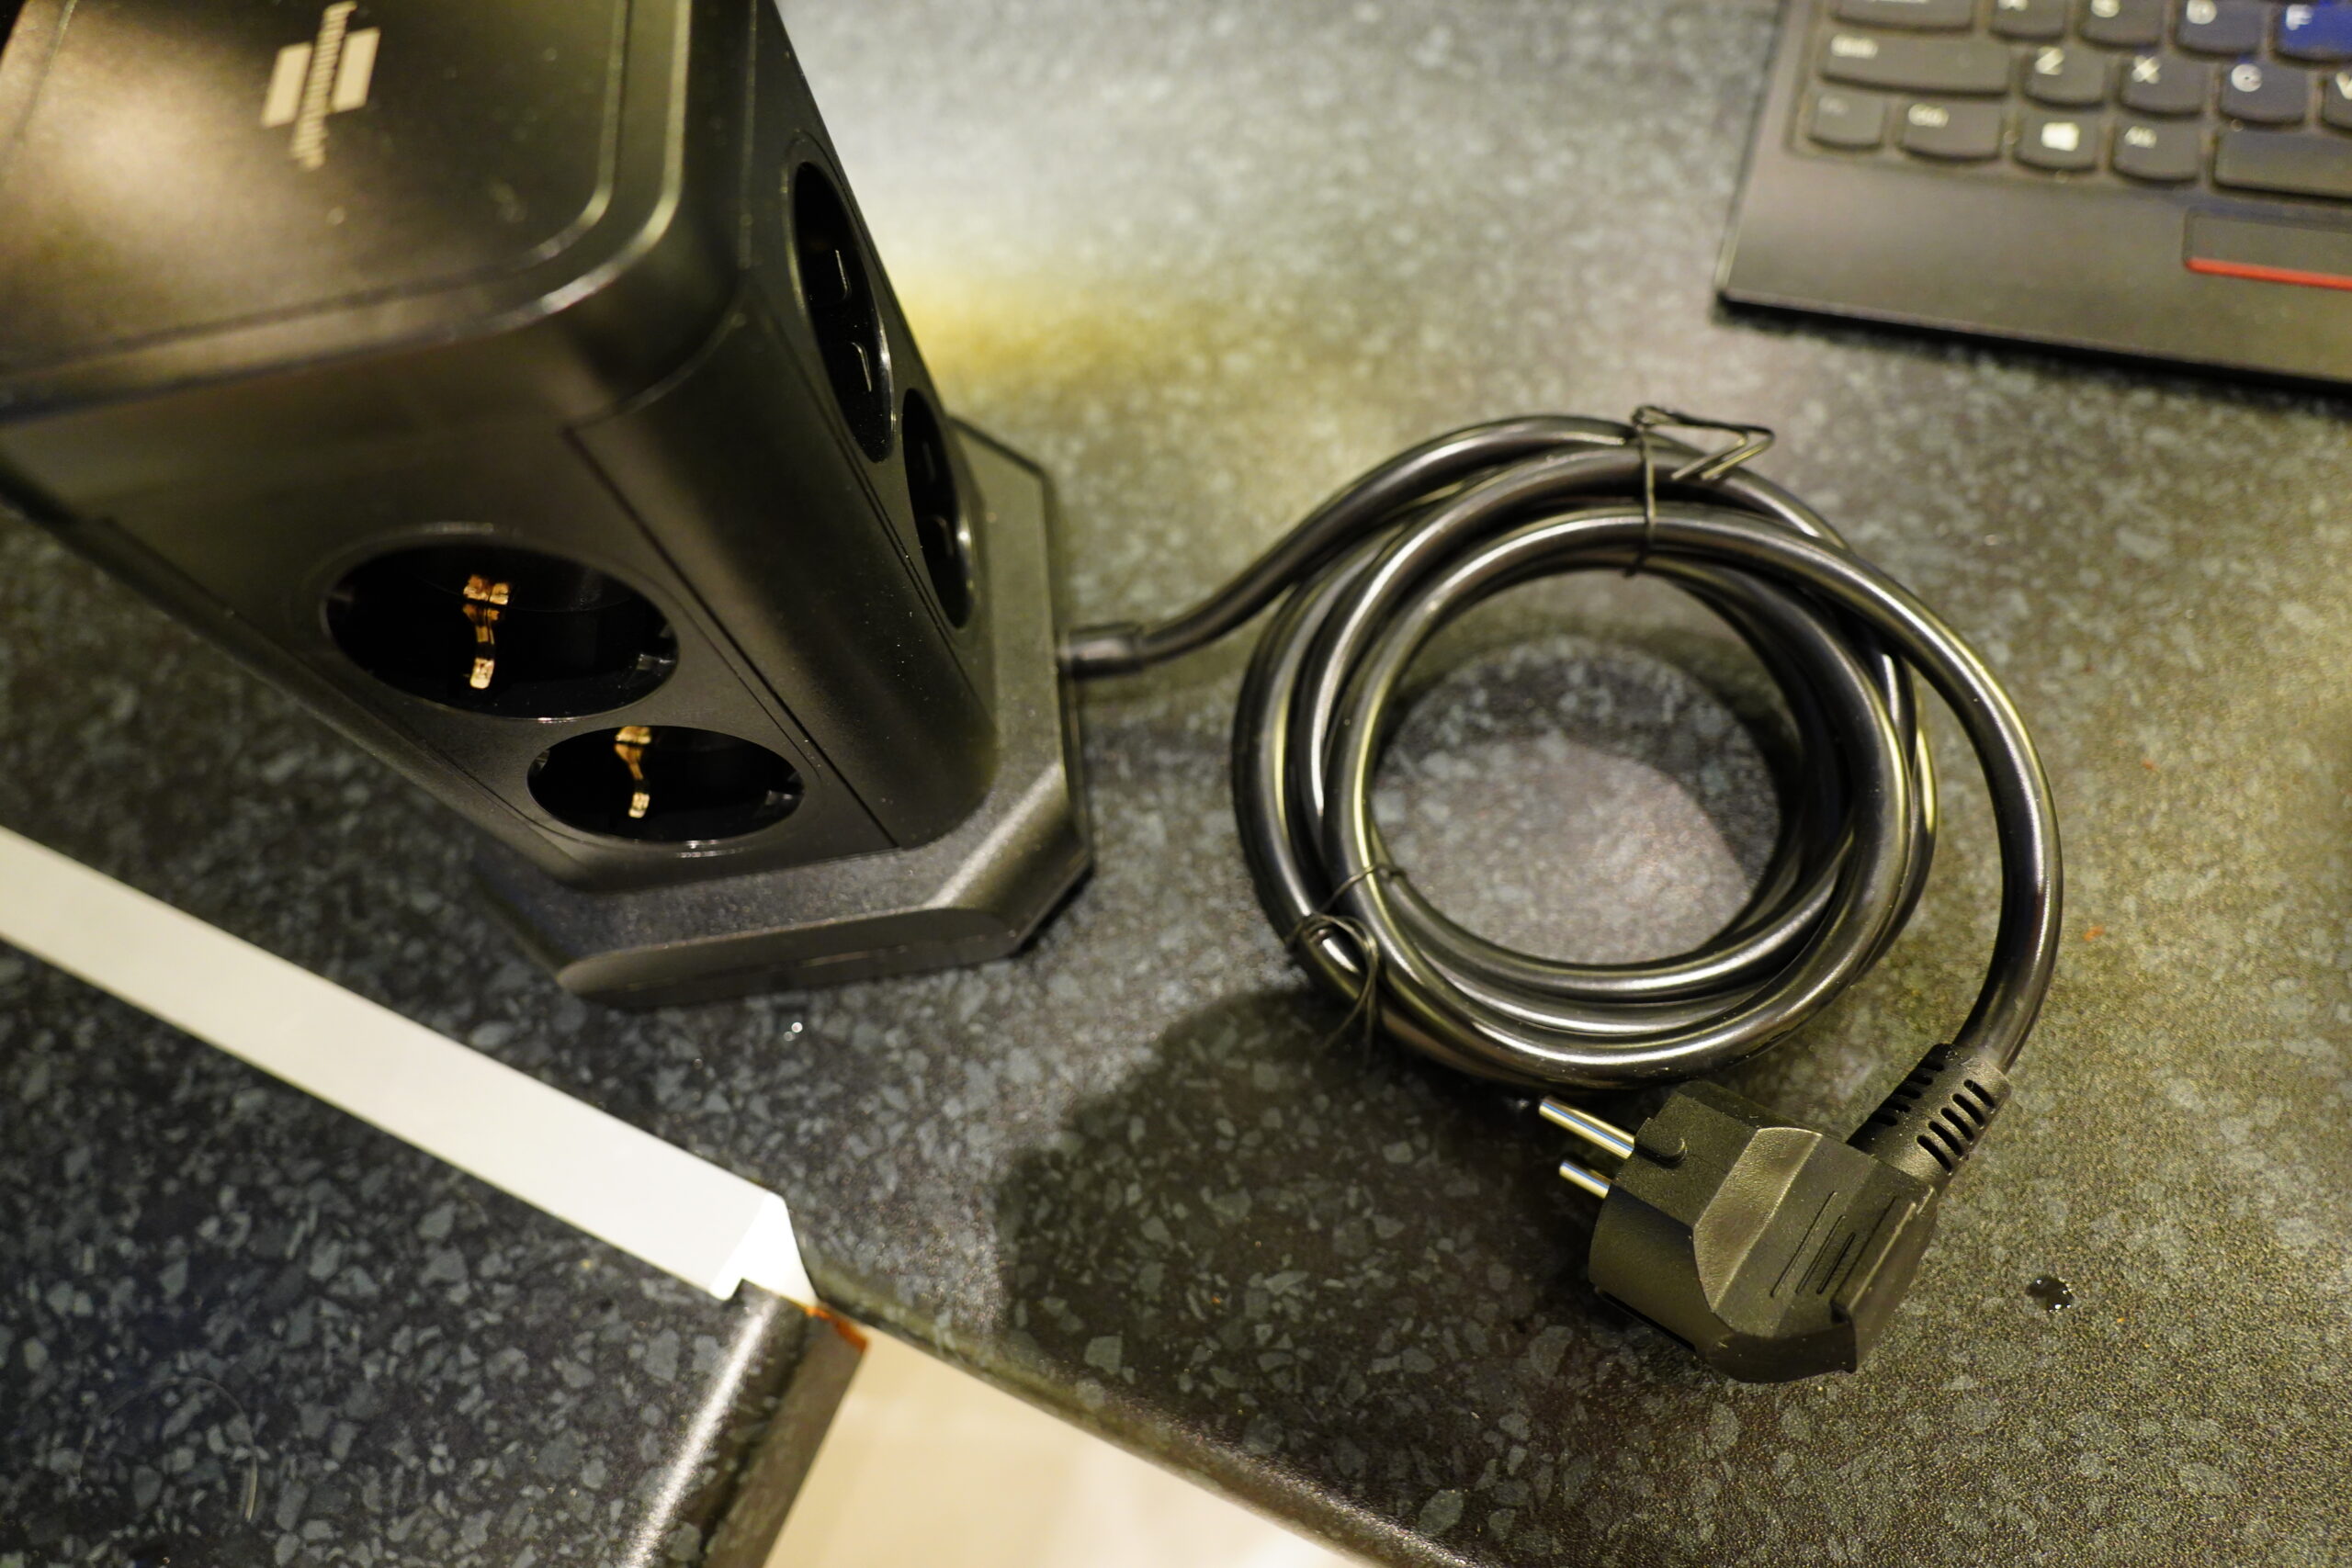
The wires themselves don’t need a big hole, even if there’s going to be a few of them going in three different directions, but European Schuko plugs are big. So I either need to cut the plug off, thread the cable through the hole, and mount another plug (which I’ve done before, but is, er, not quite halal), or do a big hole…
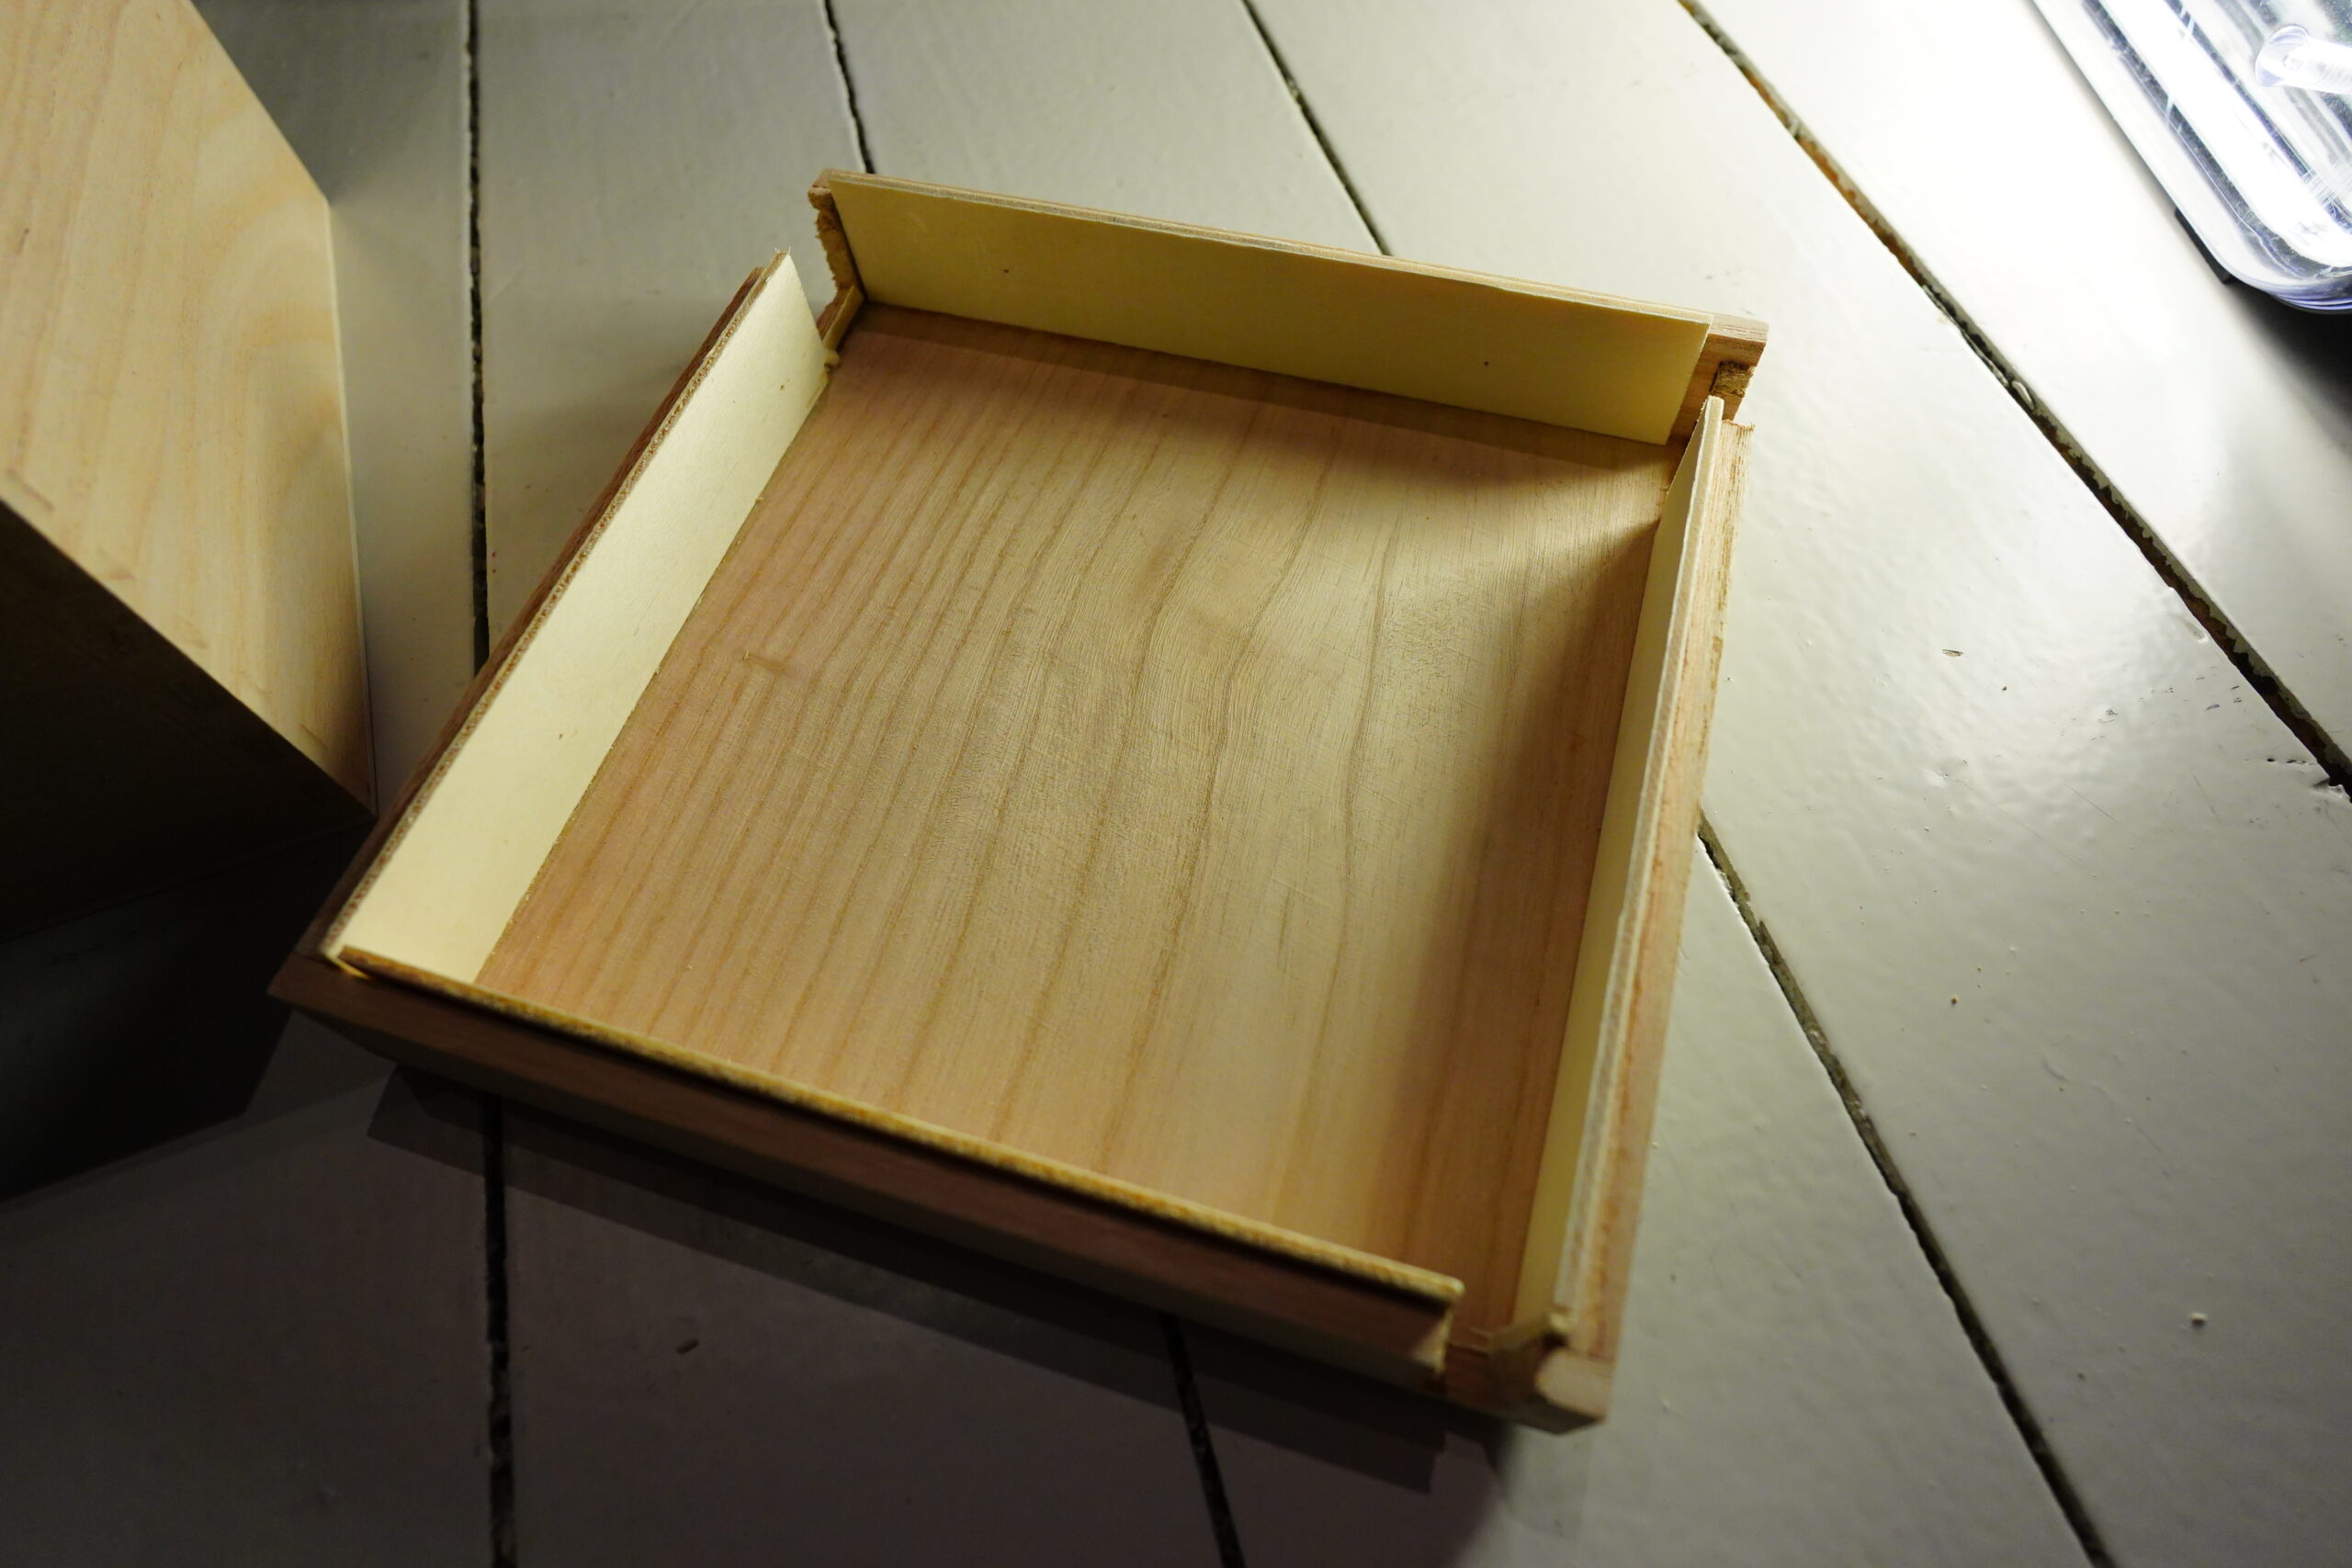
So I got the brilliant idea — this box has a lid, so why not just face the box with the lid inwards and cut the holes in the lid! Then I just need space for the cables, and not the plug!
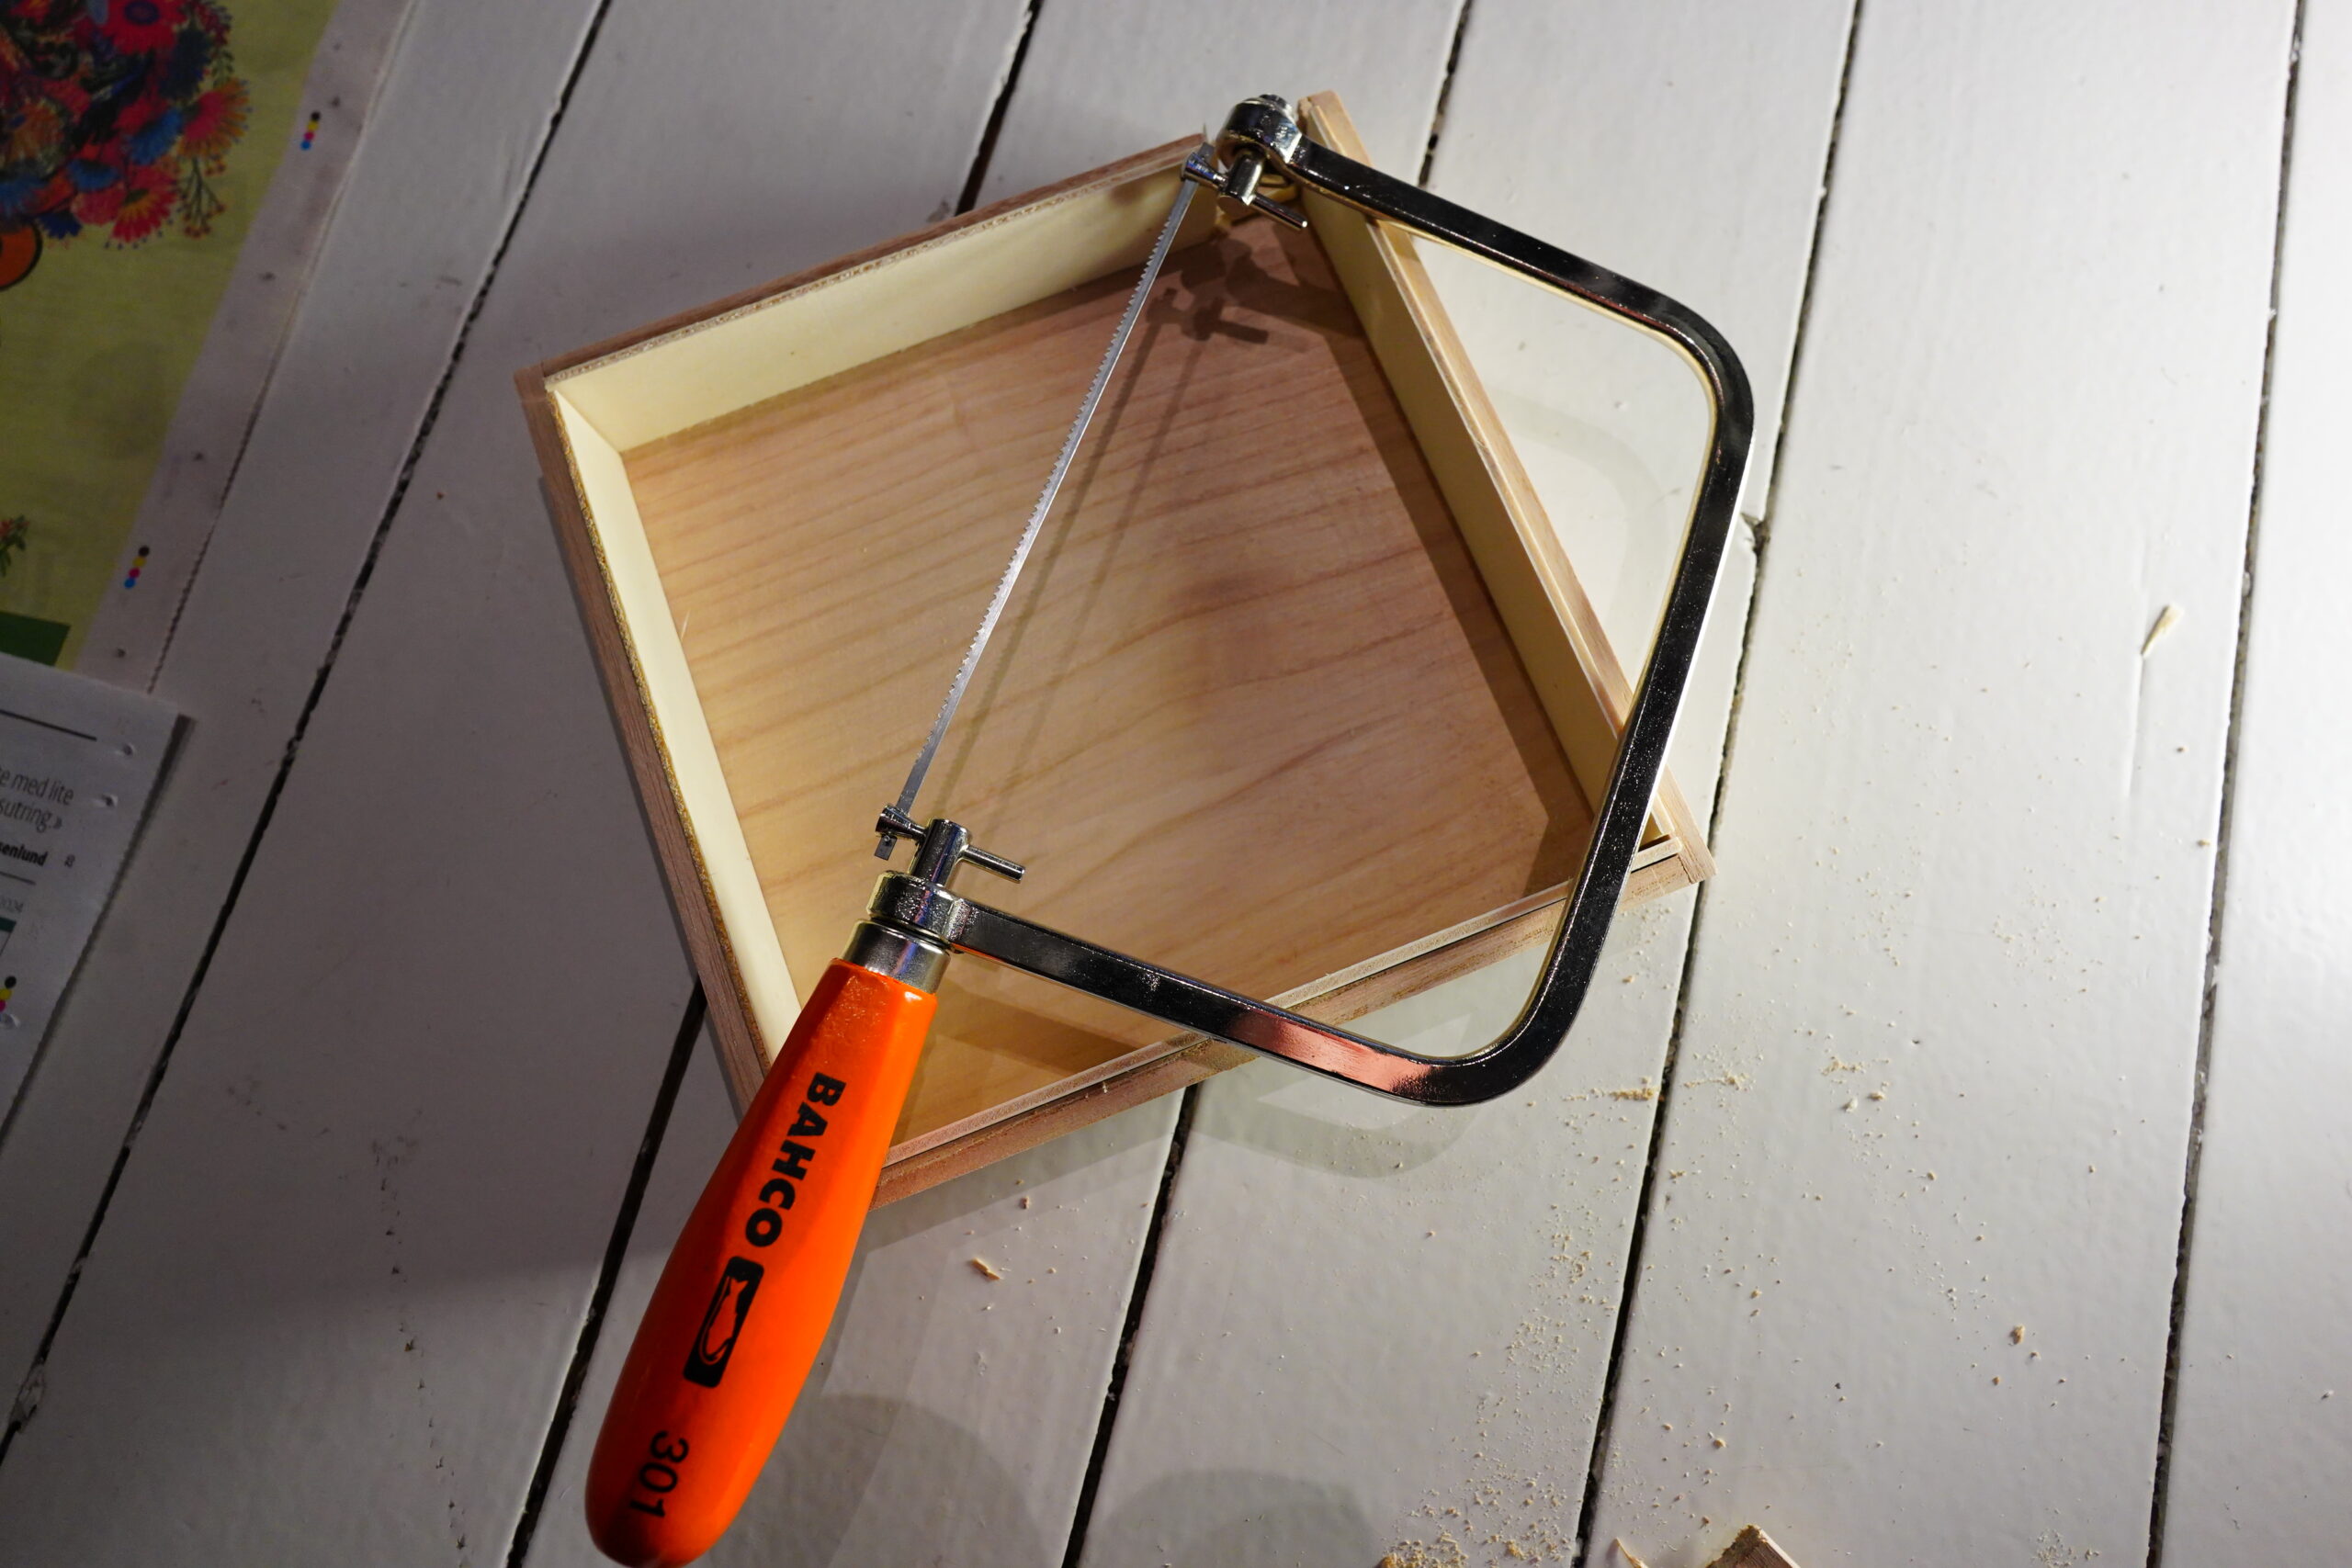
So I bought this nice little saw made for cutting out jigsaws and stuff…
And presto! Smaller holes!
I think this might work?
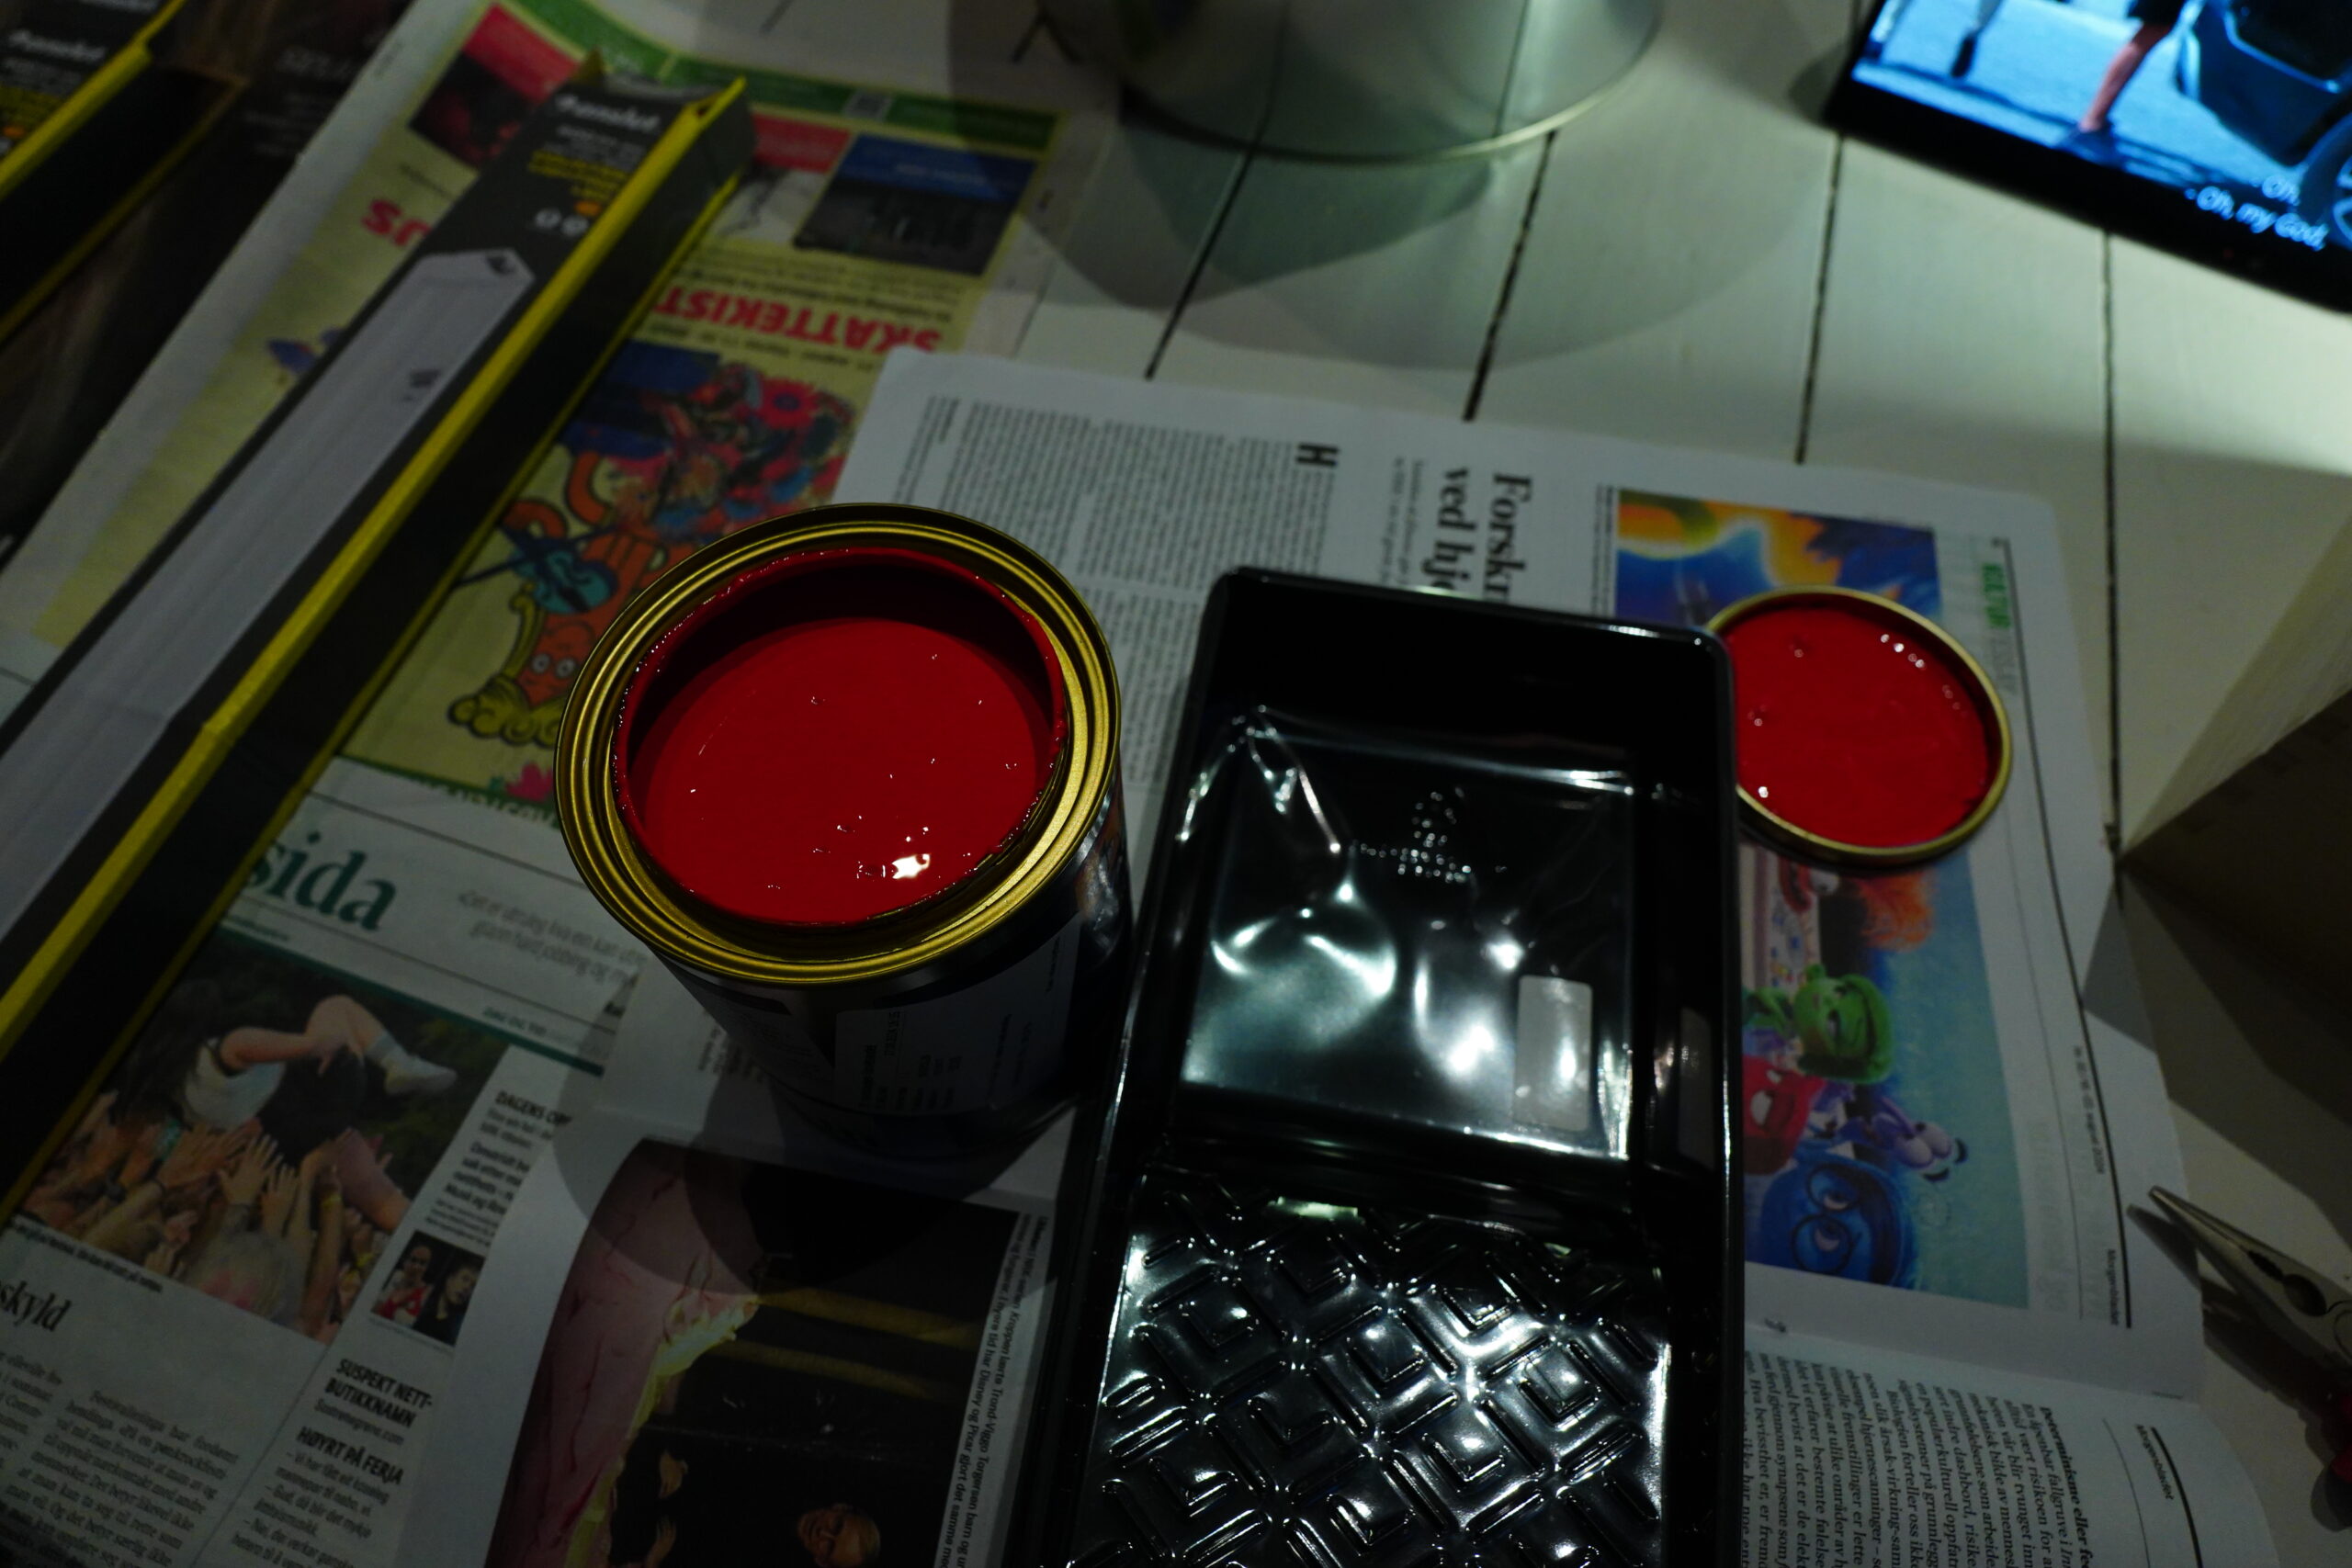
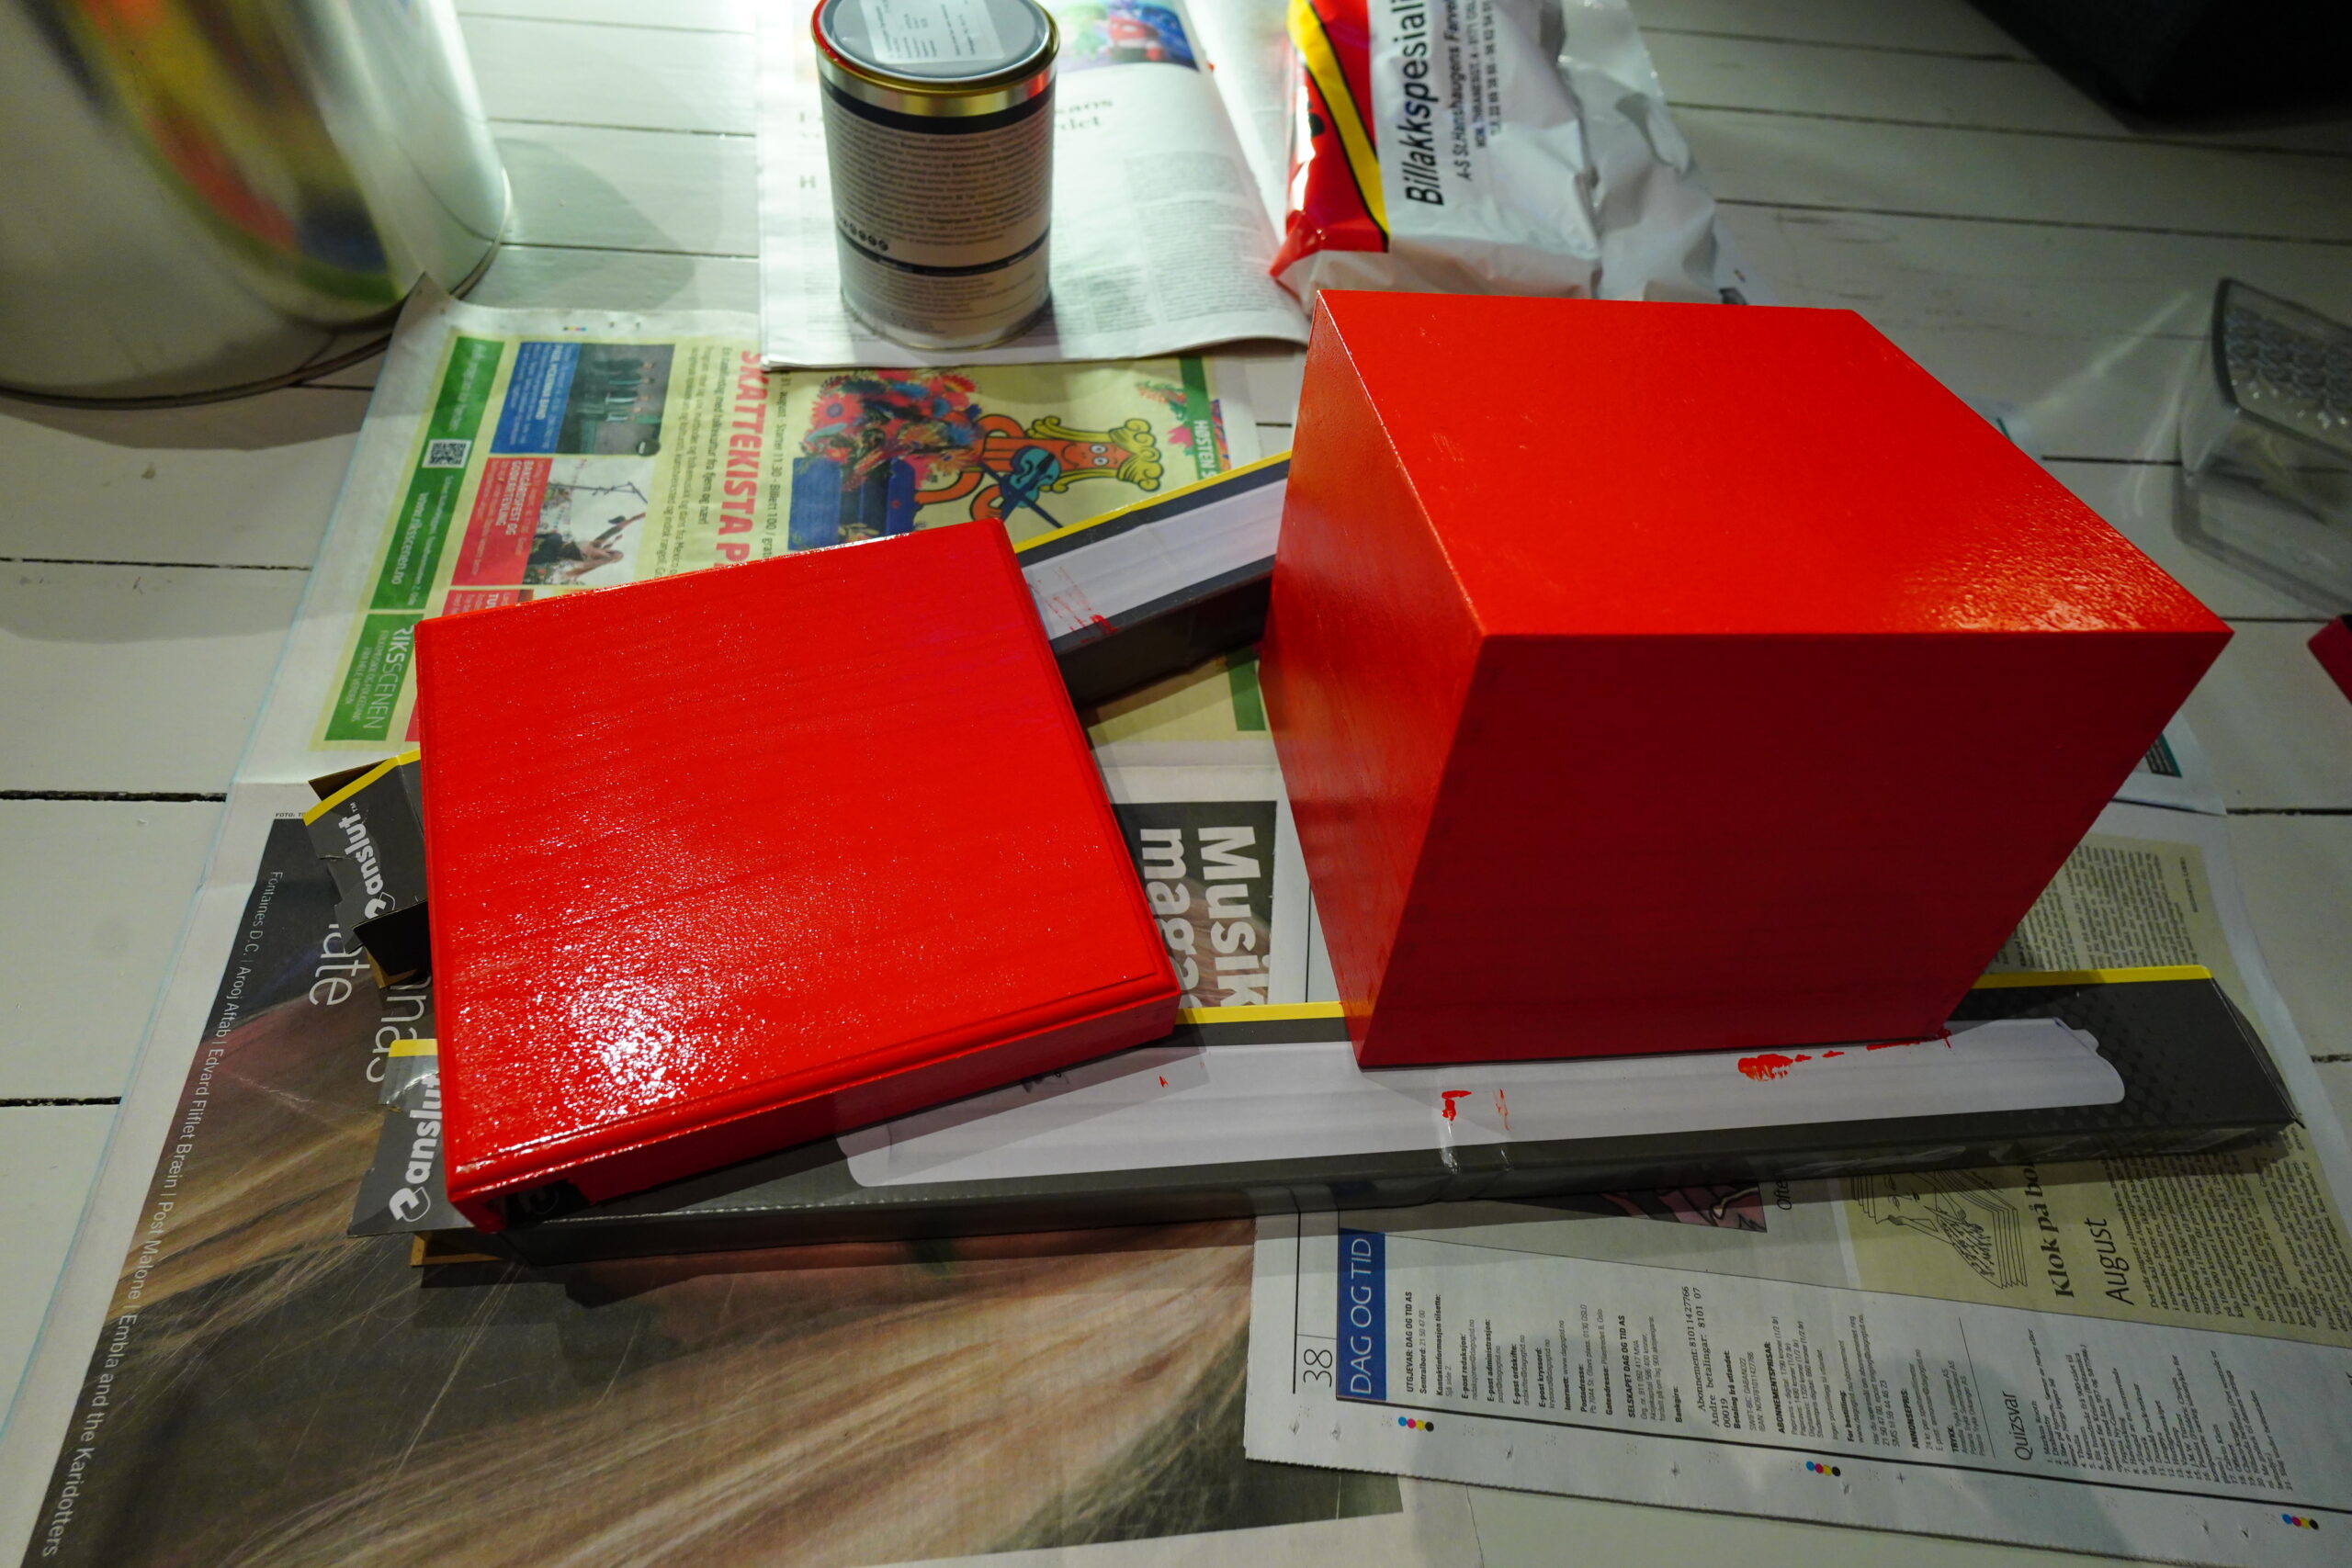
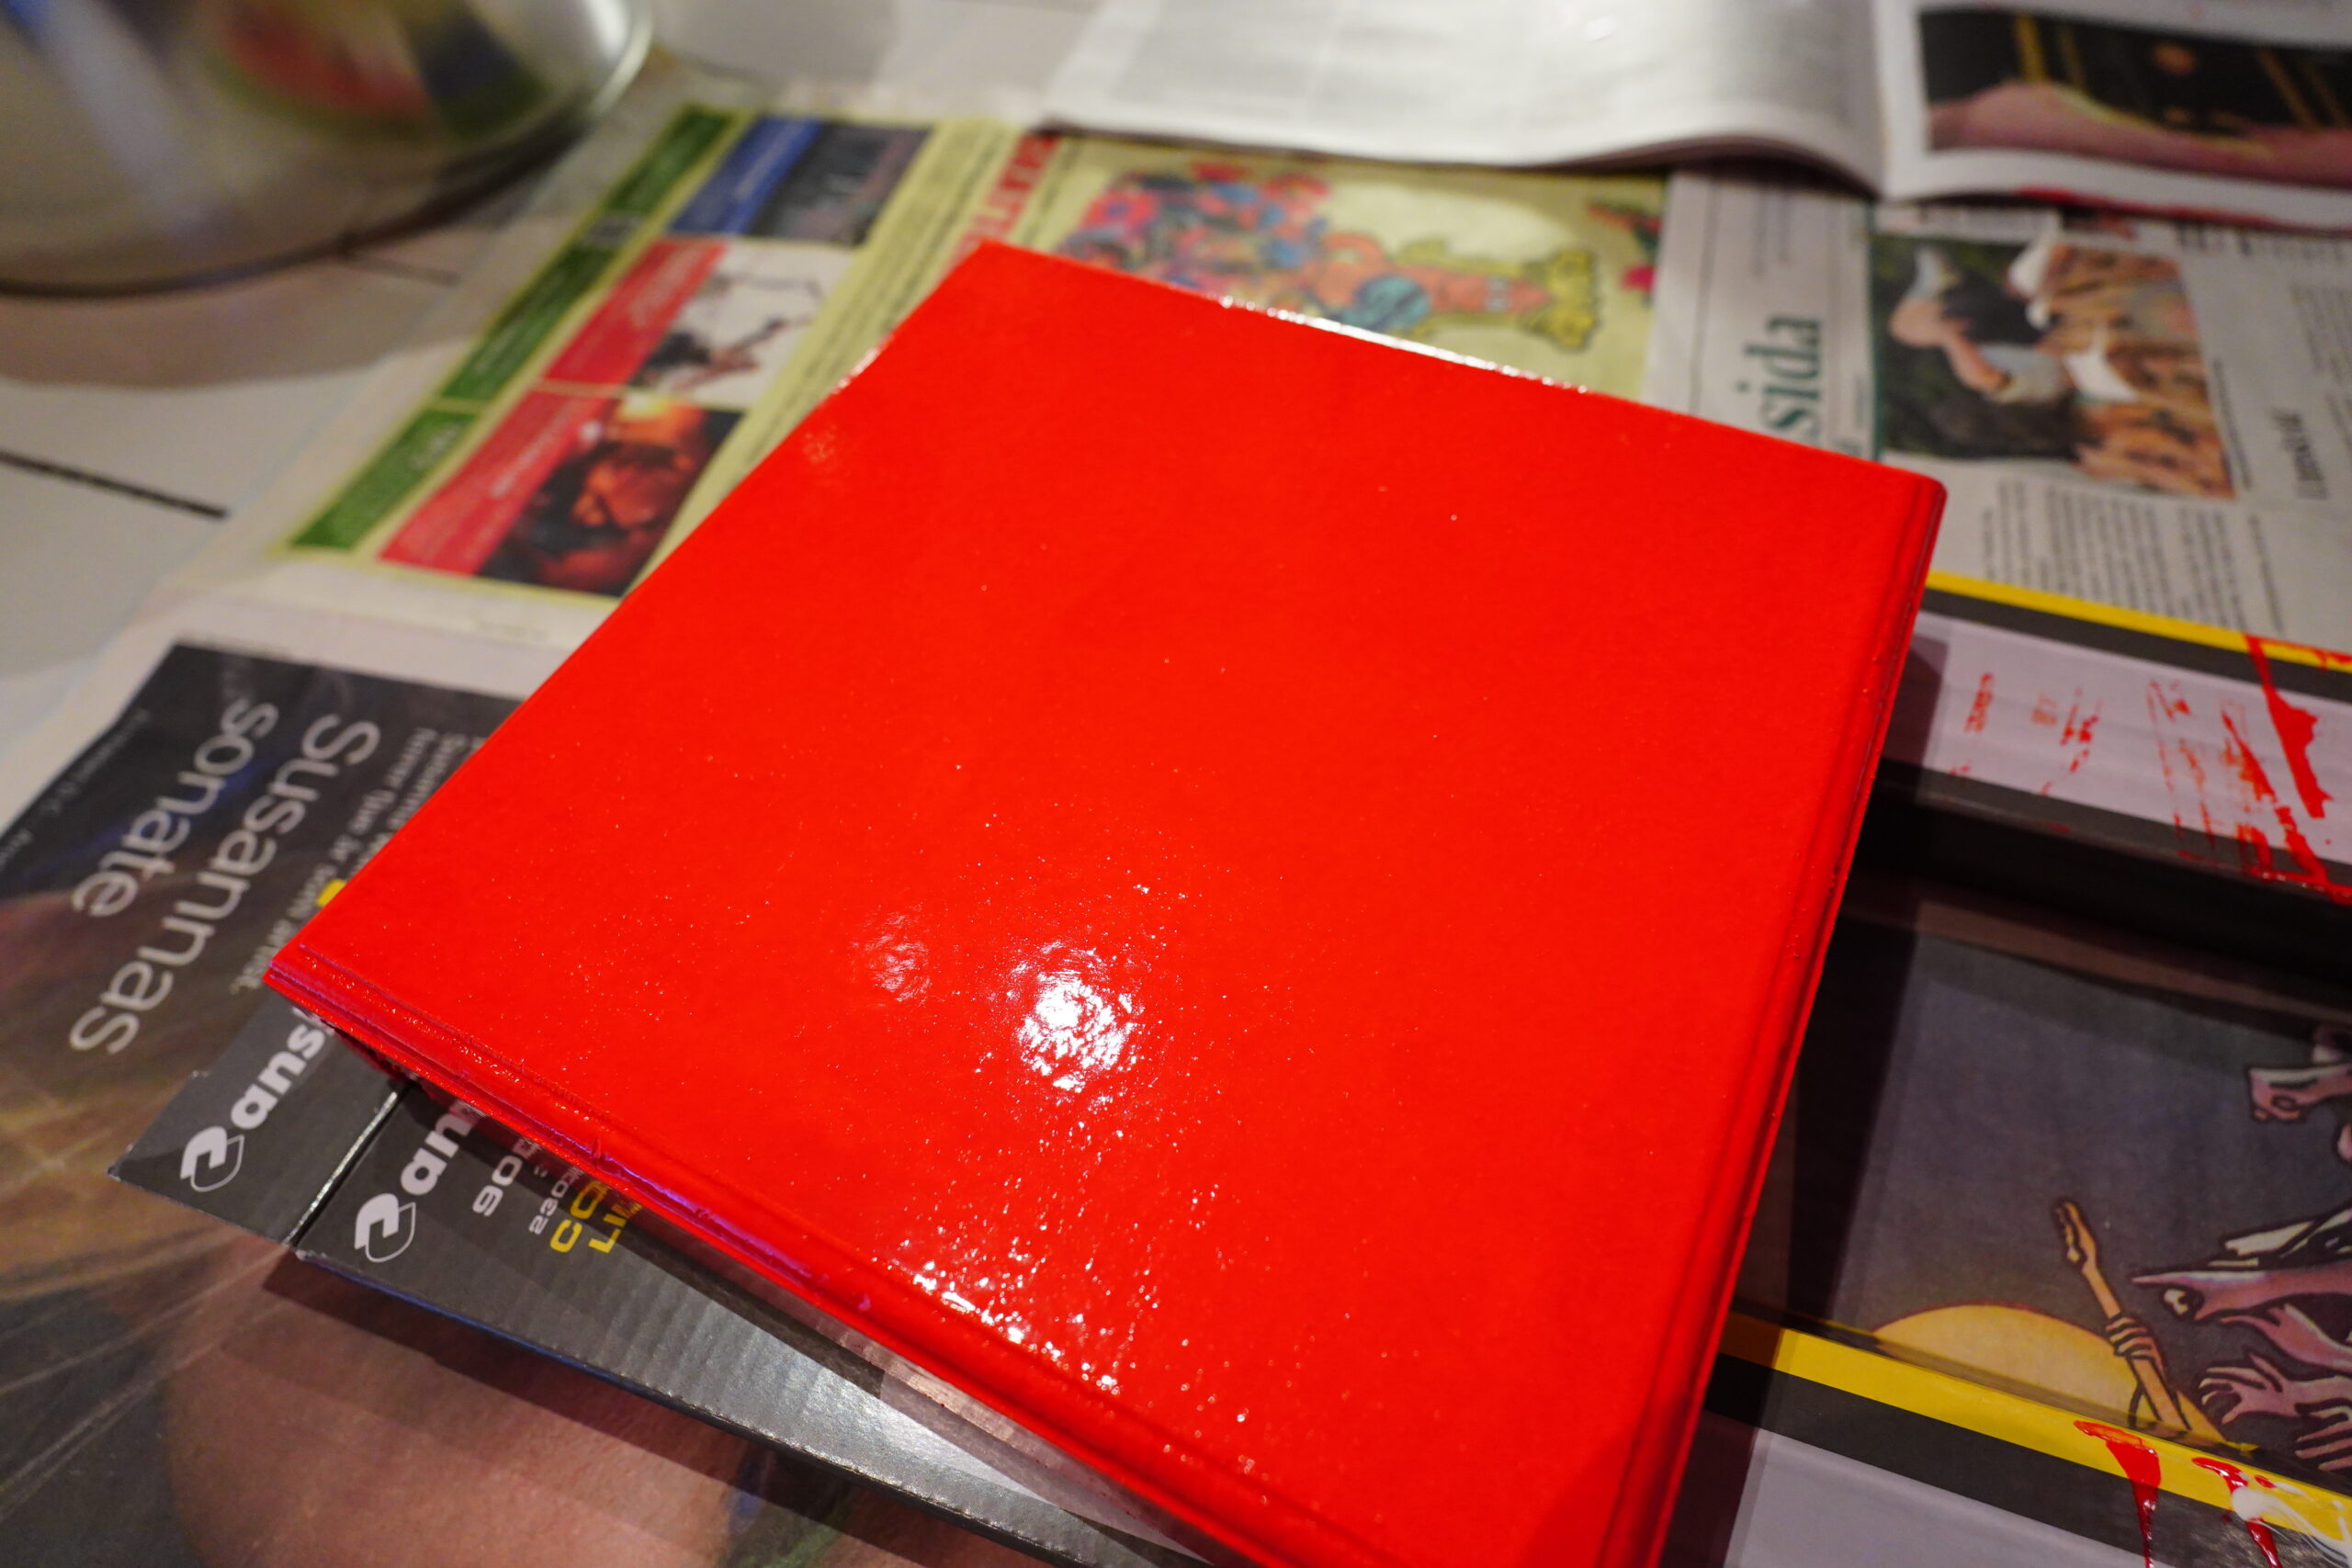
I wasn’t sure whether to paint the boxes white or black, so I went with red.
Now that’s red, dude. Might need two coats, though.
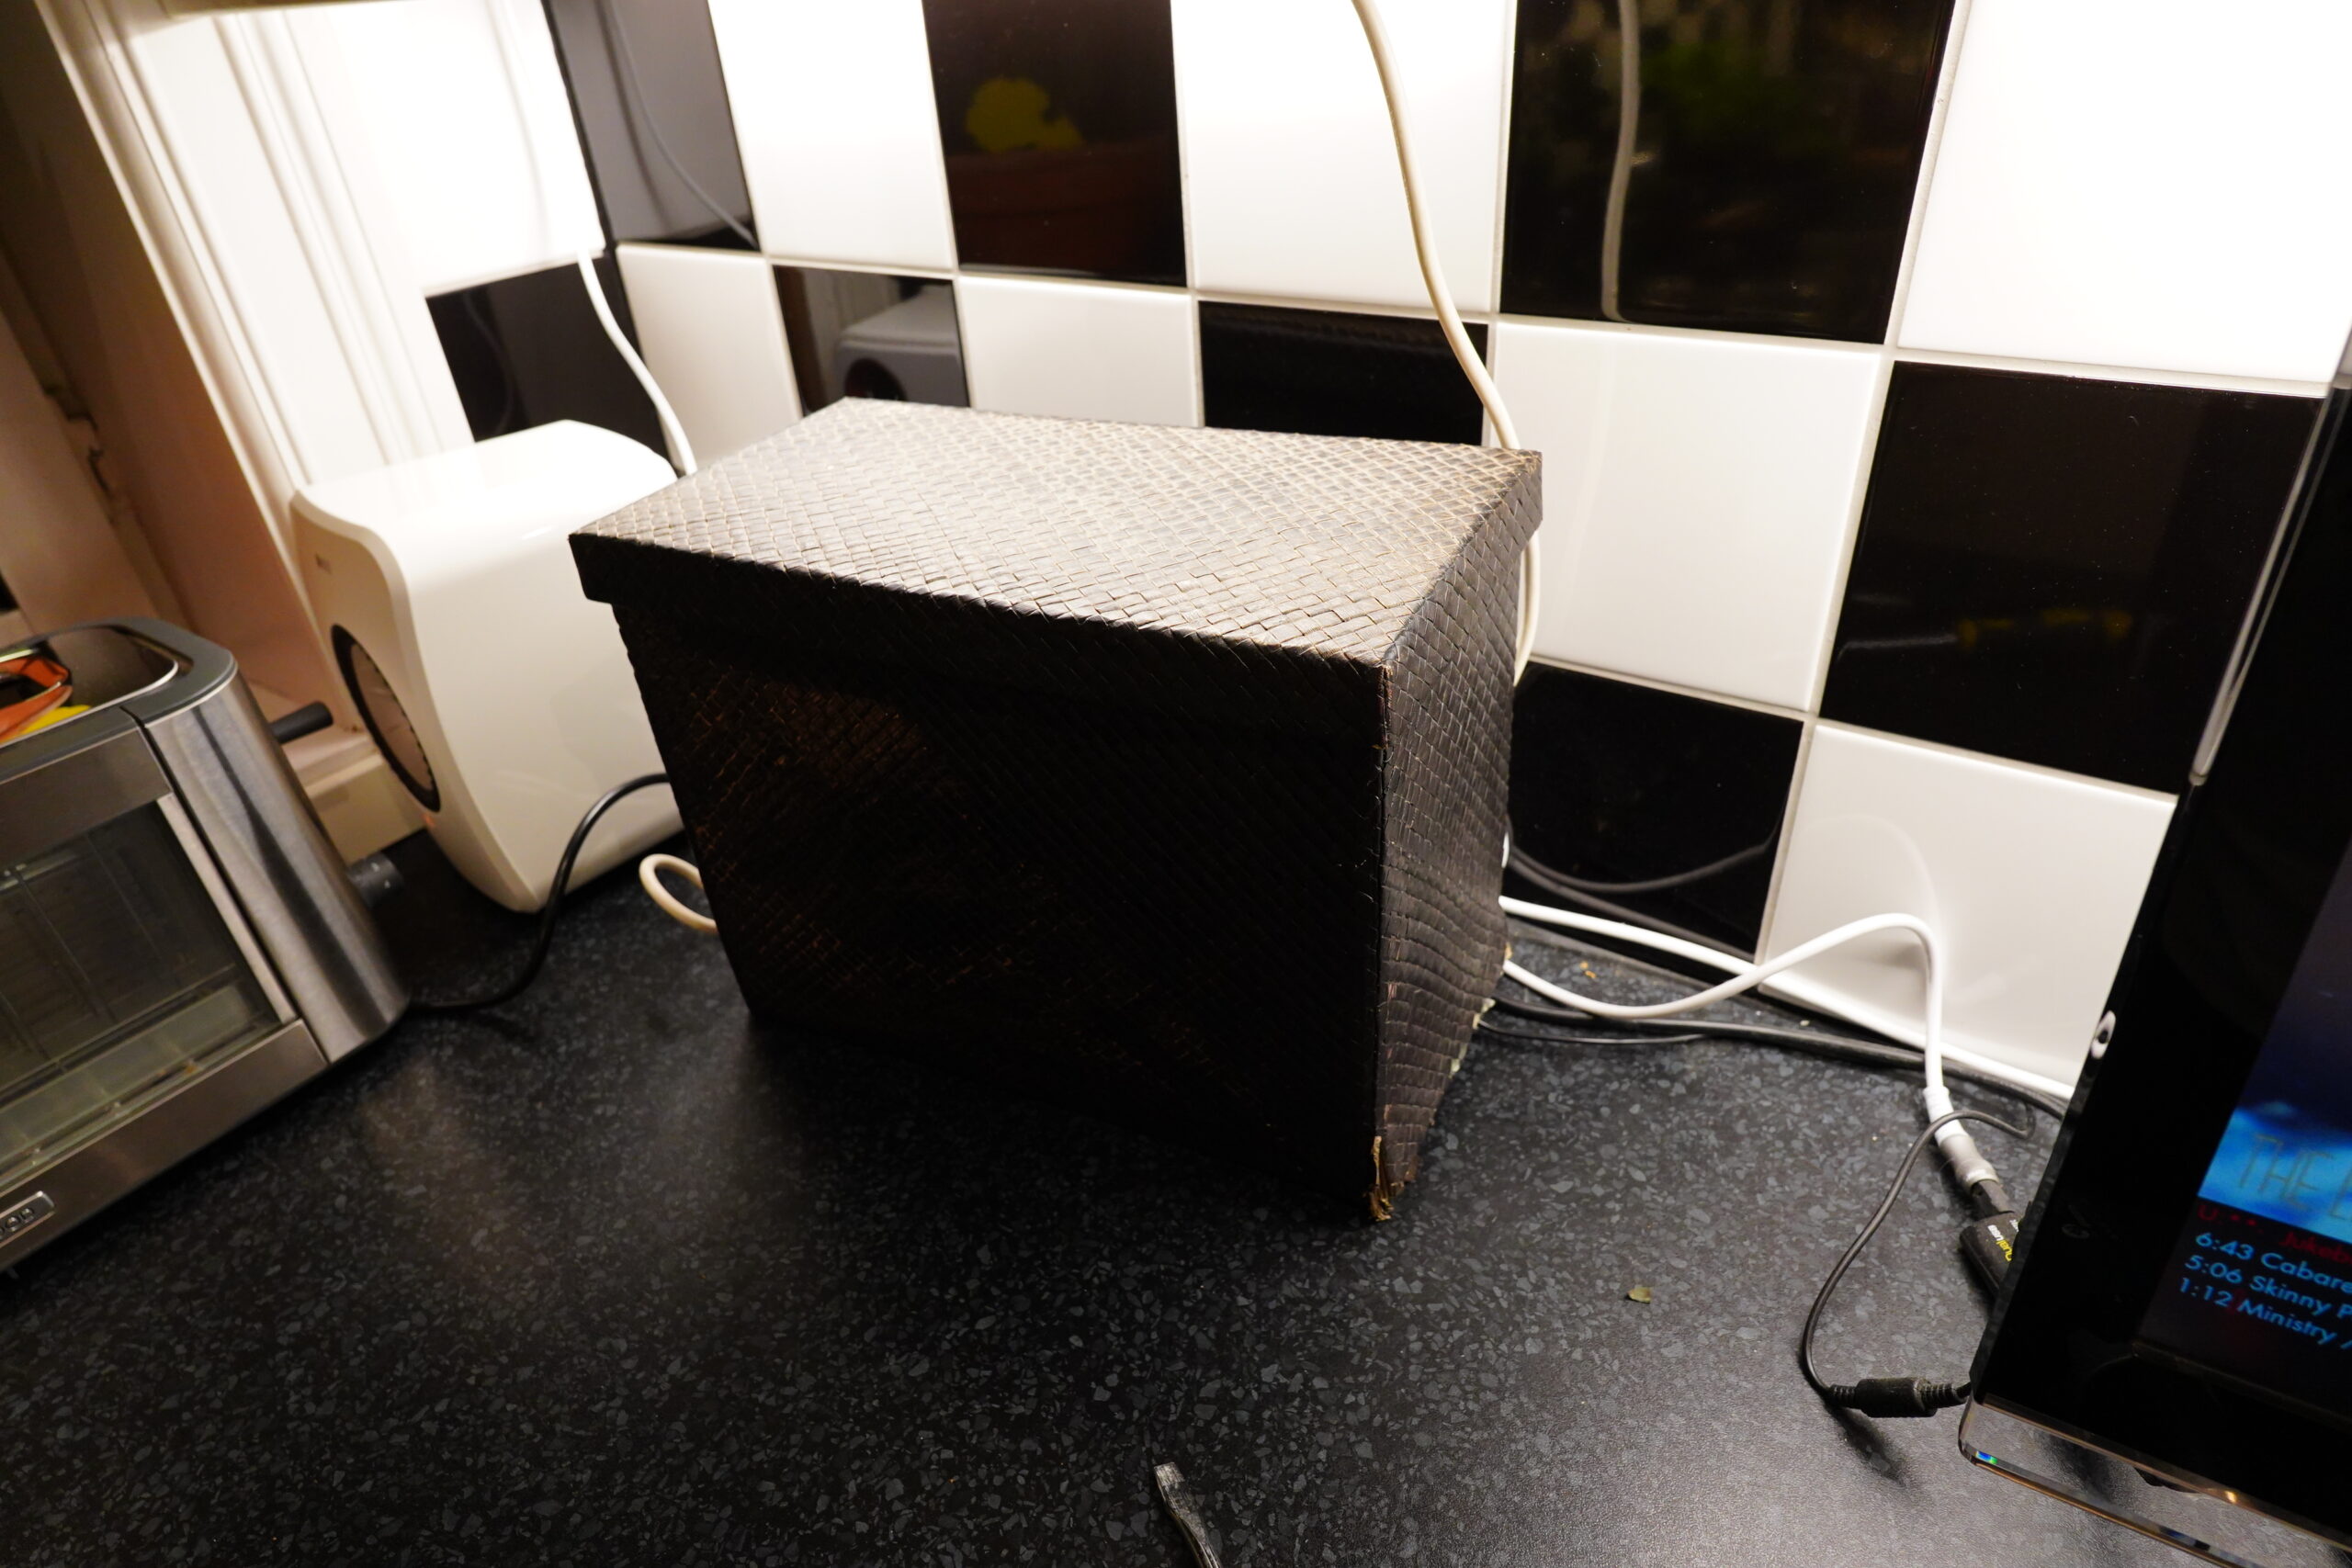
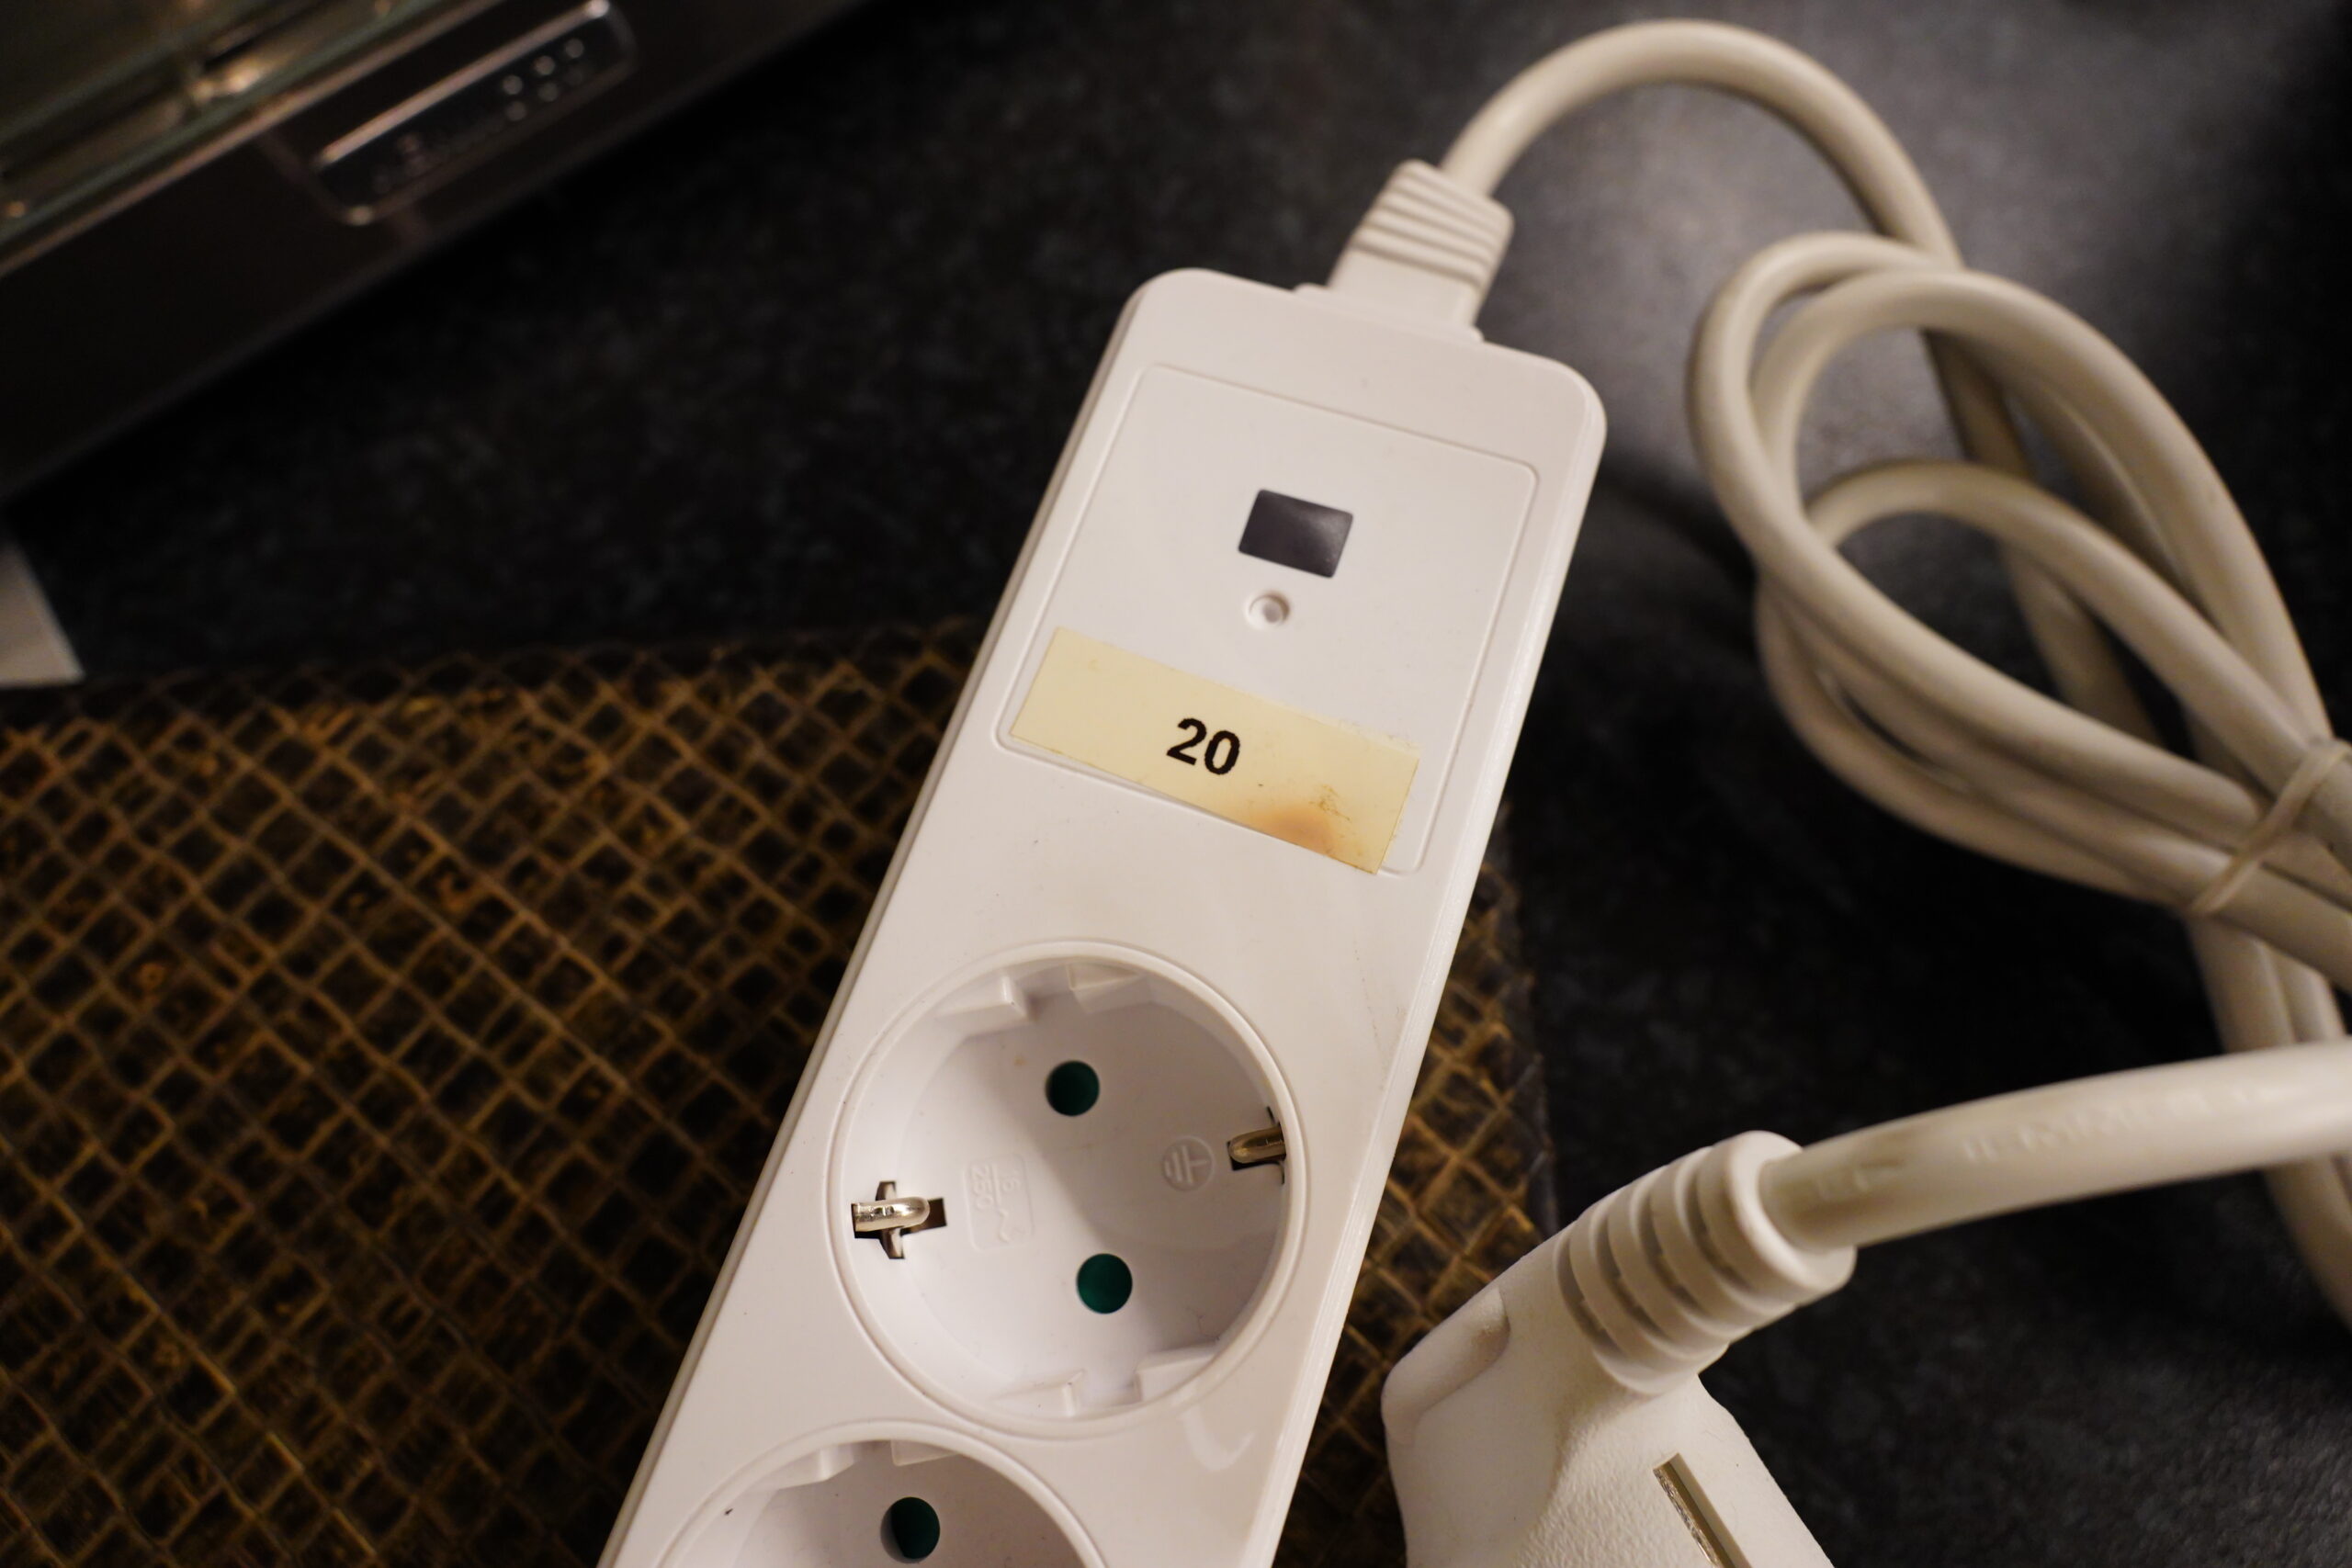
Oh, yeah, right — this box is replacing this eyesore, which I’ve had here for a decade.
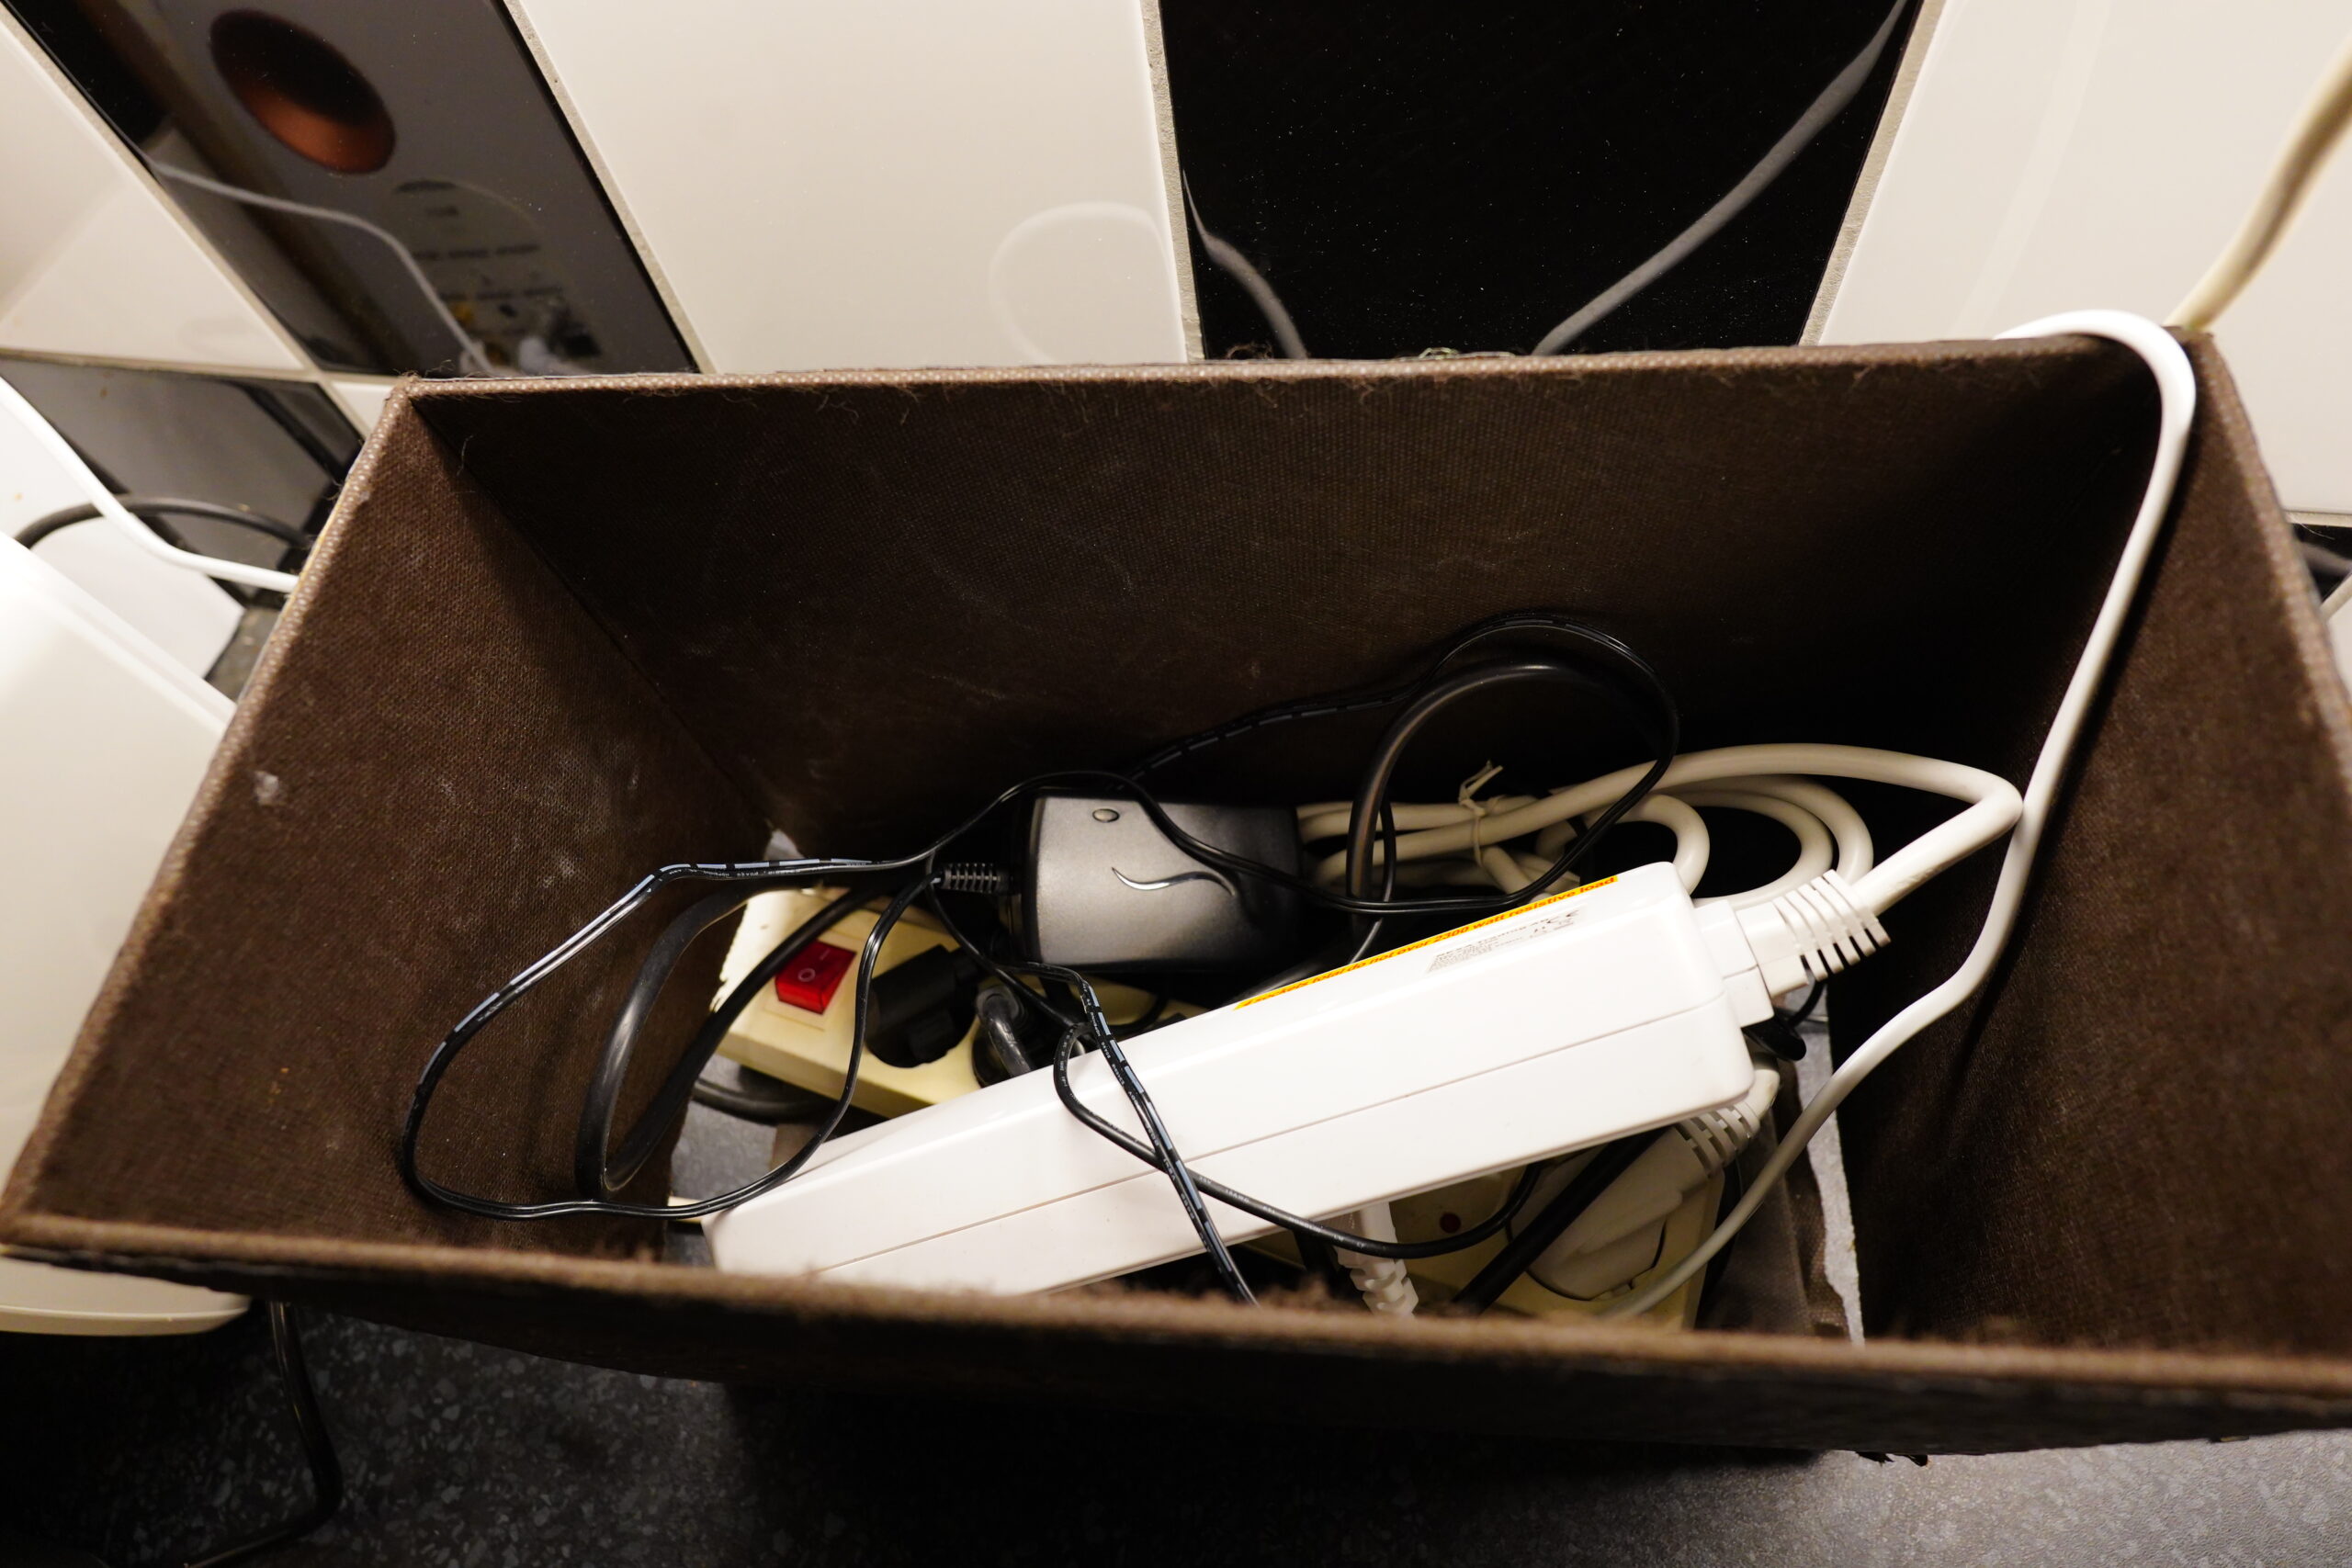
And that’s because there was a lot of electronics stuff that I had to have in here — several adapters, an amplifier, and well, stuff. The speakers are now integrated, so no amplifier needed, and I can get rid of a few of the adapters (mainly the big one to the all-in-one computer).
Yeah, scorch marks. That’s what we want to see!
(I think it’s from one of the adapters.)
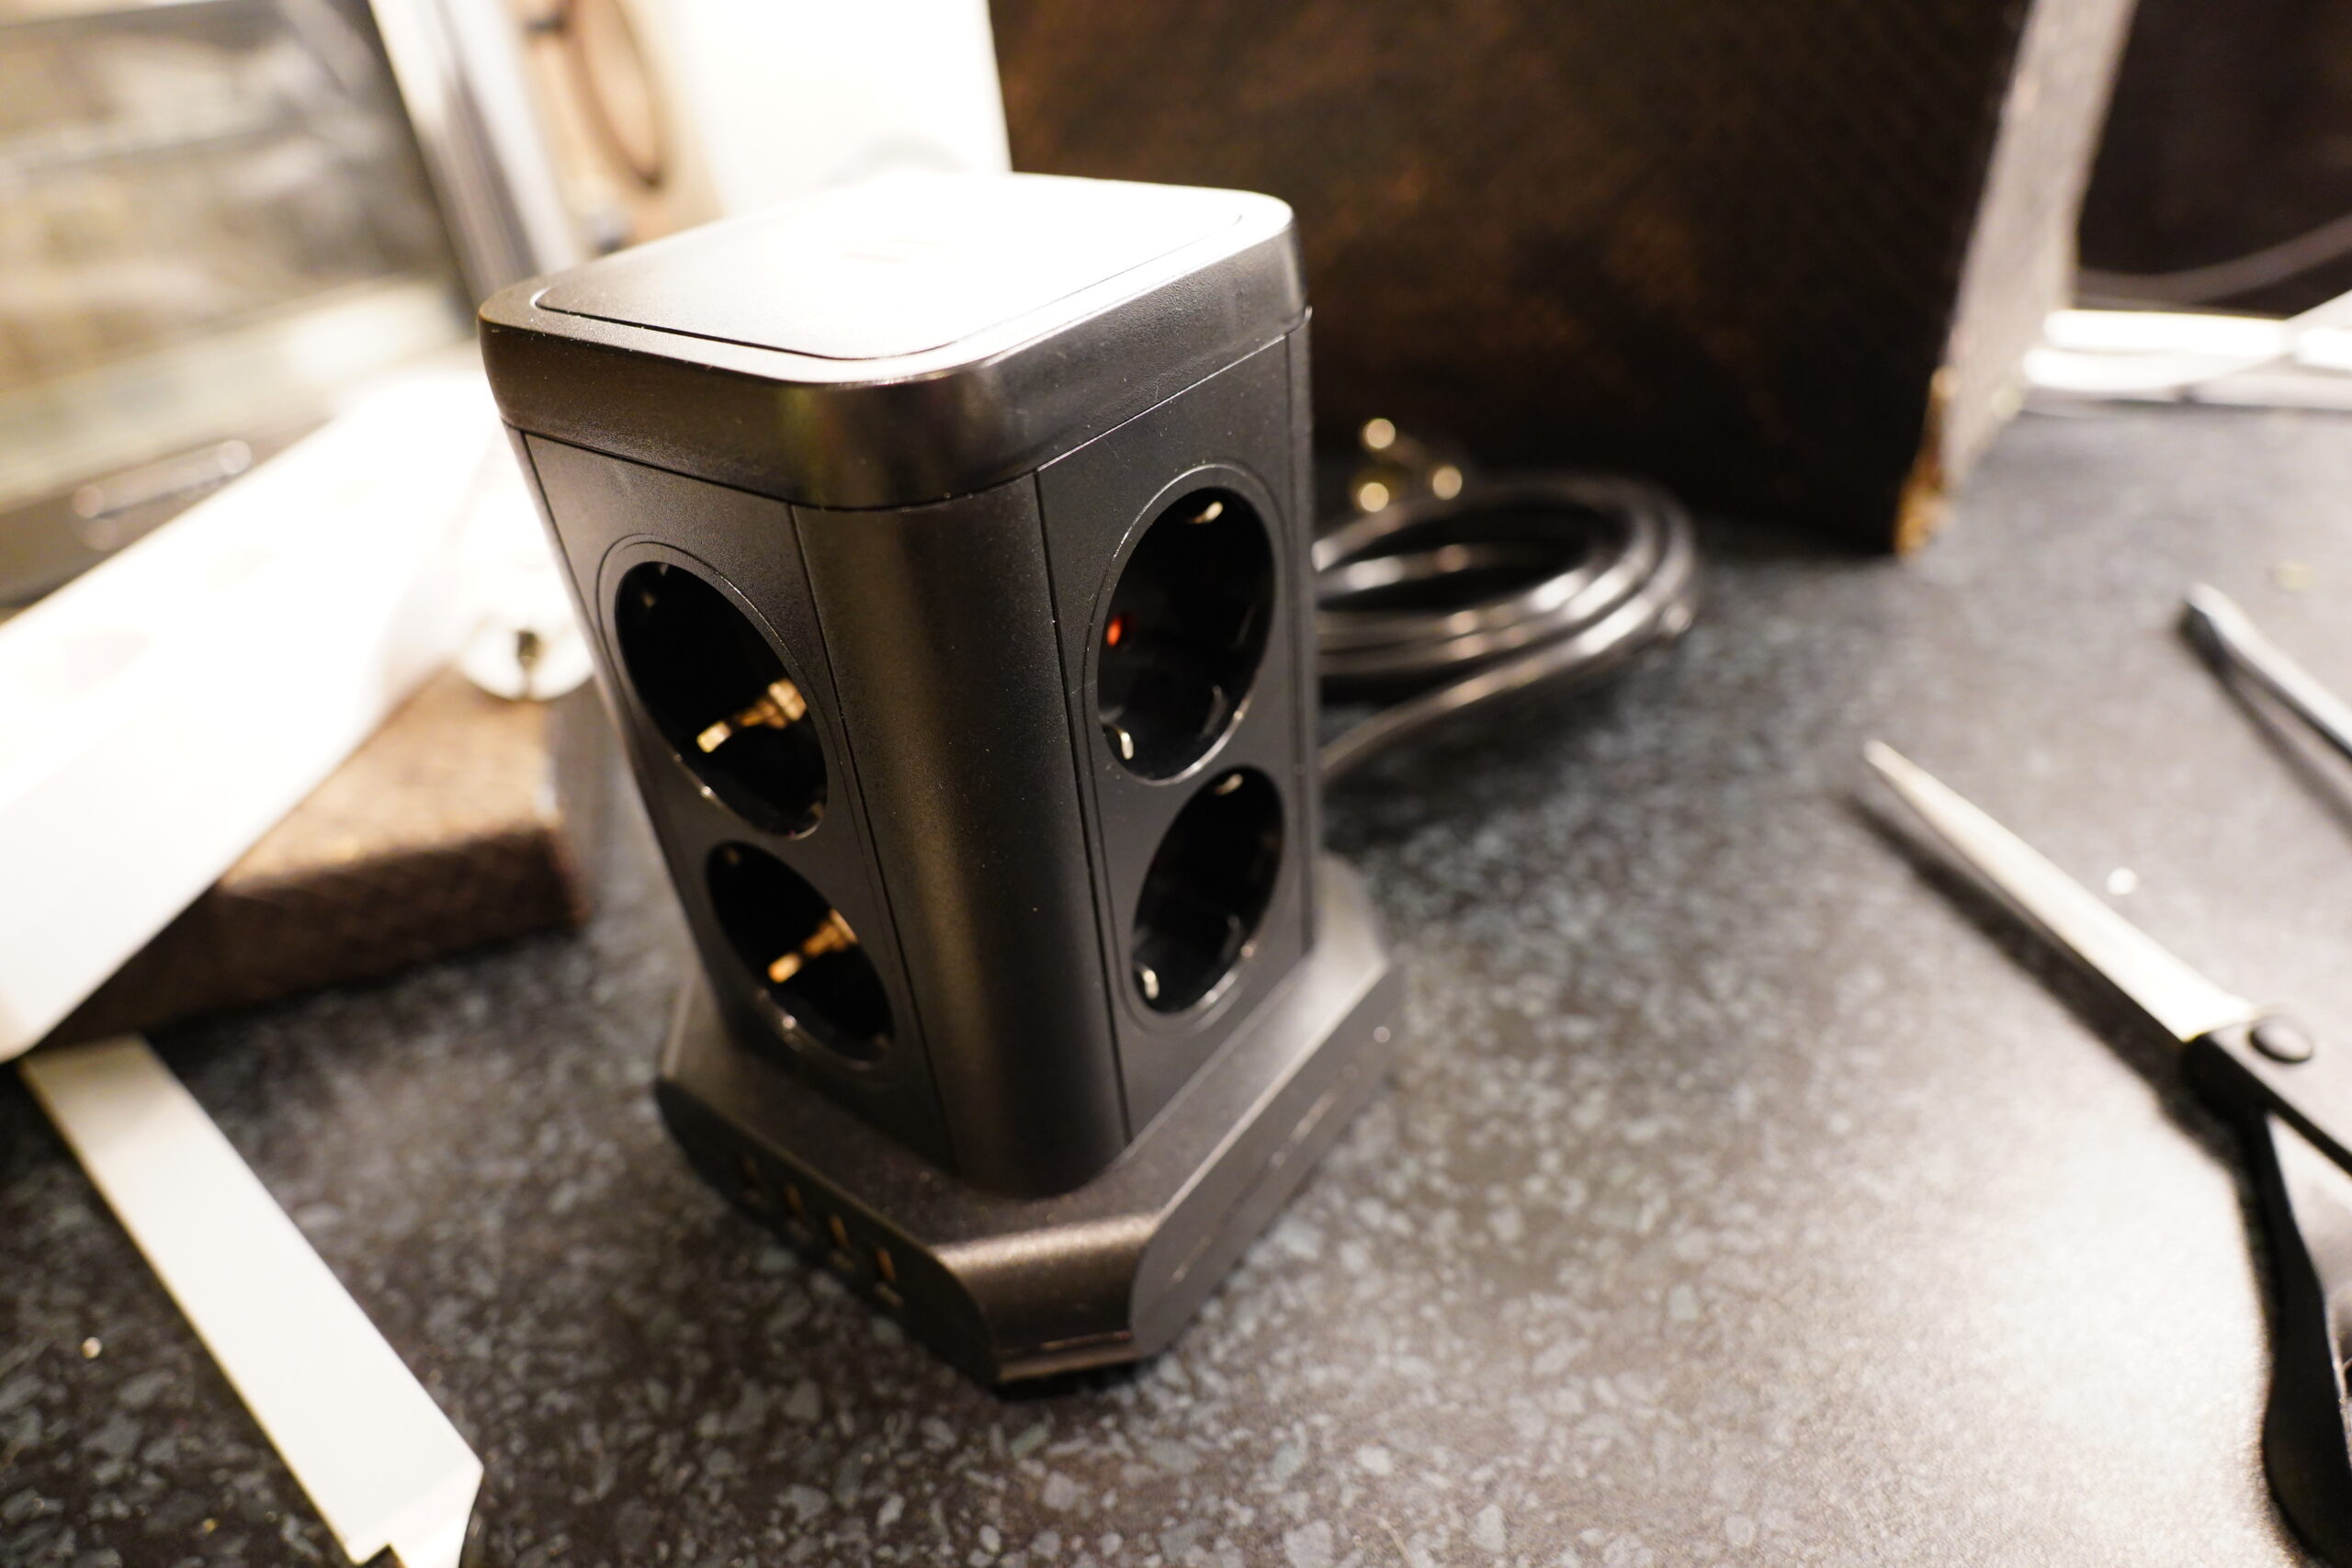
So I’m replacing all of that with this power unit, and cramming it all into that smaller red box I’m making.
So red.
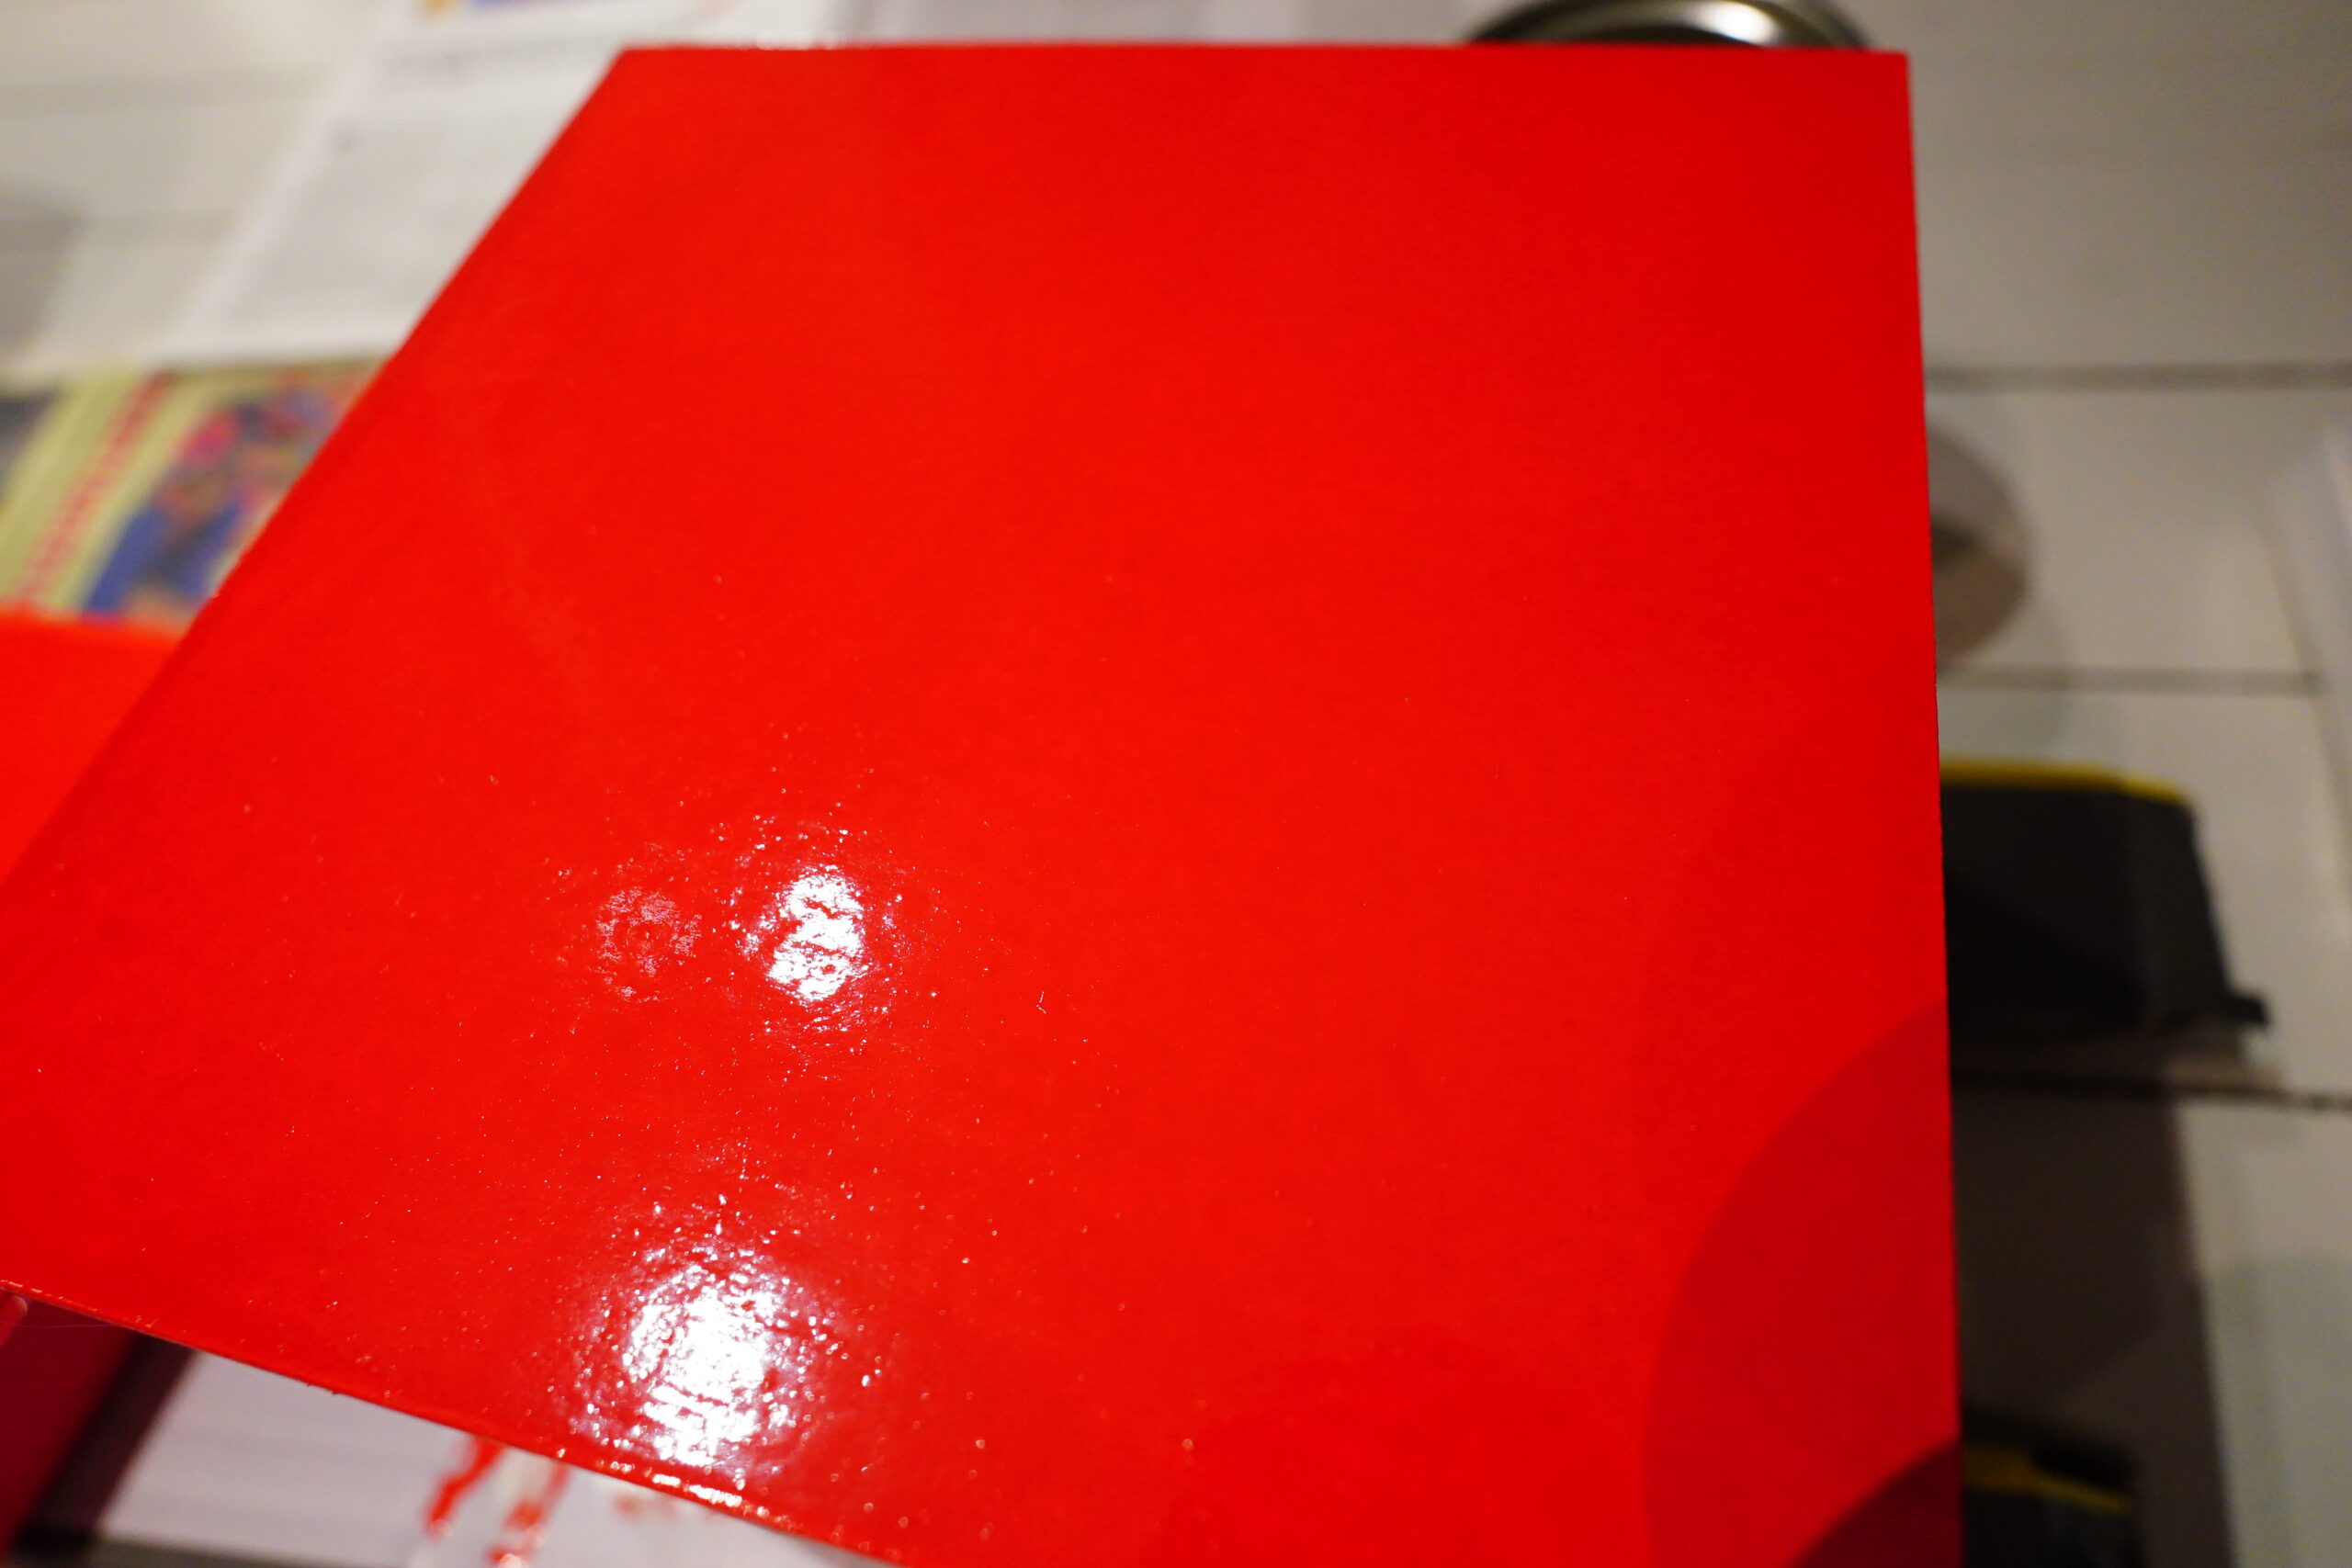
But it’s not quite… even? I thought paint went on more even than this. This is the fourth coat, I think.
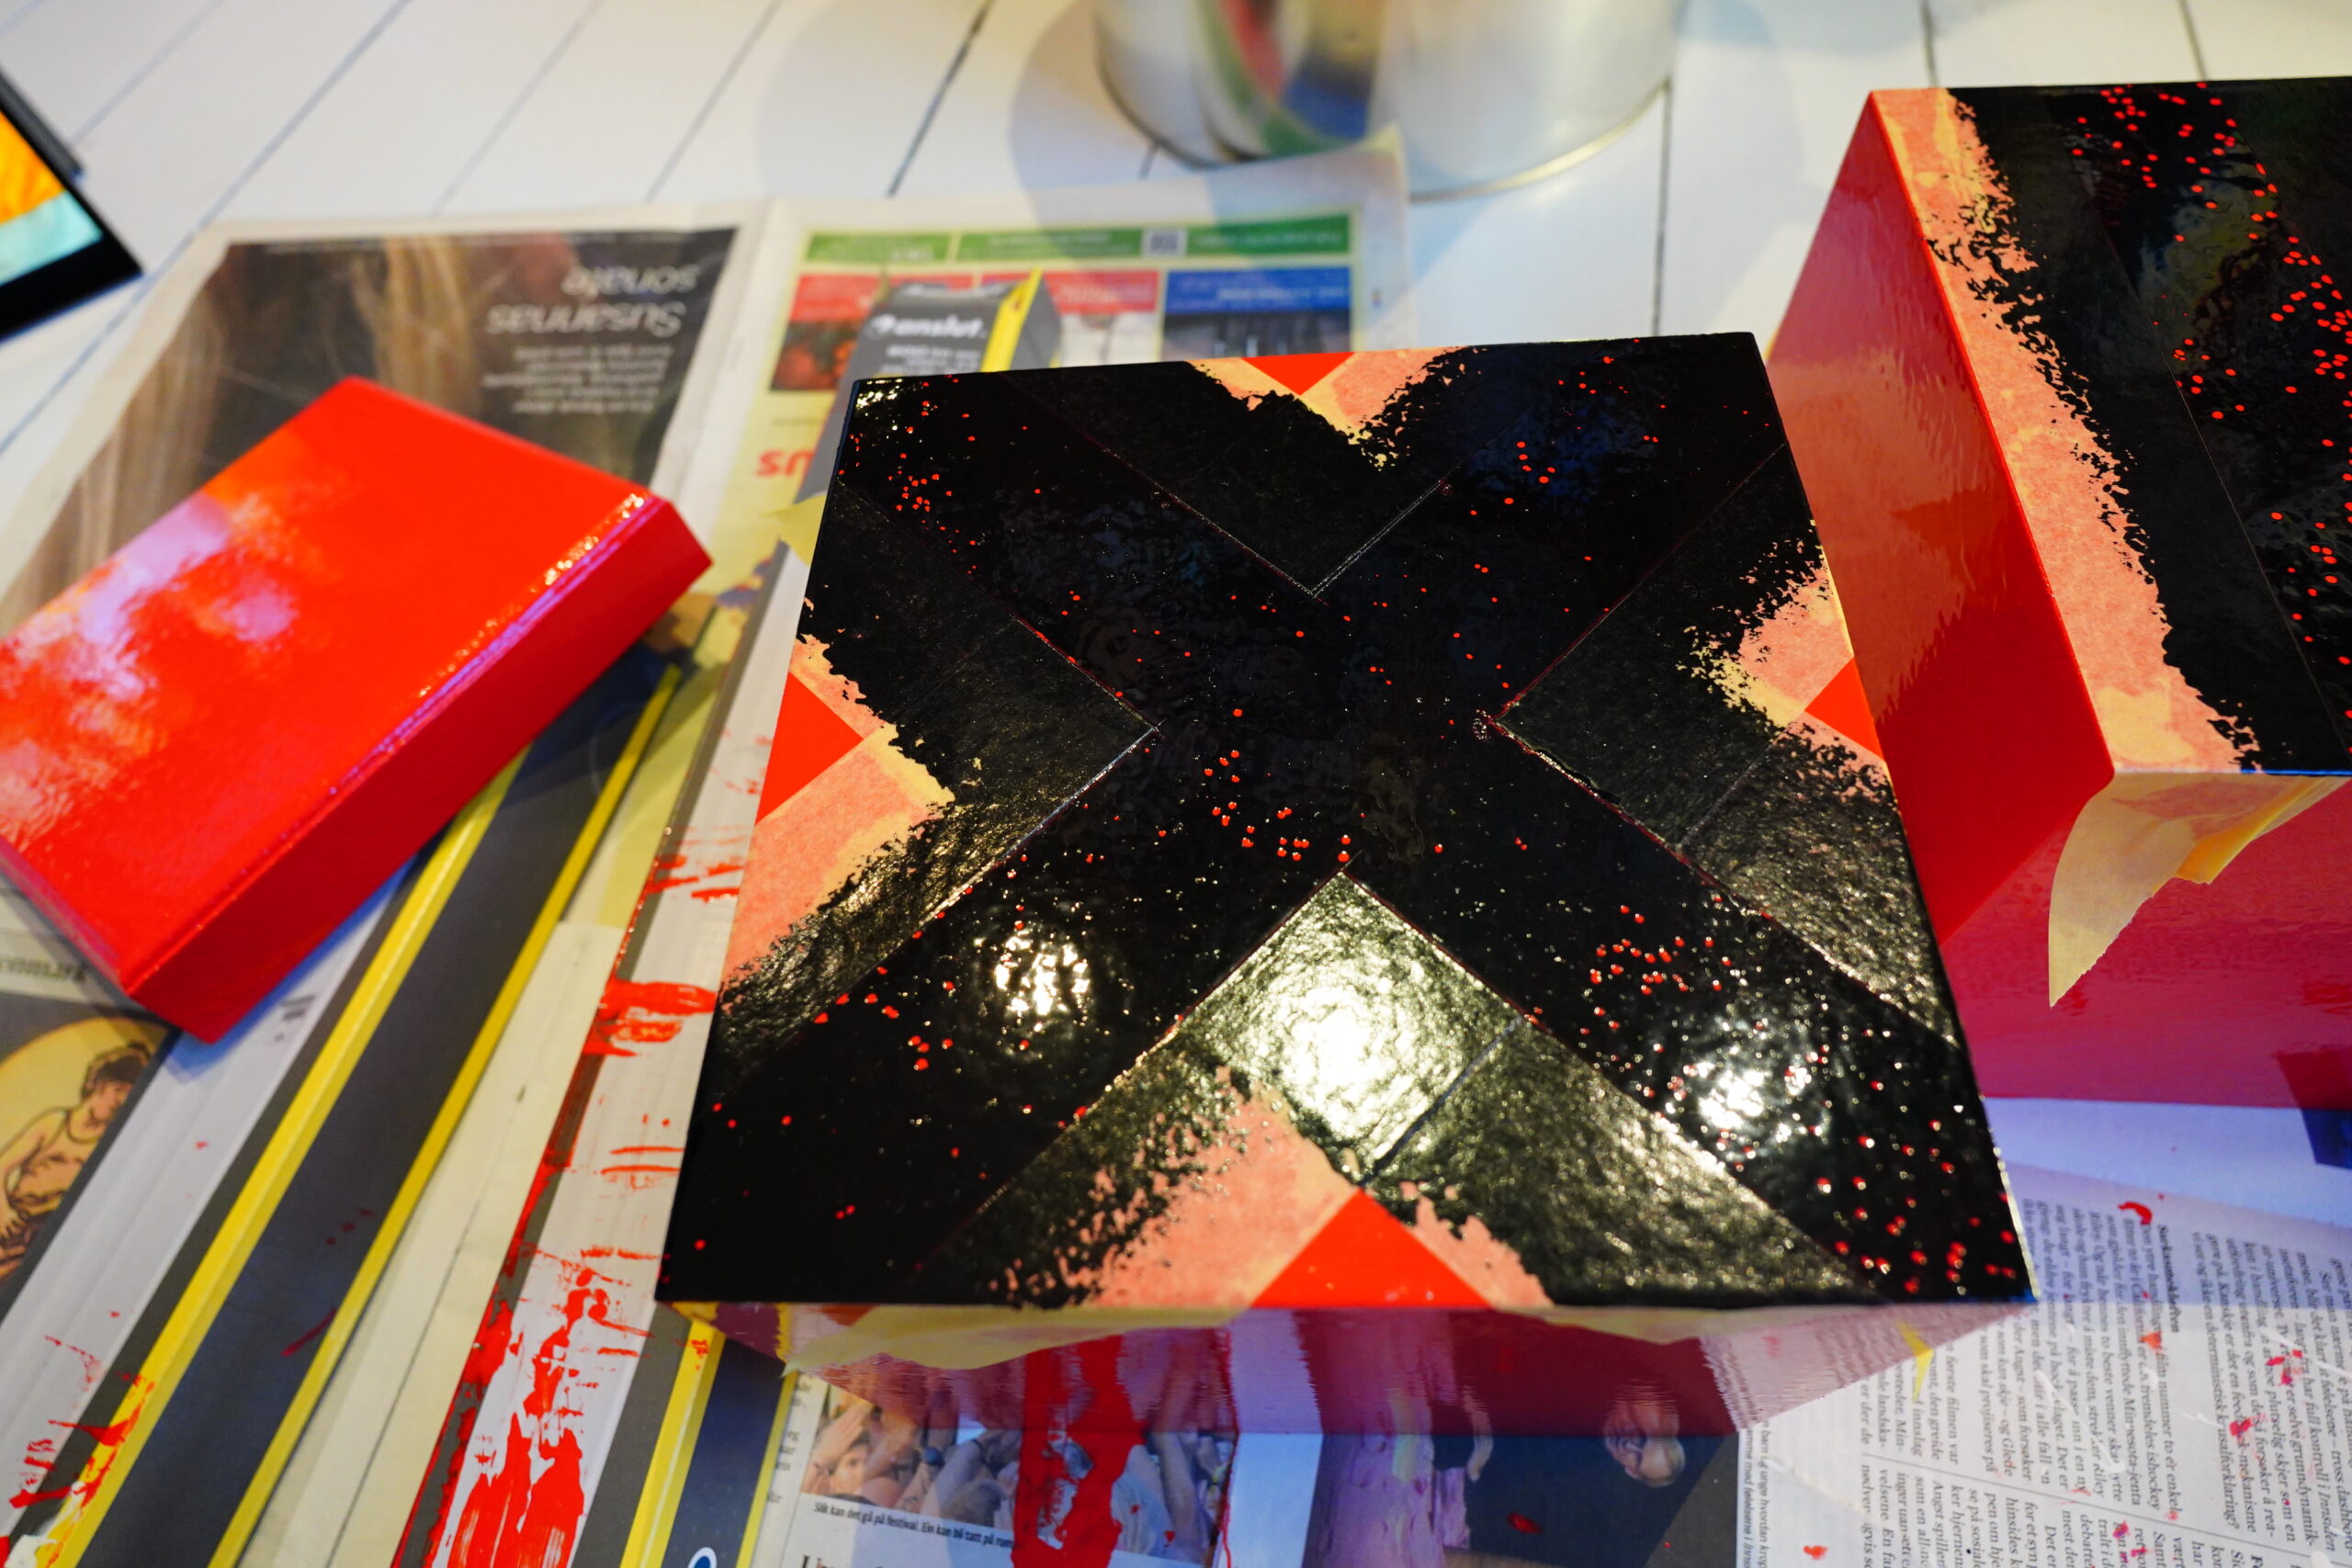
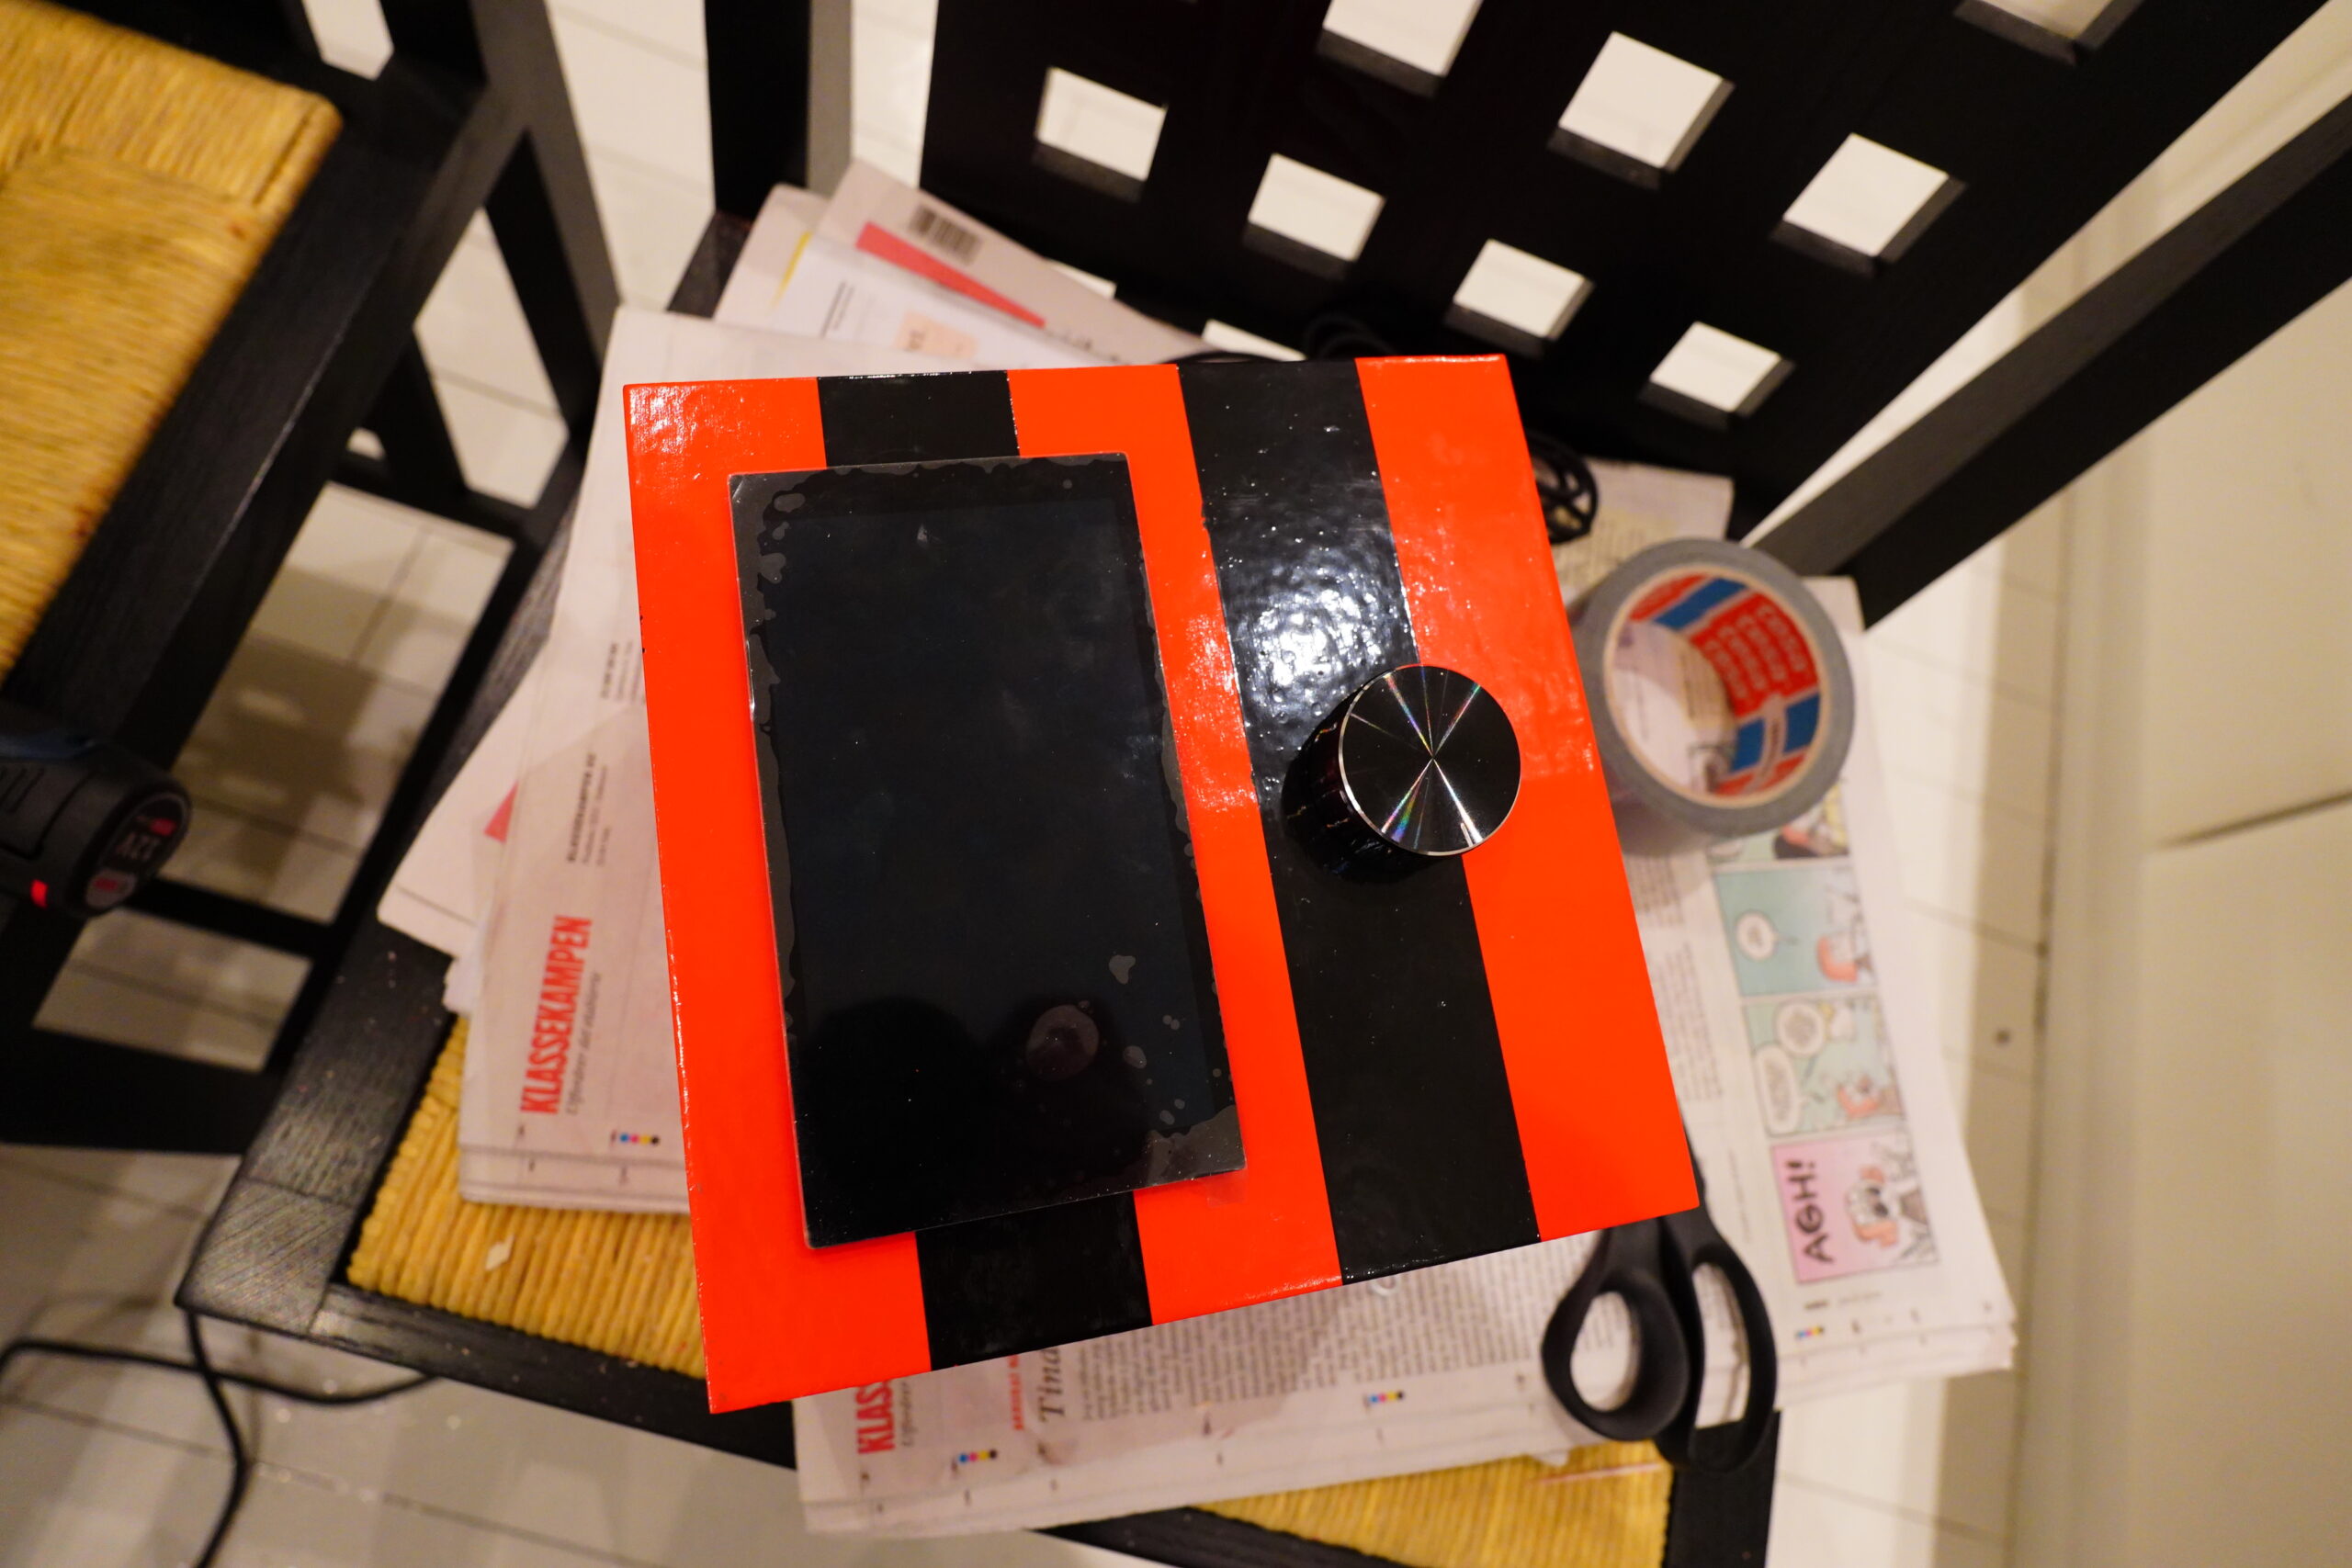
OK, just red is too boring, so let’s add some black lines.
[time passes]
OK… Things are basically working now, and there’s no stuttering, but the Pi 3 dies once a week. That’s not acceptable.
Hm… what to do, what to do…
[time passes]
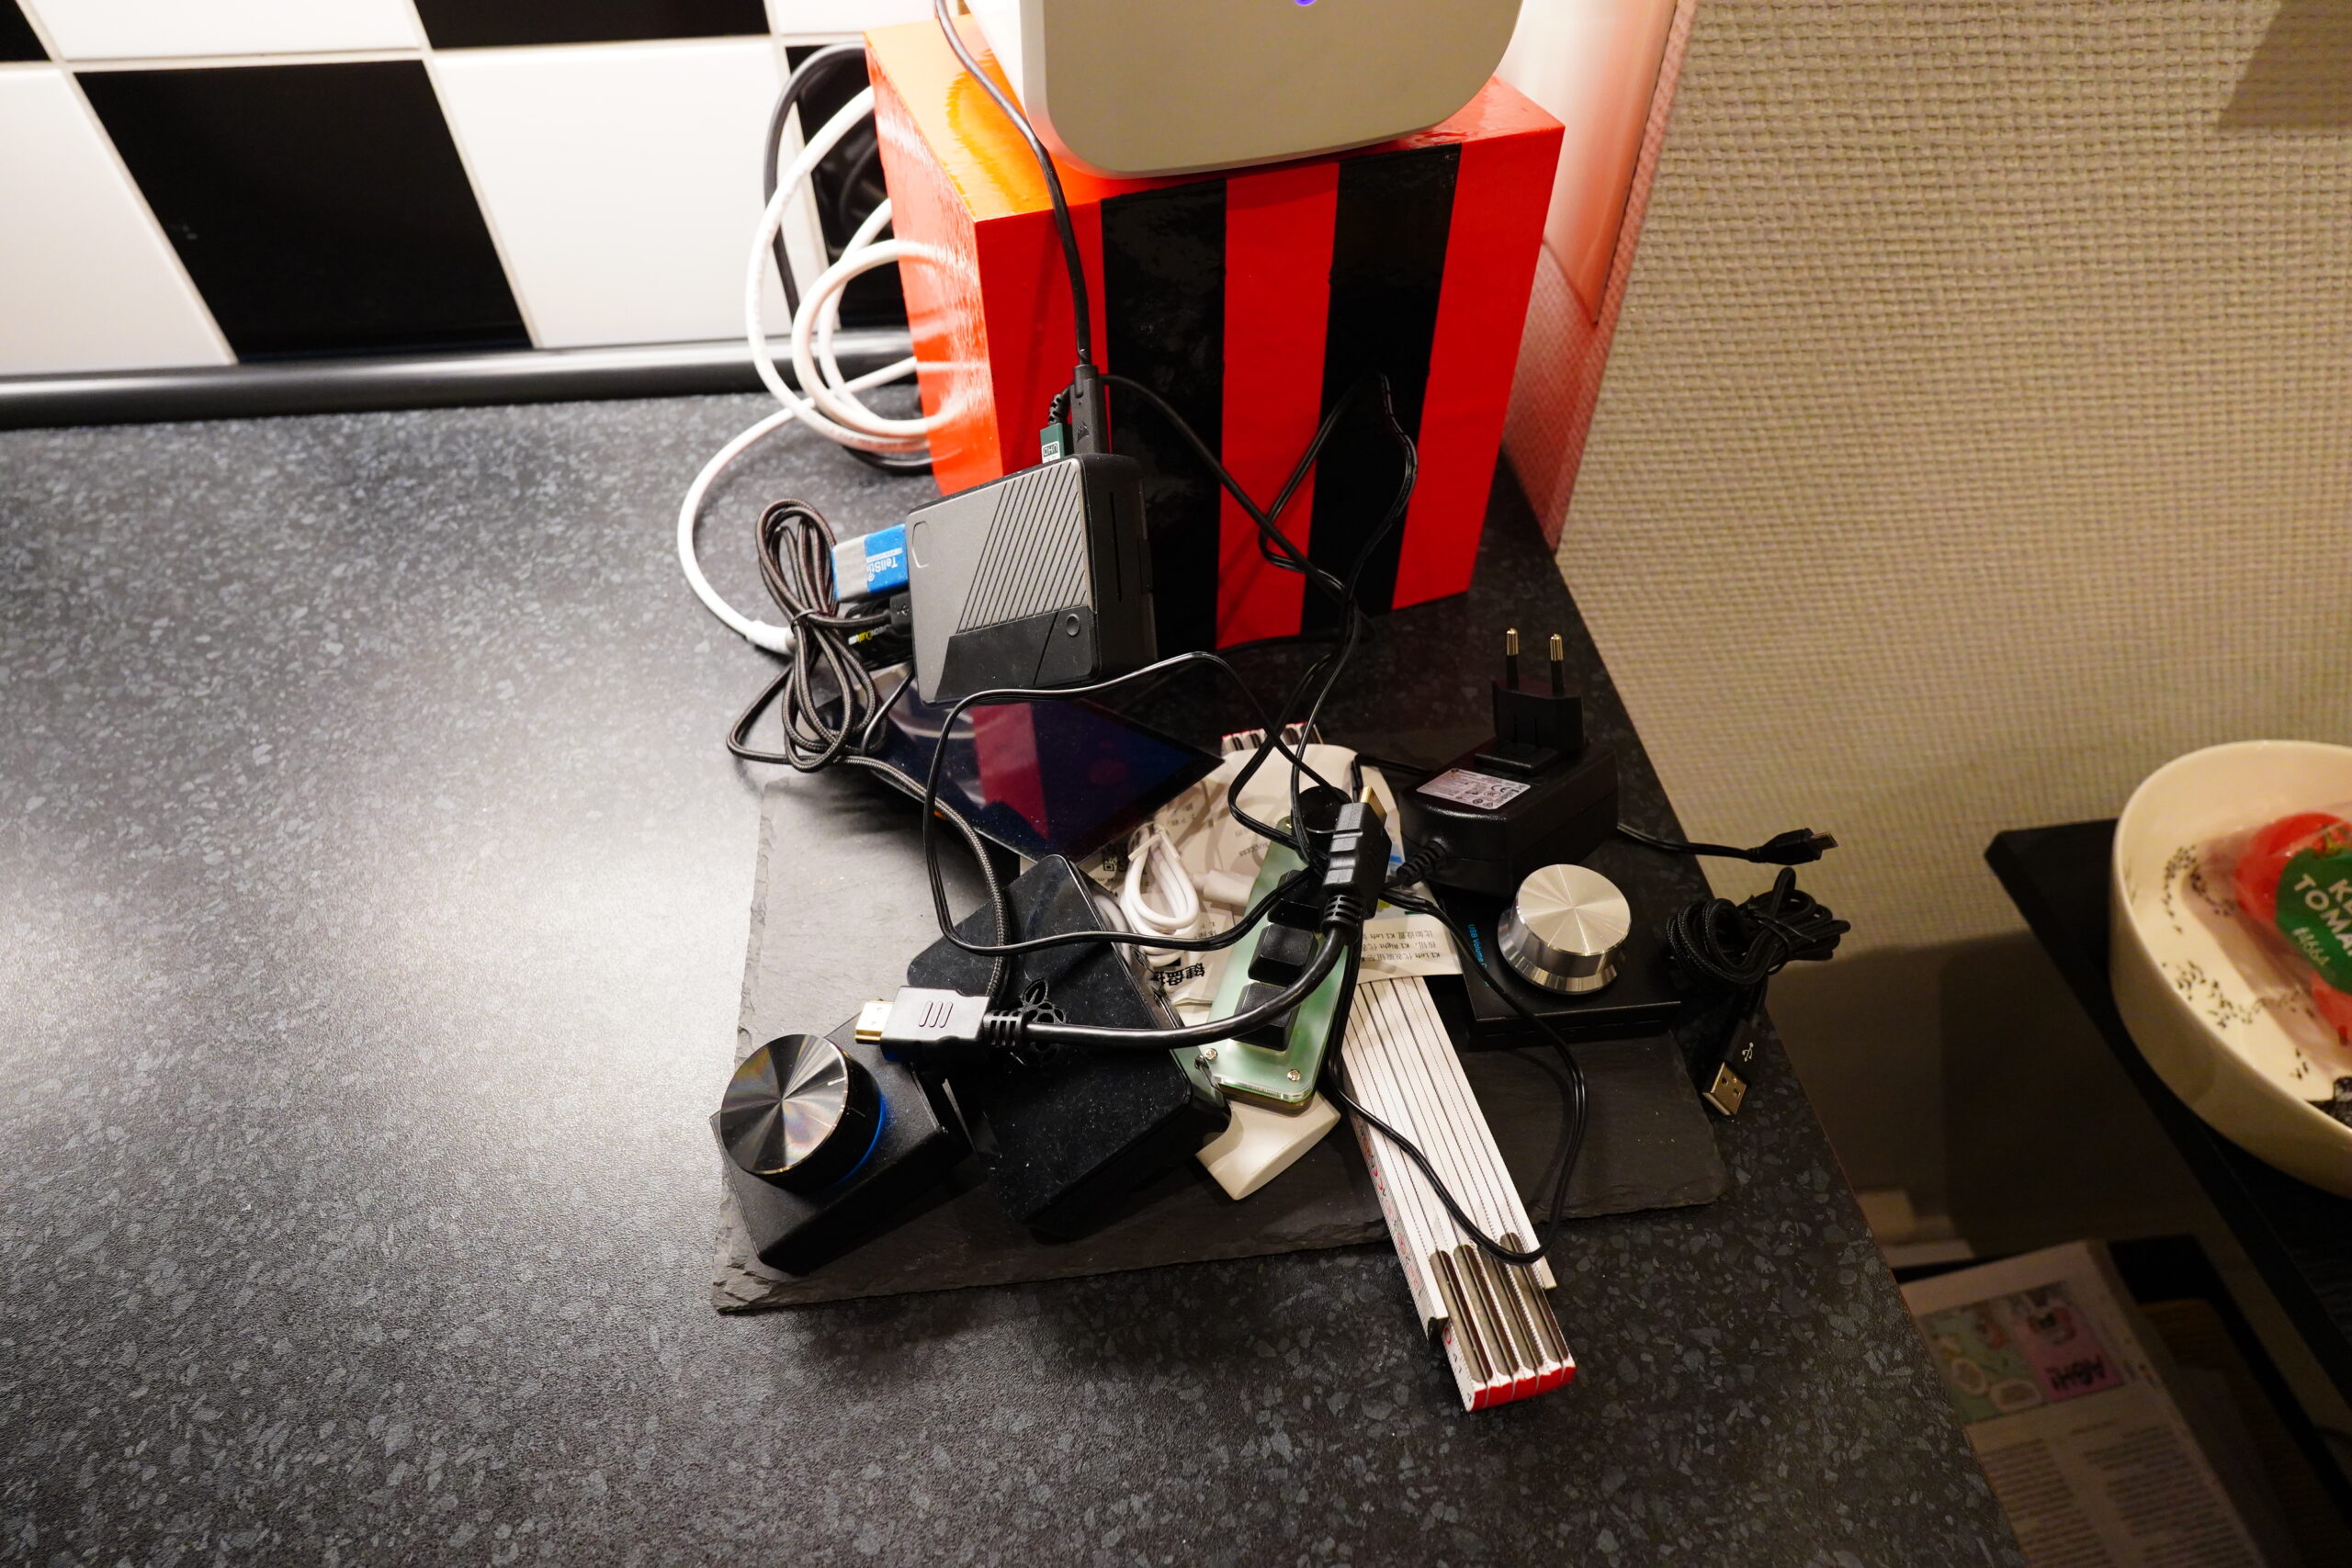
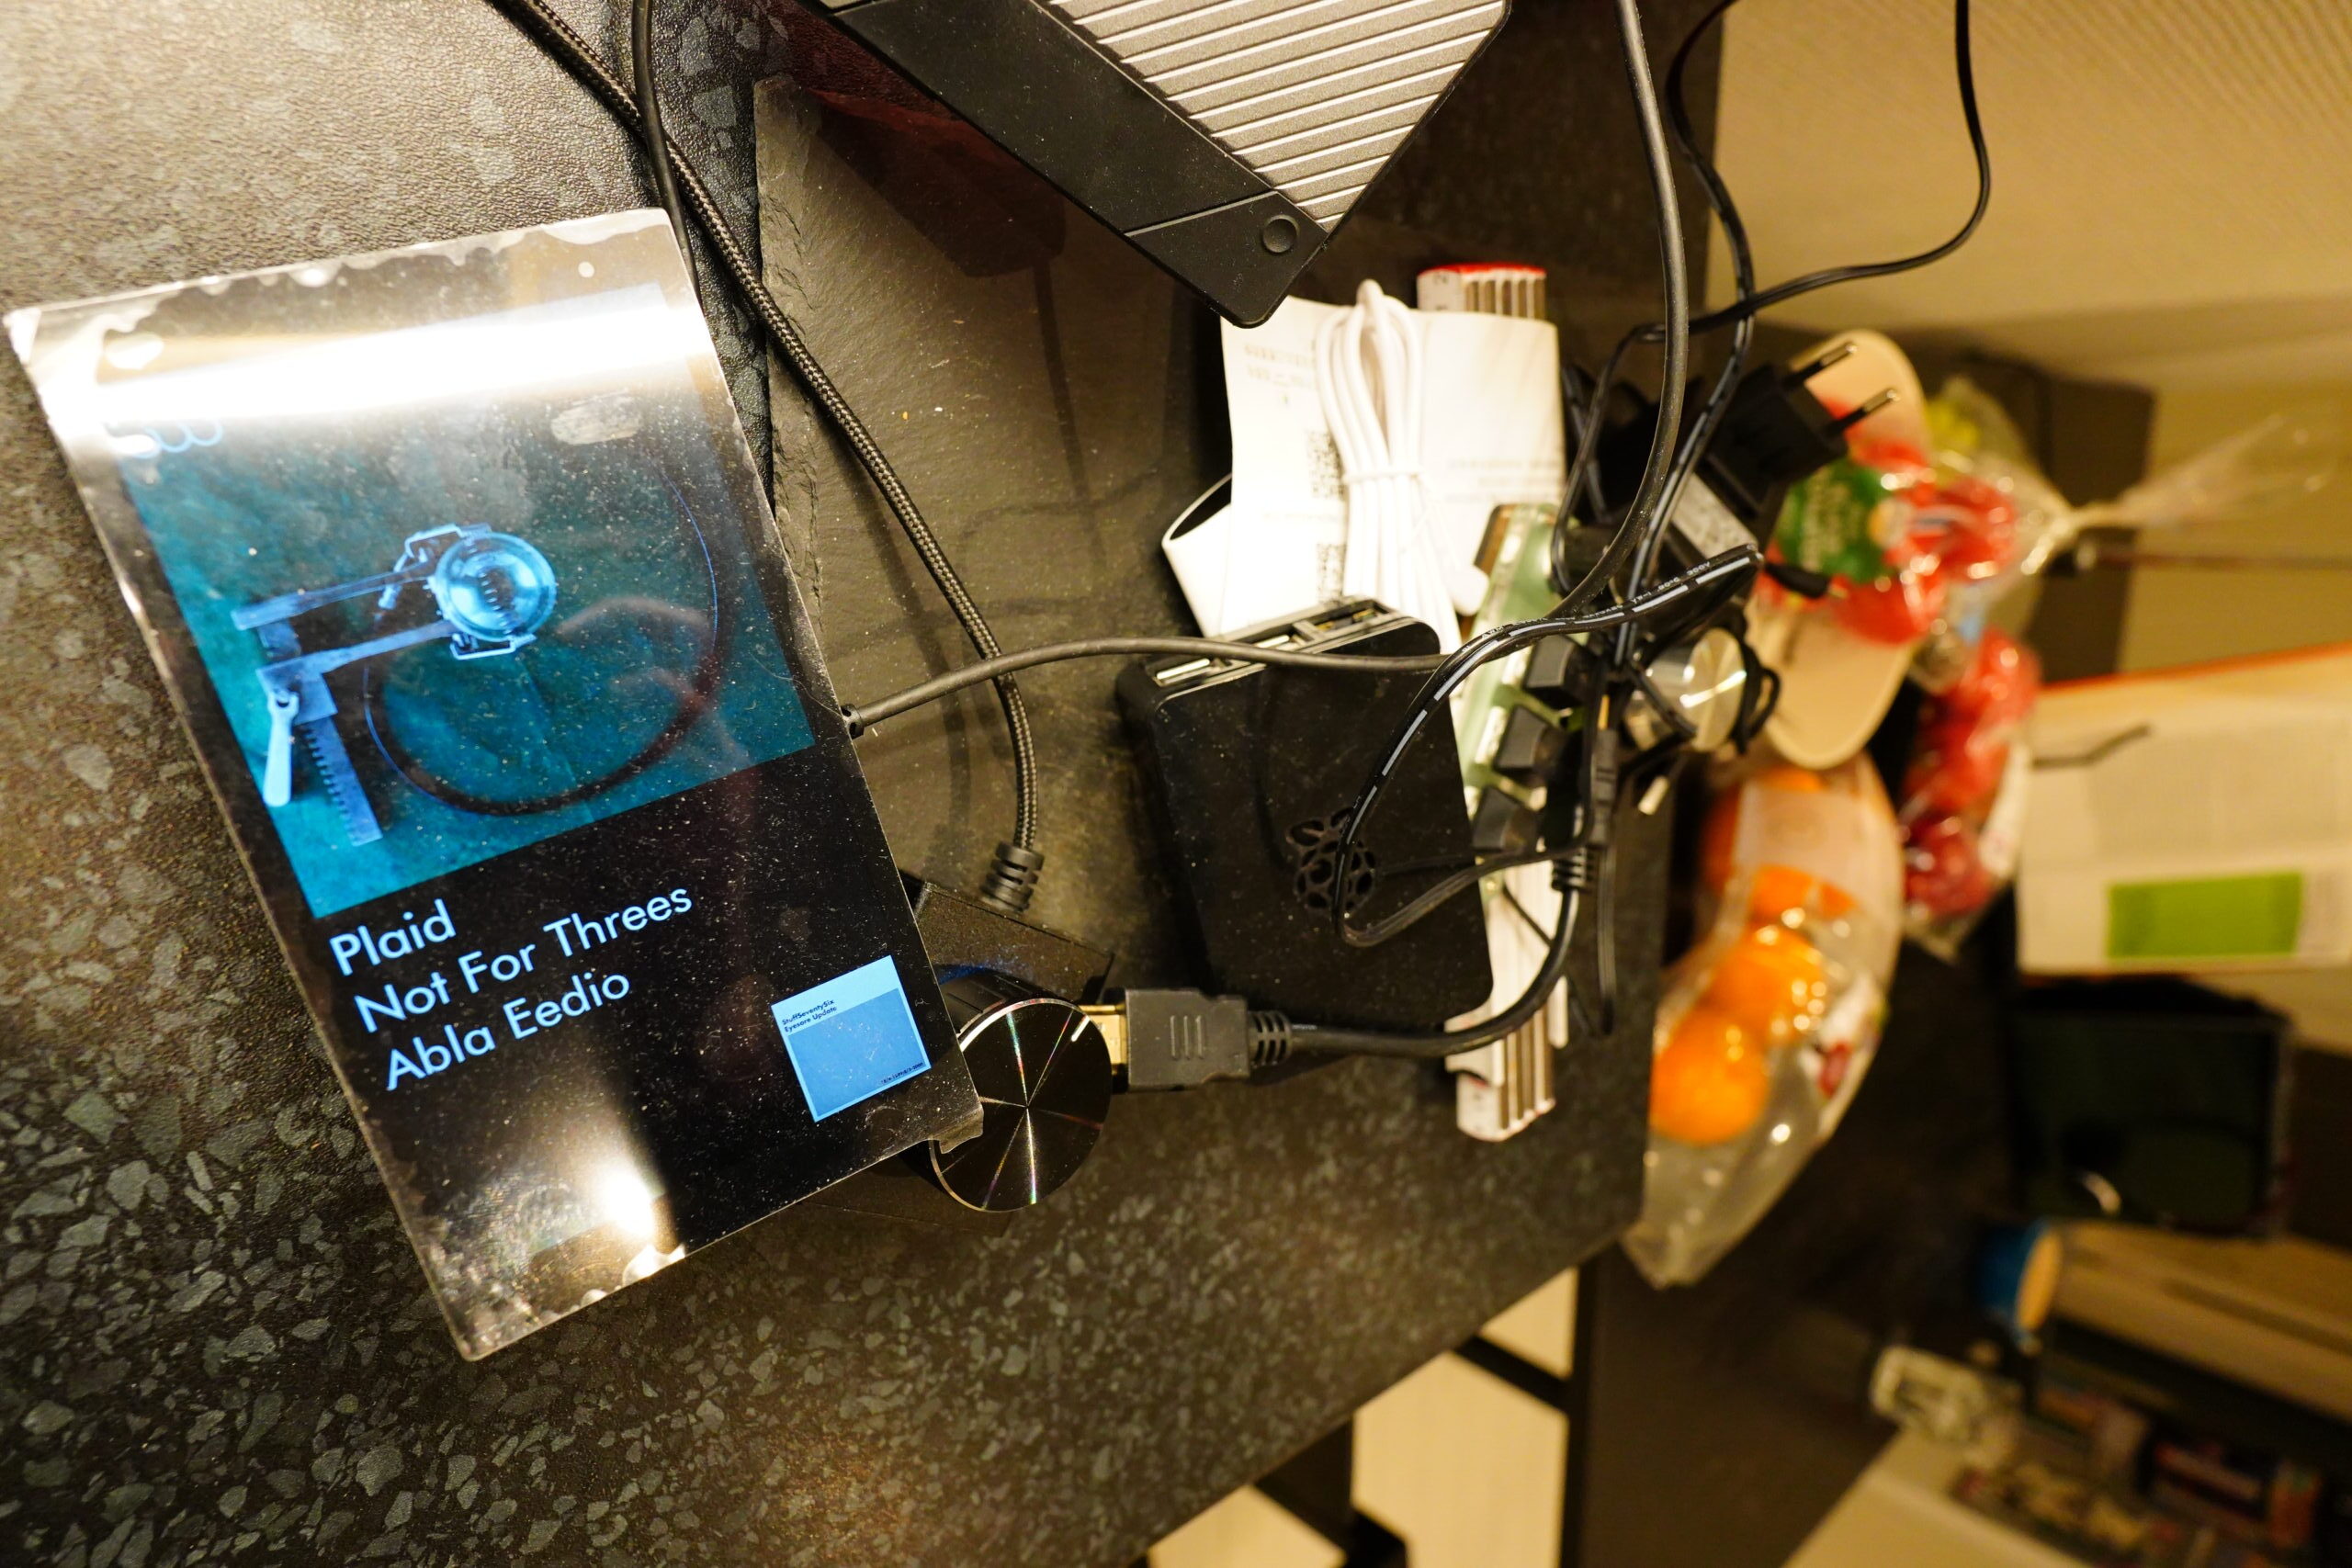
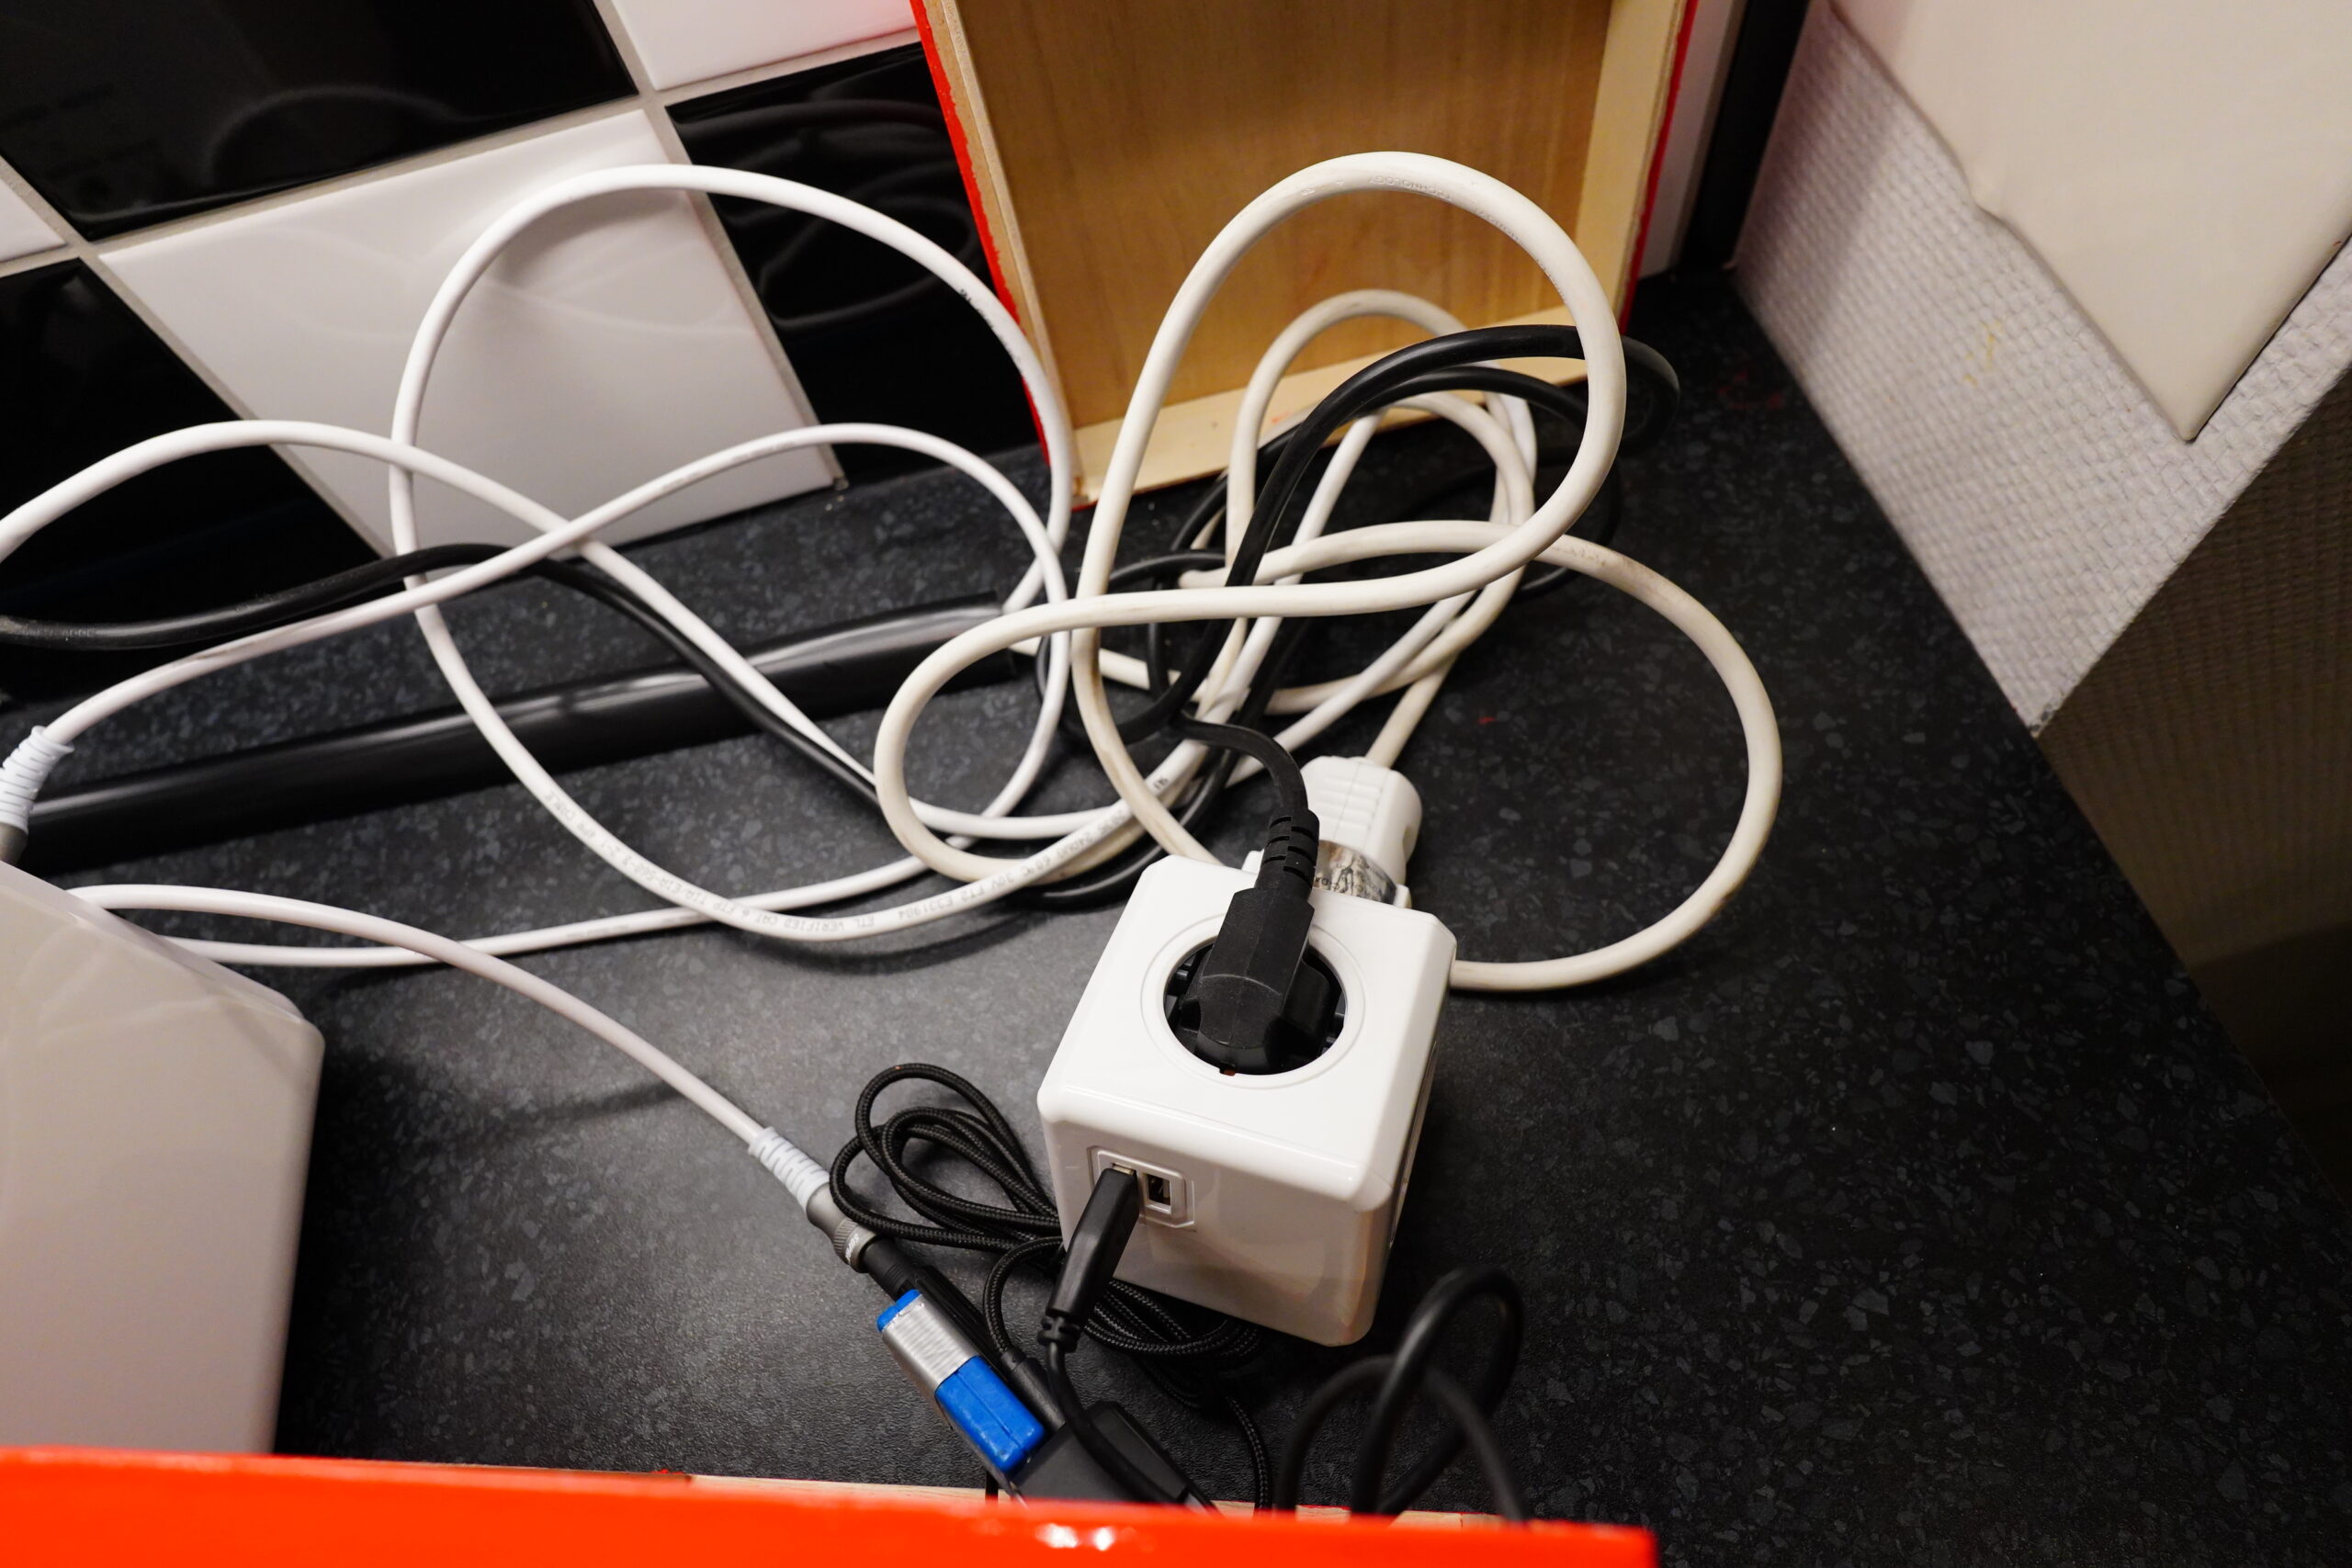
After dealing with Raspberry Pi 3 instabilities for a few months, I just gave up and used a Pi 4 I had here. And I’ve been testing whether it’s stable for a few weeks (nothing to do with procrastination; no ma’am), my kitchen has looked like this.
But it’s stable — except that wifi drops to unusable (30% packet loss) if I angle the Pi 4… just… so…
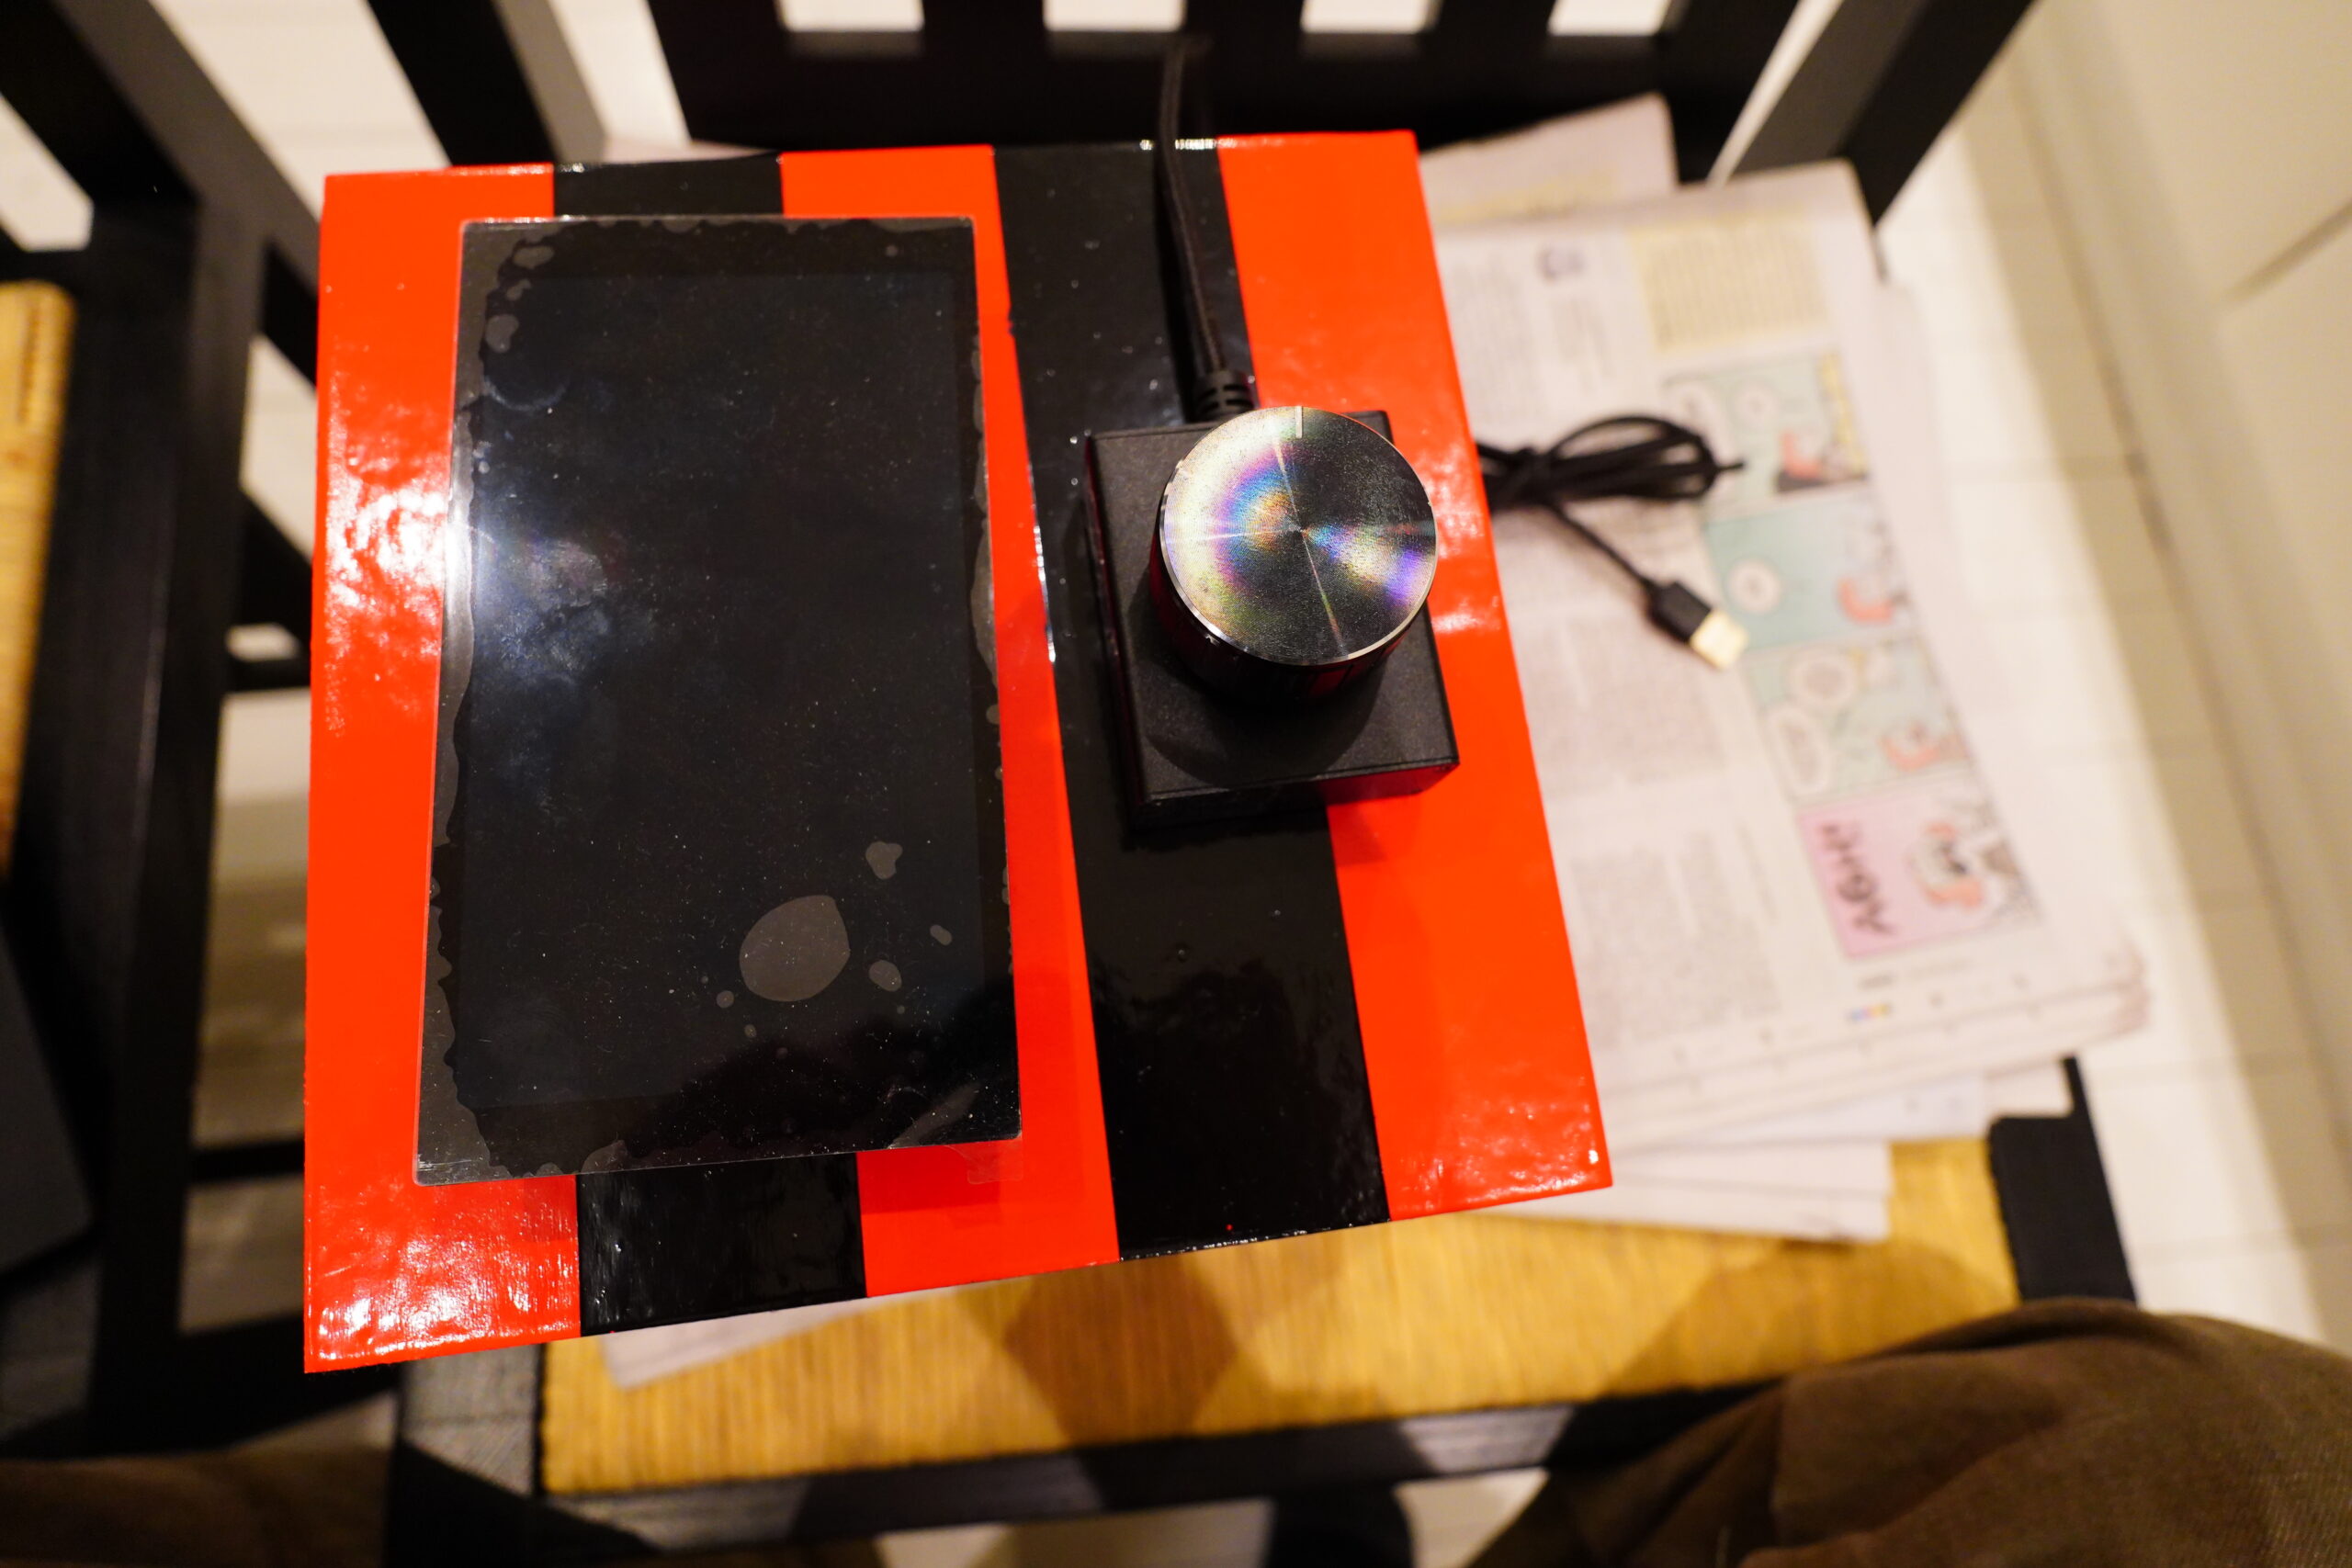
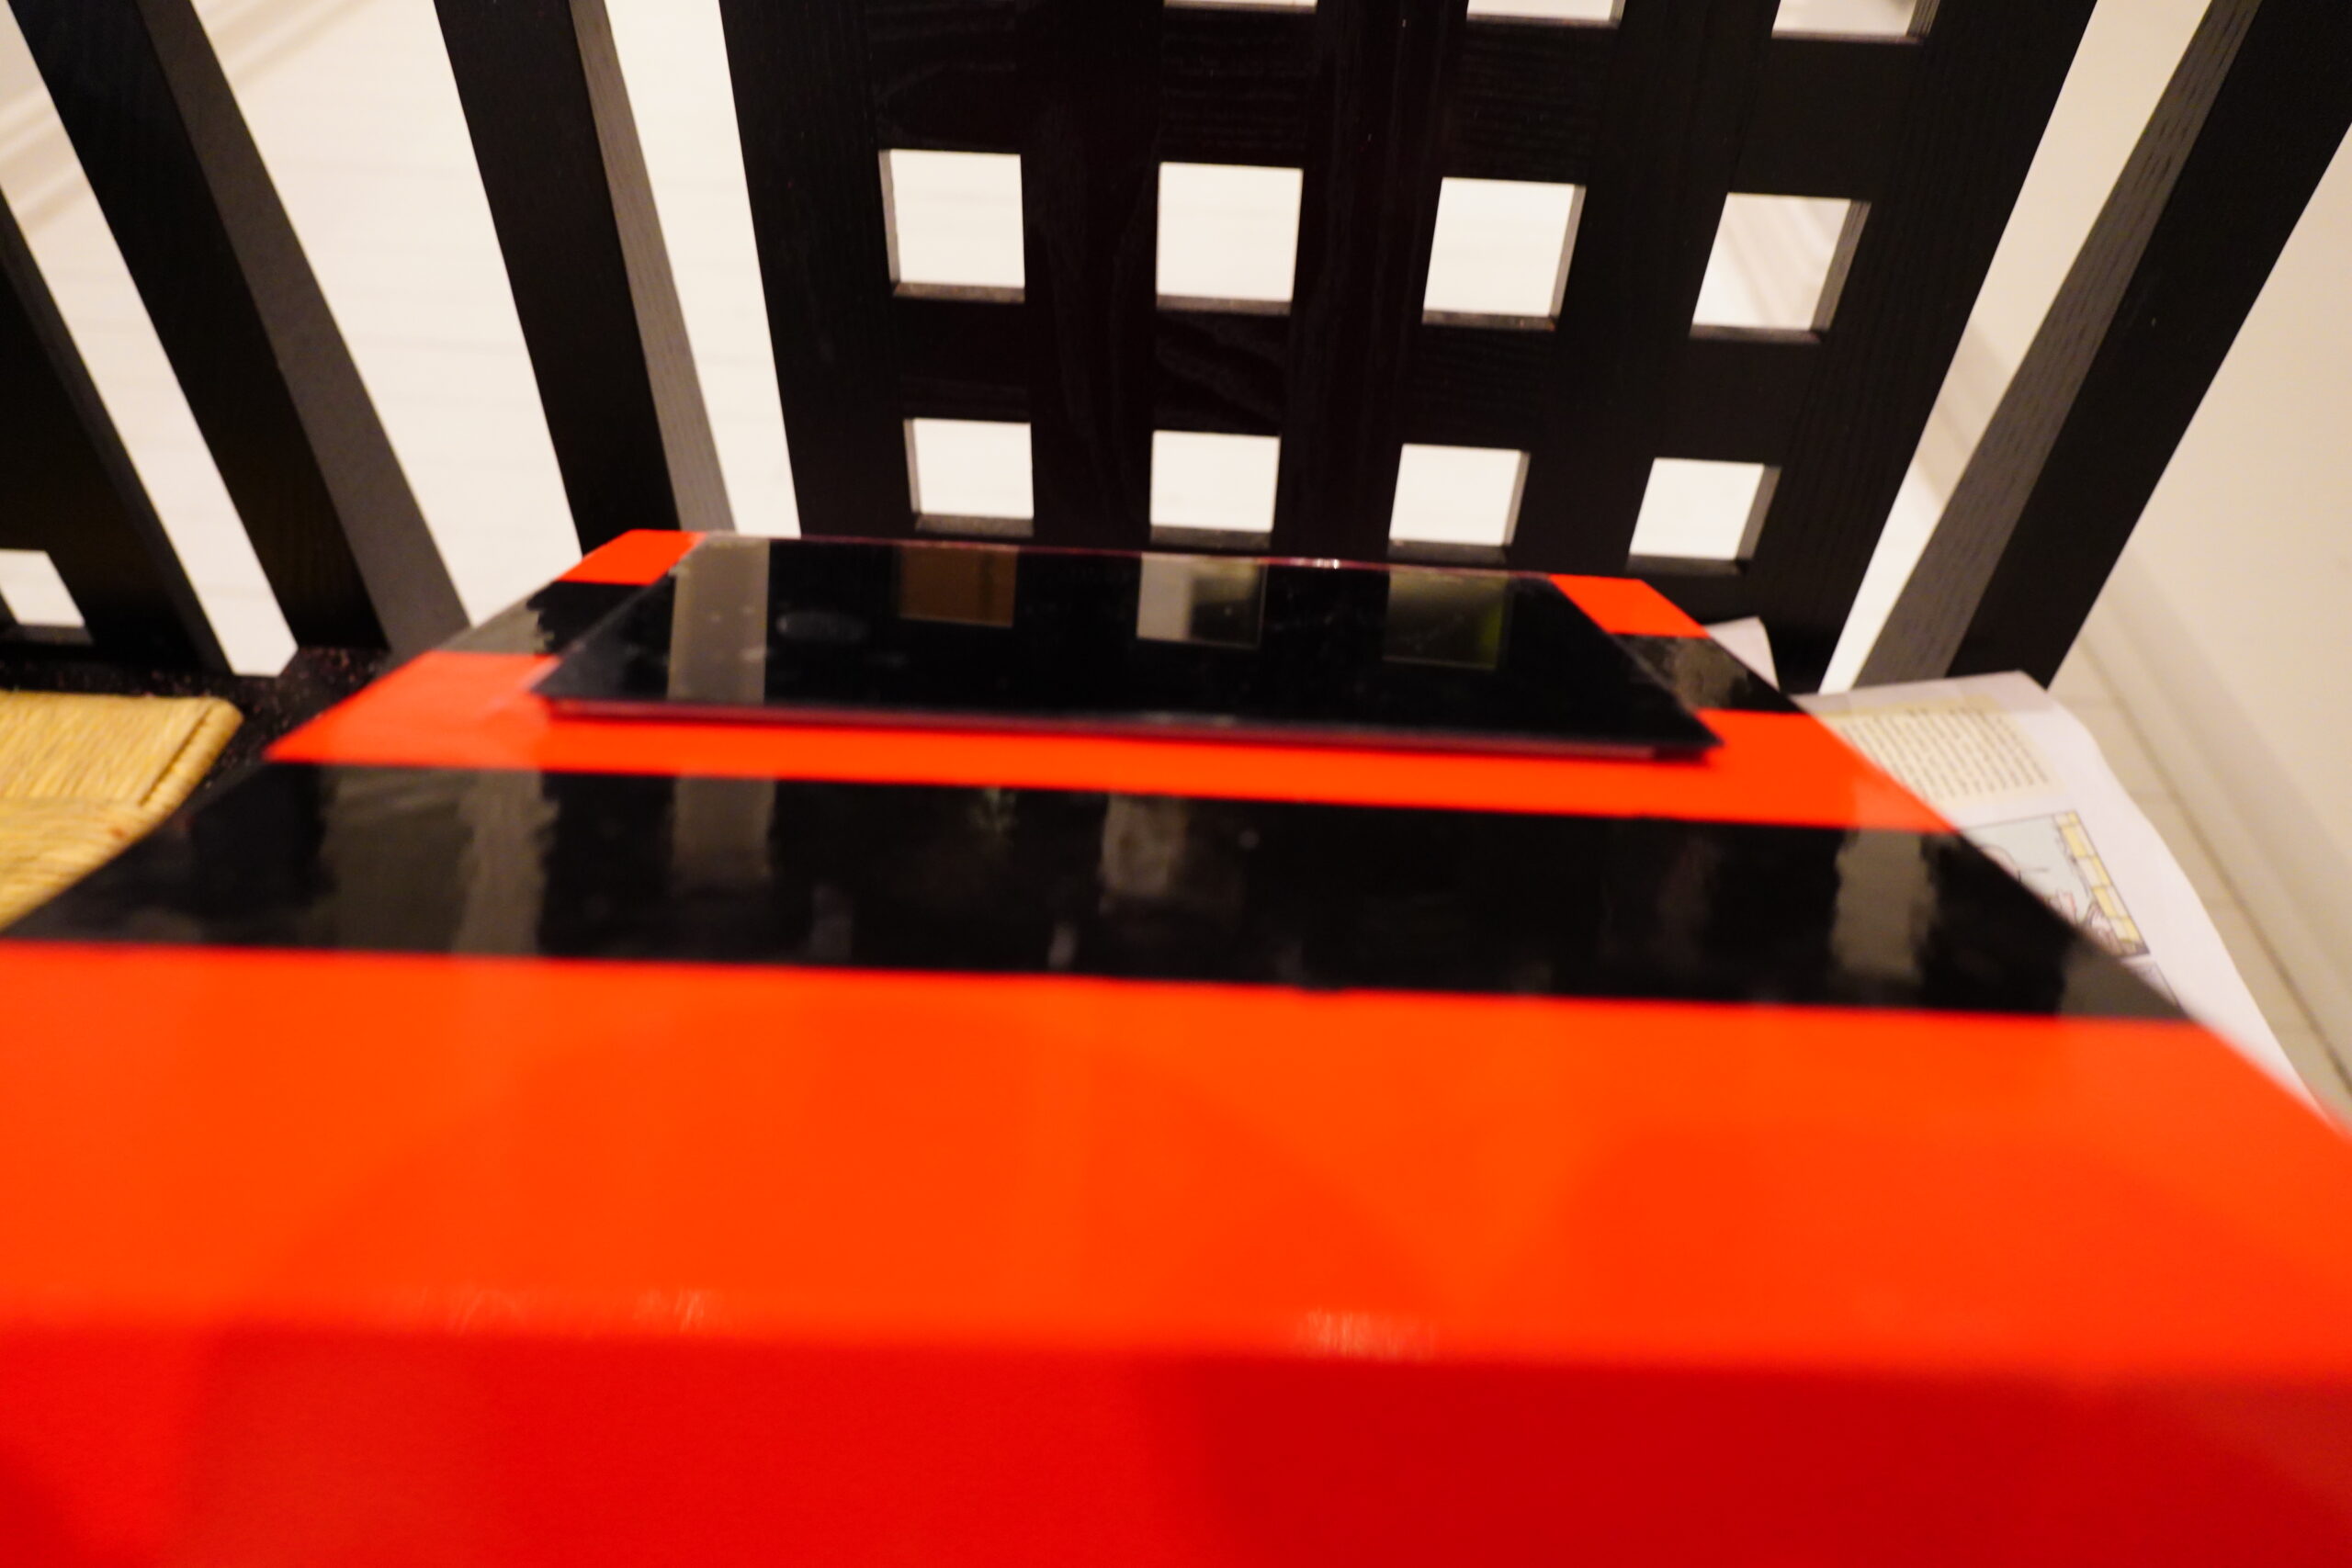
Anyway, I’m tired of having the mess here, so I’m finally going to start cutting the box. Should I have the volume knob here?
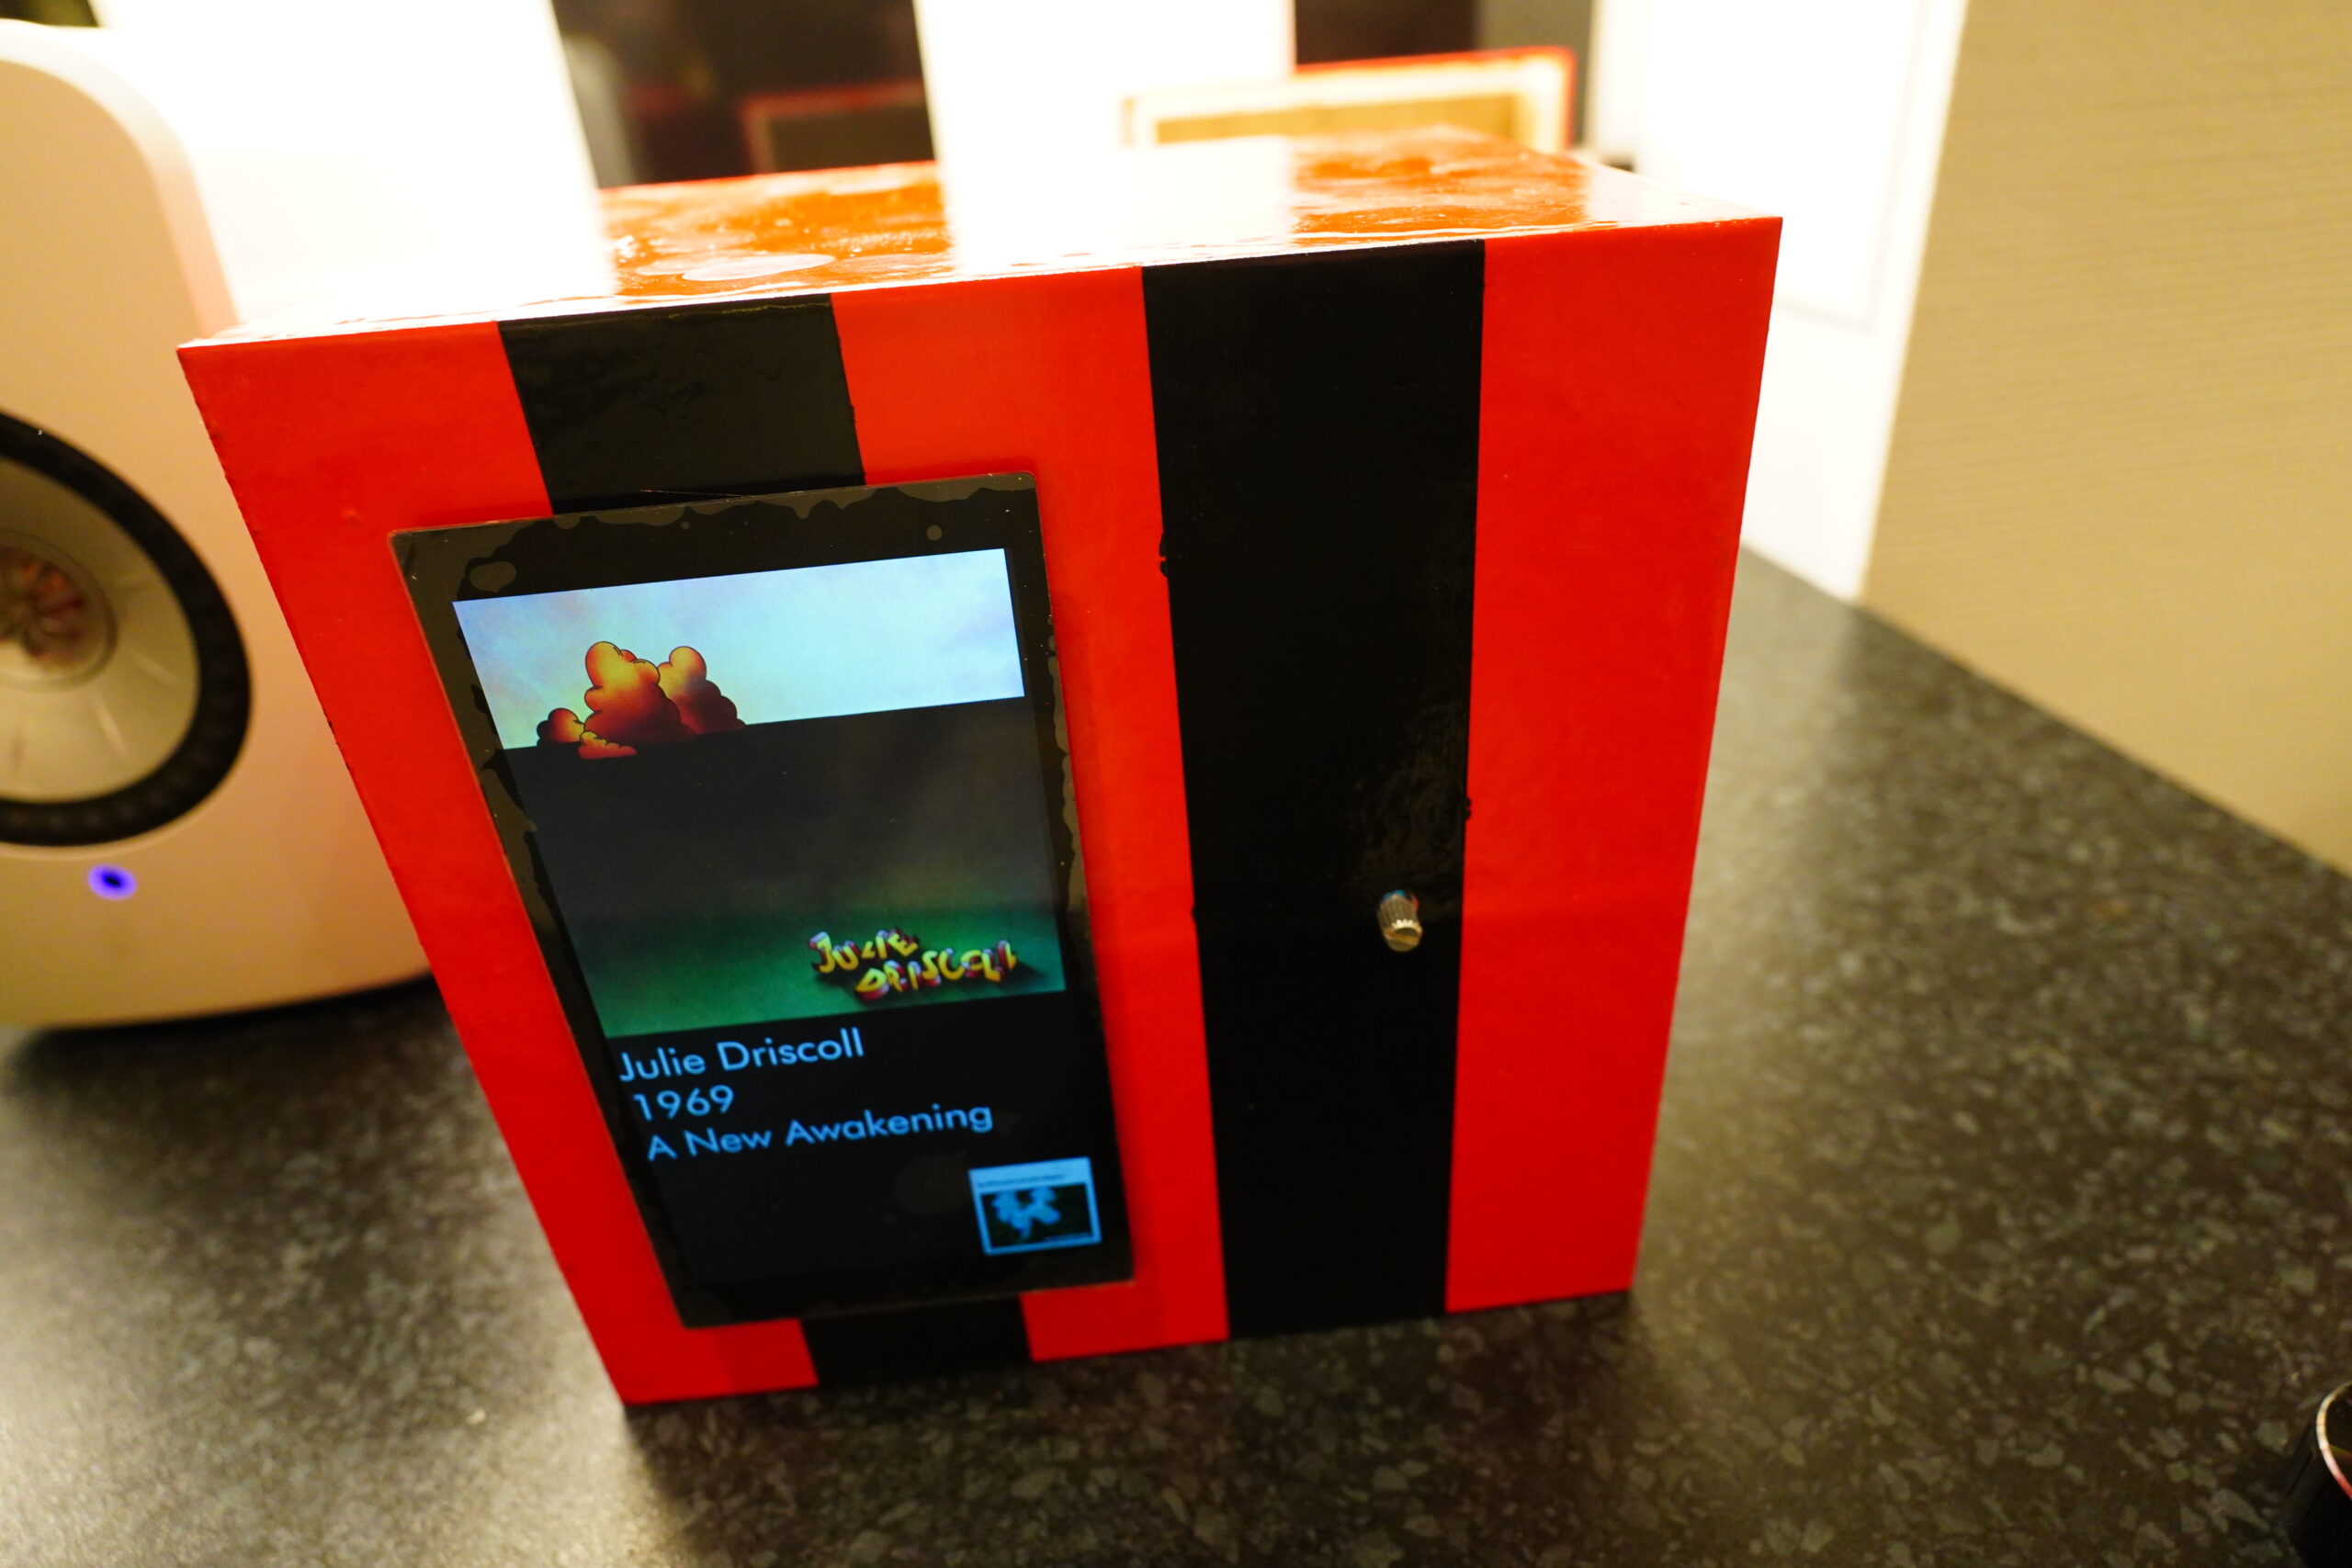
Or charmingly unsymmetrically here? (Only the know will be visible from this side…)
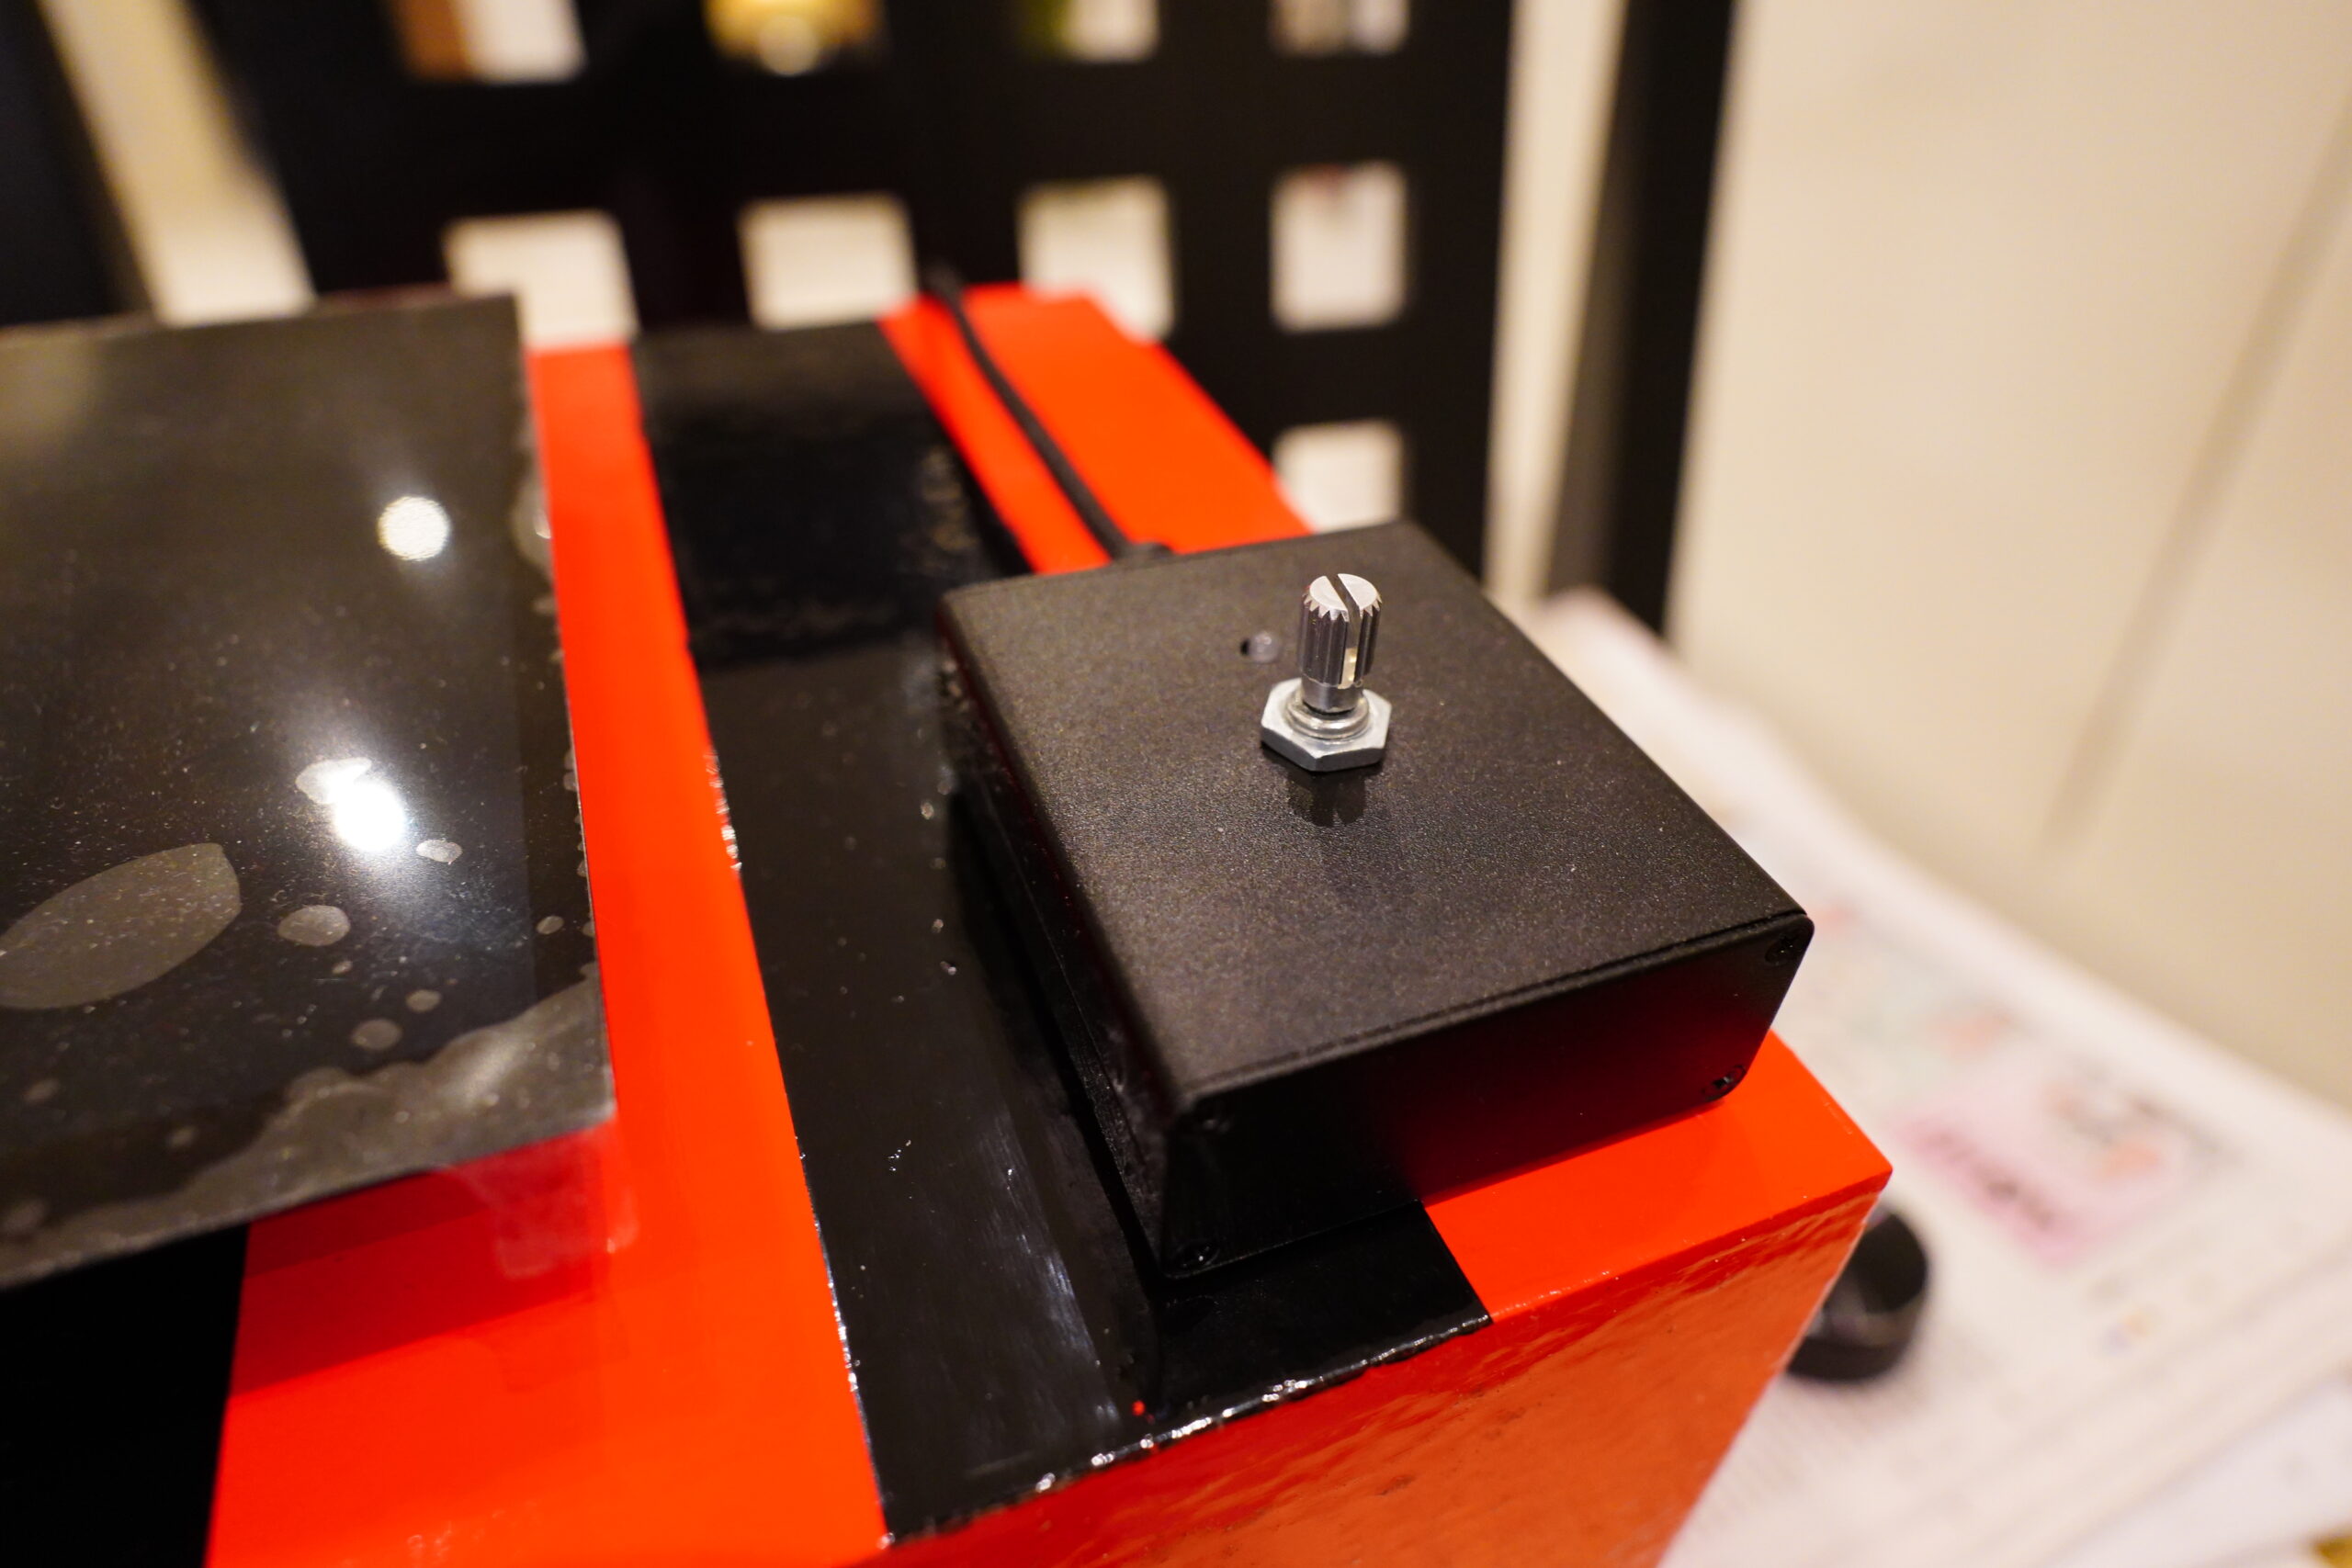
Because the knob pops off and I can just poke this pin through.
But how should I cut the bot?
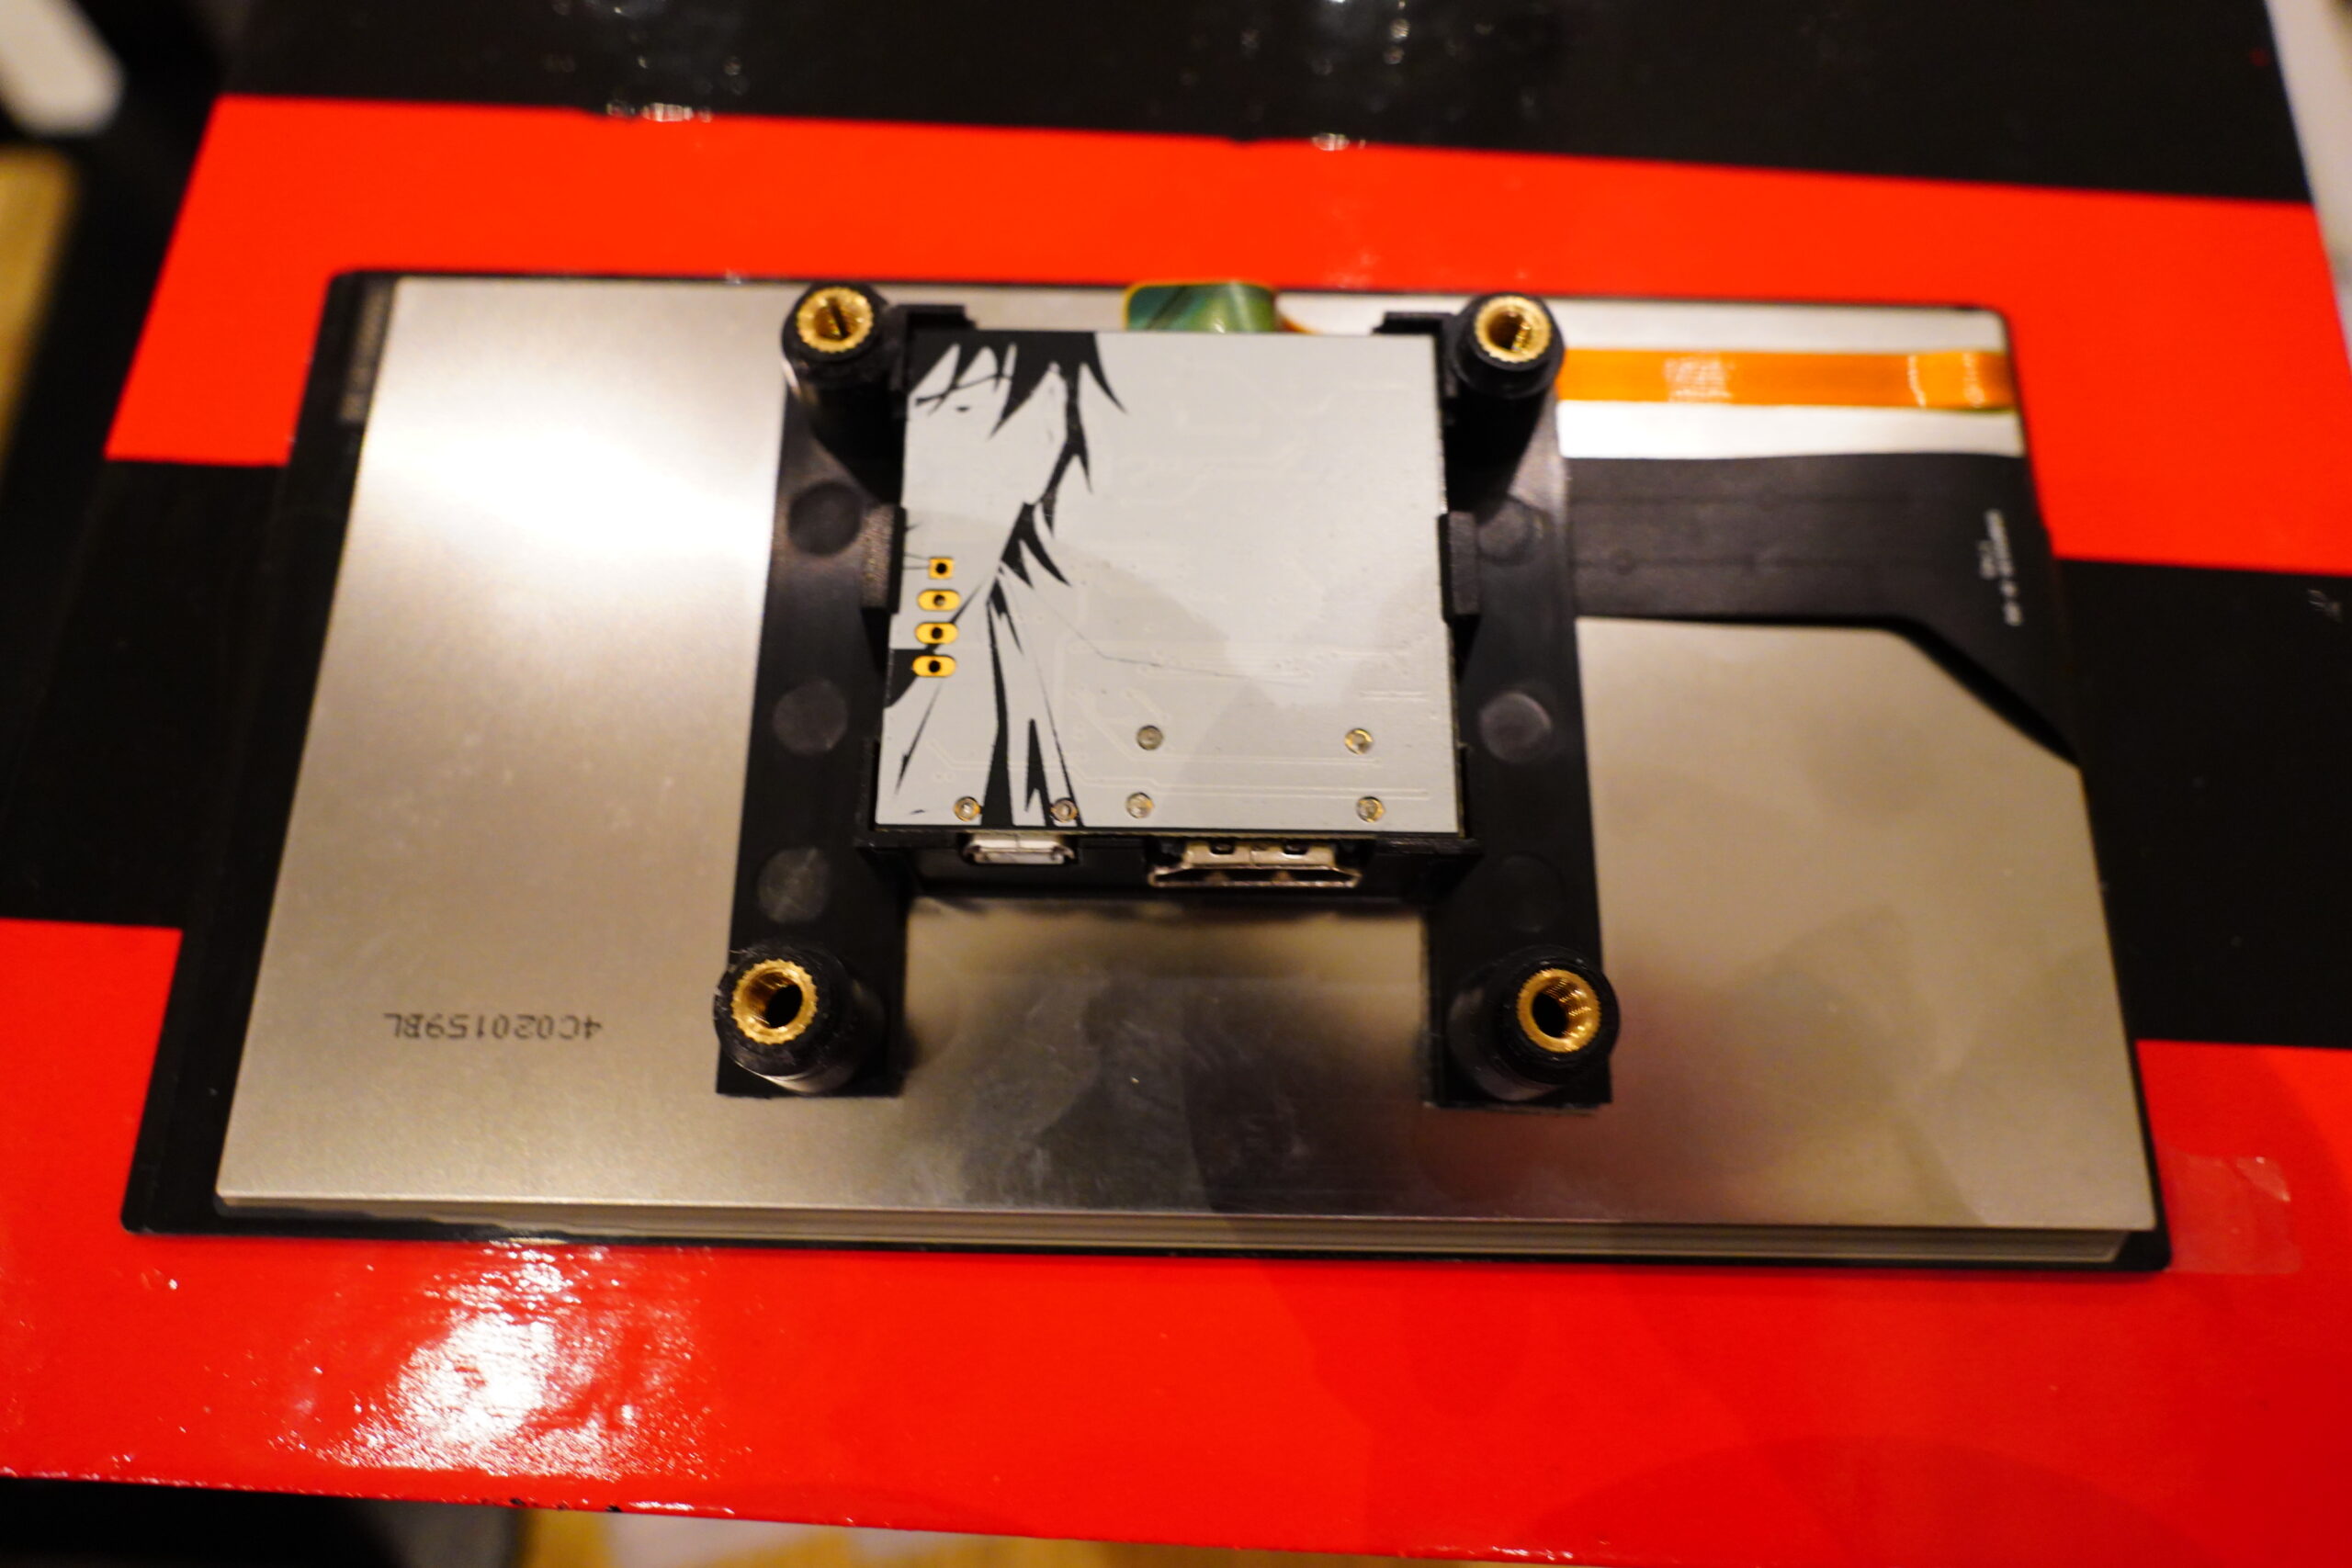
It would be easier to just cut through the central connection area, but it would perhaps be prettier if it’s super duper flush; i.e., cutting out the box for the entire metal area… Hm…
Nah, too much risk of over-cutting, and that’d be a catastrophe after all these coats of paint. I don’t wanna paint no mo!
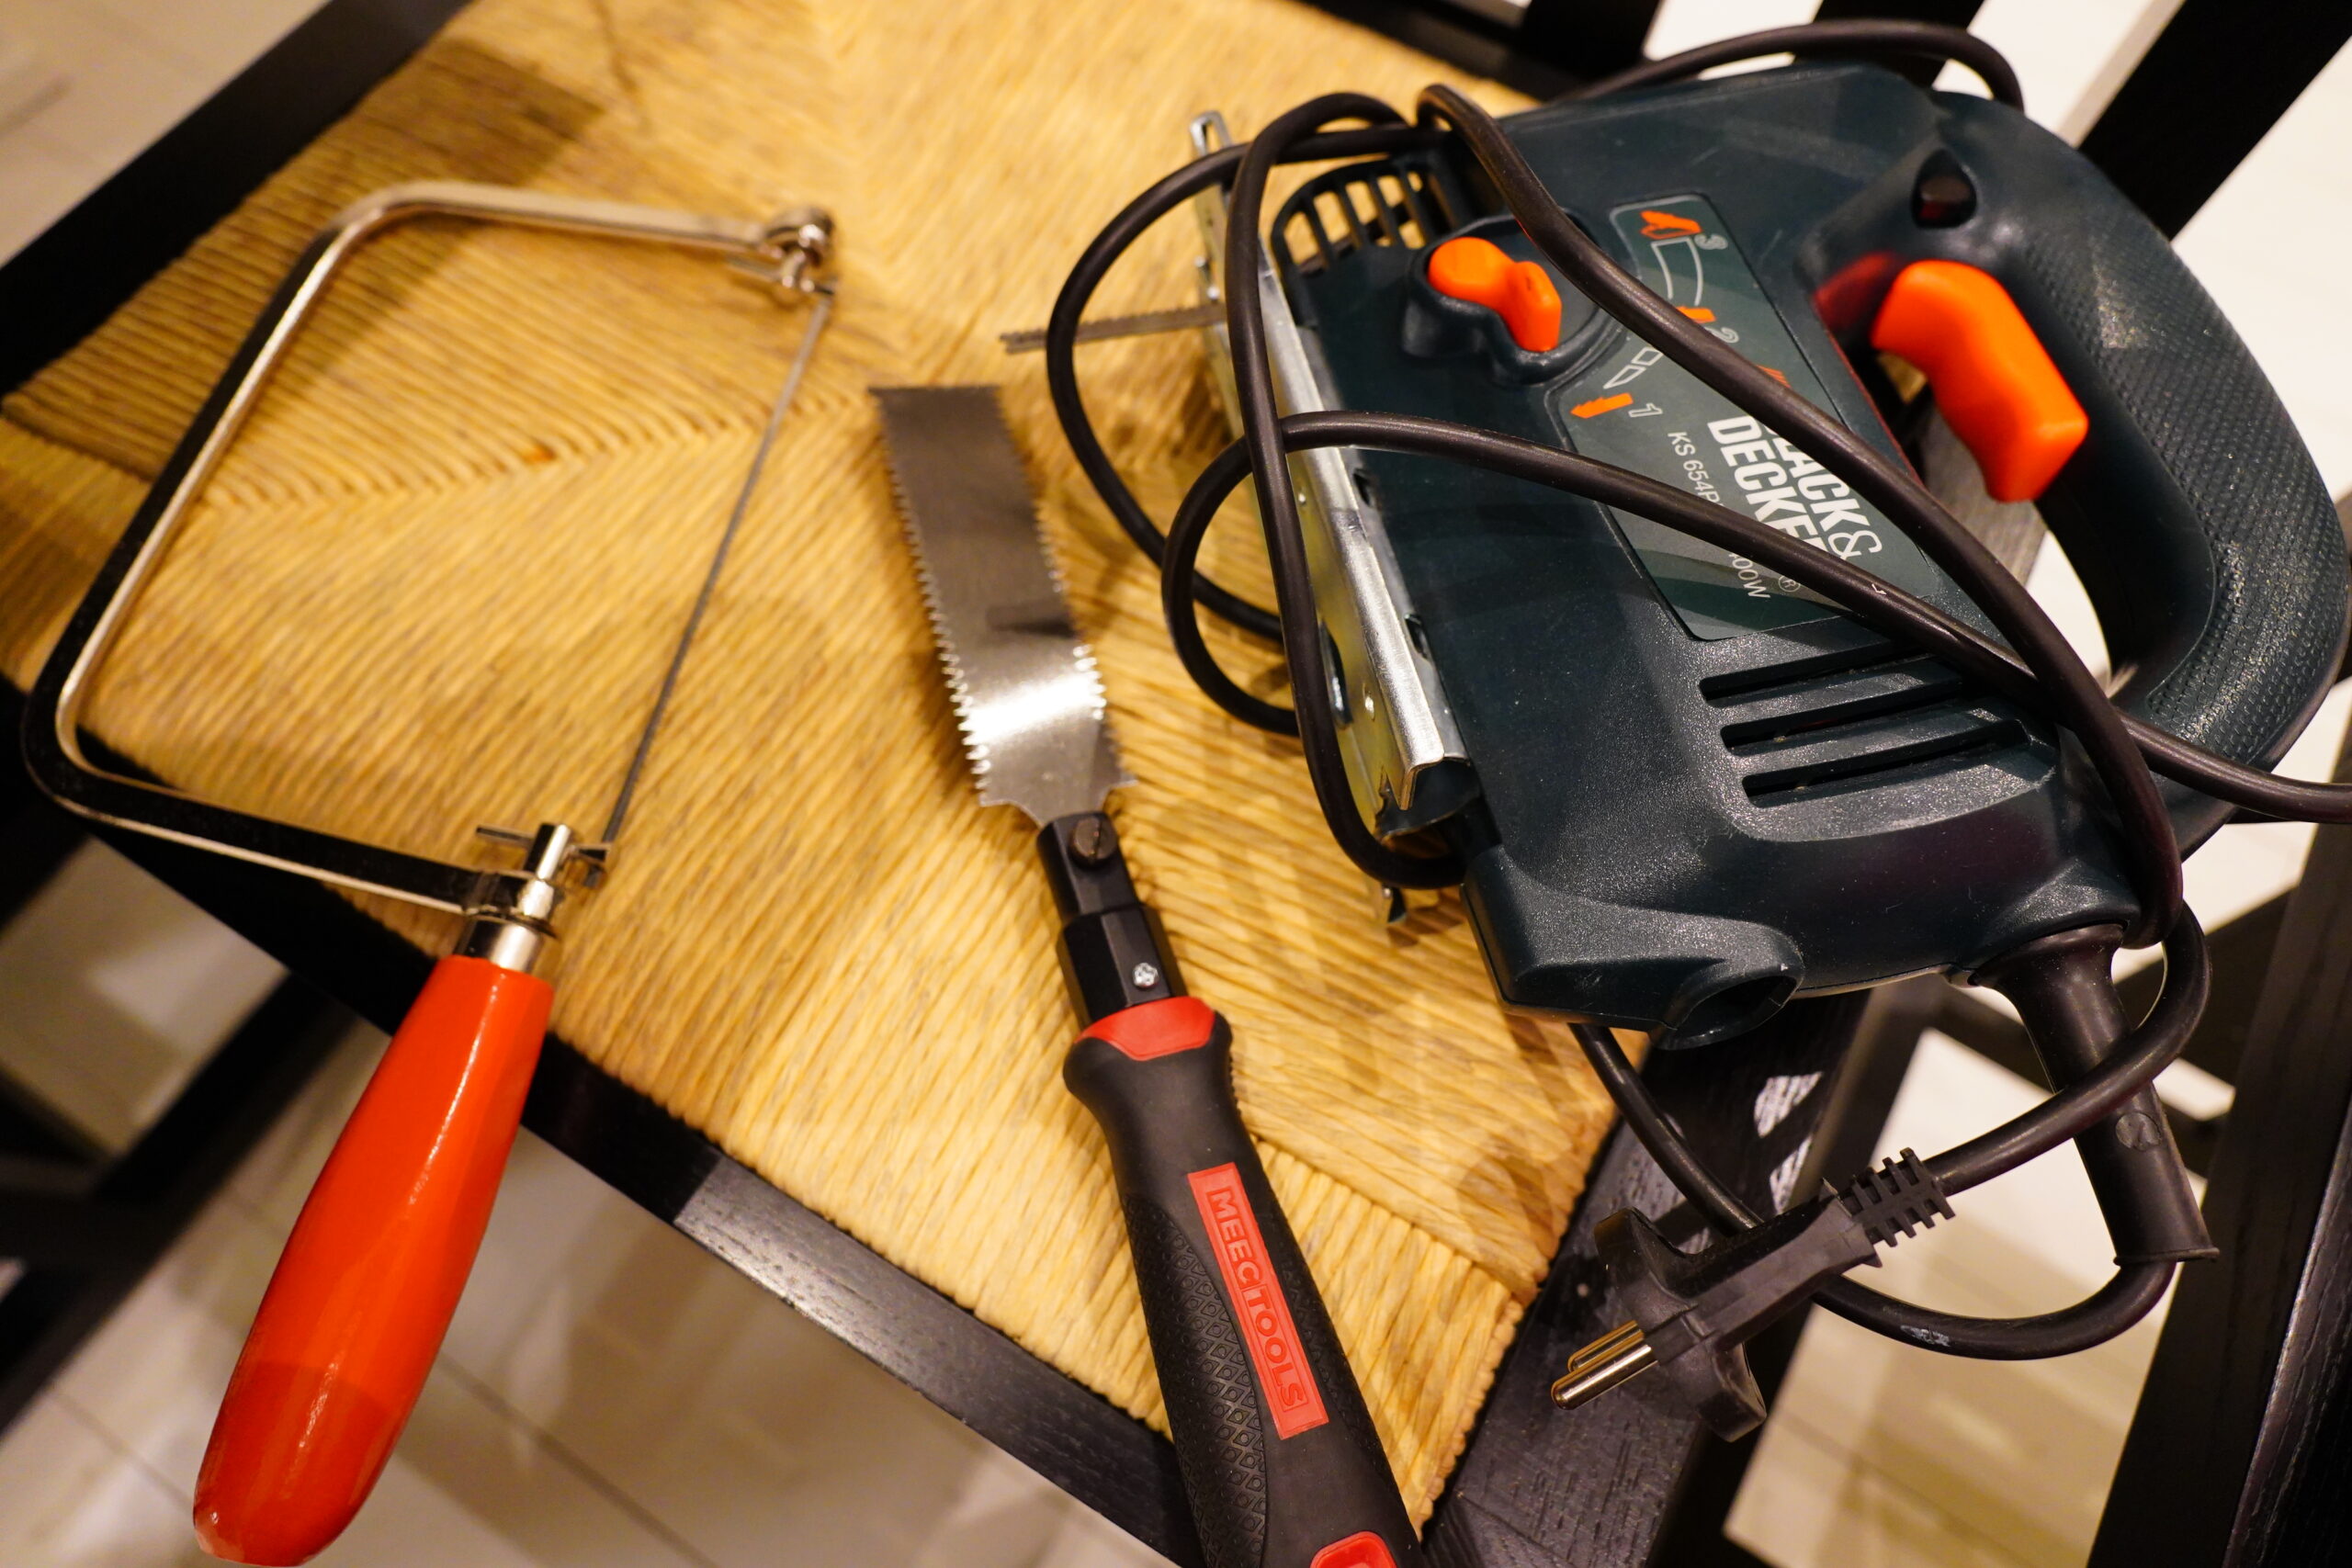
I’ve got my cutting implements here, but I’m not sure which one to use… using the electric jigsaw seems so … brutal .. for such weak and brittle wood.
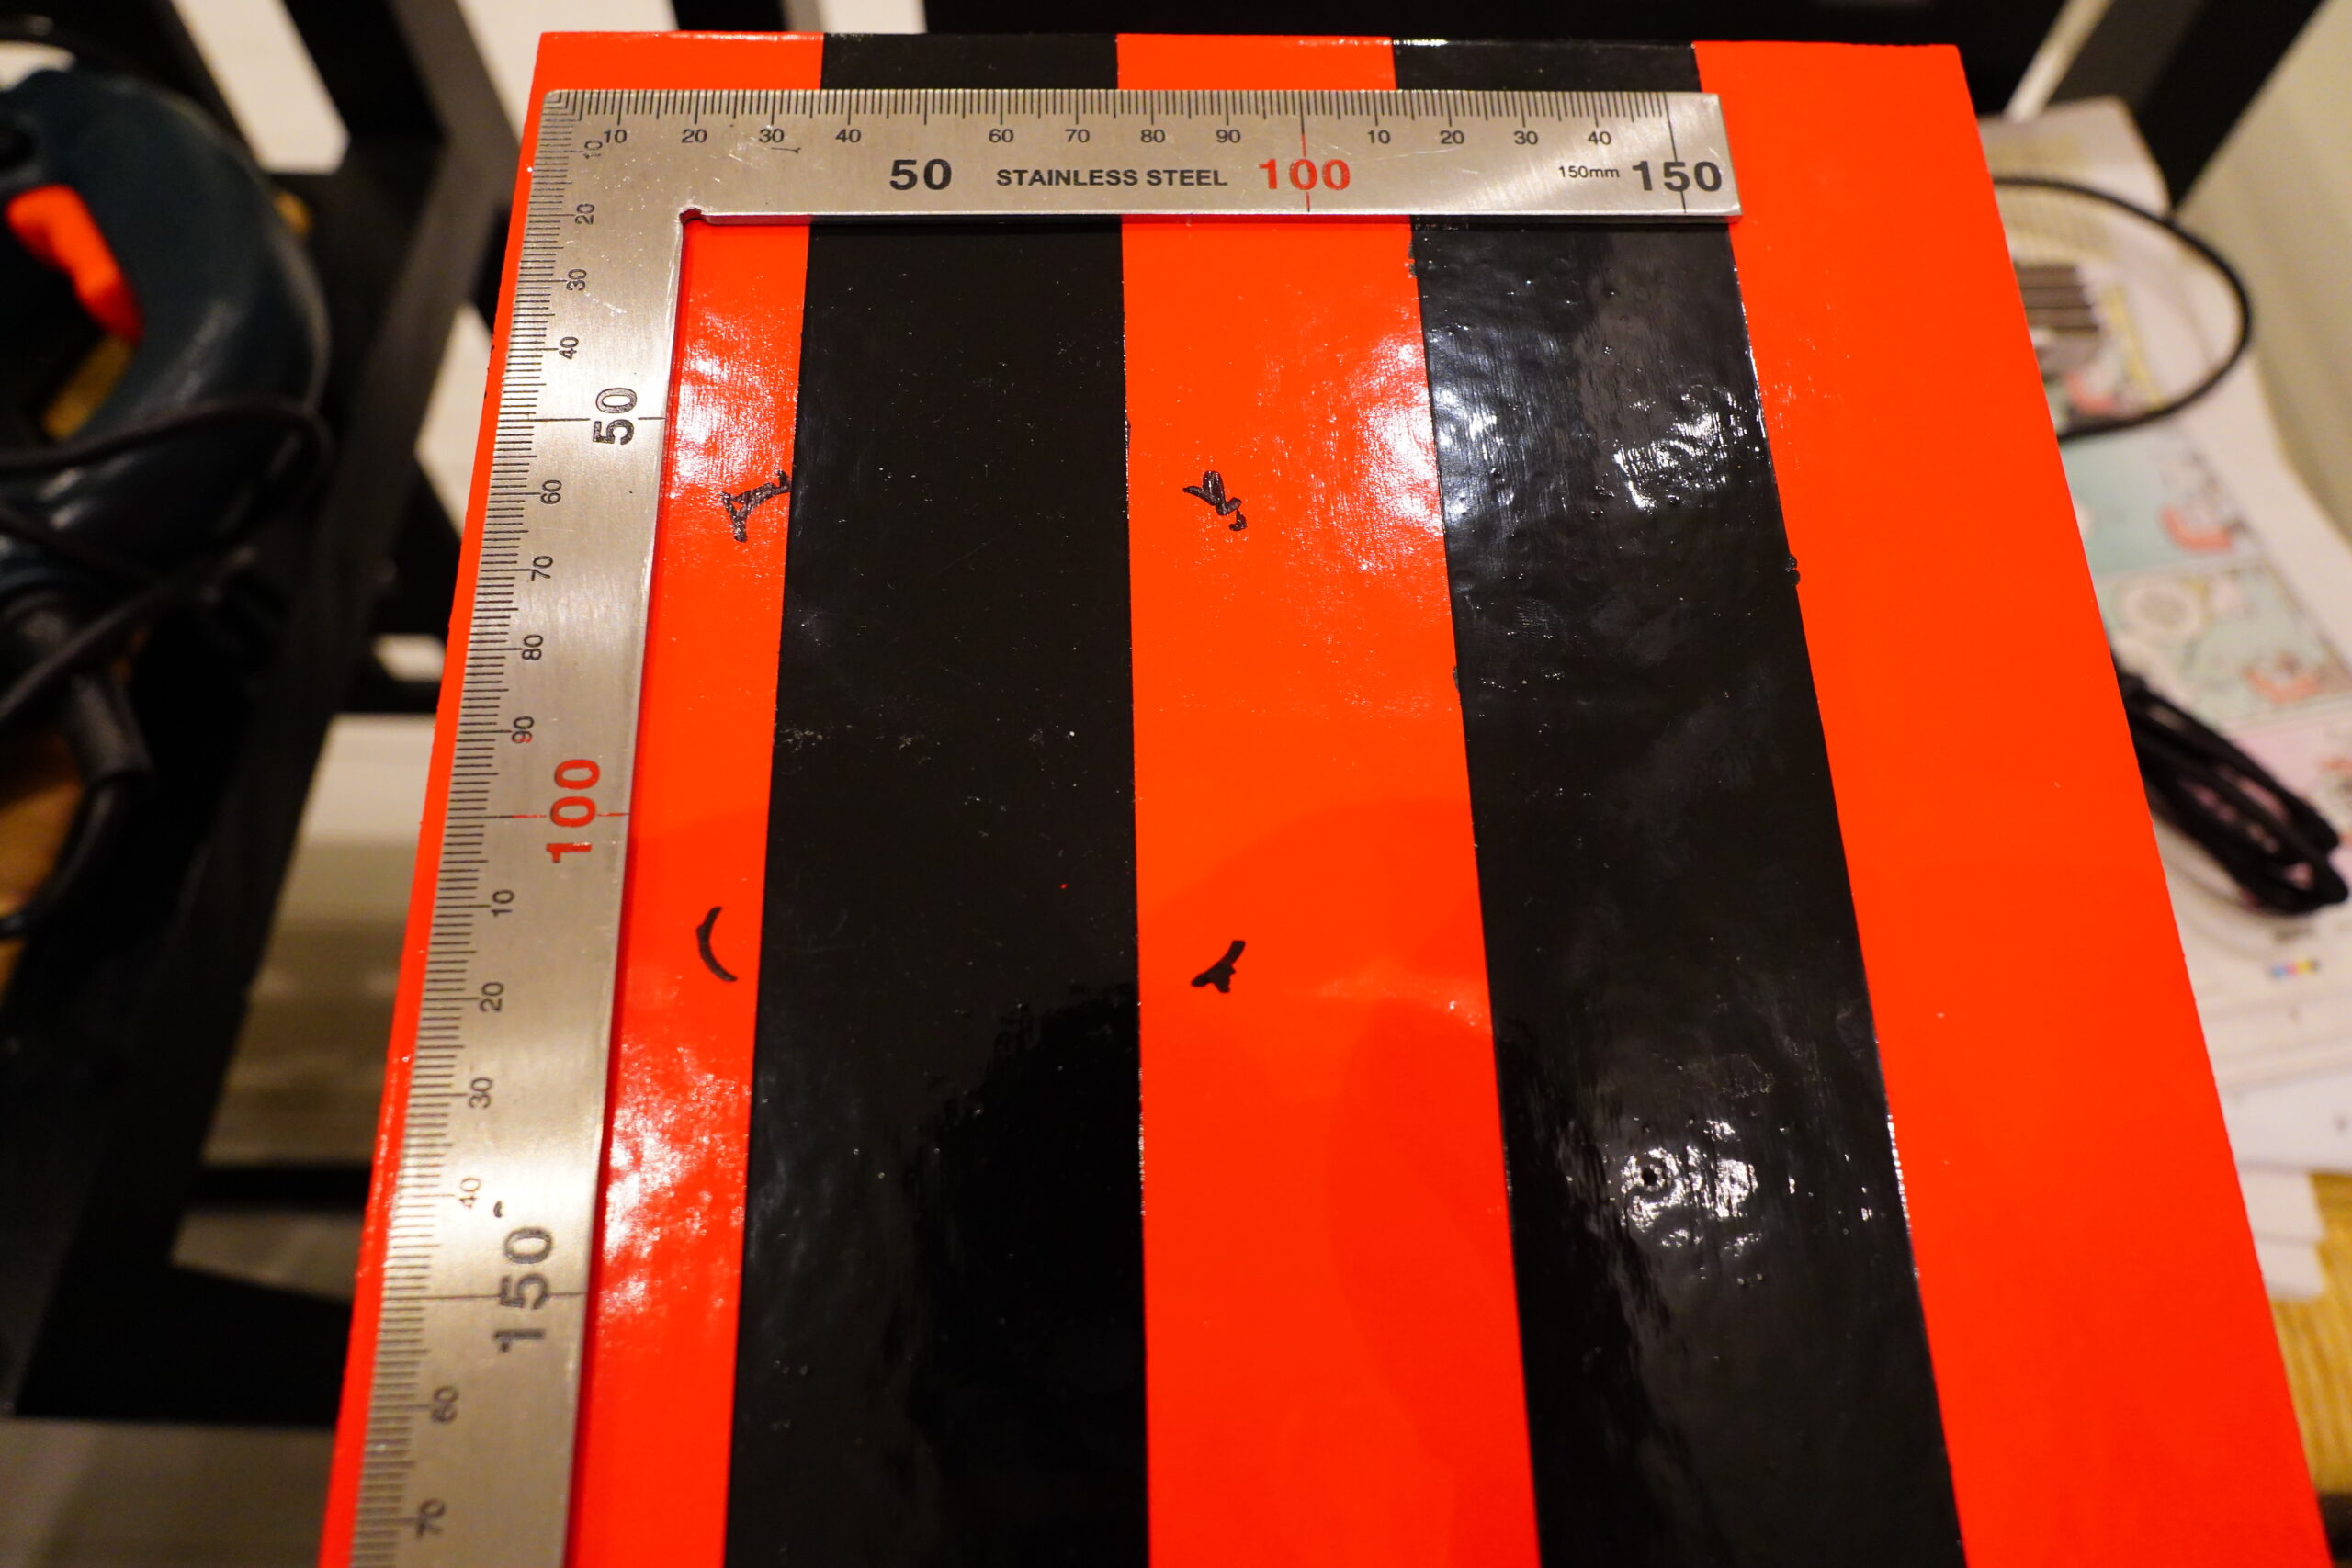
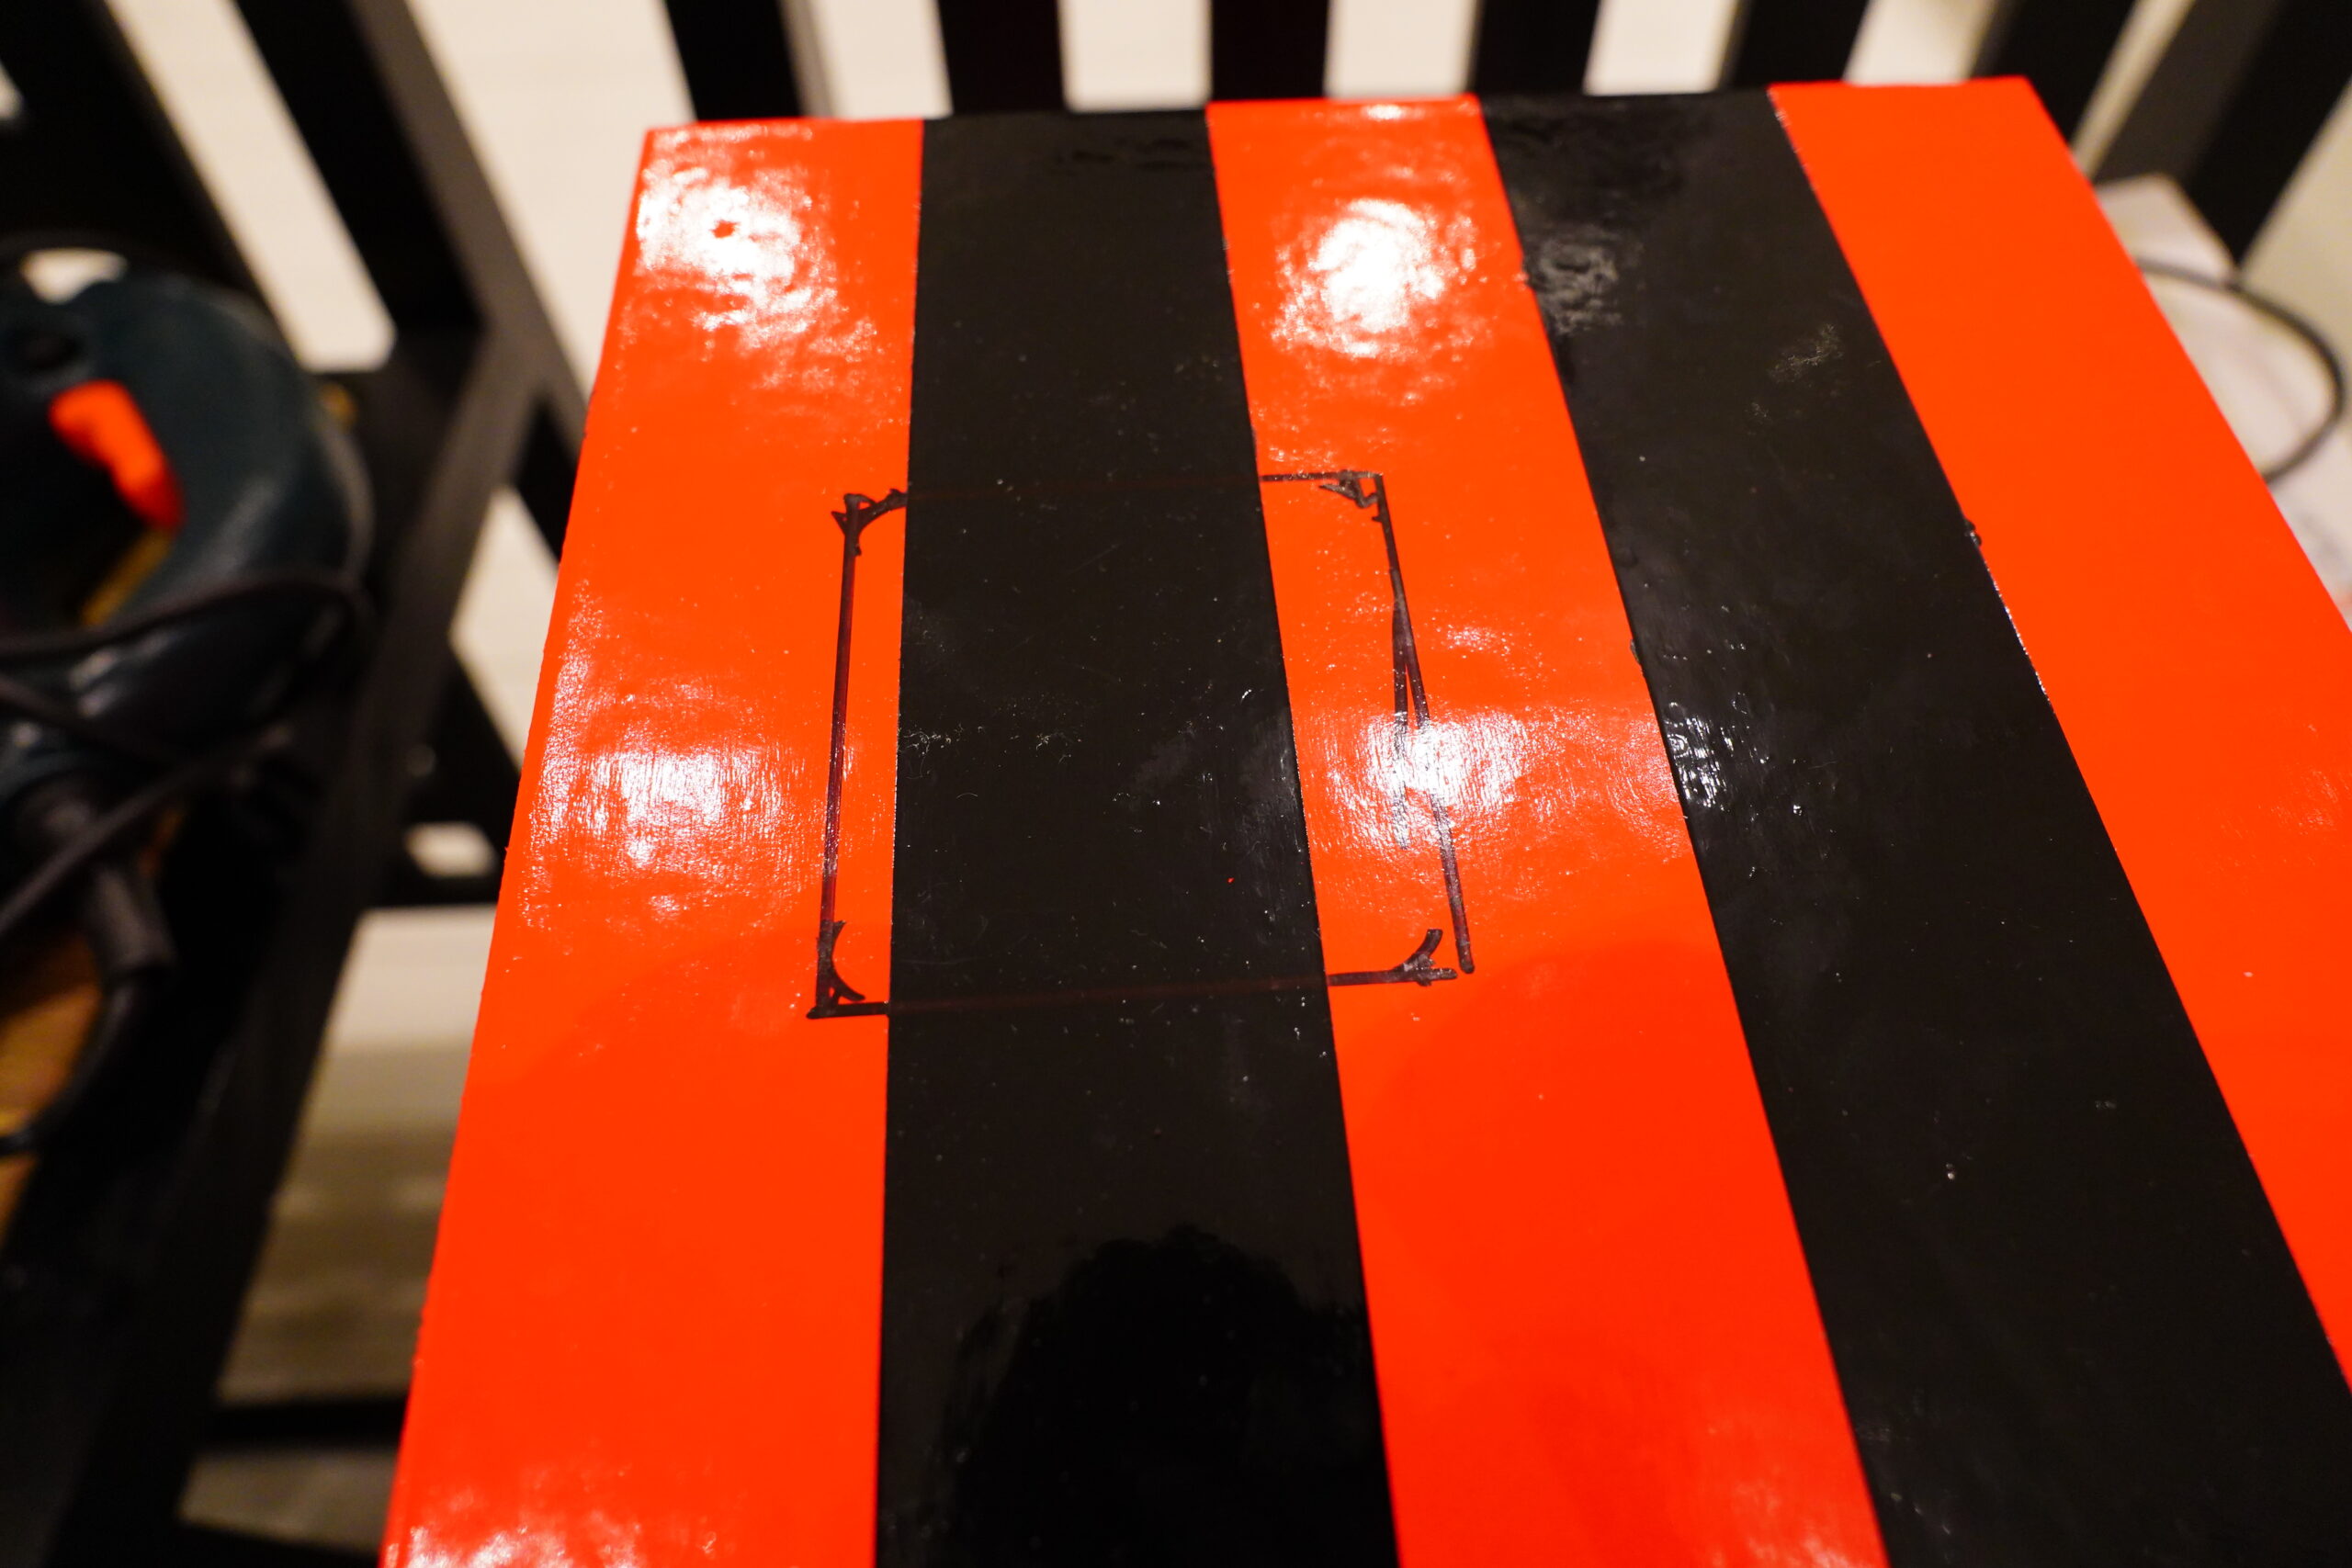
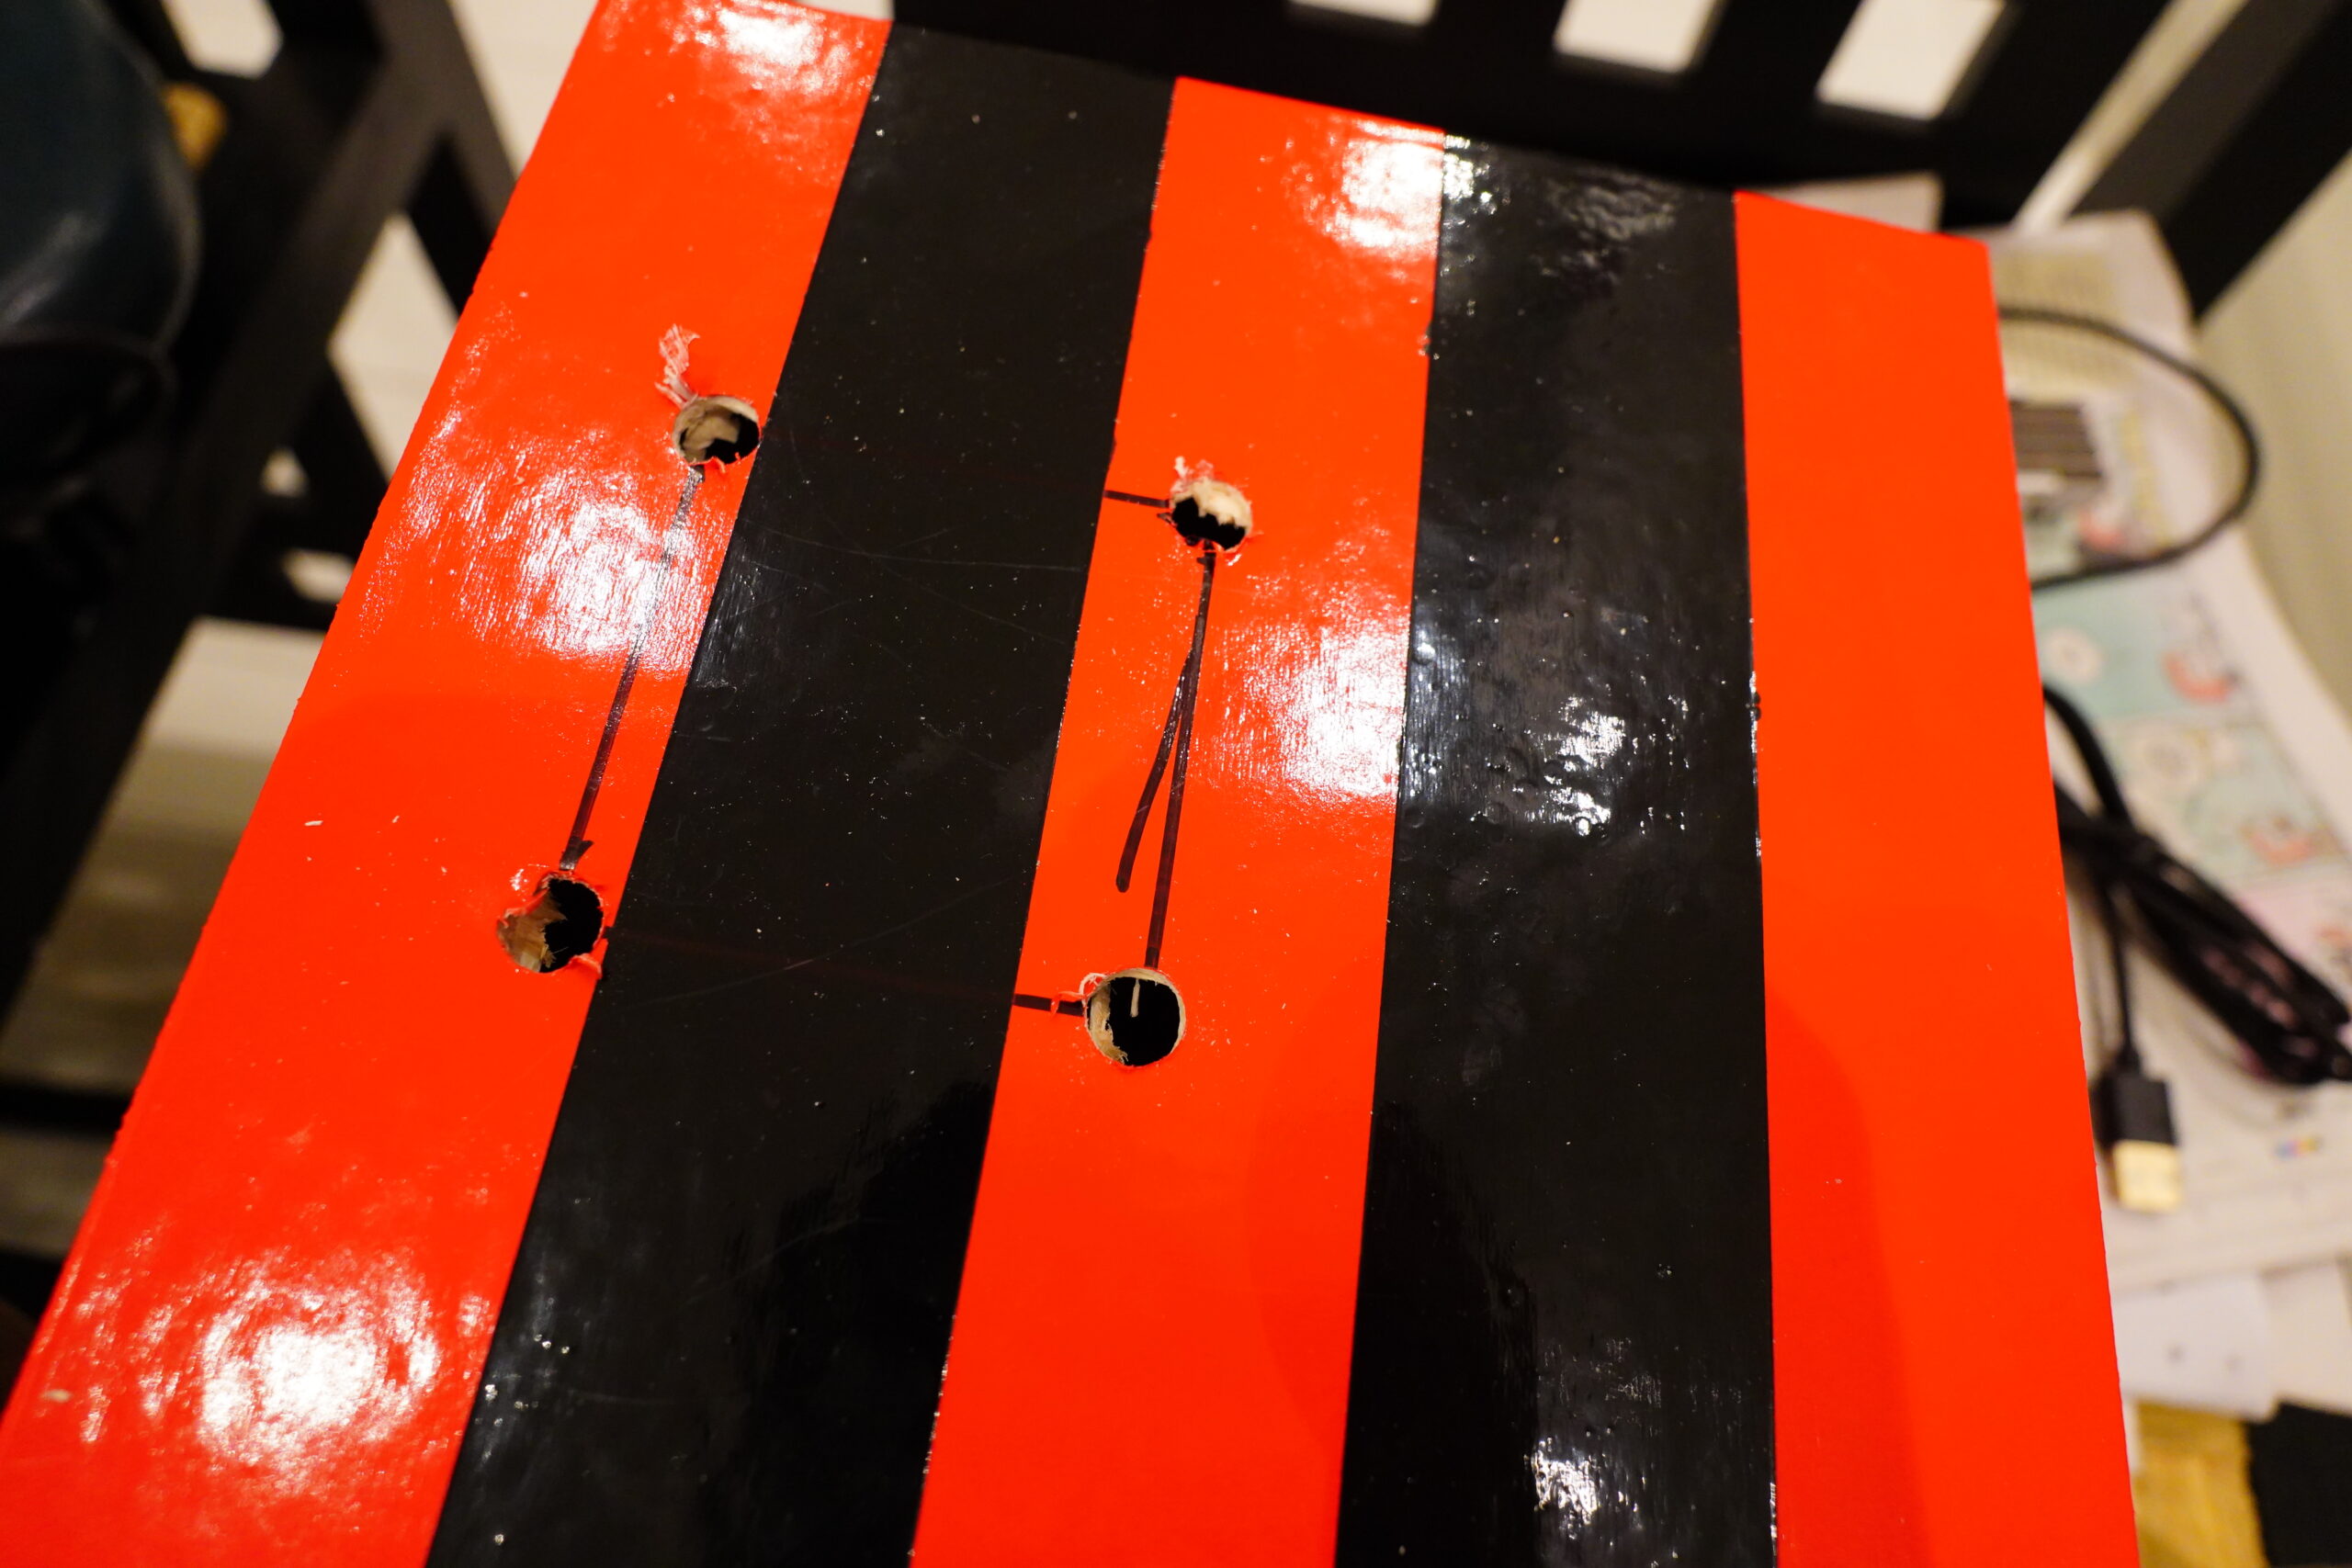
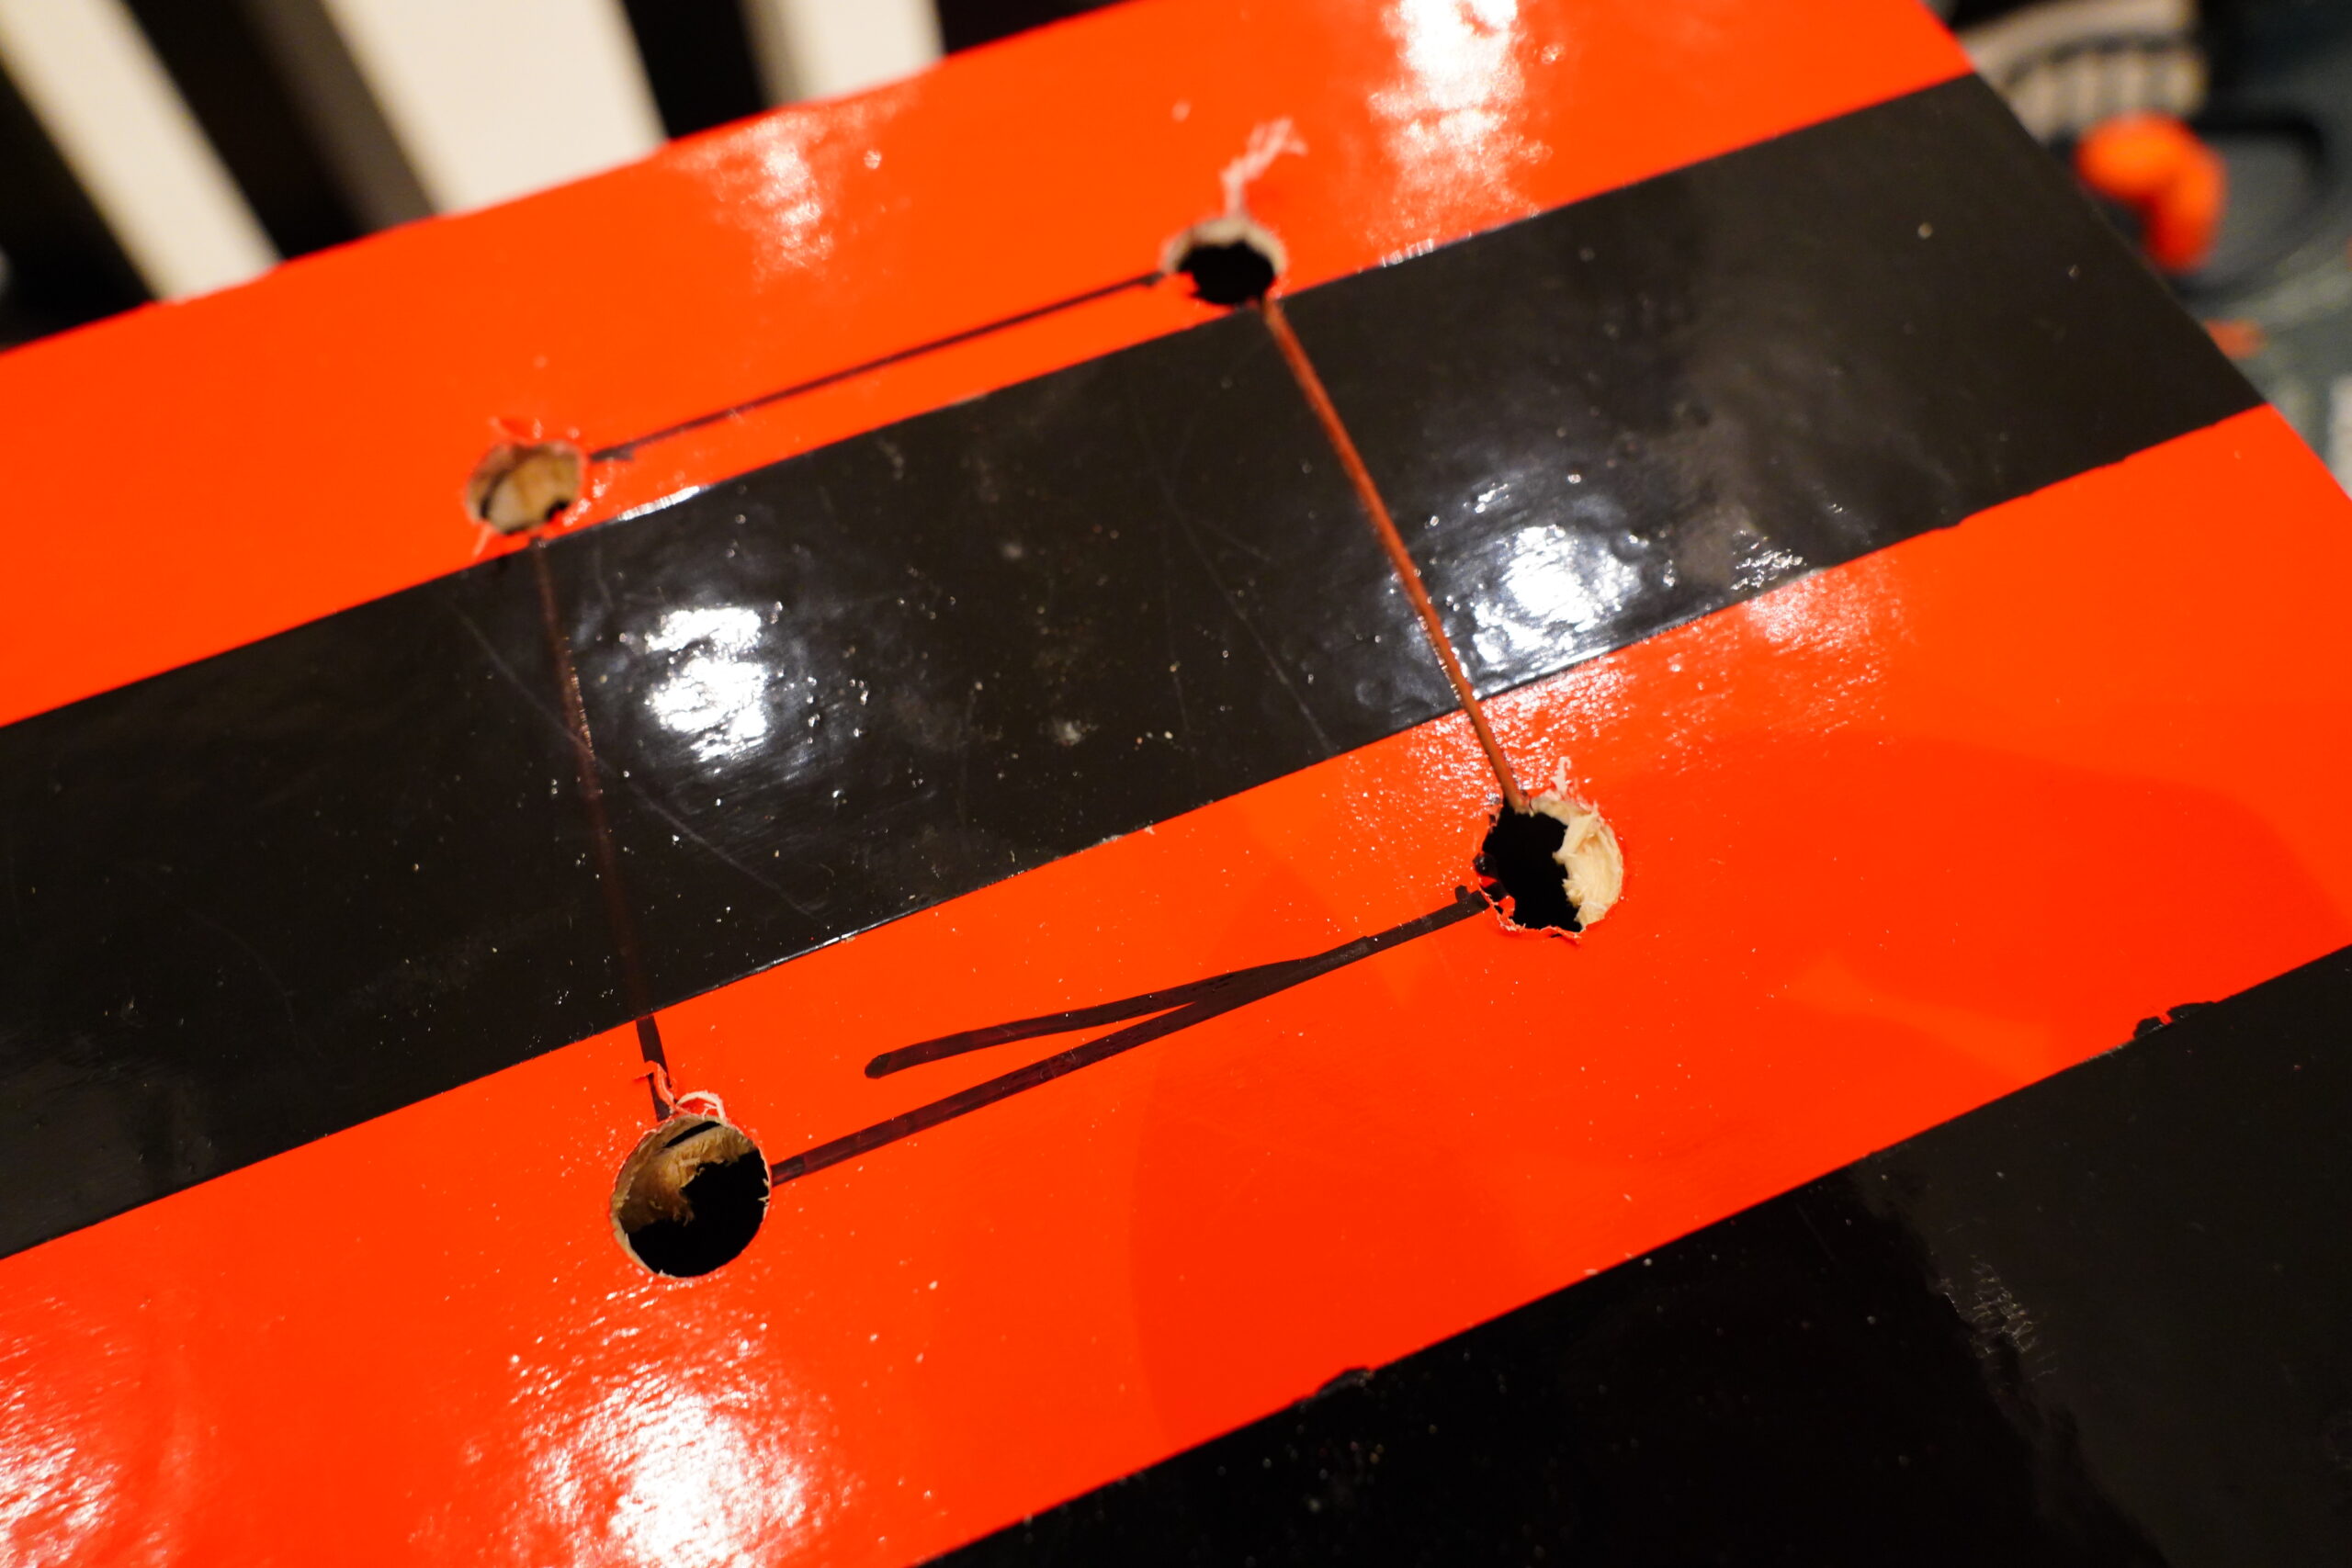
OK, measure once, cut twice…
Once, twice…
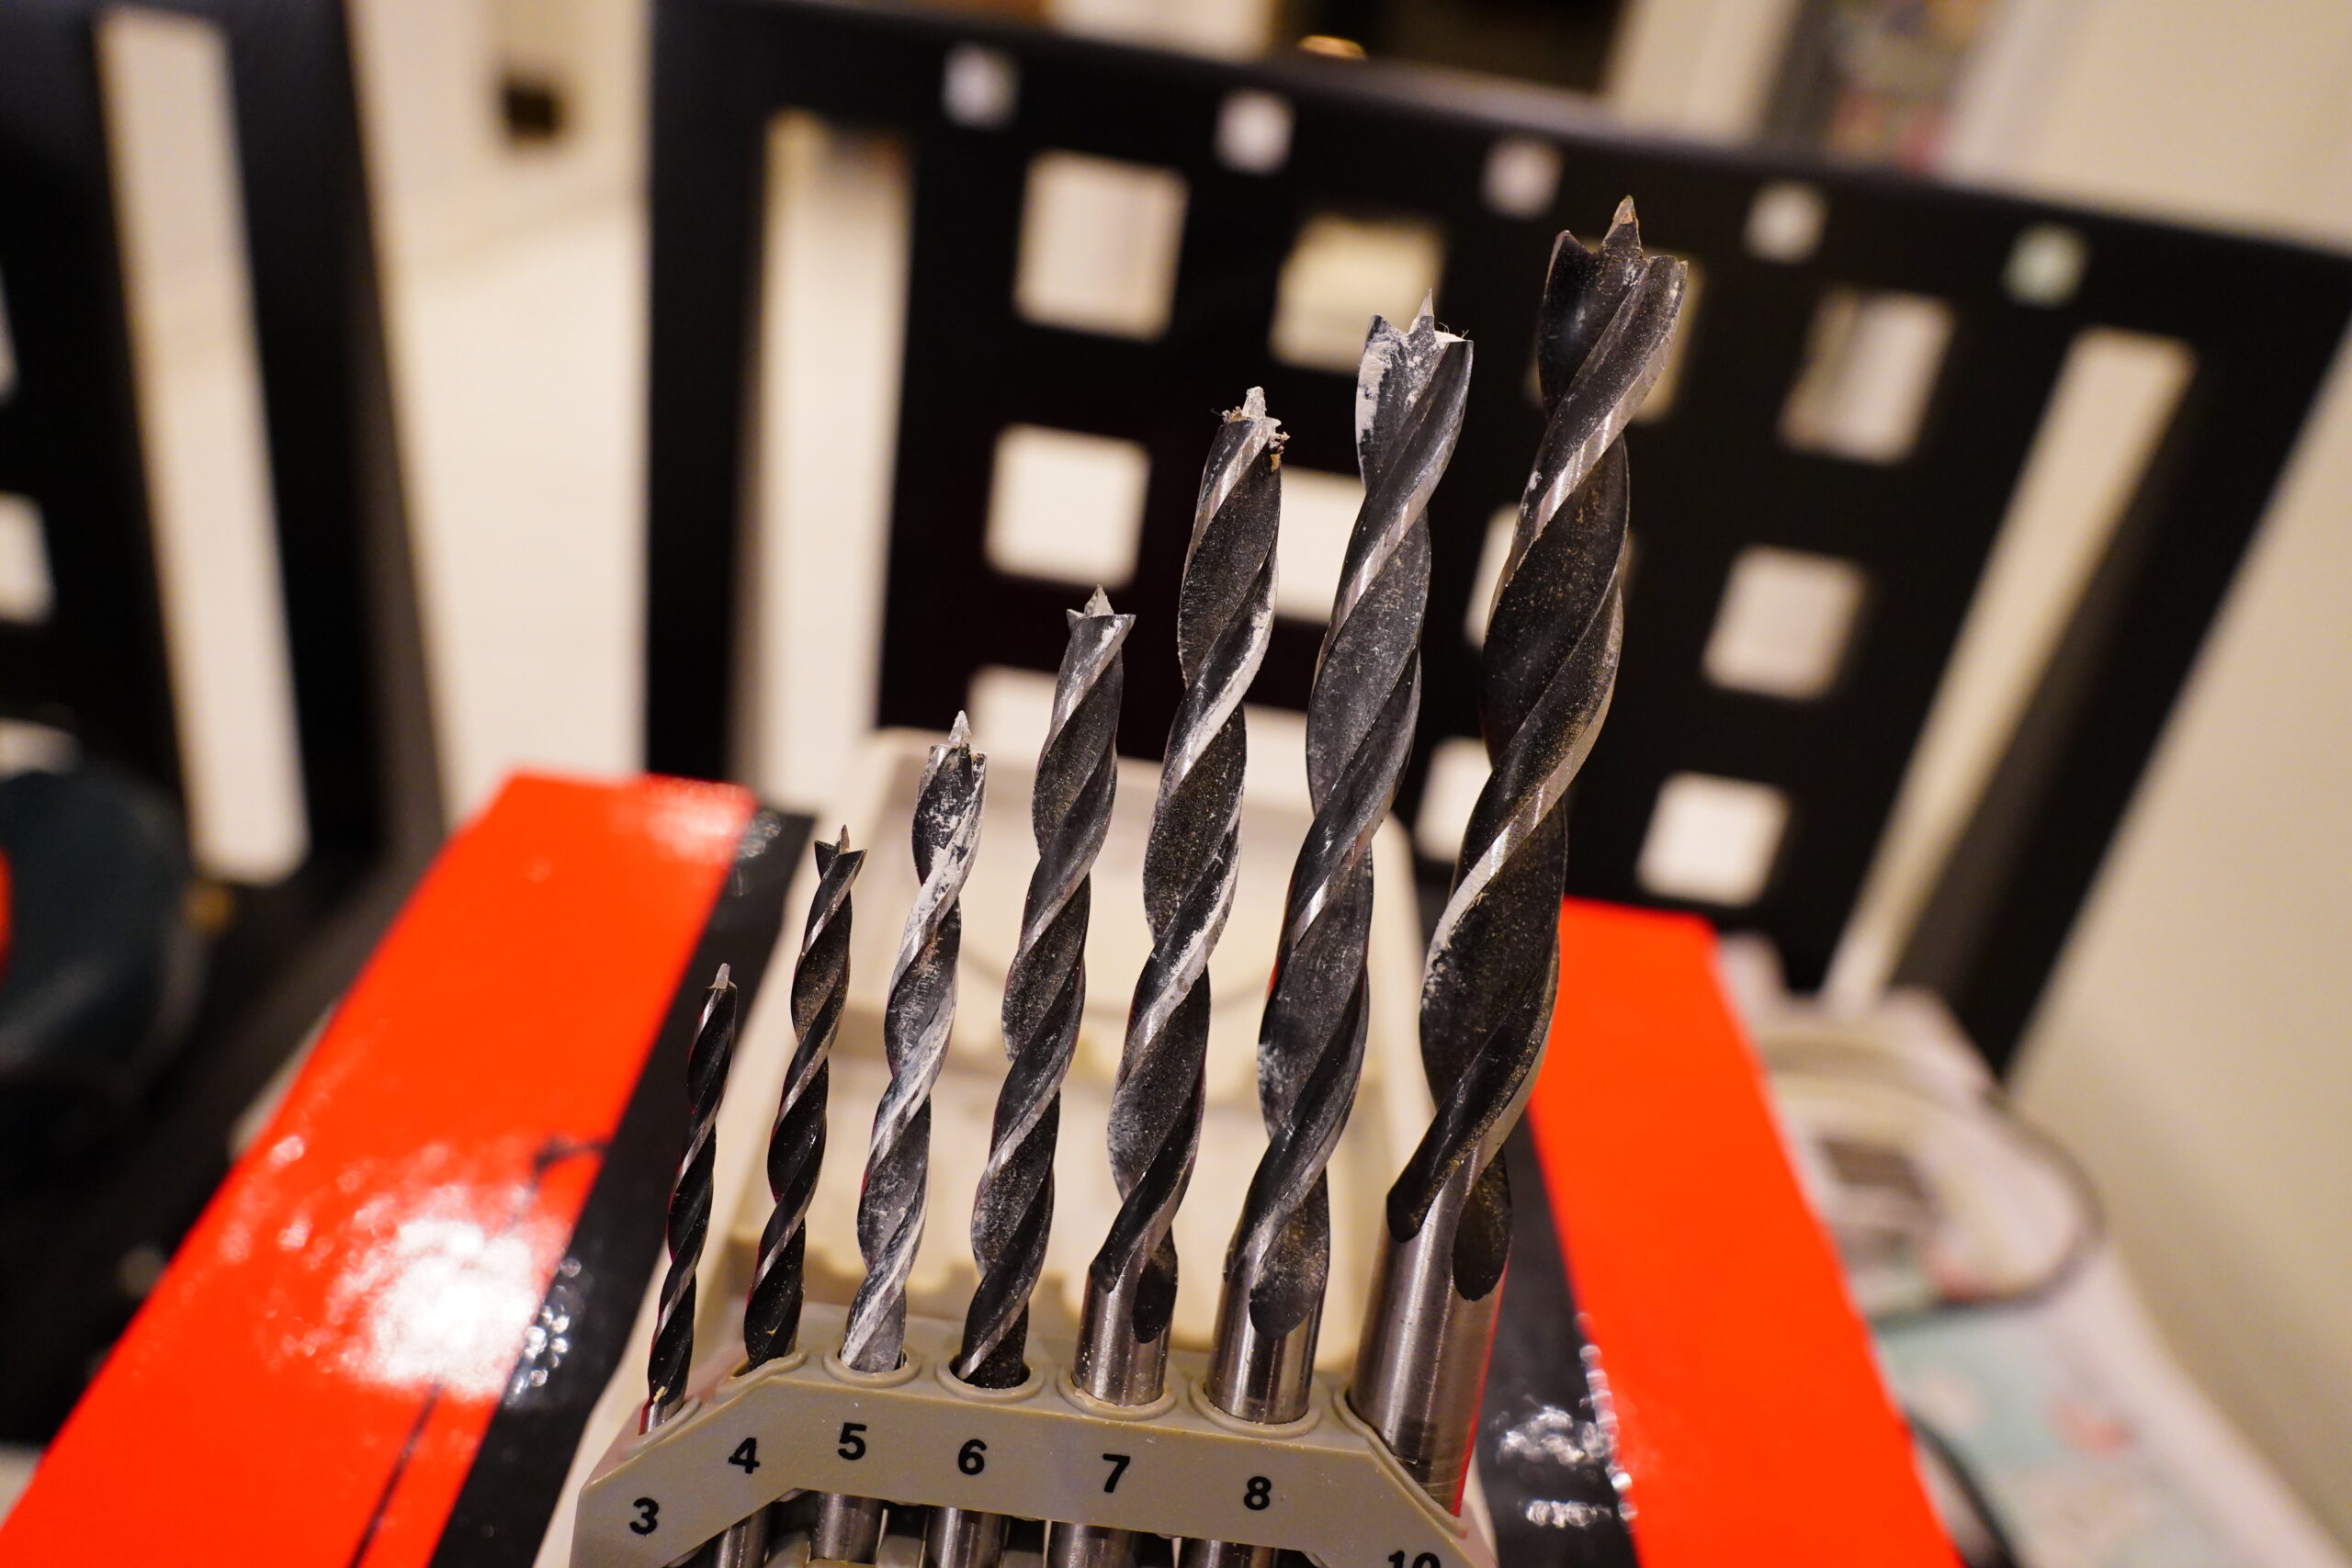
These are the wooden drills, right?
Drill baby drill. So pretty.
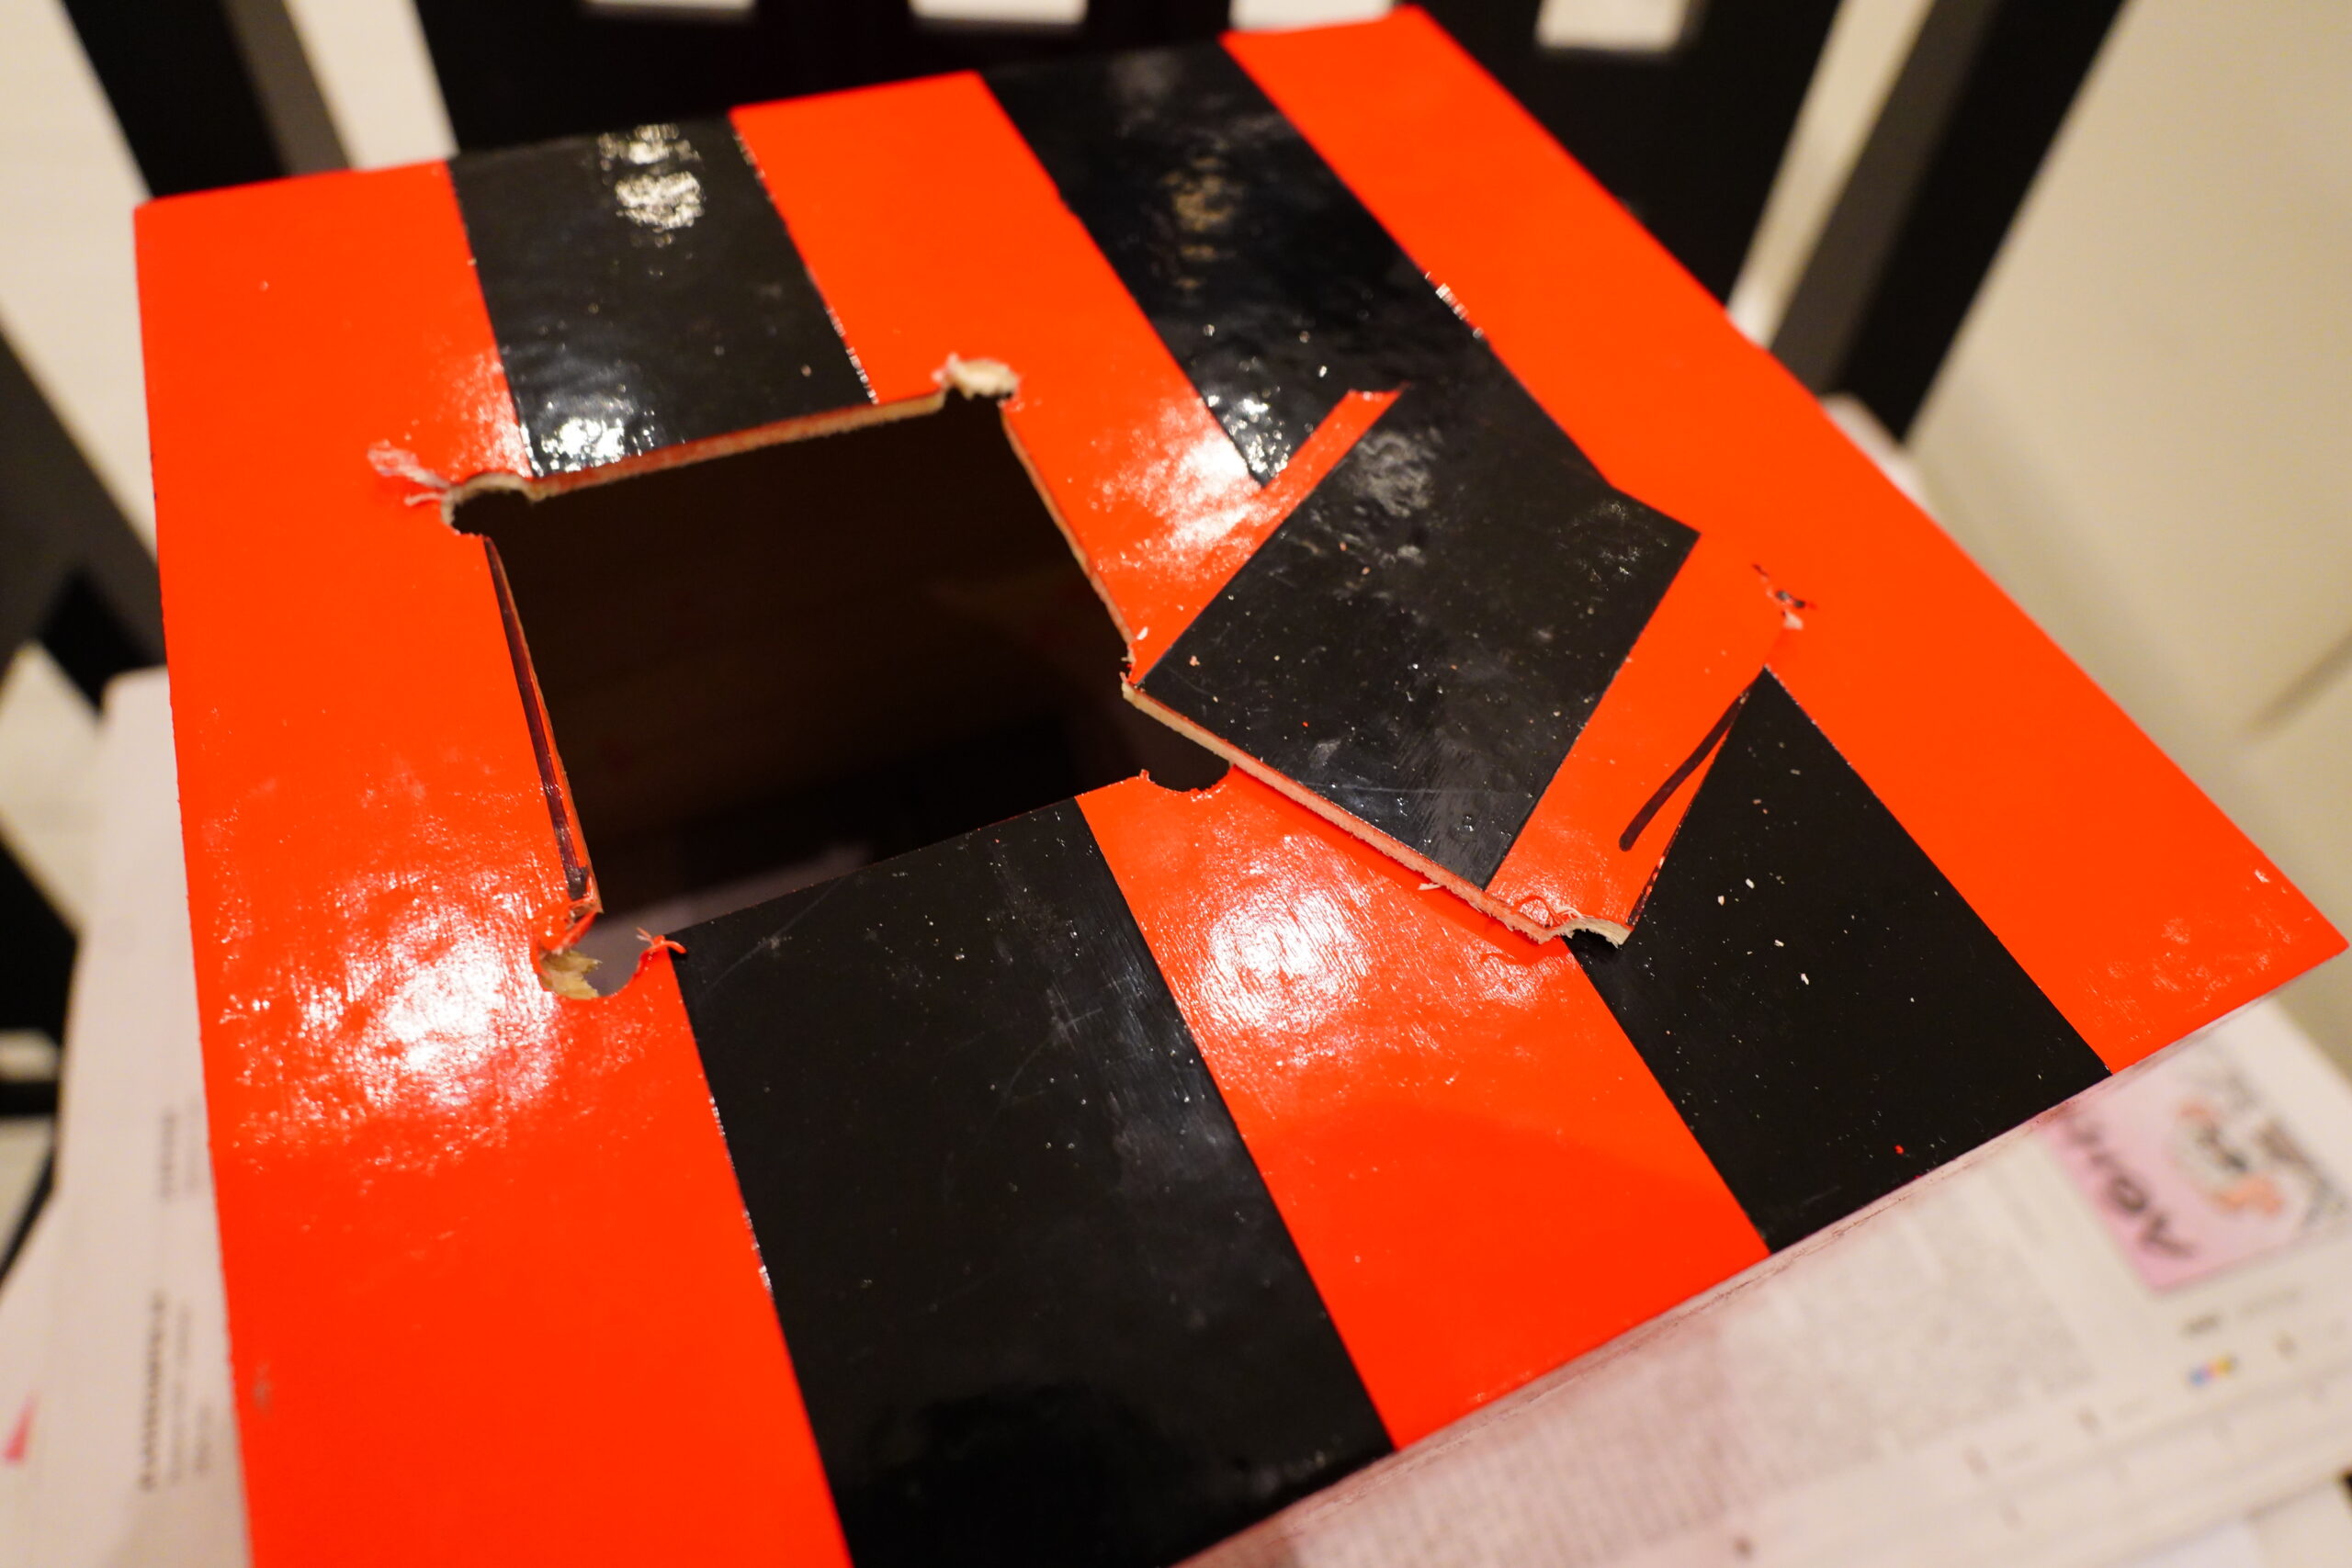
OK, I’m gonna try to use the jigsaw… gently…
Oh my god! That thing cut through the wood like butter! I thought it was going to chew it up and make splinters and whatnot, but it’s perfectly smooth and nice.
Look!
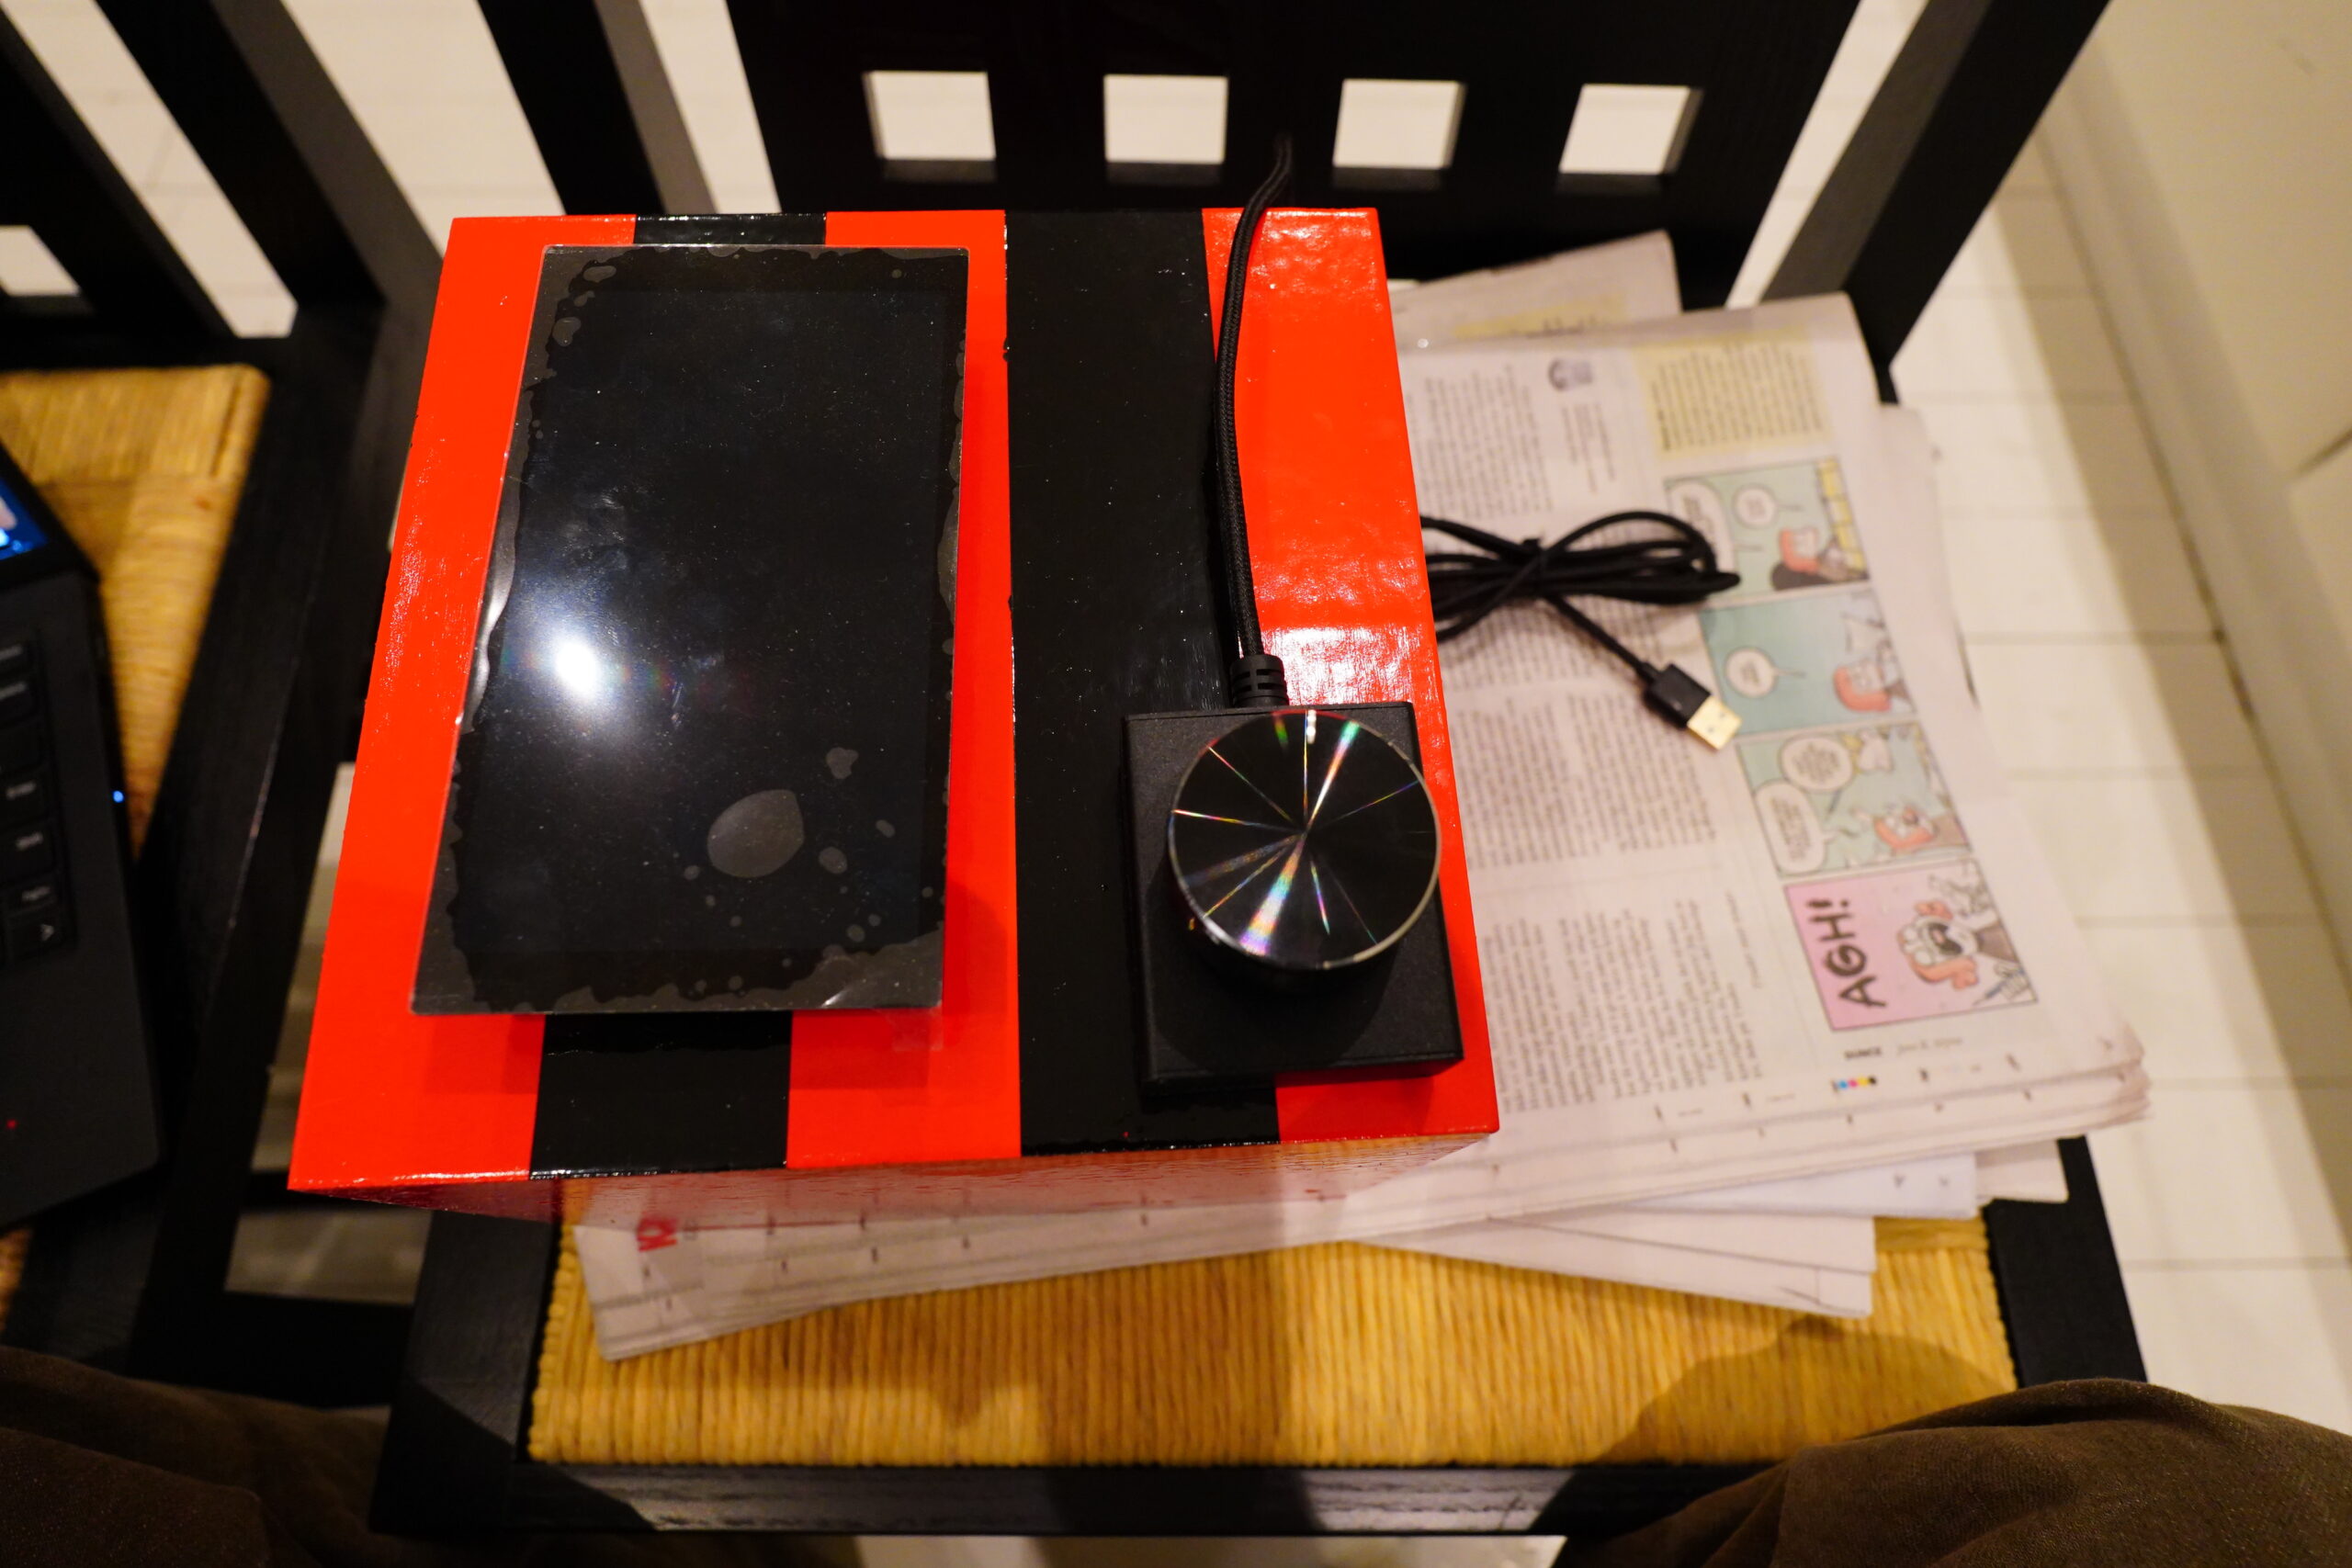
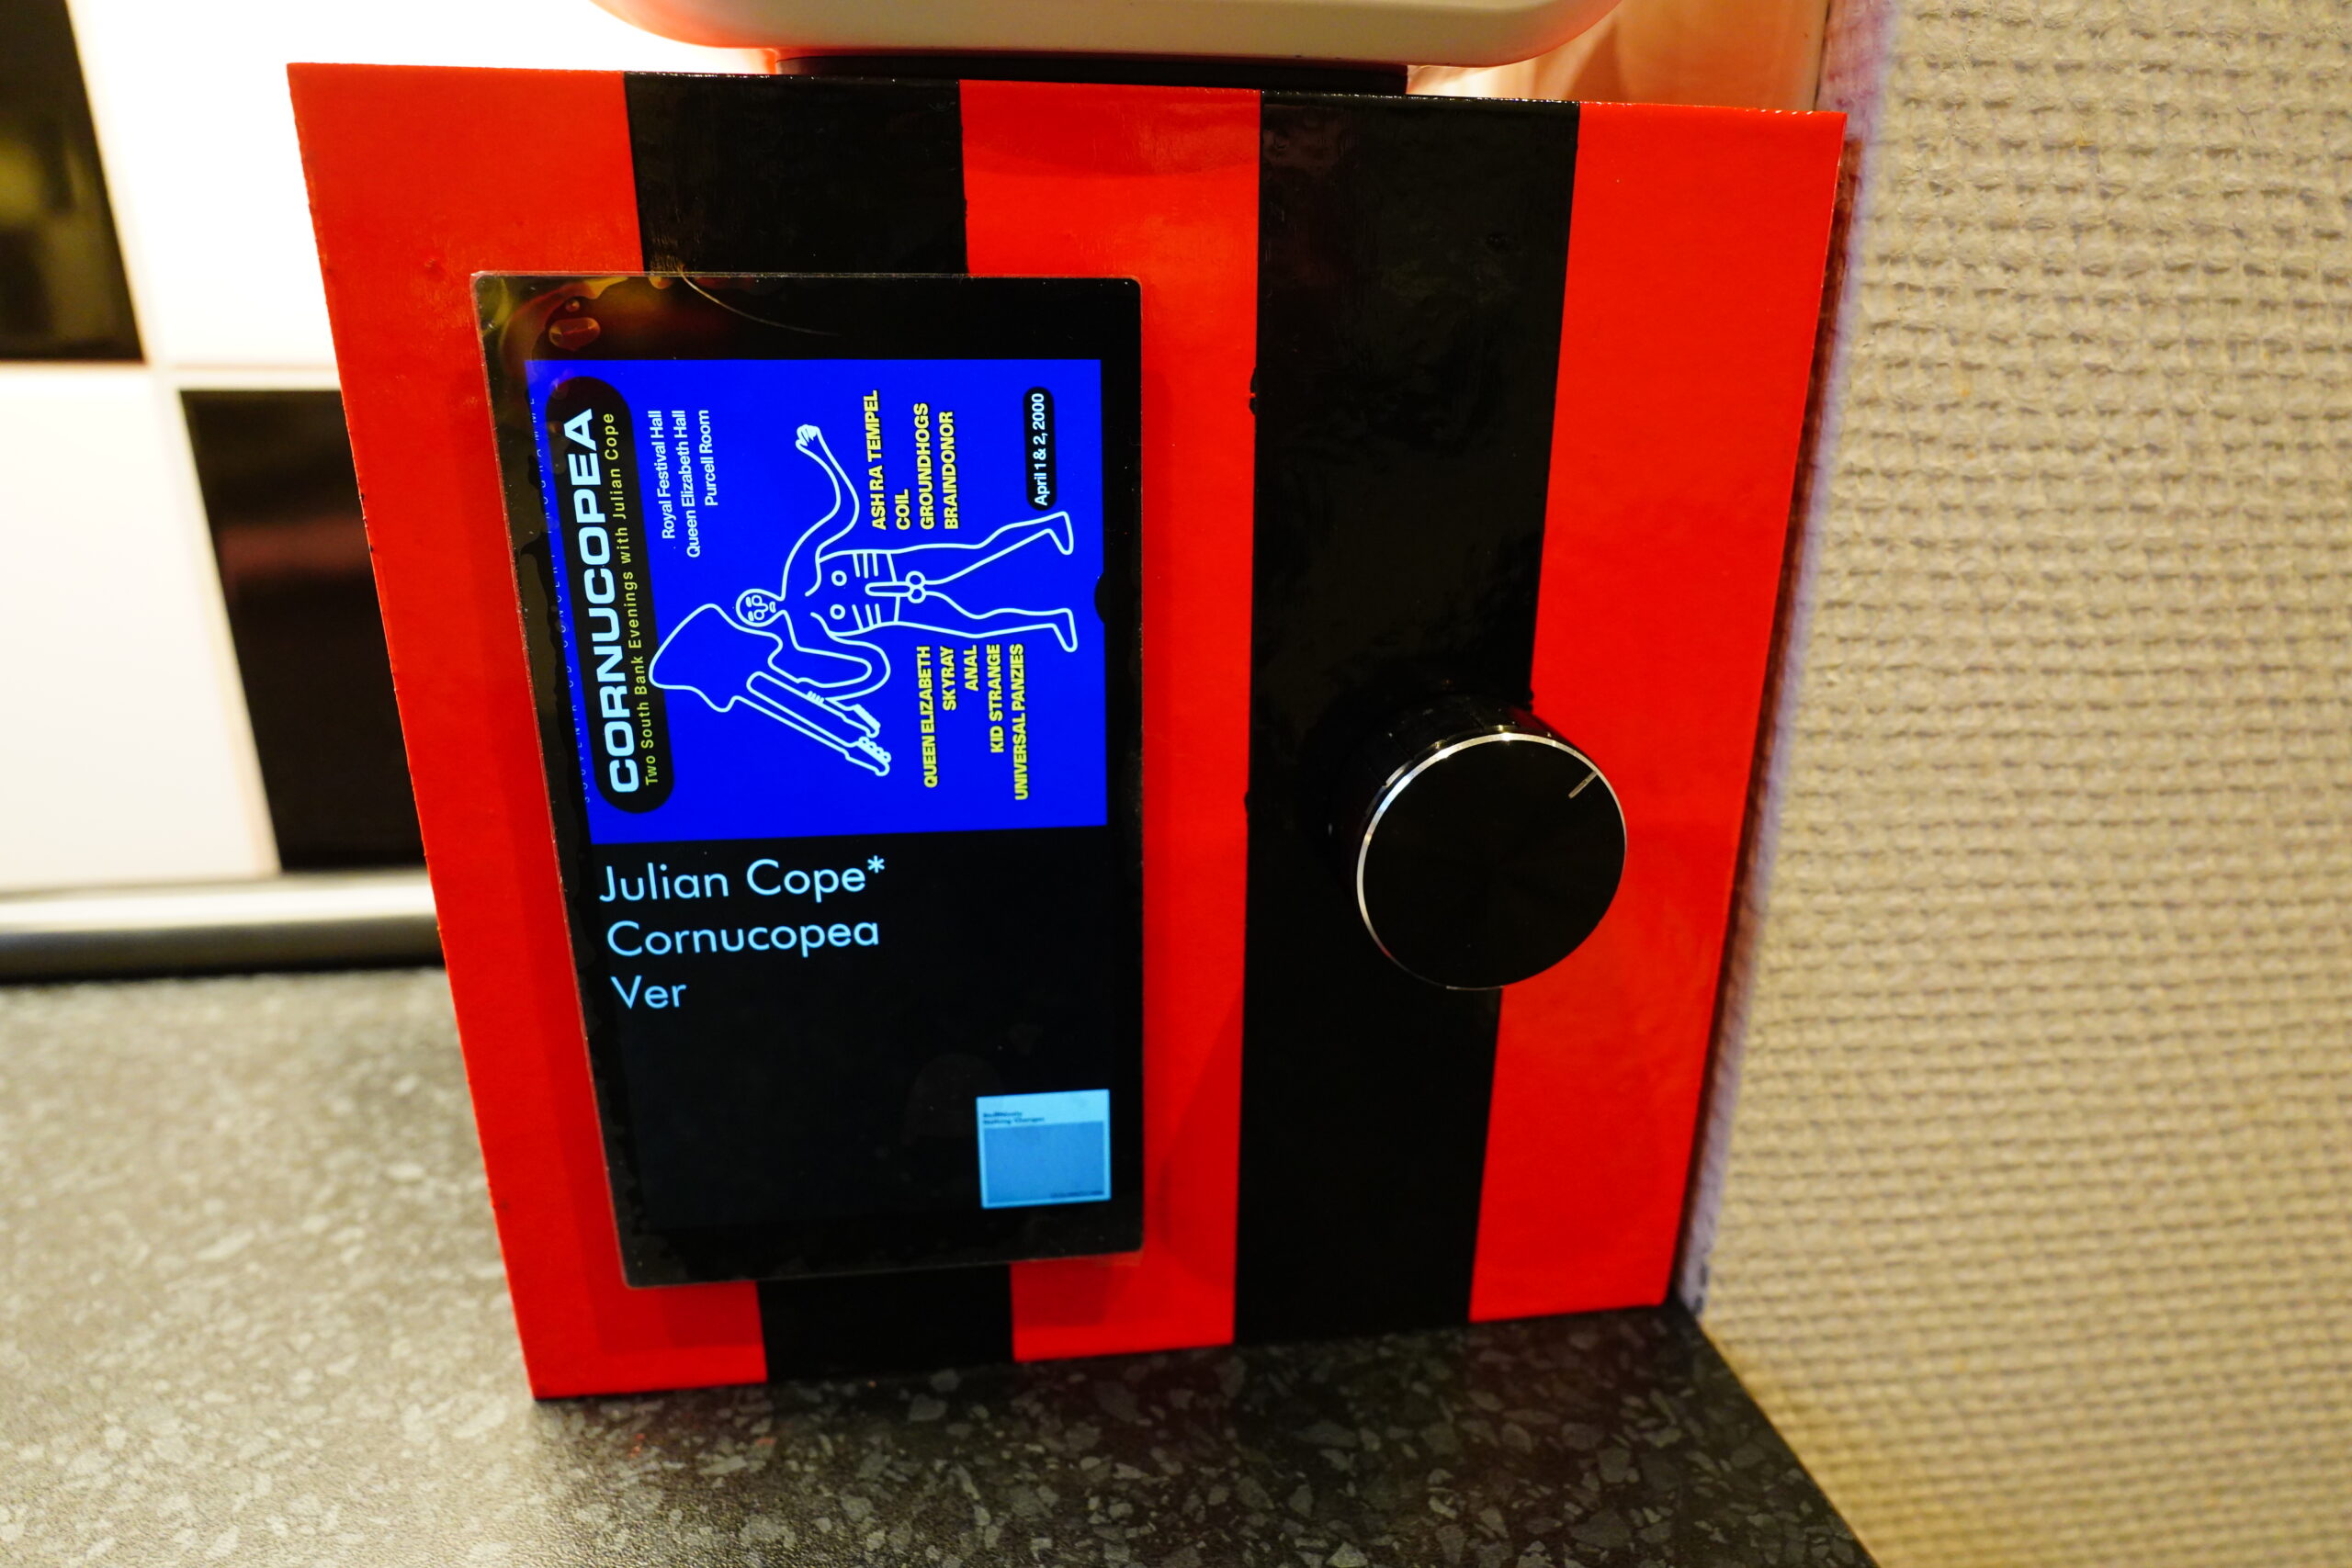
OK… Even with just the central part cut out, it looks quite OK? That is, if you’re looking at it straight ahead, you can’t see a difference, and even if you’re examining it, it’s fine.
OK, drilled a hole for the knob, too. And I had to re-jigsaw some bits to make the screen straight. Pretend you didn’t see that.
But but but… How the earth am I going to fasten these things? I thought that would, like, be obvious, but now that I’m staring at it, it’s not.
I thought I might use this thing to wrap around the button somehow, but the wood is so thin that I can’t really screw anything into it.
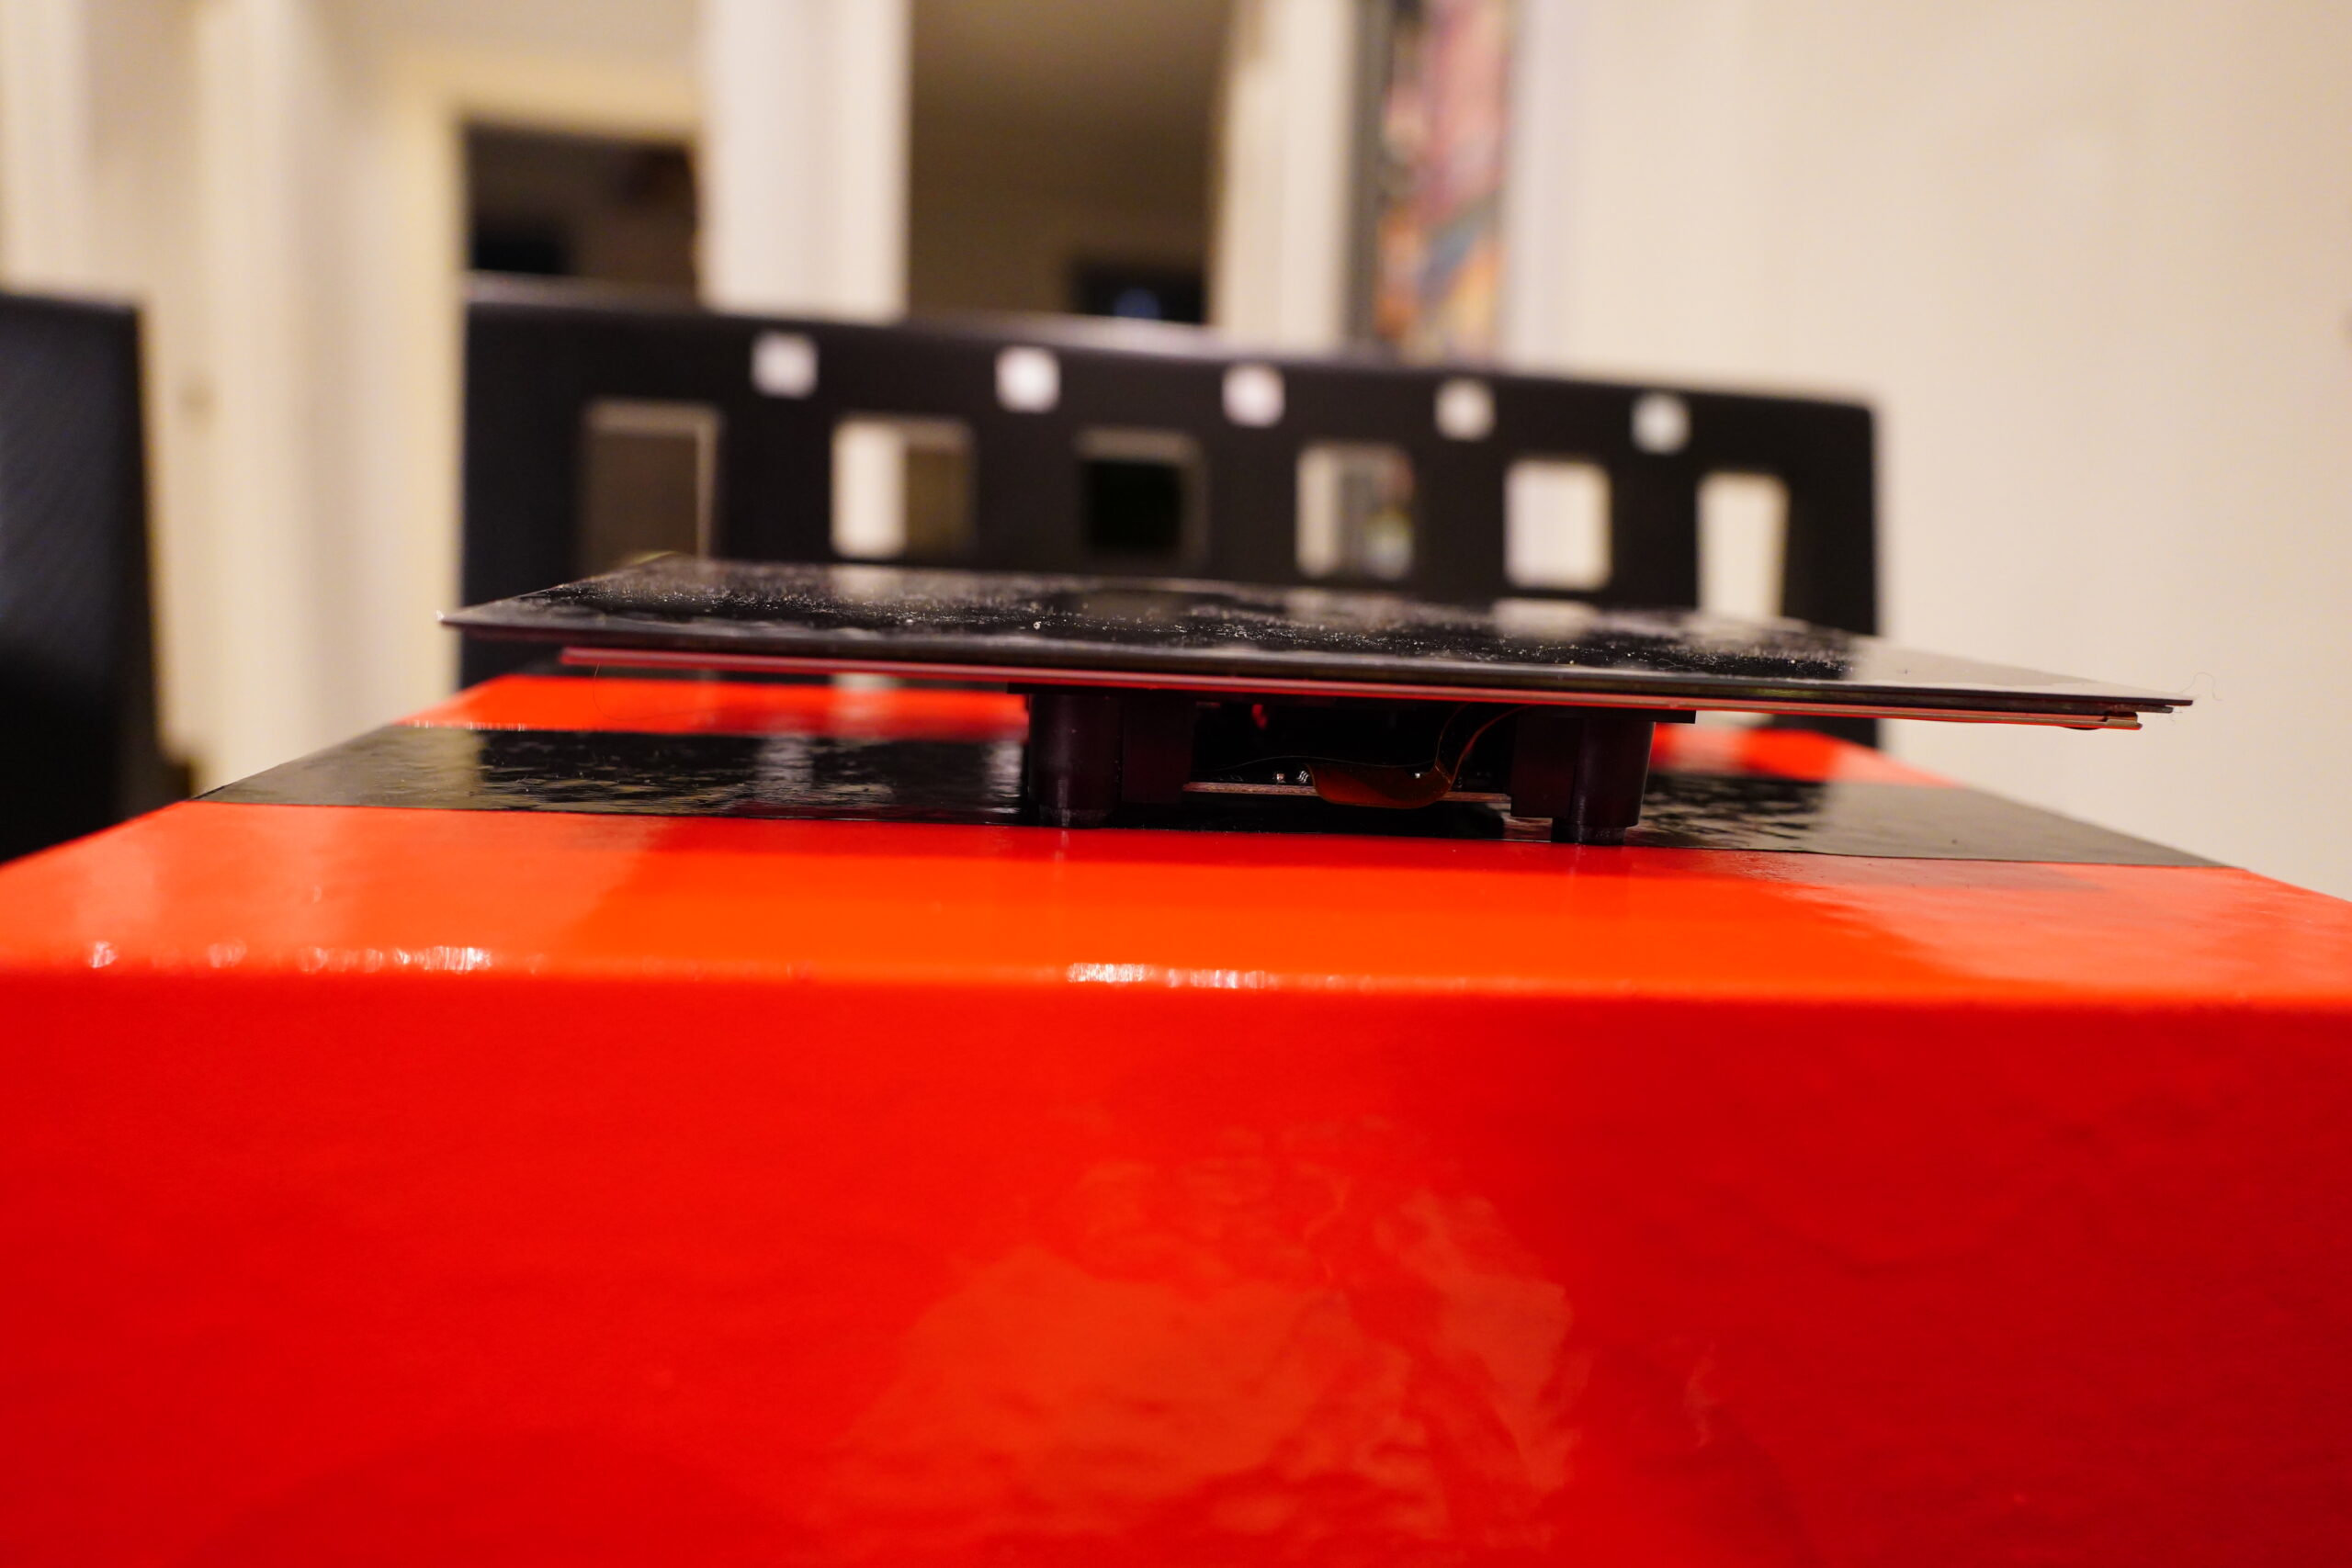
OK, I can use double sided Gorilla tape for the screen — that’s not going to face any pressure, but the button? Hm…
OK, I just Gorillaed it all, because I’m fed up with it.
Let’s see whether it works for the button, but I’m doubtful.
OK, assembling it all…
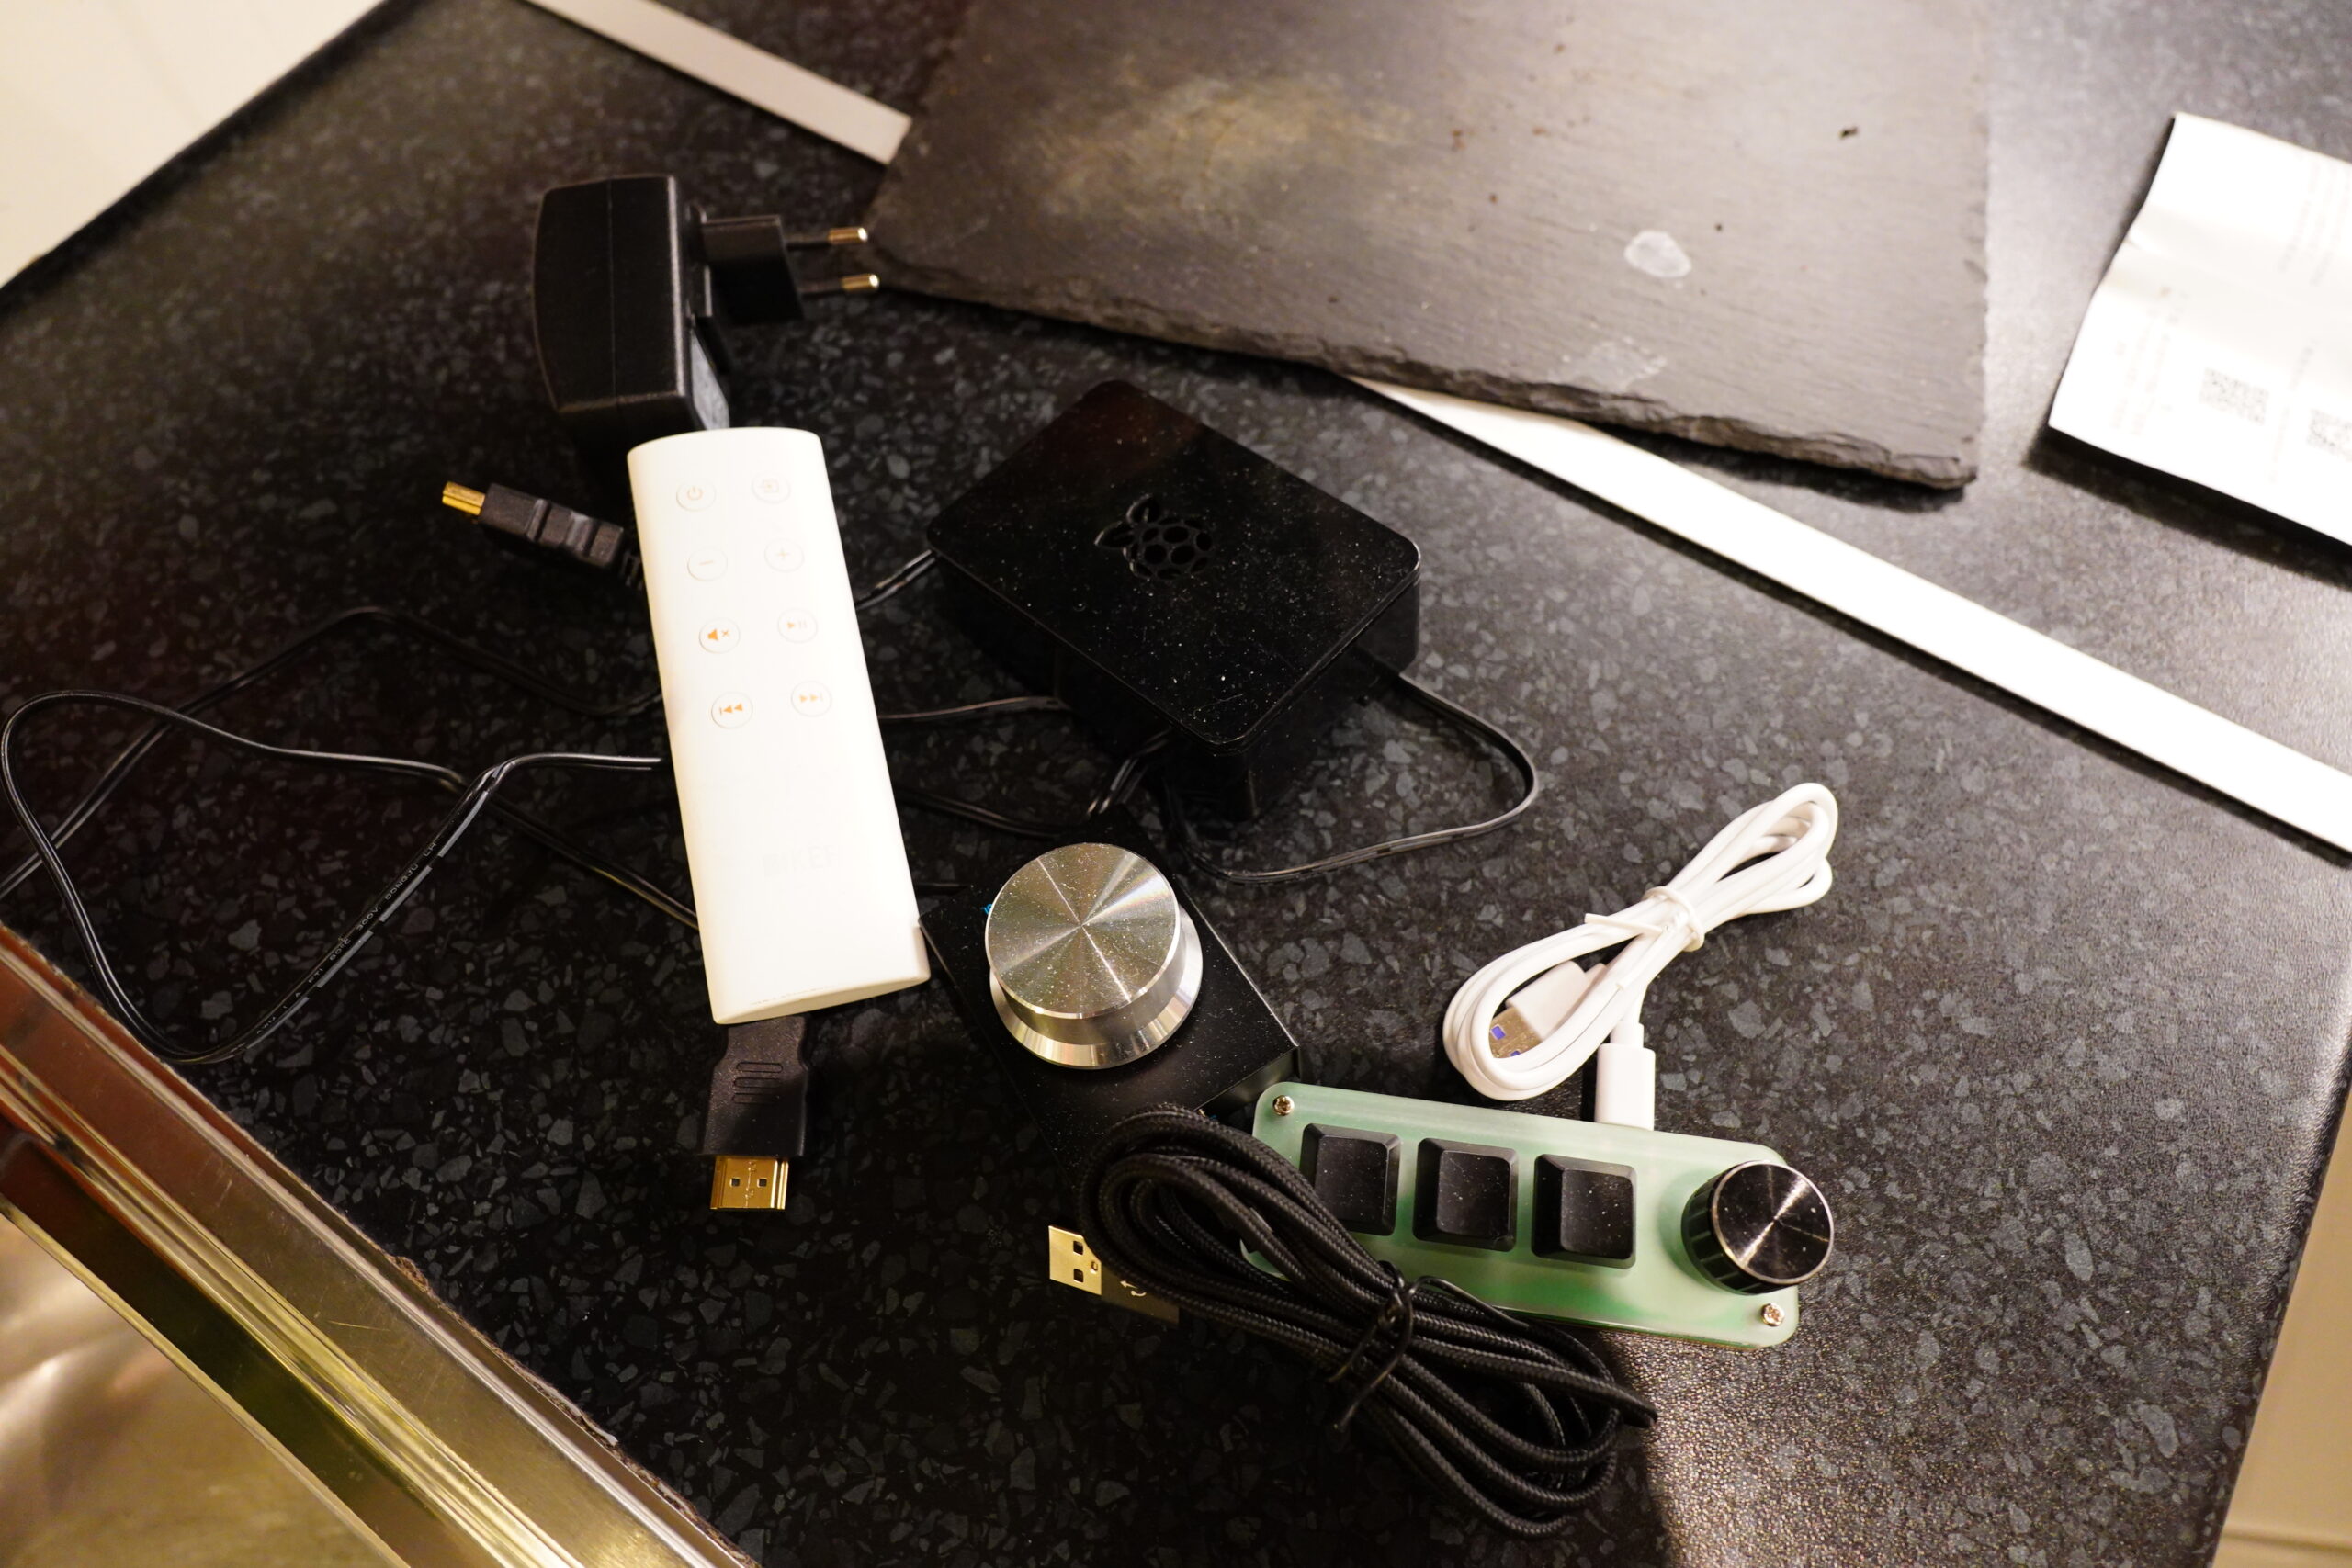
Some leftover bits…
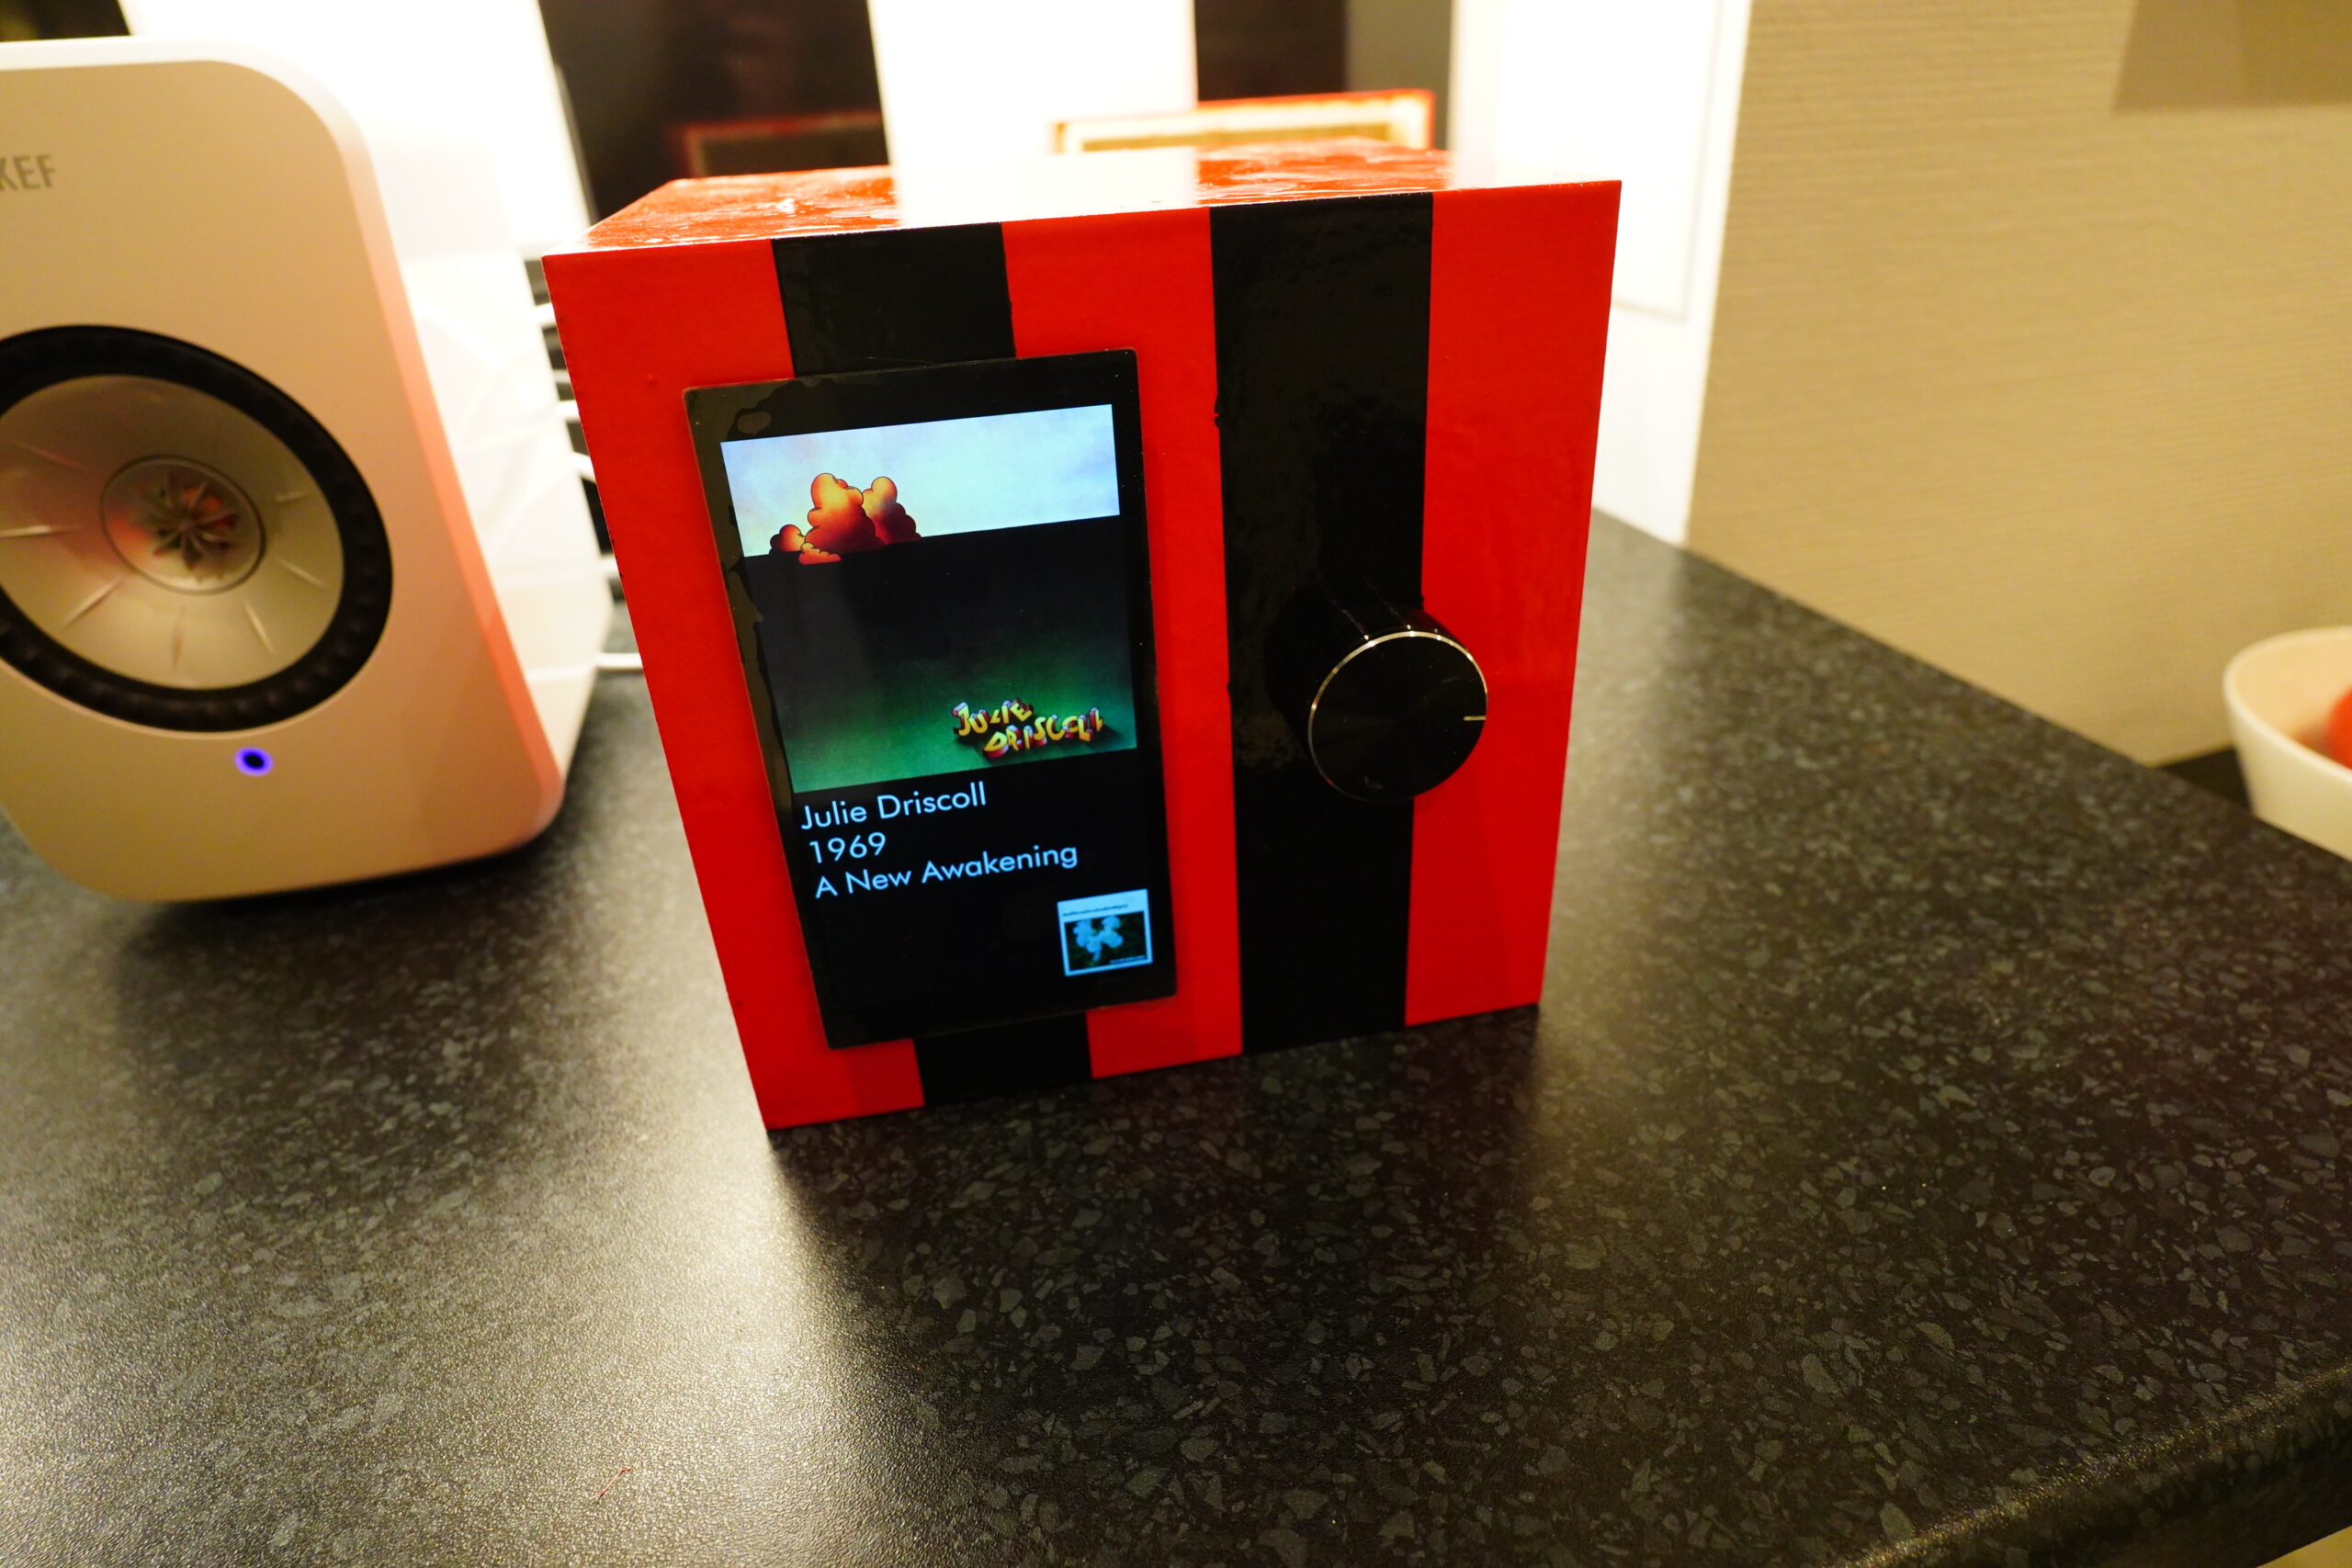
It works!!!
Hm, I could even use it without the knob… just with an industrial pin poking through… Nah.
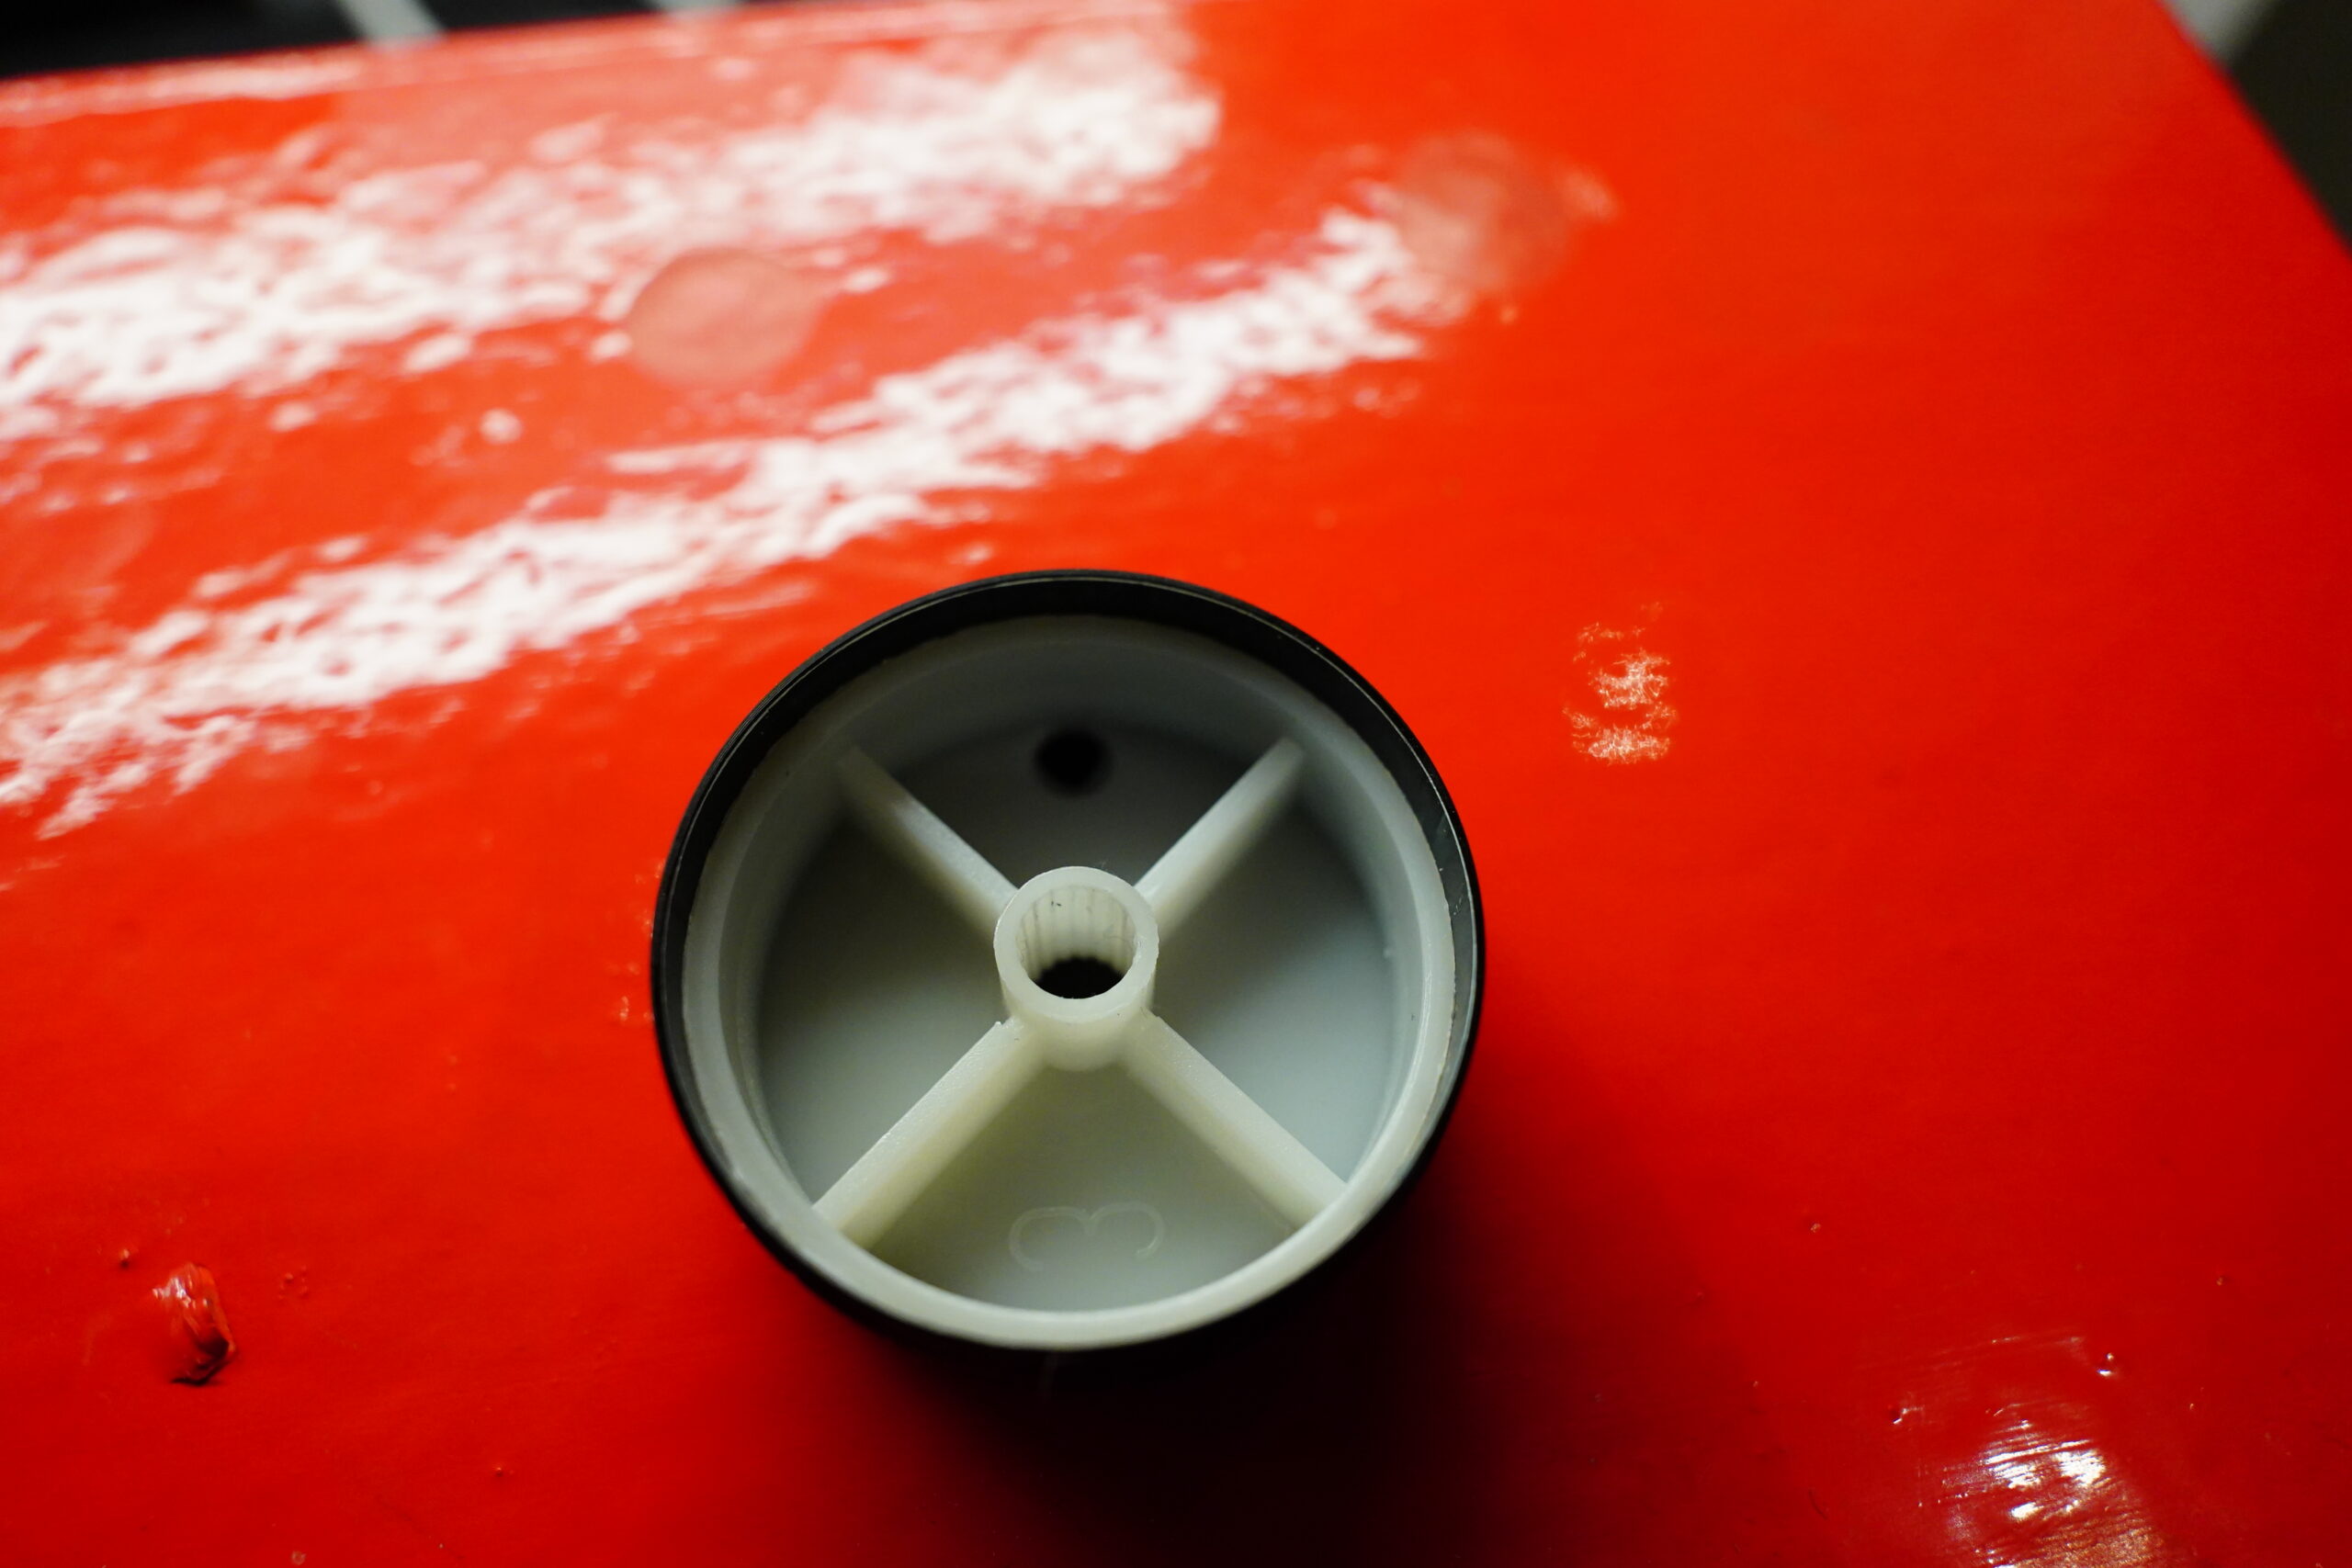
The knob needs to be filled with something half way up so that it doesn’t slide too far in when I jab it, though.
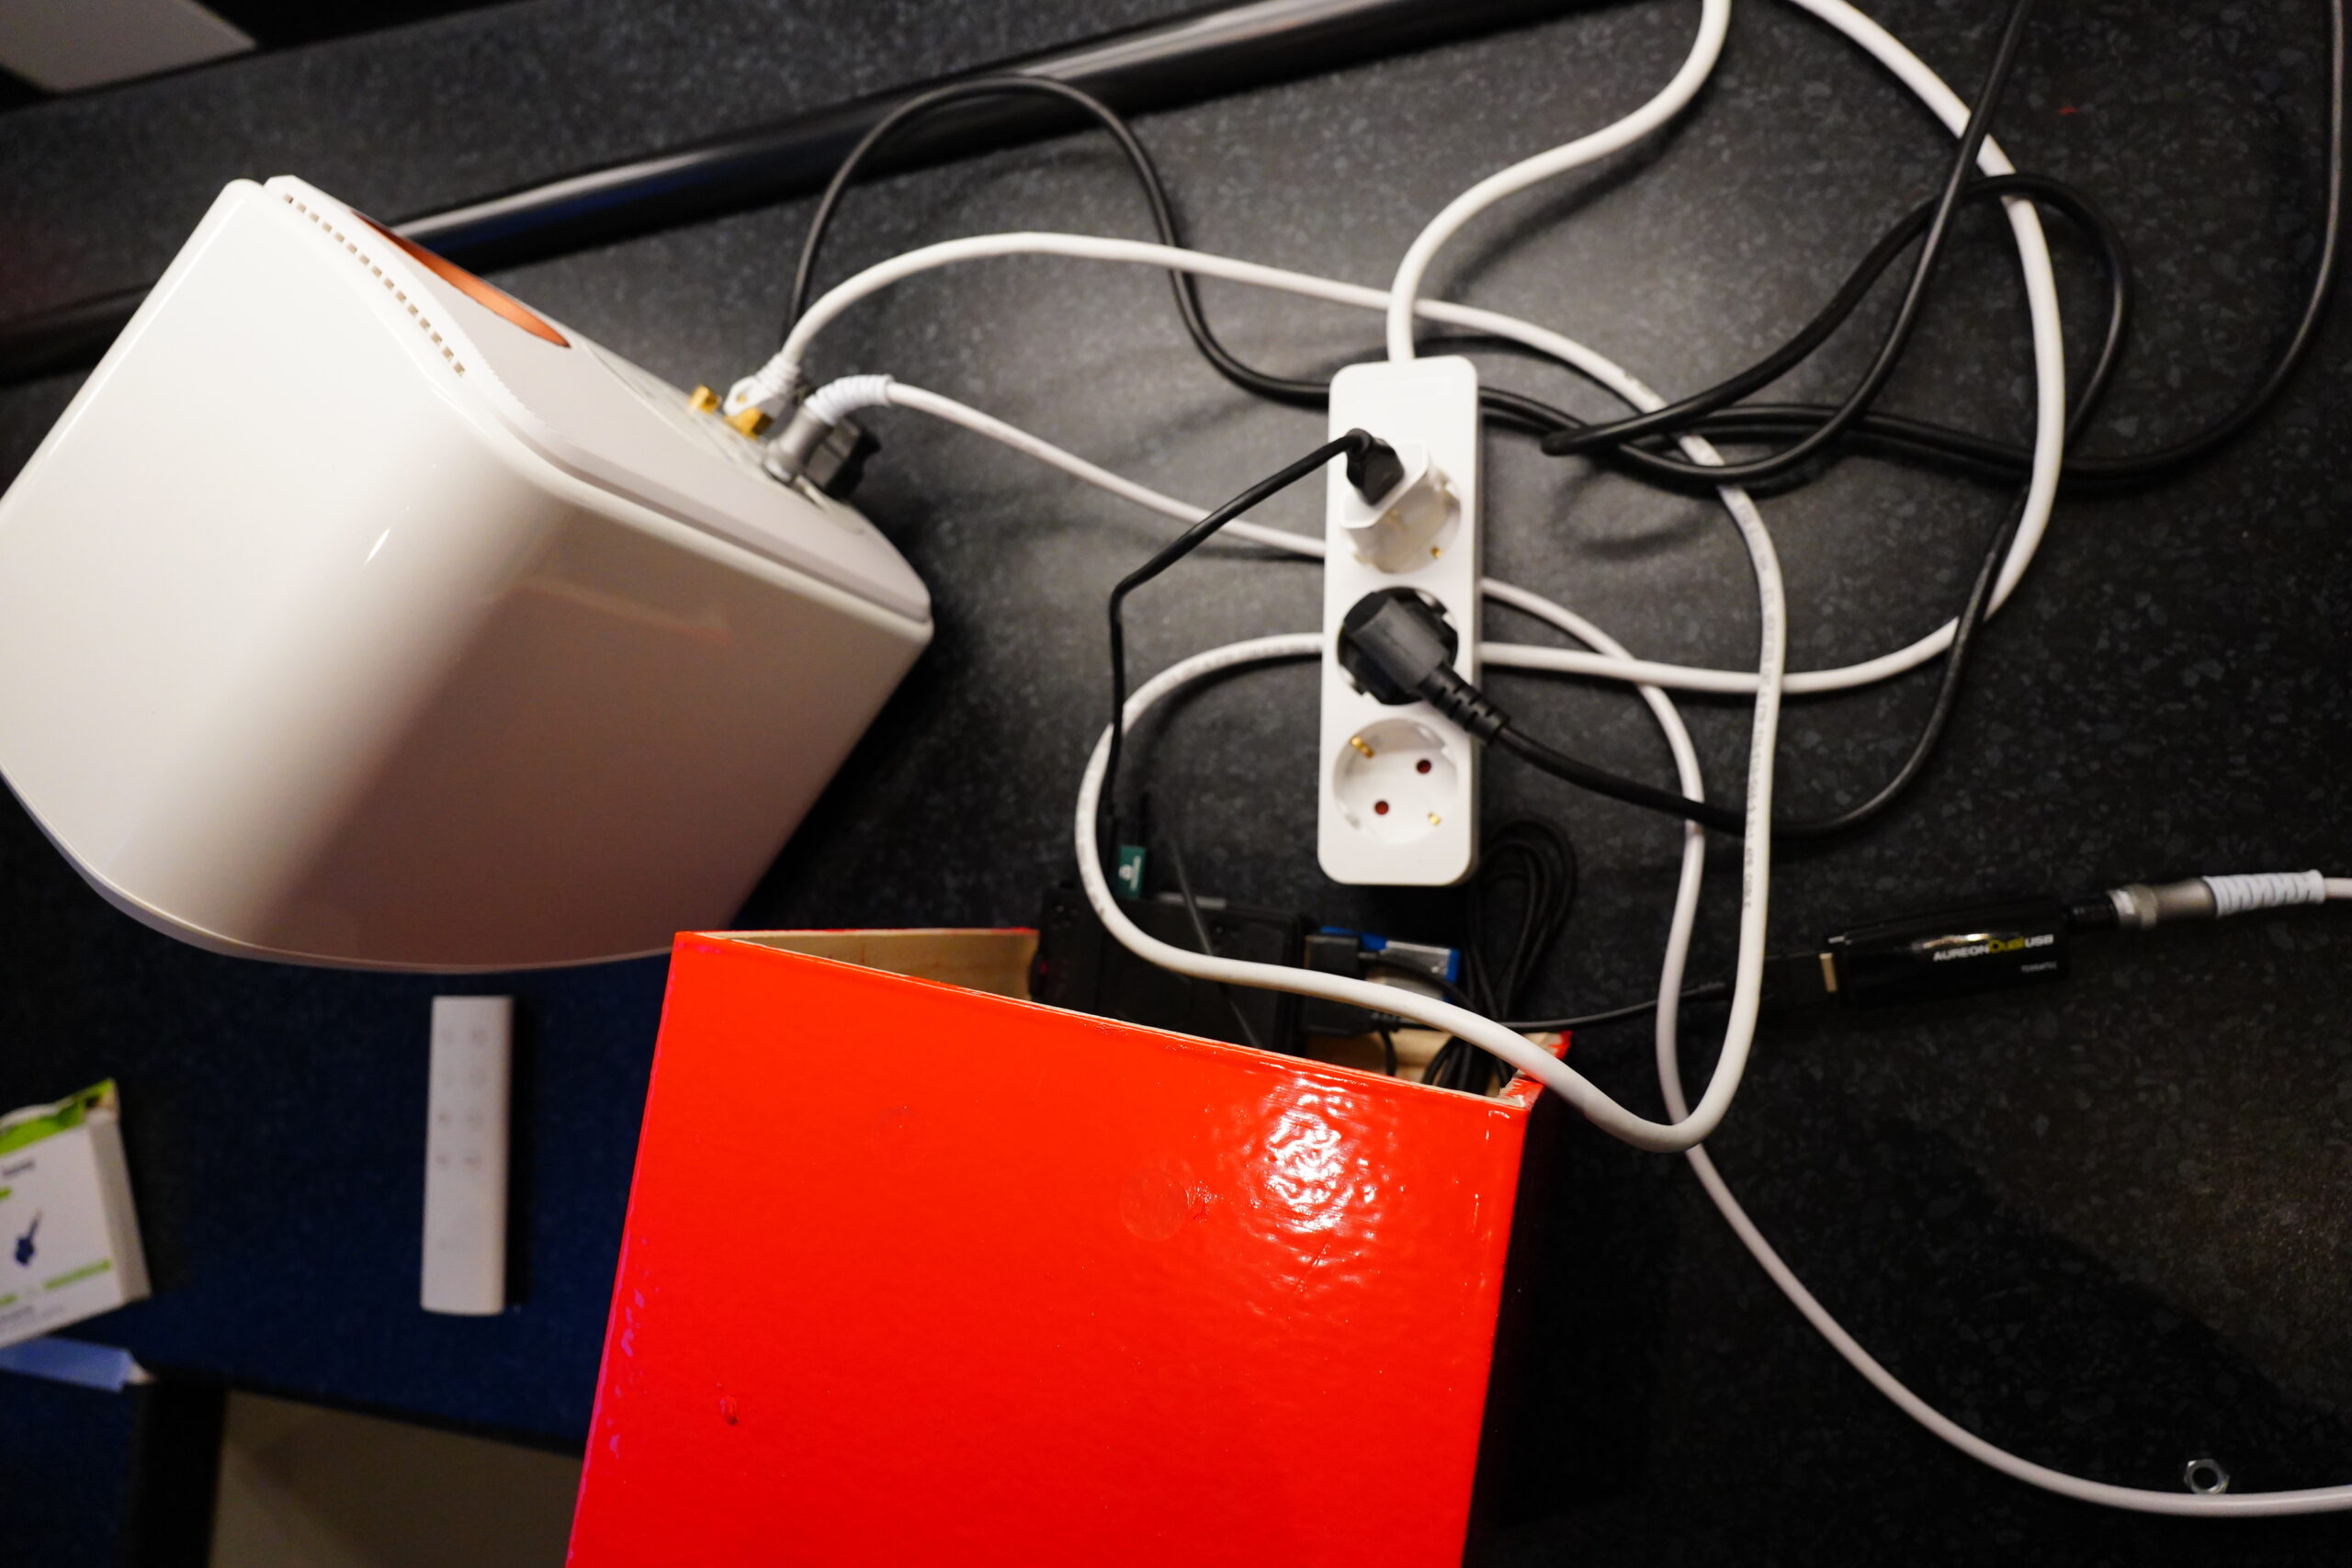
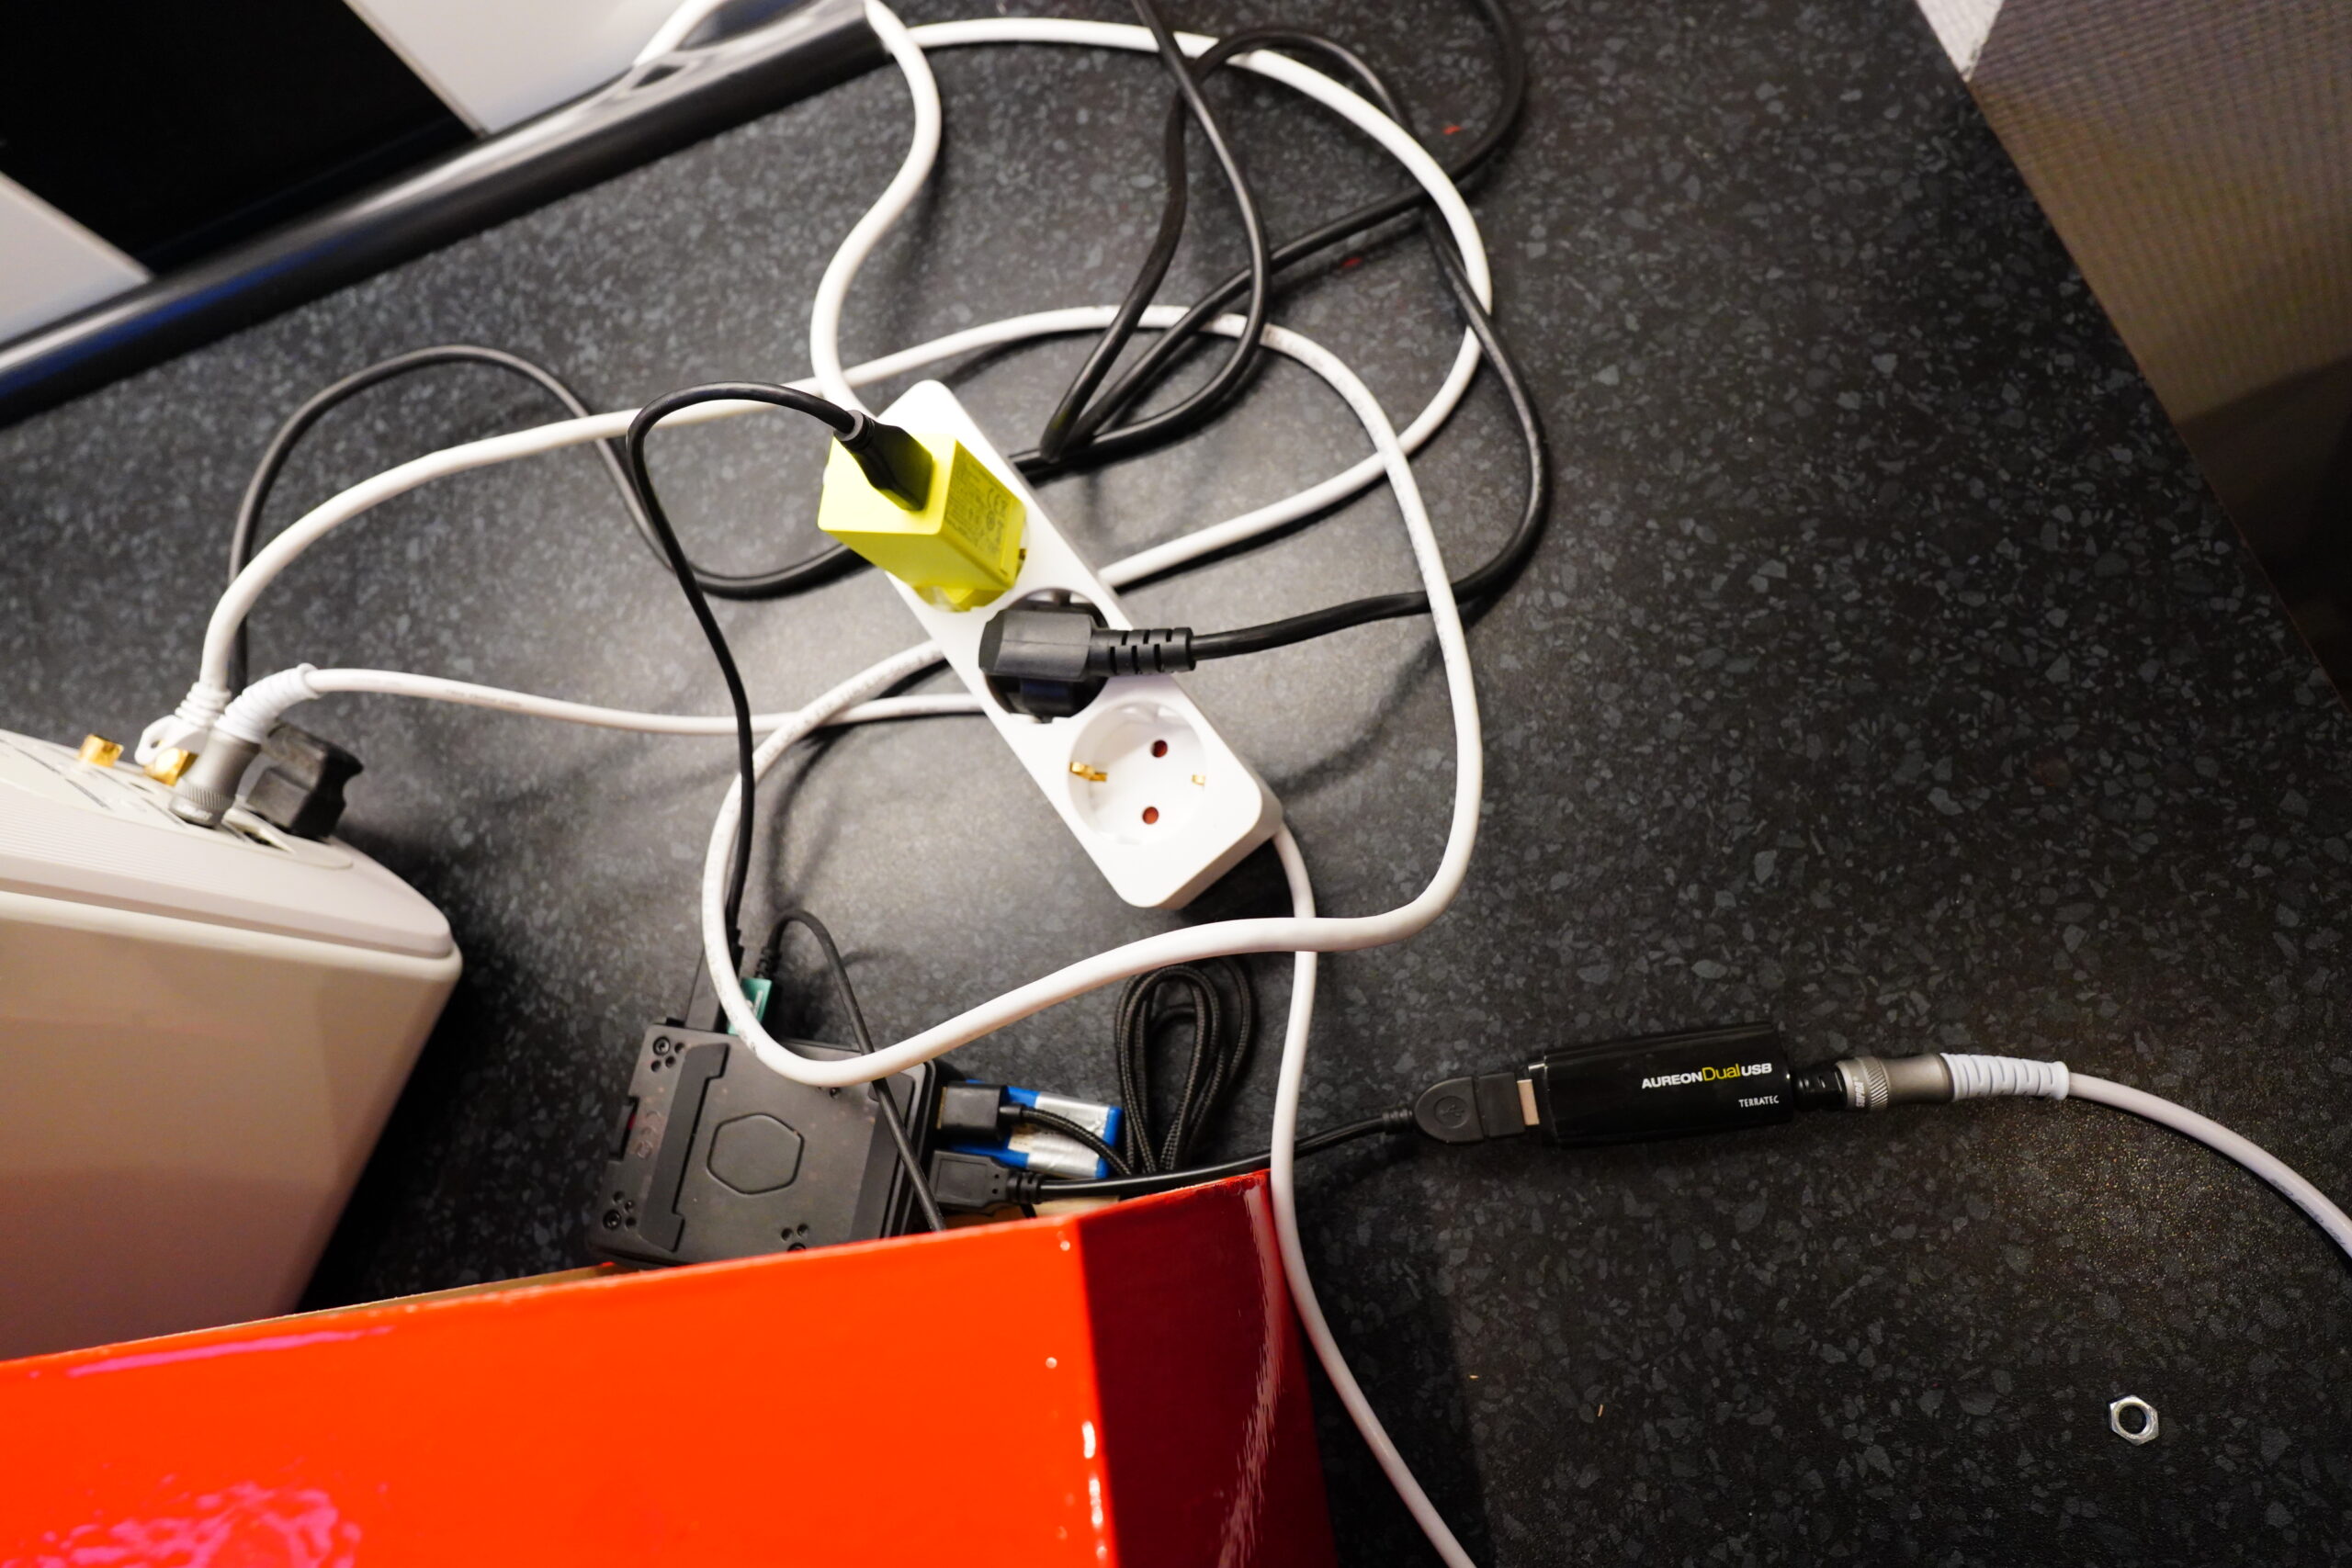
OK, I need a shorter extension cord, because that’s gonna be tough to fit into the box. But whatevs, *jam* *jam*.
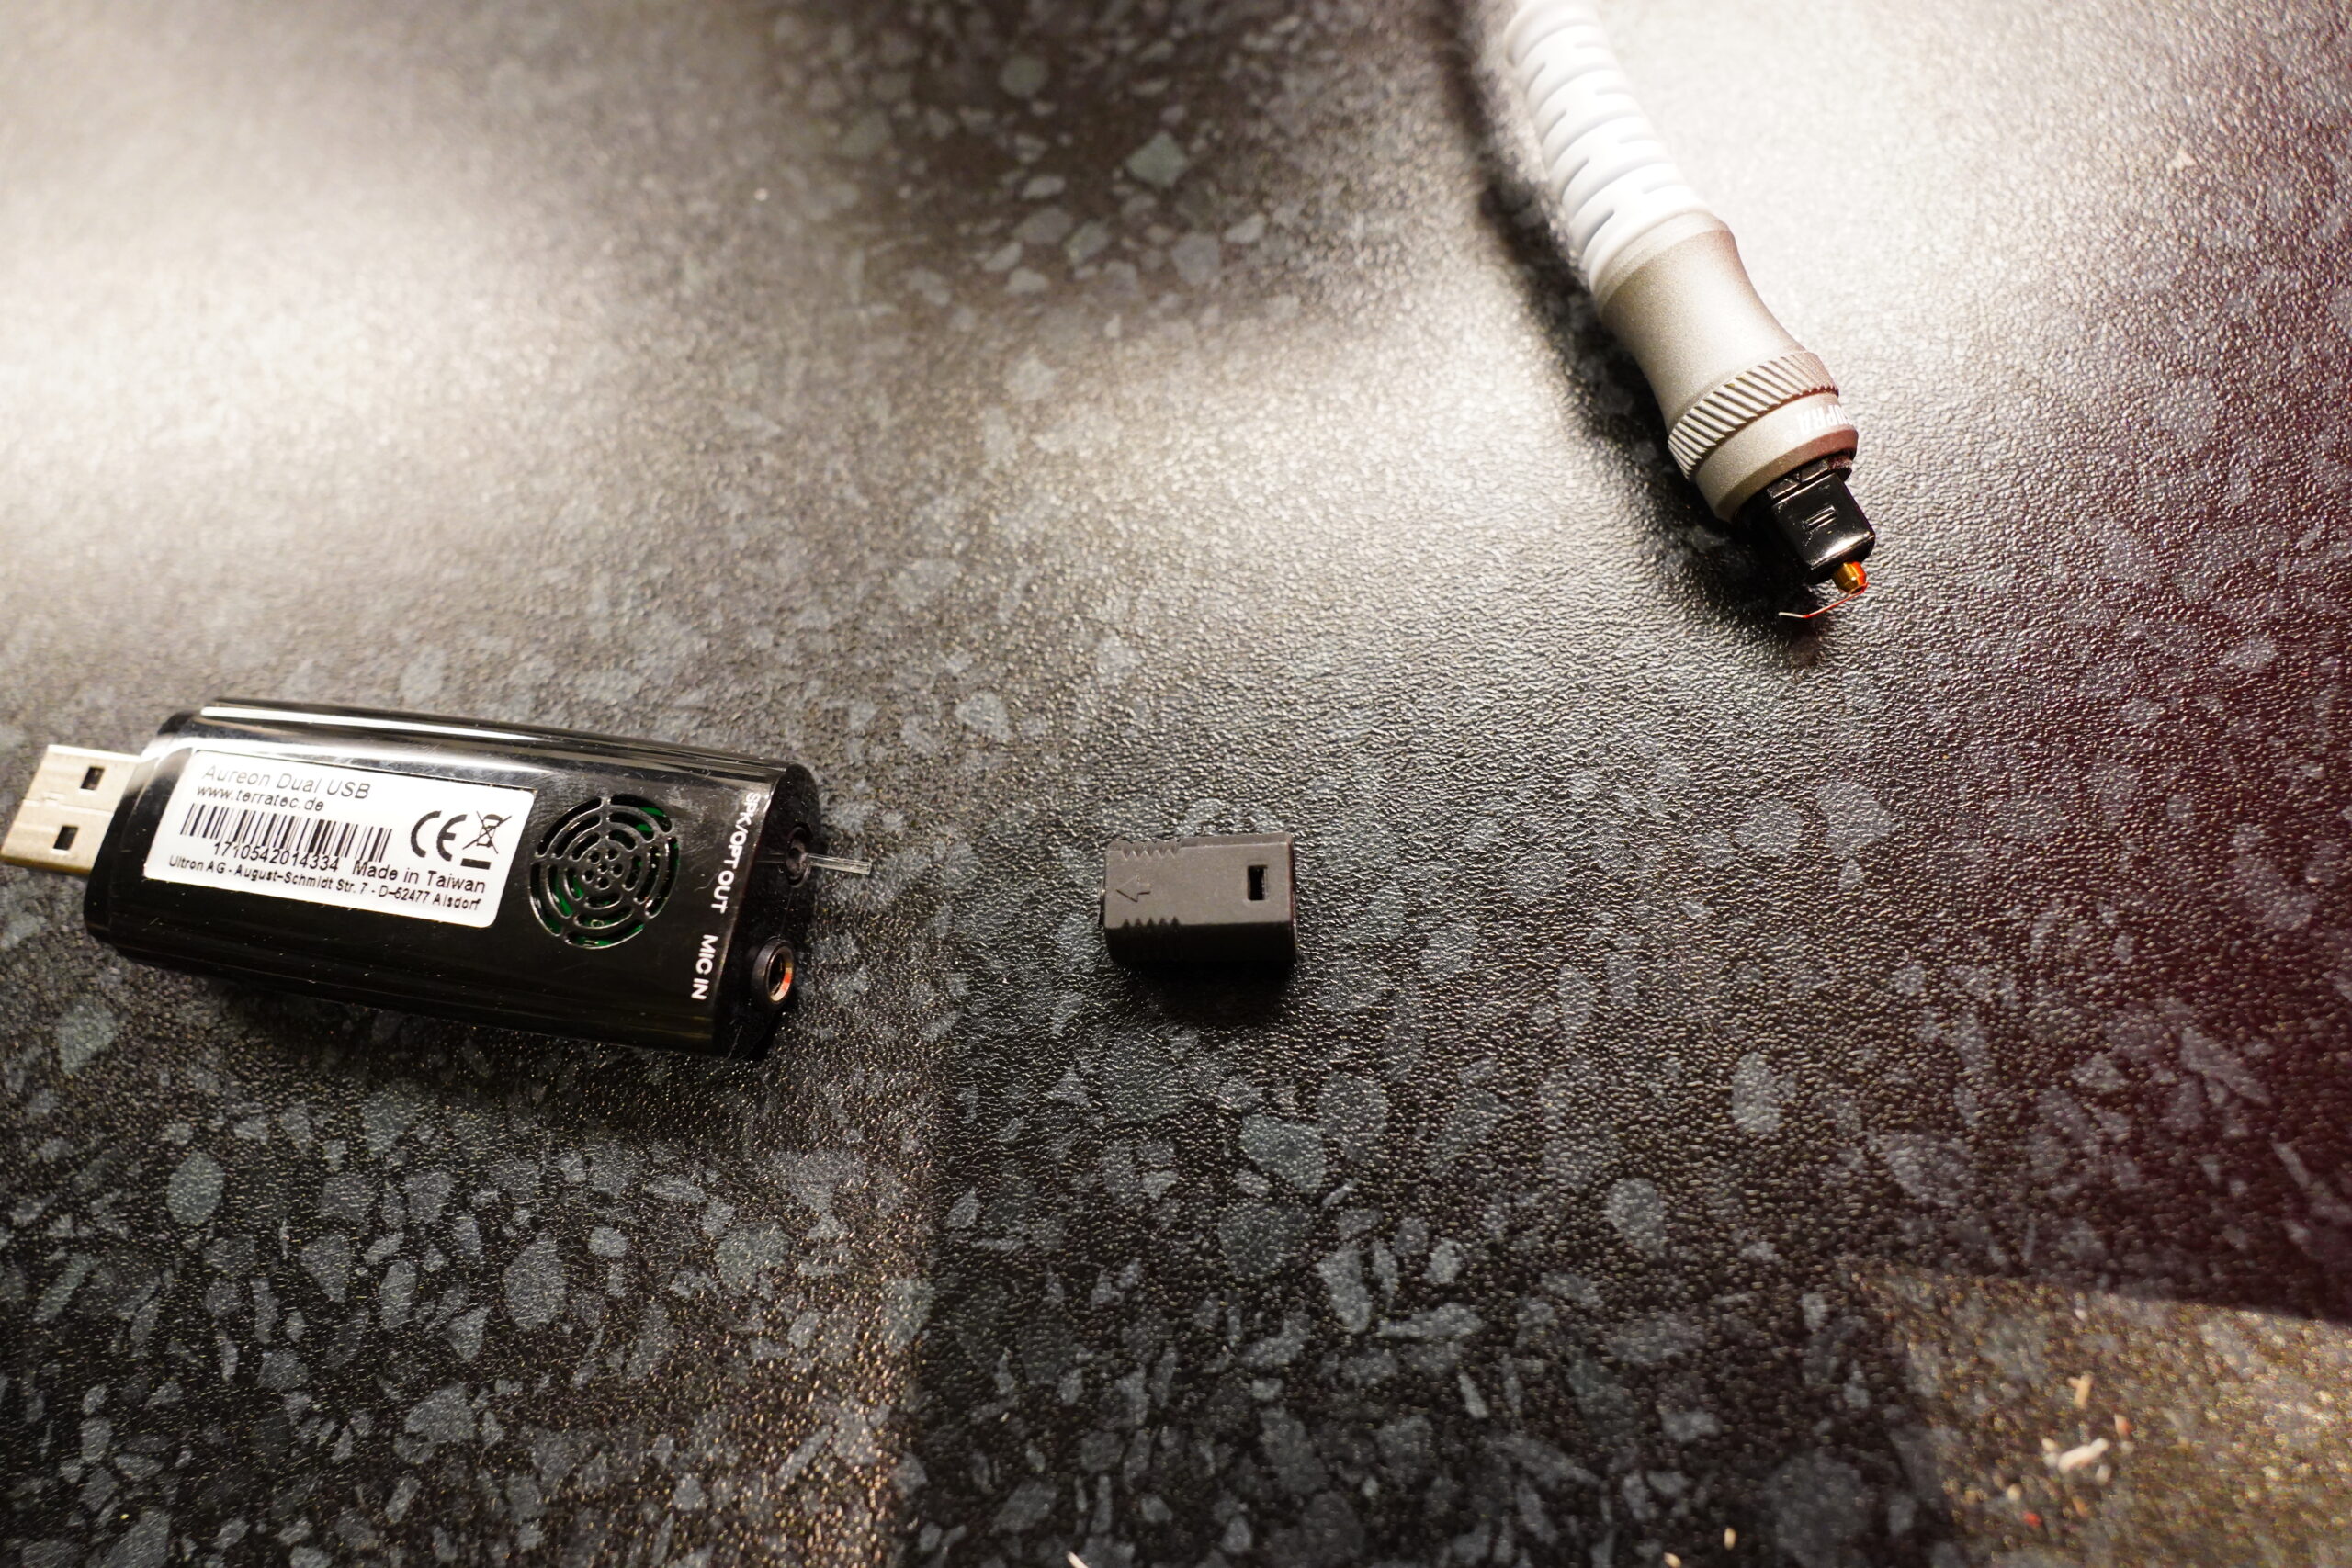
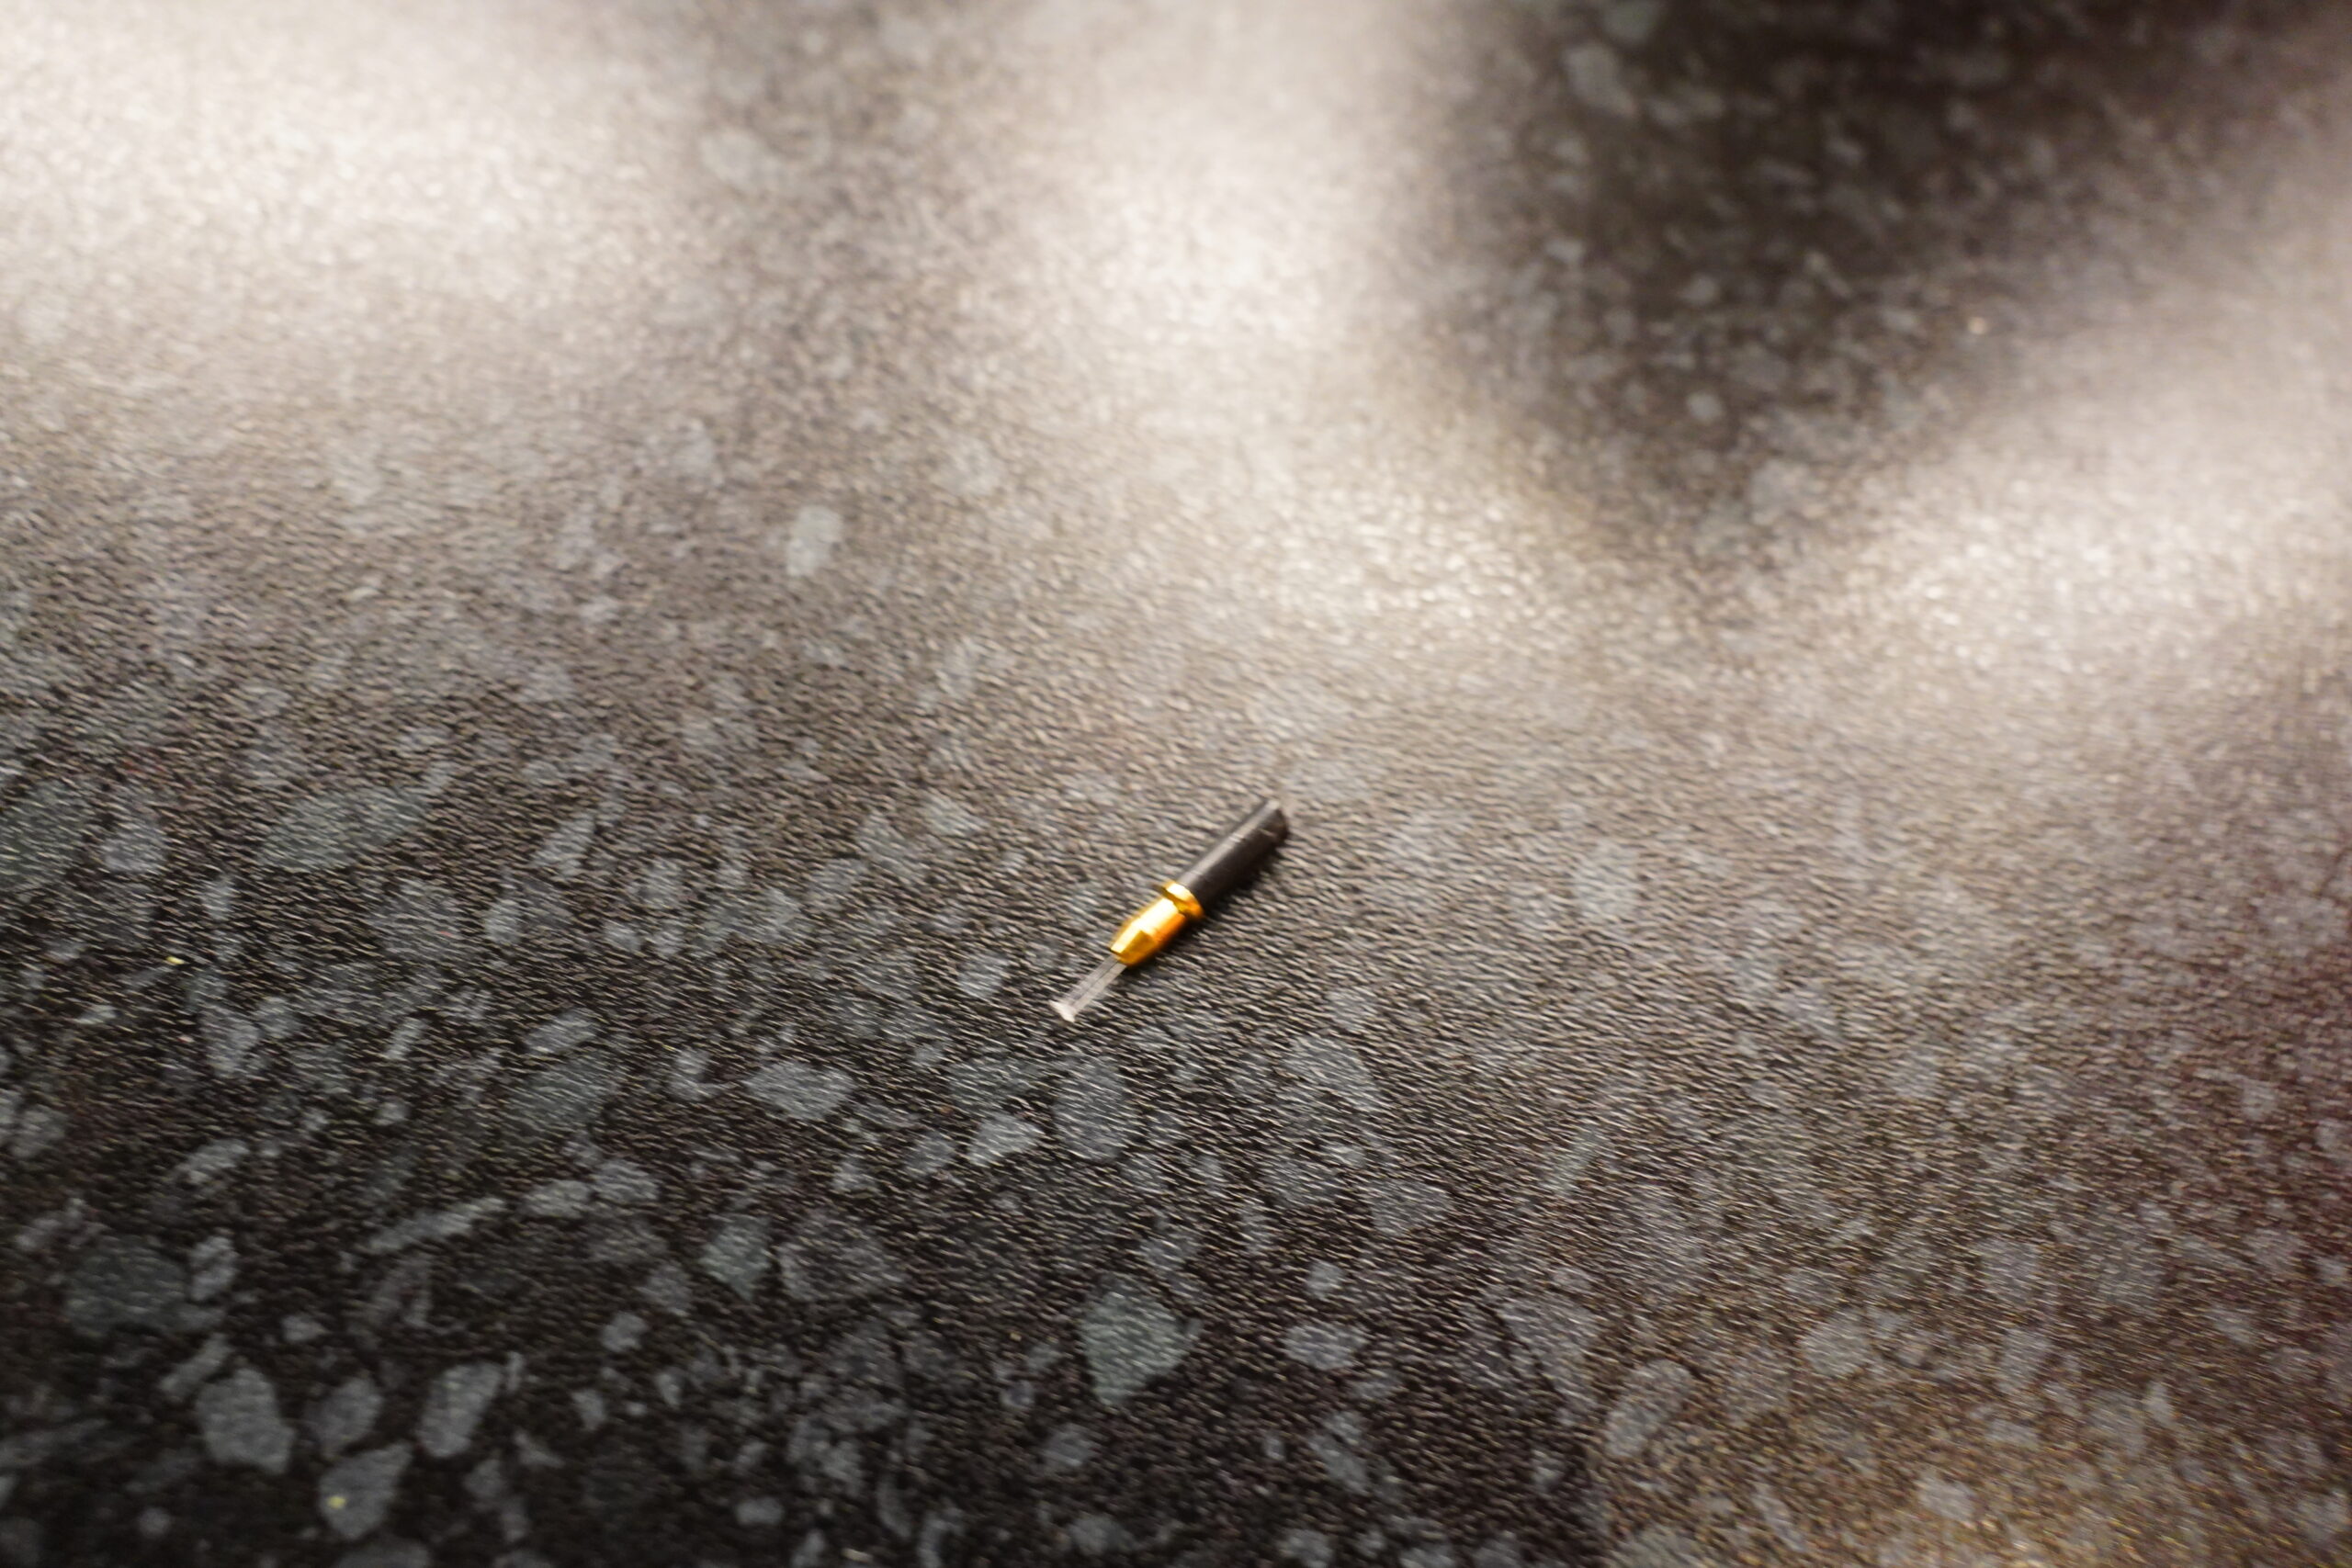
Nooooes! The Toslink/3.5mm adapter broke!
This thing! Because I need to use an optical connection to the KEF speakers, because the AUX is just ridiculously noisy:
Completely unusable.
Hm… do I have any spare Toslink/3.5mm adapters? Can’t find any… Oh, well, I have to do some shopping tomorrow. Ain’t gonna finish this project tonight grrr
[time passes]
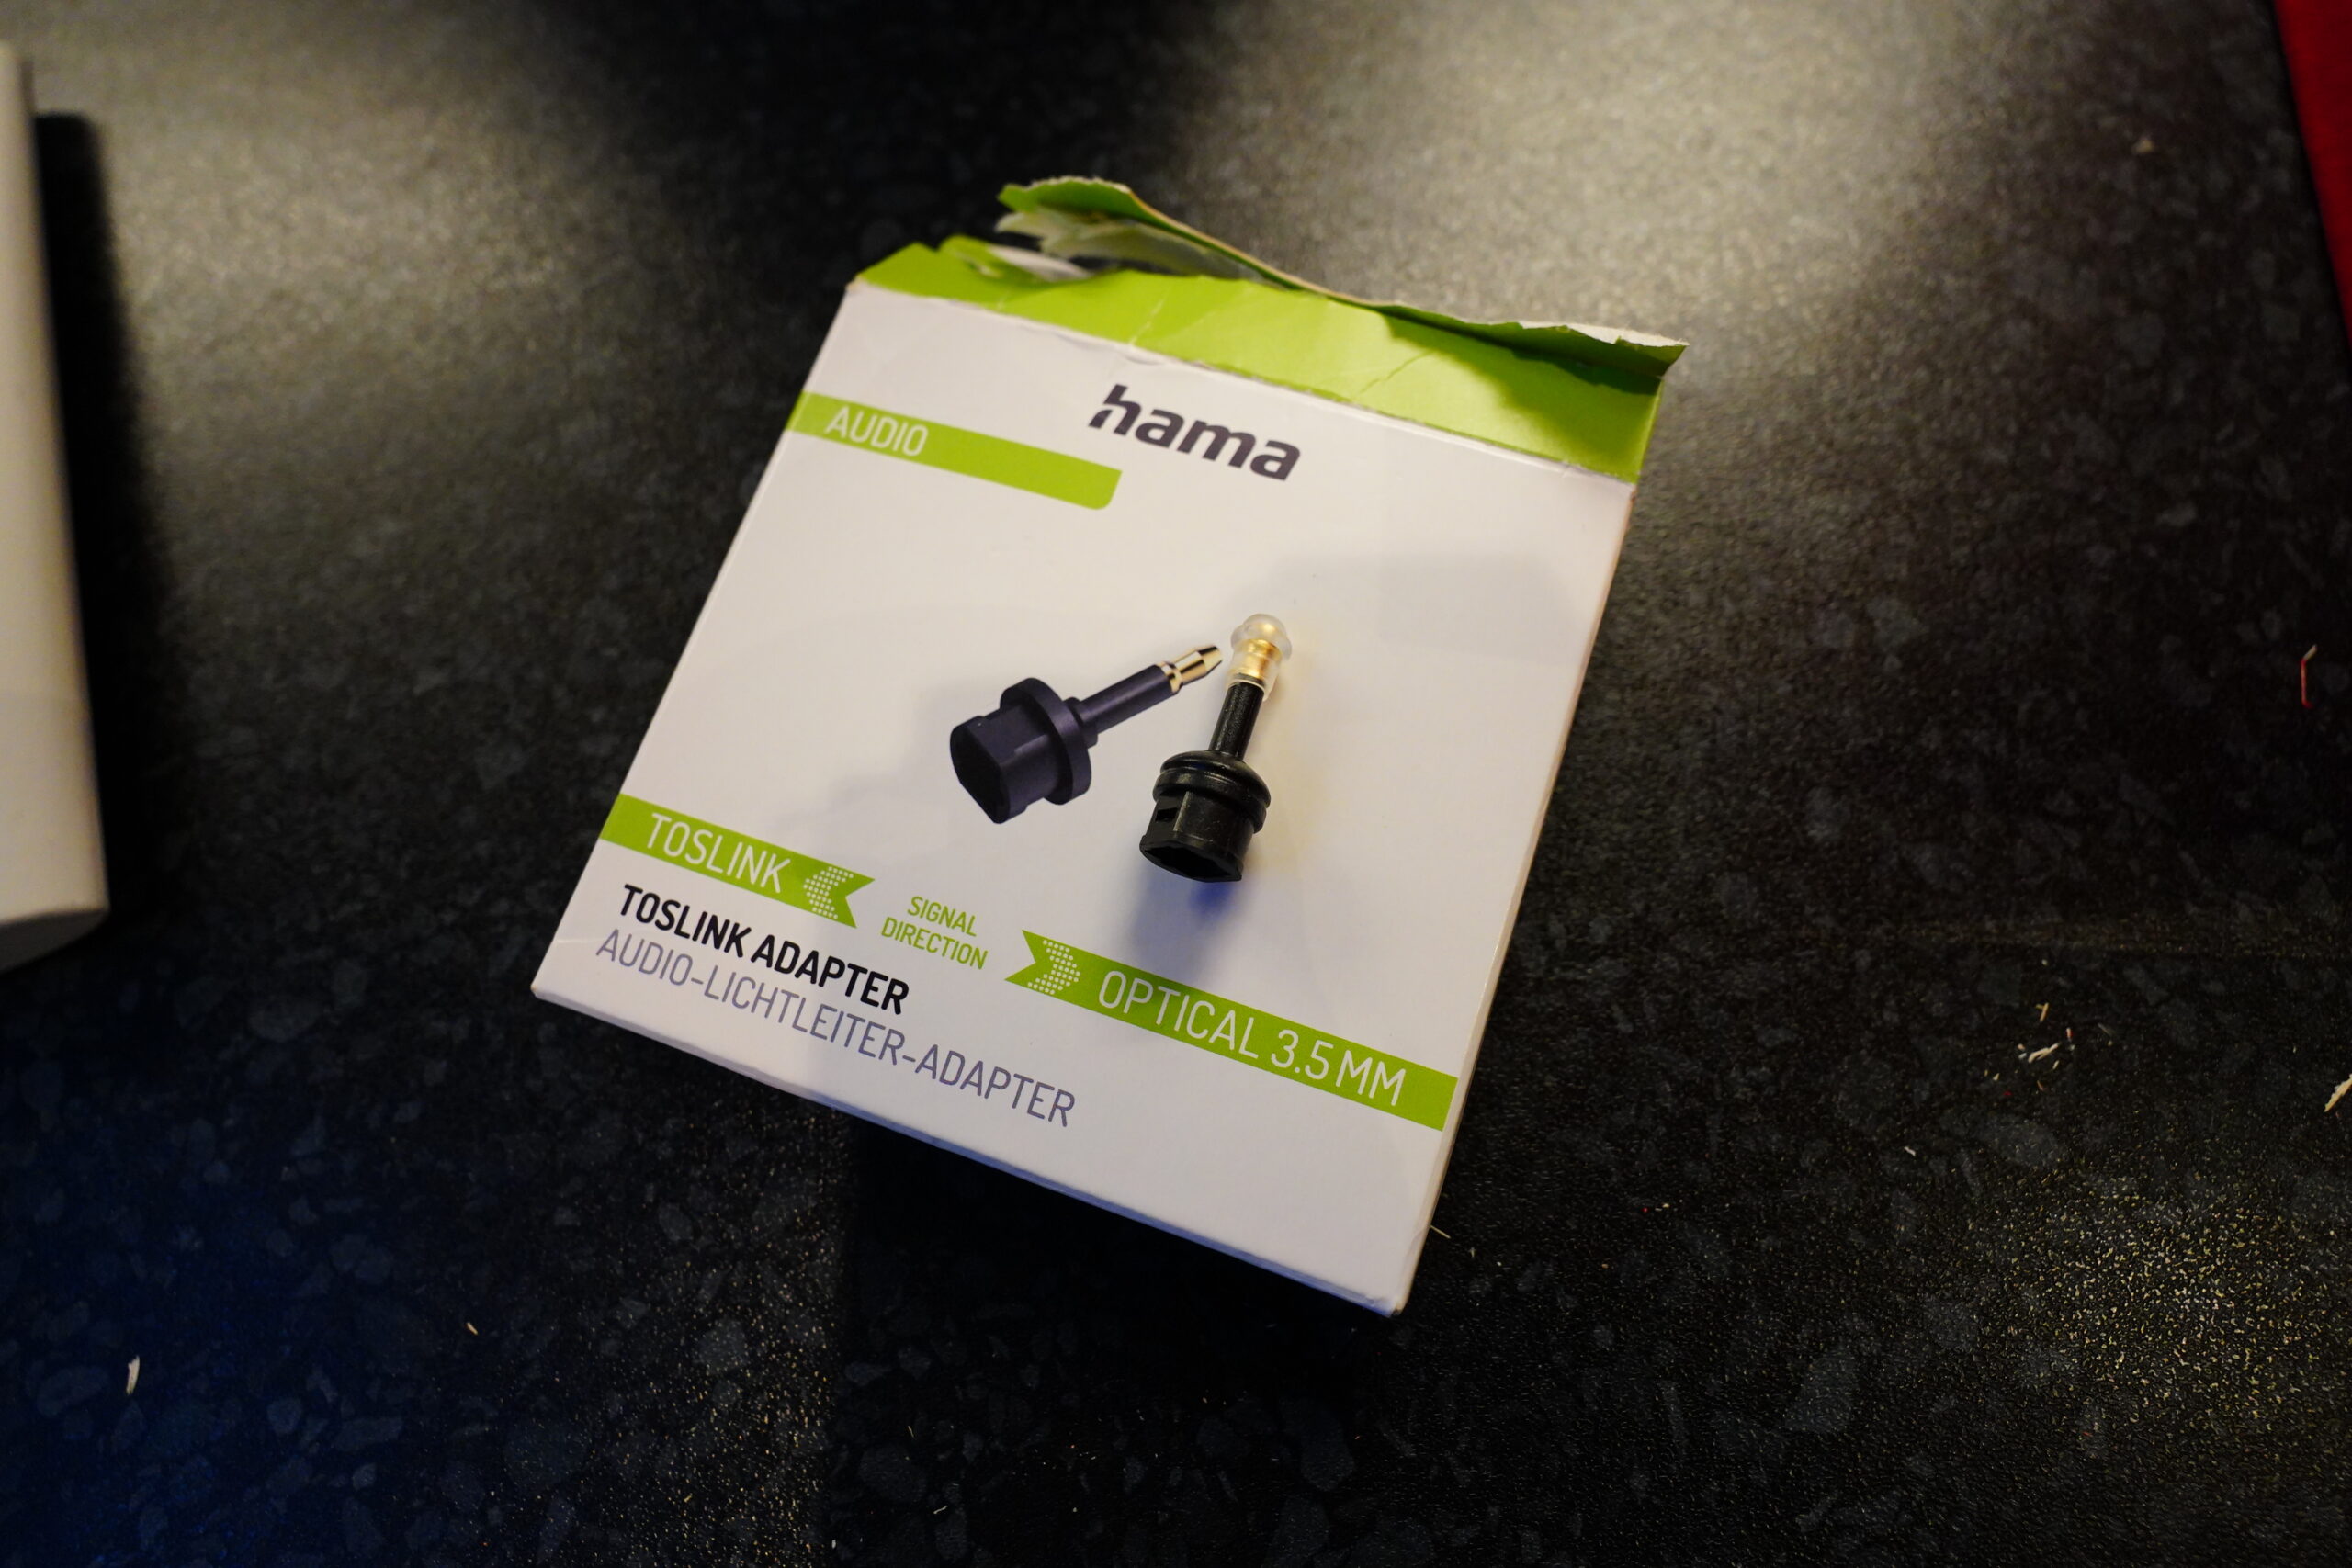
OK, I got this today…
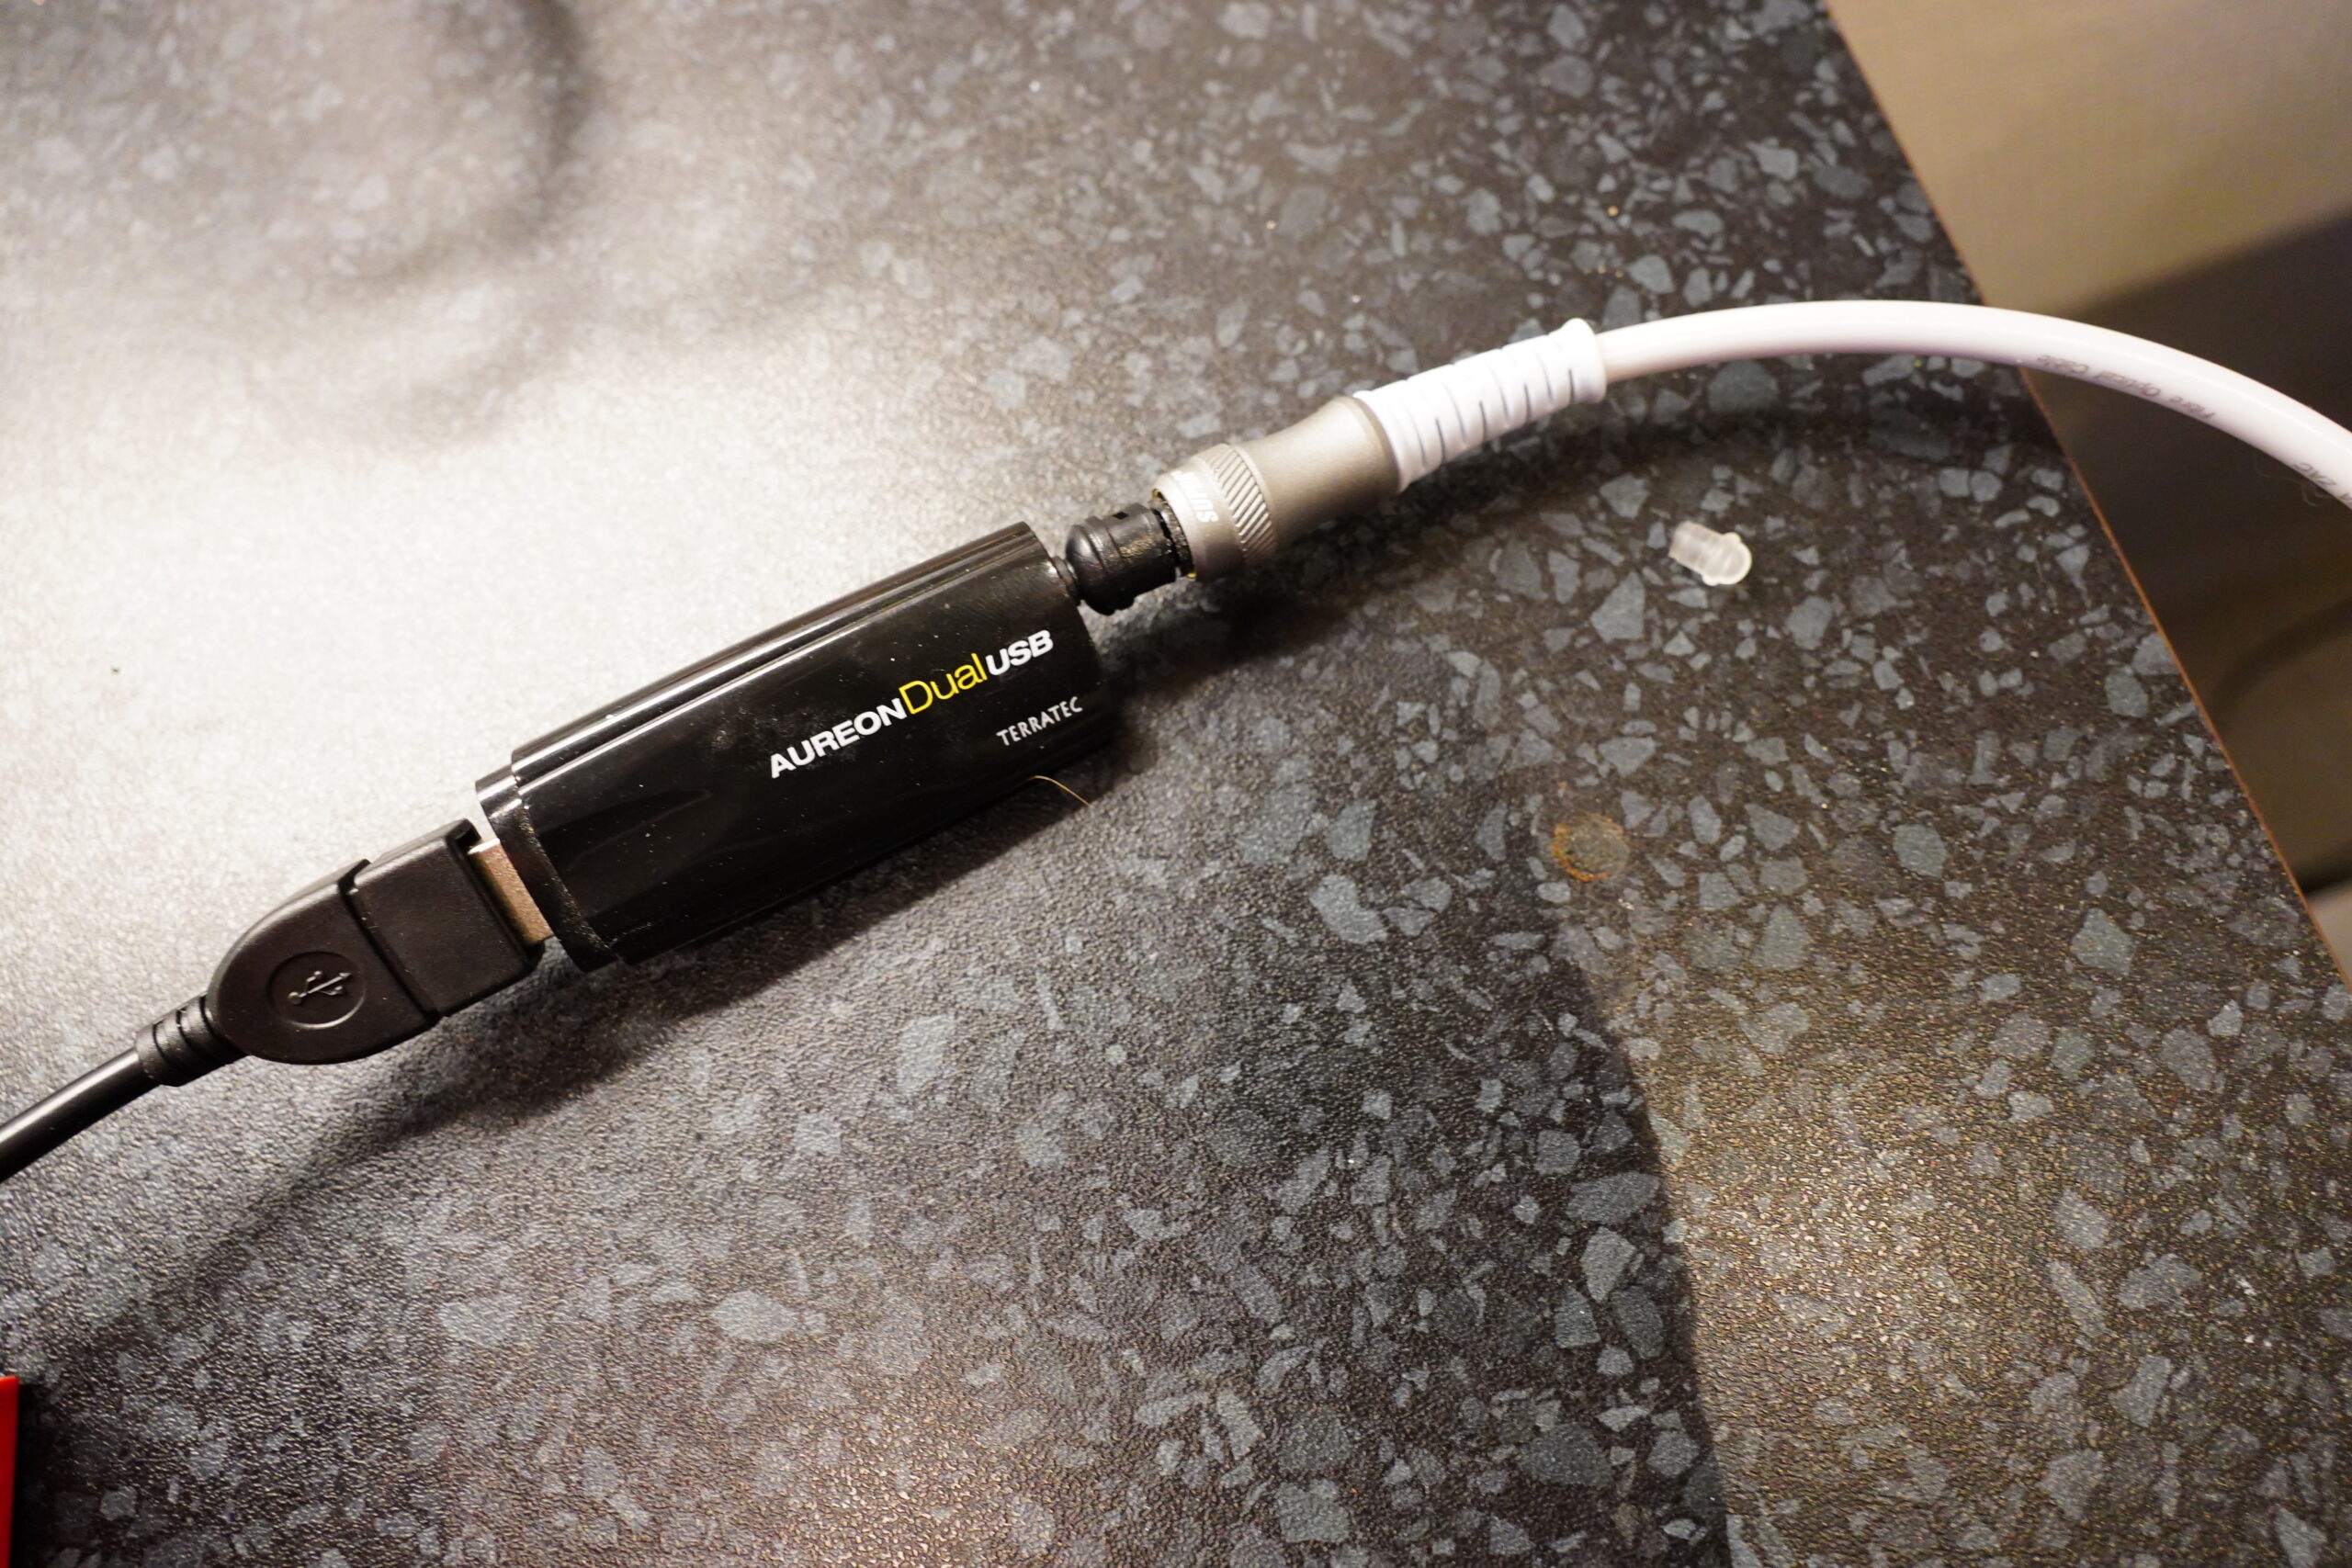
And it fits! Although I plugged it into the mic port, so it took half an hour of debugging to find out why there’s no music.
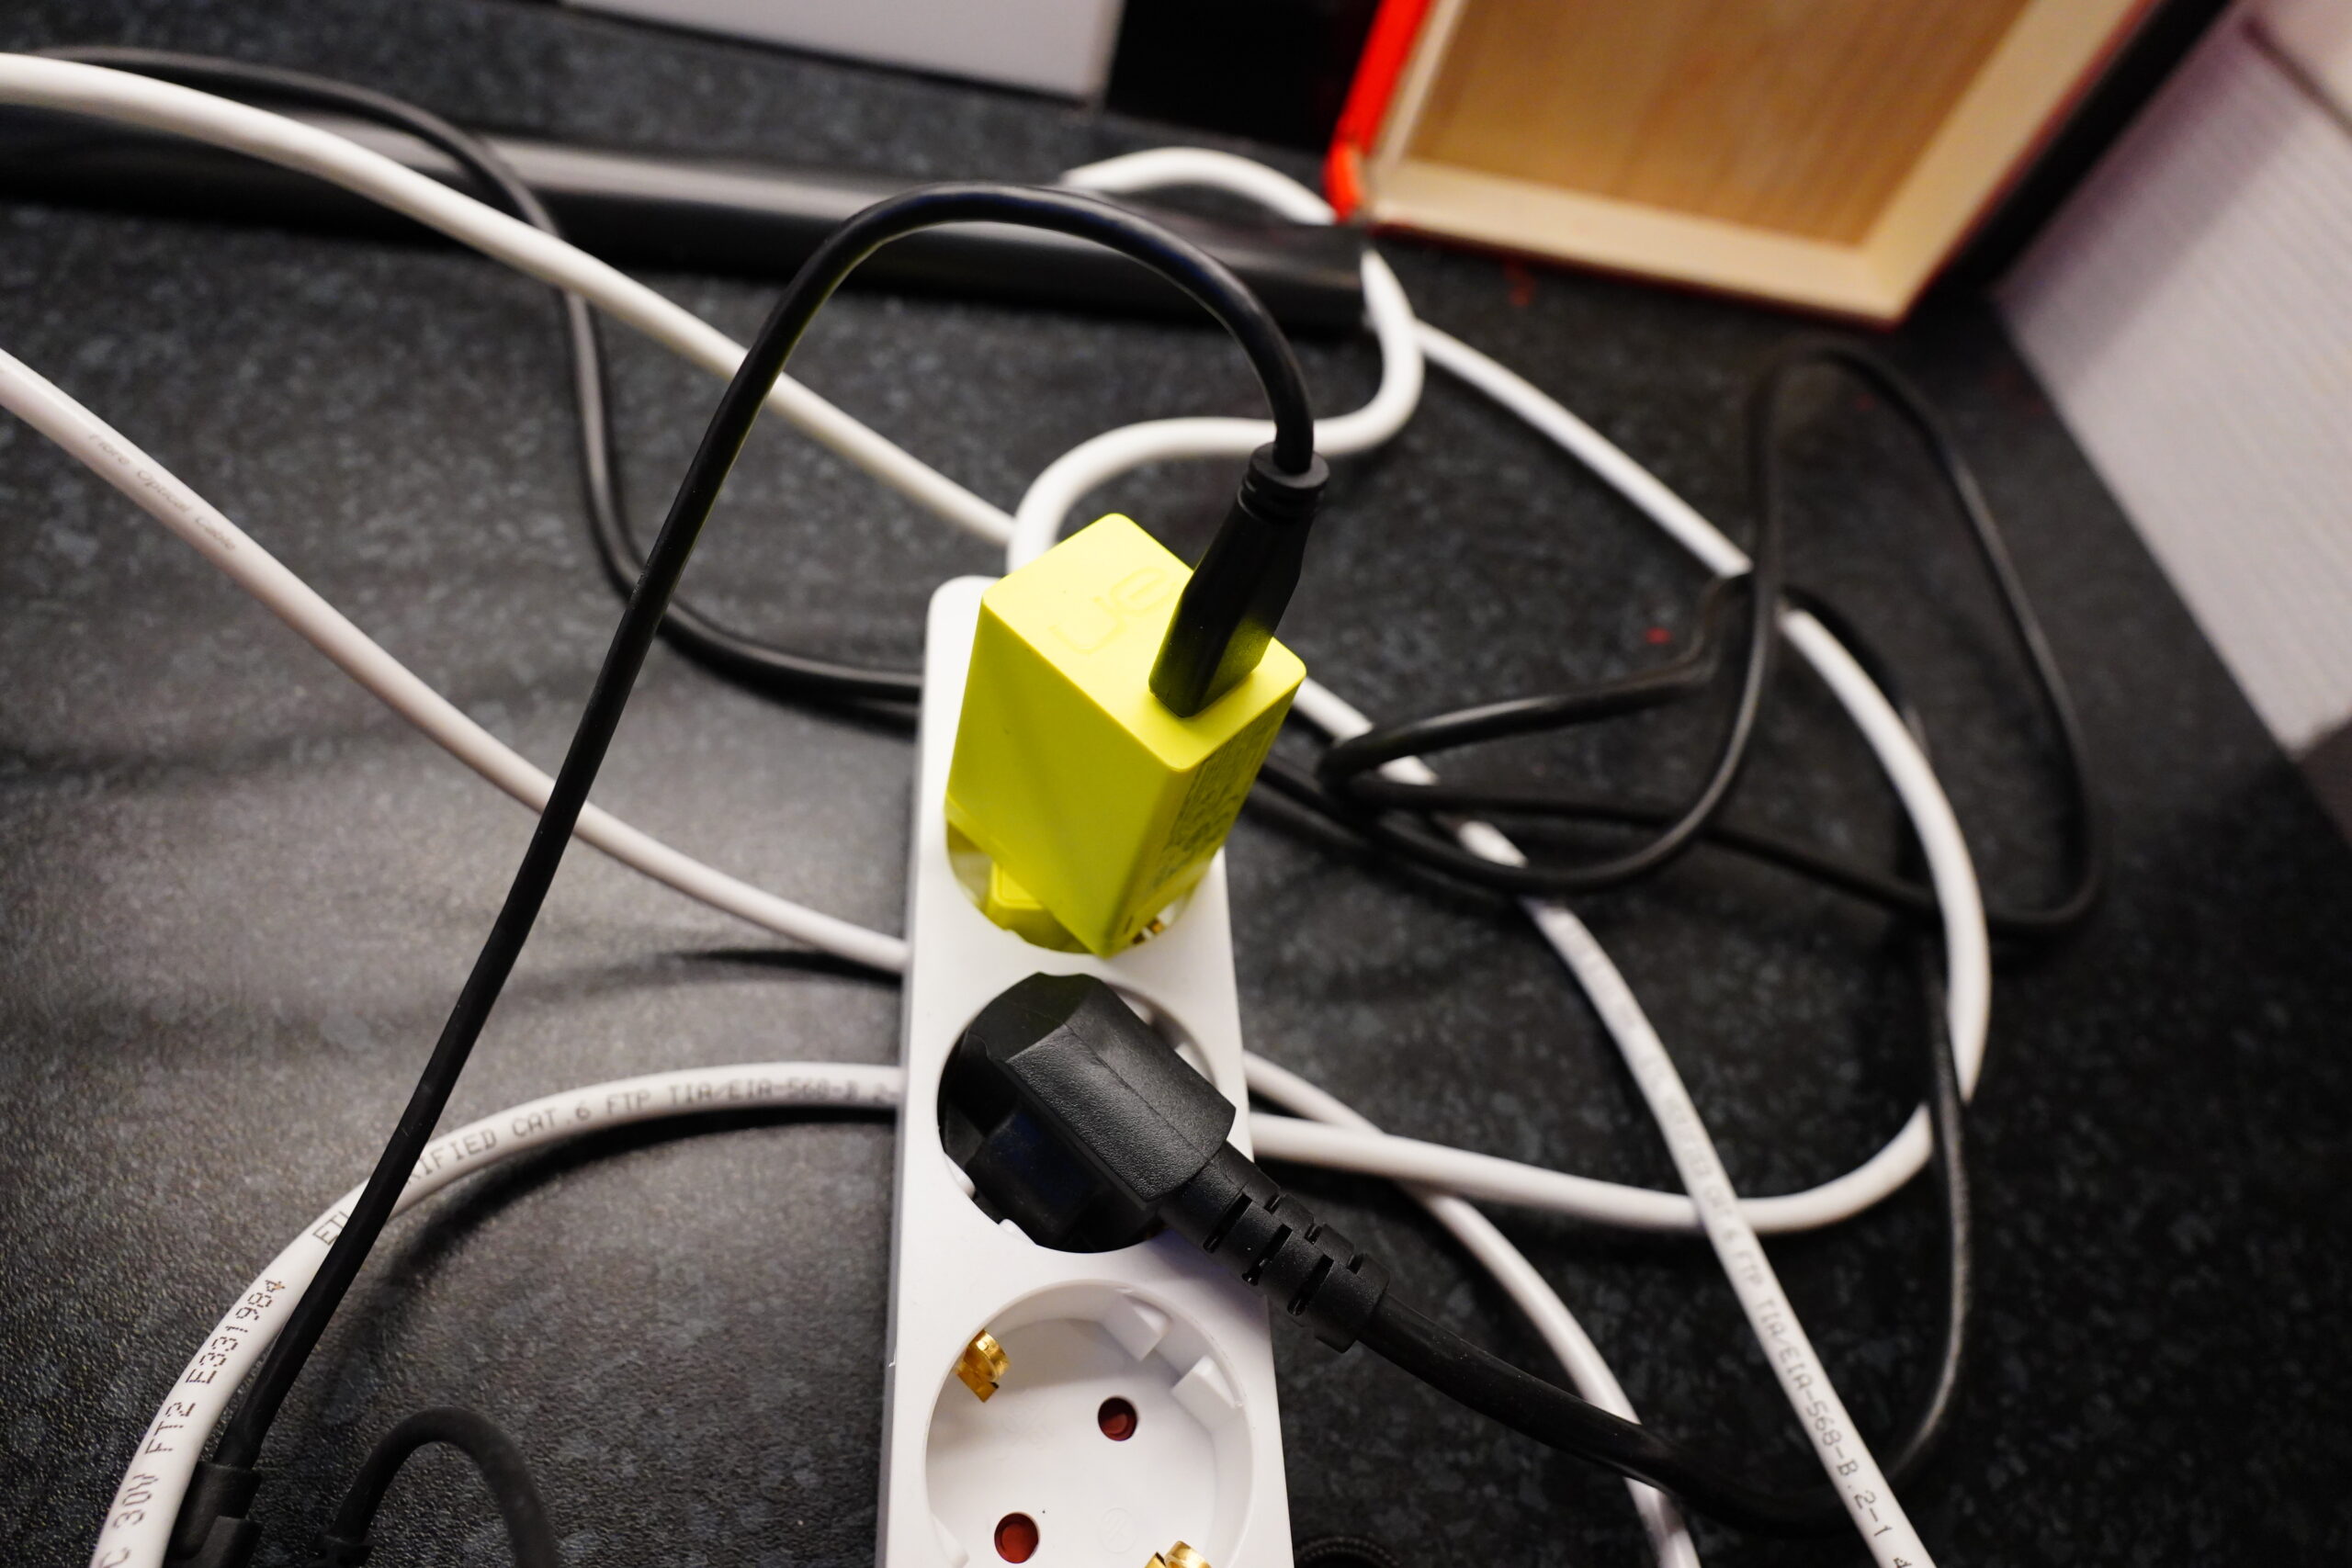
Oh, right, the new, shorter outlet thing doesn’t have a USB port. Well, I’ll just use an old Iphone charger?
Nope; that sent the Pi 4 into an endless boot loop. How about this Ultimate Ears charger, then?
Success.
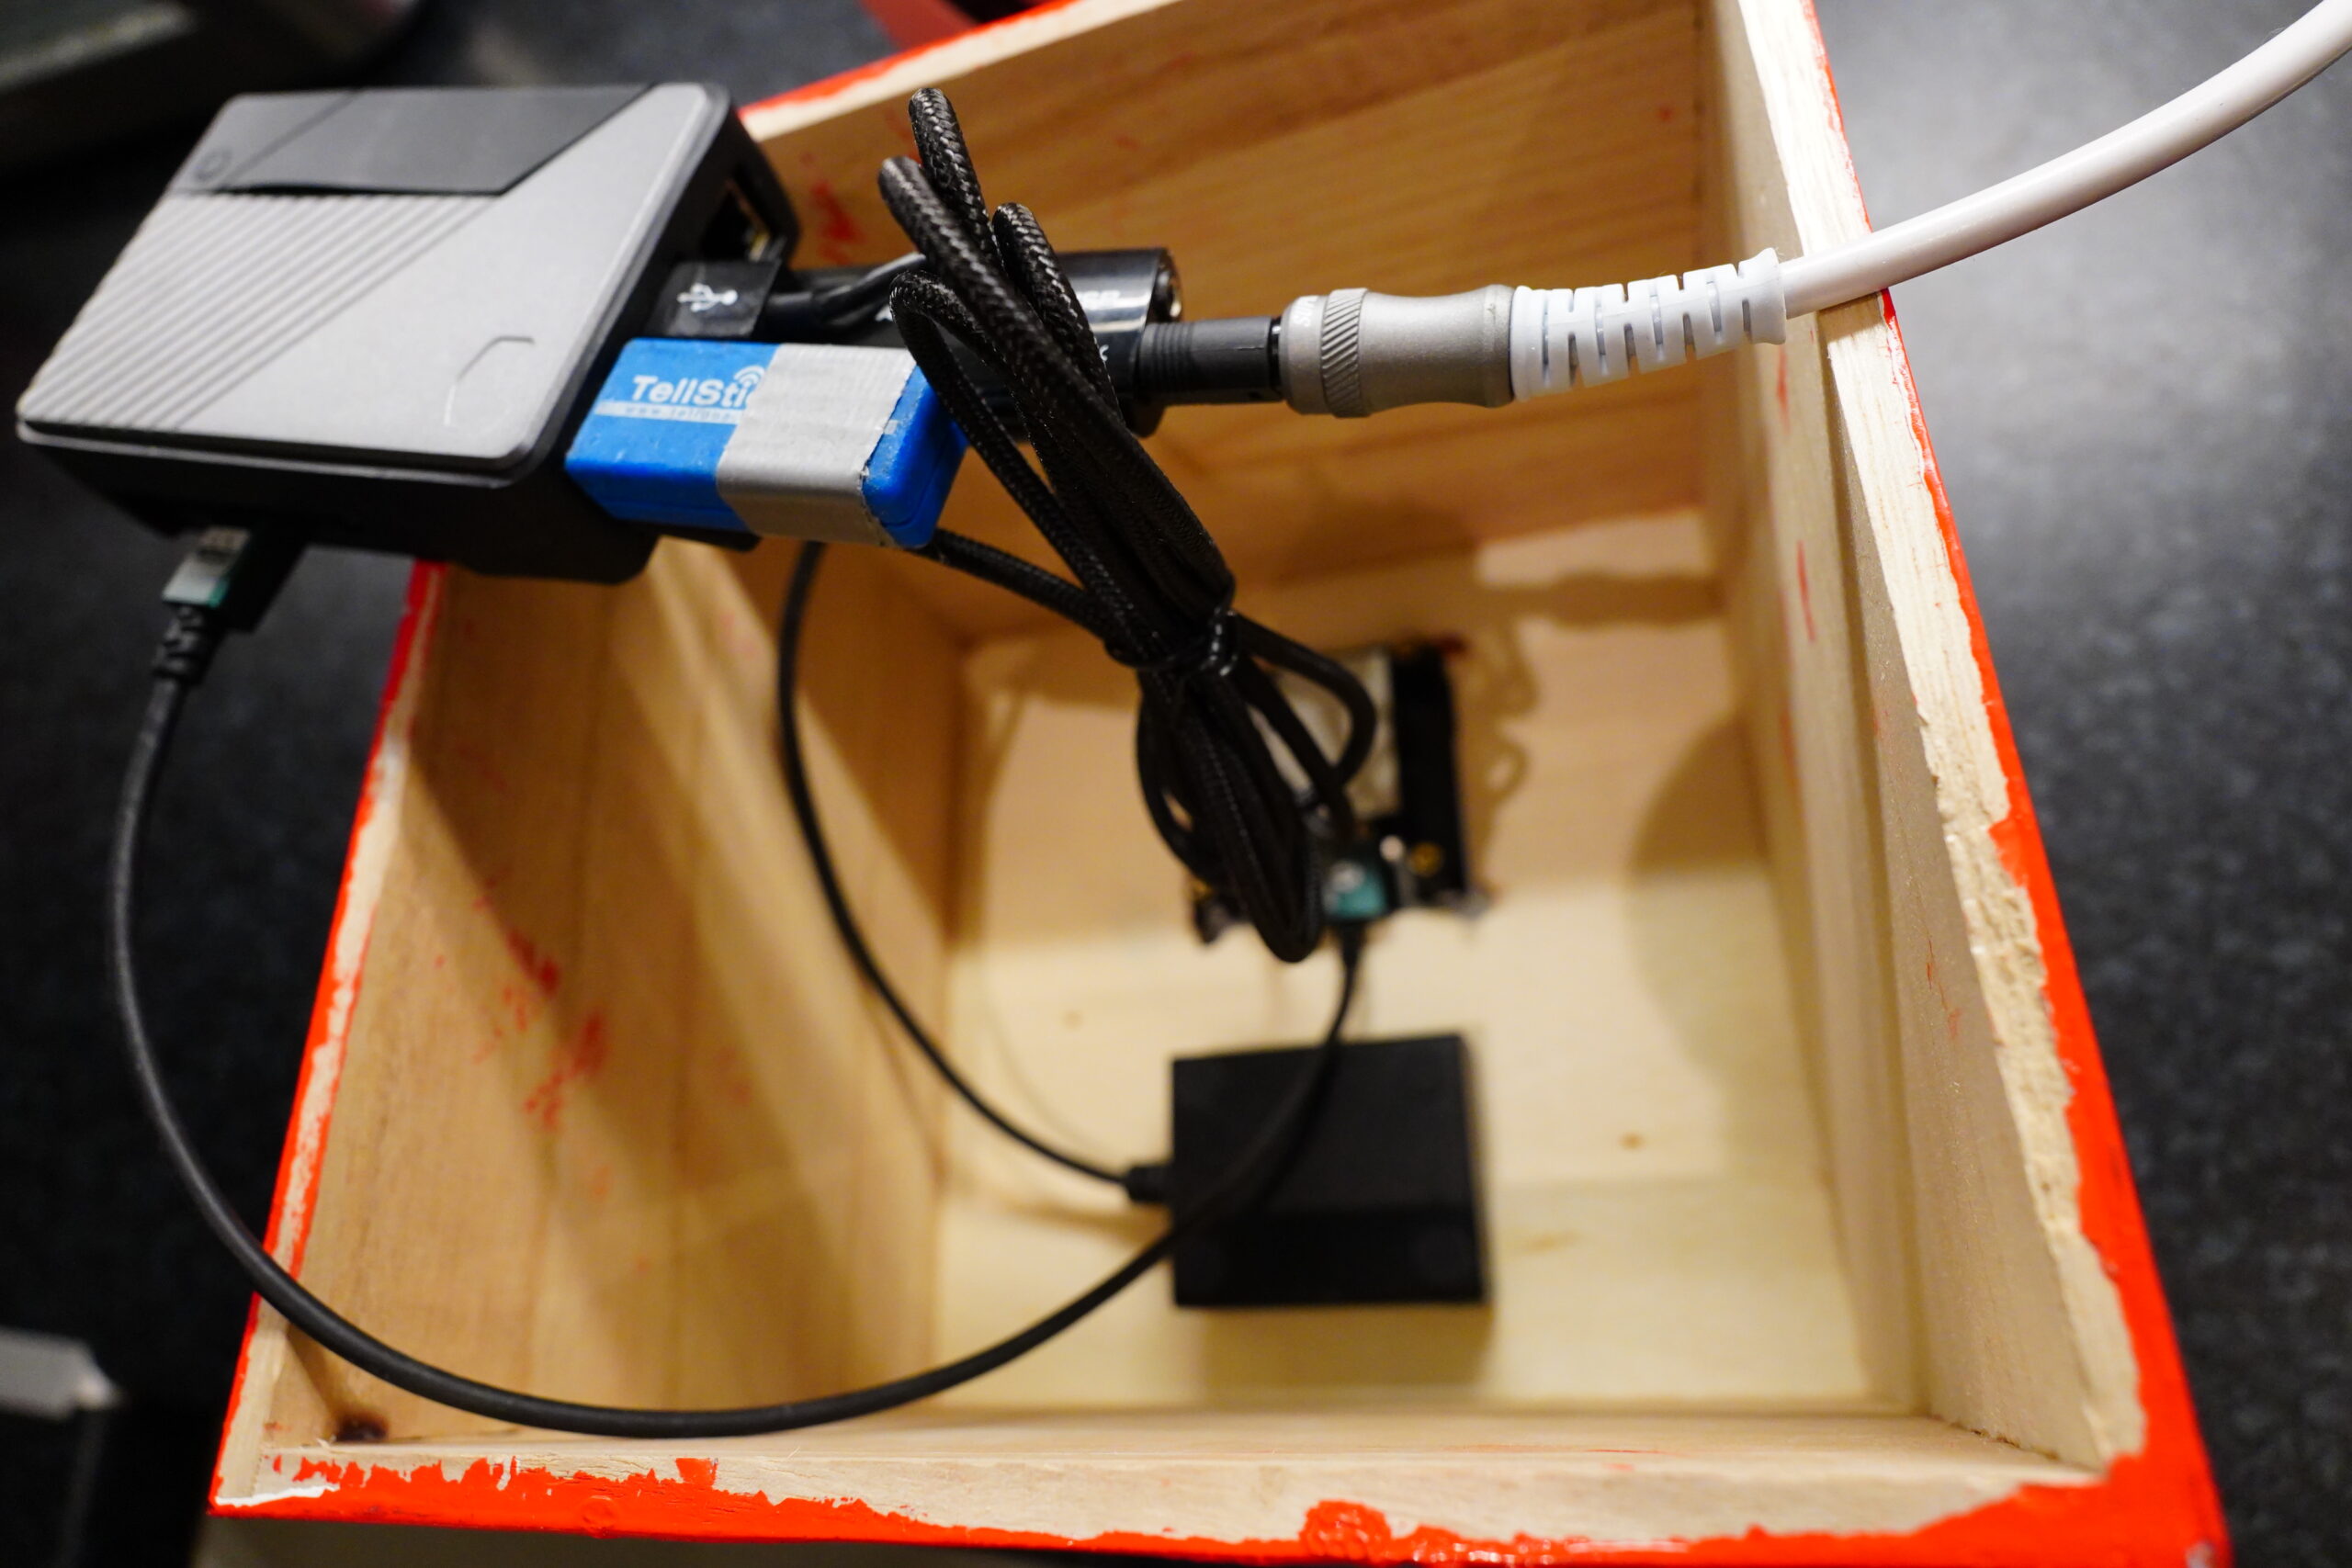
So now I just have to jam this all into the box… Will it fit?
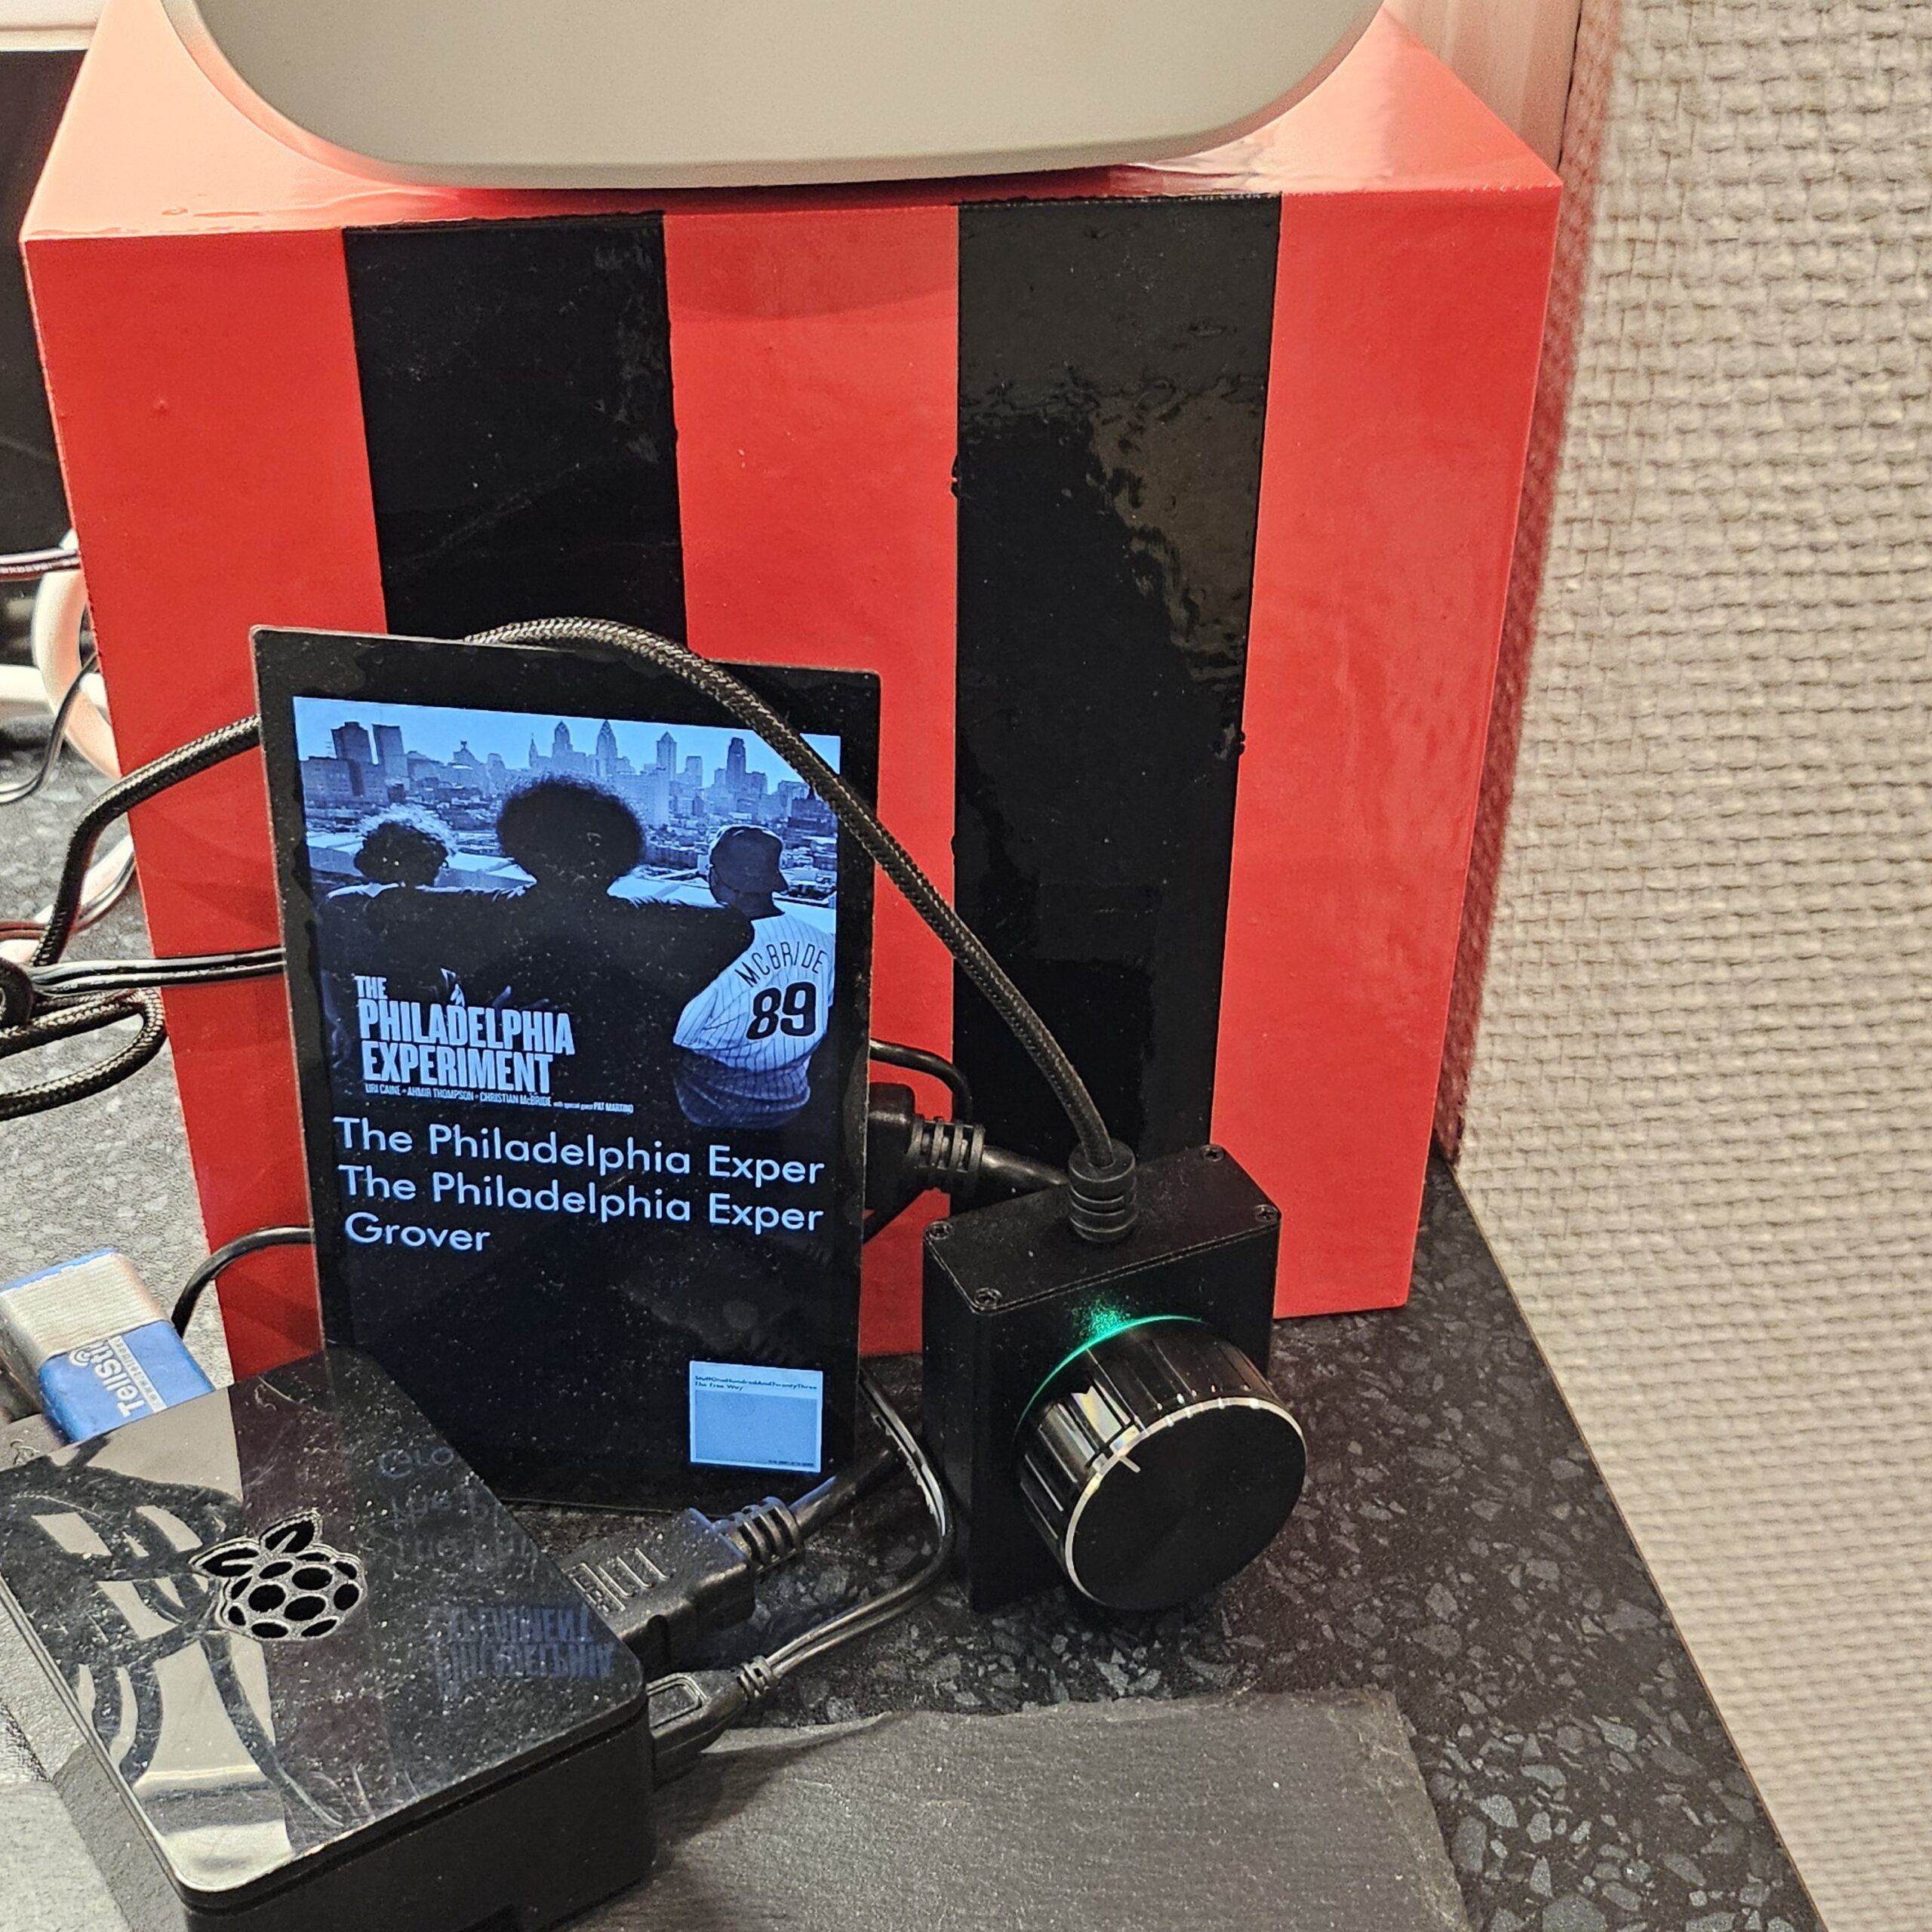
Yes!!!1!
Well, that’s OK.
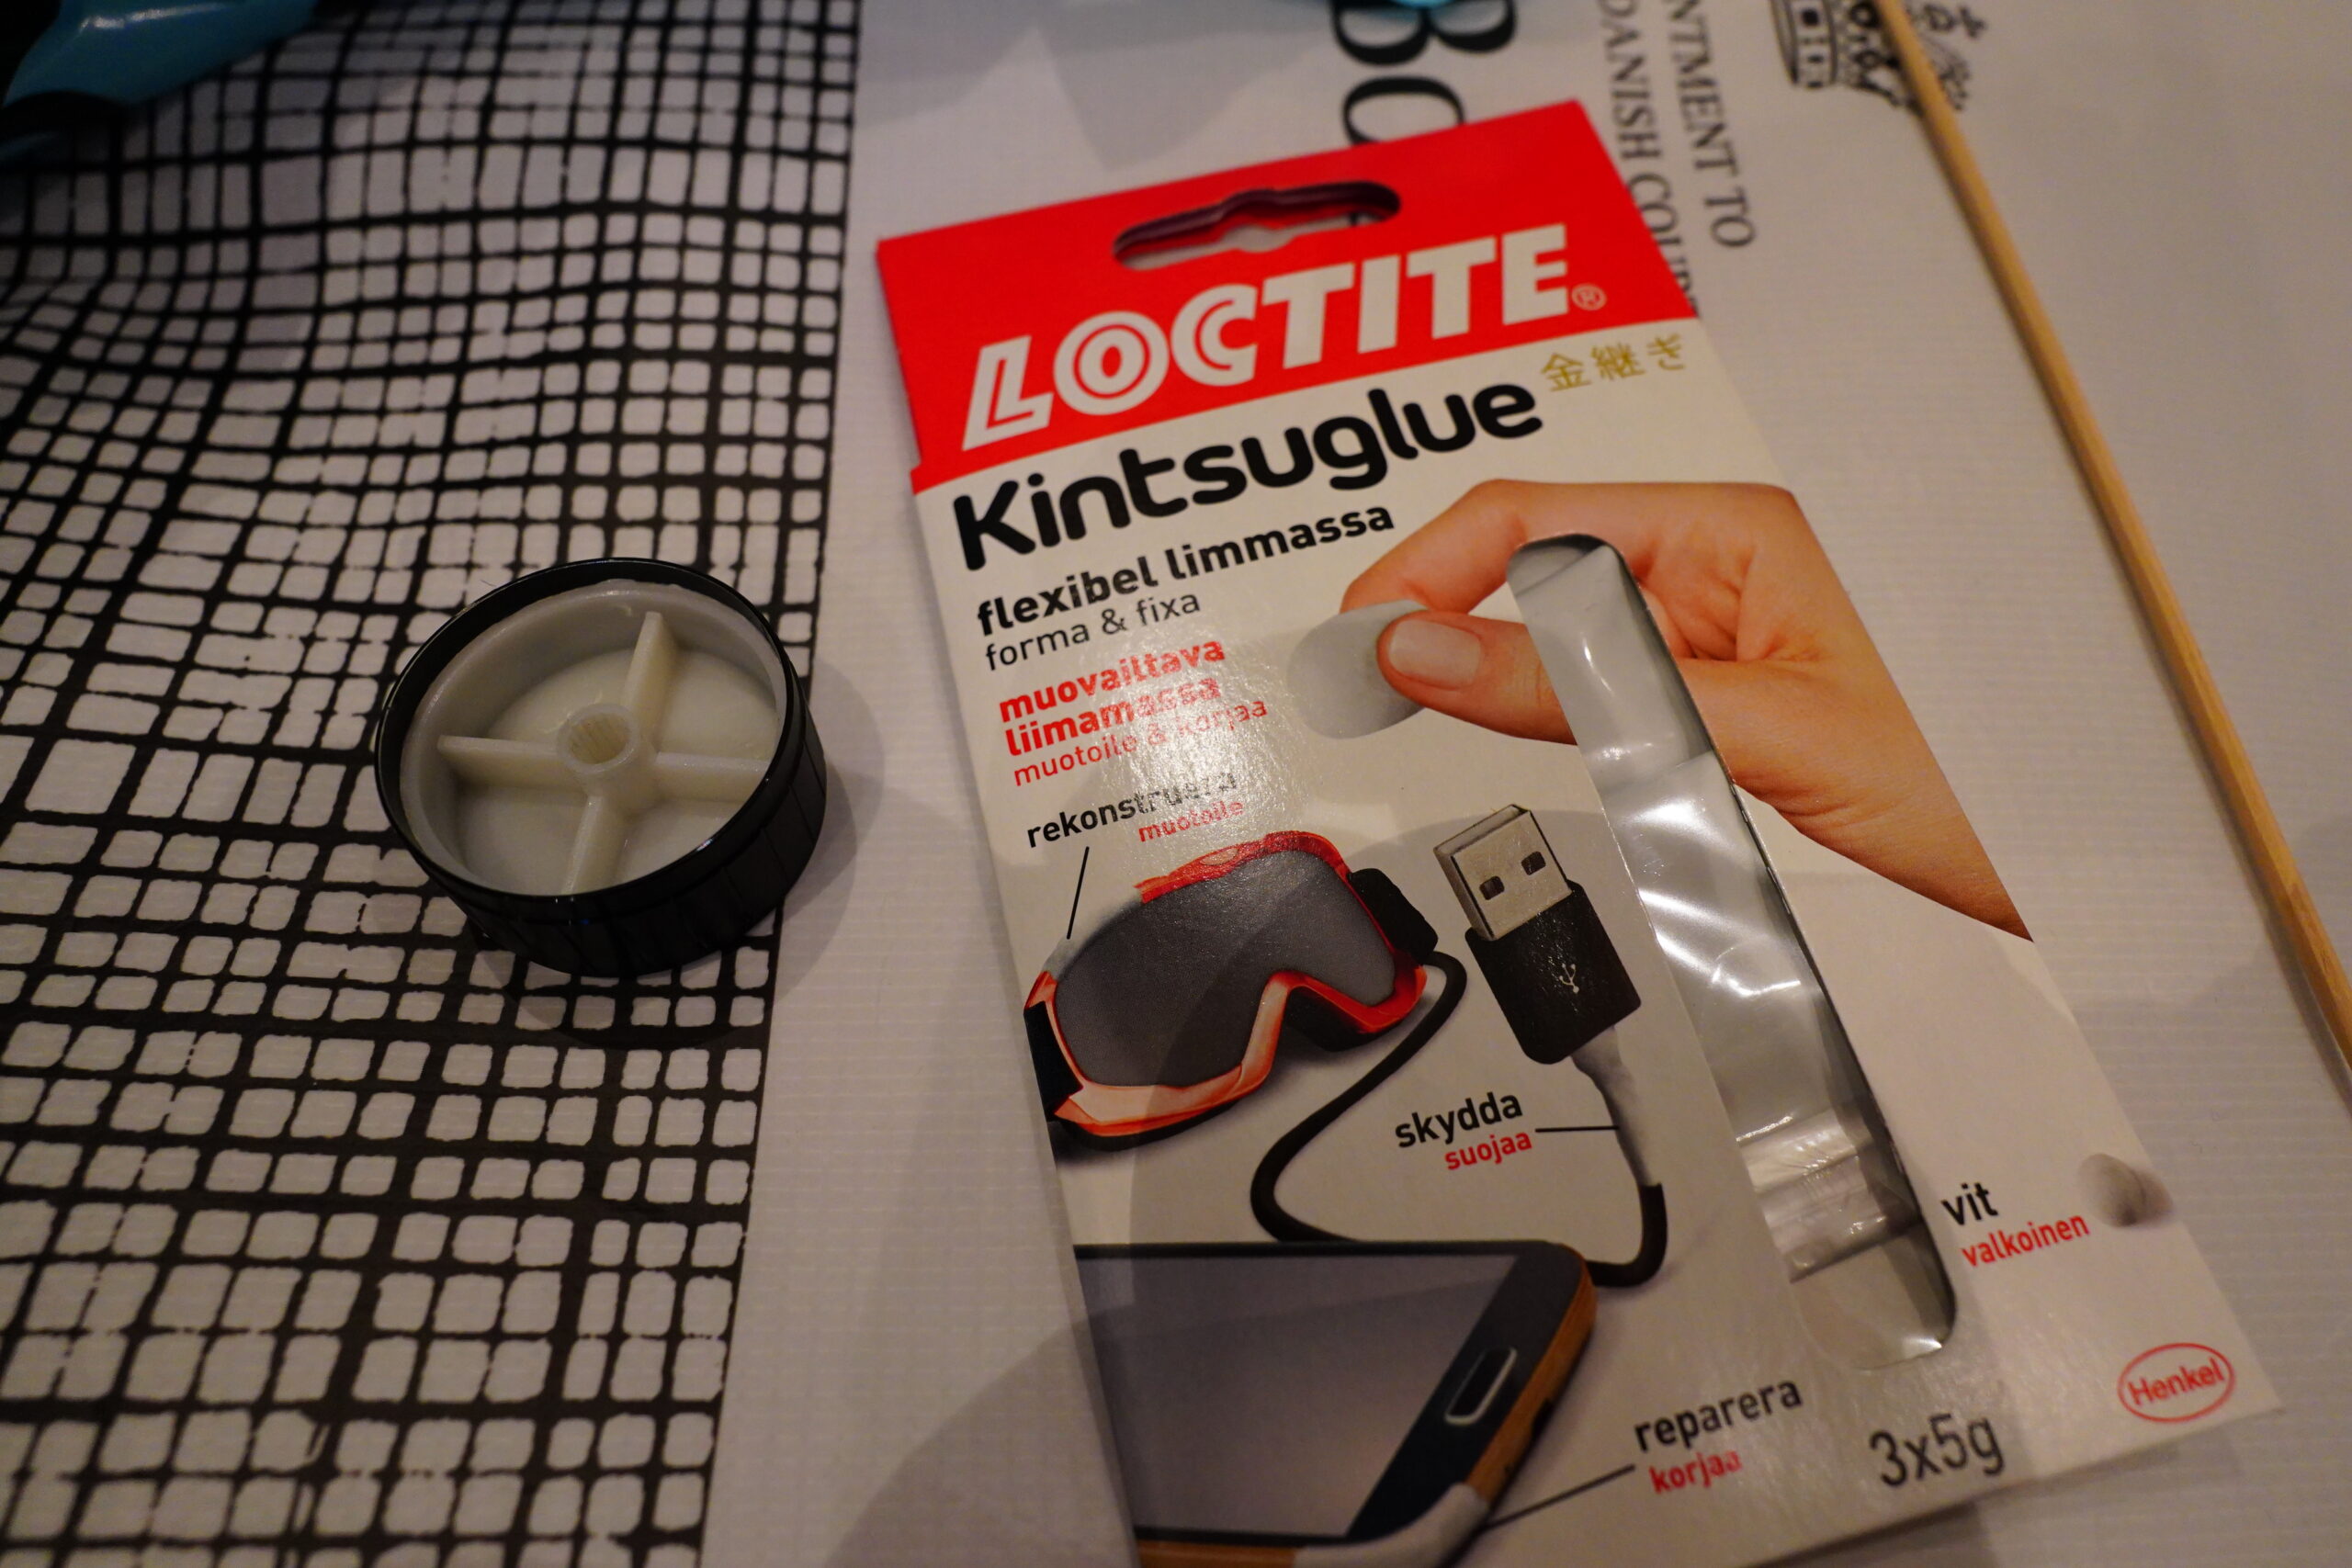
Oh, yeah, I was gonna Sugru the knob. But Sugru is no longer for sale in any stores here — all the stores have their own knock-off products that kinda sorta do the job (but according to all reviews, kinda suck — the end result is very hard instead of being silicone soft like Sugru).
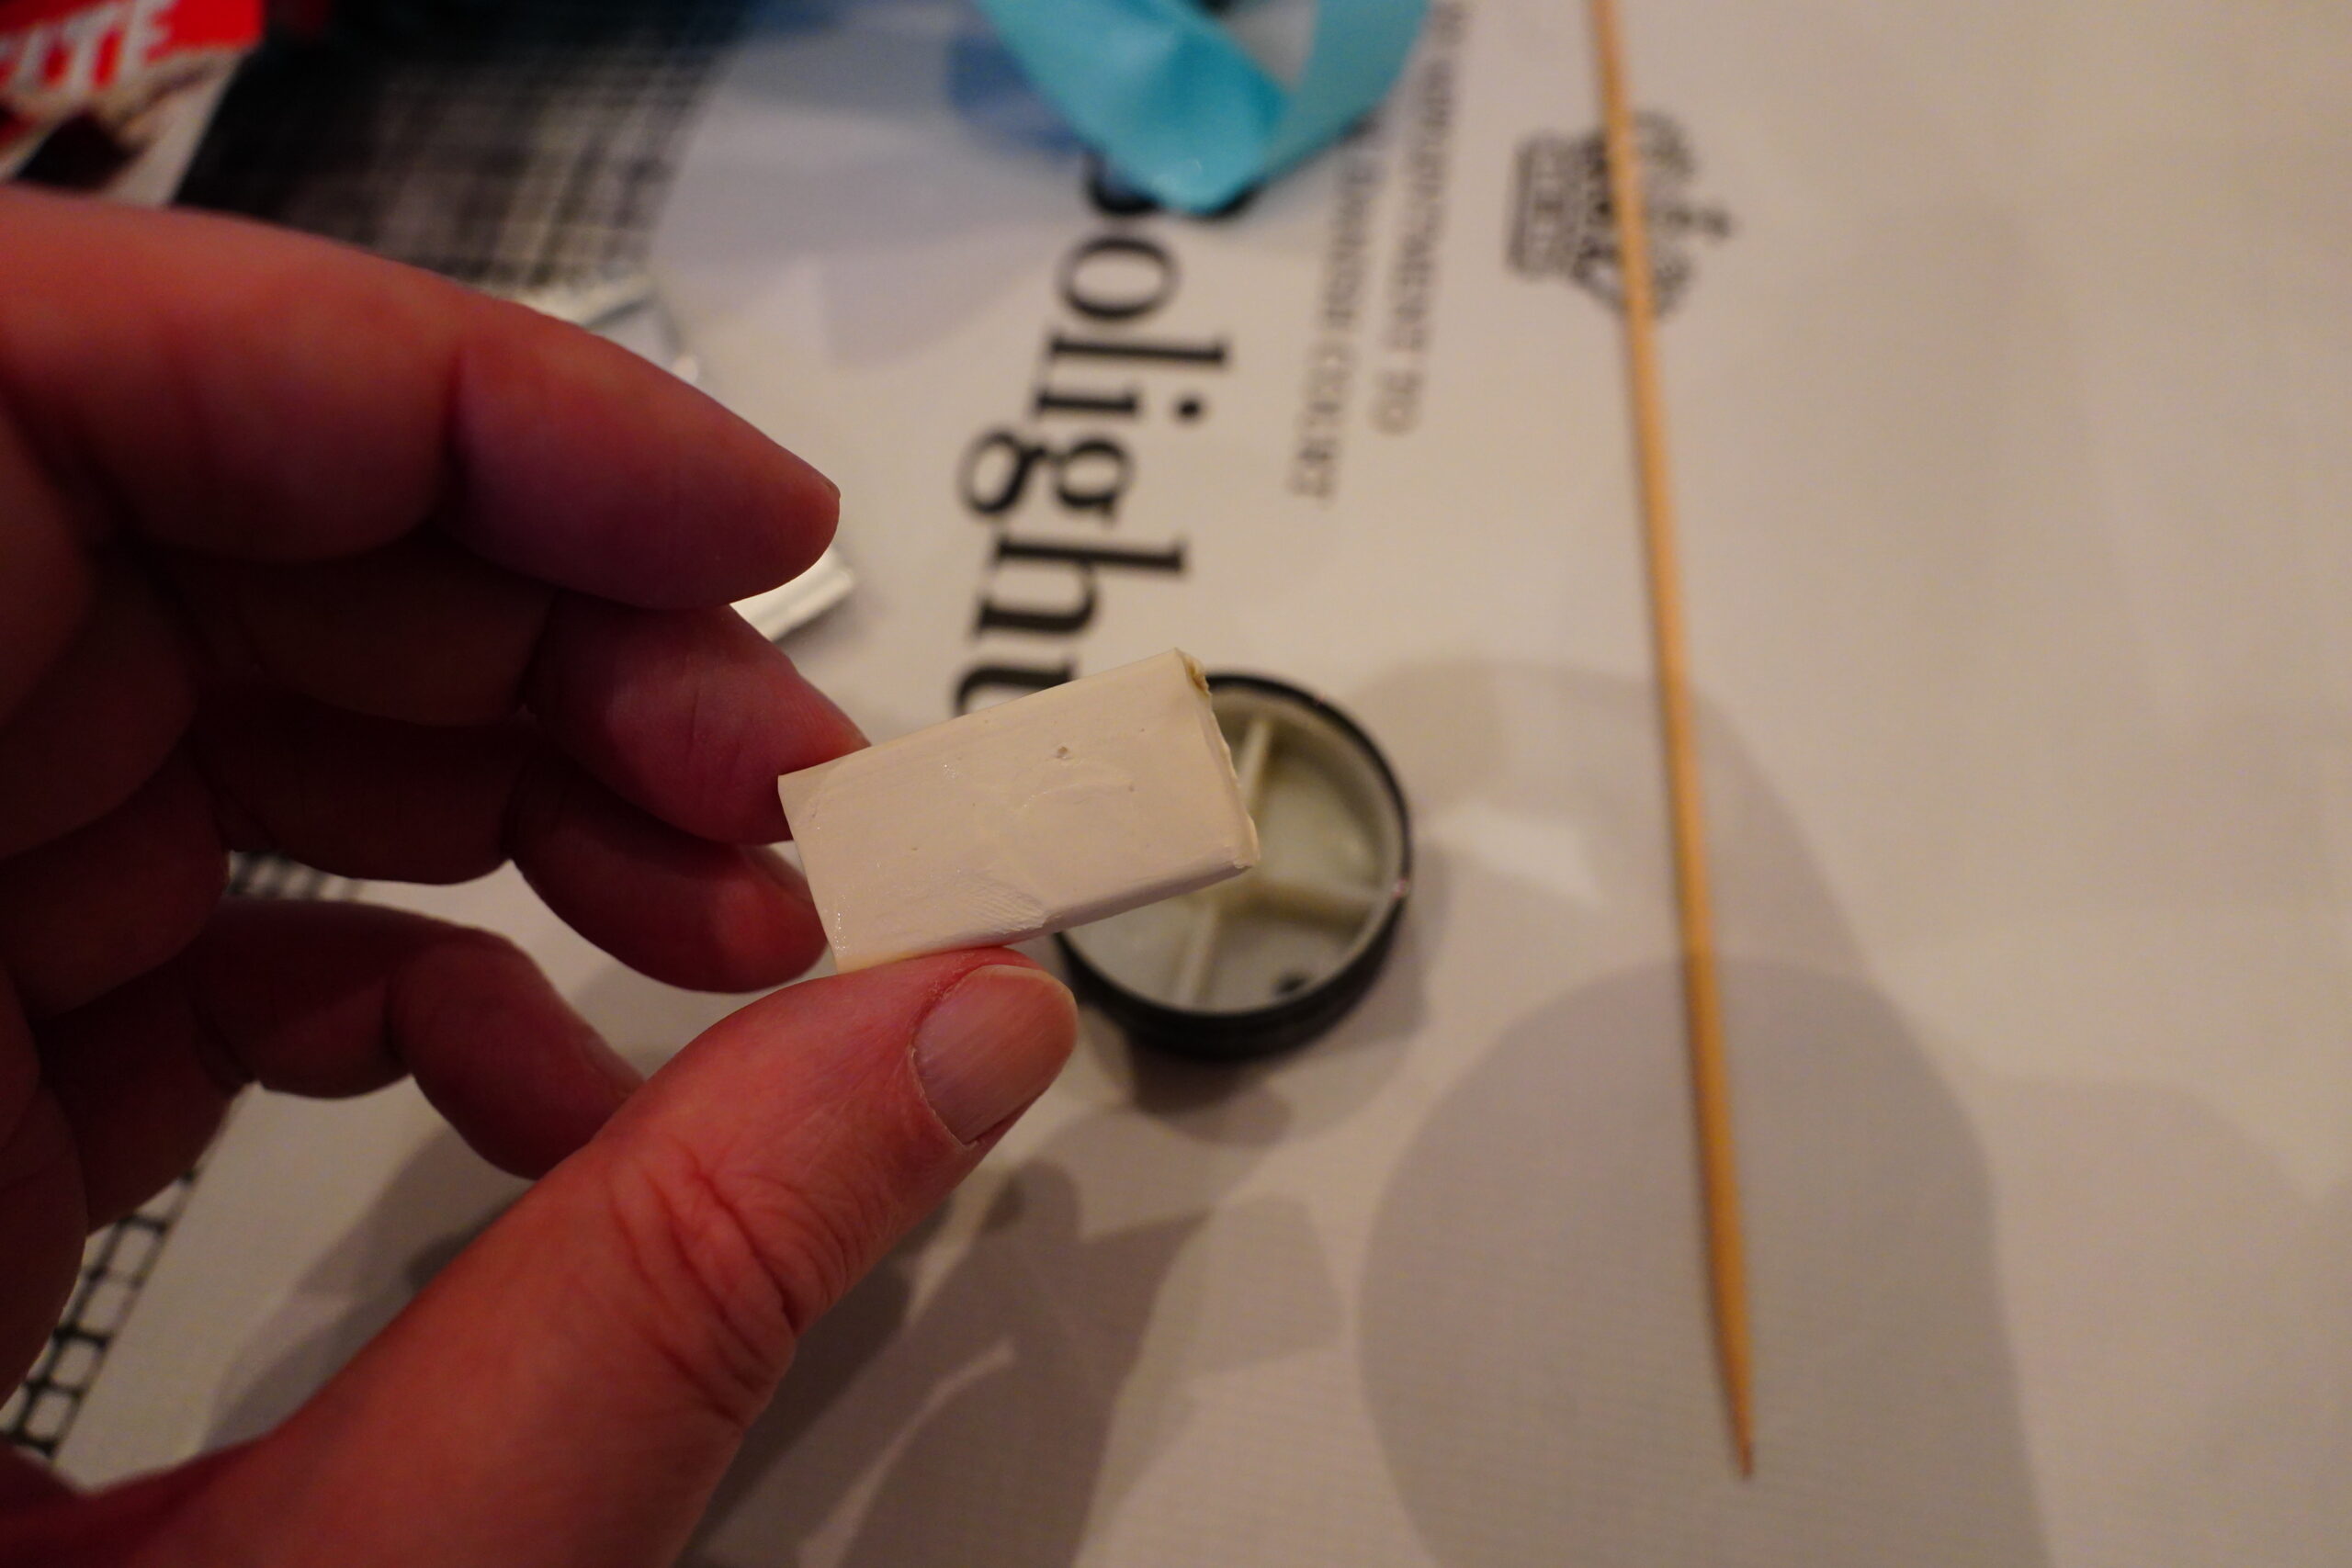
Feels like Sugru, though.
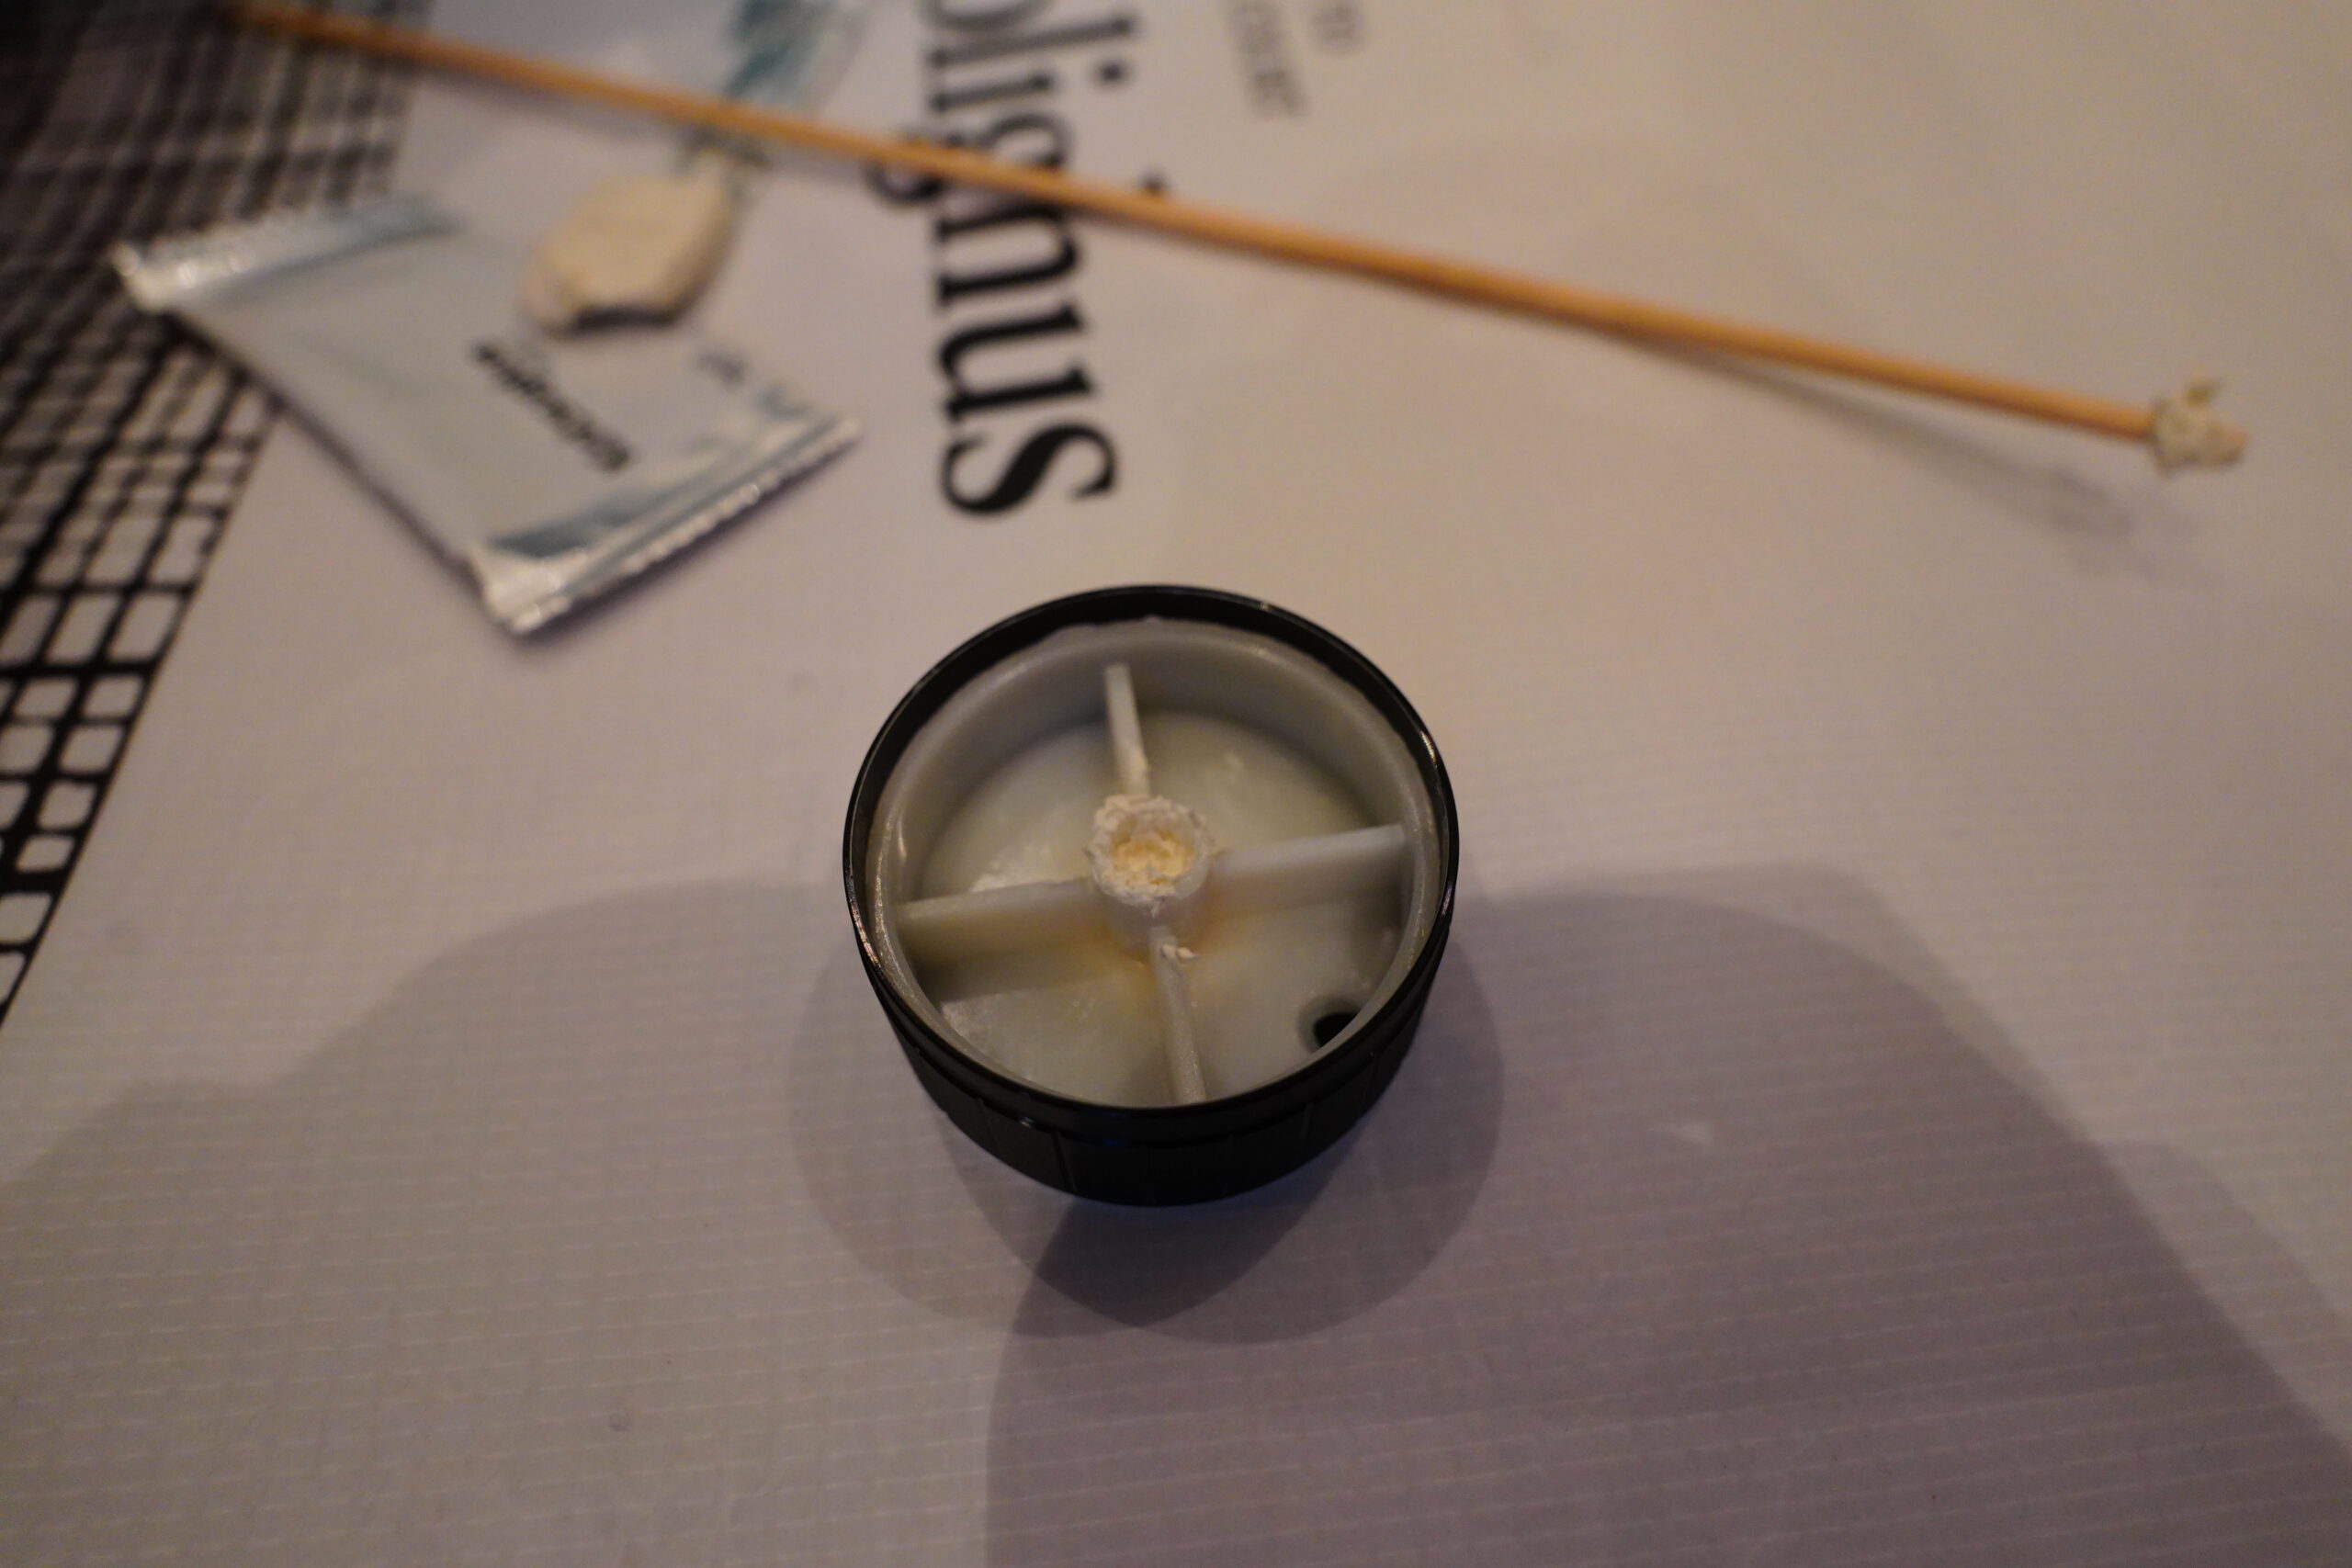
There. I’ve jammed it two thirds full.
And… it seems to be about the right amount? I can jab the button now without it sliding further in. Well, I guess I’ll know after it’s dried whether I have to do anything further.
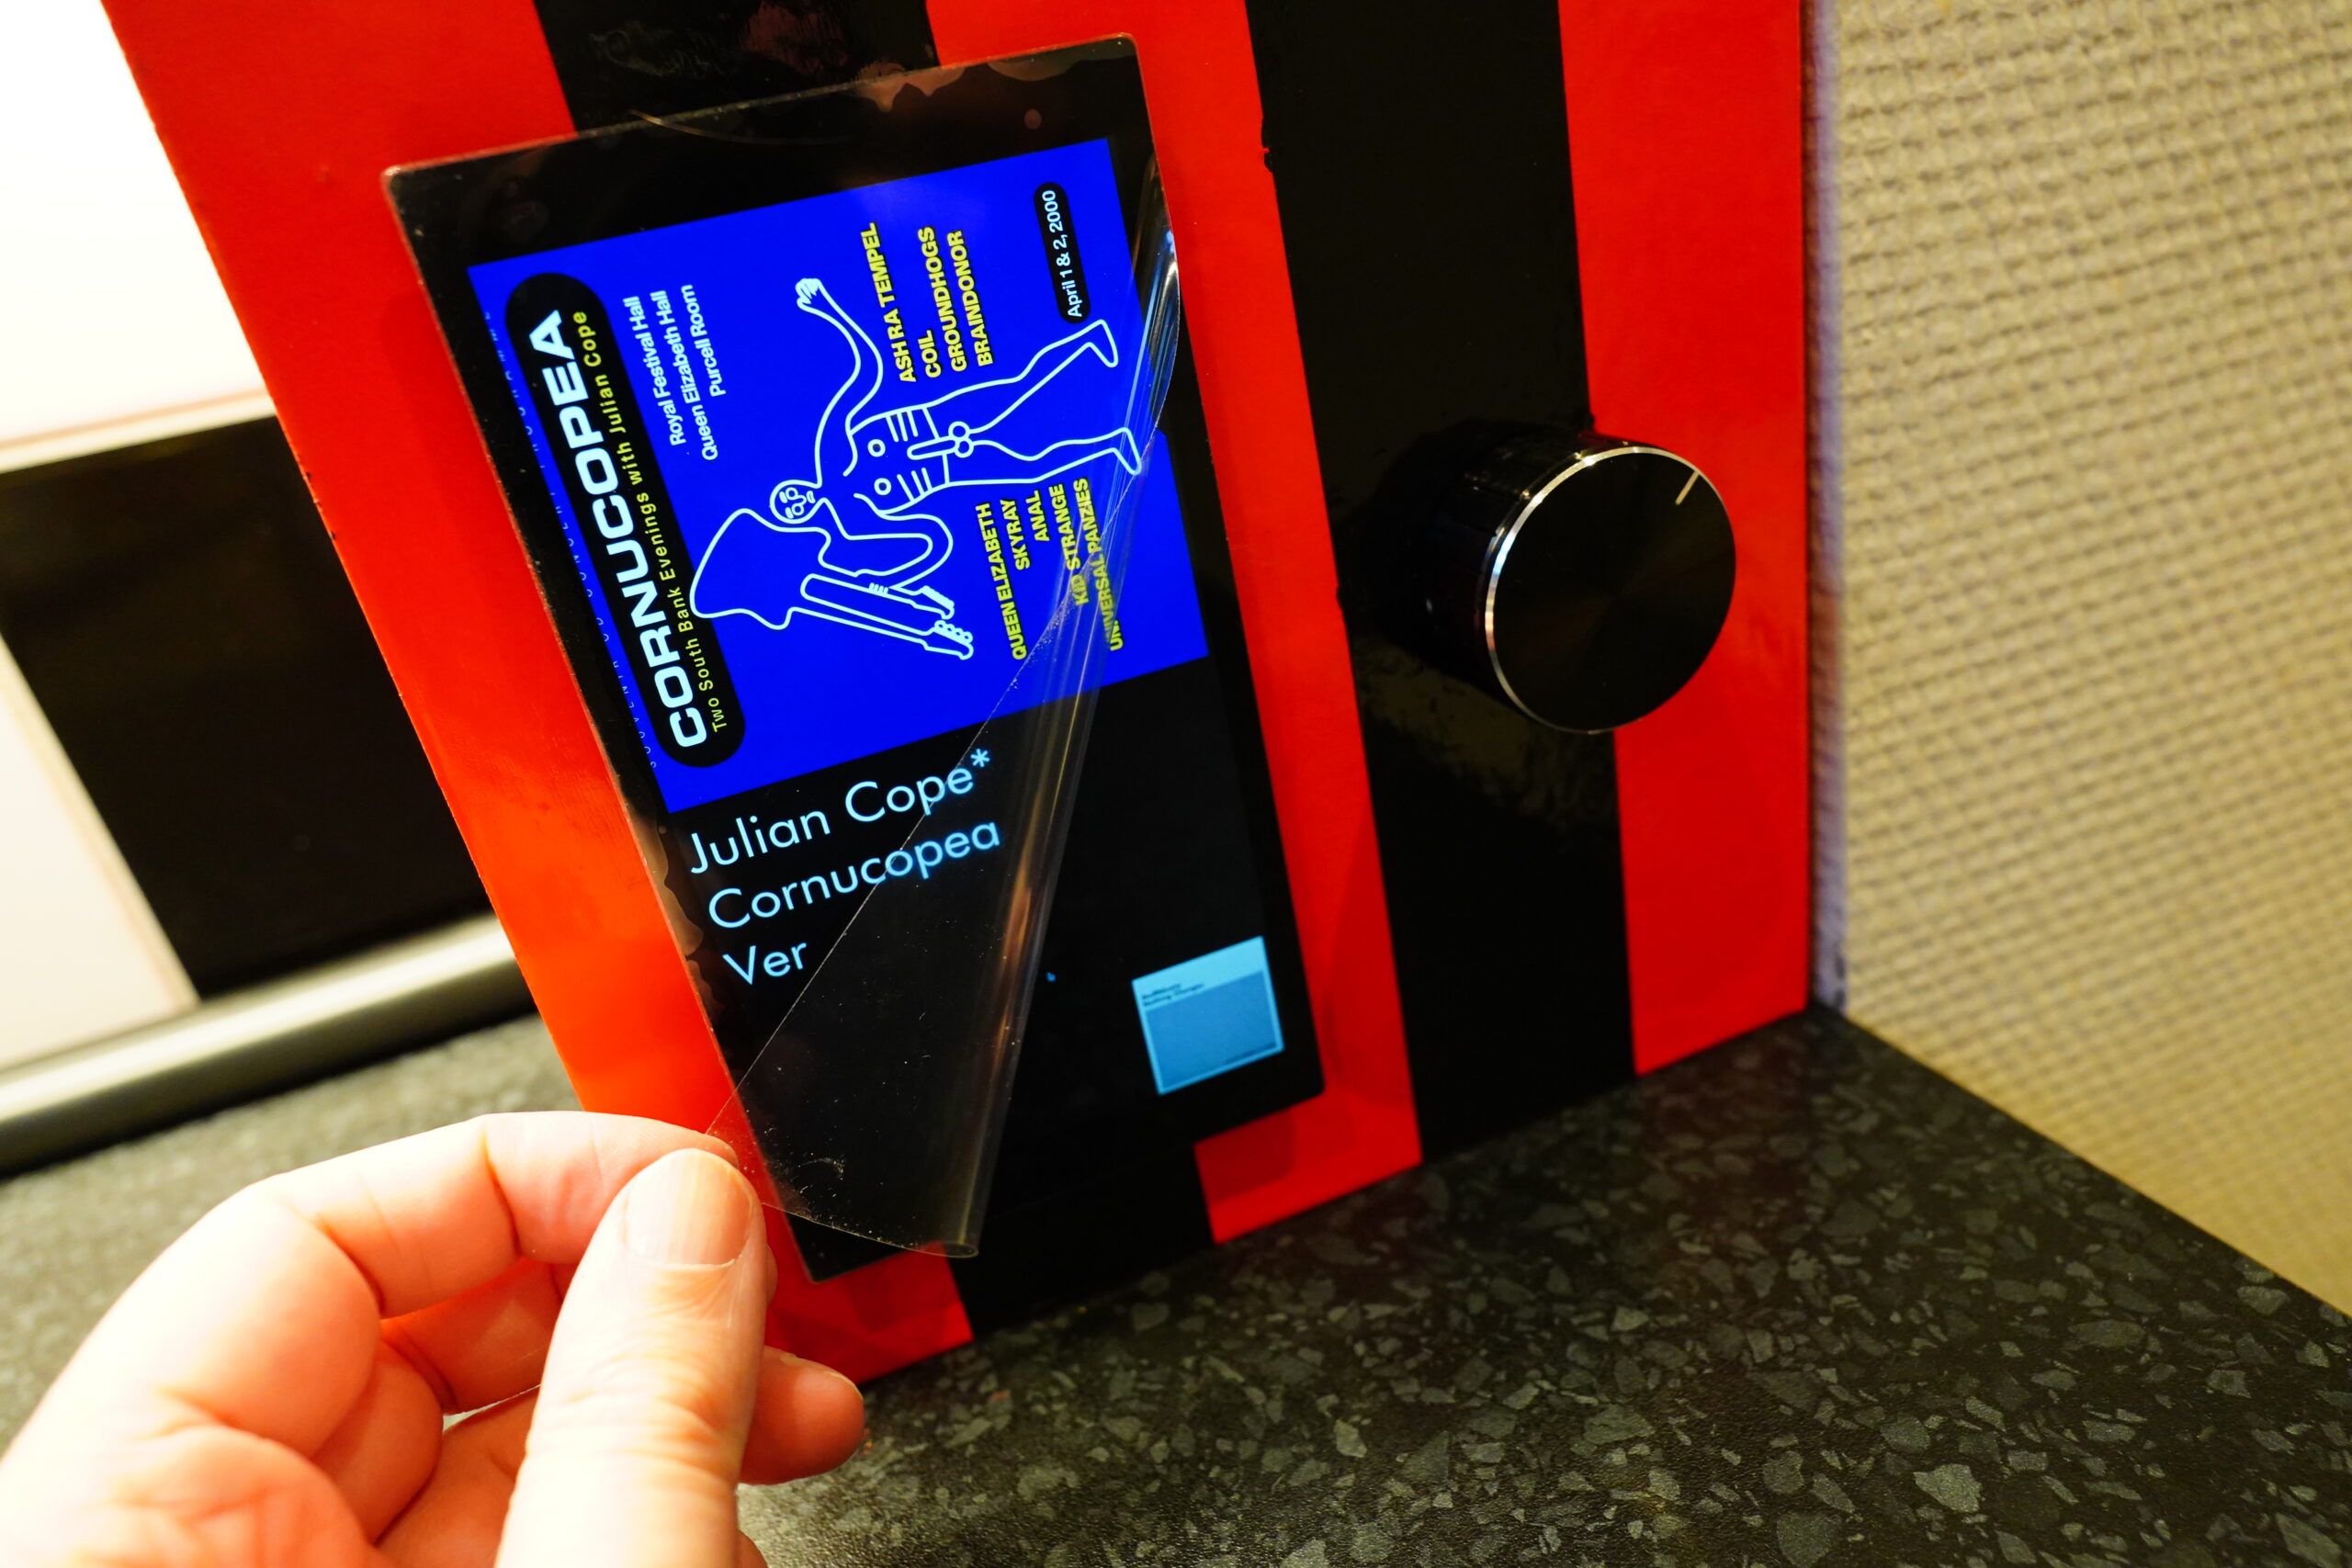
Oh, I forgot that I left the plastic clingy thing on the screen for protection while working on this…
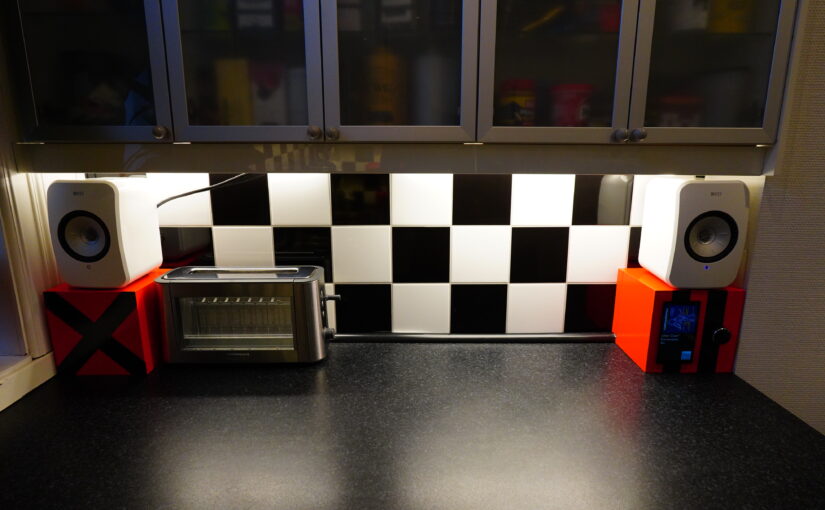
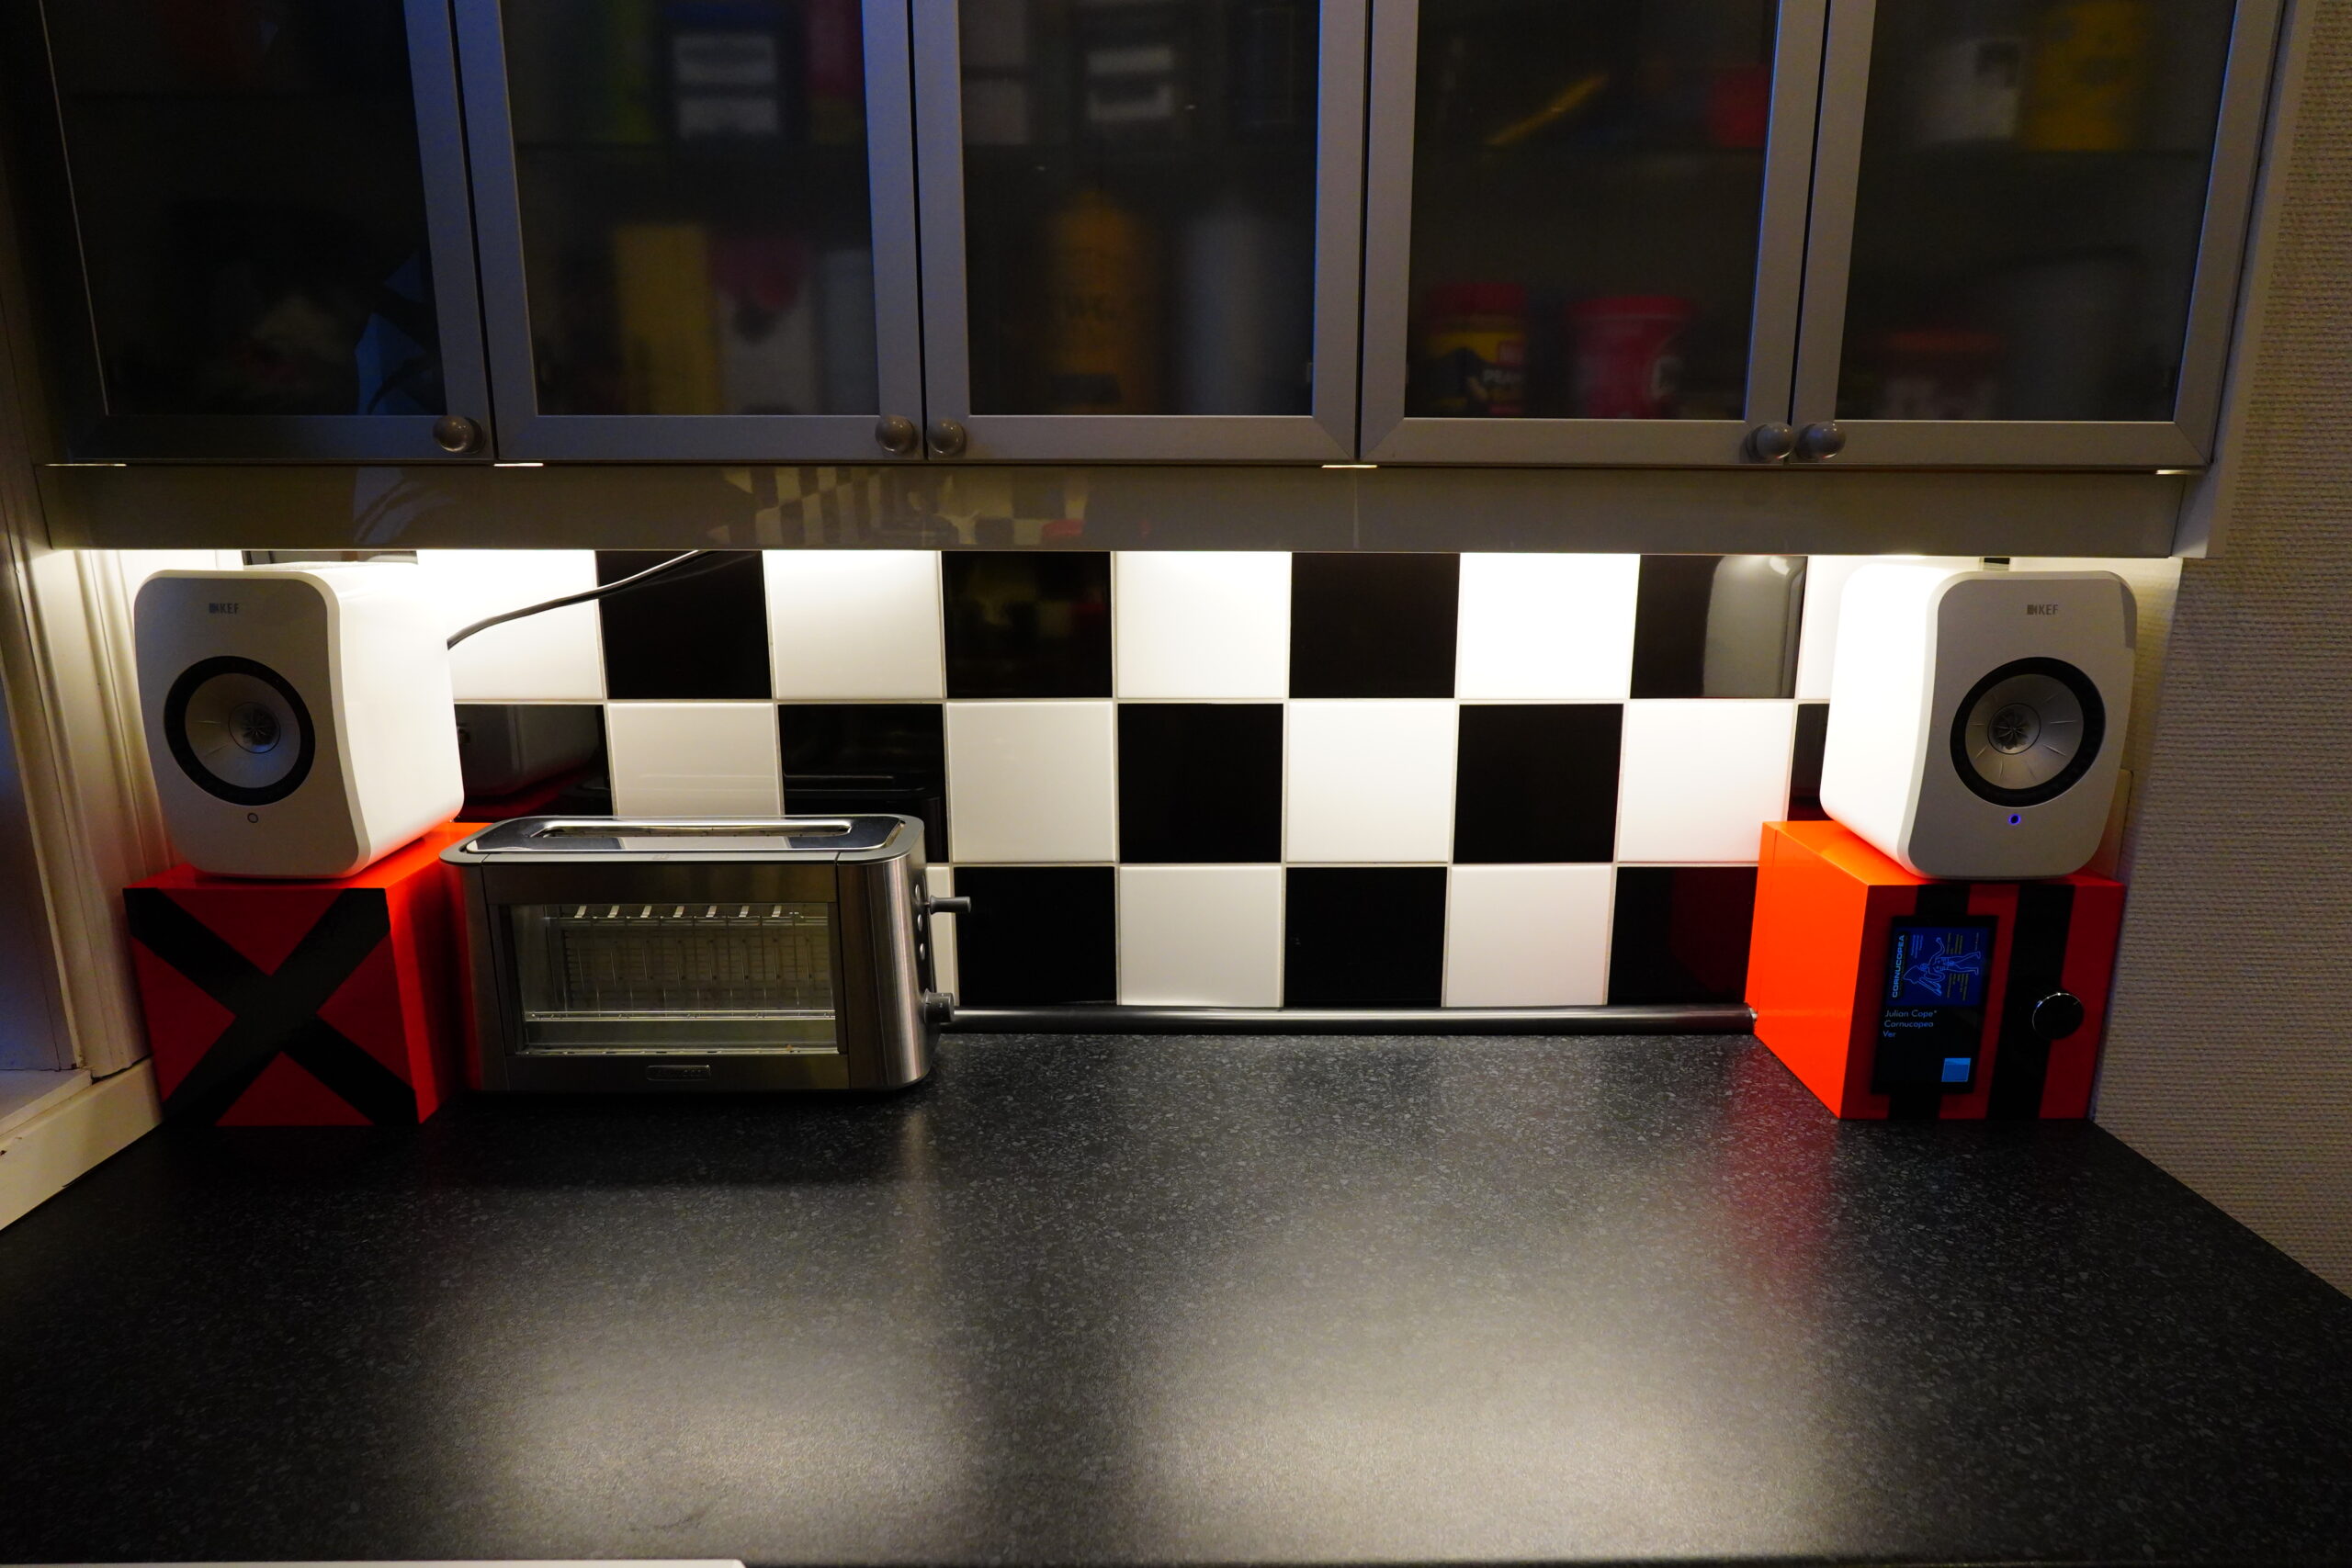
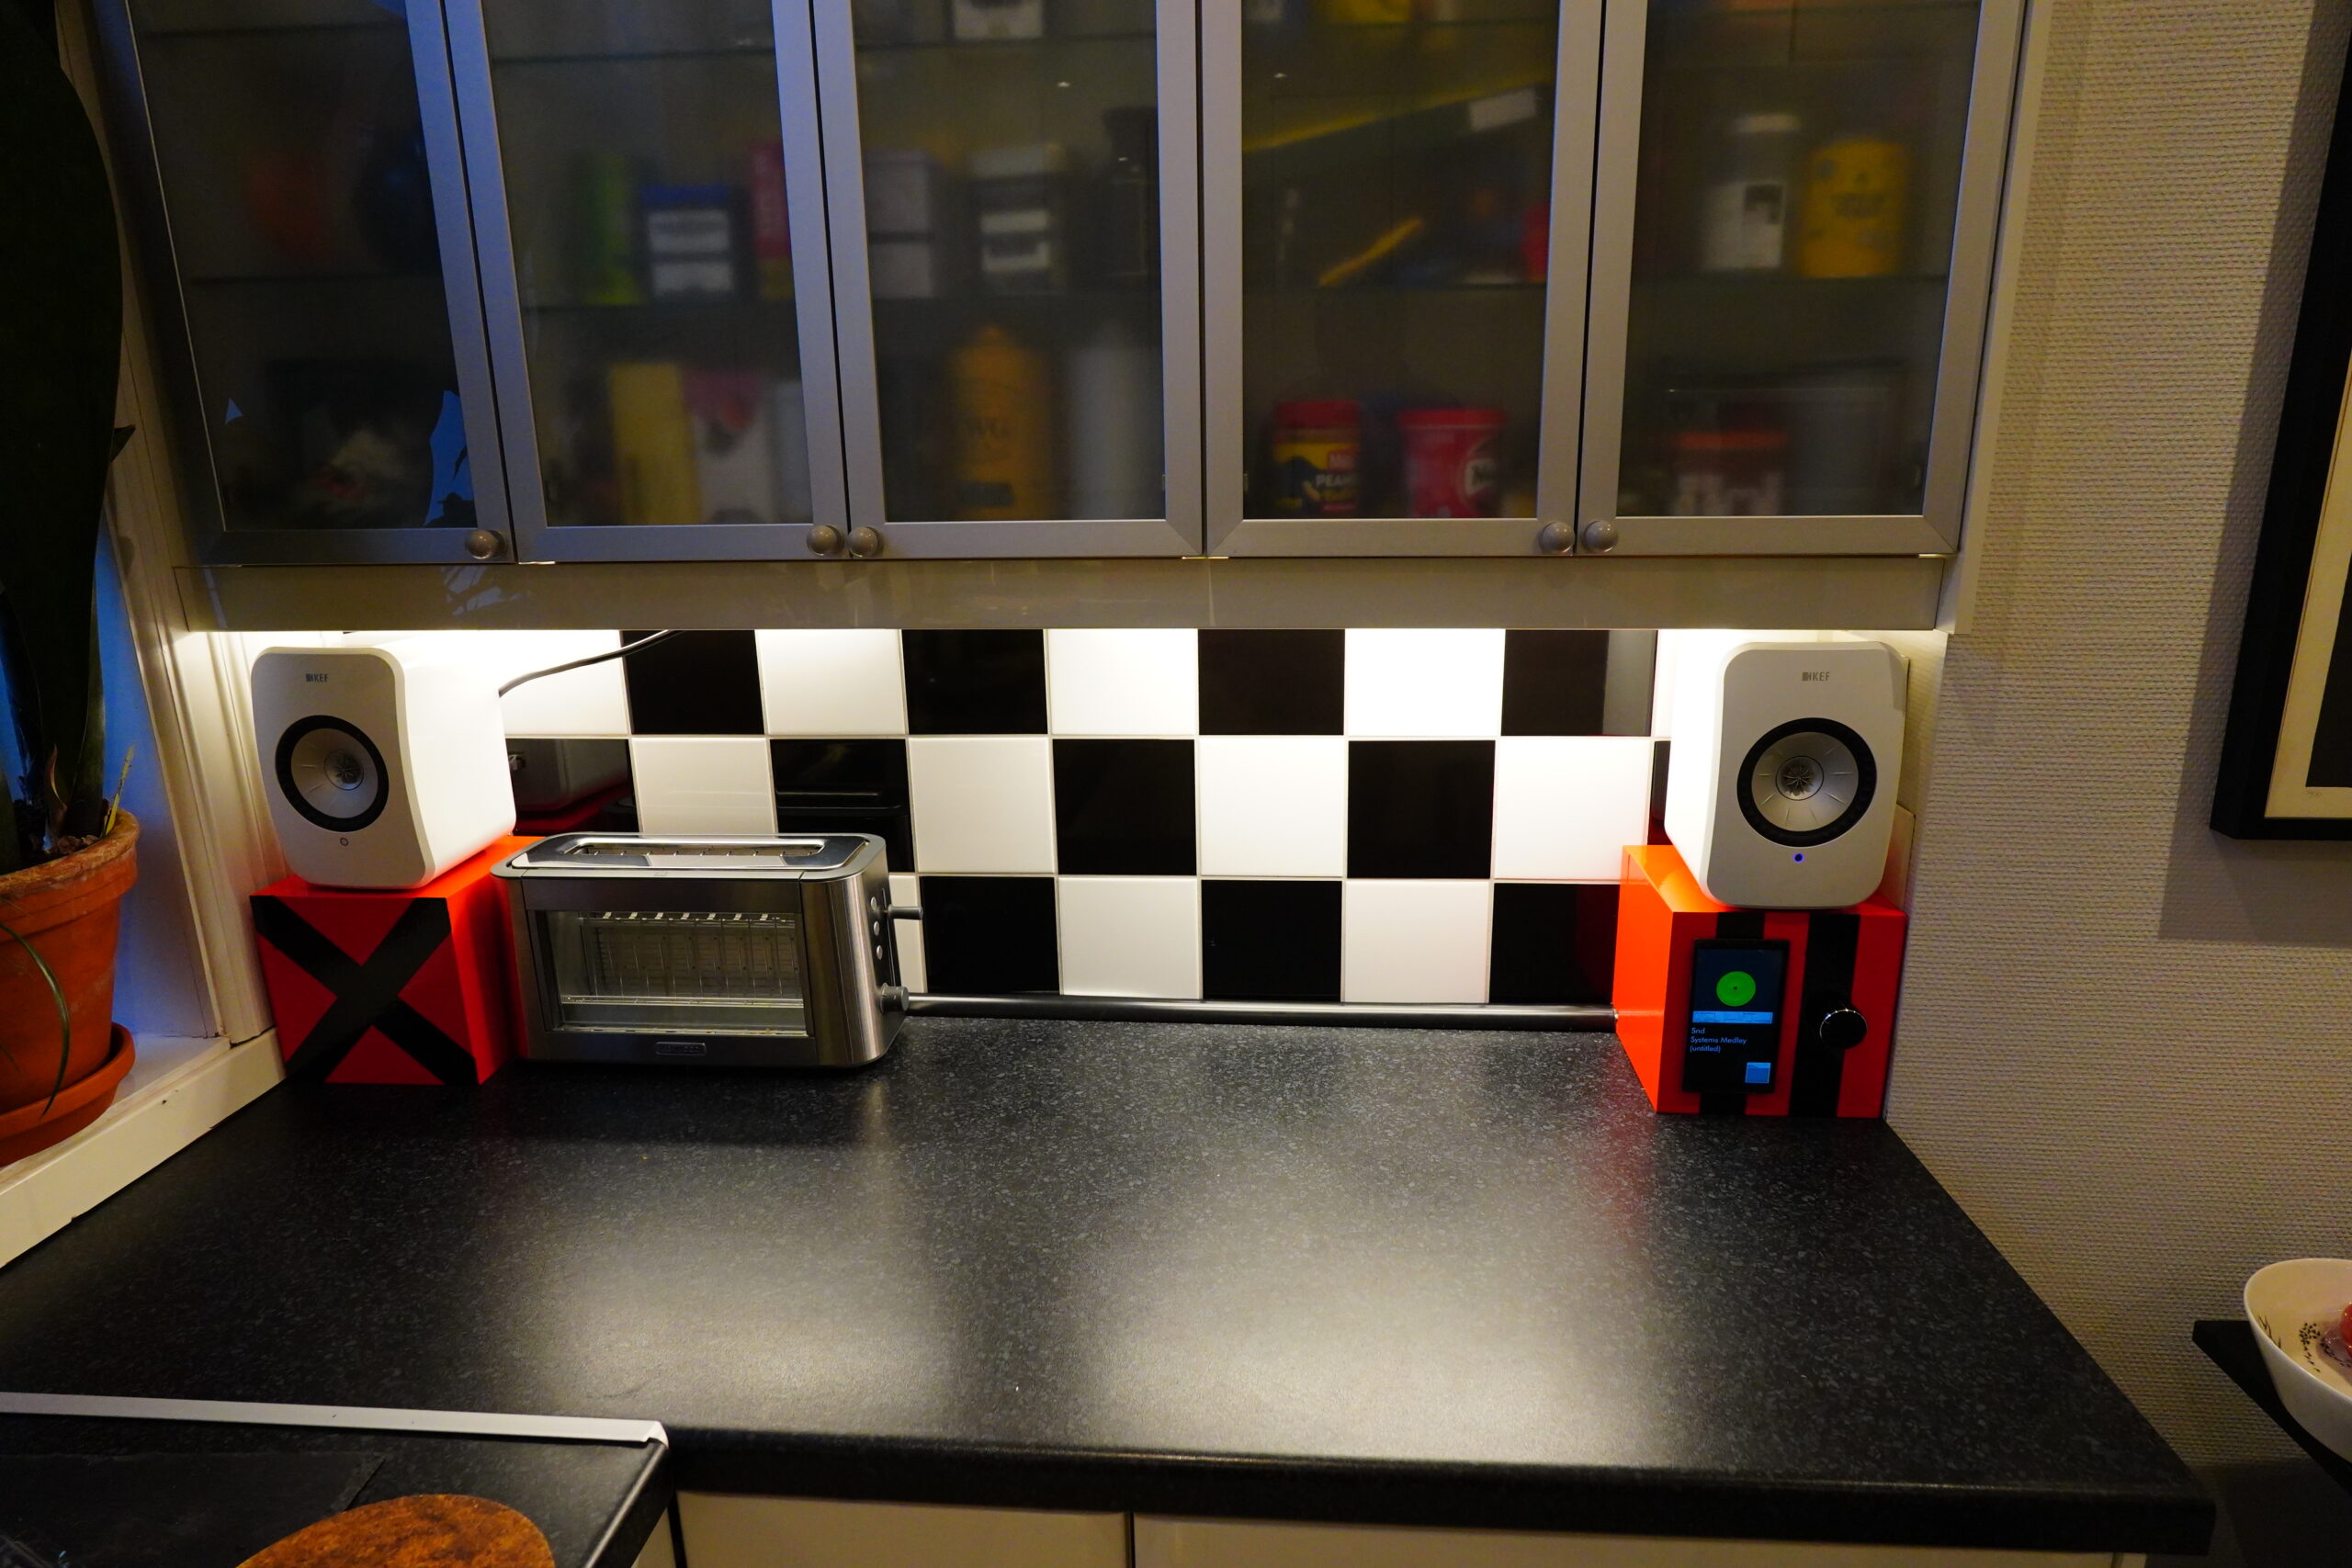
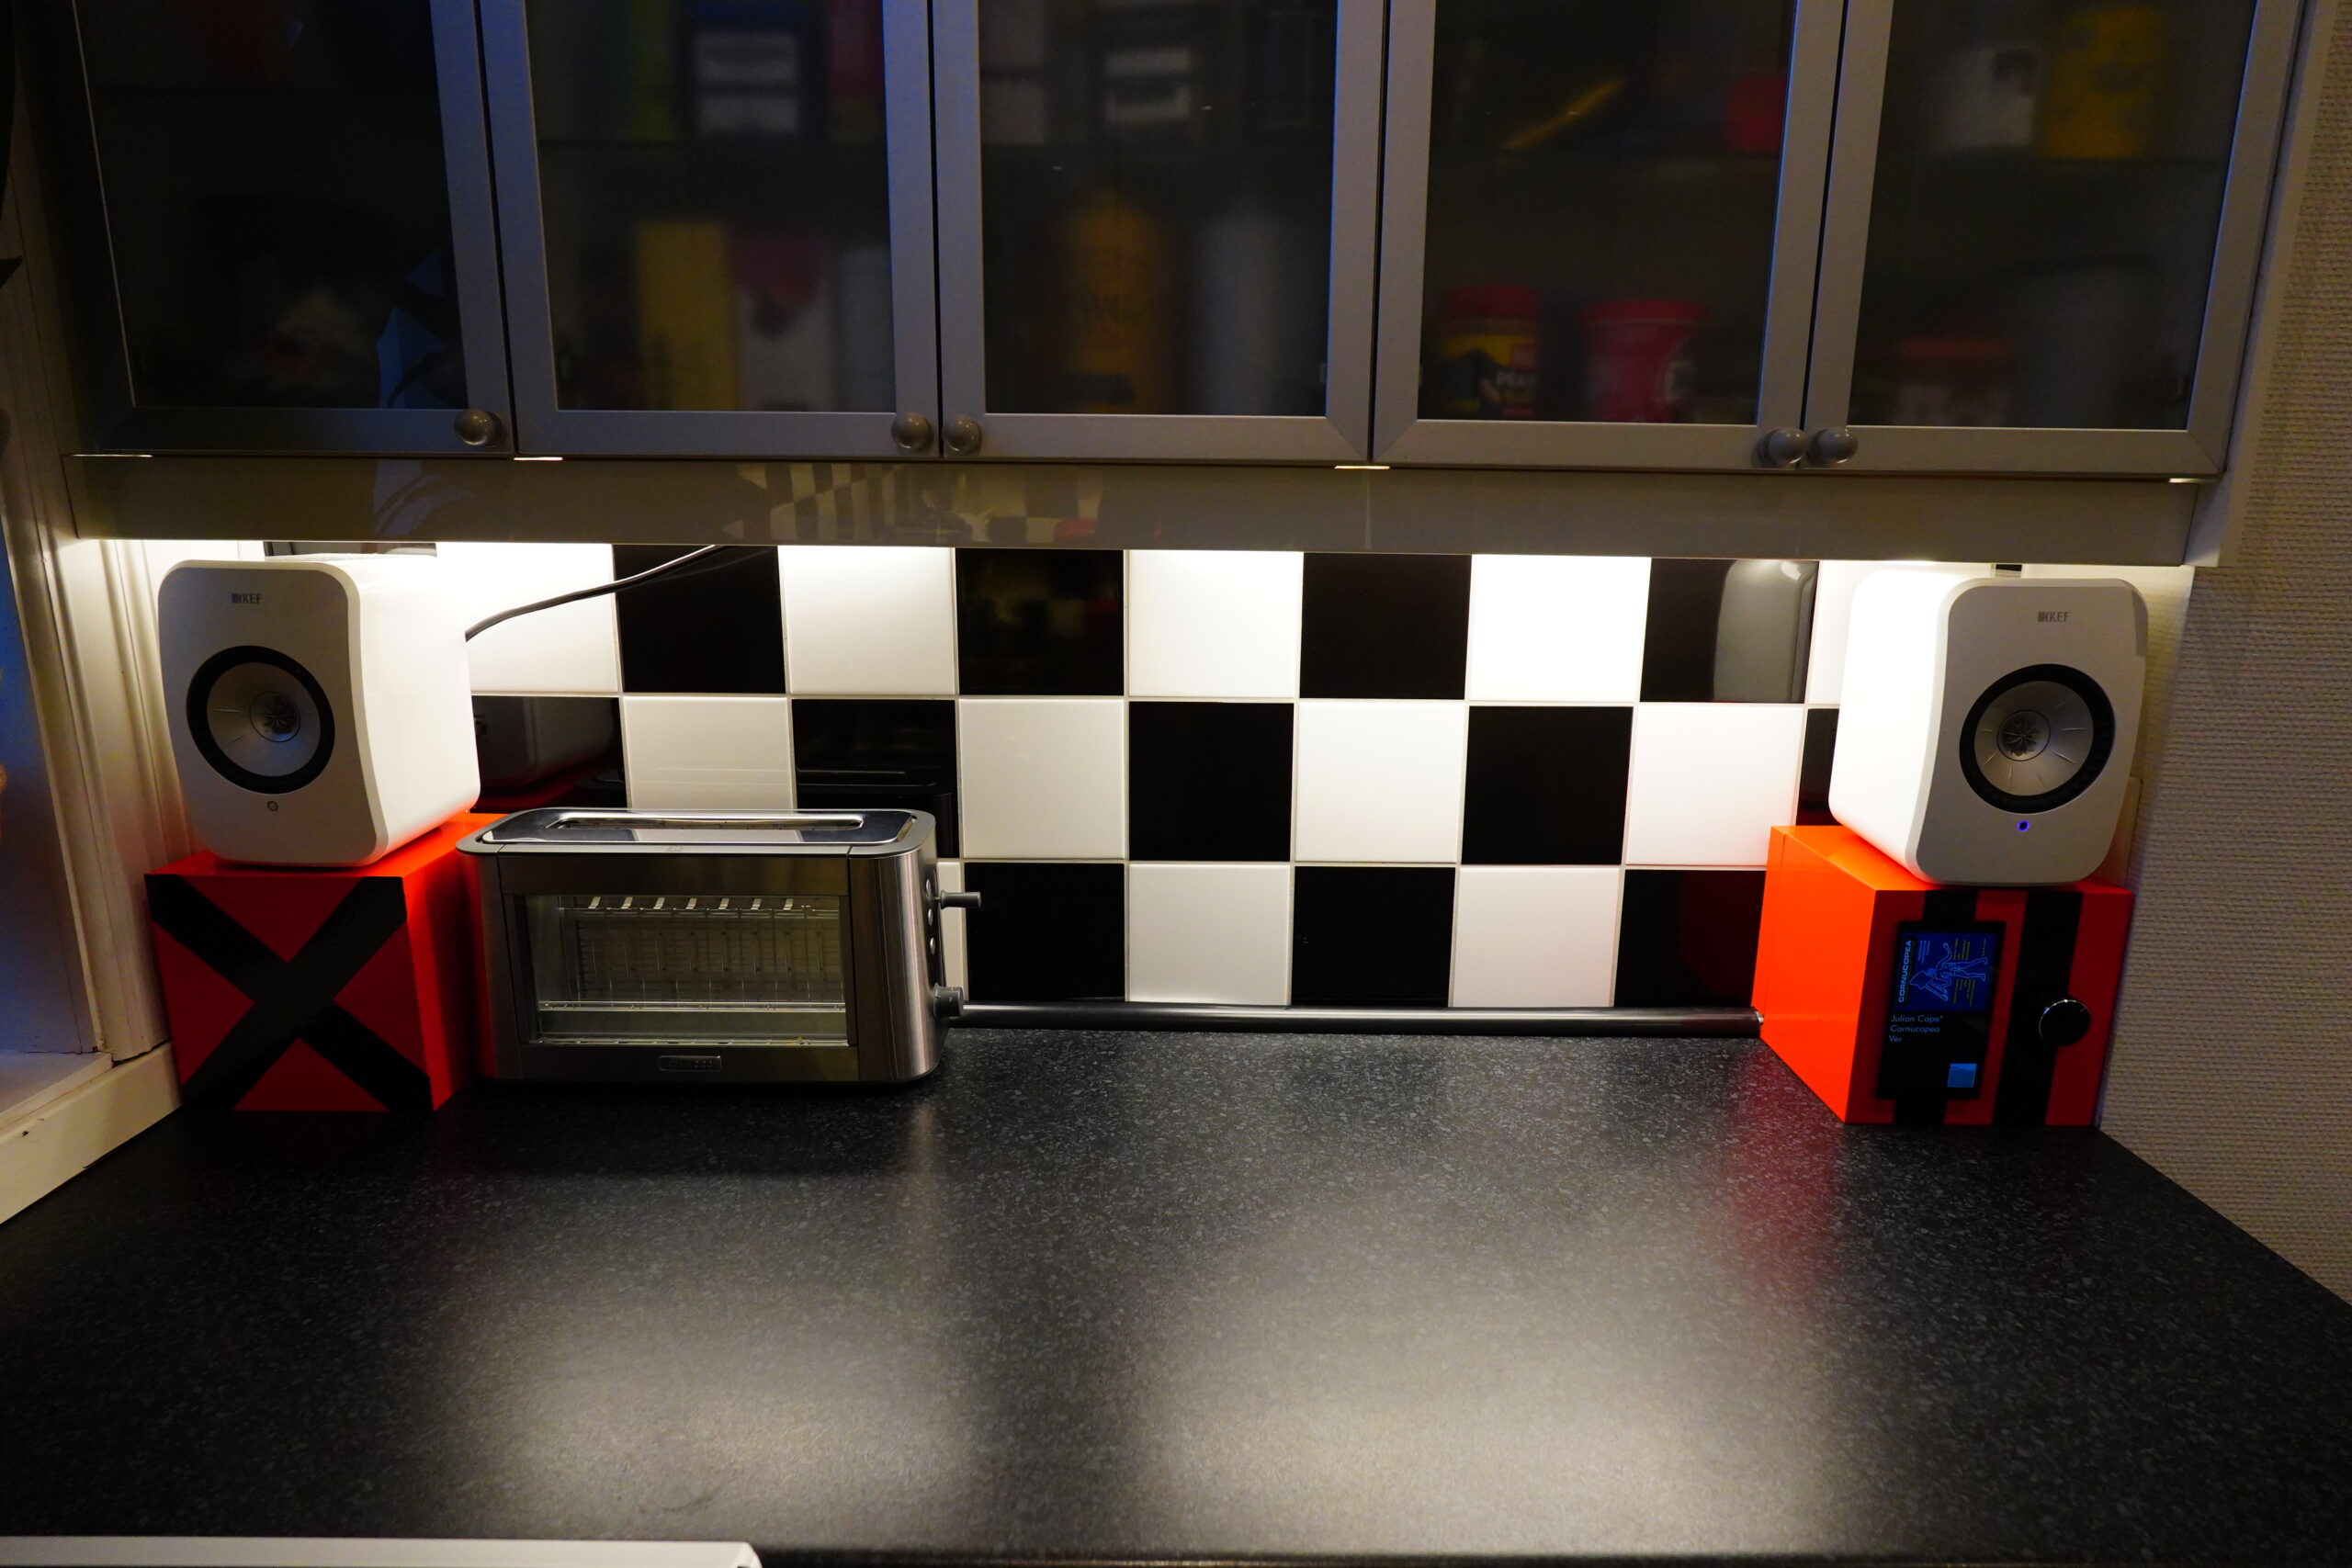
Well, that’s a lot more room on the bench than there used to be! Now I can, like, bake more cakes. Or something.
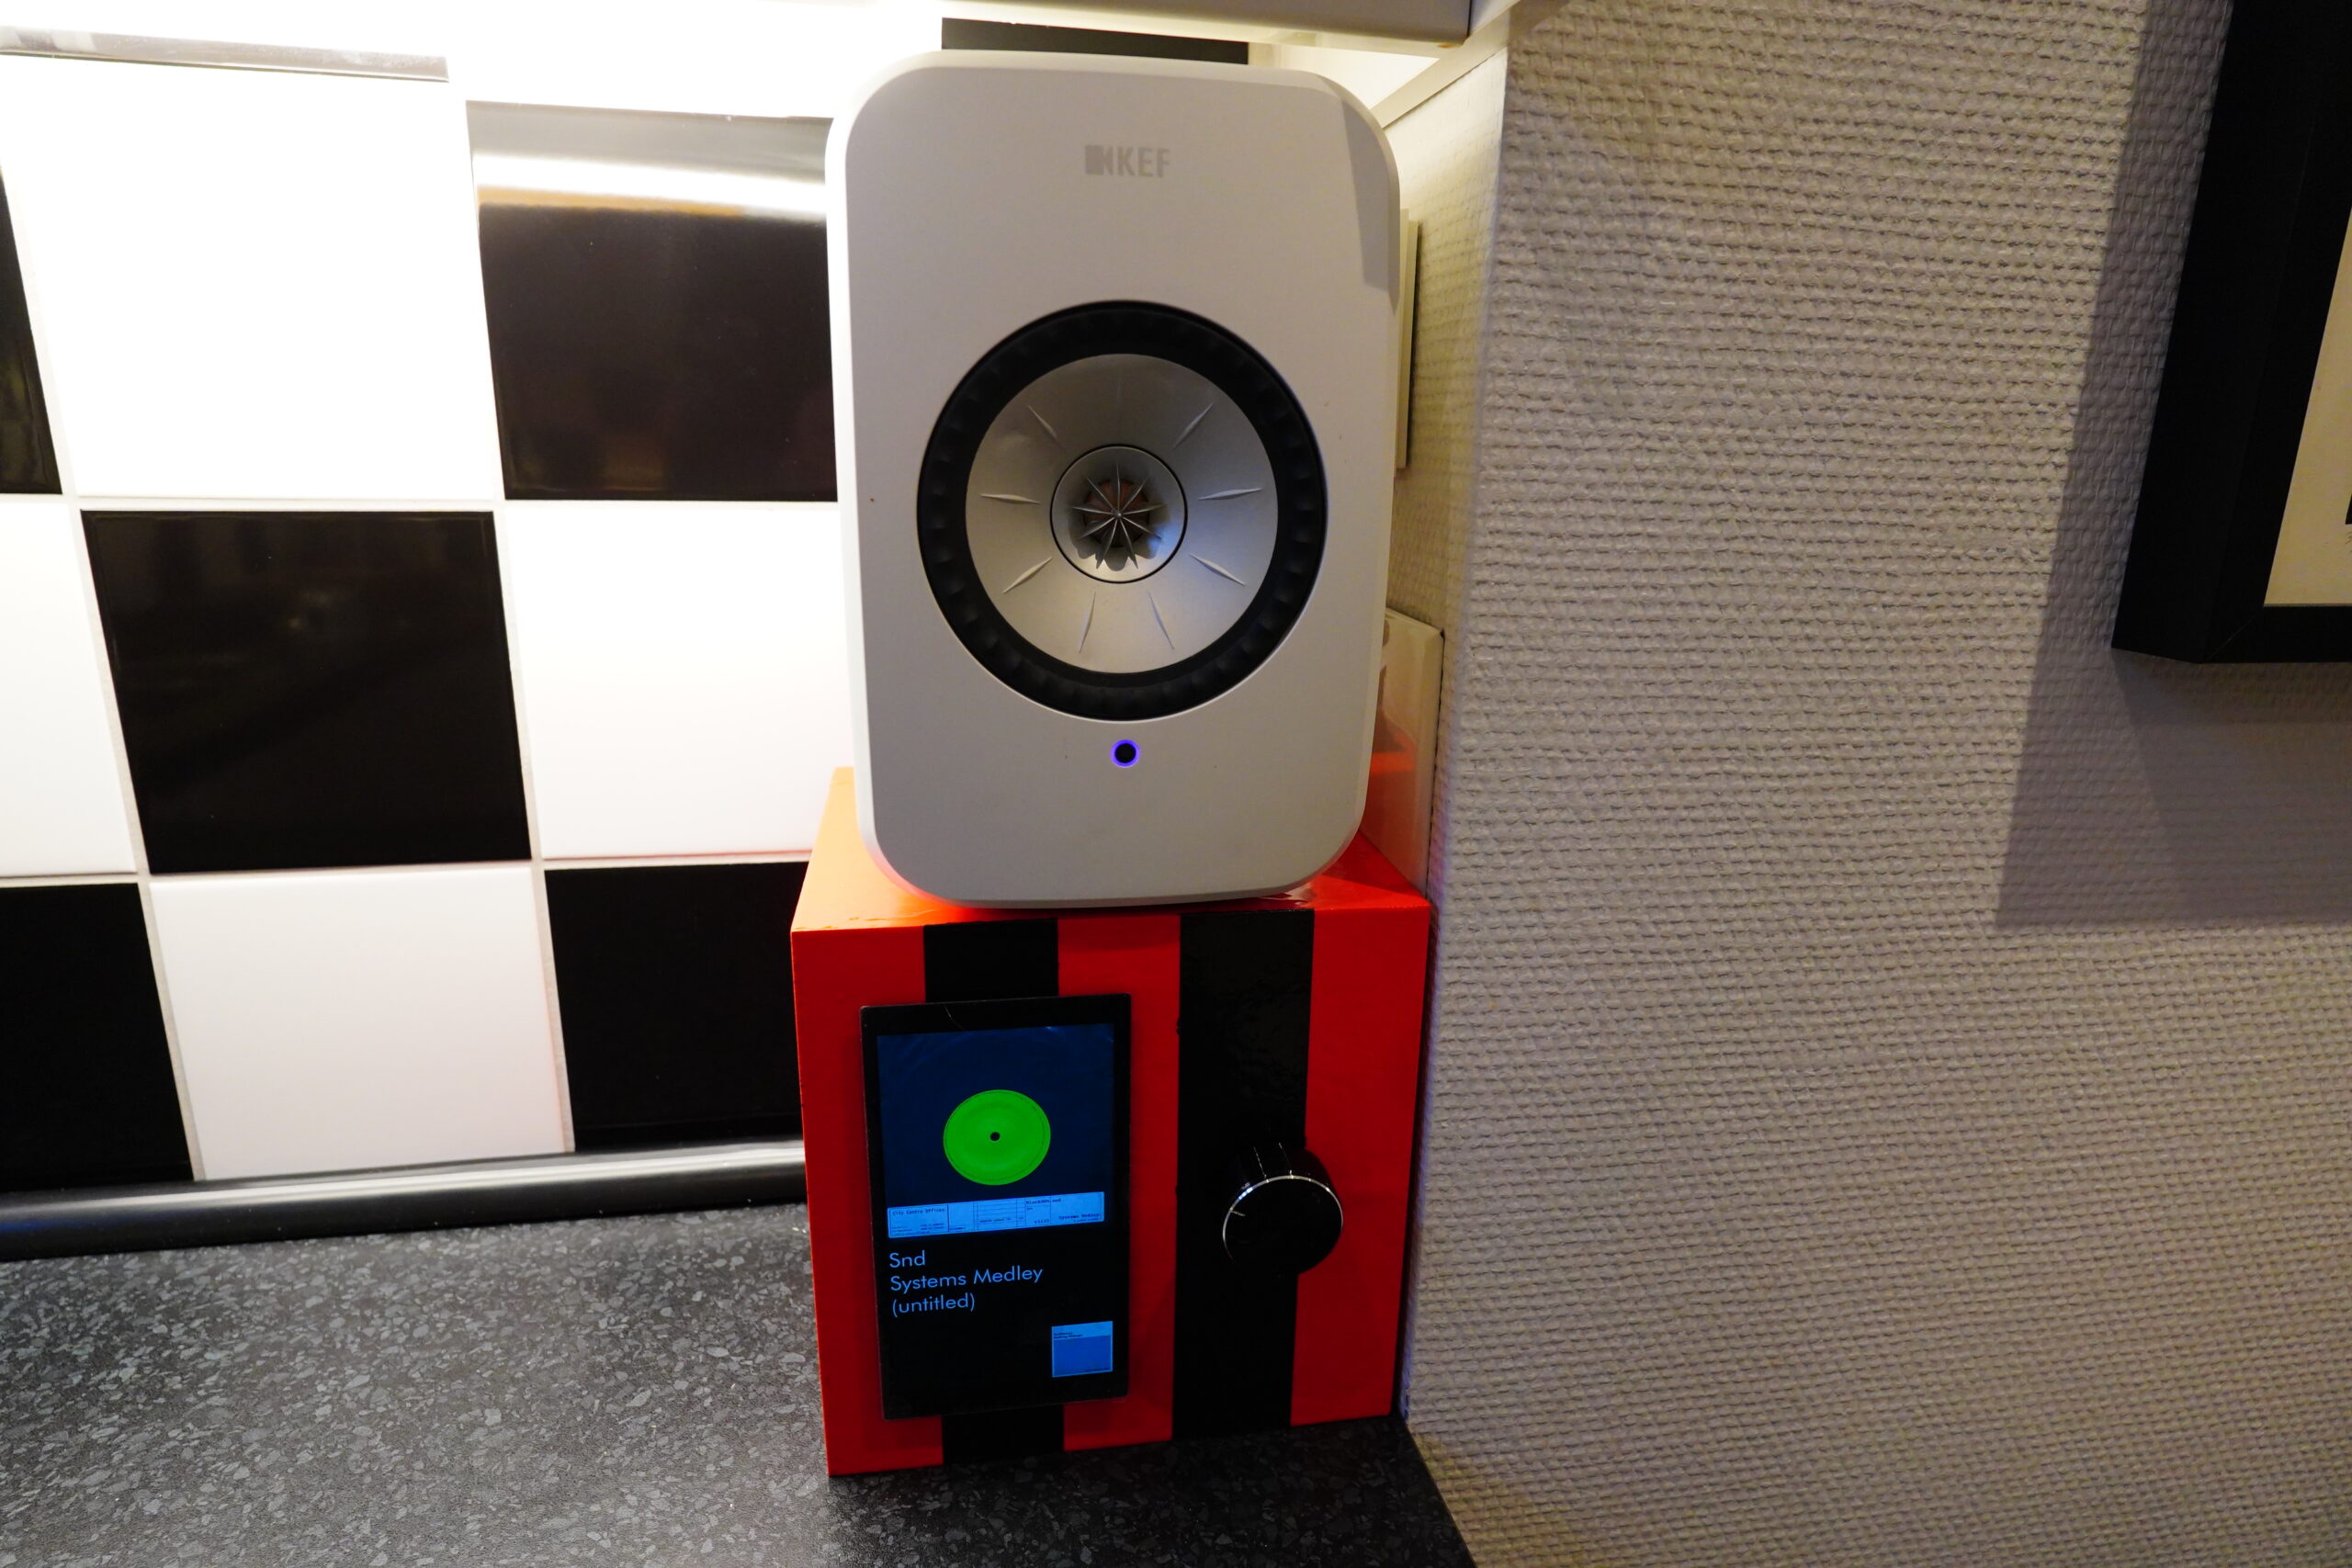
I should have painted both boxes the same way — and I should have gone with an X on both, or perhaps none, because those stripes don’t look very intentional (although I was thinking of Plastic Man when I did them).
Well, they’re gonna stay that way now! Hah! This took three months and was totally worth it.

I admire your dedication.
I have had an rpi3 for quite a few years now, and I never built anything complete with it, just two abandoned projects.