
I’ve still got a cold, so I’m pretty slow on the uptake. So by the time I’ve understood a joke, it’s too late to laugh because there’s been three new jokes arriving in the meantime.
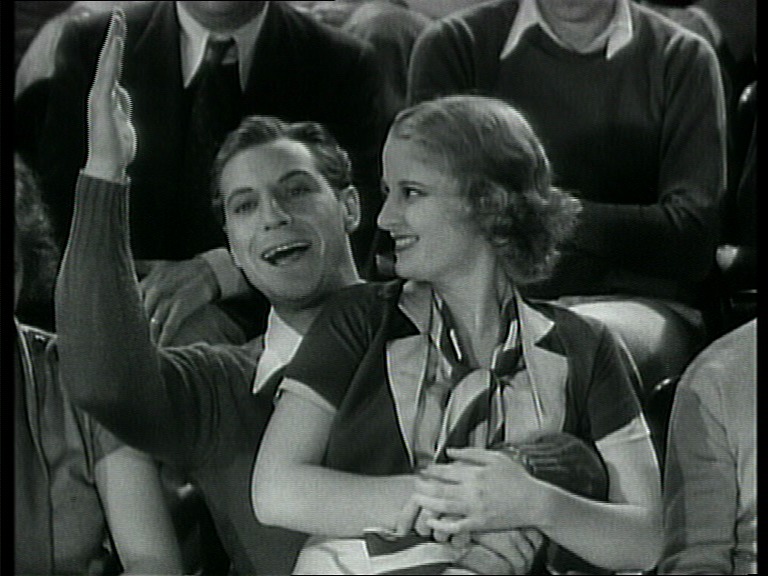
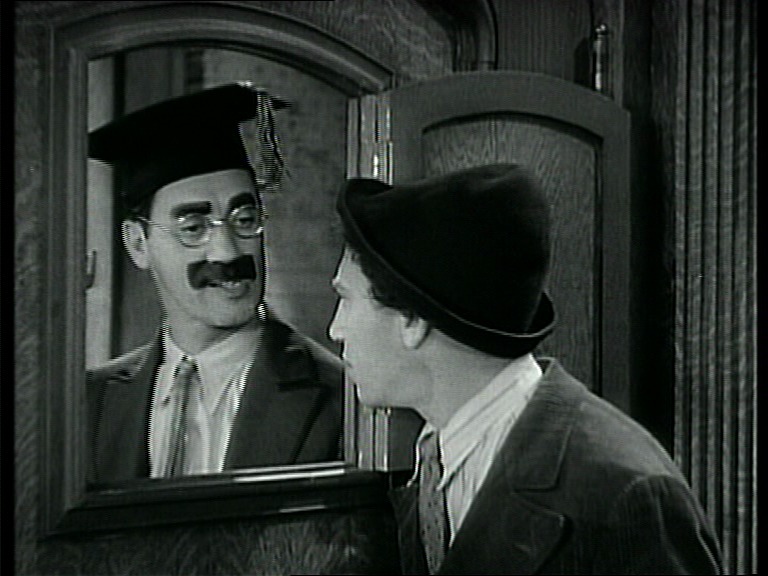
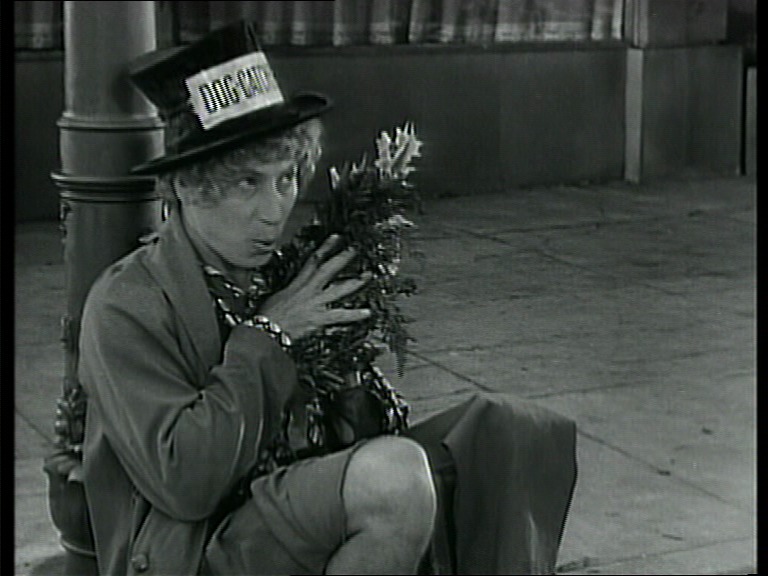
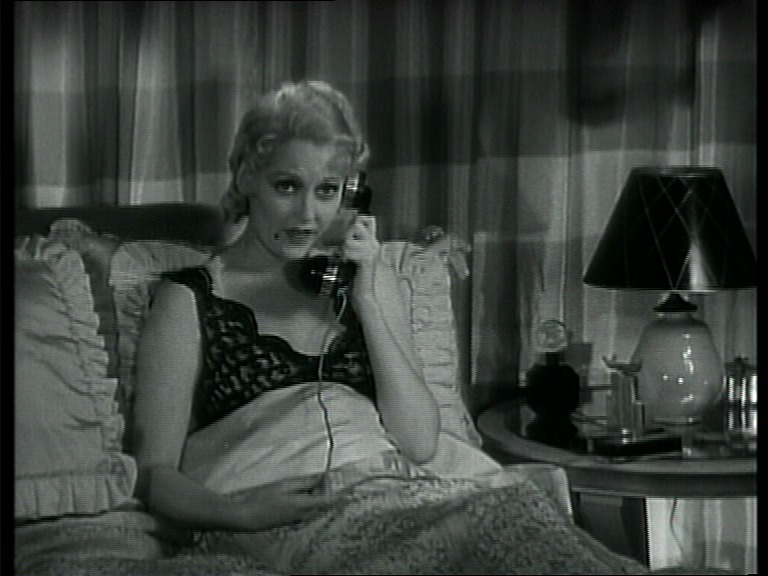
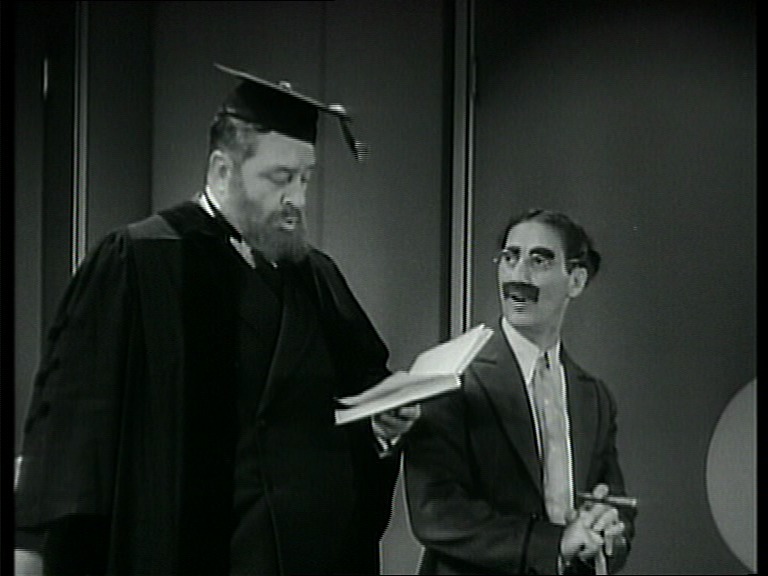
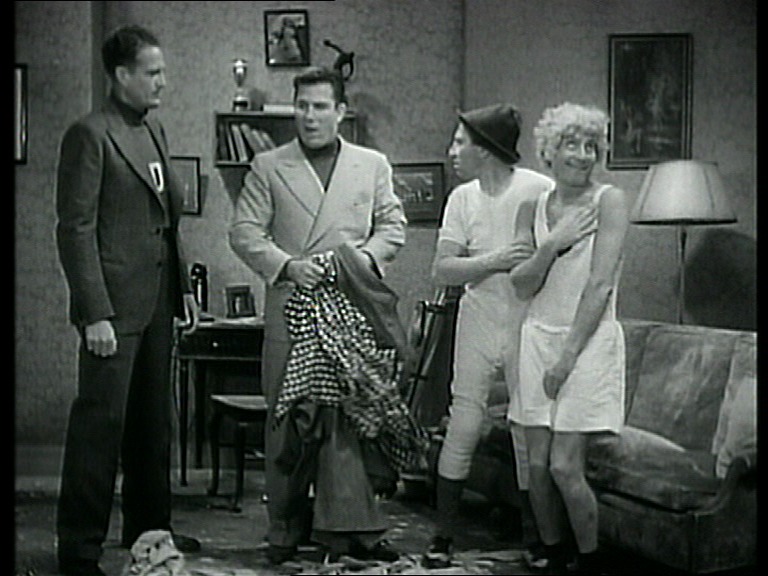
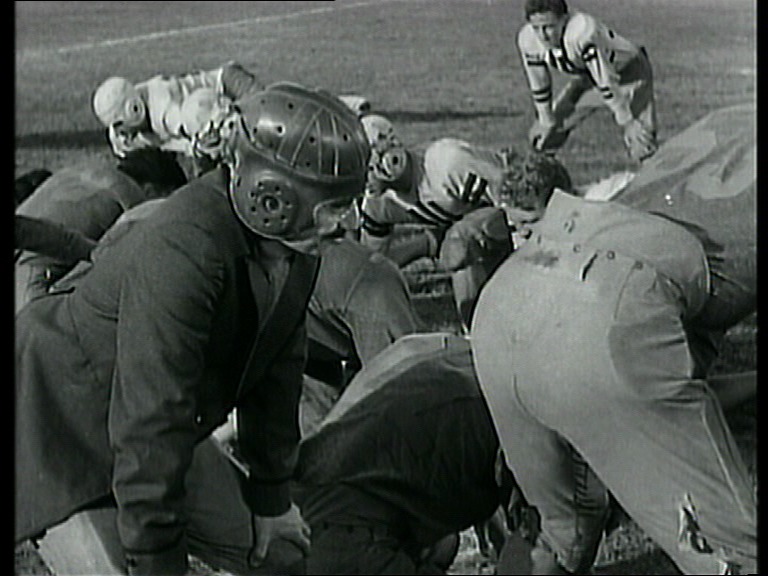
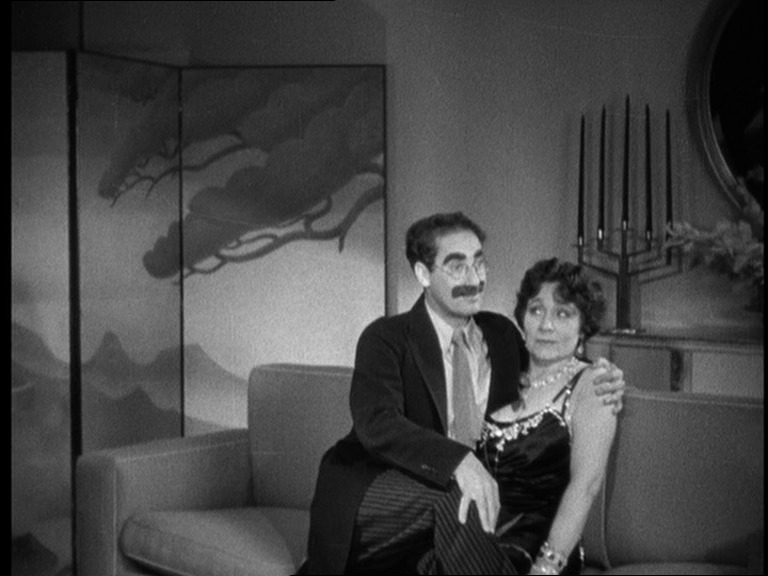
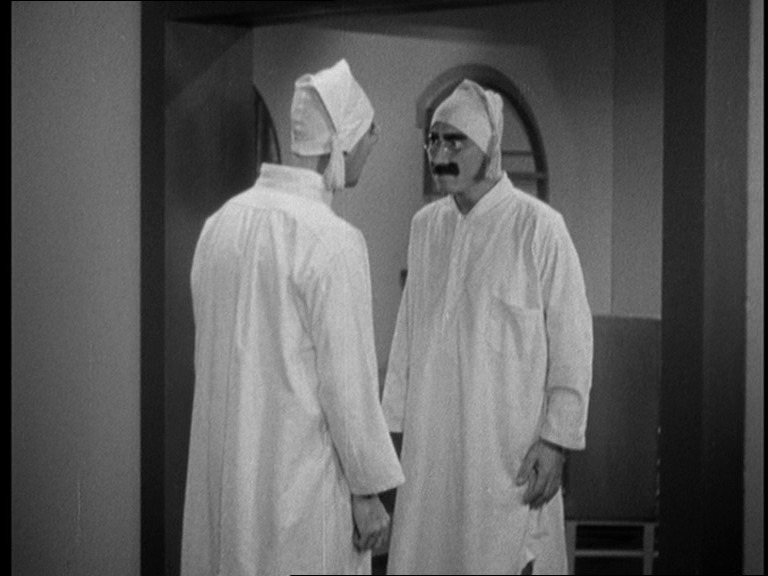
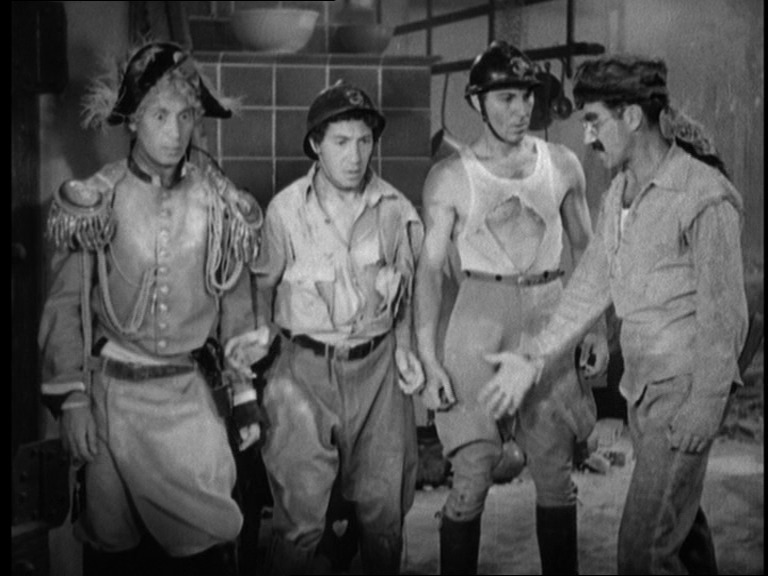
It’s so deliciously silly throughout. Not a very… well-plotted… film, perhaps, but inspired, nonetheless.
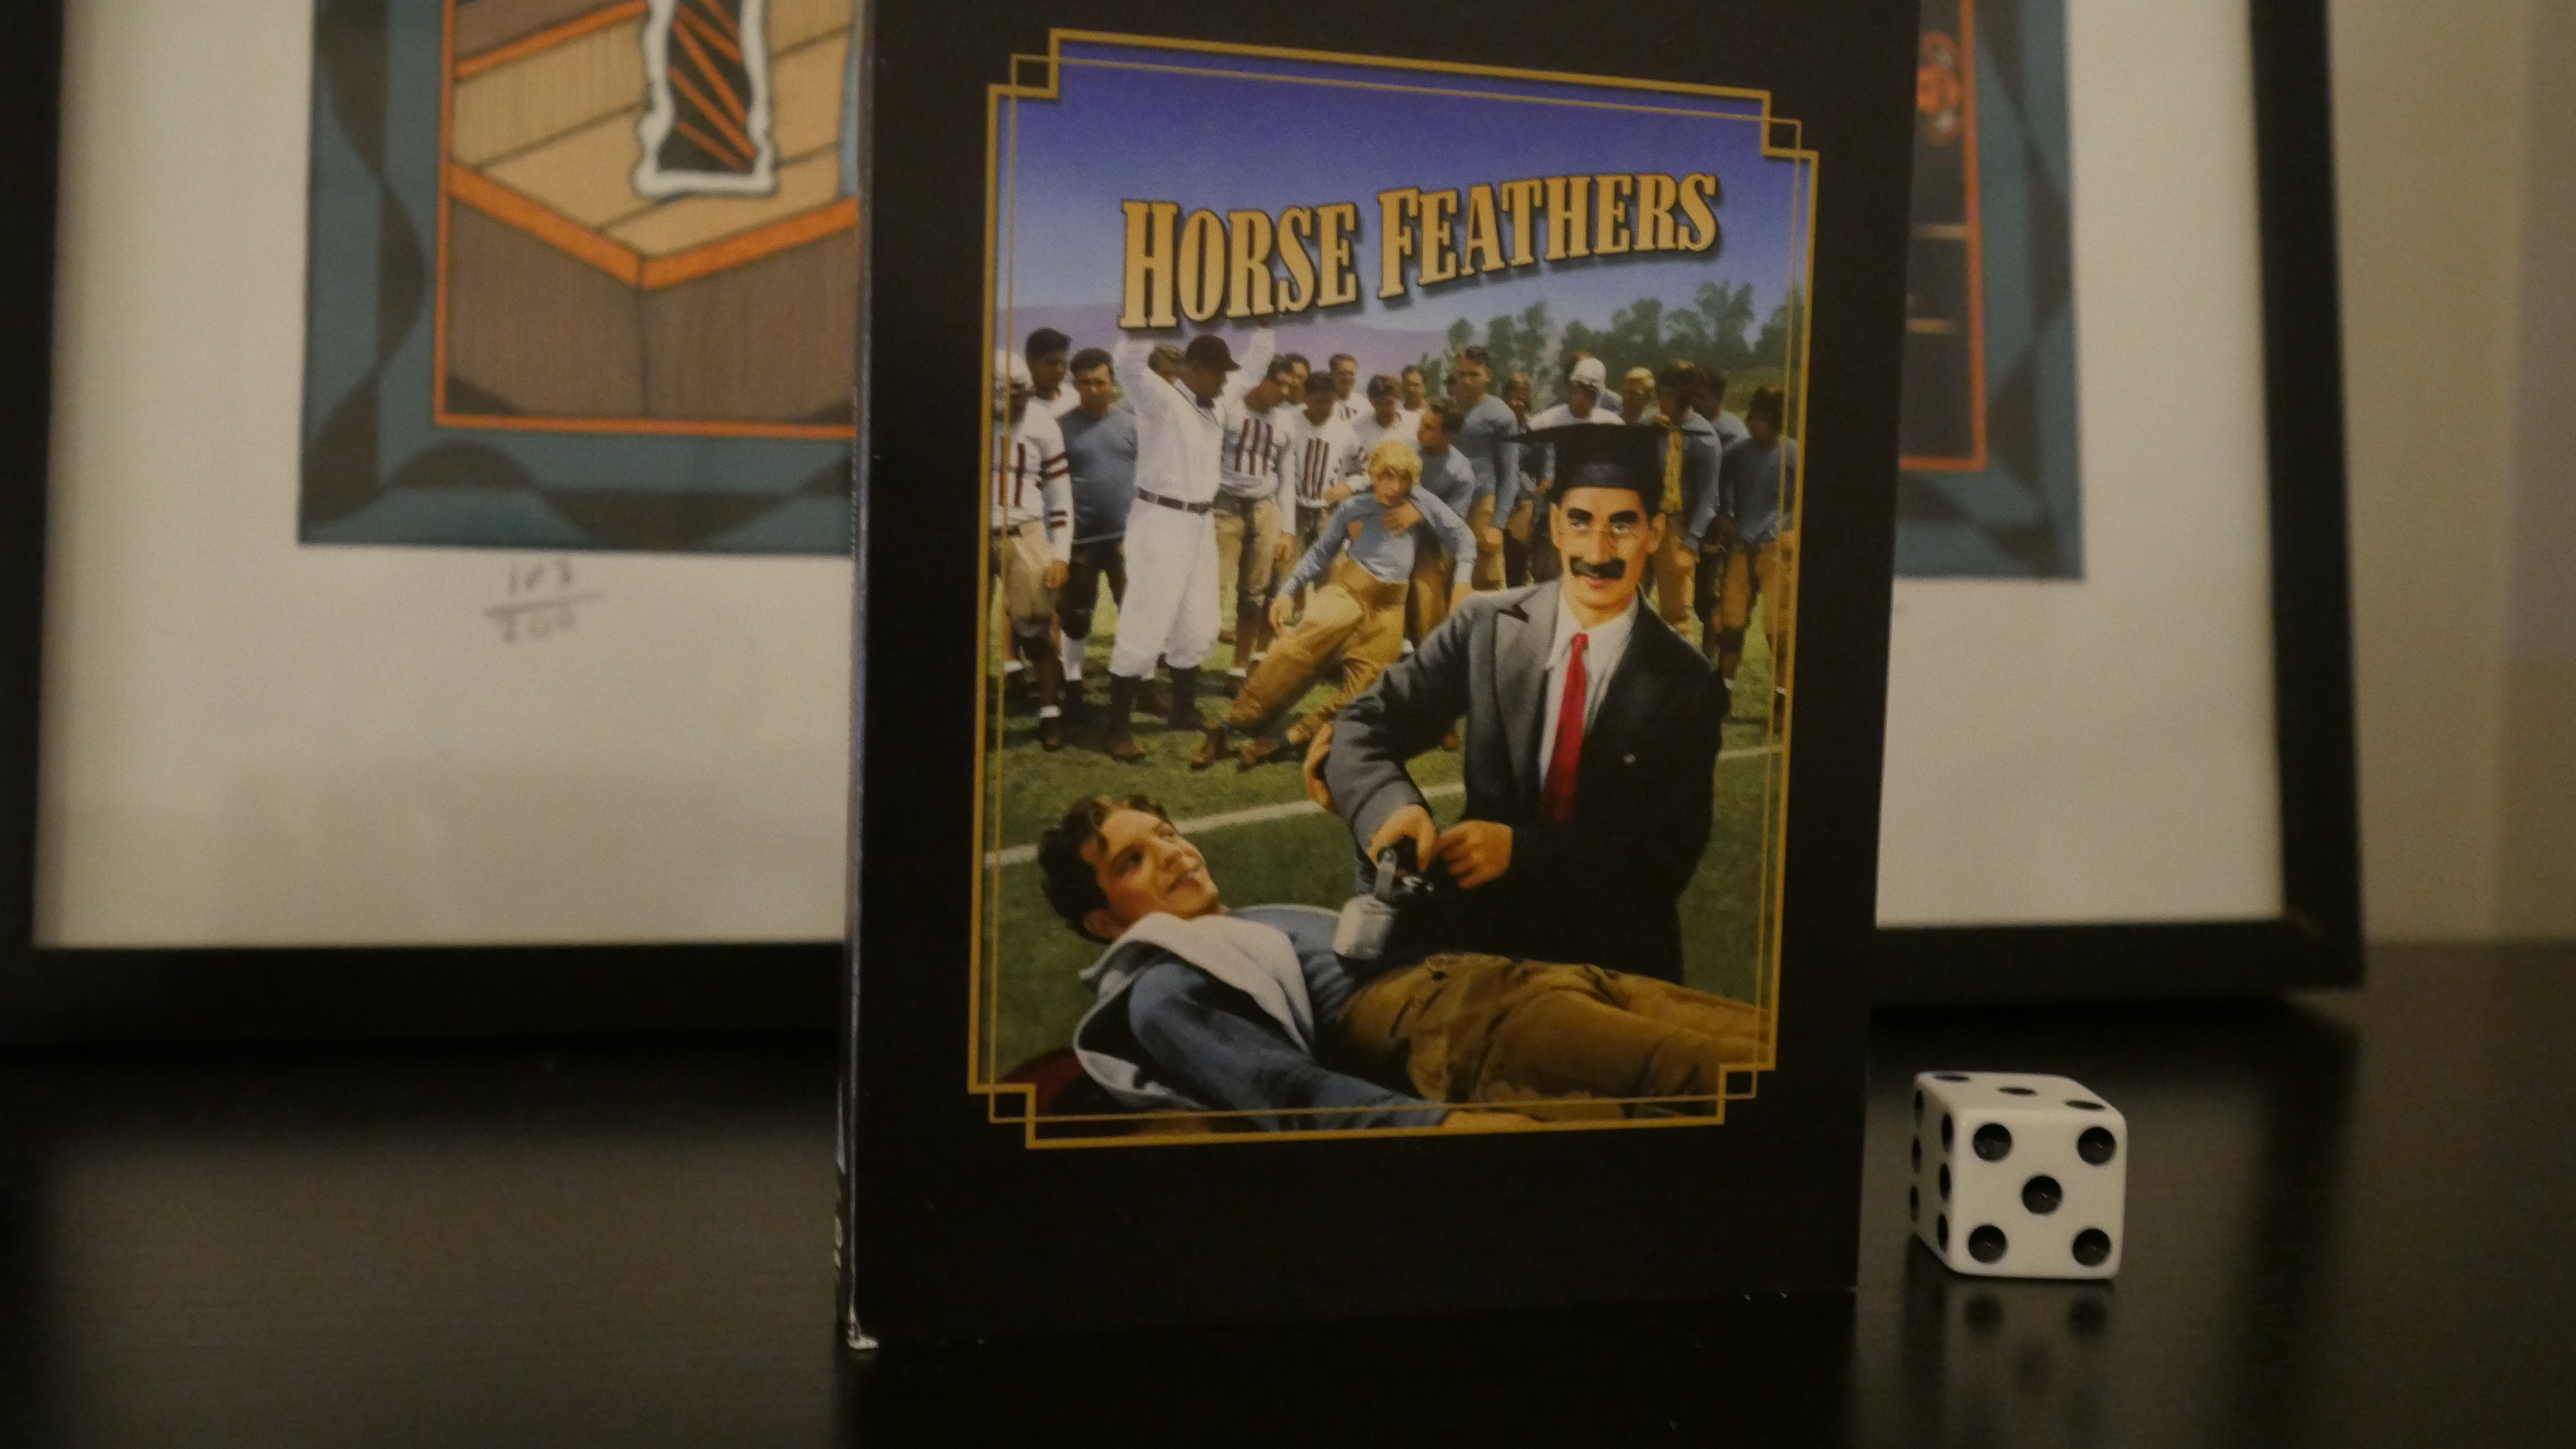
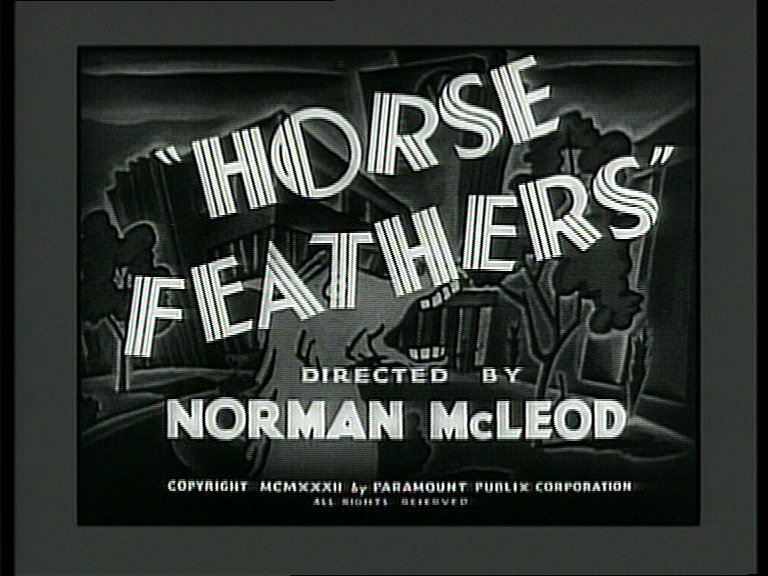
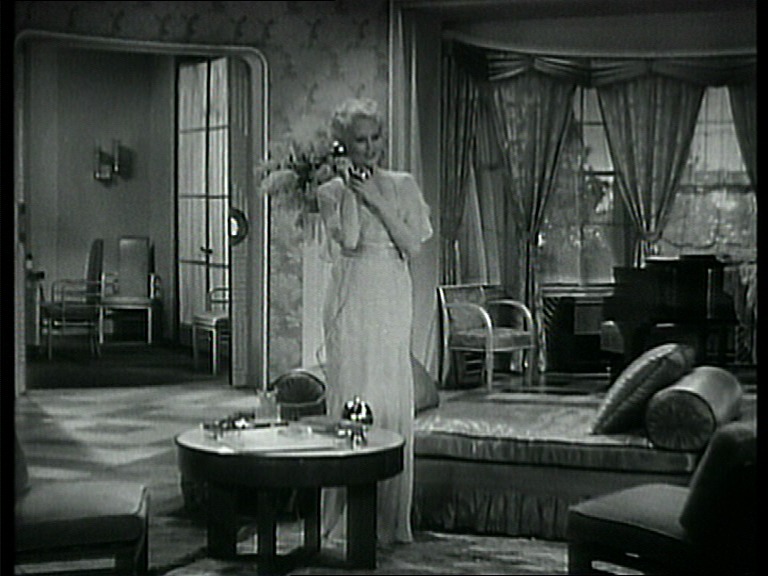
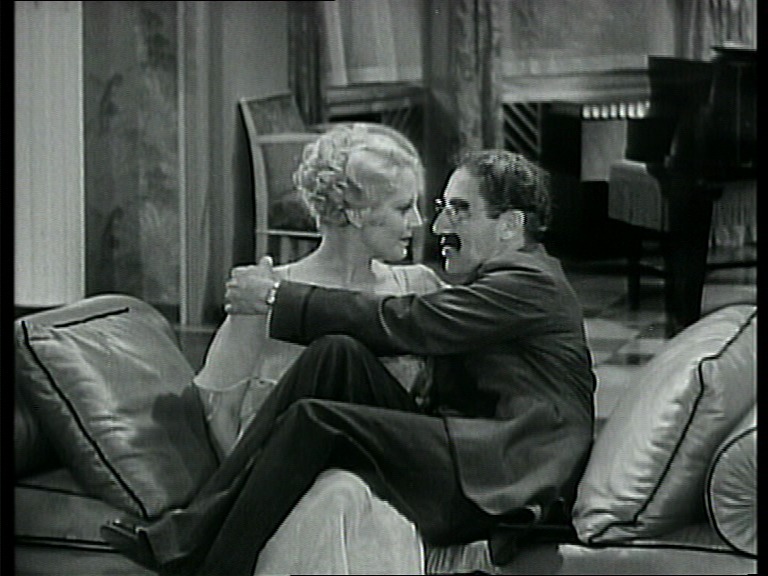
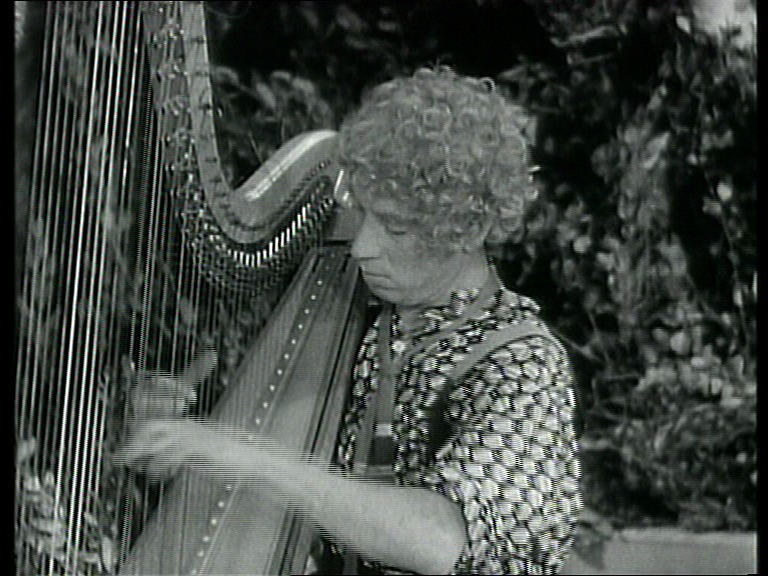
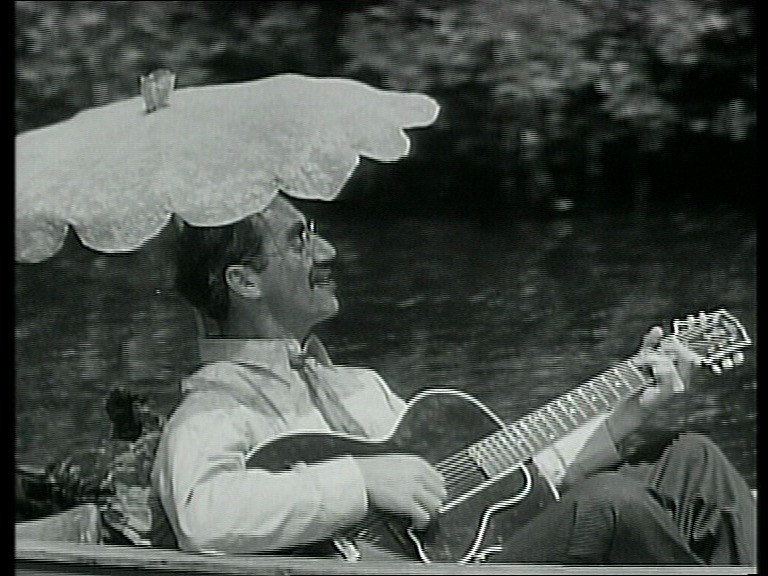
Horse Feathers. Norman Mcleod. 1932.
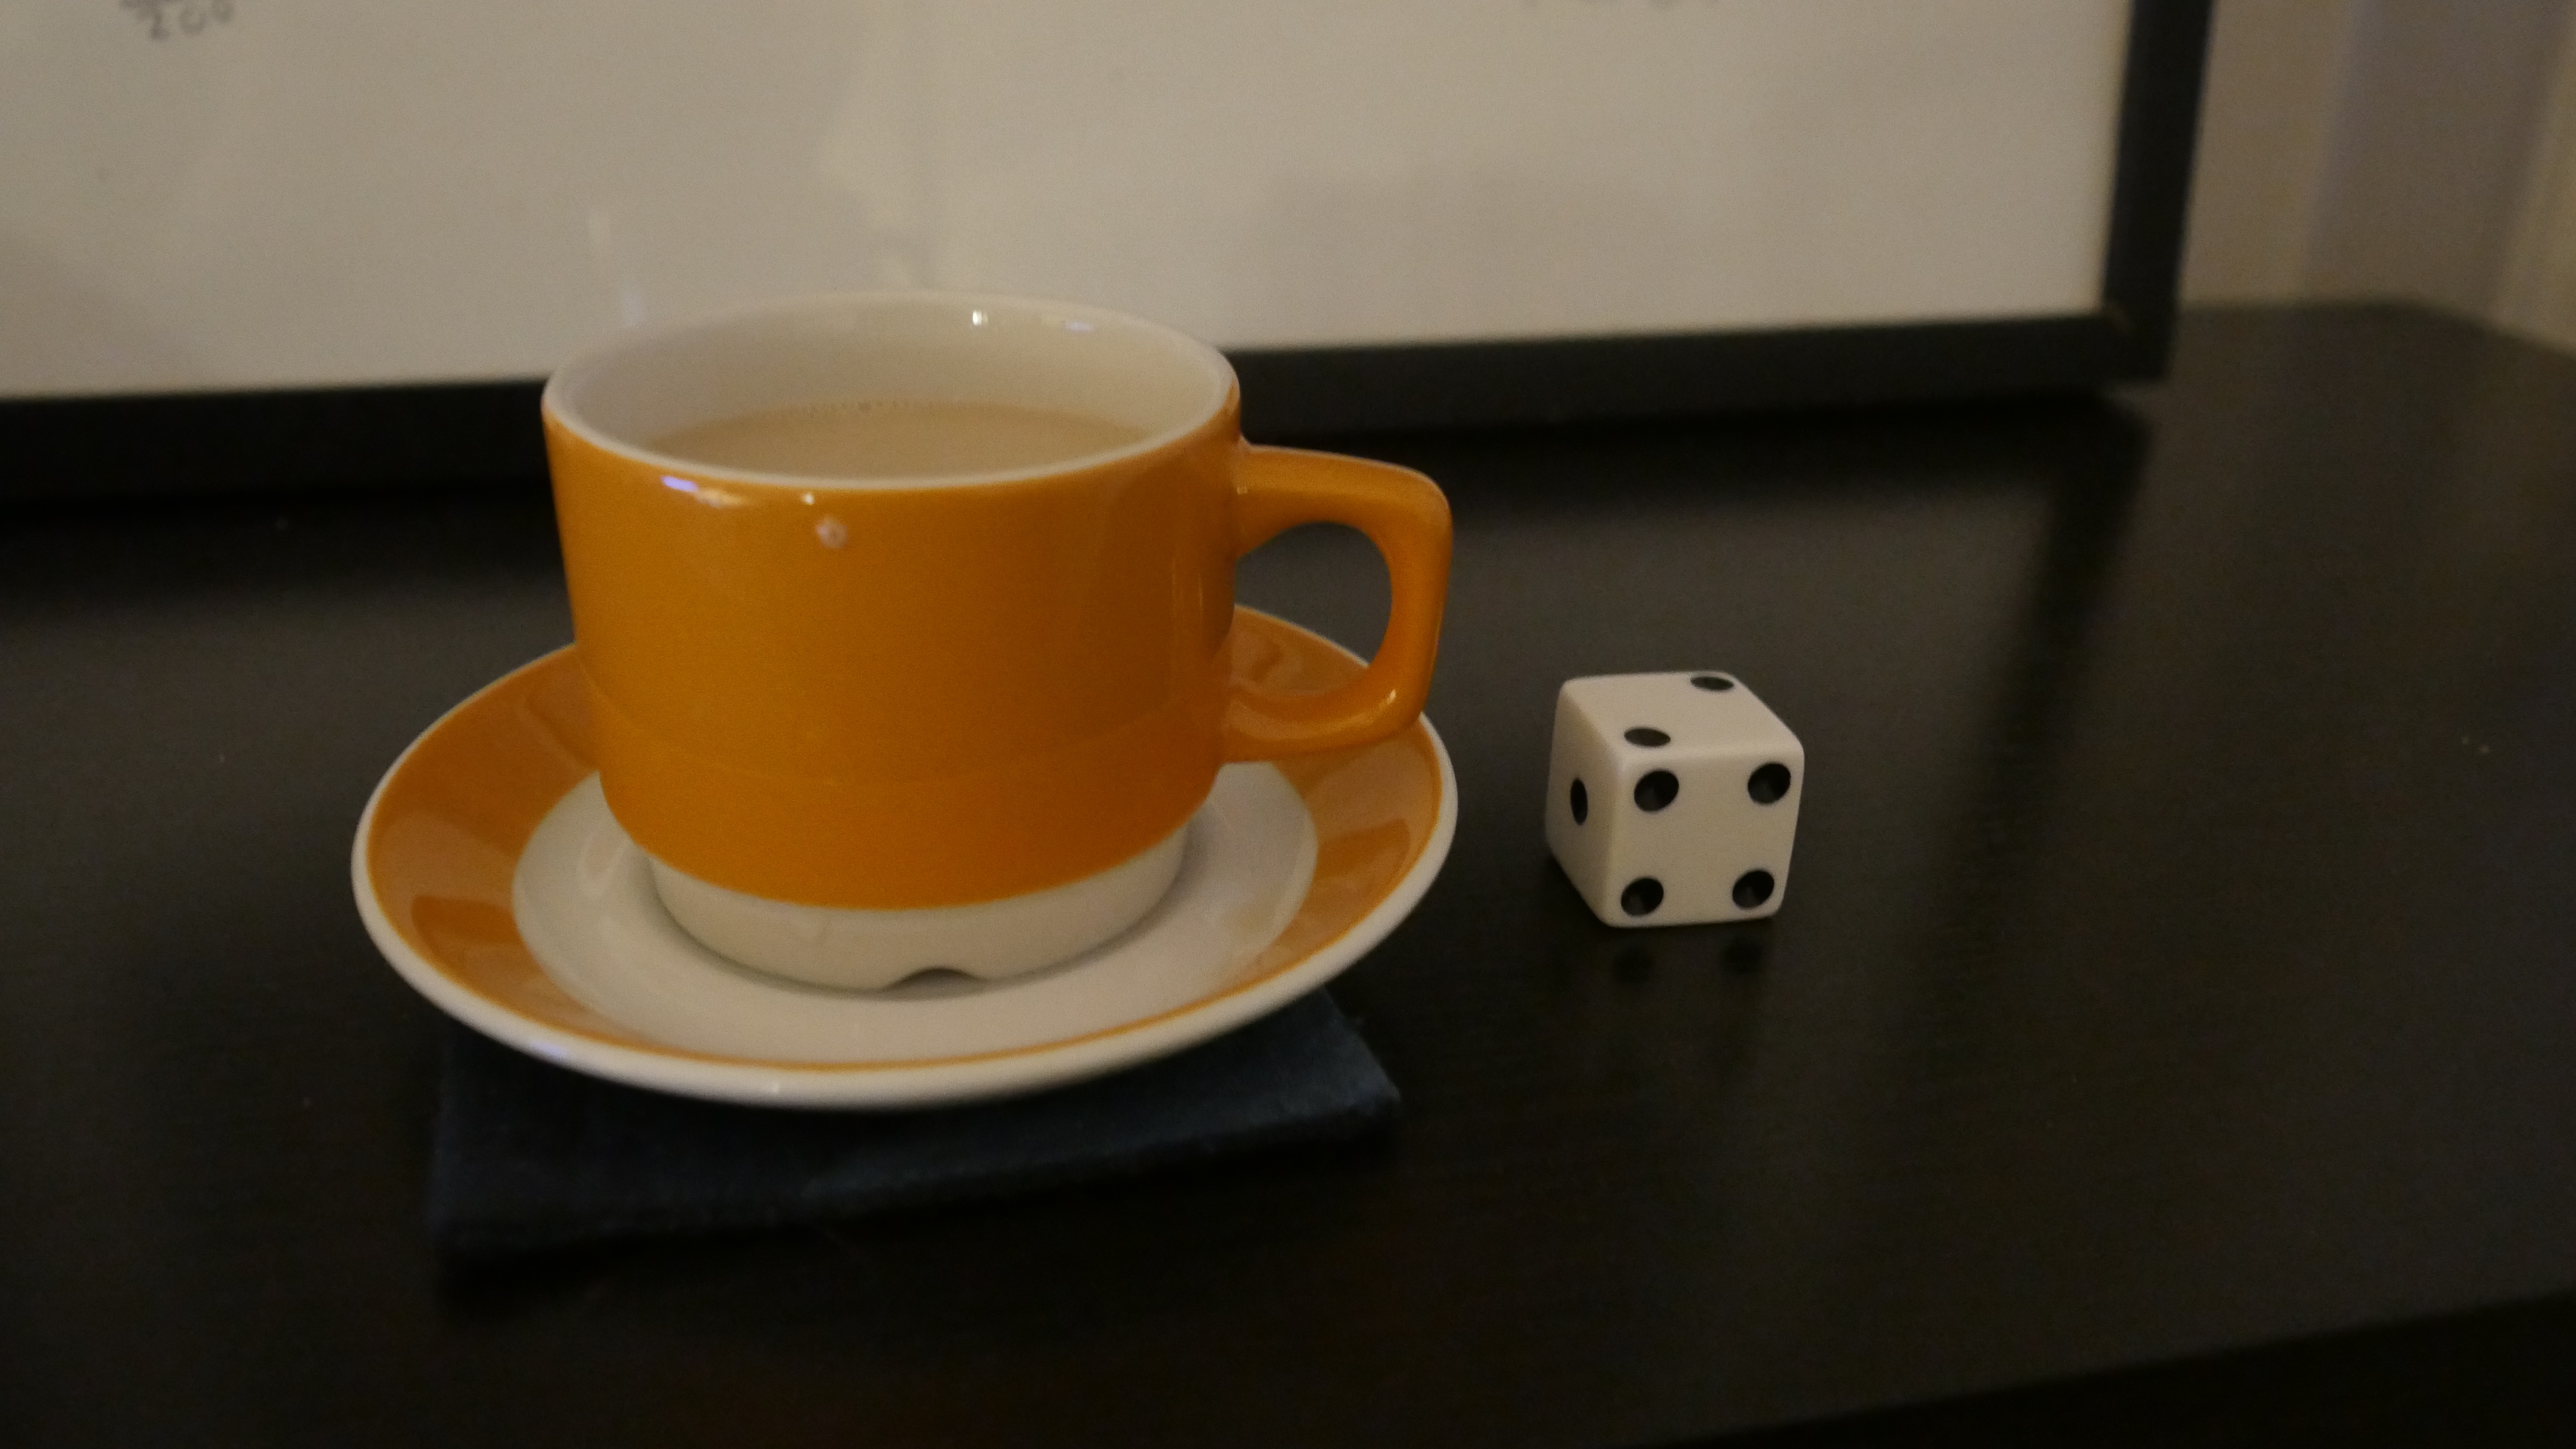
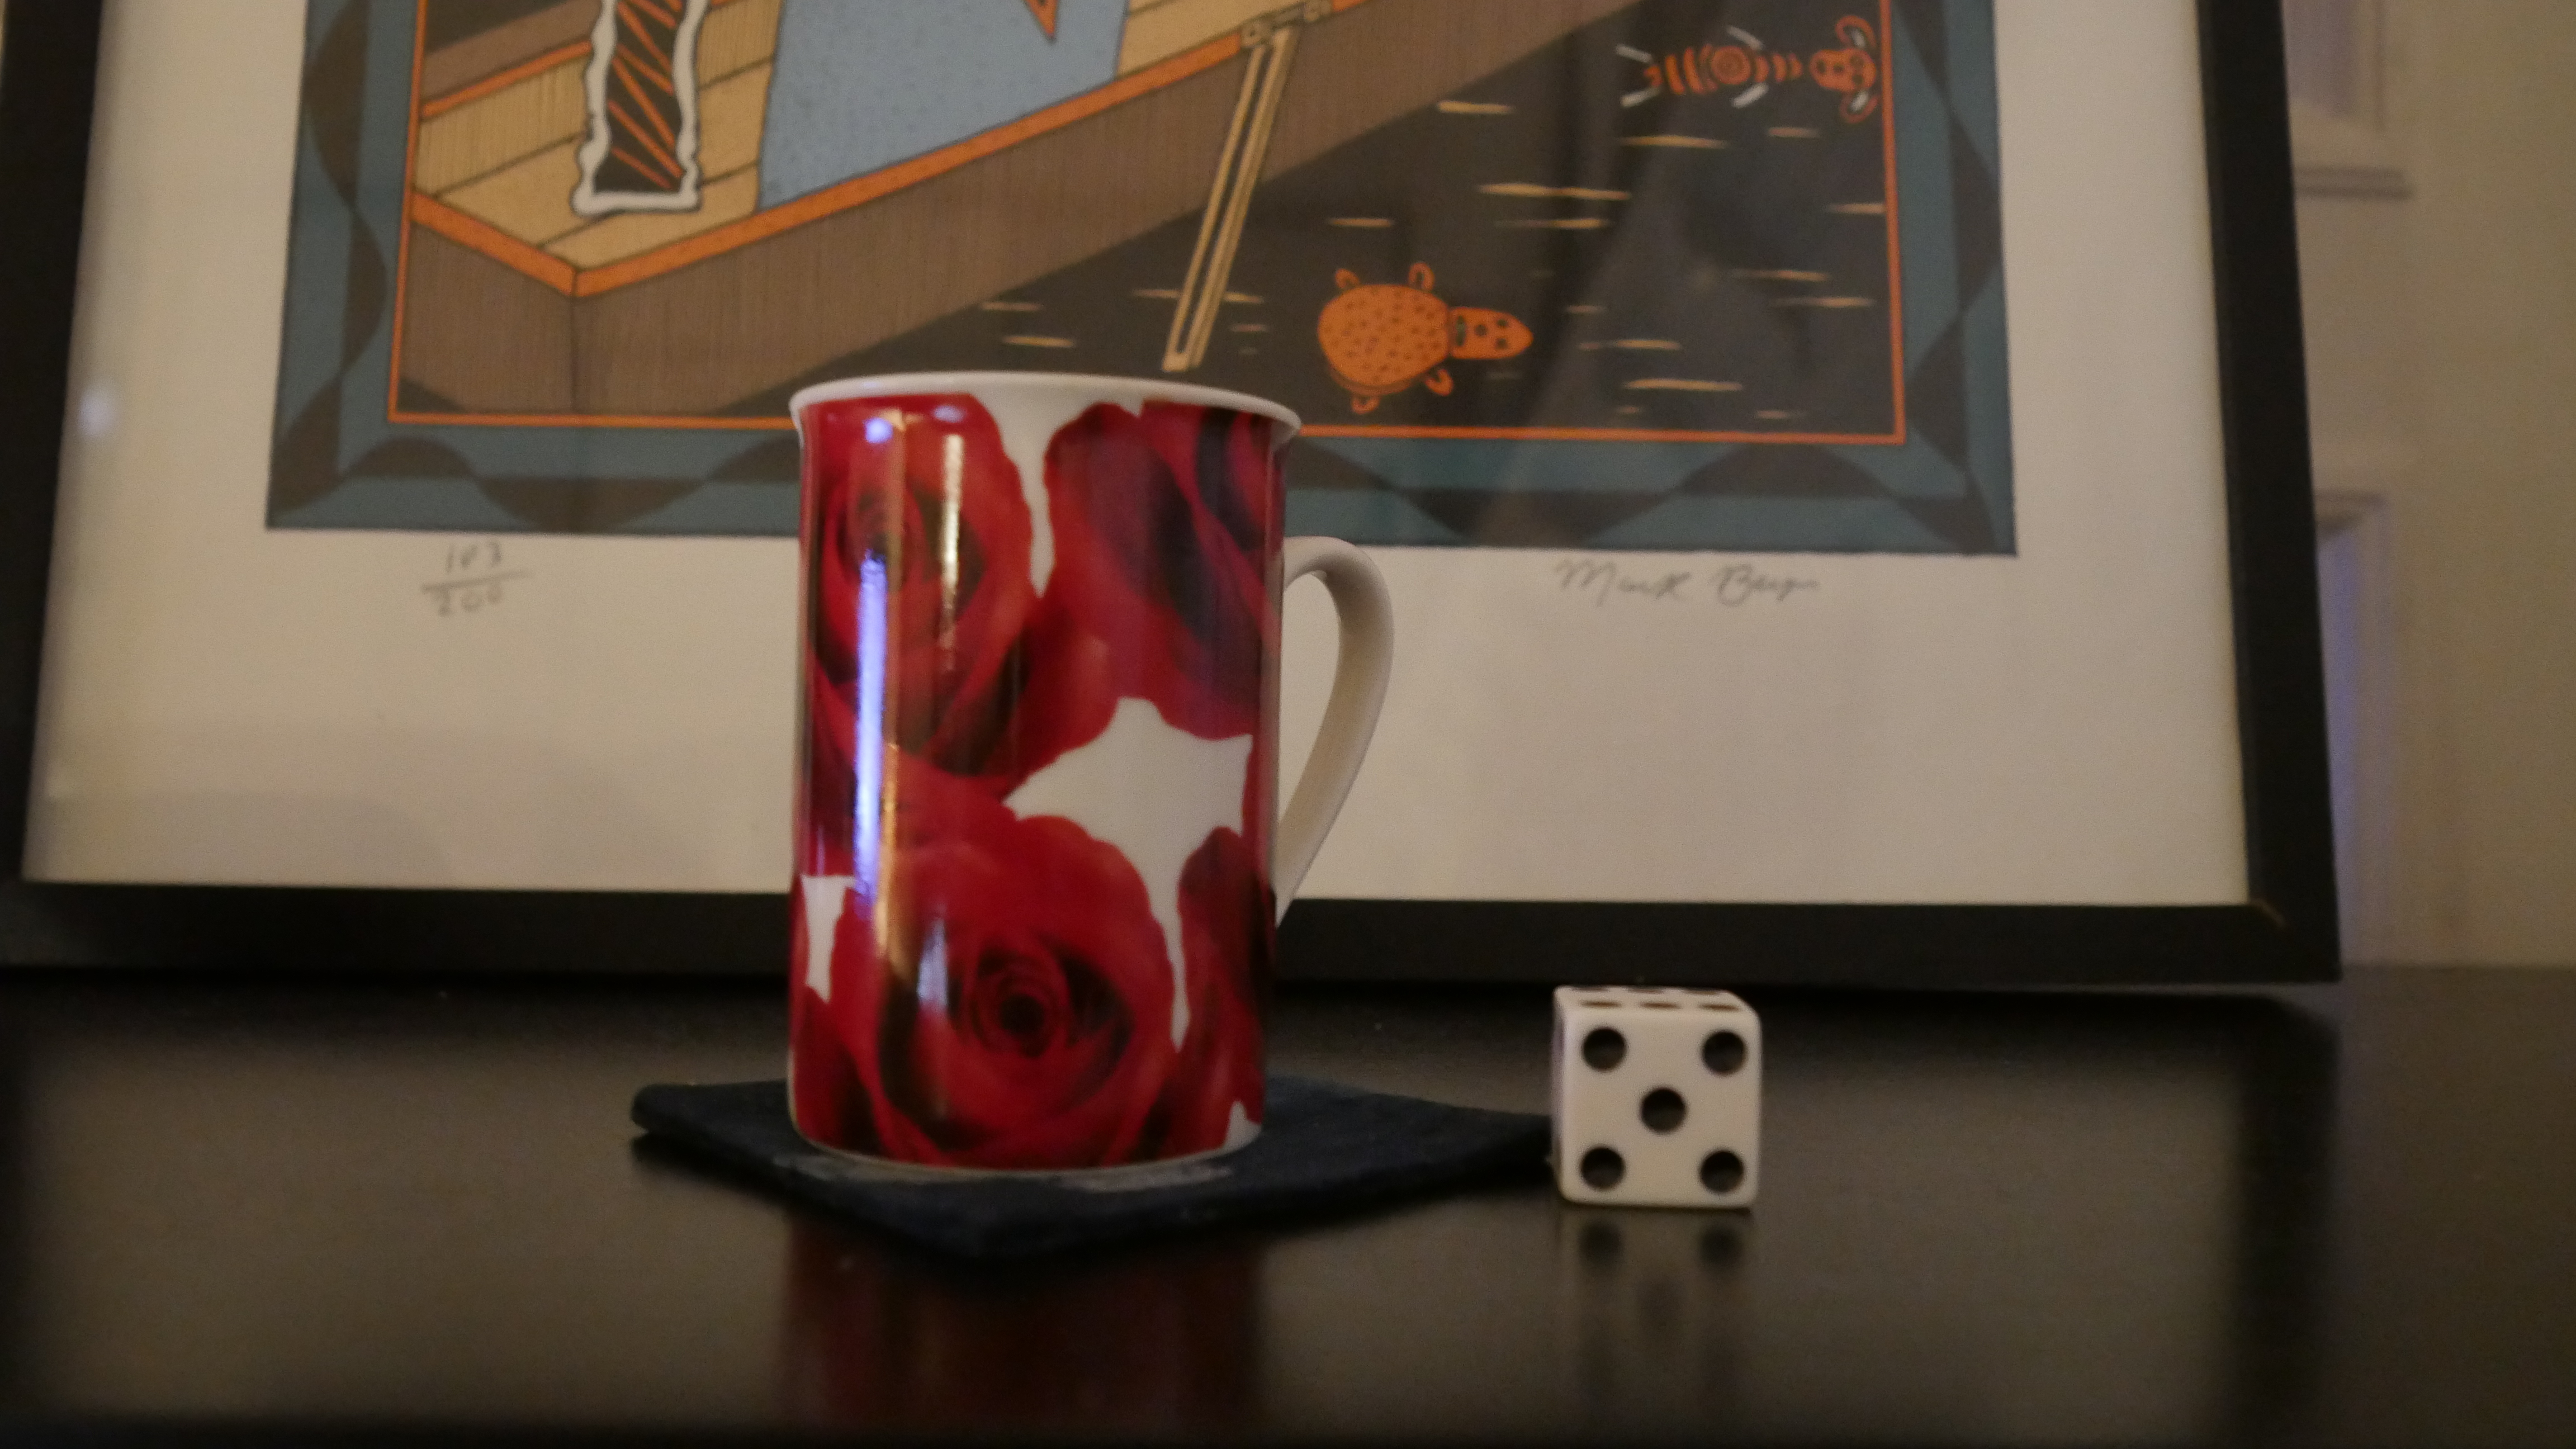
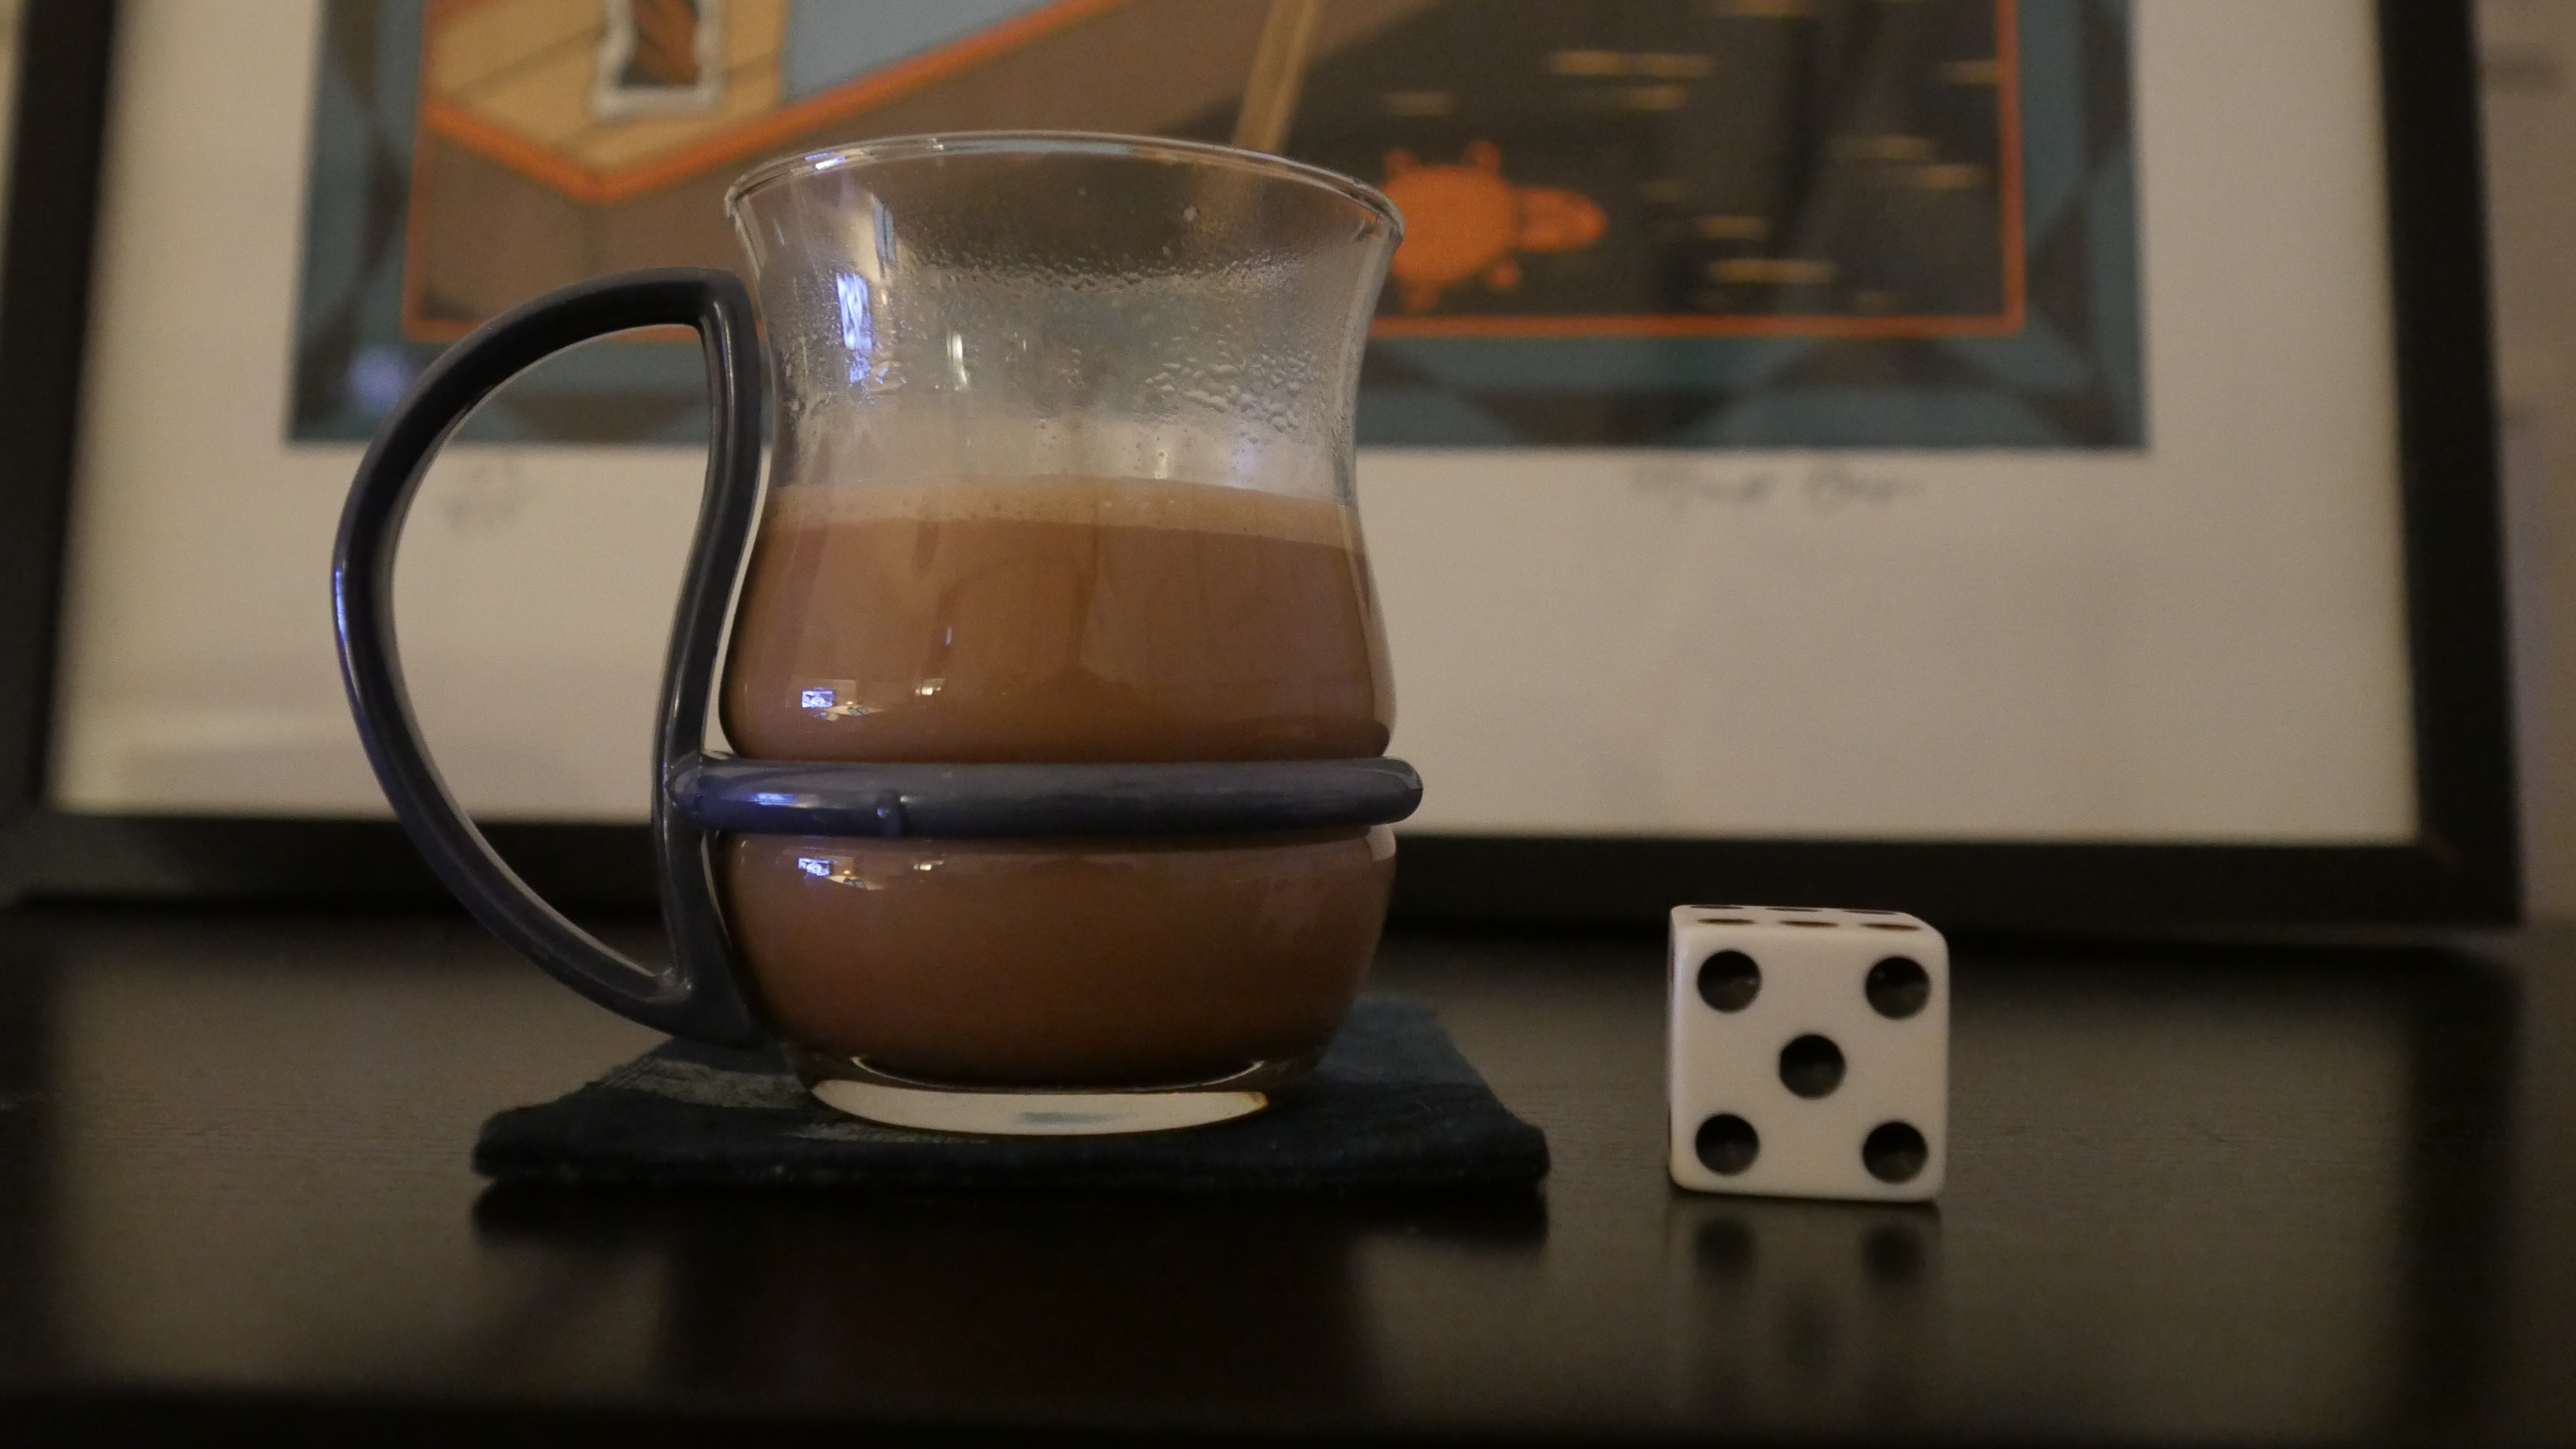
Autumn Chai Swizzle
This post is part of the F&C series.


)
+(4))
)
)
)