
An Image From A Superhero Comic Posted Without Comment
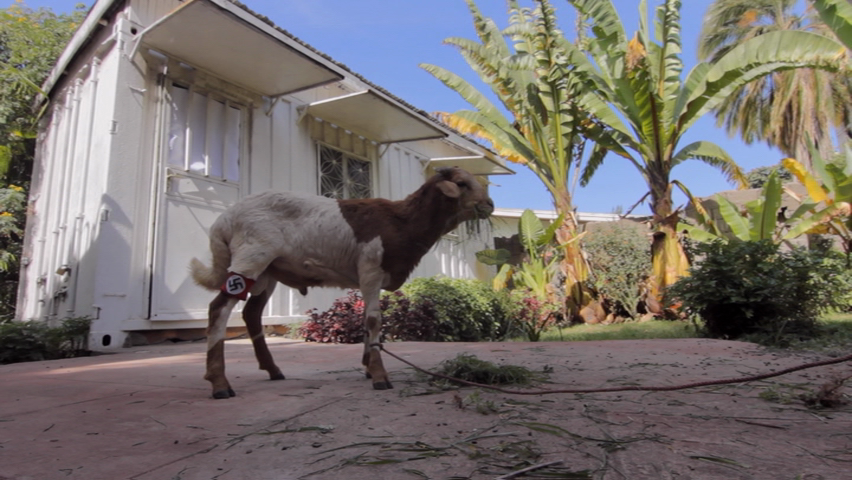


Wow! That was unexpected. A post-apocalyptic sci-fi film set in Ethiopia.
It’s funny, it’s scary, it’s pretty, and it’s original.

Crumbs. Miguel Llansó. 2015. Ethiopia.

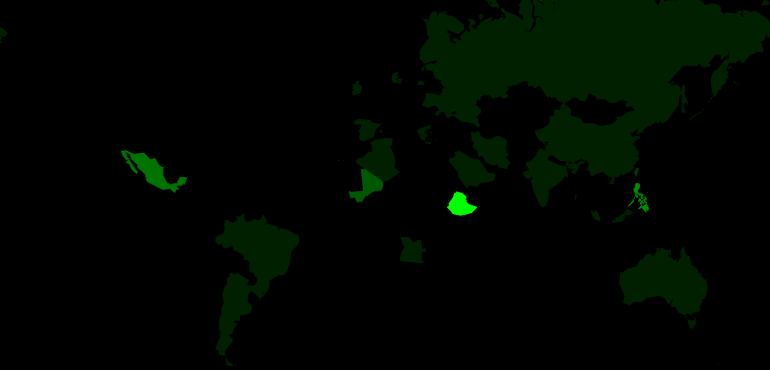
Ethiopian Espresso Martini
Shake with ice. Strain into a cocktail glass and sprinkle with caramom.

This post is part of the World of Films and Cocktails series. Explore the map.
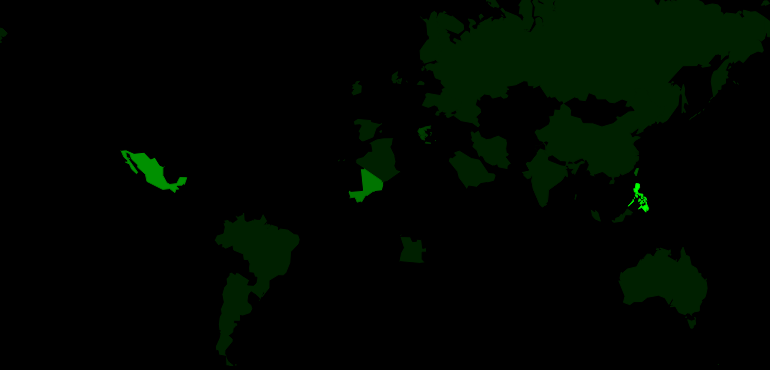


Manila-Acapulco Grog
Garnish with a mangosteen.
It was supposed to be kalamansi instead of lime, but I couldn’t find any.


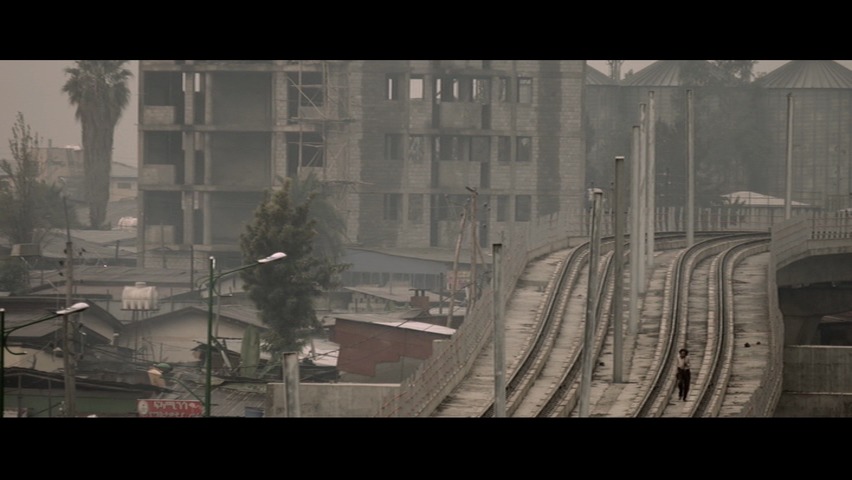
This is a very strange film.

Independencia. Raya Martin. 2009. Philippines.
This post is part of the World of Films and Cocktails series. Explore the map.
I had cold recently (well, I still have), so I amused myself by going through the Emacs bugs database and fixing documentation related bug reports. Should be safe enough to do even with a fever.
Anyway, I started wondering: Are things getting better or are things getting worse? The Emacs bug statistics charts aren’t really all that helpful:

Uhm… there’s a pixel more in January… and then one less in February… and then… er…
So I wrote a little thing to download the debbugs database and used a JS library to plot the data. (You can examine a “live” version here with zooming and stuff.)
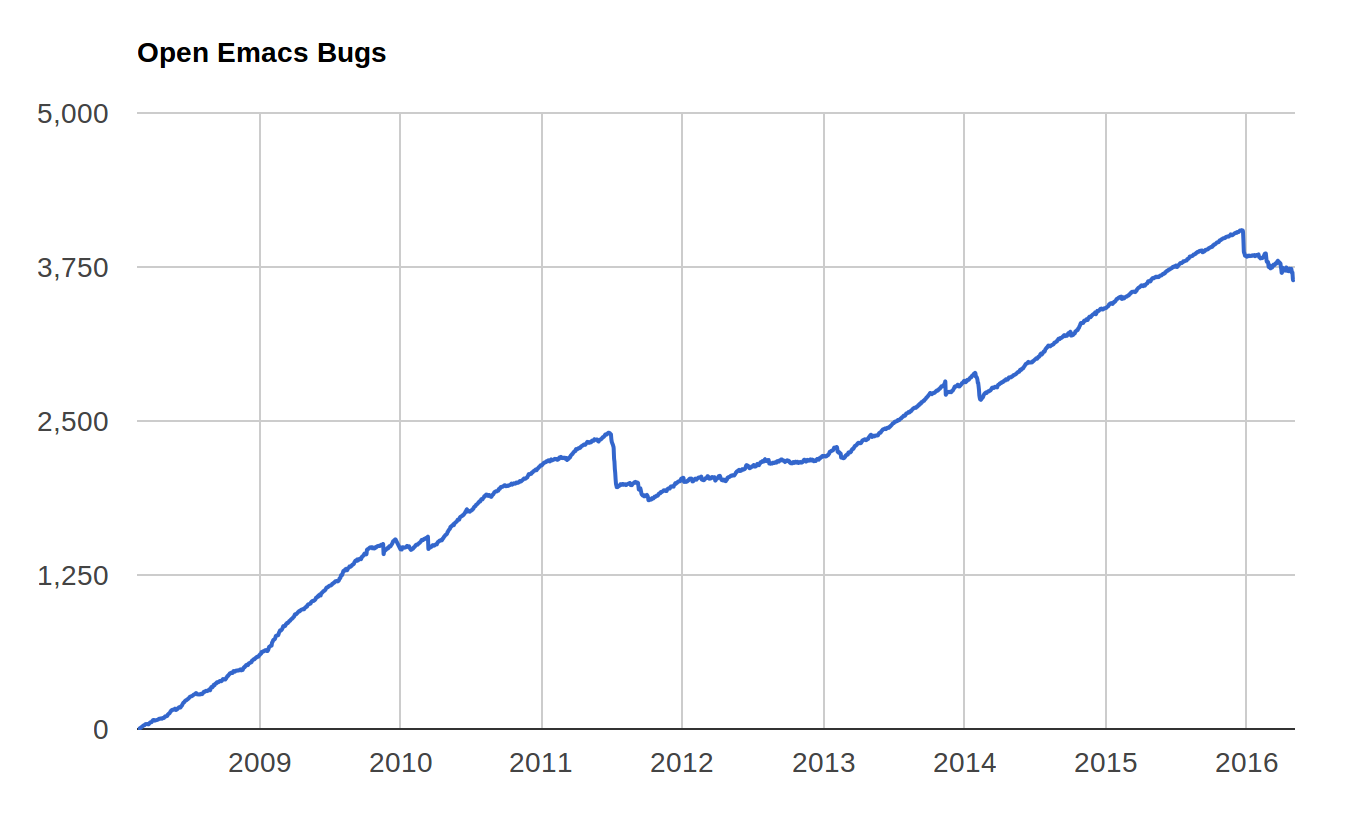
OK, things are getting worse. Apart from the discontinuities in the chart (all four of them from when Glenn Morris and I have been doing bug triages and closing outdated bug reports), Emacs is gaining about two unclosed bug reports per day.
(And don’t look too closely at the data from the last couple of months. It turns out that the debbugs database doesn’t have a data field for closure dates, but only a “last modified” thing, and closed bugs are archived after one month. So I transposed that date a month into the past for older bugs, but that left March without any closed bugs, so I randomly distributed closures from April to March, and in April there was more bug triaging going on, and aaaargh.)
But what about if we exclude all the wishlist items? After all, those aren’t bugs…
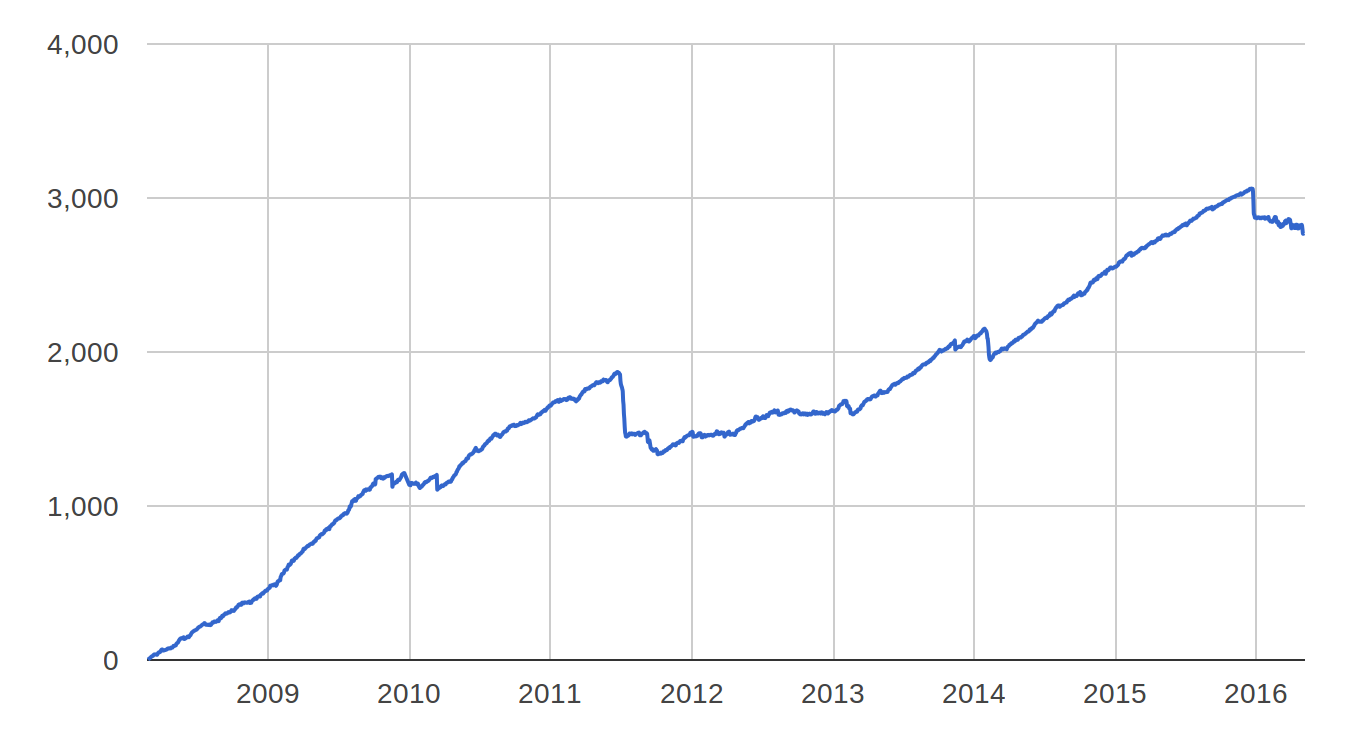
Not really much of a difference. But does the unclosed rate depend on people reporting more bugs or the maintainers not fixing the bugs?
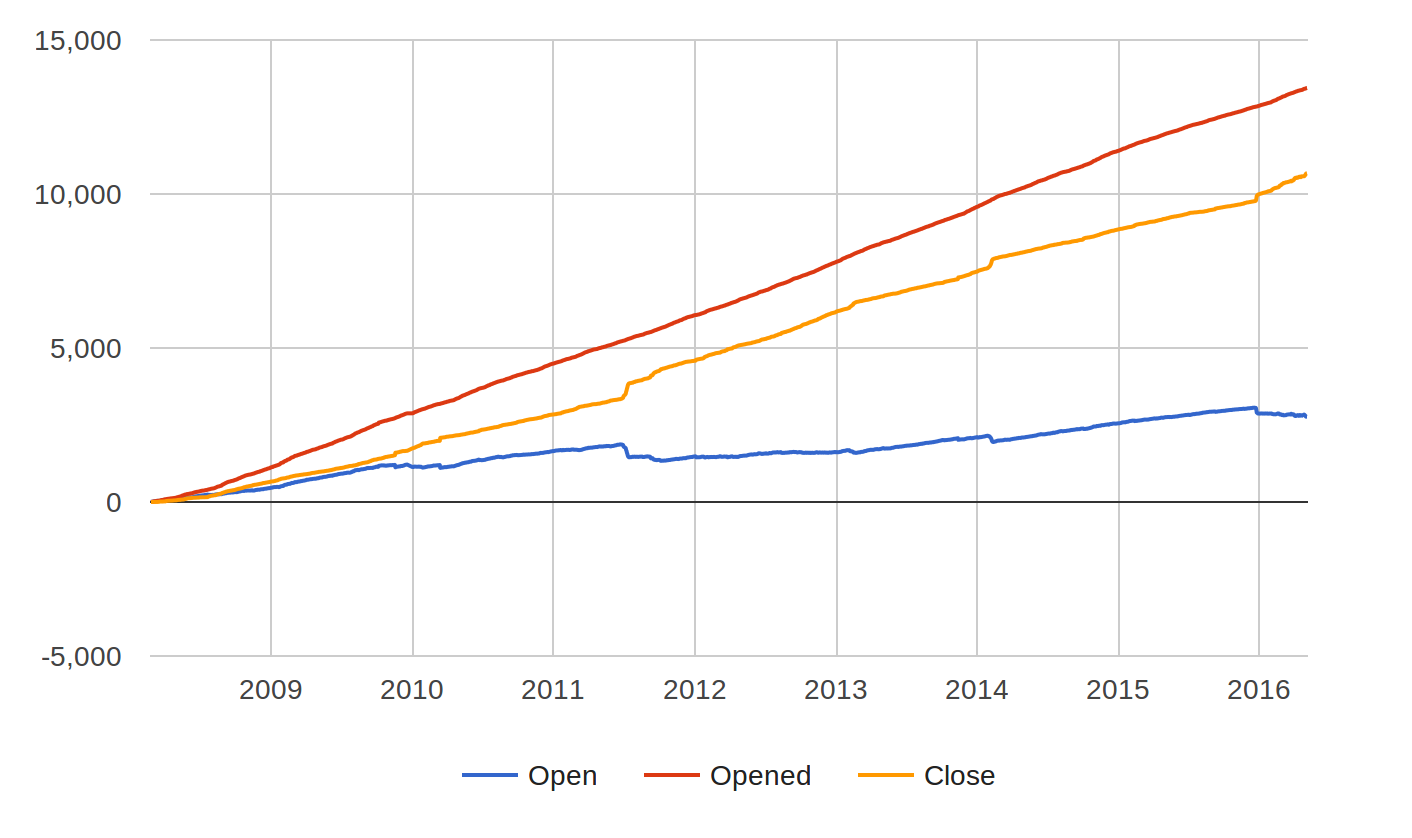
Nope, the reporting rate is amazingly linear. It’s the rate of closures that veers…
Looking more closely at the data, the top ten bug closers (and I’m not including the “technical closers”) are responsible for 70% of bug closures. They’re doing an awesome job, day in day out. It’s something I certainly couldn’t do on such a consistent basis. But still, more people are needed…
I wondered about why that almost-two-year-stretch of flat bug reports ended in the start of 2013, and I think that’s explained by Chong Yidong stepping down as co-maintainer. He totally slew at fixing bugs, the data seems to suggest.
In conclusion: Emacs needs more people to help out with bugs.
